

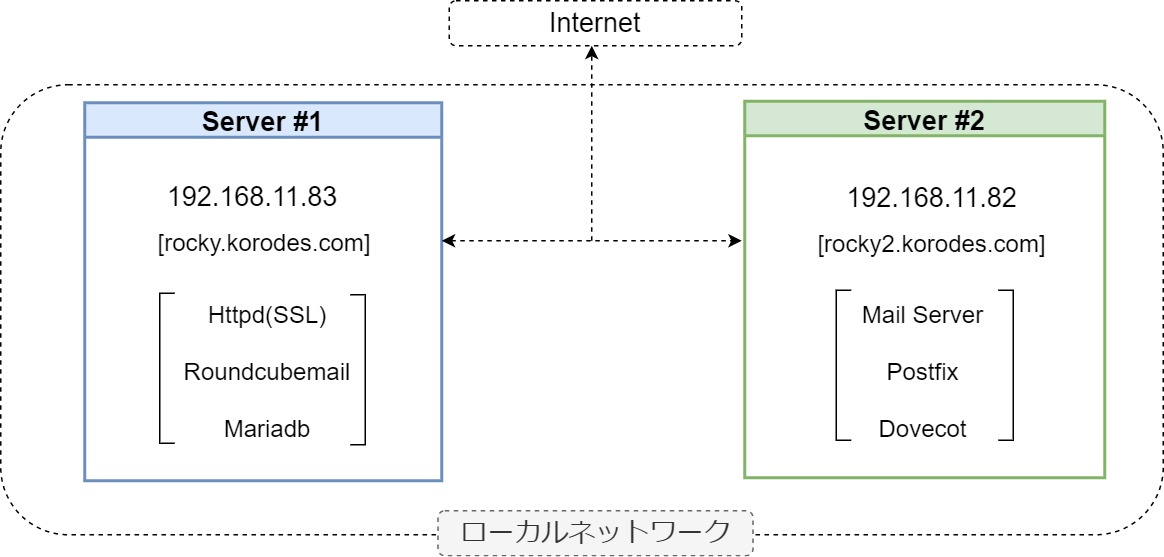
今回は次の環境で、Server#1にRoundCubemail をインストールし、メールサーバーは同一ローカルネットワーク内のServer#2を利用します。
Linux : RockyLinux 9.1
前提条件
Server#1
・Httpd webサーバー導入済・PHPインストール済....下記を参照して導入
・Httpd webサーバーSSL化....下記を参照して導入
Server#2
・Mailサーバー導入済(IMAP,SMTPサーバー)....下記を参照して導入
・MailサーバーのSSL化は必須ではないがSSL化する場合....下記を参照して導入
1. MariaDBデータベースサーバーインストール
1.1 インストール
# dnf -y install mariadb-server
# vi /etc/my.cnf.d/charset.cnf
#新規作成
[mysqld]
character-set-server = utf8mb4 ←デフォルトの文字コードを設定
[client]
default-character-set = utf8mb4 ←絵文字等 4 バイト長の文字を扱う場合
# systemctl enable mariadb
1.2初期設定
# mysql_secure_installation
NOTE: RUNNING ALL PARTS OF THIS SCRIPT IS RECOMMENDED FOR ALL MariaDB
SERVERS IN PRODUCTION USE! PLEASE READ EACH STEP CAREFULLY!
In order to log into MariaDB to secure it, we'll need the current
password for the root user. If you've just installed MariaDB, and
haven't set the root password yet, you should just press enter here.
Enter current password for root (enter for none):
OK, successfully used password, moving on…
Setting the root password or using the unix_socket ensures that nobody
can log into the MariaDB root user without the proper authorisation.
You already have your root account protected, so you can safely answer 'n'.
[Unix_Socket] 認証に切り替えるか否か
Switch to unix_socket authentication [Y/n] y
… skipping.
You already have your root account protected, so you can safely answer 'n'.
MariaDB root パスワードを設定するか否か
Change the root password? [Y/n] y
… skipping.
By default, a MariaDB installation has an anonymous user, allowing anyone
to log into MariaDB without having to have a user account created for
them. This is intended only for testing, and to make the installation
go a bit smoother. You should remove them before moving into a
production environment.
匿名ユーザーは削除する
Remove anonymous users? [Y/n] y
… Success!
Normally, root should only be allowed to connect from 'localhost'. This
ensures that someone cannot guess at the root password from the network.
root のリモートログインは無効とする
Disallow root login remotely? [Y/n] y
… Success!
By default, MariaDB comes with a database named 'test' that anyone can
access. This is also intended only for testing, and should be removed
before moving into a production environment.
テストデータベースは削除する
Remove test database and access to it? [Y/n] y
Dropping test database…
… Success!
Removing privileges on test database…
… Success!
Reloading the privilege tables will ensure that all changes made so far
will take effect immediately.
特権情報をリロードする
Reload privilege tables now? [Y/n] y
… Success!
Cleaning up…
All done! If you've completed all of the above steps, your MariaDB
installation should now be secure.
2. RoundCubemail 用のデータベースを作成
# mysql
Welcome to the MariaDB monitor. Commands end with ; or \g.
Your MariaDB connection id is 37
Server version: 10.6.7-MariaDB-2ubuntu1 Ubuntu 22.04
Copyright (c) 2000, 2018, Oracle, MariaDB Corporation Ab and others.
Type 'help;' or '\h' for help. Type '\c' to clear the current input statement.
MariaDB [(none)]> create database roundcube; ←データベース[roundcube] 作成
Query OK, 1 row affected (0.00 sec)
MariaDB [(none)]> grant all privileges on roundcube.* to roundcube@'localhost' identified by '<password>'; ←ユーザー[roundcube]作成、<password]>は各自任意に作成
Query OK, 0 rows affected (0.00 sec)
MariaDB [(none)]> flush privileges;
Query OK, 0 rows affected (0.00 sec)
MariaDB [(none)]> exit;
Bye
3.RoundCubemail のインストールと設定
EPEL からインストールしますので、下記を参考にEPELリポジトリーをインストールしておいてください
|
1 |
# dnf -y install roundcubemail php-mysqlnd |
|
1 |
# cd /usr/share/roundcubemail/SQL |
|
1 2 |
# mysql -u roundcube -D roundcubemail -p < mysql.initial.sql Enter password: # roundcube パスワード |
|
1 2 |
# cd # cp -p /etc/roundcubemail/config.inc.php.sample /etc/roundcubemail/config.inc.php |
|
1 |
# vi /etc/roundcubemail/config.inc.php |
#28行目 : DB 接続情報を変更
[password] の箇所は MariaDB の [roundcube] ユーザーに設定したパスワード
$config['db_dsnw'] = 'mysql://roundcube:password@localhost/roundcubemail';
41行目 :
IMAP サーバー指定 (SSL化済の場合)
$config['default_host'] = 'tls://mail.korodes.com';
IMAP サーバー指定 (SSL化していない場合)
$config['default_host'] = 'mail.korodes.com';
55行目 :
SMTP サーバー指定 (SSL化済の場合)
$config['smtp_server'] = 'tls://mail.korodes.com';
SMTP サーバー指定 (SSL化していない場合)
$config['smtp_server'] = 'mail.korodes.com';
58行目 :
SMTP ポート (SSL化済の場合)
$config['smtp_port'] = 587;
SMTP ポート (SSL化していない場合)
$config['smtp_port'] = 25;
62行目 : 確認
$config['smtp_user'] = '%u';
66行目 : 確認
$config['smtp_pass'] = '%p';
73行目 : 画面に表示したいタイトル
$config['product_name'] = 'Korodes Webmail';
最終行に追記
IMAP ポート指定
$config['default_port'] = 143;
SMTP 認証タイプを指定
$config['smtp_auth_type'] = 'LOGIN';
SMTP HELO host を指定
$config['smtp_helo_host'] = 'mail.korodes.com';
ドメイン名を指定
$config['mail_domain'] = 'korodes.com';
UserAgent を指定
$config['useragent'] = 'Korodes Webmail';
SMTP と IMAP の接続オプションを指定
$config['imap_conn_options'] = array(
'ssl' => array(
'verify_peer' => true,
'CN_match' => 'korodes.com',
'allow_self_signed' => true,
'ciphers' => 'HIGH:!SSLv2:!SSLv3',
),
);
$config['smtp_conn_options'] = array(
'ssl' => array(
'verify_peer' => true,
'CN_match' => 'korodes.com',
'allow_self_signed' => true,
'ciphers' => 'HIGH:!SSLv2:!SSLv3',
),
);
4.Apache の設定
# vi /etc/httpd/conf.d/roundcubemail.conf
14行目に追加
Require ip 192.168.11.0/24 ←192.168.11.0/24は各自環境に合わす
# systemctl restart httpd
5.RoundCubeにアクセスして確認
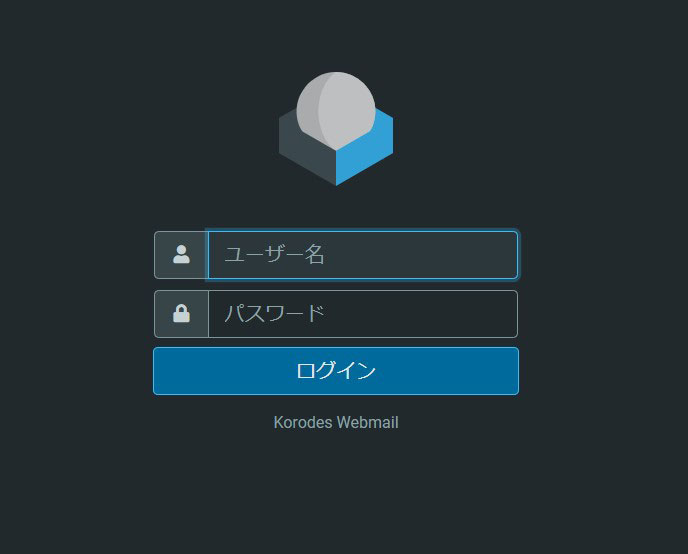
任意のWEBブラウザで「https://サーバードメイン名/roundcubemail/」にアクセスすると下記ログイン画面になるので
ユーザー名 : メールサーバー側の登録ユーザー名
パスワード : 同上ユーザーのパスワード
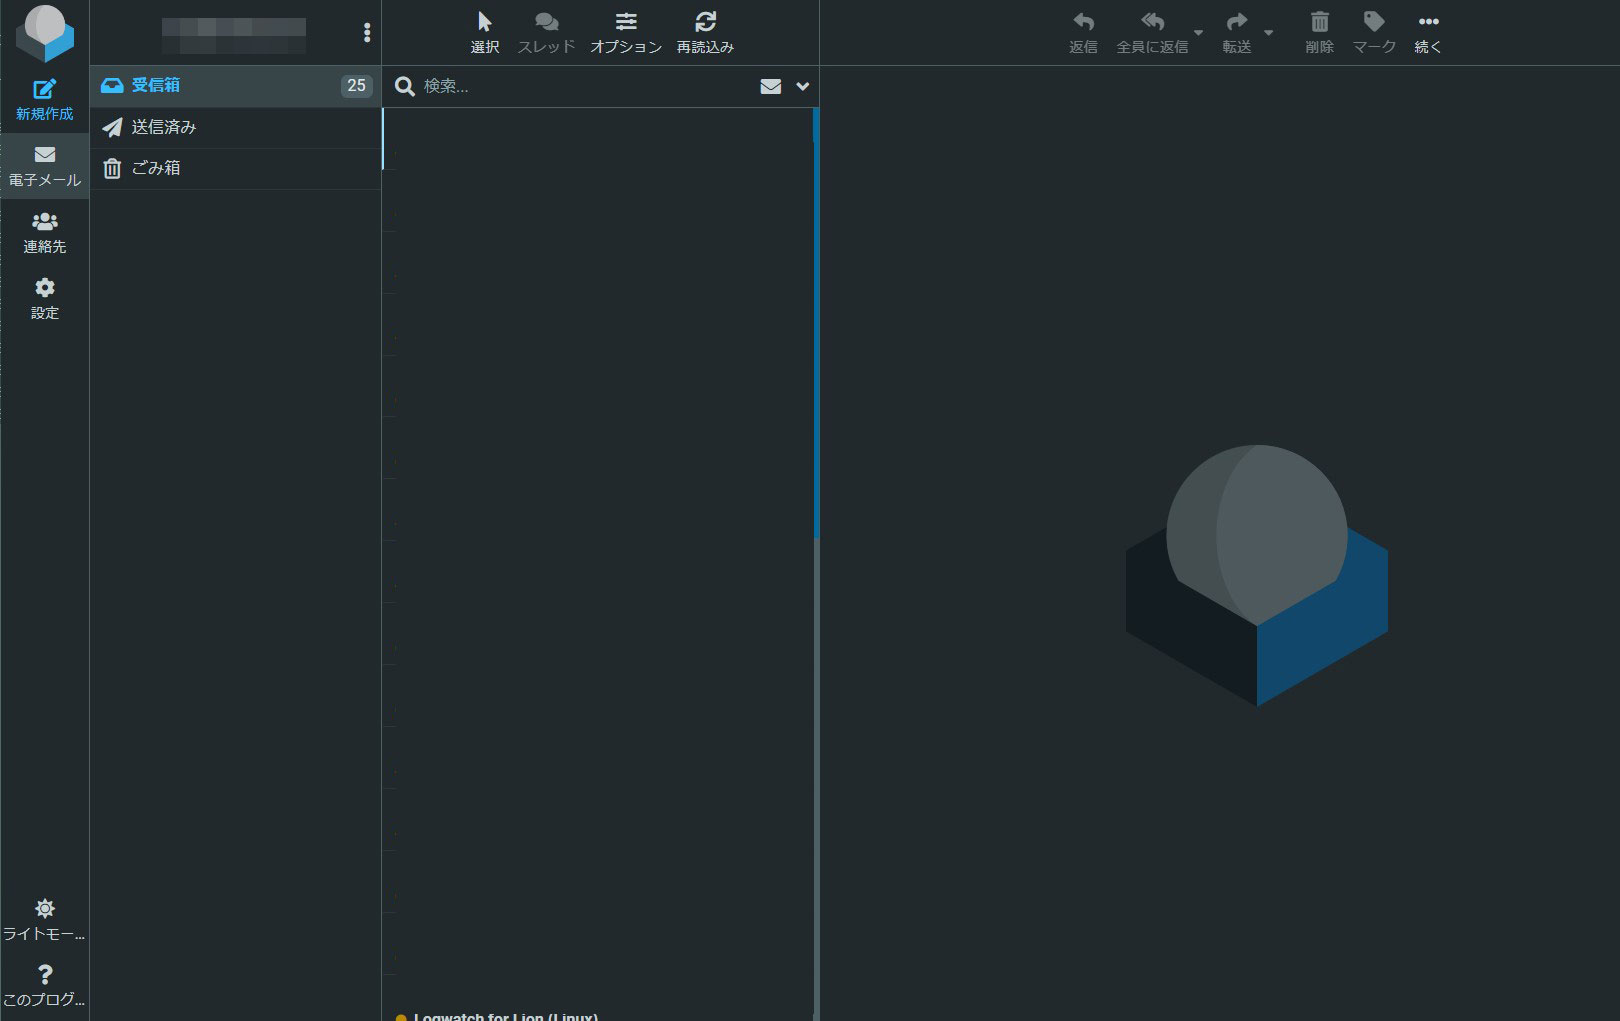
ログインに成功すると下記WEBメール画面になるので自分あてに送受信して確認する
RoundcubeでWEBメール構築 Debian系は こちら