Mastodonは、2016年にドイツのプログラマーEugen Rochko(オイゲン・ロホコ)氏が立ち上げたSNS。オープンソースの分散型ソーシャルネットワークで、誰もがサーバーを立ち上げることができる。
Twitterとの違い
分散型ソーシャルメディア
Twitterが運営元企業が一元的に管理する中央集権型SNSに対して、マストドンは、誰でも自由にサーバー(インスタンス)を開設し、各開設者が管理者として独自のルールや利用規約を定めて運営することが出来る「分散型ソーシャルメディア」の形態をしています。
ユーザーは、既存の「インスタンス」と呼ばれるサーバーの中から自身の目的に合ったものを選ぶか、自らサーバーを立ち上げて、アカウントを作成・利用することが出来、管理者は自身のインスタンスを自由に操作することが可能。
ユーザーは1つのMastodonサーバでアカウントを作れば、基本的には、その他のMastodonサーバのユーザーの投稿を読むことができる(各インスタンスが連携して成り立っているMastodon(マストドン)をすべて利用できる)。
500文字まで投稿が可能
Twitterは140文字までの投稿となっているが、Mastodon(マストドン)は500文字までの投稿が可能となっている。
Twitterと同じようにメンションとハッシュタグがある。
タイムラインの違い
Mastodon(マストドン)にはユーザーの投稿が表示されるタイムラインは、3種類存在する。
自分および自分をフォローしているユーザーの投稿が流れる「ホーム」はTwitterと同様ですが独自にあるのは「ローカル」と「連合」です。
「ローカル」には自分がアカウントを取得したサーバ内のユーザー全員の投稿が表示される。
「連合」には所属するサーバーと繋がりのあるサーバーのユーザーの投稿がすべて表示されます。
Mastodonサーバー(インスタンス)構築
次の条件で構築する
・Linux : Ubuntu22.04
・Domain :独自ドメインを取得し、ローカルIPアドレスと紐づいている
・ルートユーザーで作業できる
1. 必要なパッケージインストール
# apt update -y
# apt upgrade -y
# apt install git software-properties-common make apt-transport-https redis-server optipng pngquant jhead jpegoptim gifsicle imagemagick ffmpeg libpq-dev libxml2-dev libxslt1-dev file g++ libprotobuf-dev protobuf-compiler pkg-config gcc autoconf bison build-essential libssl-dev libyaml-dev libreadline6-dev zlib1g-dev libncurses5-dev libffi-dev libgdbm-dev libidn11-dev libicu-dev libjemalloc-dev -y
2.Node.js インストール
Node.js リポジトリ追加
# curl -sL https://deb.nodesource.com/setup_16.x | bash -
Node.js インストール
# apt install nodejs -y
Yarns GPG キーを追加し、リポジトリを有効
# curl -sL https://dl.yarnpkg.com/debian/pubkey.gpg | gpg --dearmor | tee /usr/share/keyrings/yarnkey.gpg >/dev/null
# echo "deb [signed-by=/usr/share/keyrings/yarnkey.gpg] https://dl.yarnpkg.com/debian stable main" | tee /etc/apt/sources.list.d/yarn.list
3. PostgreSQL のインストール・設定
PostgreSQL インストール
# apt install -y postgresql postgresql-contrib
PostgreSQL サービスを開始
# systemctl start postgresql
PostgreSQL シェルにログイン
# sudo -u postgres -i psql
Mastodon 用のデータベース(mastodon)を作成
postgres=#CREATE DATABASE mastodon;
データベース ユーザー(mastodon)を作成
postgres=#CREATE USER mastodon;
Mastodon ユーザーのパスワード(任意に決める)を設定
postgres=#ALTER USER mastodon WITH ENCRYPTED PASSWORD 'password';
権限を設定
postgres=#ALTER USER mastodon createdb;
作成したユーザーを Mastodon データベースの所有者として設定
postgres=#ALTER DATABASE mastodon OWNER TO mastodon;
PostgreSQL シェルを終了
postgres=#\q
4. Rubyのインストール
Ruby バージョン 2.5 以降をインストールする
# apt install -y ruby ruby-dev
Ruby のバージョン確認
# ruby -v
ruby 3.0.2p107 (2021-07-07 revision 0db68f0233) [x86_64-linux-gnu]
5. Mastodon のインストールと設定
Mastodon 専用ユーザー(mastodon)を作成
# adduser mastodon --system --group --disabled-login
Git リポジトリから最新バージョンMastodon をダウンロード
# git clone https://github.com/tootsuite/mastodon.git
ダウンロードしたMastodon ディレクトリを Mastodon 専用の /var/www/ ディレクトリに移動
# mv mastodon/ /var/www/
Mastodon ディレクトリの所有権を mastodon に変更
# chown -R mastodon:mastodon /var/www/mastodon/
/var/www/mastodon ディレクトリに移動し、最新のブランチをチェックアウト
# cd /var/www/mastodon/
# sudo -u mastodon git checkout v4.0.2
Note: switching to 'v4.0.2'.
You are in 'detached HEAD' state. You can look around, make experimental
changes and commit them, and you can discard any commits you make in this
state without impacting any branches by switching back to a branch.
If you want to create a new branch to retain commits you create, you may
do so (now or later) by using -c with the switch command. Example:

git switch -c

Or undo this operation with:

git switch -

Turn off this advice by setting config variable advice.detachedHead to false

HEAD is now at 03b0f3ac8 Bump version to 4.0.2 (#20725)
Mastodon に必要な依存関係をインストール(Ruby,Rails)
# gem install bundler
# sudo -u mastodon bundle config deployment 'true'
# sudo -u mastodon bundle config without 'development test'
# sudo -u mastodon bundle install -j$(getconf _NPROCESSORS_ONLN)
Mastodon セットアップ ウィザードを実行
# sudo -u mastodon RAILS_ENV=production bundle exec rake mastodon:setup
ドメイン名を提供するように求められます。
Type application/netcdf is already registered as a variant of application/netcdf.
Your instance is identified by its domain name. Changing it afterward will break things.
Domain name: [Domain name]
ドメイン名を入力し、Enter
シングルユーザーモードを有効にするよう求められます:
Single user mode disables registrations and redirects the landing page to your public profile.
Do you want to enable single user mode? No
No と入力し、Enter キー
Docker を使用して Mastodon を実行するよう求められます。
Are you using Docker to run Mastodon? No
no と入力して、Enter
PostgreSQL データベースの詳細入力
PostgreSQL host: /var/run/postgresql
PostgreSQL port: 5432
Name of PostgreSQL database: mastodon
Name of PostgreSQL user: mastodon
Password of PostgreSQL user:xxxxxxx(PostgreSQLでデータベース、ユーザーを作成した時のパスワード)
PostgreSQL データベースの詳細を入力し、Enter
Redis サーバーの詳細を入力
Database configuration works! ????
Redis host: localhost
Redis port: 6379
Redis password:(空白)
Redis ホスト、ポートを入力し、パスワード を空白のままにして、Enter
ファイルをクラウドに保存するよう求められる
Redis configuration works! ????
Do you want to store uploaded files on the cloud? No
No と入力し、Enter
localhost からメールを送信するよう求められる
Do you want to send e-mails from localhost? Y
E-mail address to send e-mails "from": Mastodon <>
Send a test e-mail with this configuration right now? No
入力し、Enter
すべての構成を保存するよう求められる
This configuration will be written to .env.production
Save configuration? (Y/n) Y
Y と入力し、Enter
データベースを準備するよう求められる
Now that configuration is saved, the database schema must be loaded.
If the database already exists, this will erase its contents.
Prepare the database now? (Y/n) Y
Y と入力し、Enter
CSS/JS アセットをコンパイルするよう求められる
The final step is compiling CSS/JS assets.
This may take a while and consume a lot of RAM.
Compile the assets now? (Y/n) Y
Y と入力し、Enter
管理者パスワードを設定するように求められる
All done! You can now power on the Mastodon server ????
Do you want to create an admin user straight away? Y
Username: admin
E-mail:xxx@xxxxxx.jp
You can login with the password: 9835fbd5e569ad149610862178580da7
You can change your password once you login.
管理者のユーザー名と電子メールを入力し、Enter キーを押してインストールを完了する
電子メールとpassword: 9835fbd5e569ad149610862178580da7はMastodonにログインする際必要なので忘れないようにメモをしておく
6.Mastodon daemon サービス ファイルの作成
Mastodon には、事前設定済みの 下記systemd ファイルがありますので、それらをサーバーの /etc/sysetmd/system/ ディレクトリーにコピーして利用する
・mastodon-sidekiq.service
・mastodon-streaming.service
・mastodon-web.service
一気にコピーする
# cp /var/www/mastodon/dist/mastodon*.service /etc/systemd/system/
Mastodon の作業ディレクトリを /home/mastodon/live/ から /var/www/mastodon/ に変更する
# sed -i 's/home\/mastodon\/live/var\/www\/mastodon/g' /etc/systemd/system/mastodon-*.service
サービス ファイルで /home/mastodon/.rbenv/shims/bundle を /usr/local/bin/bundle に変更する
# sed -i 's/home\/mastodon\/.rbenv\/shims/usr\/local\/bin/g' /etc/systemd/system/mastodon-*.service
systemd をリロードして構成の変更を適用
# systemctl daemon-reload
Mastodon サービスの開始・有効
# systemctl enable --now mastodon-web mastodon-sidekiq mastodon-streaming
サービスの起動状況を確認
# systemctl status mastodon-web mastodon-sidekiq mastodon-streaming
● mastodon-web.service - mastodon-web
Loaded: loaded (/etc/systemd/system/mastodon-web.service; enabled; vendor >
Active: active (running) since Tue 2023-01-31 12:18:22 UTC; 16h ago
Main PID: 5049 (ruby3.0)
Tasks: 29 (limit: 2365)
Memory: 394.3M
CPU: 17.016s
CGroup: /system.slice/mastodon-web.service
tq5049 "puma 5.6.5 (tcp://127.0.0.1:3000) [mastodon]" "" "" "" "" >
tq5077 "puma: cluster worker 1: 5049 [mastodon]" "" "" "" "" "" "">
mq5953 "puma: cluster worker 0: 5049 [mastodon]" "" "" "" "" "" "">
Feb 01 01:55:02 lepard bundle[5077]: [c0947be0-4b4e-42ac-b352-14f48bb77146] met>
Feb 01 01:55:12 lepard bundle[5563]: [29b1d386-e8e9-43ba-a073-357e257b2b14] met>
● mastodon-sidekiq.service - mastodon-sidekiq
Loaded: loaded (/etc/systemd/system/mastodon-sidekiq.service; enabled; ven>
Active: active (running) since Tue 2023-01-31 12:18:22 UTC; 16h ago
Main PID: 5047 (ruby3.0)
Tasks: 40 (limit: 2365)
Memory: 263.6M
CPU: 1min 26.504s
CGroup: /system.slice/mastodon-sidekiq.service
mq5047 "sidekiq 6.5.7 mastodon [0 of 25 busy]" "" "" "" "" "" "" ">
Feb 01 05:11:37 lepard bundle[5047]: 2023-02-01T05:11:37.831Z pid=5047 tid=2cwv>
Feb 01 05:11:37 lepard bundle[5047]: 2023-02-01T05:11:37.833Z pid=5047 tid=2cwv>
Feb 01 05:11:37 lepard bundle[5047]: 2023-02-01T05:11:37.833Z pid=5047 tid=2bz3>
Feb 01 05:11:37 lepard bundle[5047]: 2023-02-01T05:11:37.837Z pid=5047 tid=2bz3>
● mastodon-streaming.service - mastodon-streaming
Loaded: loaded (/etc/systemd/system/mastodon-streaming.service; enabled; v>
Active: active (running) since Tue 2023-01-31 12:18:22 UTC; 16h ago
Main PID: 5048 (node)
Tasks: 18 (limit: 2365)
Memory: 88.7M
CPU: 1.766s
CGroup: /system.slice/mastodon-streaming.service
tq5048 /usr/bin/node ./streaming
mq5060 /usr/bin/node /var/www/mastodon/streaming
Mastodon はポート 3000 でリッスンするので3000ポートを開放する
firewalld Ufw等により開放する、今回はUfwを使う
# ufw allow 3000/tcp
# ufw reload
確認
# ss -lnpt | grep 3000
LISTEN 0 1024 127.0.0.1:3000 0.0.0.0:* users:(("ruby3.0",pid=5953,fd=5),("ruby3.0",pid=5077,fd=5),("ruby3.0",pid=5049,fd=5))
Nginx をリバース プロキシとして構成
1. Nginx をインストール
# apt install nginx -y
Nginx 仮想ホスト構成ファイルを Nginx ディレクトリにコピー
# cp /var/www/mastodon/dist/nginx.conf /etc/nginx/conf.d/mastodon.conf
2. Mastodon 仮想ホスト構成ファイルを編集
# vi /etc/nginx/conf.d/mastodon.conf
map $http_upgrade $connection_upgrade {
default upgrade;
'' close;
}
upstream backend {
server 127.0.0.1:3000 fail_timeout=0;
}
upstream streaming {
server 127.0.0.1:4000 fail_timeout=0;
}
proxy_cache_path /var/cache/nginx levels=1:2 keys_zone=CACHE:10m inactive=7d max_size=1g;
server {
if ($host = ubuntu.korodes.com) {
return 301 https://$host$request_uri;
} # managed by Certbot
listen 80;
listen [::]:80;
server_name ubuntu.korodes.com;
root /var/www/mastodon/public;
location /.well-known/acme-challenge/ { allow all; }
location / { return 301 https://$host$request_uri; }
}
server {
listen 443 ssl http2;
listen [::]:443 ssl http2;
server_name ubuntu.korodes.com;
ssl_protocols TLSv1.2 TLSv1.3;
ssl_ciphers HIGH:!MEDIUM:!LOW:!aNULL:!NULL:!SHA;
ssl_prefer_server_ciphers on;
ssl_session_cache shared:SSL:10m;
ssl_session_tickets off;
# Uncomment these lines once you acquire a certificate:
# ssl_certificate /etc/letsencrypt/live/example.com/fullchain.pem;
# ssl_certificate_key /etc/letsencrypt/live/example.com/privkey.pem;
ssl_certificate /etc/ssl/certs/ssl-cert-lion.pem; ←暫定的
ssl_certificate_key /etc/ssl/private/ssl-cert-lion.key; ←暫定的
keepalive_timeout 70;
sendfile on;
client_max_body_size 80m;
root /var/www/mastodon/public;
gzip on;
gzip_disable "msie6";
gzip_vary on;
gzip_proxied any;
gzip_comp_level 6;
gzip_buffers 16 8k;
gzip_http_version 1.1;
gzip_types text/plain text/css application/json application/javascript text/xml application/xml application/xml+rss text/javascript image/svg+xml image/x-icon;
location / {
try_files $uri @proxy;
}
3.Nginx のキャッシュ ディレクトリを作成
# mkdir -p /var/nginx/cache/
4. Nginx を確認
# nginx -t
nginx: the configuration file /etc/nginx/nginx.conf syntax is ok
nginx: configuration file /etc/nginx/nginx.conf test is successful
5. Lets Encrypt SSL 導入
Snap パッケージ マネージャーをインストール
# apt install snapd
Snap パッケージを最新バージョンに更新
# snap install core
# snap refresh core
Certbot パッケージをインストール
# snap install --classic certbot
Certbot バイナリをシステムへシンボリック リンクを作成
# ln -s /snap/bin/certbot /usr/bin/certbot
Lets Encrypt SSL 証明書を取得
# certbot --nginx -d [Domain name]
Saving debug log to /var/log/letsencrypt/letsencrypt.log
Enter email address (used for urgent renewal and security notices)
(Enter 'c' to cancel):[Mail address]
Please read the Terms of Service at
https://letsencrypt.org/documents/LE-SA-v1.3-September-21-2022.pdf. You must
agree in order to register with the ACME server. Do you agree?
(Y)es/(N)o: Y
Would you be willing, once your first certificate is successfully issued, to
share your email address with the Electronic Frontier Foundation, a founding
partner of the Let's Encrypt project and the non-profit organization that
develops Certbot? We'd like to send you email about our work encrypting the web,
EFF news, campaigns, and ways to support digital freedom.
(Y)es/(N)o: Y
Account registered.
Requesting a certificate for [Domain name]
Successfully received certificate.
Certificate is saved at: /etc/letsencrypt/live/[Domain name]/fullchain.pem
Key is saved at: /etc/letsencrypt/live/[Domain name]/privkey.pem
This certificate expires on 2023-05-01.
These files will be updated when the certificate renews.
Certbot has set up a scheduled task to automatically renew this certificate in the background.
Deploying certificate
Successfully deployed certificate for [Domain name] to /etc/nginx/conf.d/mastodon.conf
Congratulations! You have successfully enabled HTTPS on https://[Domain name]
If you like Certbot, please consider supporting our work by:
Donating to ISRG / Let's Encrypt: https://letsencrypt.org/donate
Donating to EFF: https://eff.org/donate-le
マストドンにアクセス
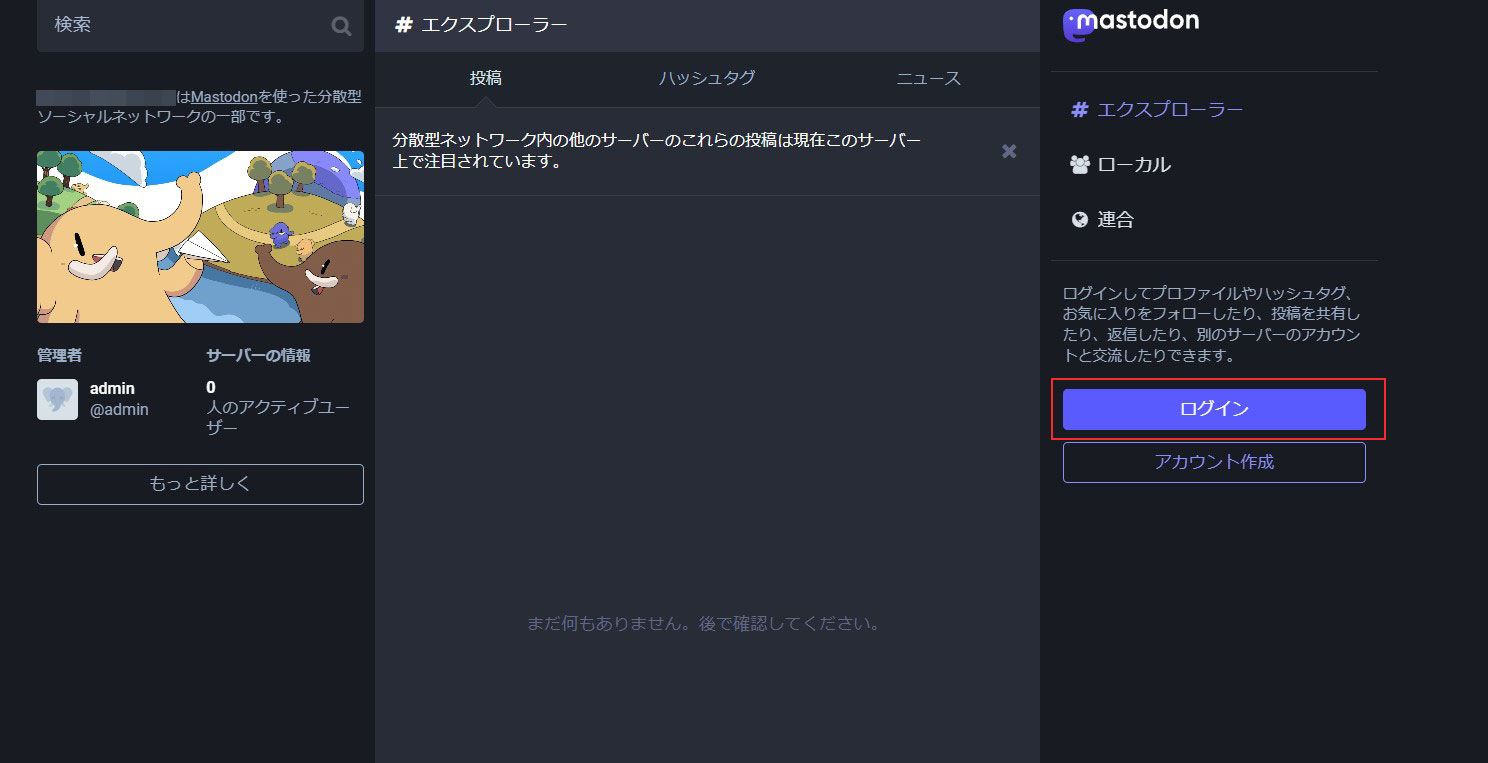
任意のWeb で、URL https://[domain name] を入力すると下記のページが表示される
ログインをクリック
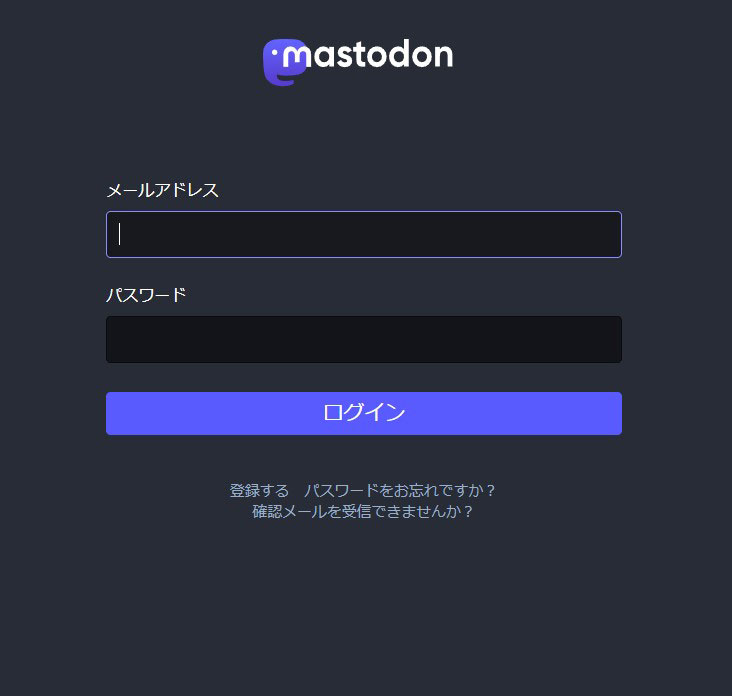
次のログイン情報入力画面になる
上記「5. Mastodon のインストールと設定」の「Mastodon セットアップ ウィザード」
の最後に設定した「メールアドレス」「パスワード」を入力し、ログインする
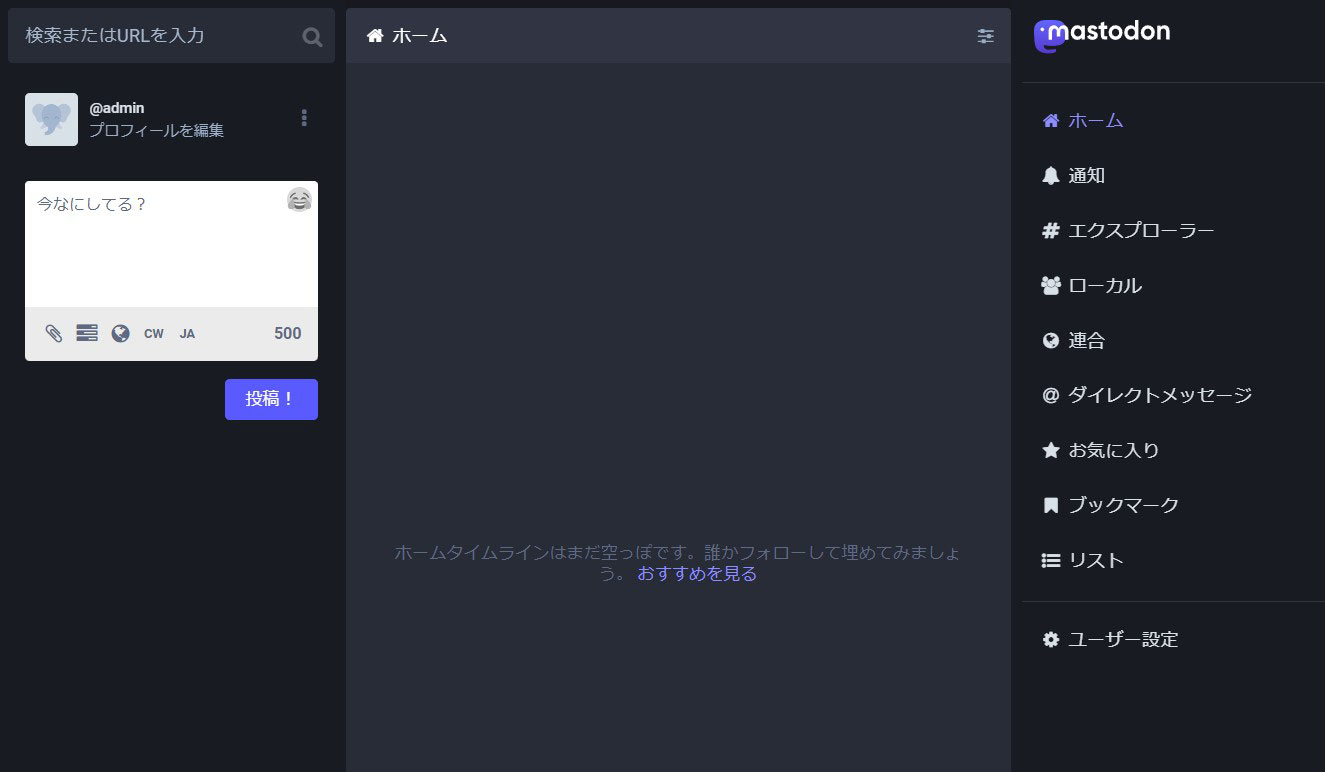
ログインに成功すると下記のようなMastodonダッシュボードが表示される
Mastodon を使用して、独自のソーシャル メディア ネットワークを作成してください