1. Installation of the Apache Web Server
1.1 Install
# zypper -n install apache2
1.2 Basic Settings
# vi /etc/sysconfig/apache2

Line 146: Change to administrator address
APACHE_SERVERADMIN=<Manager Emaill>

Line 163: Change to your own domain name
APACHE_SERVERNAME="<Your Domain Name>"
# vi /etc/apache2/httpd.conf

Line 197: Set the filename accessible only by directory name
DirectoryIndex index.html index.html.var index.php index.cgi
# systemctl start apache2
# systemctl enable apache2
Created symlink '/etc/systemd/system/httpd.service' → '/usr/lib/systemd/system/apache2.service'.
Created symlink '/etc/systemd/system/apache.service' → '/usr/lib/systemd/system/apache2.service'.
Created symlink '/etc/systemd/system/multi-user.target.wants/apache2.service' → '/usr/lib/systemd/system/apache2.service'.
1.3 Enable Firewalld
HTTP service permission is required. Note that HTTP uses port 80/TCP. HTTPS uses port 443.
# firewall-cmd --add-service=http --permanent
# firewall-cmd --add-service=https --permanent
# firewall-cmd --reload
1.4 Startup confirmation
Create an HTML test page to verify functionality. Launch a web browser on the client PC and access the test page you created as shown below. If it loads successfully, that's fine.
# vi /srv/www/htdocs/index.html

<html>
<body>
<div style="width: 100%; font-size: 40px; font-weight: bold; text-align: center;">
Apache Test Page
</div>
</body>
</html>
Access http://[IP address] in your browser and verify the display as shown in the figure below.
2. Utilize Perl scripts
Configure Perl scripts to be used as CGI.
Perl is already installed when installing the OS
①Enable the CGI module
# a2enmod cgid
CGI execution is permitted by default under [/srv/www/cgi-bin/].
Therefore, for example, creating and placing a script such as [/srv/www/cgi-bin/index.cgi] will make it accessible at [http://(httpd server)/cgi-bin/index.cgi]. Note that this configuration treats all files under [/srv/www/cgi-bin/] as CGI scripts, making non-CGI files inaccessible.
The following configuration allows CGI execution under /srv/www/cgi-bin/
# grep -n "^ *ScriptAlias" /etc/apache2/default-server.conf
72:ScriptAlias /cgi-bin/ "/srv/www/cgi-bin/"
Currently, the /srv/www/cgi-bin/ directory does not exist, so create it.
# mkdir /srv/www/cgi-bin
②Create test scripts and verify functionality
# cat > /srv/www/cgi-bin/test_script <<'EOF'
#!/usr/bin/perl
print "Content-type: text/html\n\n";
print "Hello CGI\n";
EOF
Grant permissions to the script file
# chmod 705 /srv/www/cgi-bin/test_script
Functionality Verification
# curl http://localhost/cgi-bin/test_script
Hello CGI
If "Hello CGI" is displayed, it is functioning normally.
3. Virtual Host Configuration
Configure the virtual host settings as follows:
Domain [FQDN]
Directory /srv/www/htdocs/[FQDN]
Create a directory named [FQDN] under /srv/www/htdocs/
# cd /srv/www/htdocs/
# mkdir [FQDN]
Create an index.html file in the [FQDN] directory.
# vi [FQDN]/index.html

<html>
<body>
<div style="width: 100%; font-size: 40px; font-weight: bold; text-align: center;">
Virtual Host Test Page
</div>
</body>
</html>
Create a new virtual_host.conf file under /etc/apache2/vhosts.d.
# vi /etc/apache2/vhosts.d/virtual_host.conf

<VirtualHost *:80>
ServerName [FQDN]
ServerAdmin <Administrator Email Address>
DocumentRoot /srv/www/htdocs/[FQDN]
ErrorLog /var/log/apache2/[FQDN].error.log
CustomLog /var/log/apache2/[FQDN].access.log combined
LogLevel warn
</VirtualHost>
Editing the hosts file
# vi /etc/hosts

#
# hosts         This file describes a number of hostname-to-address
#               mappings for the TCP/IP subsystem.  It is mostly
#               used at boot time, when no name servers are running.
#               On small systems, this file can be used instead of a
#               "named" name server.
# Syntax:
#
# IP-Address  Full-Qualified-Hostname  Short-Hostname
#

127.0.0.1       localhost localhost.localdomain
::1             localhost localhost.localdomain ipv6-localhost ipv6-loopback
192.168.11.83   suse.korodes.com ←Additional
# special IPv6 addresses
fe00::0         ipv6-localnet

ff00::0         ipv6-mcastprefix
ff02::1         ipv6-allnodes
ff02::2         ipv6-allrouters
ff02::3         ipv6-allhosts
# systemctl restart apache2
If you access "http://[FQDN]" in a web browser and see the display shown below, it's OK.
4. Using PHP scripts
Install PHP and configure it so that PHP scripts can be used.
4.1 Install PHP and edit configuration files
# zypper -n install php8 php8-pear php8-mbstring
# vi /etc/php8/apache2/php.ini

We'll increase the upload capacity in preparation for installing WordPress.
Line 693 :
post_max_size = 300M

Per Line 851 :
upload_max_filesize = 200M

Line 964: Change the time zone to Japan
date.timezone = 'Asia/Tokyo'
# systemctl restart apache2
4.2 PHP-FPM (FPM : FastCGI Process Manager)
①Install
# zypper -n install php8-fpm-apache
# a2enmod proxy_fcgi
# a2enmod -l
actions alias auth_basic authn_core authn_file authz_host authz_groupfile authz_core authz_user autoindex cgi dir env expires include log_config mime negotiation setenvif ssl socache_shmcb userdir reqtimeout cgid php8 proxy proxy_fcgi
# systemctl enable --now php-fpm
# systemctl restart apache2
4.3 Create a PHP test page and verify functionality
Create a test page
# vi /srv/www/htdocs/[FQDN]/info.php
Fill in the following
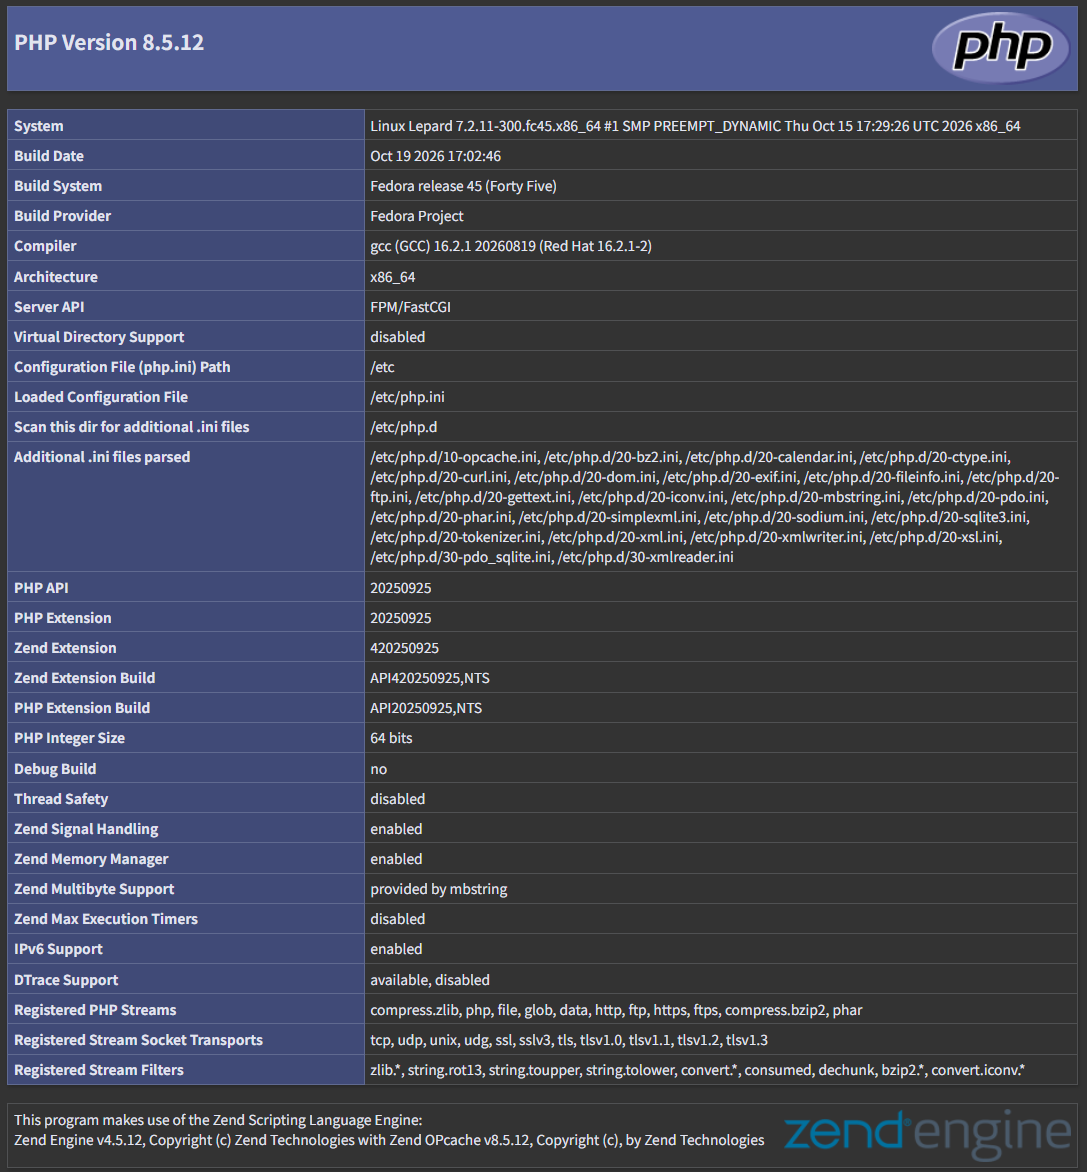
<?php phpinfo(); ?>
Launch a web browser on the client PC and access "http://[FQDN]/info.php". If the test page you created appears as shown below, it is OK.