

CentOS Linux is a clone OS of RHEL (Red Hat Enterprise Linux) created by the CentOS community.
While RHEL is provided for a fee, CentOS Linux is a clone of RHEL, so it was released later than RHEL and can be used in the same state as RHEL because it only eliminates the RHEL trademarks and licenses that are charged for after RHEL is released.
However, since the support period for CentOS Linux 8 has been significantly shortened from May 31, 2029 to December 31, 2021, and CentOS Linux 9 and later releases are not expected, an alternative OS must be considered.
CentOS Stream, on the other hand, is an OS used to validate patches and other updates to minor updates before RHEL is released. Therefore, vulnerability responses and feature additions are made prior to RHEL.
CentOS Stream receives the latest updates, but it is an incomplete replacement for CentOS Linux because the package versions are not exactly the same as RHEL.
Therefore, it is better to use CentOS Linux 7 until the support period (2024/06/30) or migrate to a full RHEL compatible clone OS such as RockyLinux, AlamaLinux, or MiracleLinux.
However, for experimental use, CentOS Stream may be used; CentOS Stream 9 is supported until May 2027.
1.CentOS Stream 9 Download
CentOS Stream 9 installation image can be downloaded from the following site
https://www.centos.org/download/
2.CentOS Stream 9 Install
Create an installation USB media from the downloaded "CentOS-Stream-9-latest-x86_64-dvd1.iso" and change the BIOS settings to boot from the USB media.
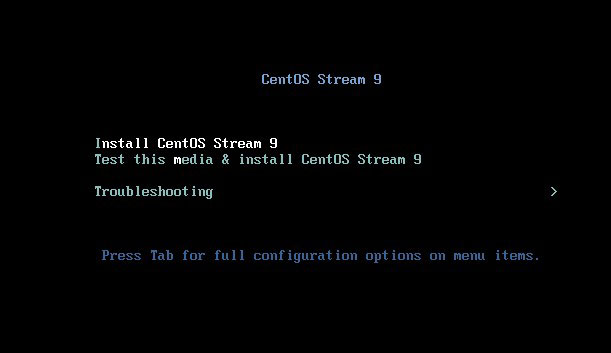
2.1 Initial installation screen
Select "Install CentOS Stream9" at the top
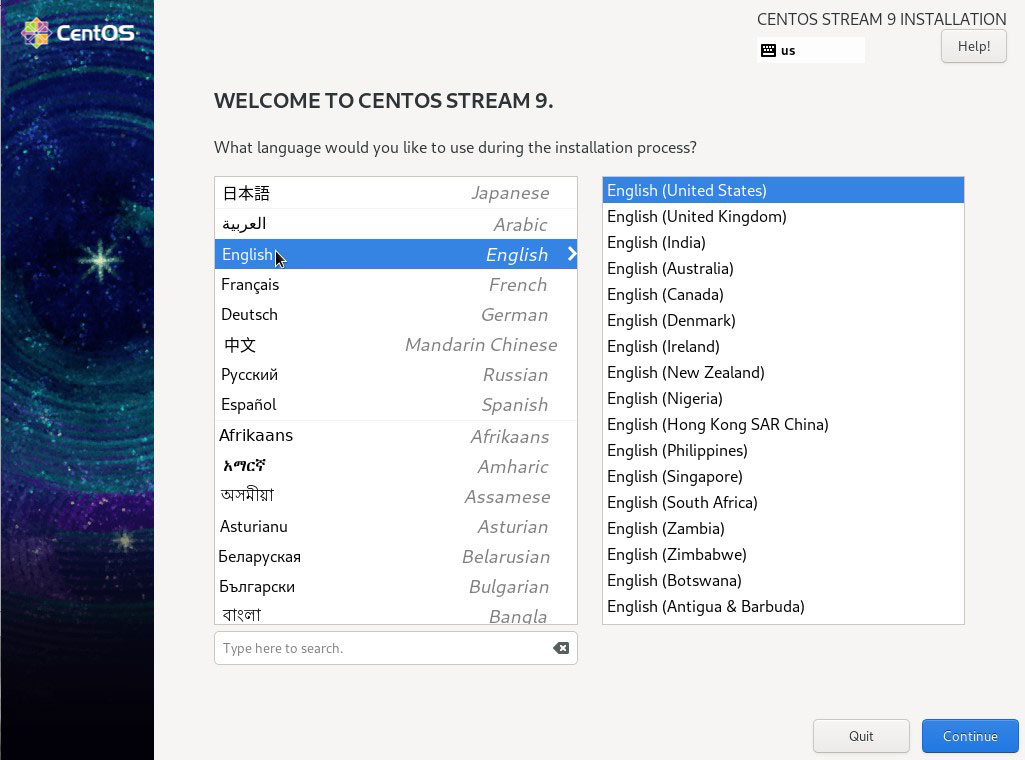
2.2 Language Selection
Select the default "English" to build the server.
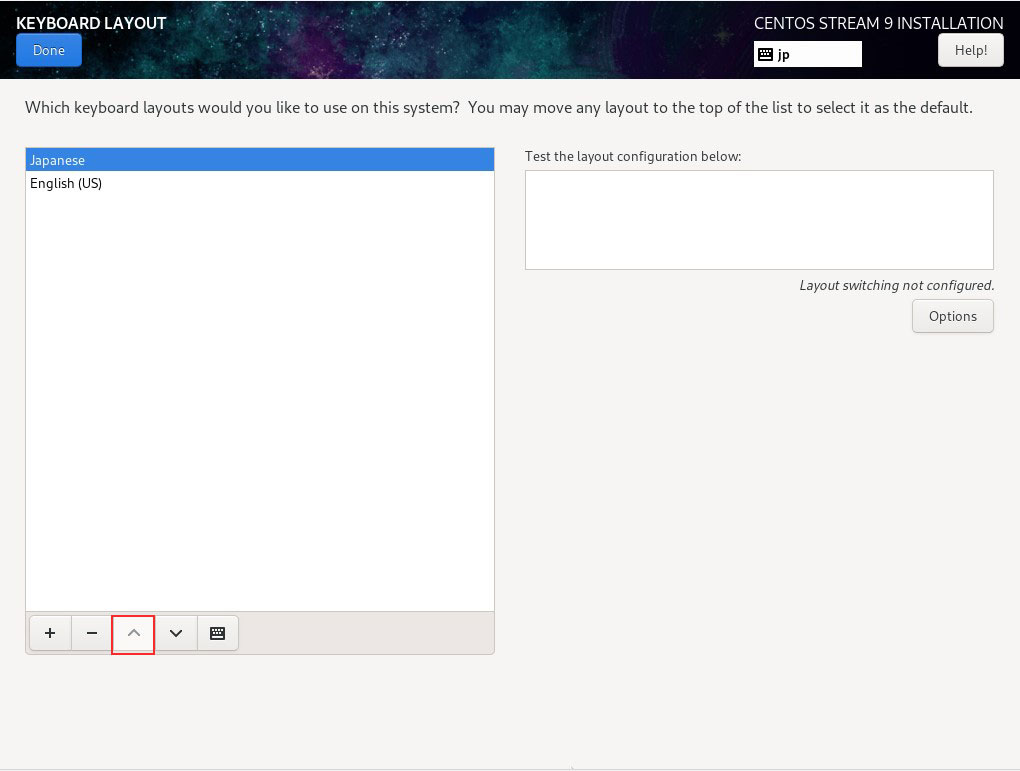
2.3 「KEYBOARD」setting
Select "Japanese" and click the "Add" button
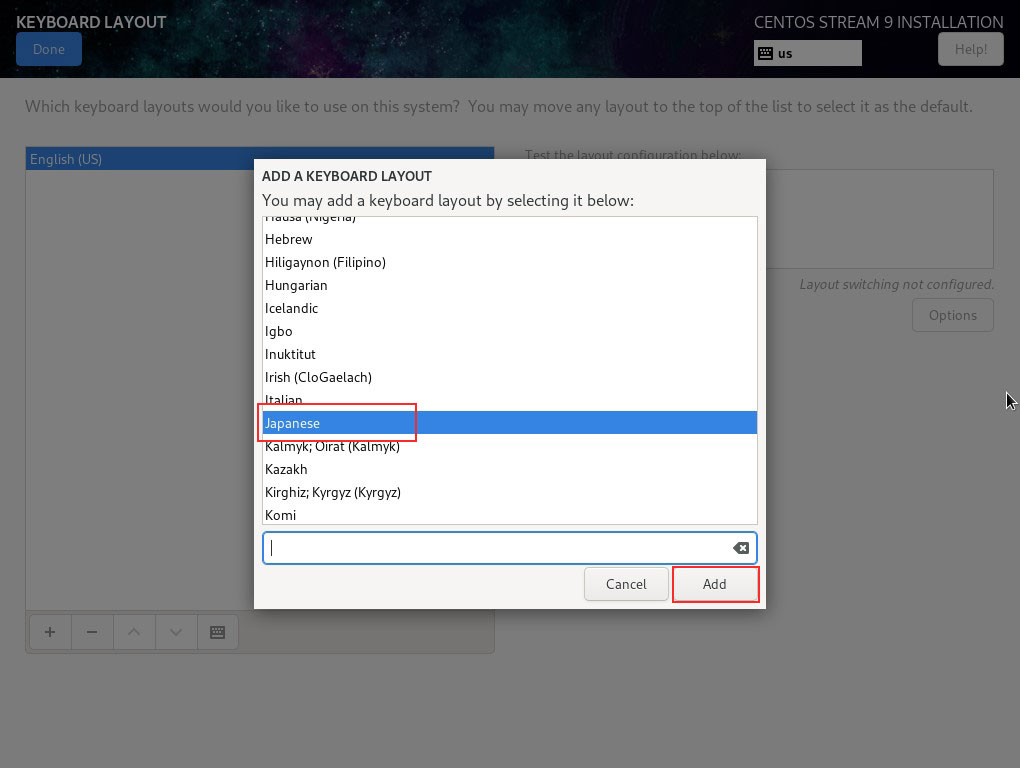
Select "Japanese" and click the "^" button to move to the top row.
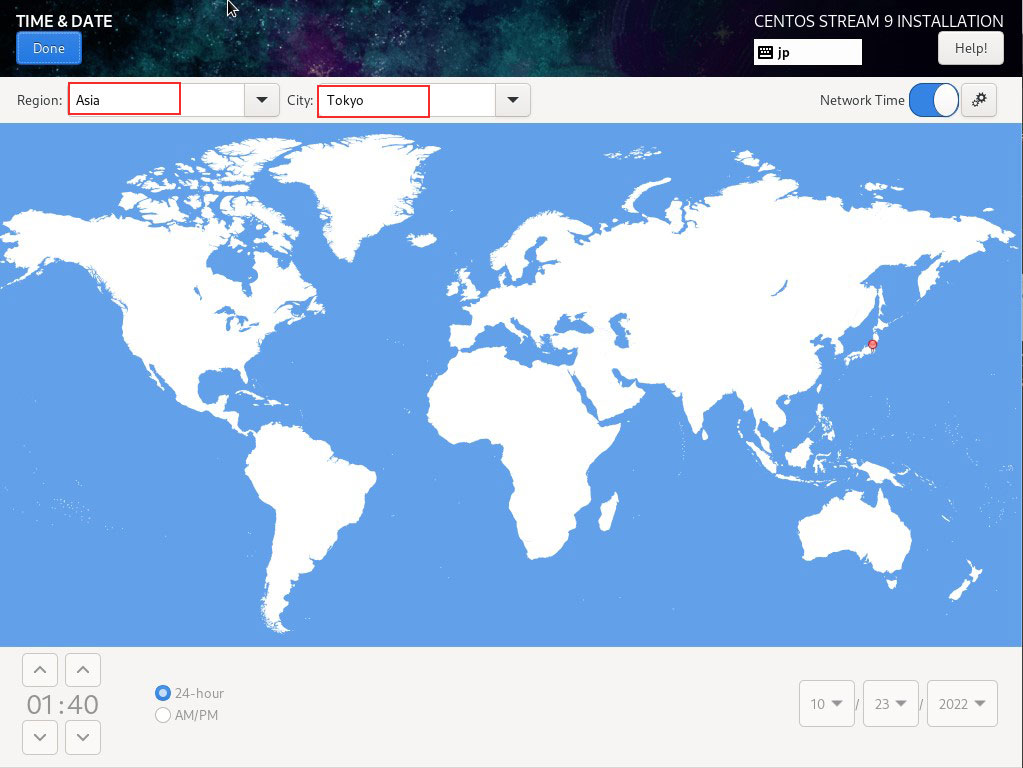
2.4 「DATE & TIME」setting
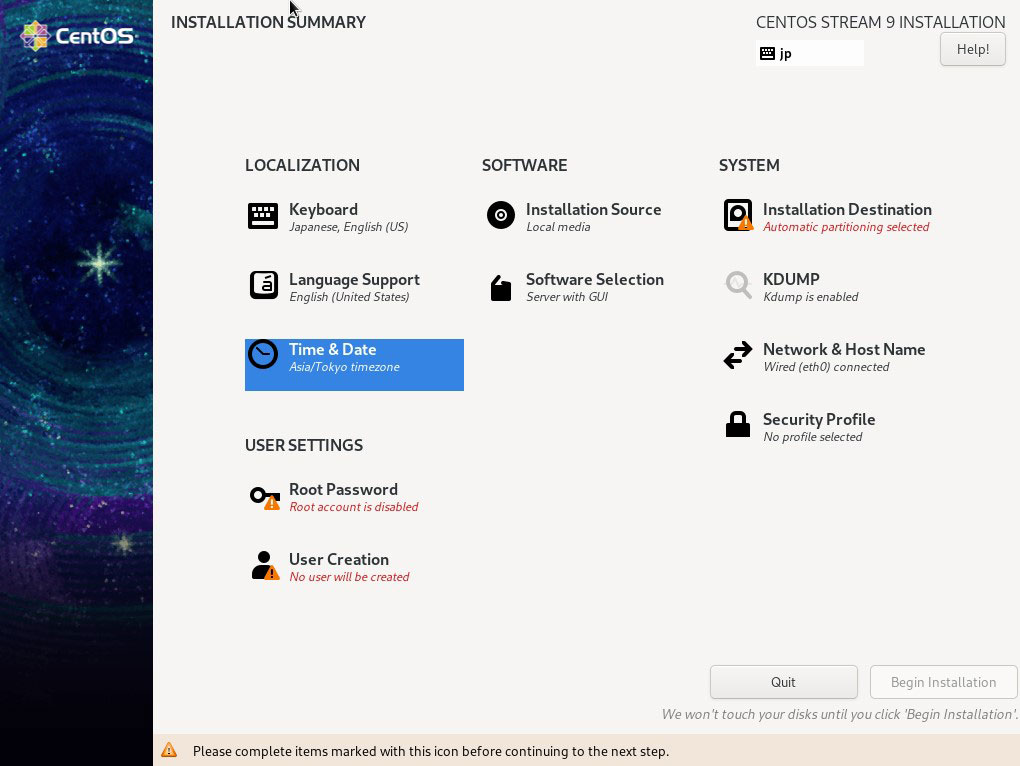
Confirm that [Region] is set to [Asia] and [City] is set to [Tokyo], then click [Done].
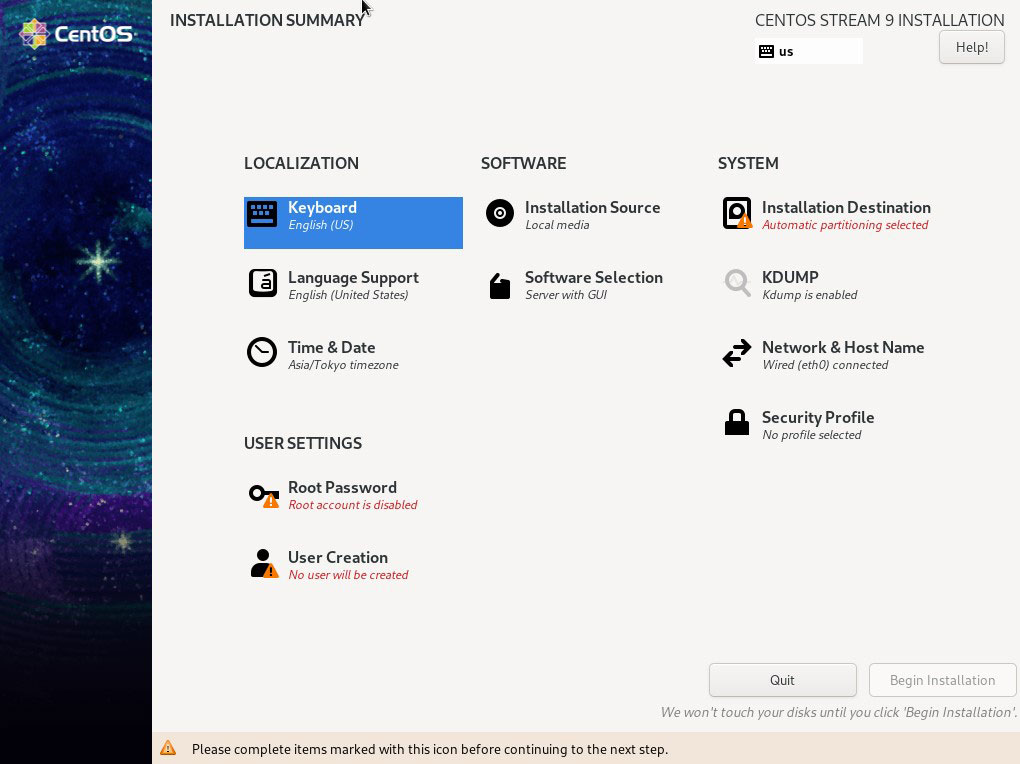
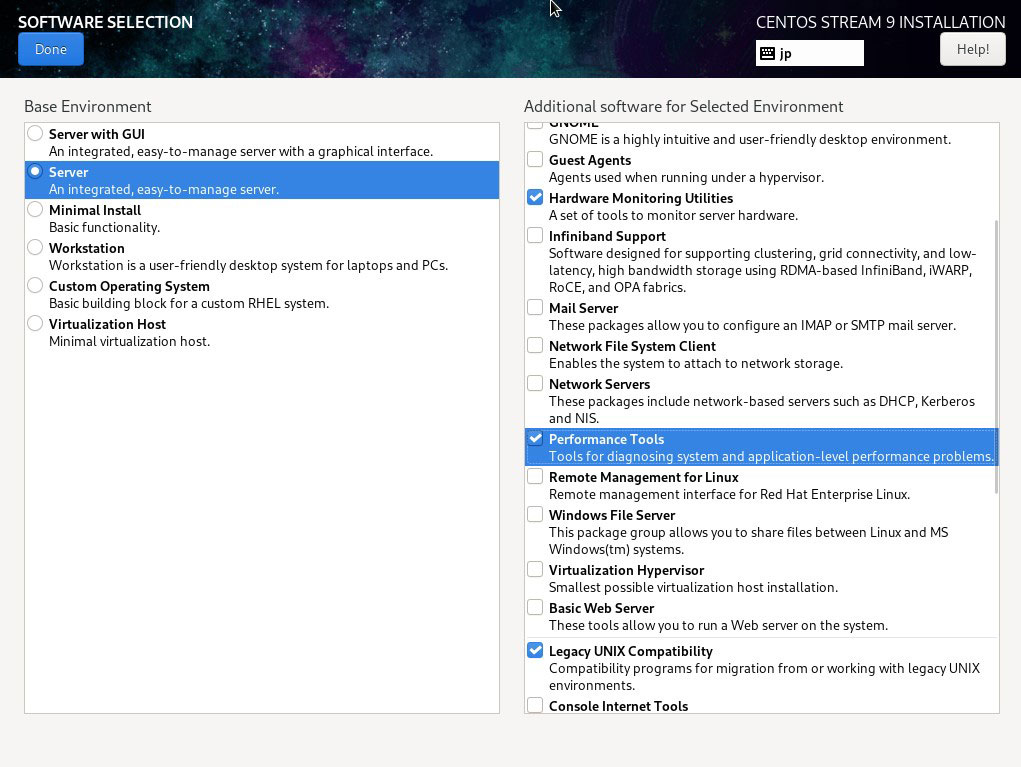
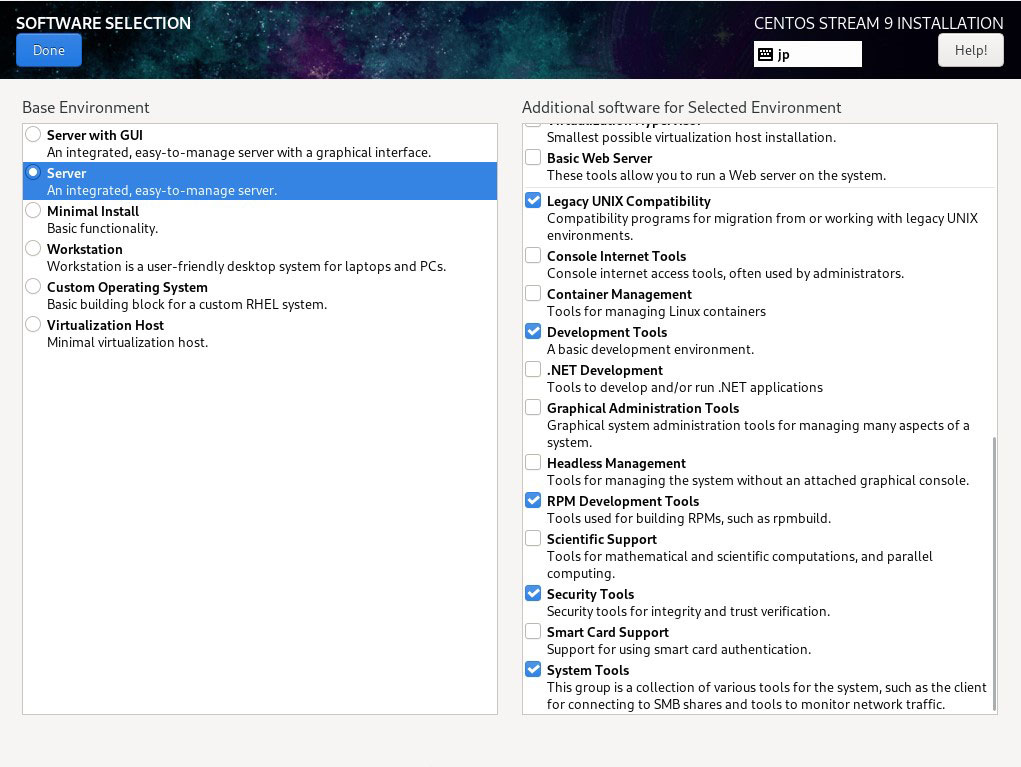
2.5 Software to install「SOFTWARE SELECTION」
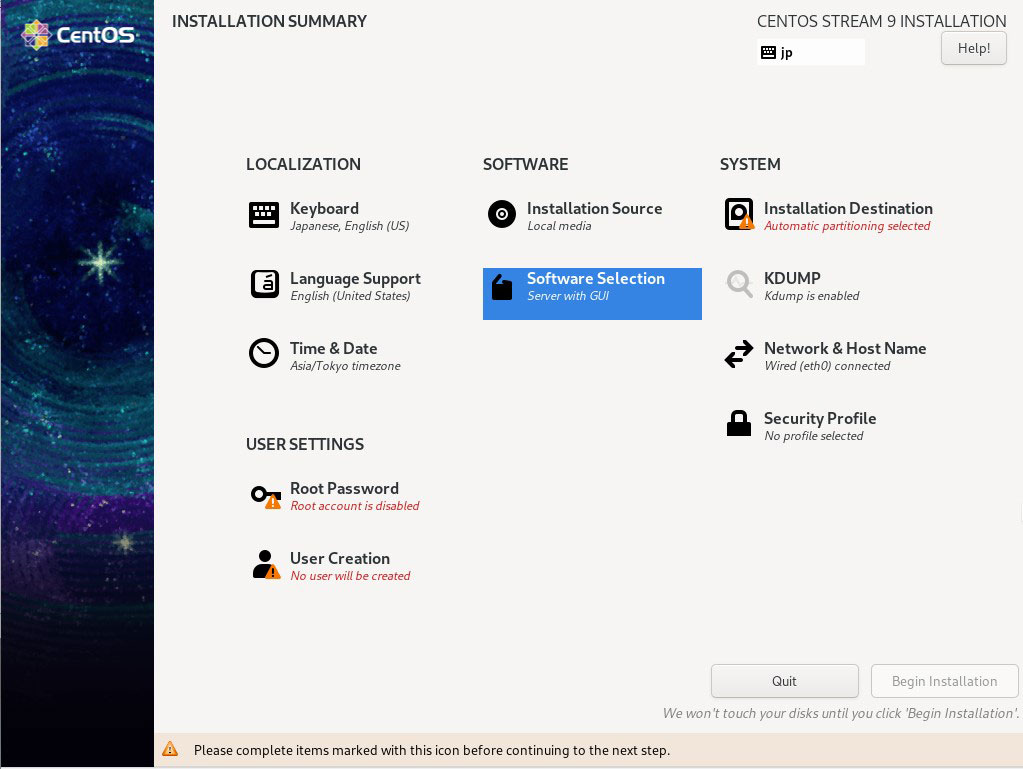
Select [Base Environment] as [Server], select the following software in the right column, and click [Done].
・Hardware Monitoring Utilities
・Performance Tools
・Legacy Unix Compatibility
・Deblopment Tools
・RPM Deblopment Tools
・Security Tools
・System Tools
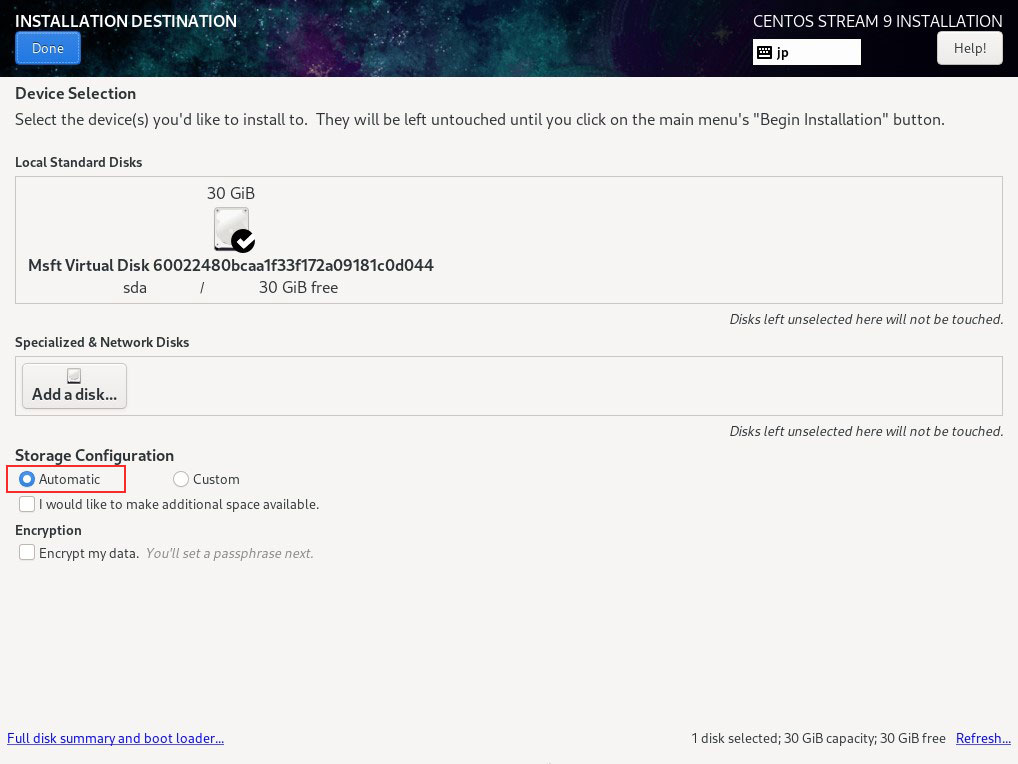
2.6 Disk to install 「INSTALLATION DESTINATION]
Select the disk to install, check "Automatic," and click "Done.
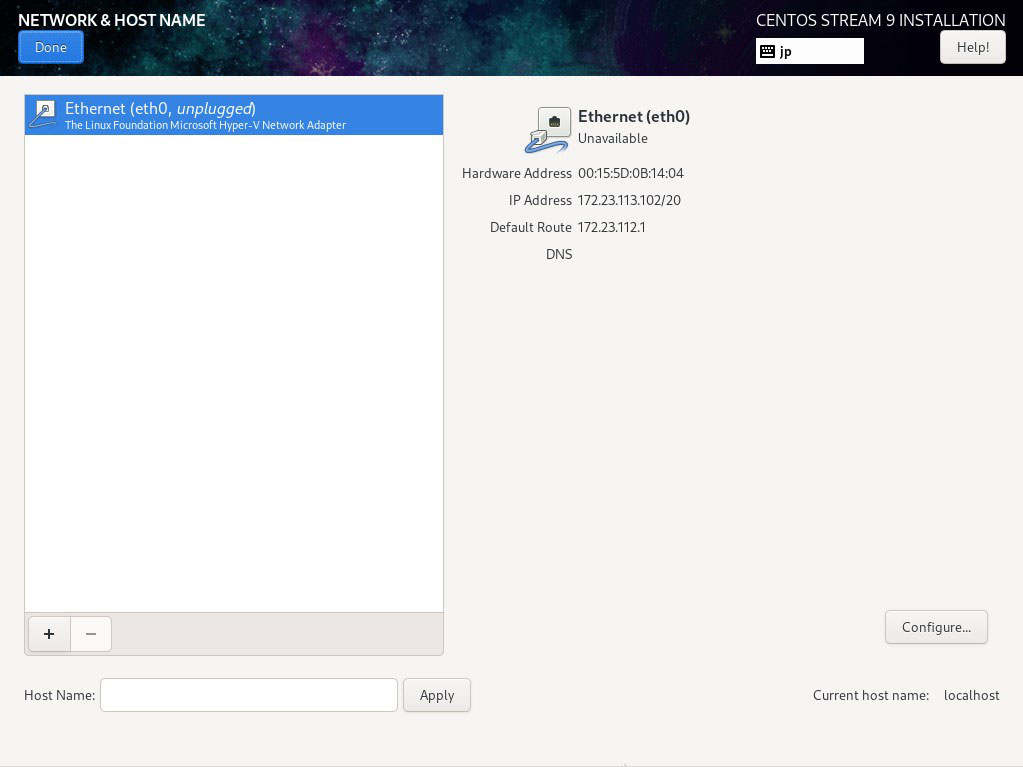
2.7 「Network & Host Name」setting
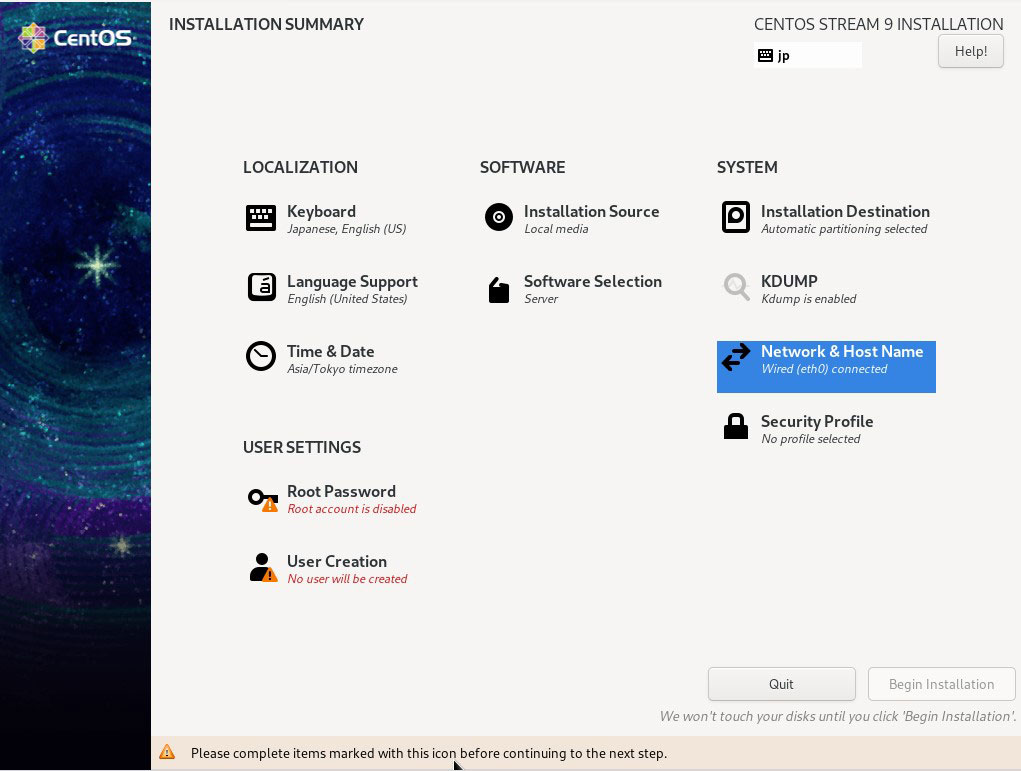
Do not set [Host Name], and click [Done] to proceed with the default server address with DHCP enabled.
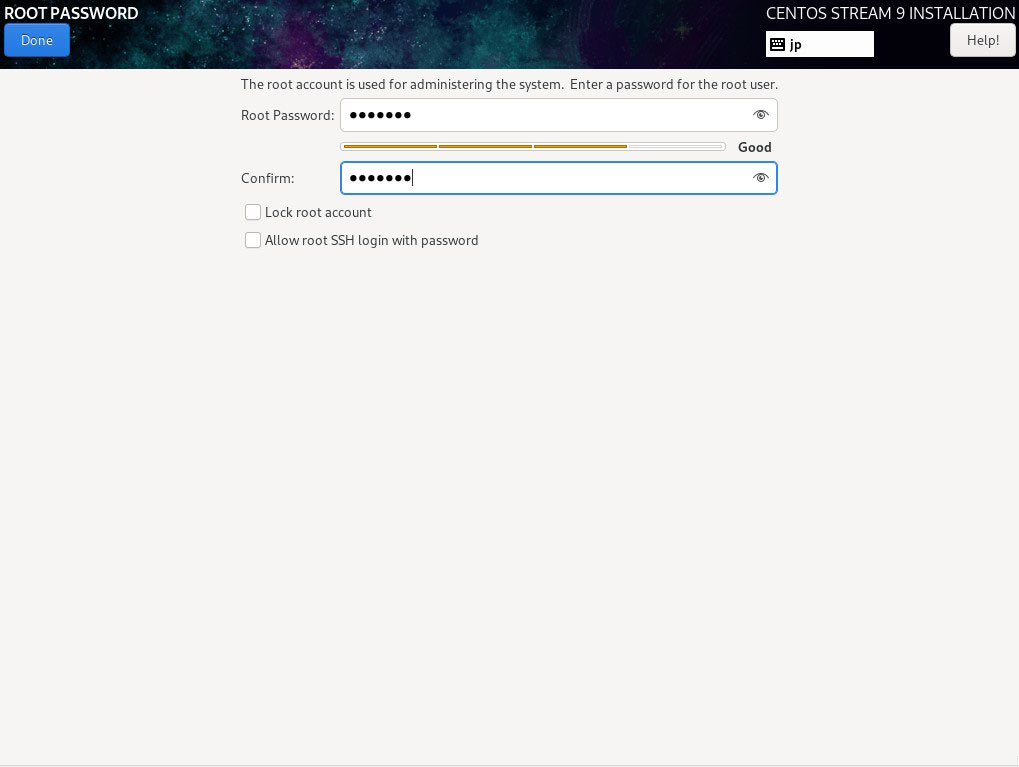
2.8 「Root Password」setting
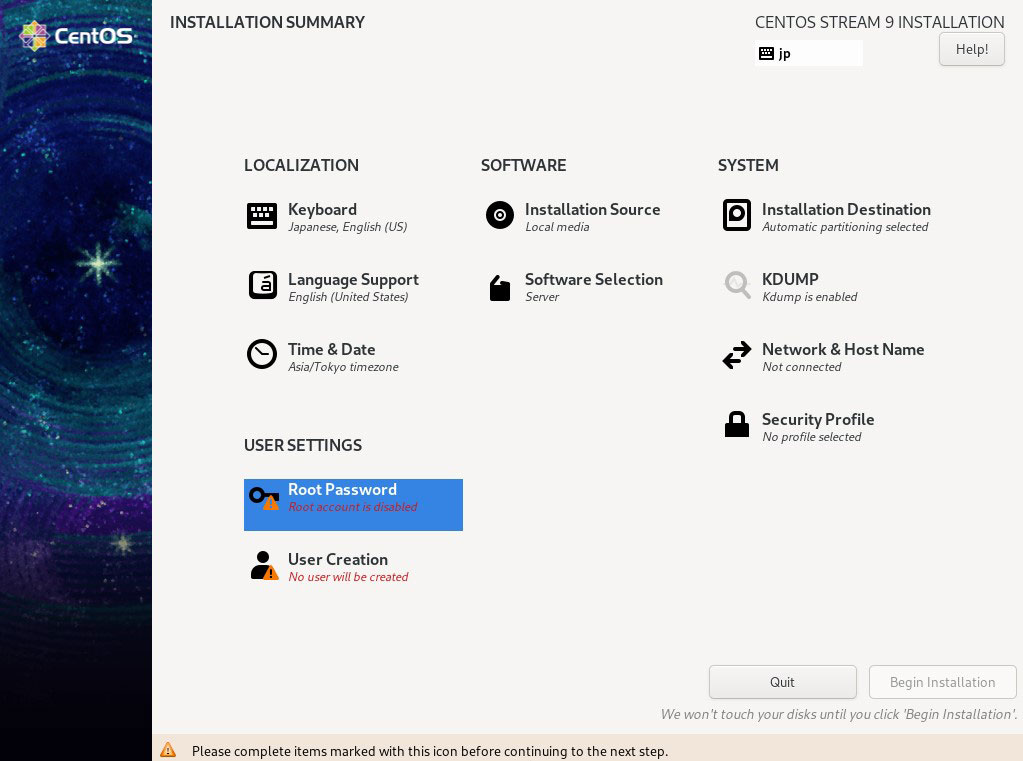
Enter root password and click "Done"
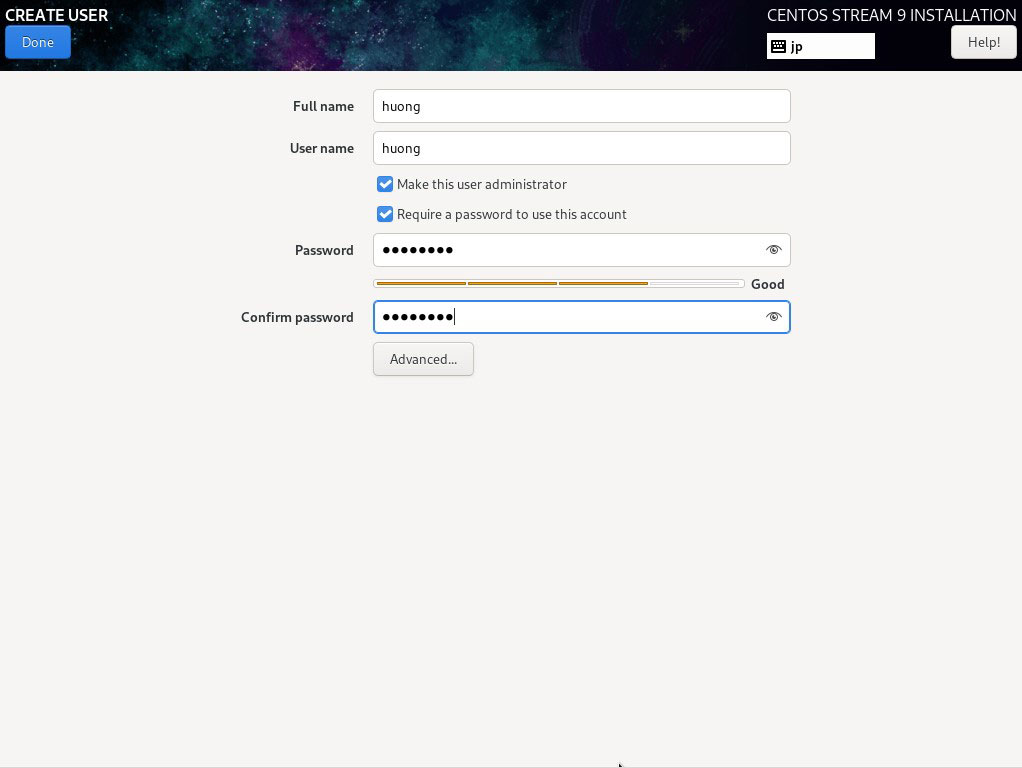
2.9 「User Creation」Create user and set password
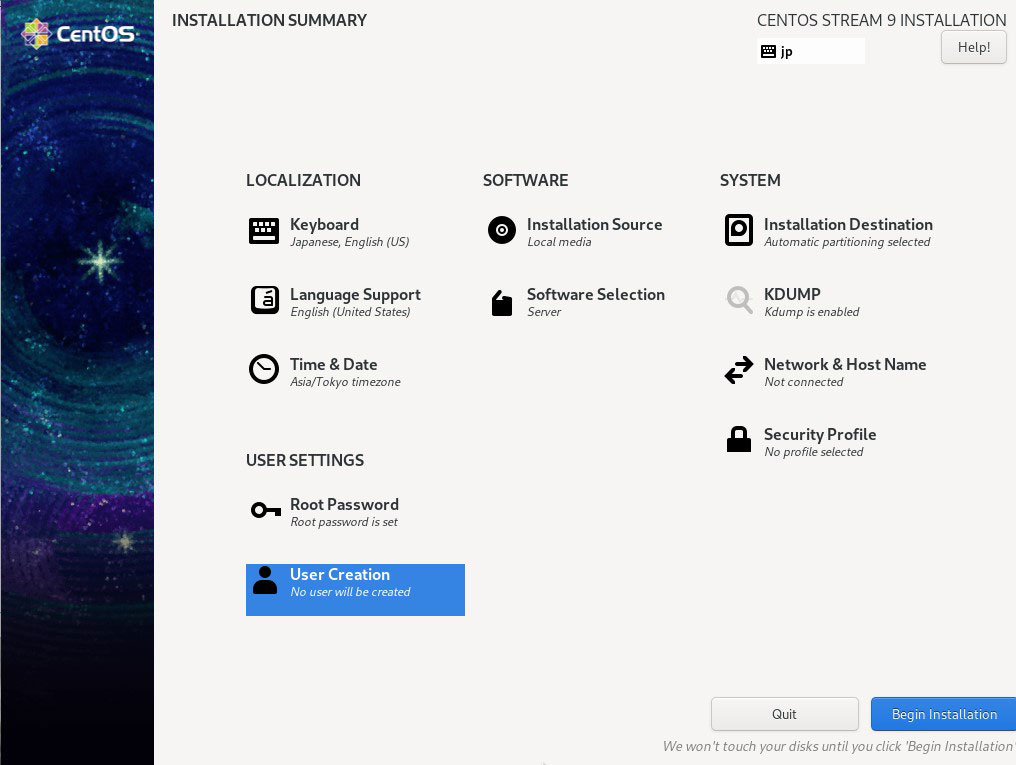
Give any name to [User name] [Full name]and check [Make this user administrator].
[Password] should be strong.
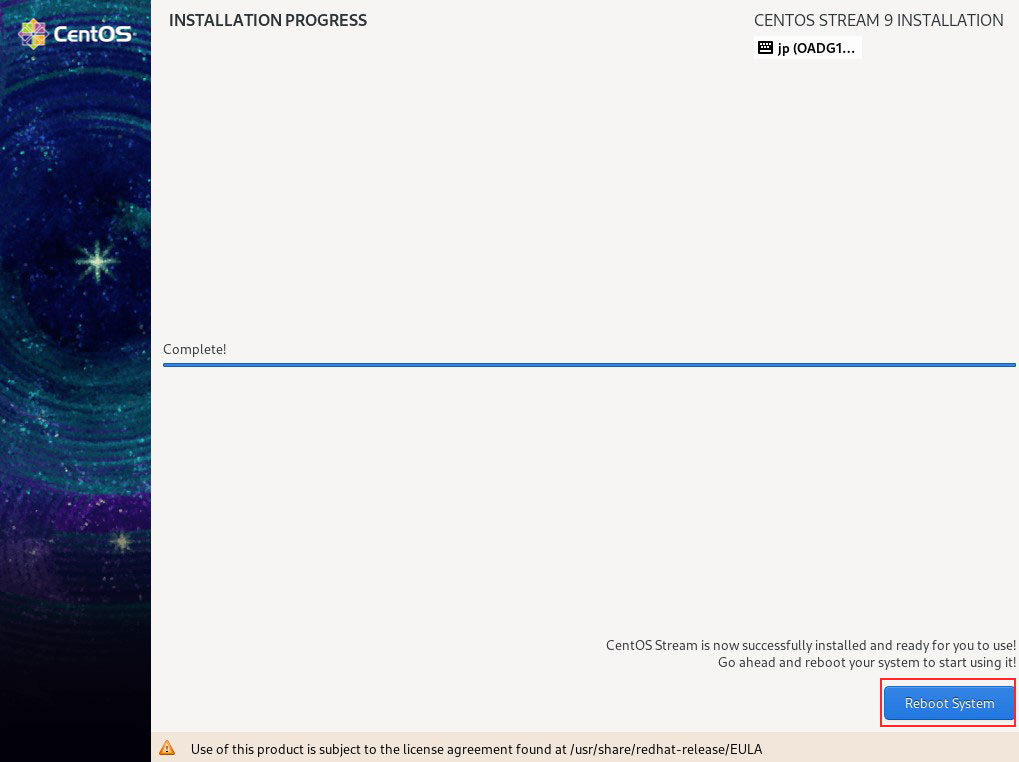
2. 10 Click "Begin Installation" to start installation.

After installation is complete, click on "Reboot System"
After rebooting, the "hostname login:" screen appears as follows
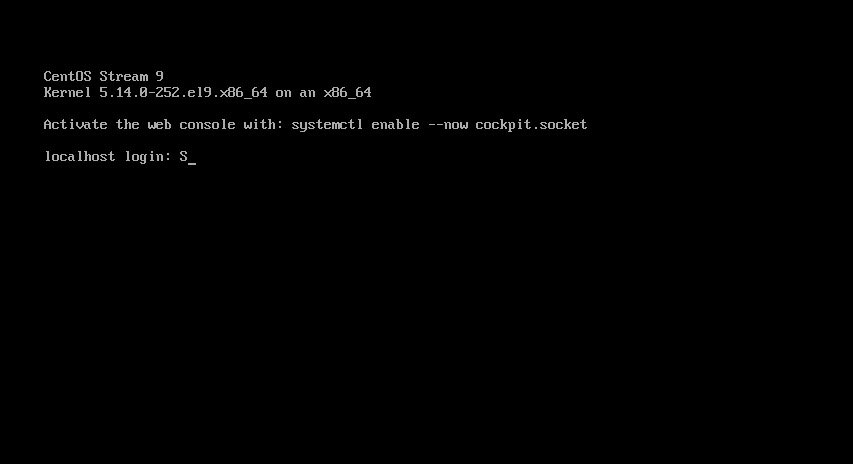
Log in with the user name and password of the general user you just created.
If you see the bash prompt "$", your login is complete.