MiracleLinux
MIRACLE LINUX is a Japanese Linux distribution provided by Cybertrust Corporation. It has been based on RHEL since Version 2.0 released in May 2001, and has been a complete RHEL clone since Version 6.0 released in January 2012. The latest version is 9.2, released on October 05, 2023, but can be installed just like 9.0.
MIRACLE LINUX, a well-known domestic RHEL clone, was initially a commercial OS with a paid license, but following the demise of CnetOS8, it was announced that it would be offered free of charge starting with the latest 8.4. Therefore, MIRACLE LINUX is currently in the limelight as a candidate for migration from CentOS8 and CentOS Stream9.
MiracleLinux9.2 ; Download
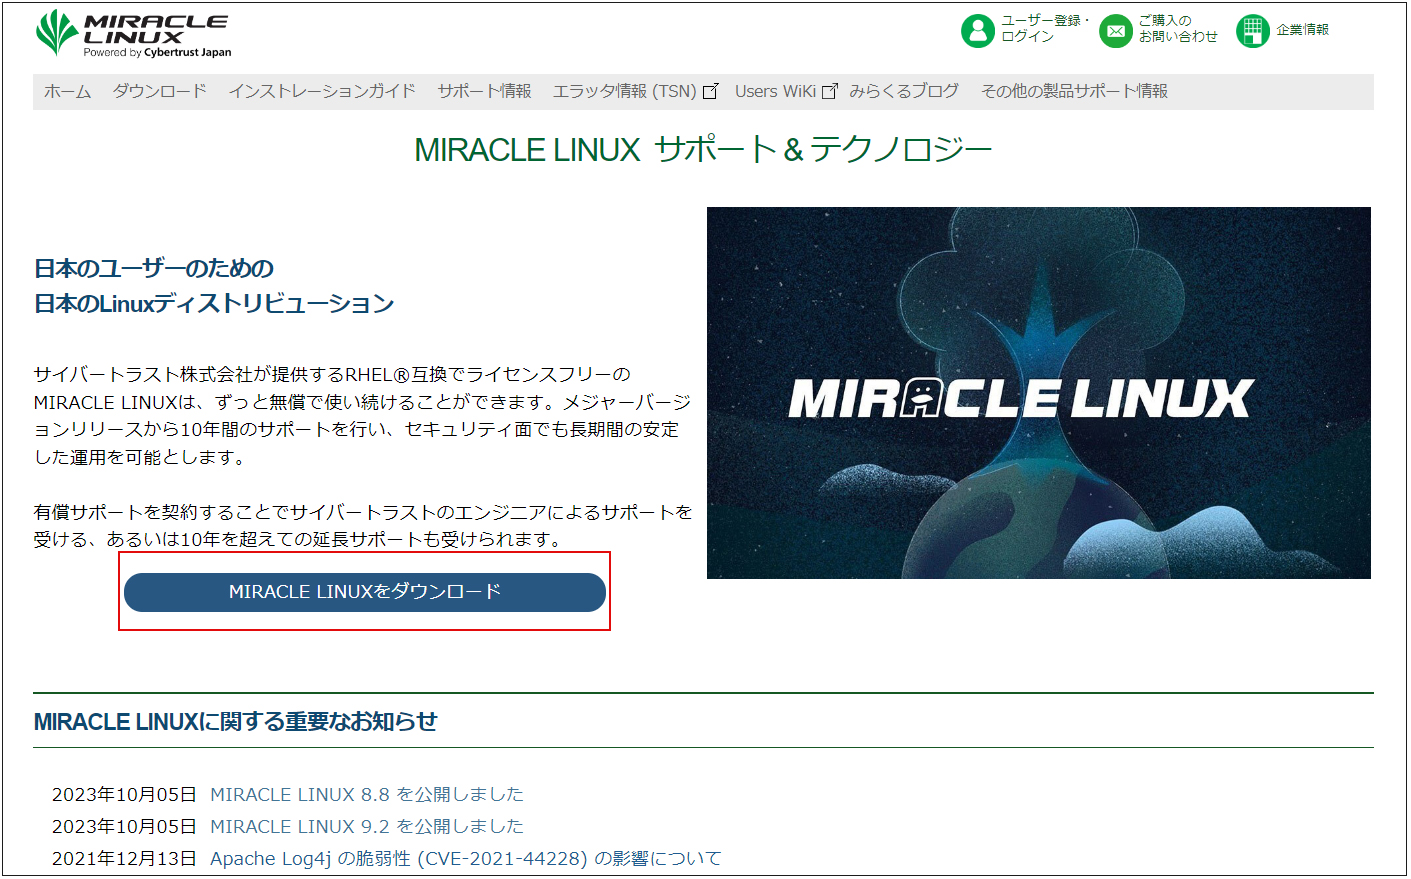
MiracleLinux ISO image files can be obtained from the following official web sites
https://www.miraclelinux.com/
MiracleLinux 9.2 ; Install
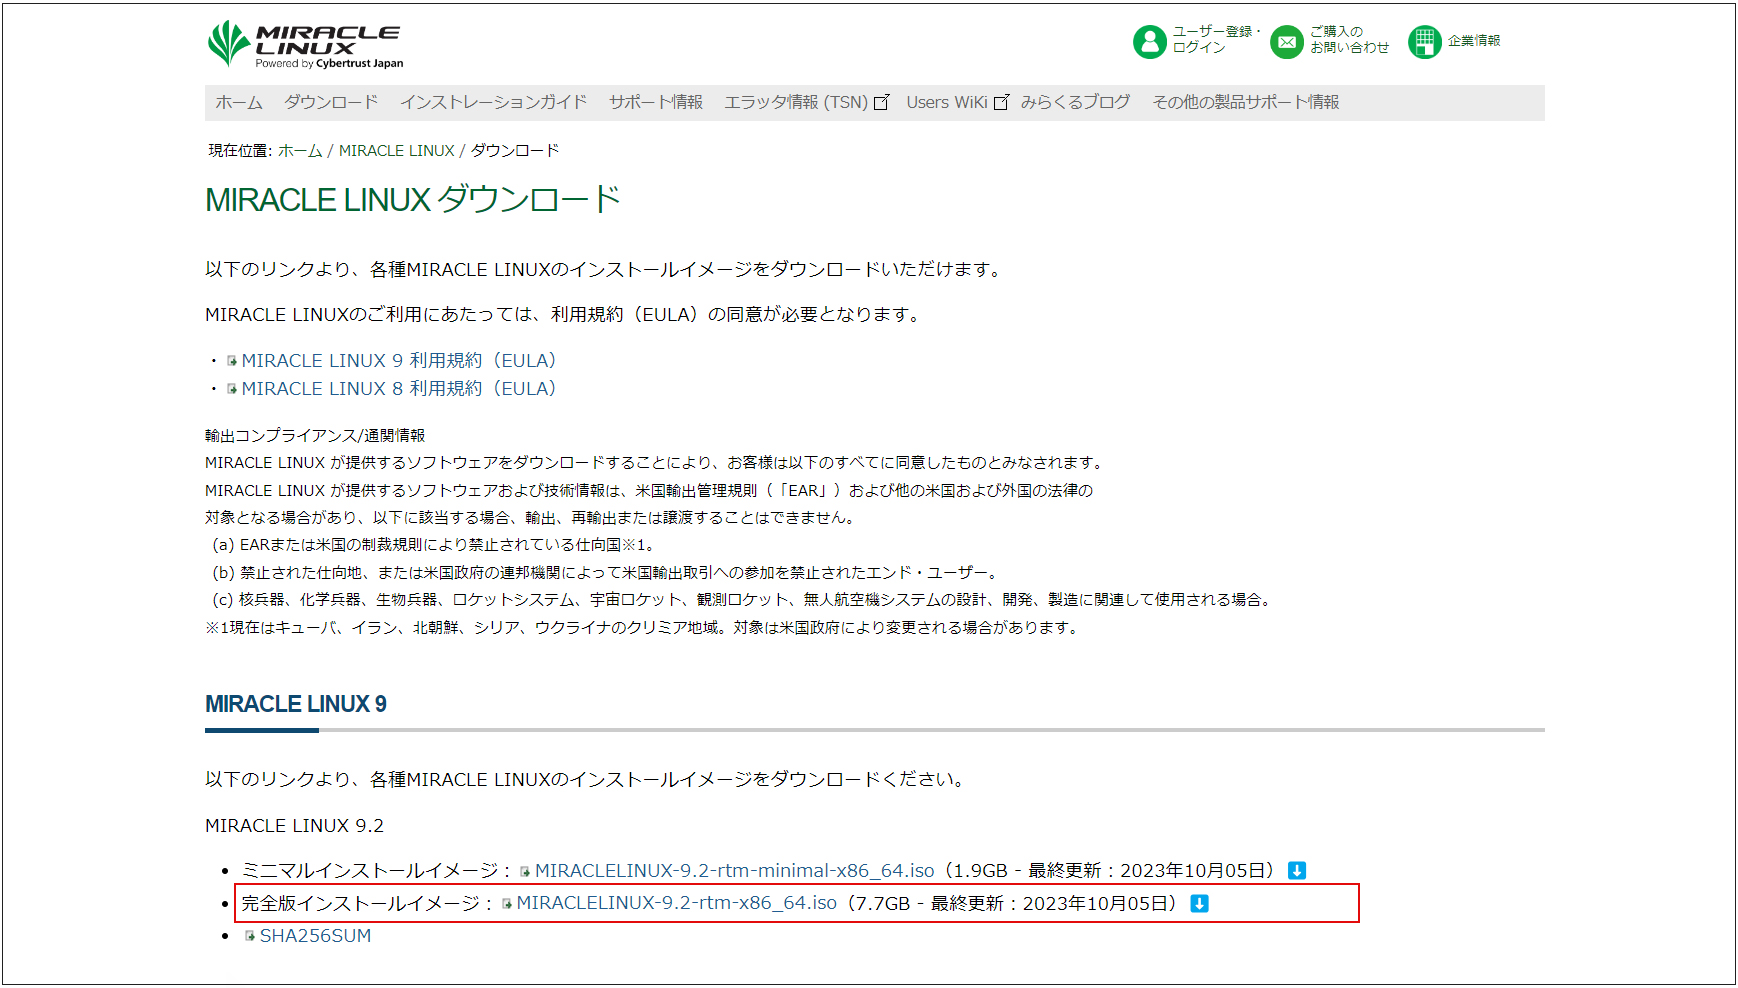
Download "MIRACLELINUX-9.2-rtm-x86_64.iso", create an installation disc on a USB disk and install it on the actual device, or create a virtual machine using Vmware player or VirtualBox and install it.
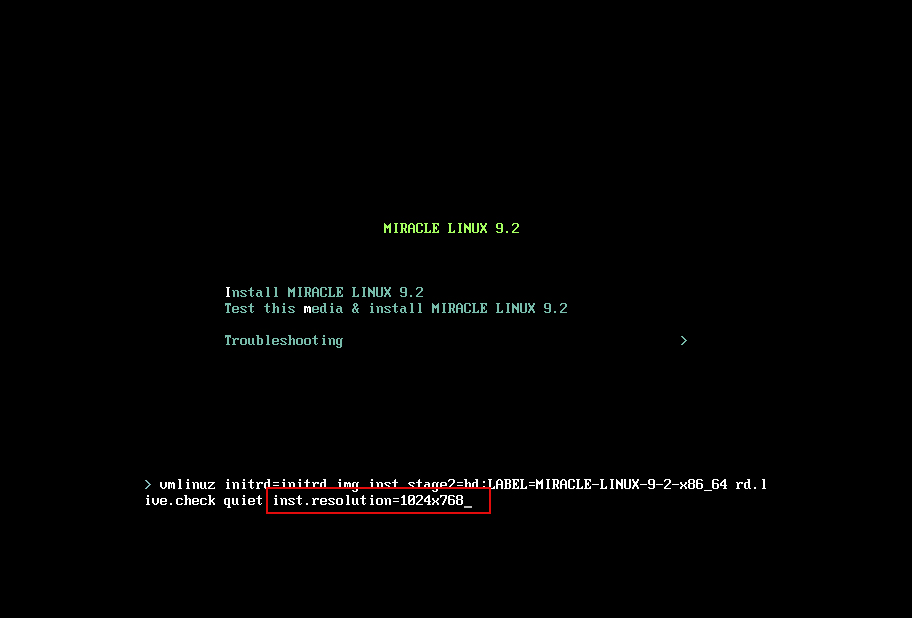
①Boot the installation disk.
You will be at the MIRACLE LINUX 9.2 installation screen, press the "tab" key to change the screen resolution, etc.
Add "inst.resolution=1024x768" and press "Enter" to use the right edge of the installation screen without interruption.
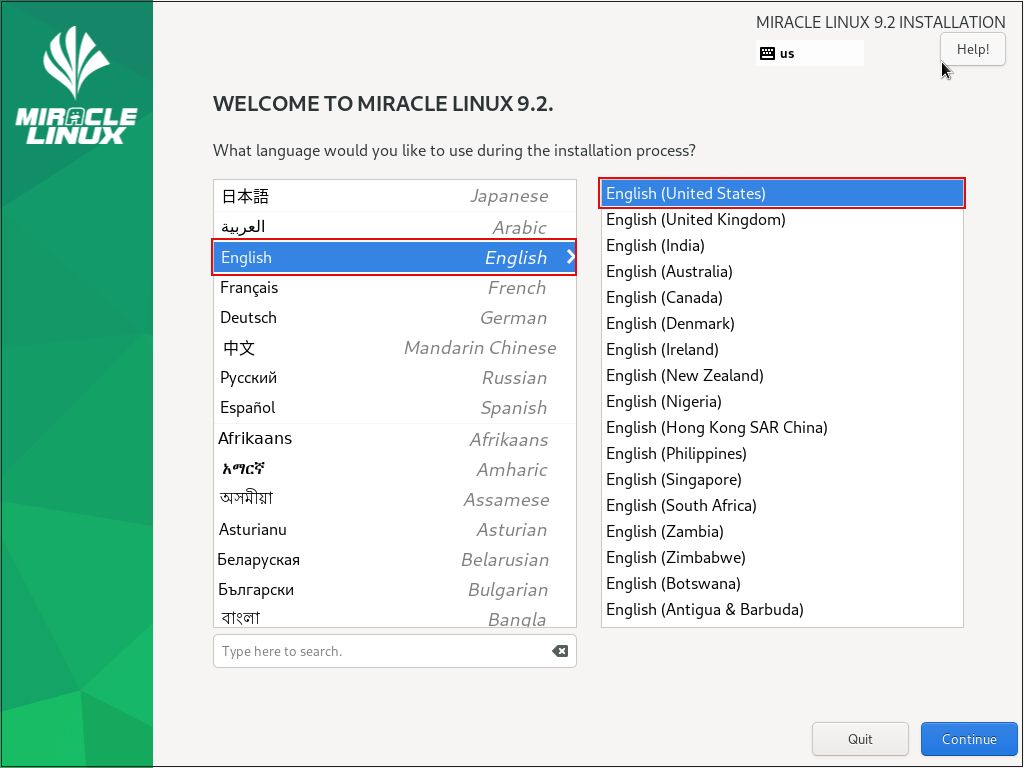
➁language selection
Select "English" and click "Continue". (English is selected because we are building a server.)
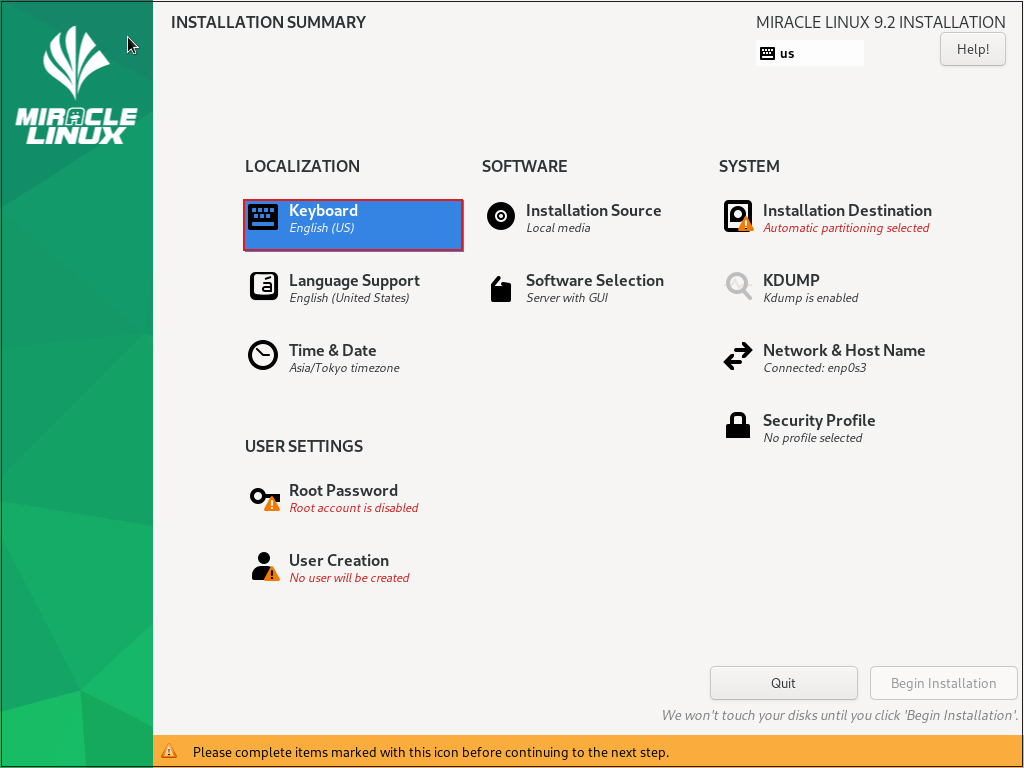
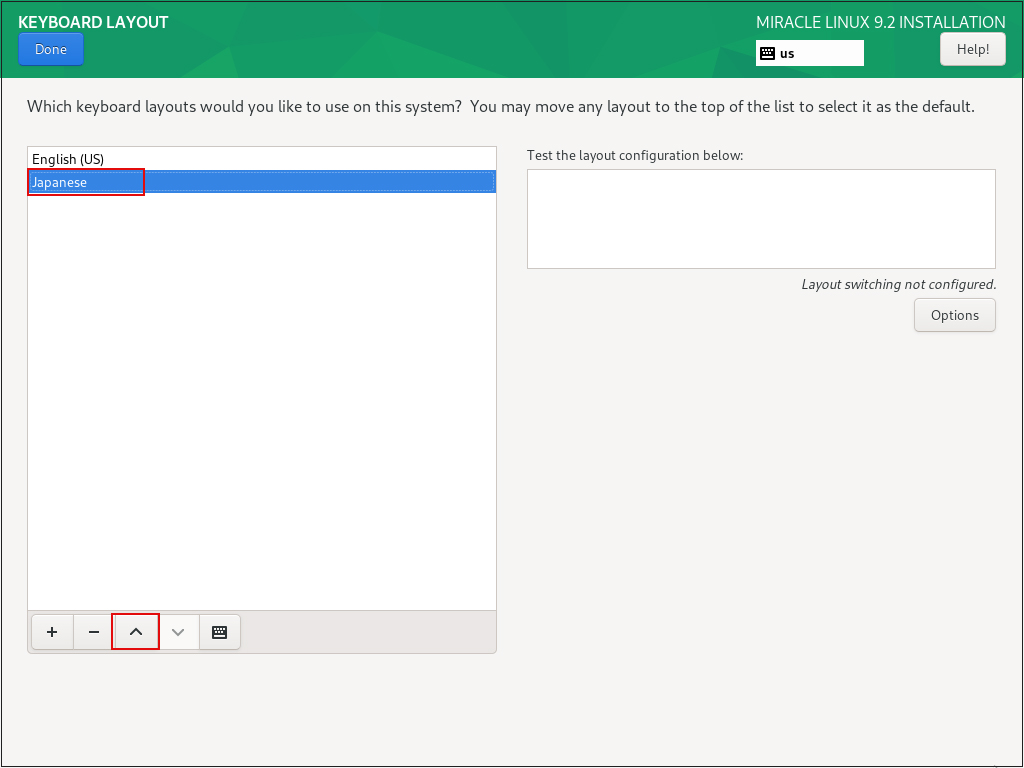
➂"Keyboard Layout" setting Click [Keyboard]
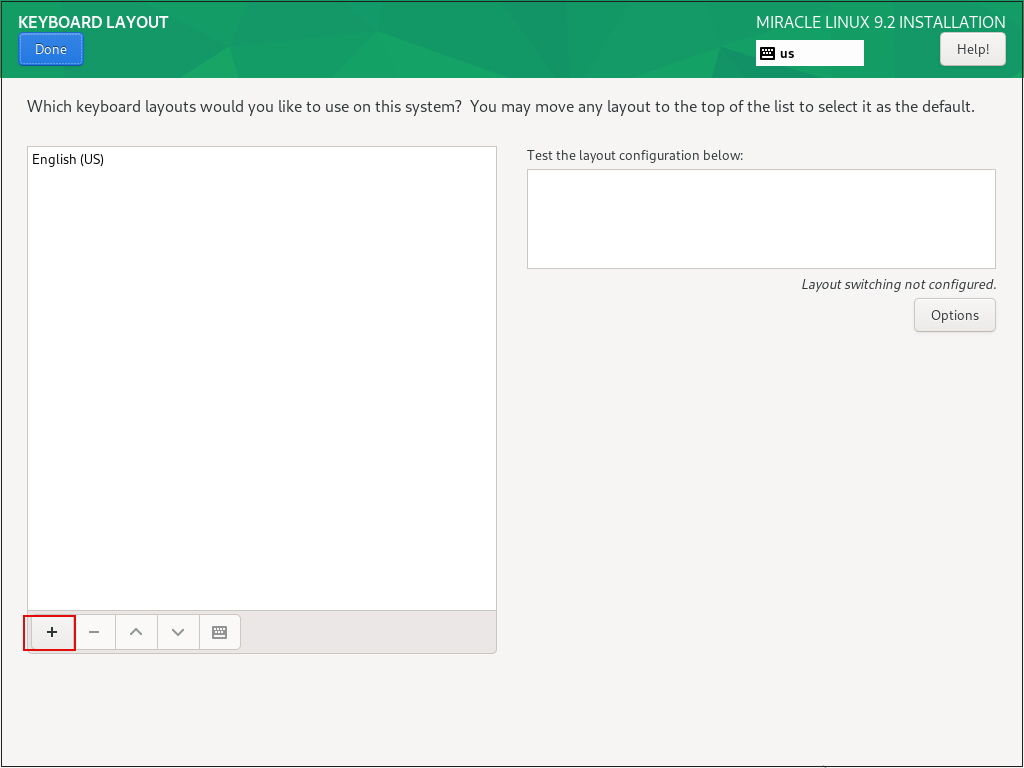
Click the [+] button
[Select "Japanese" and click the "Add" button.
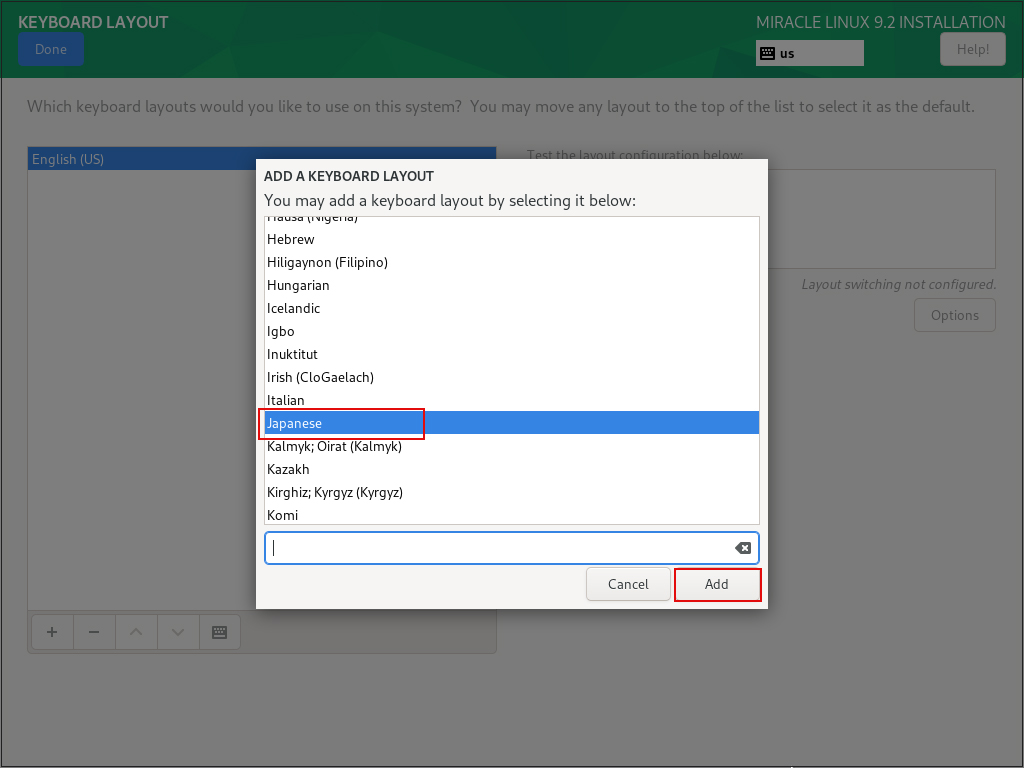
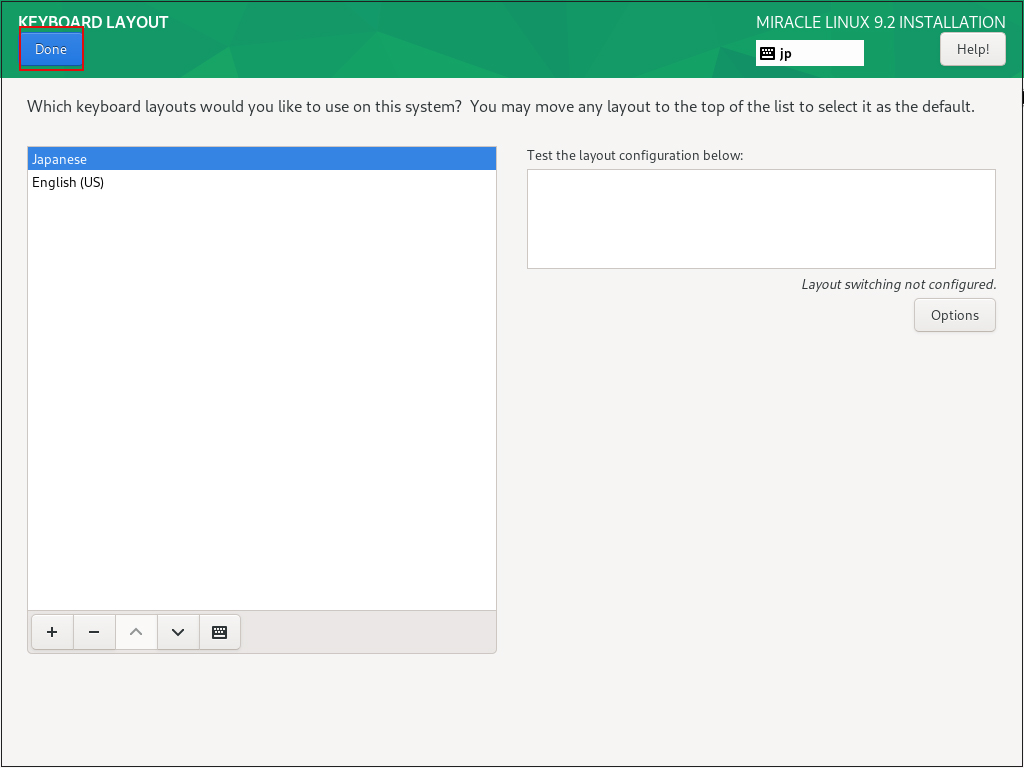
To change the priority, select "Japanese" and click the "^" button.
Click the "Done" button
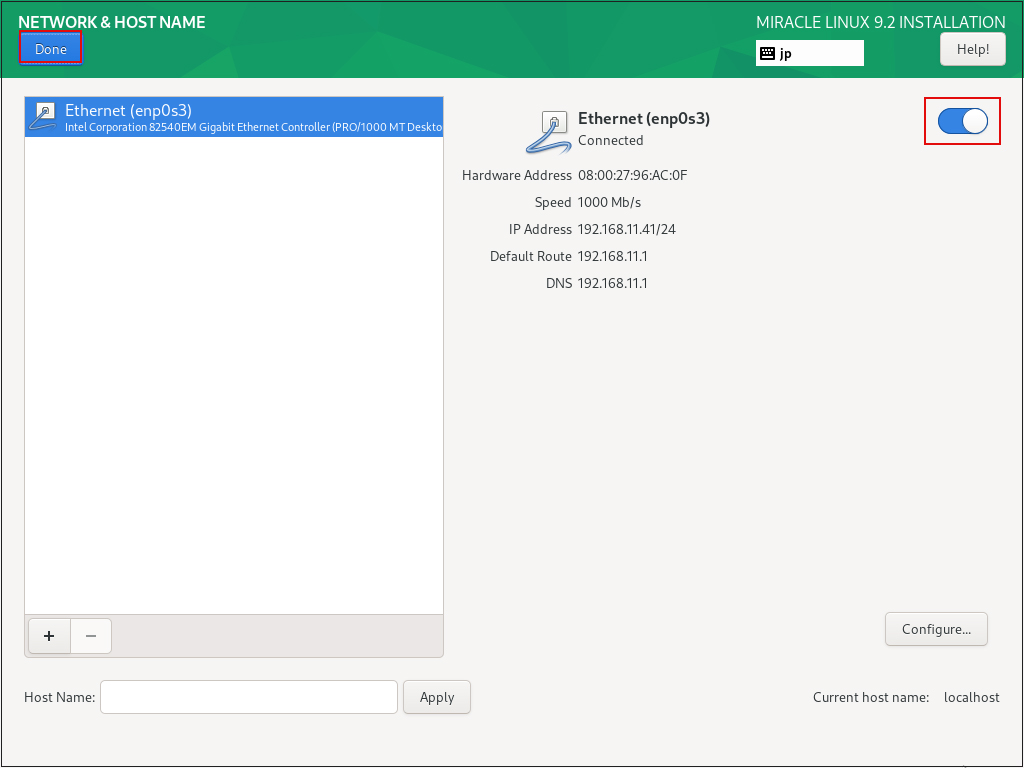
④"Network & Host Name" setting
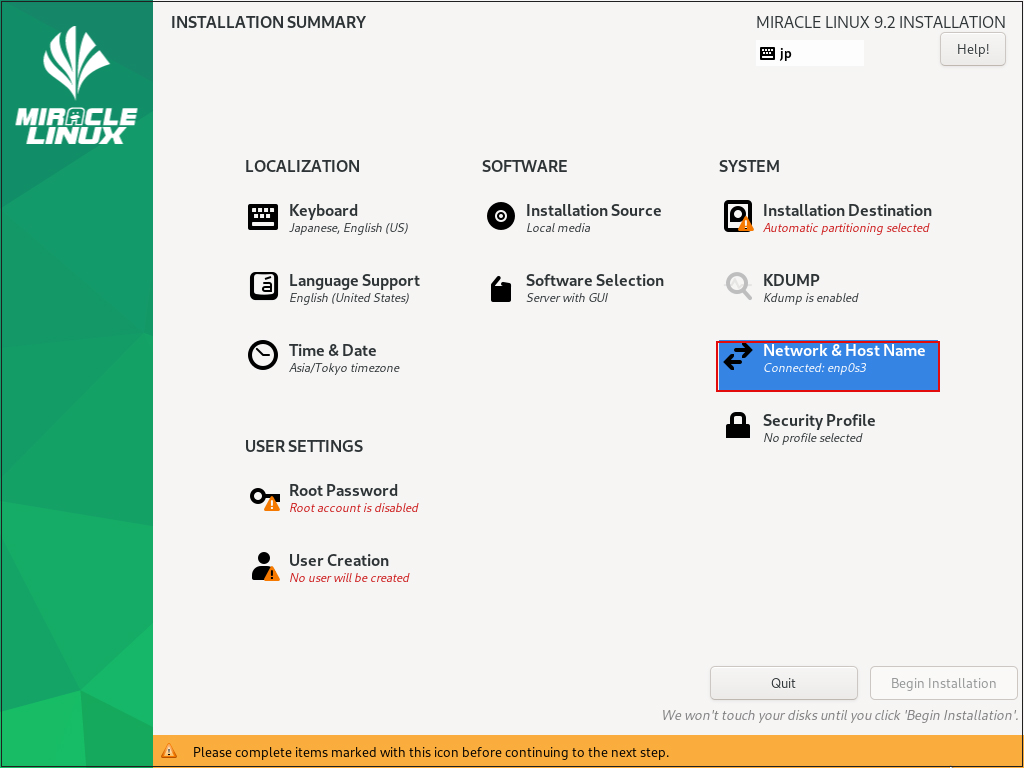
Do not set [Host Name], and click [Done] to proceed with the default server address with DHCP enabled.
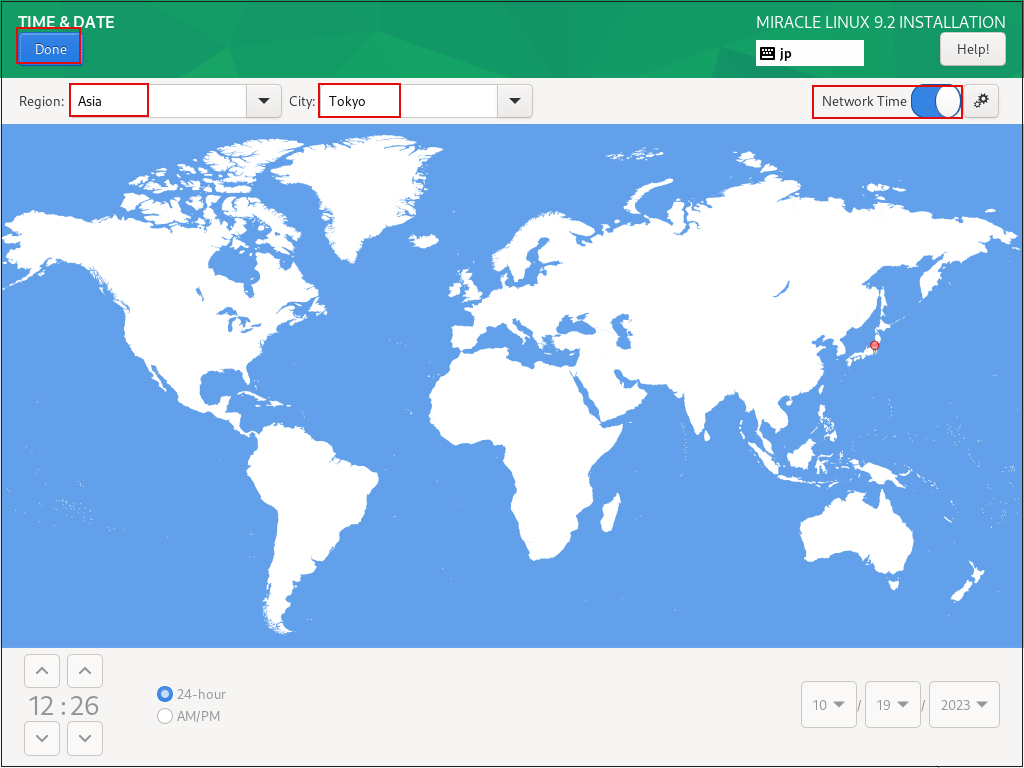
⑤Date and Time setting Click on "Time & Date"

Make sure that [Region] is [Asia] and [City] is [Tokyo], and click [Done].
⑥"Software Selection" setting
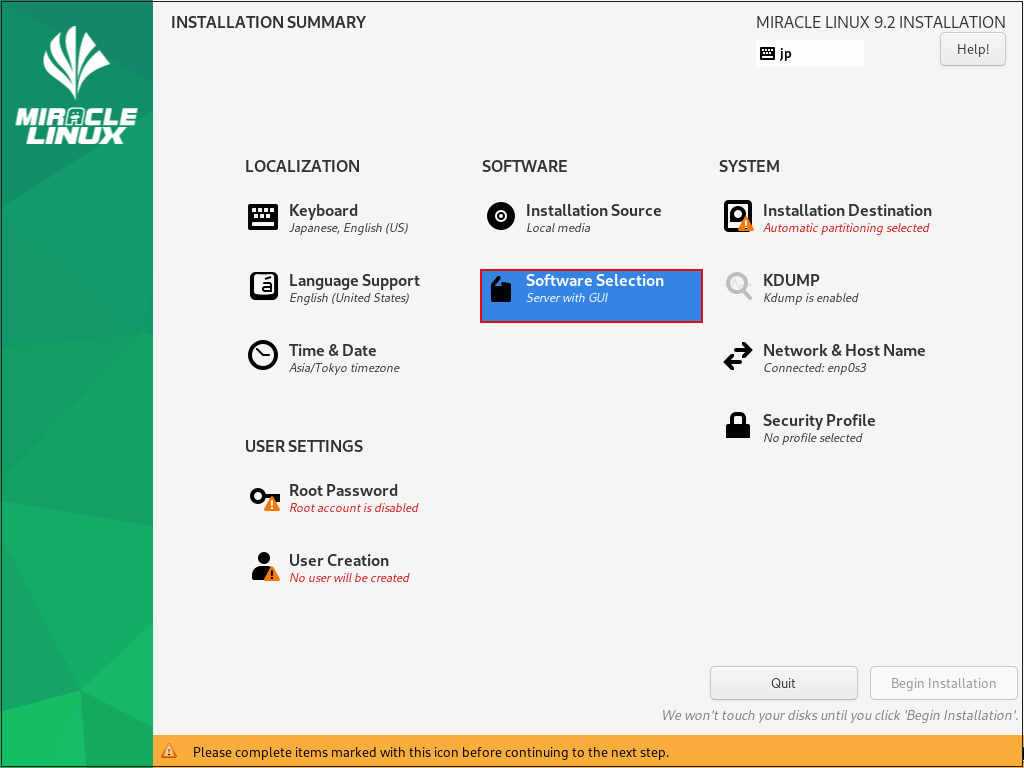
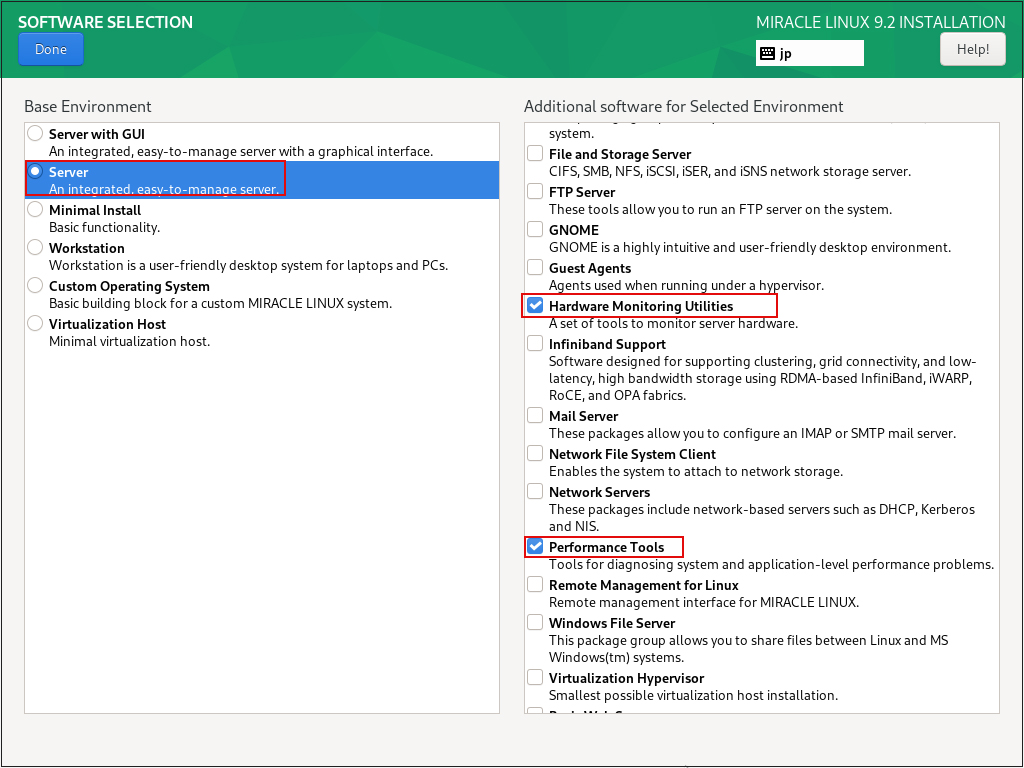
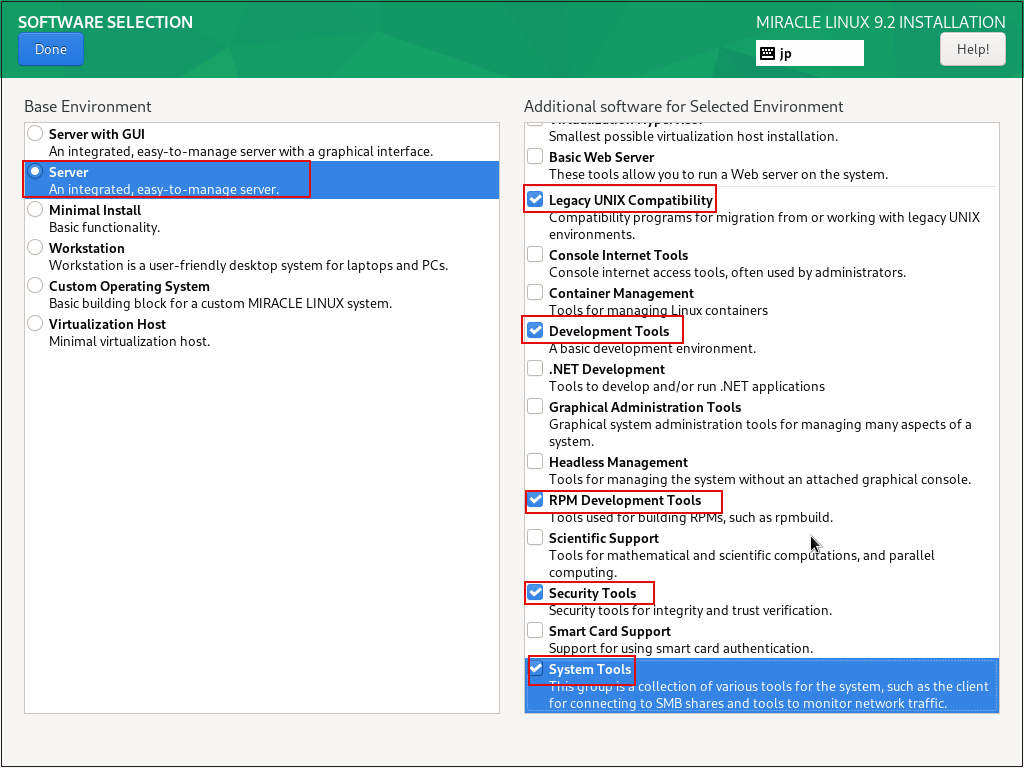
For "Base Environment" select "Server" and for "Additional software for Selected Environment" select
①Hardware Monitoring Utilities
②Performance Tools
③Legacy UNIX Compatibility
④Development Tools
⑤RPM Development Tools
⑥Security Tools
⑦System Tools
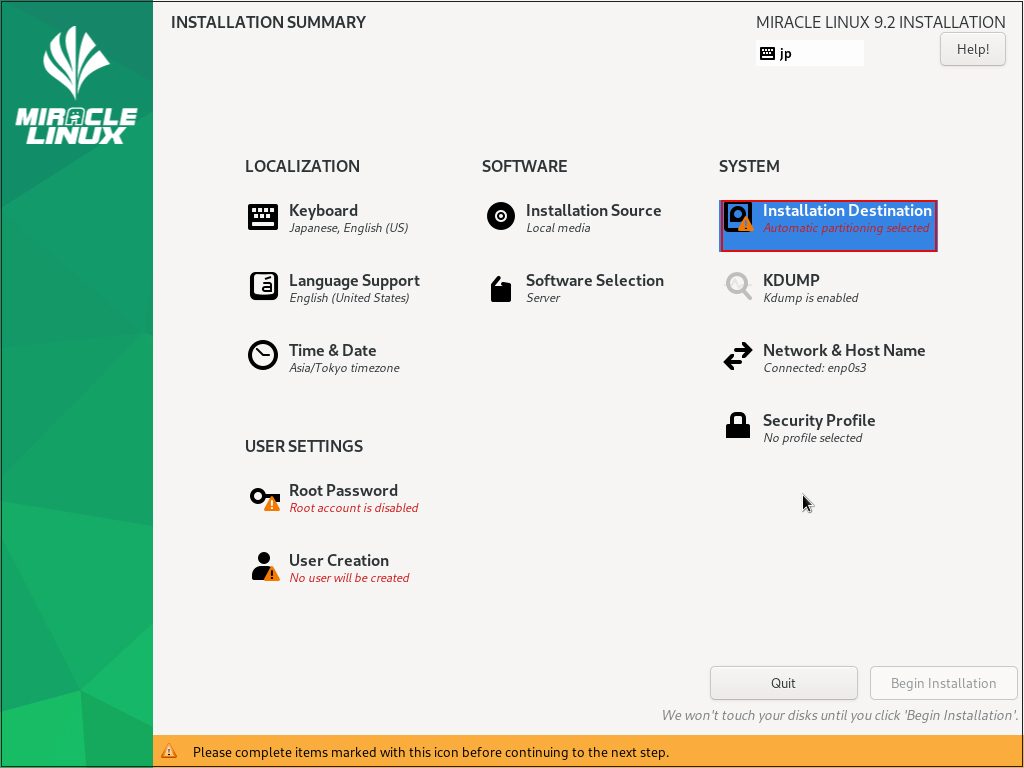
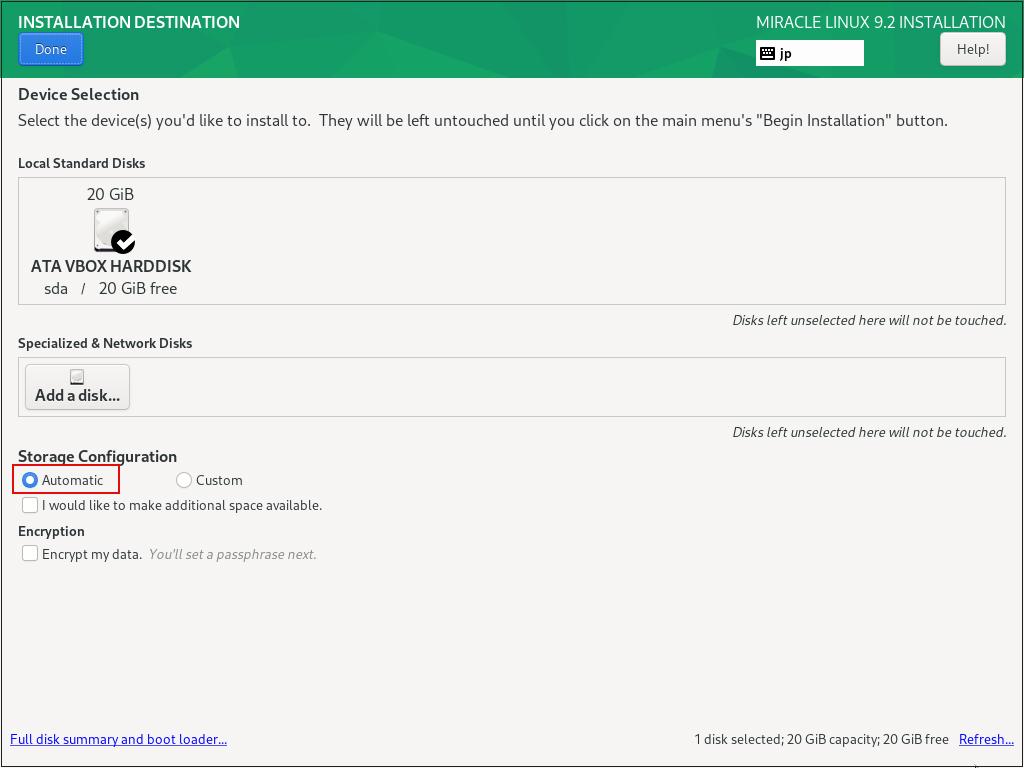
⑦Set "Where to Install". Click on "Installtion Destination"
Set "Storage Configuration" to "Automatic" and click "Done".
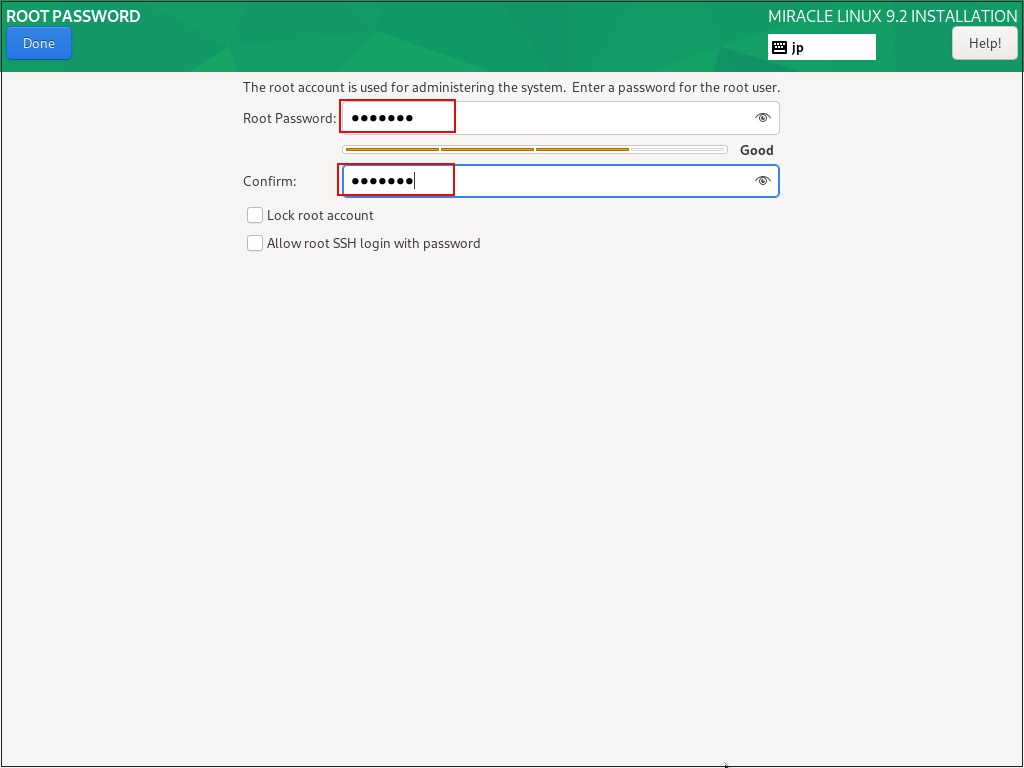
⑧Setting "Root Password"
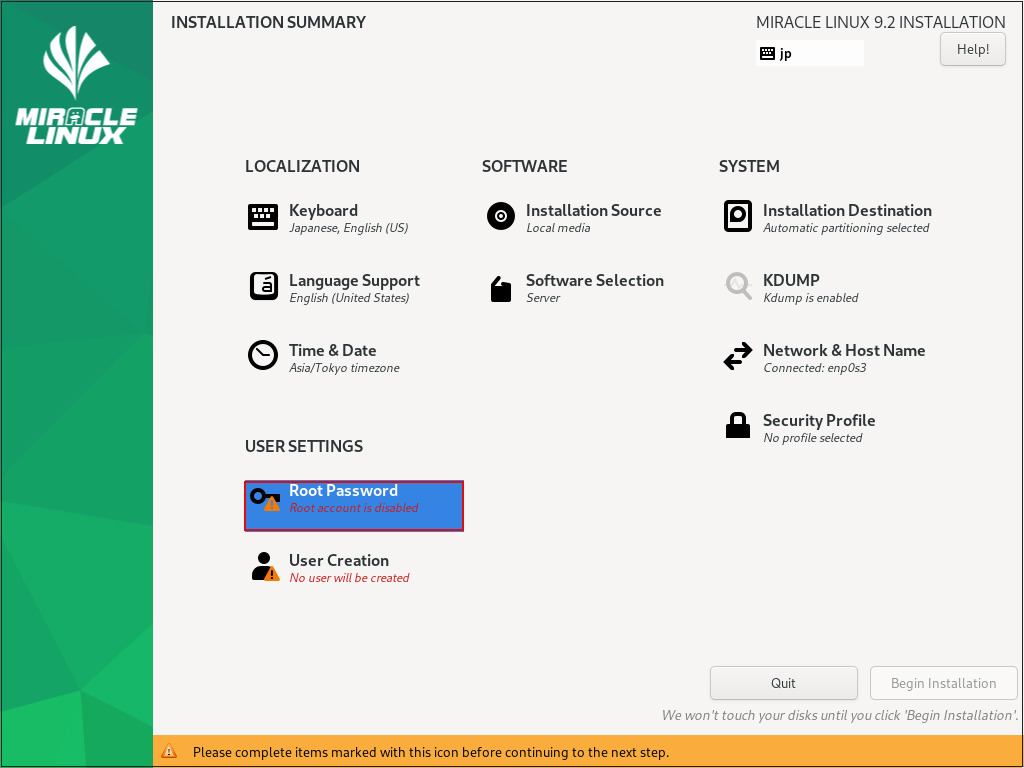
Enter root password and click "Done"
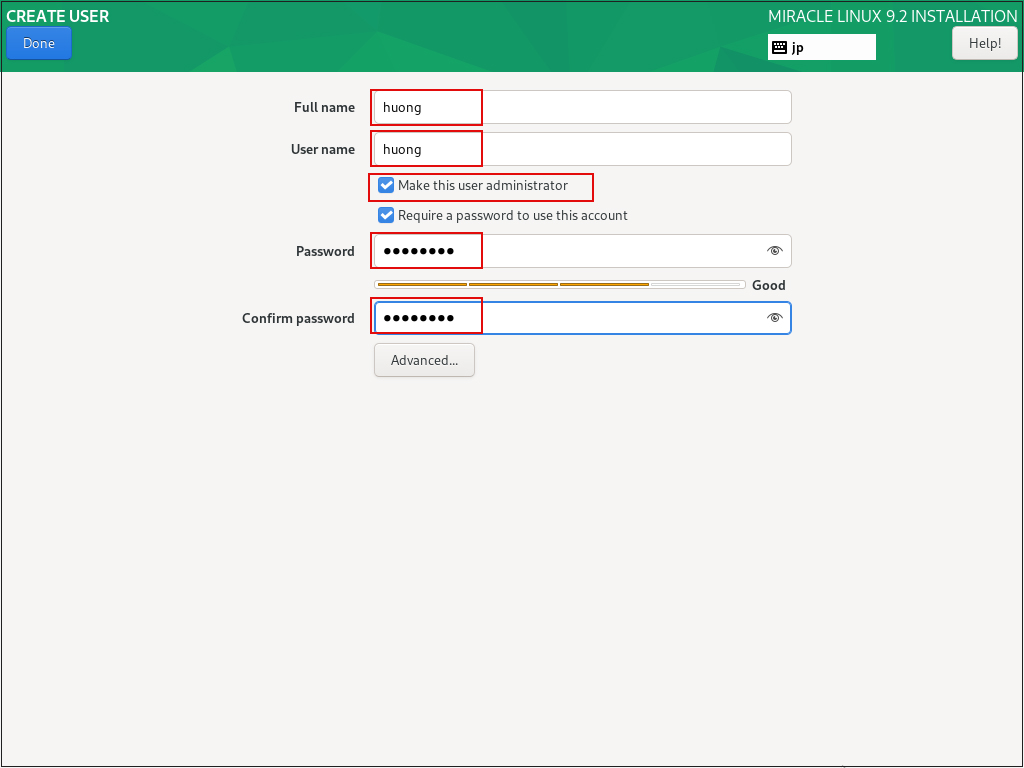
⑨Create user and set password Click on "User Creation"

[Full name] [User name] : Any name
[Make this user administrator] : check (e.g.mark)
[Password] : Keep it strong.
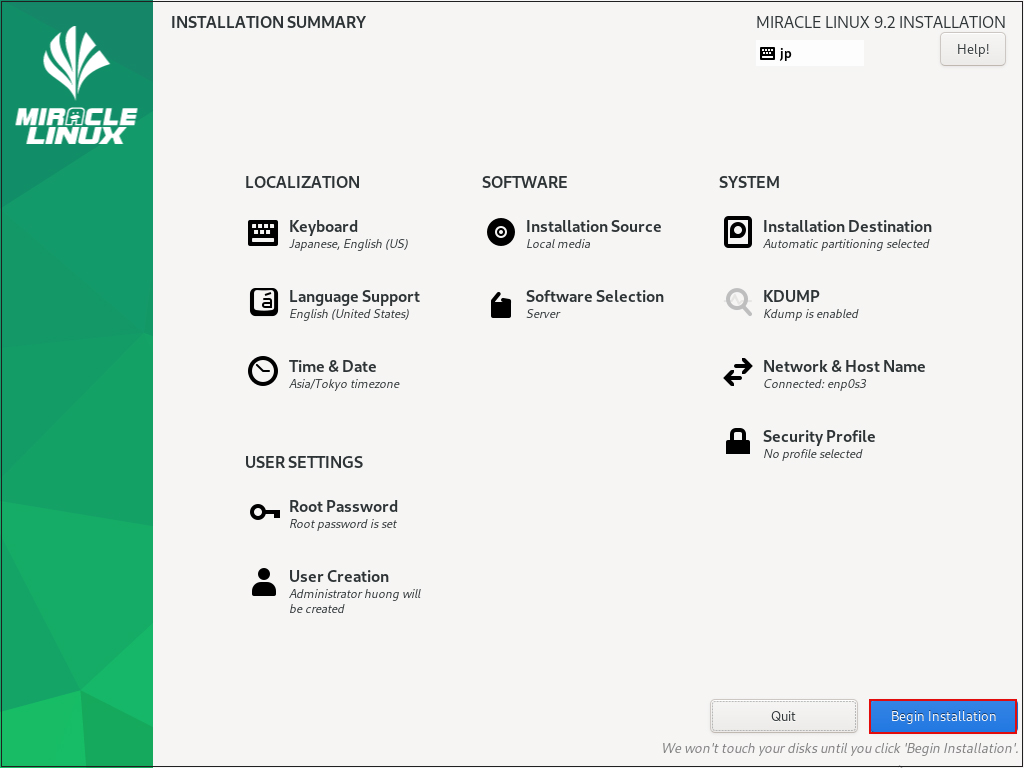
⑩Click on "Begin Installation"
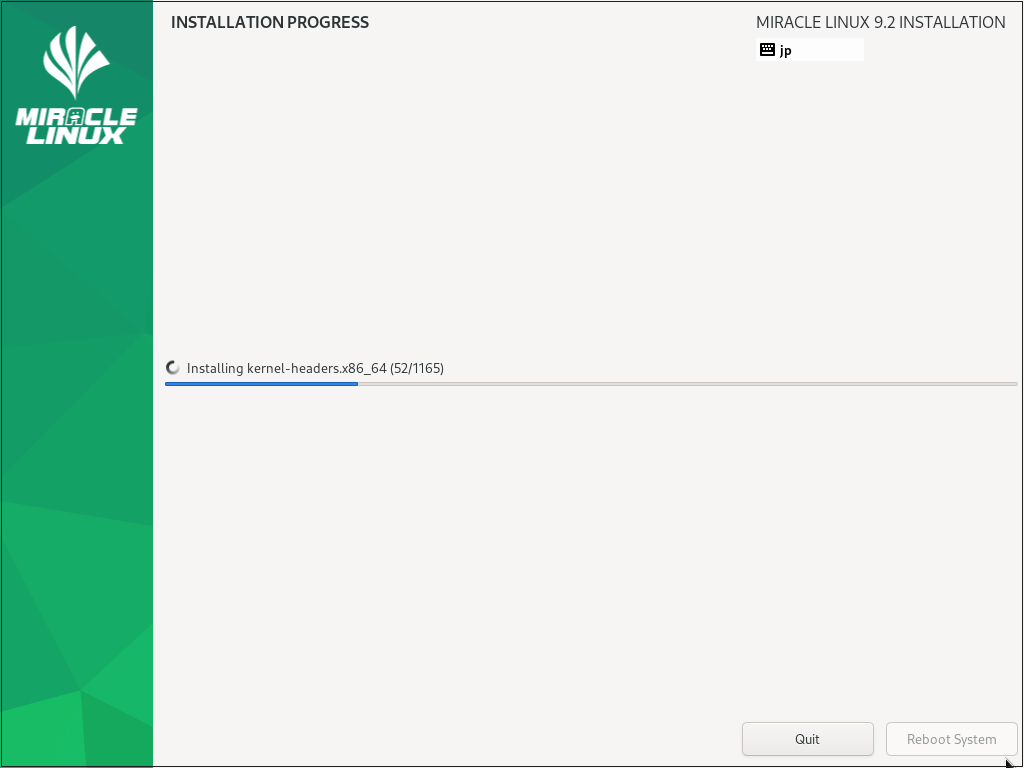
Installation begins
After installation is complete, click on "Reboot System"
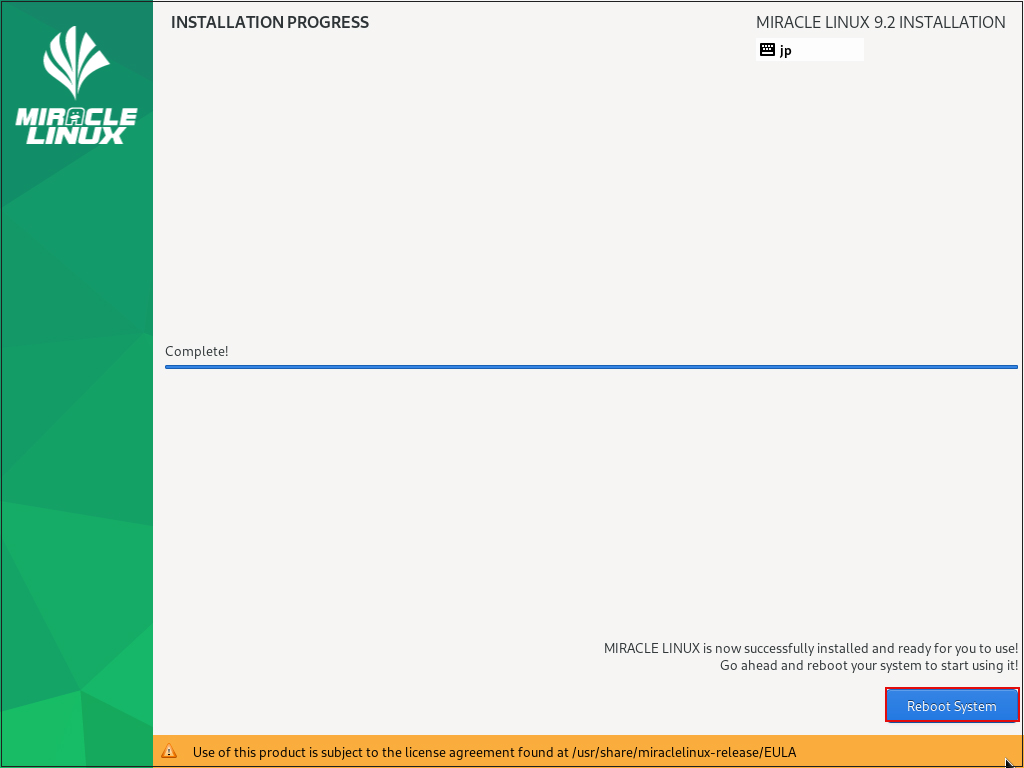
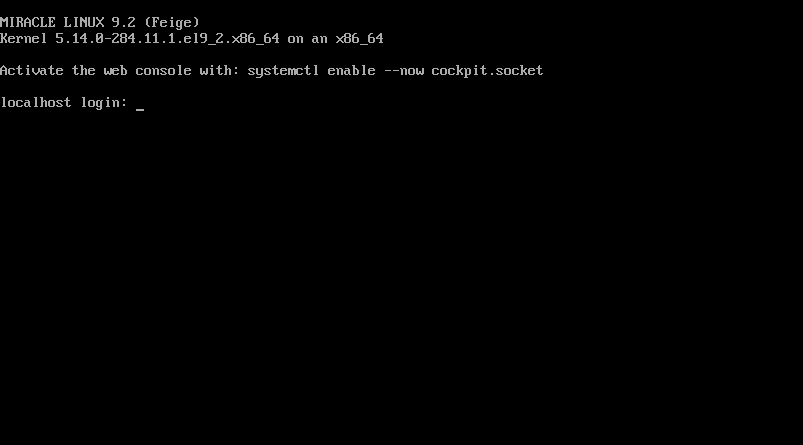
Reboot and you will be taken to the login screen
Log in with the user name and password of the general user you just created.
If you see the bash prompt "$", your login is complete.