
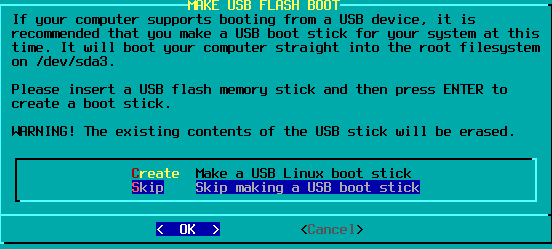
Creating Bootstick
To create an emergency Bootstick, insert a USB stick, select Create, and press Enter.
Select Skip since you will not create it this time.
Install Boot Manager
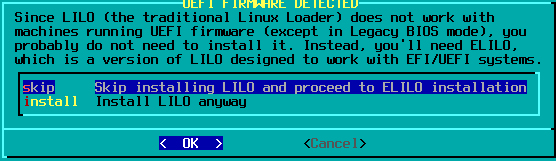
ELILO Installation
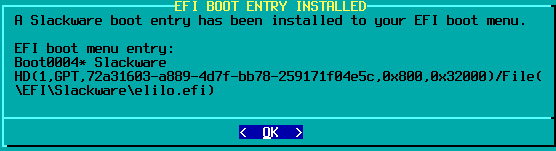
If installed on a machine with a UEFI boot PC or motherboard, the following screen will appear
PCs running on UEFI firmware will not work with LILO, so proceed to install ELILO designed for EFI/UEFI systems
Select skip and press Enter to continue
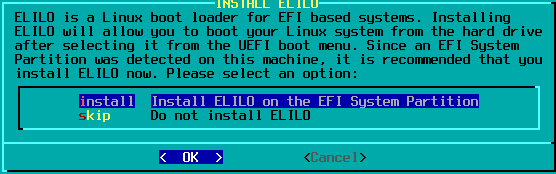
The ELILO installation screen appears, select install, and press Enter.
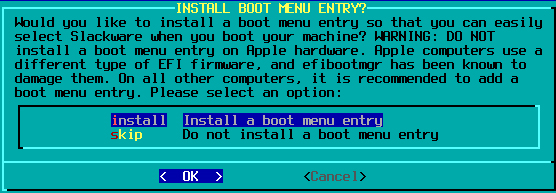
Whether to add ELILO to the boot menu entry
Except for Apple hardware, it is recommended to install in the boot menu entry
On the next screen, select install and Enter
Press OK when the installed contents are displayed and proceed.
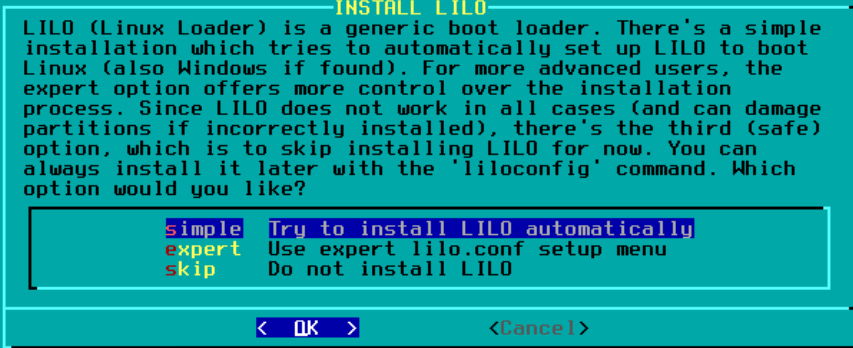
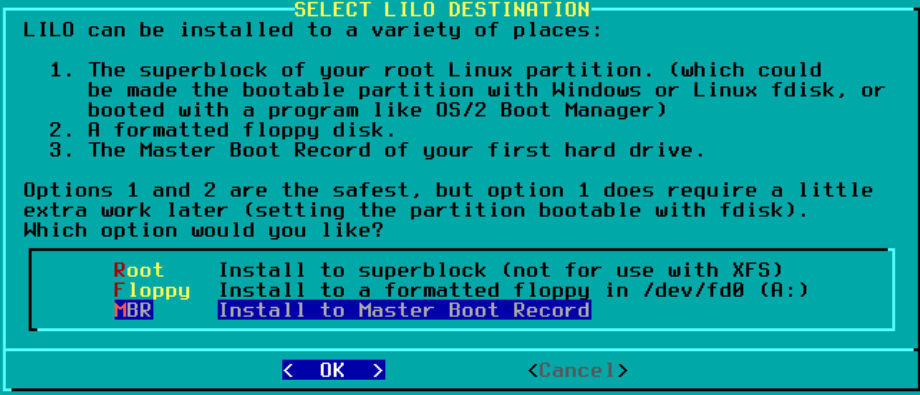
When installing LILO
For PC running in BIOS mode, install LILO
Select SIMPLE
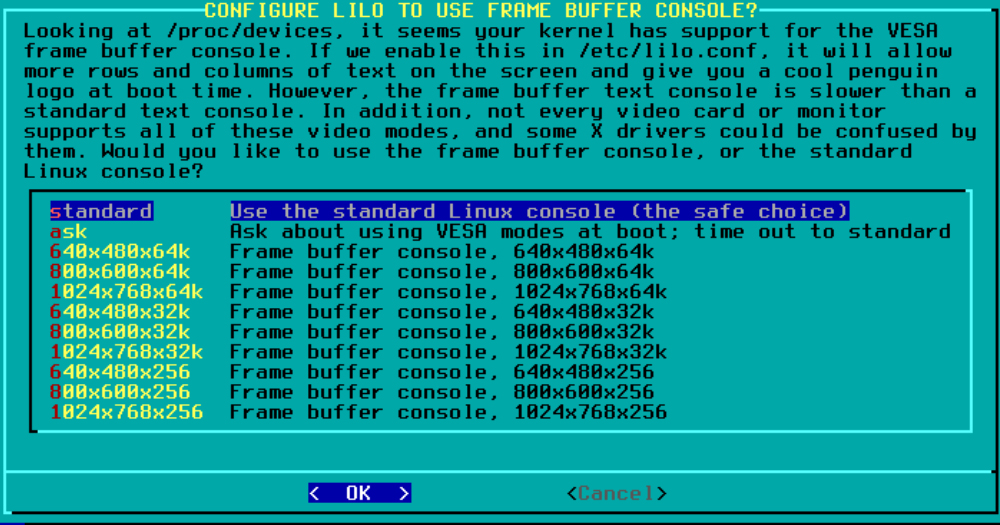
LILO screen image degree standard selection
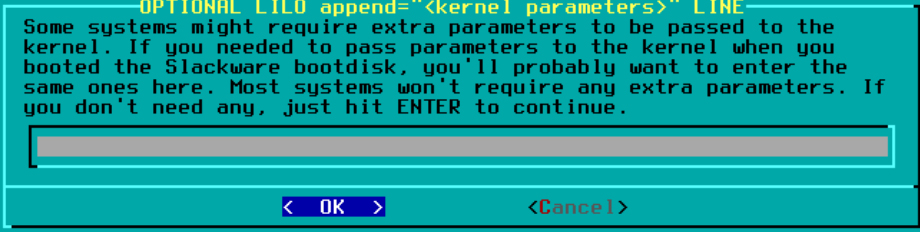
Enter without OPTION
LILO installed in MBR
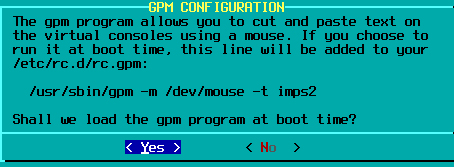
Use of GPM
GPM (General Purpose Mouse) is a daemon that provides mouse support for Linux virtual consoles
This allows for Copy & Paste of text between virtual consoles.
Make sure Yes is selected so that gpm starts at boot, then press Enter
Network Settings
To configure network settings, make sure Yes is selected and press Enter.

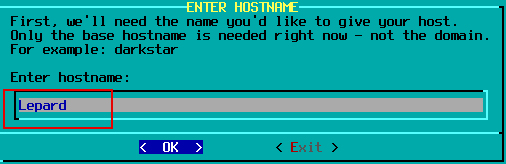
1.Host Name Settings
Enter any name in alphanumeric characters and press Enter
In this case, the host name is "Lepard".
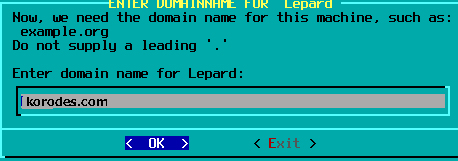
2.Domain Name Settings
Set the domain name to which the PC on which Slackware is installed belongs.
In this case [korodes.com].
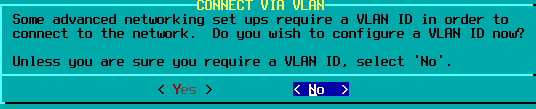
3.VLAN Settings
Since 15.0, though, you can specify a VLAN ID to configure,
For personal use, I don't think I cut VLAN, so I leave it as No and proceed to the next step.
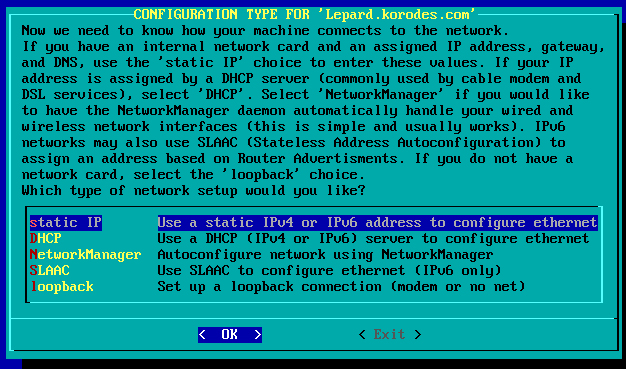
4.IP address settings
By default, NetworkManager is selected, but since we will use it as a server, we will select static IP as the fixed IP.
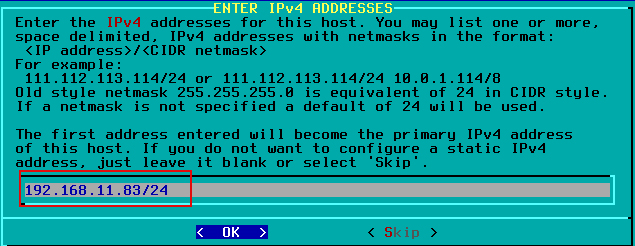
Configure IPv4 IP address settings (in this case, 192.168.11.83)
Configure IPv4 GATEWAY address settings (in this case, 192.168.11.1)

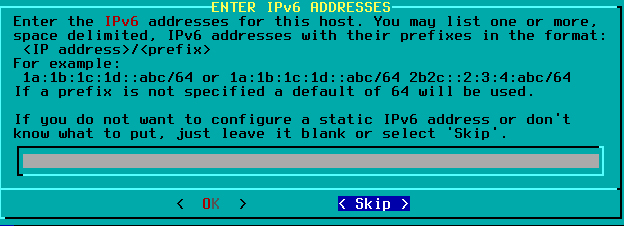
IPv6 is not configured, so Skip
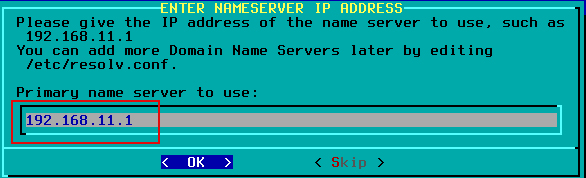
Select NAME SERVER setting Yes

Set IP address for NAME SERVER (in this case, 192.168.11.1 was set automatically)
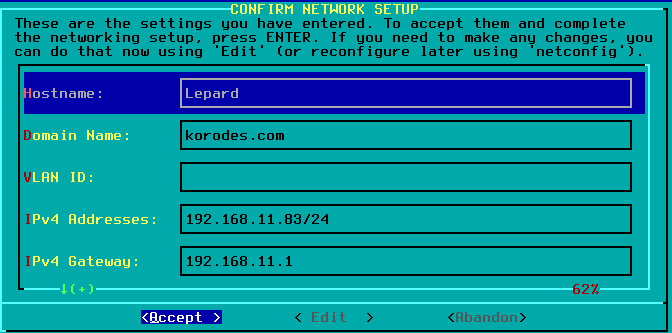
Confirm the NETWORK settings and click "Accept" if all is correct.
A message will appear indicating that network configuration is complete. Press ENTER to proceed.
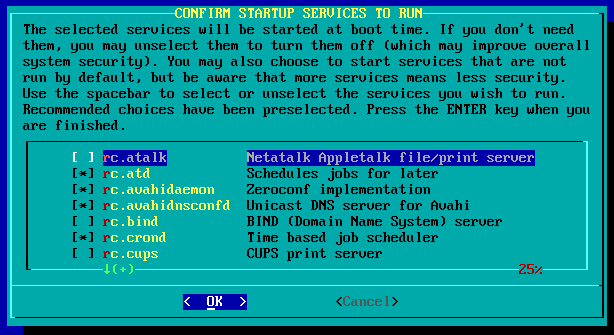
Selecting services to start automatically
Select the service you want to start automatically when the system starts by pressing the space bar, then press Enter to continue
Console font customization
Whether to customize the console screen font
Japanese font cannot be selected, so leave as No and proceed.

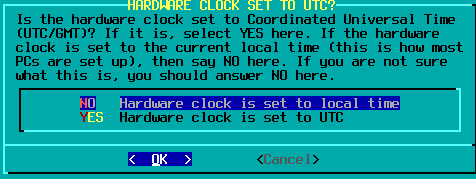
Hardware clock settings
Normally, local time is used, so select "No" and press Enter.
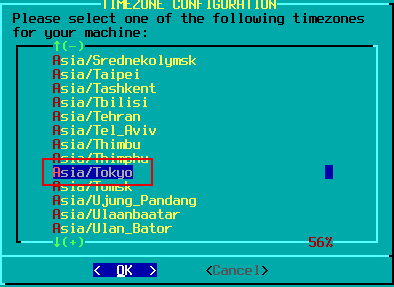
Time Zone Settings
Scroll down and select Asia/Tokyo and press Enter
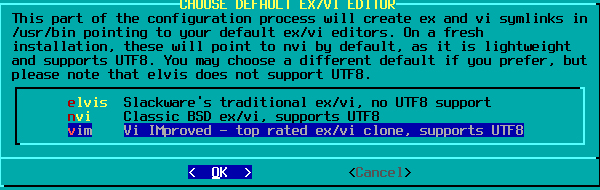
vi editor selection
This time, choose a familiar vim.
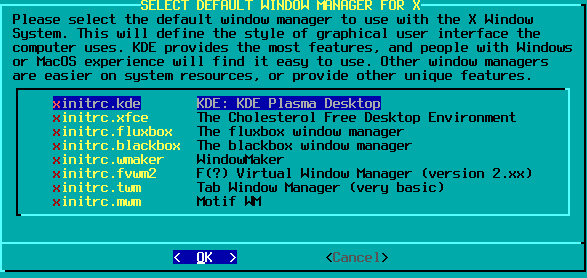
Select X Window System
Select the X Window Manager to use by default
Setting root password
Select "Yes" to set the root password and press Enter
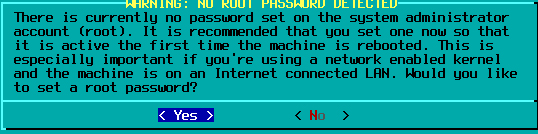
Enter root password (password can be a minimum of 5 characters and a maximum of 127 characters)

Press Enter to proceed.

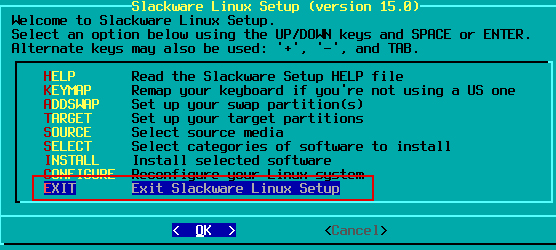
restart
Select "EXIT" to return to the initial screen and exit setup.
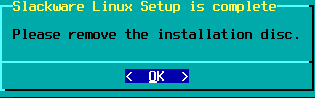
Click OK
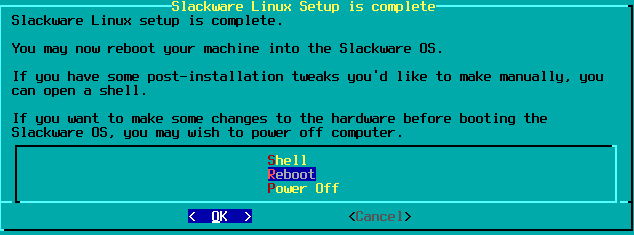
Select Reboot and press Enter to reboot.
After rebooting, you will see the following screen, and you can either wait or press Enter to get to the login screen.