1.Debian11 Overview
In this article, we will explain how to build a server with Debian, the basis of the user-friendly Linux distribution UBUNTU.
The latest release is Debian 11.3 (codenamed "bullseye").
Released on August 14, 2021 with an update (point release) on March 26, 2022.
2.Download Debian installation image
Go to the Debian archive download site and download debian-11.3.0-amd64-netinst.iso
Burn the iso image saved above as a boot disk to CD or USB using your favorite writing software.
3.Debian11.3 Install
Change the BIOS so that the PC can boot from the installation disk created above.
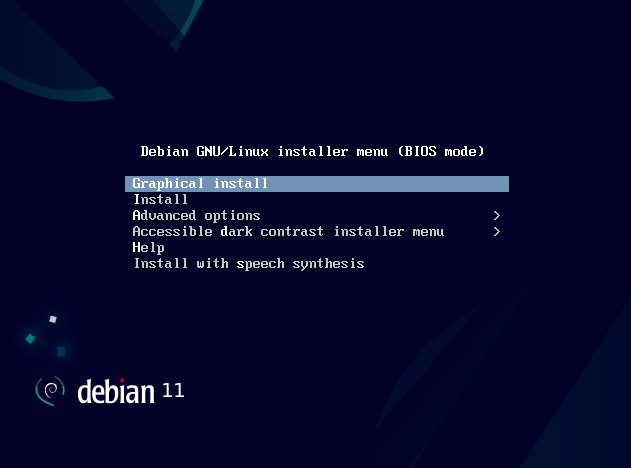
3.1.Installation screen
Select "Graphical Install."
3.2.Select installation language
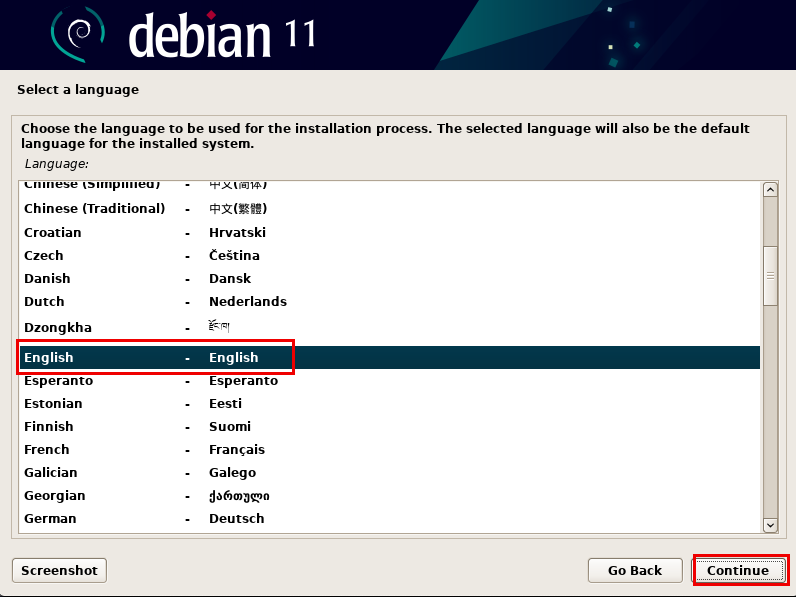
Select English and Continue
3.3.Select Location

Select "United States" and click "Continue"
3.4 Network Settings
Since a fixed local address cannot be specified at the time of Debian 11 installation, and the network is assumed to be an environment where a DHCP server is running, the IP address setting is done automatically. A fixed IP address can be specified from the command after installation.
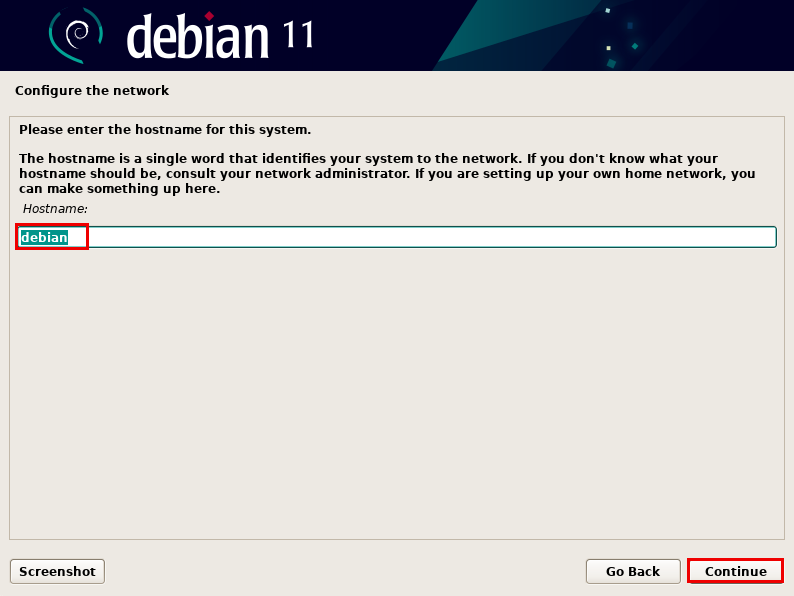
3.4.1. Host Name Settings
Set a hostname for your Debian system. By default, "debian" is specified, but you can use any name you like.
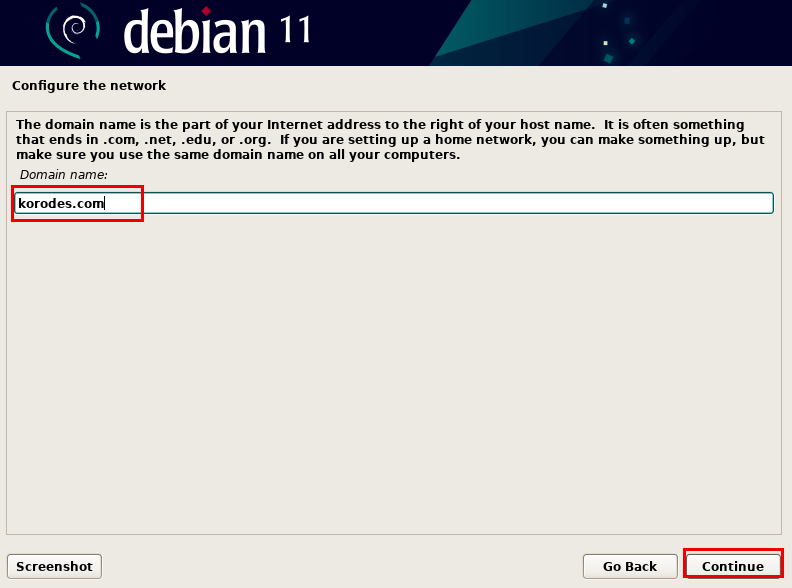
3.4.2. Domain name
Sets the domain name. The value can be set arbitrarily. In this case, we will set "korodes.com".
3.5. User and password setup.
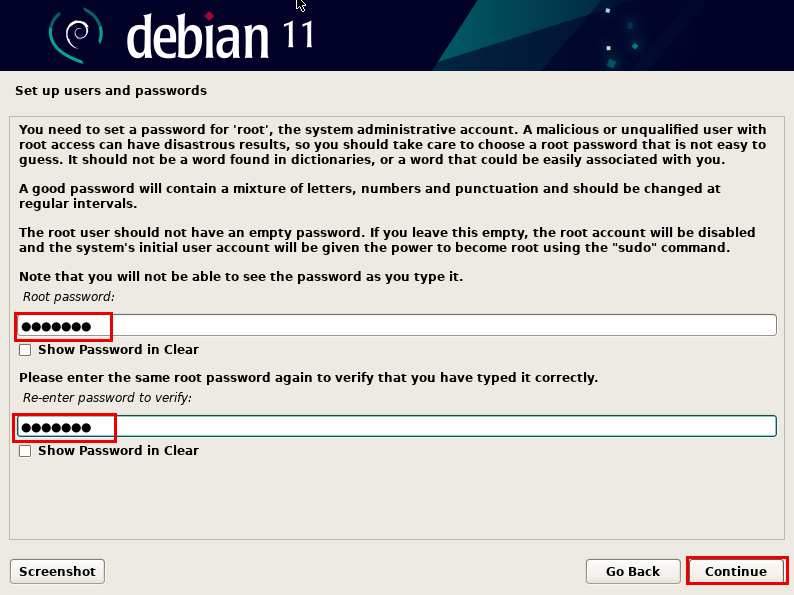
3.5.1 Setting root password
Sets the password for the system administrator (root user).
Root owns full access rights to the system. Enter the password in the "root password" field displayed on the screen.
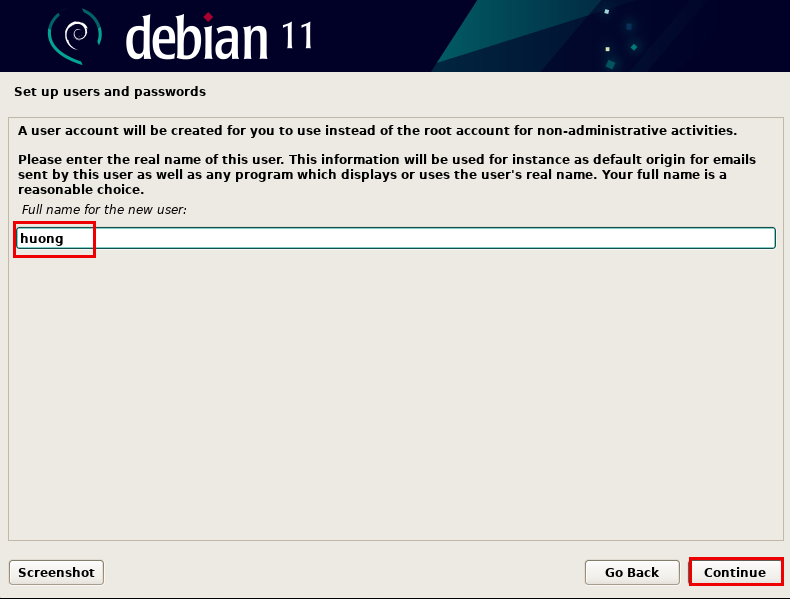
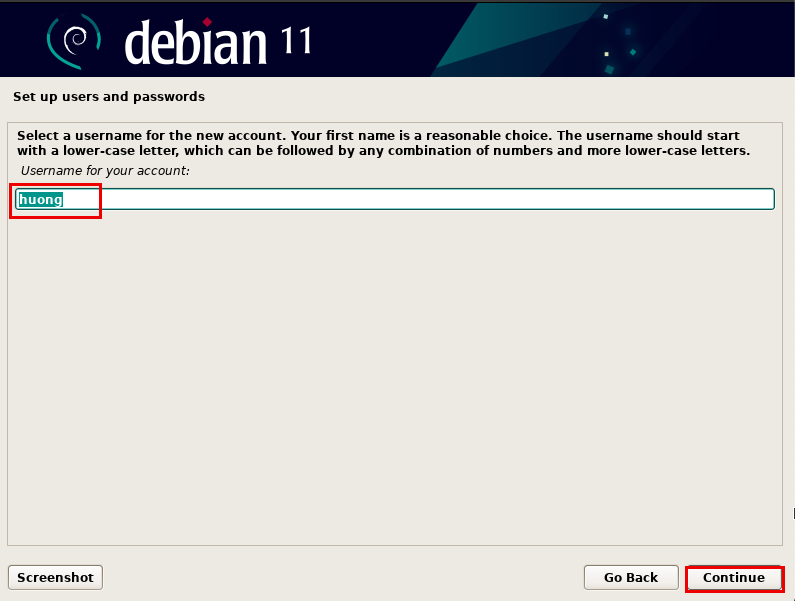
3.5.2 General User Settings
Next, set up a general user (non-administrative privileges) to perform non-root operations. Enter the user's real (full) name. huong" is entered.
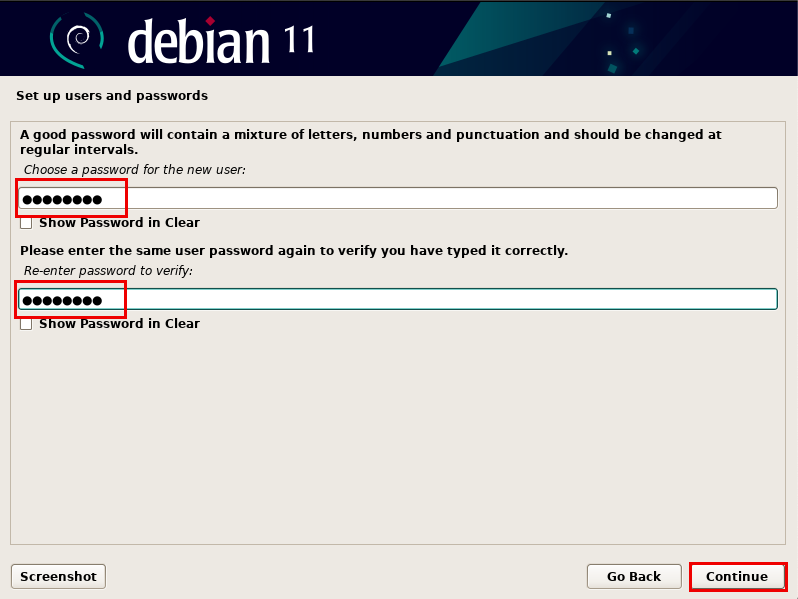
Enter the password to be set for the user. Enter the same one twice.
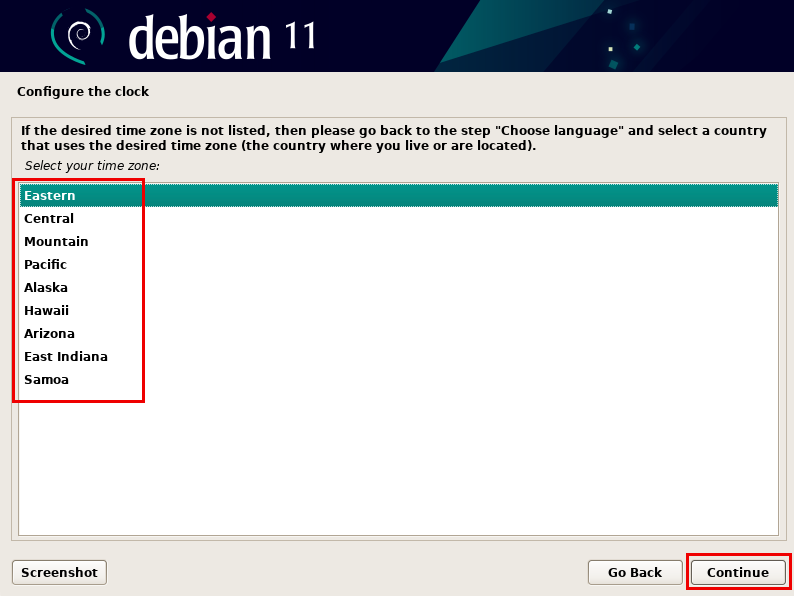
3.6. Time Zone Settings
Select your own region
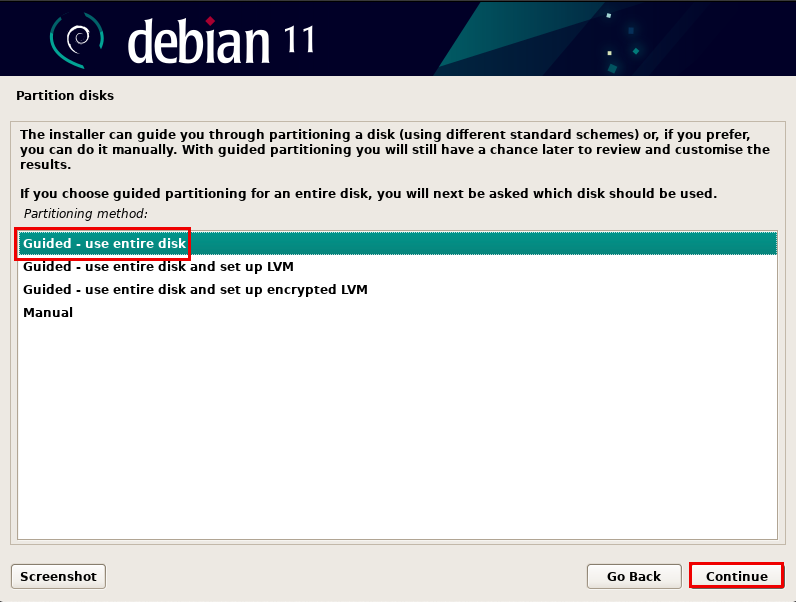
3.7. Disk Partitioning
3.7.1 Disk Partitioning
Set up partitioning (logical division) of the disks on which the Debian system will be installed. There are four methods of partitioning
This time we will use "Guided-use entire disk".
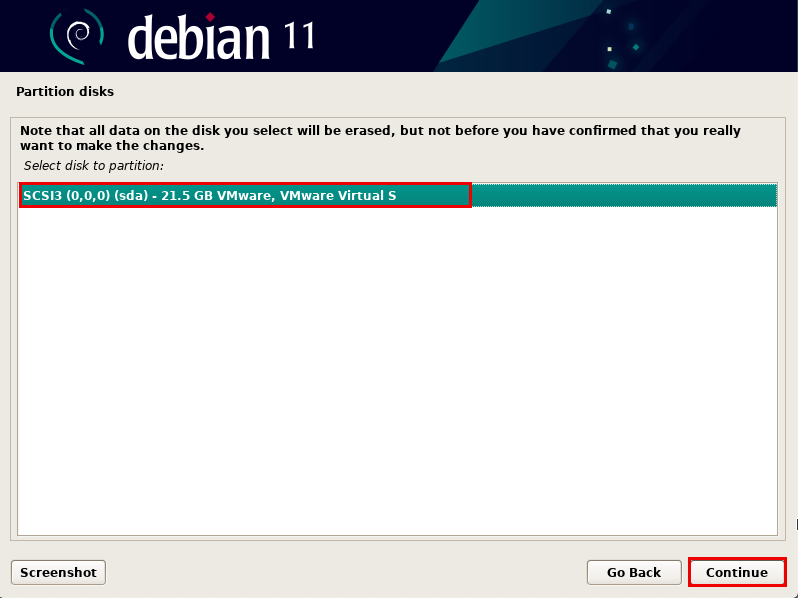
3.7.2 Disk Selection
Select the disks to partition; the disks that can be used to install Debian will be displayed. For a single disk, the disk shown will be automatically selected.(In this case, it is installed on VMware Workstation, and the display is different from usual.)
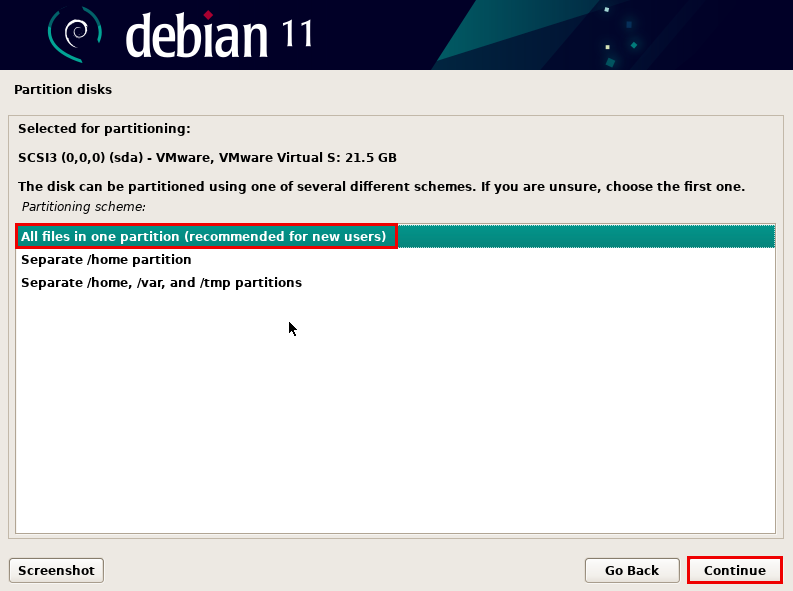
3.7.3 Configure auto-configuration partitions
Select how you want the selected disk to be partitioned. This time, select "All files in one partition (recommended for new users)"; a single partition will consist of only the "/(root)" partition.
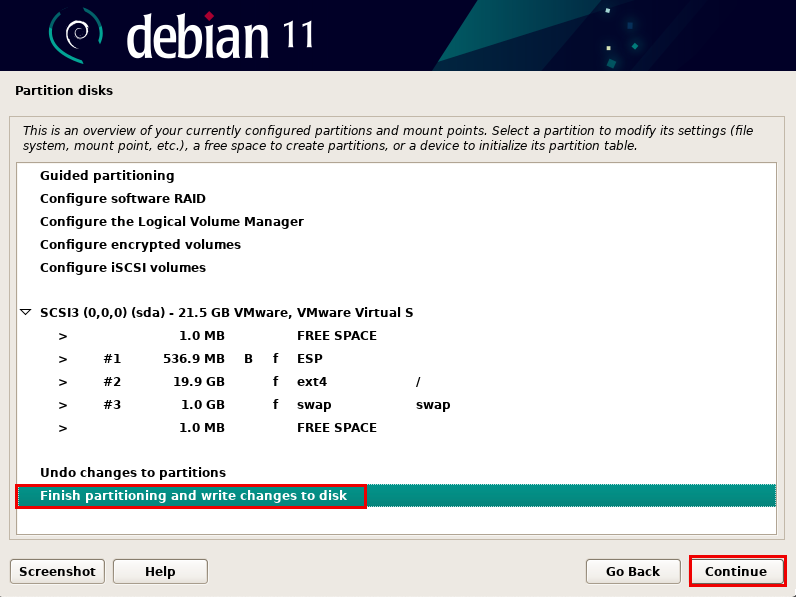
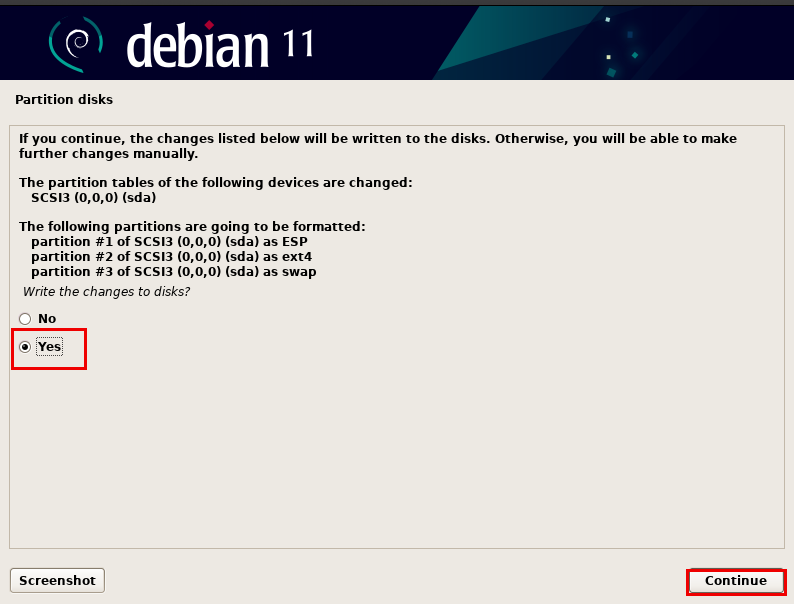
3.7.4 Confirmation of writing to disk
A confirmation will appear before partitioning. Select "Yes" if you are sure.
3.8. Base System Installation
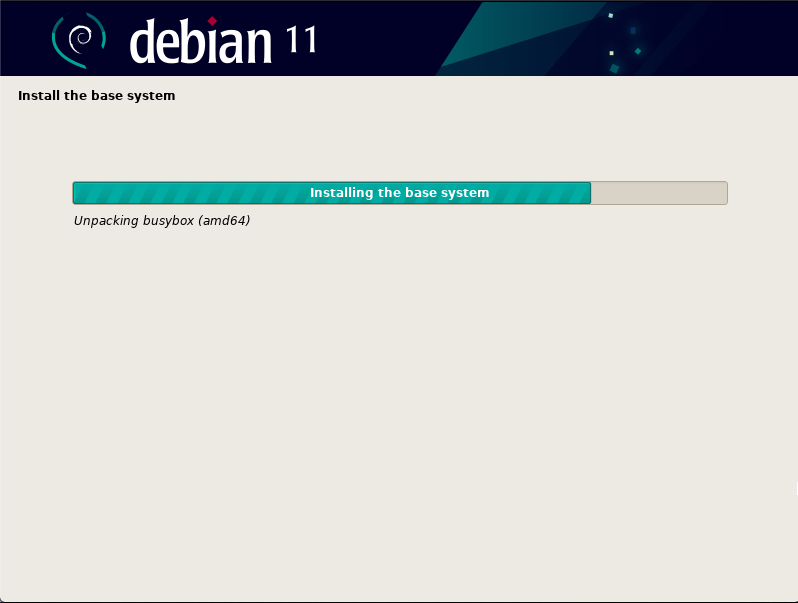
3.9. Package Manager Settings
Basic configuration of apt, the package manager used by Debian.
To download packages and information from the Internet with apt, specify the archive mirror or location to download to.
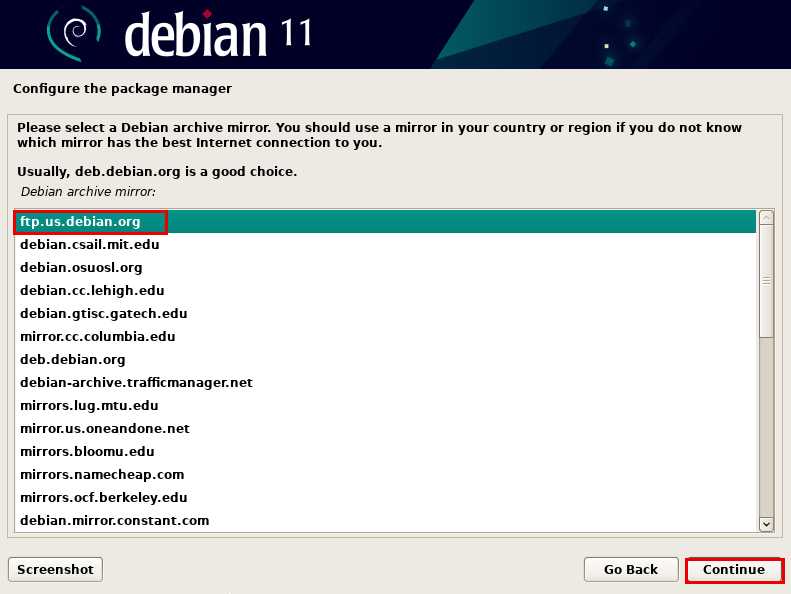
For use in the U.S., it is better to choose a mirror with "us".
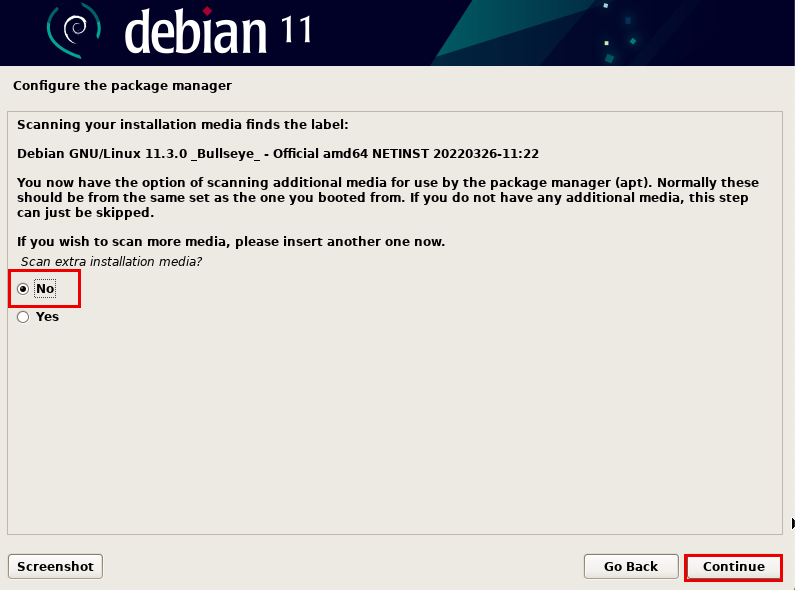
3.9.1 Confirm CD/DVD to be managed by Package Manager
Check the CD/DVD to be used for installation. NETINST is minimally configured and additions are downloaded from the Internet, so "No" is selected here.
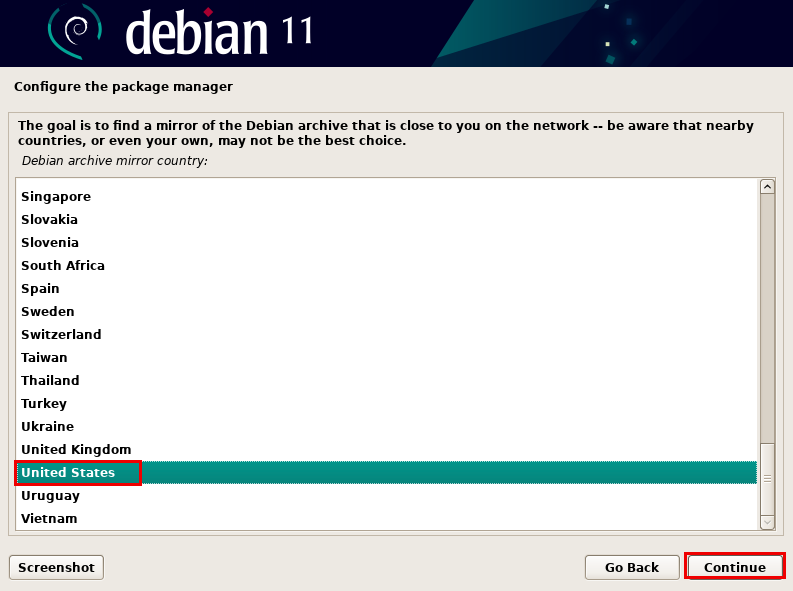
3.9.2 Archive Mirror Selection
The archive mirror is like a CentOS repository and is the destination from which apt will retrieve packages. Select the closest network location for downloading software from the network. For systems to be deployed in "United states", select "United states".
Select the best location from the Debian archive mirrors located in the United States.
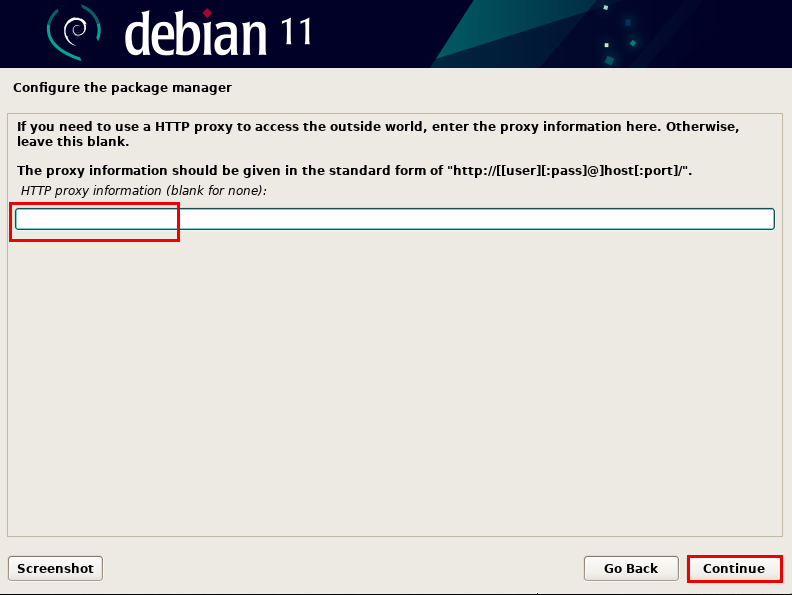
3.9.3 Proxy Settings
If you are going through a proxy server to connect to the Internet, configure the proxy server setting information here. Since you will not use it this time, do not configure it and click "Continue".
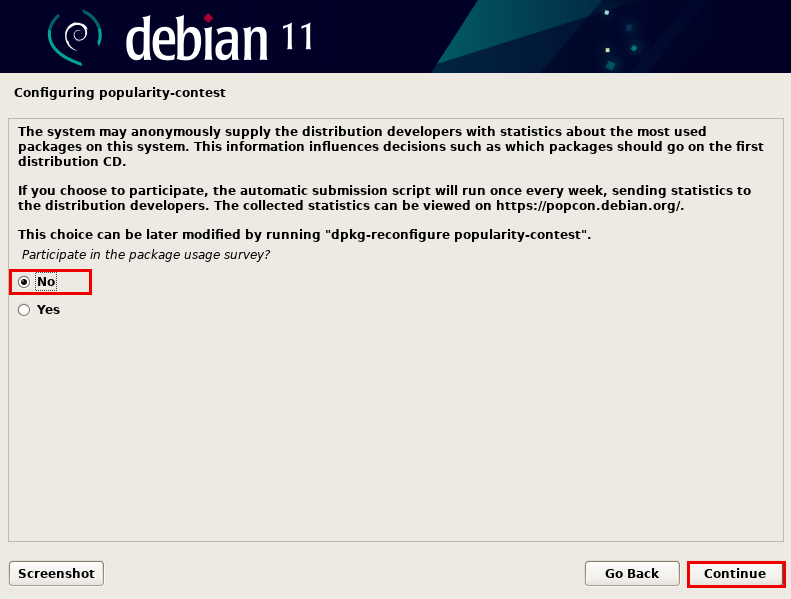
3.10. popularity-contest
popularity-contest is a system that provides anonymous statistics on packages used to debian developers.
This function is intended to be used as a reference when designing future debian distribution packages. Please feel free to set "No" or "Yes".
3.11. Software Selection
Since we will not be installing a desktop environment, we will select the following two options
SSH Server Standard System Utilities

Software installation begins.
When the installation is complete, the "Installation Complete" screen will appear. debian 11 is now installed on your system. Click "Continue" to start the system reboot.
Remove the installation media and reboot after confirming the BIOS to boot from the installed disk (HD, SSD), and a login prompt will appear. This completes the system boot process.