

AlmaLinux 8.6 Install
AlmaLinux OS is a project launched by CloudLinux in the US as an alternative to CentOS.
Currently, the AlmaLinux OS Foundation is the development parent organization.
AlmaLinux OS 8.6 is a Linux distribution compatible with "Red Hat Enterprise Linux 8"
1.AlmaLinux 8.6 download
To download the AlmaLinux 8.6 installation image, go to the following site and download "AlmaLinux-8.6-x86_64-dvd.iso".
https://vault.almalinux.org/8.6/isos/x86_64/
2.AlmaLinux 8.6 install
Install USB media Change BIOS settings to boot from USB media.
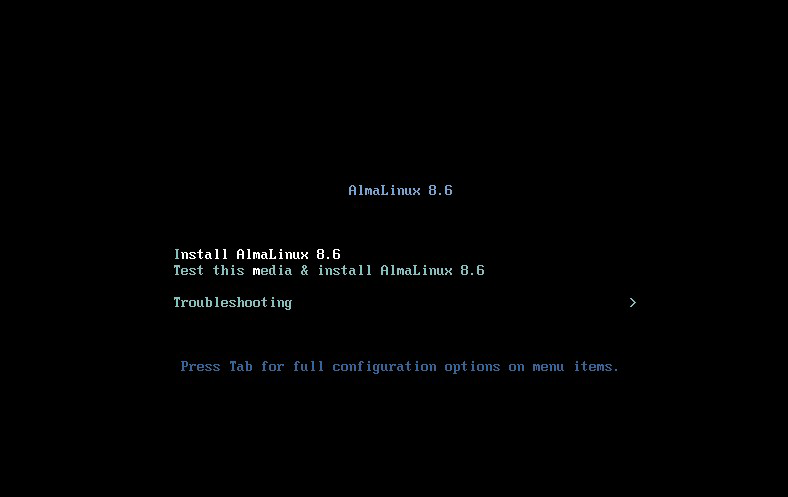
2.1 Initial installation screen
You will see the following screen. Press the "Install AlmaLinux 8.6" key at the top and proceed to "Select Language".
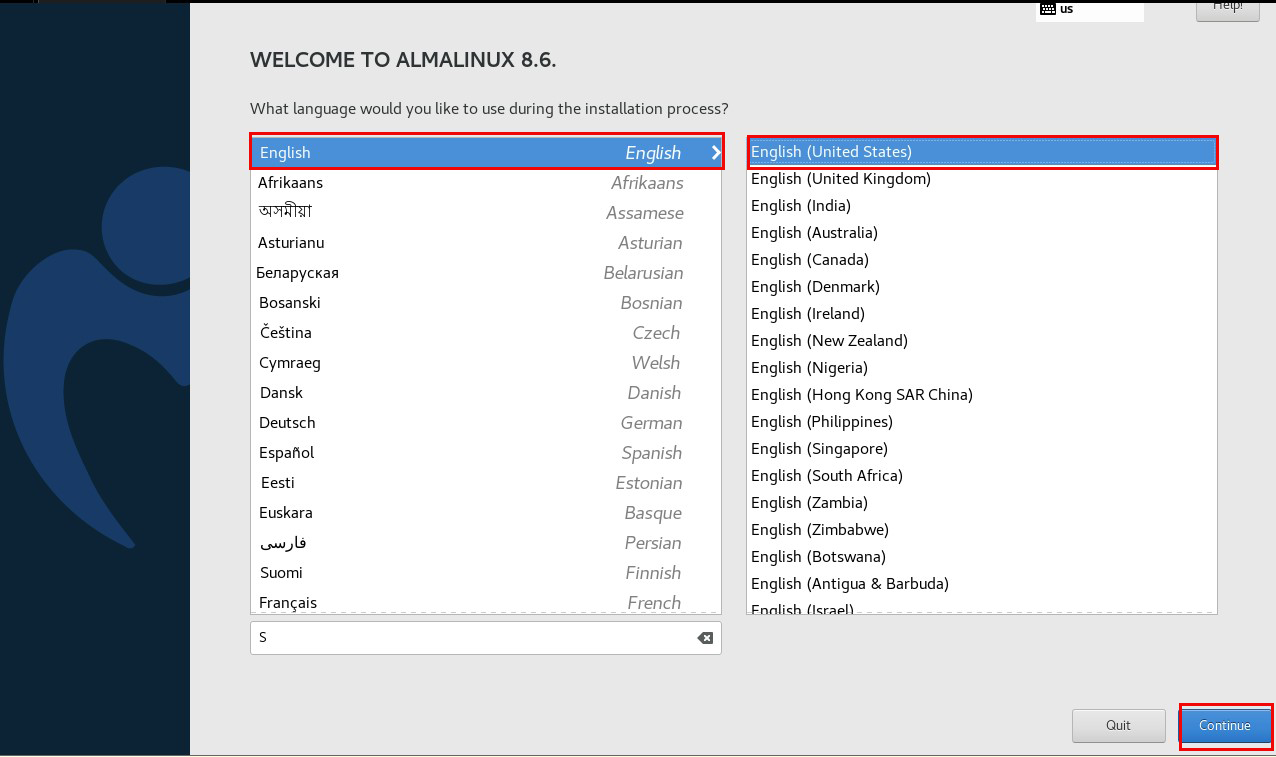
2.2 Select Language
Select "English" and click "Continue"
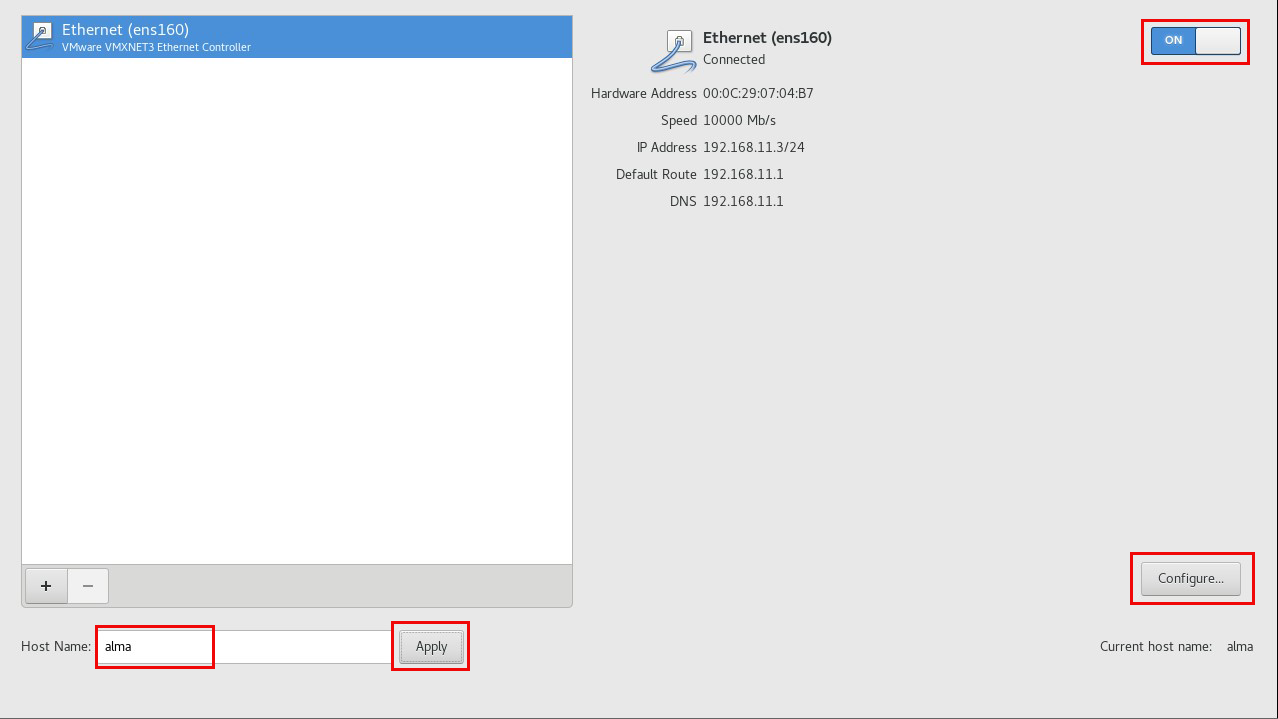
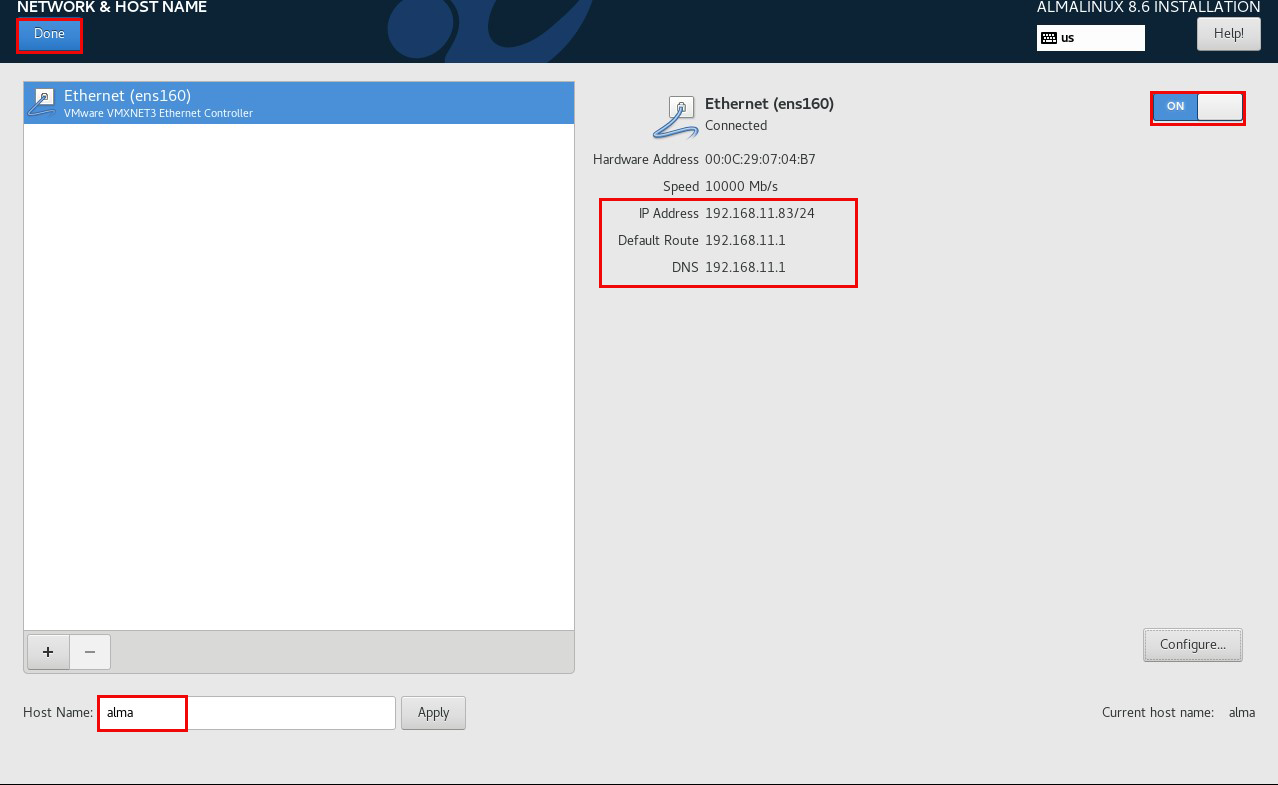
2.3 "Network and Host Name" setting
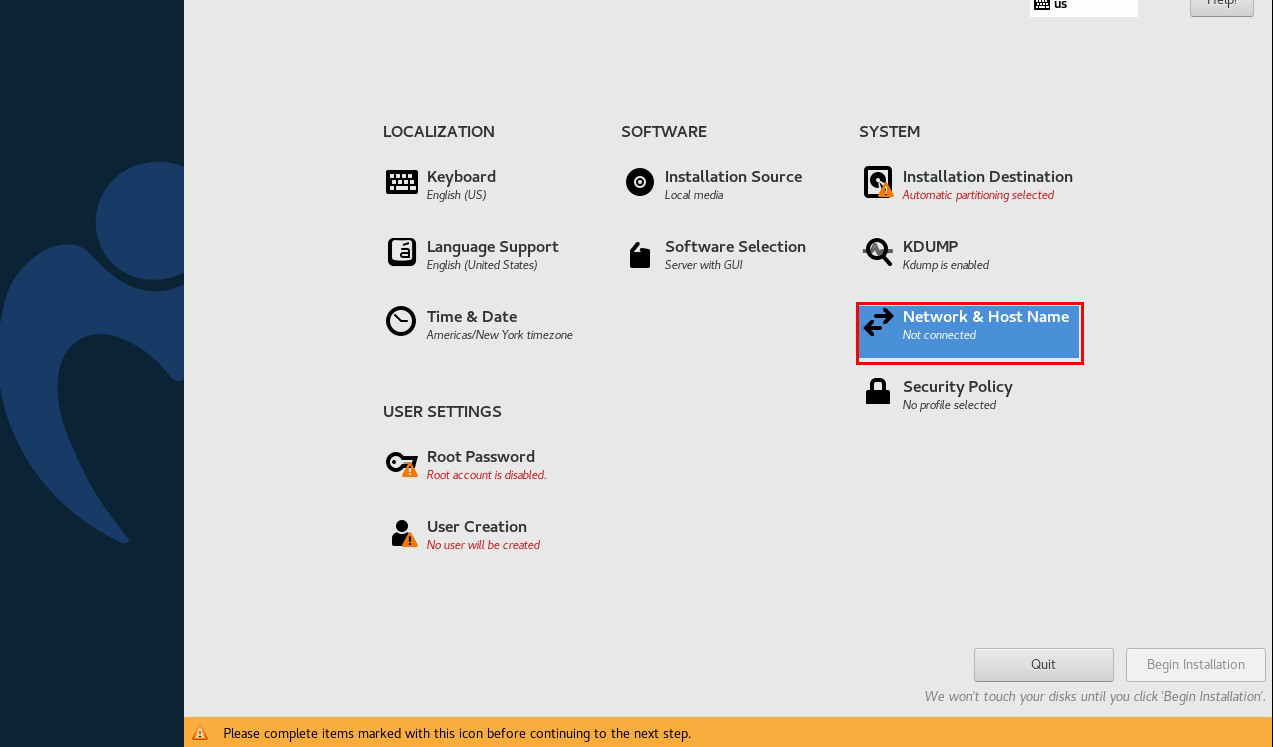
Turn "ON" the network in the upper right column.
Enter any name in "Host Name" and click "Apply
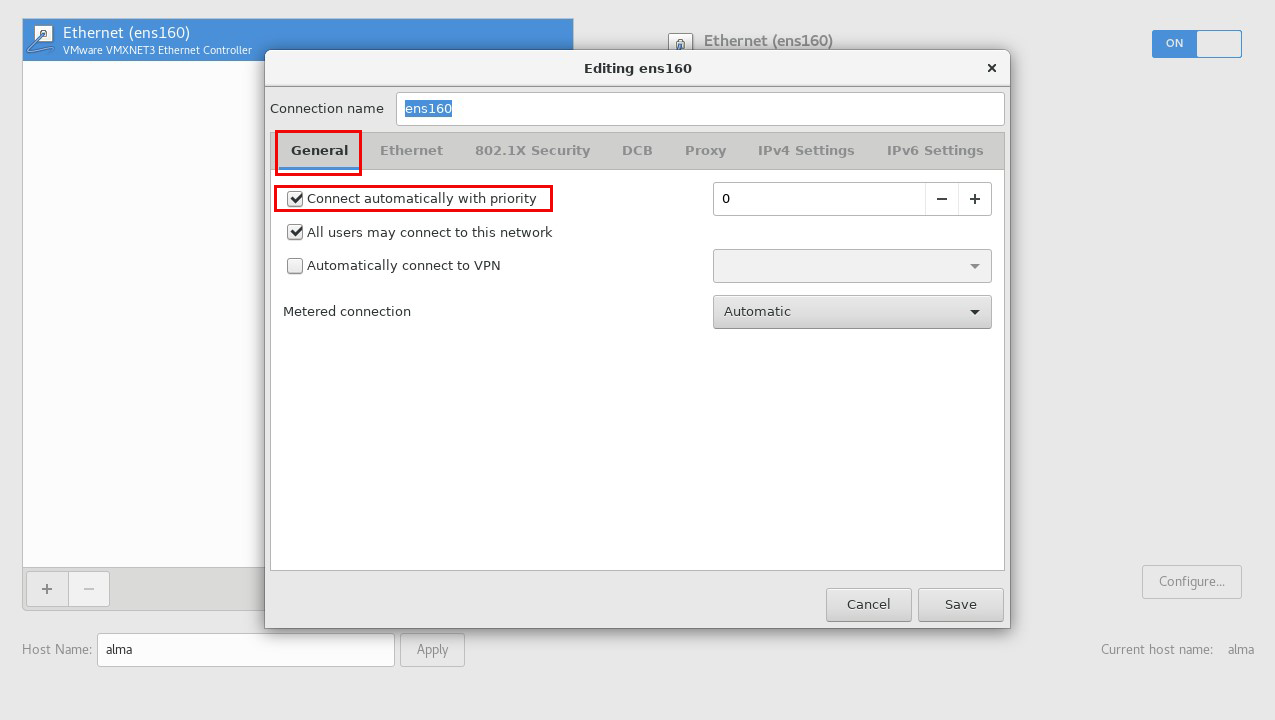
Click "Configure" to continue.
In the "General" tab, check the "Connect automatically with priority" checkbox.
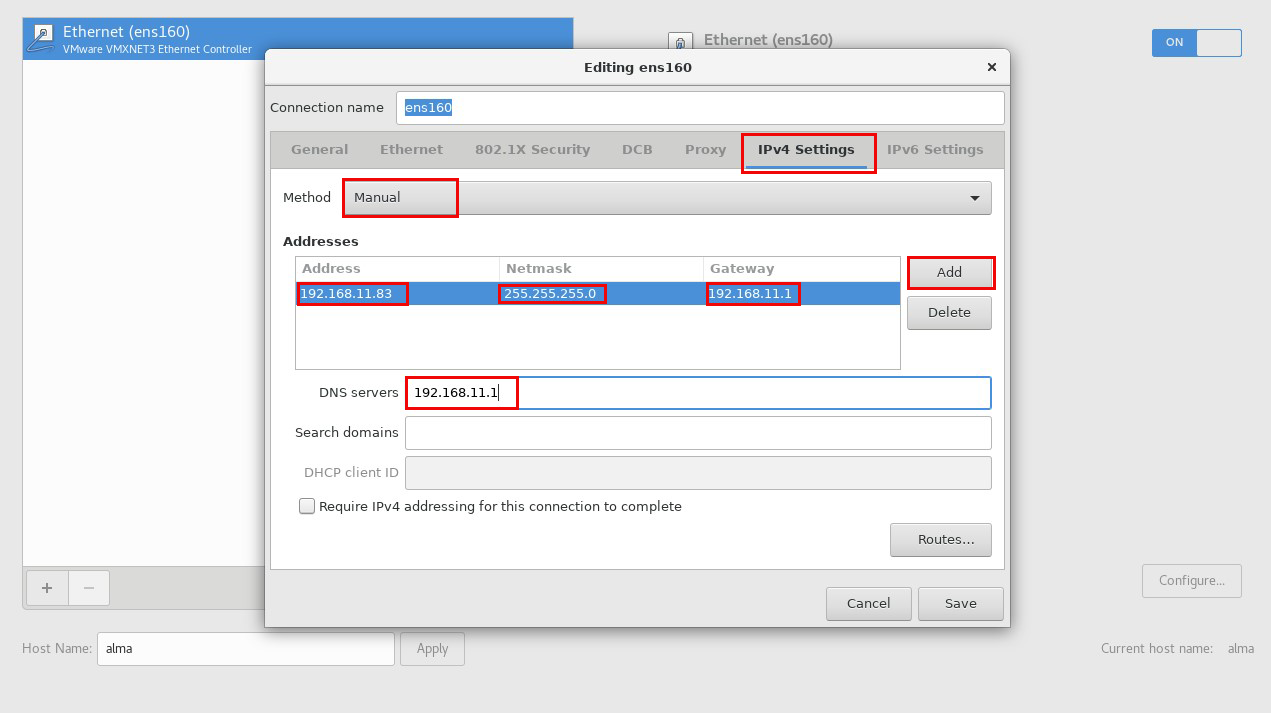
On the "IPv4 Settings" tab
Method : Manual
Click "Add"
Address : IP address of the server(This time 192.168.11.83)
Netmask : 255.255.255.0
Gateway : 192.168.11.1Router IP Address)
DNS servers : 192.168.11.1(Router IP Address)
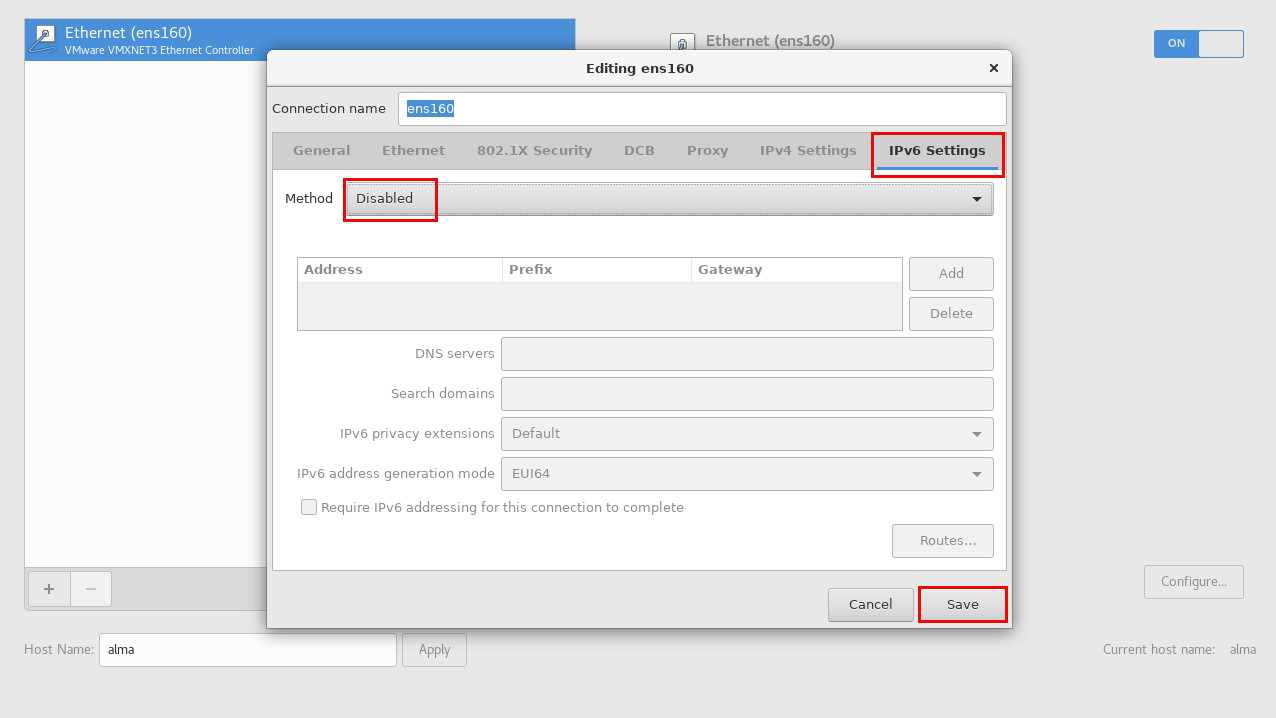
In the "IPv6 Settings" tab, set "Method" to "Disabled" and click "Save
Confirm each setting and click "Done"
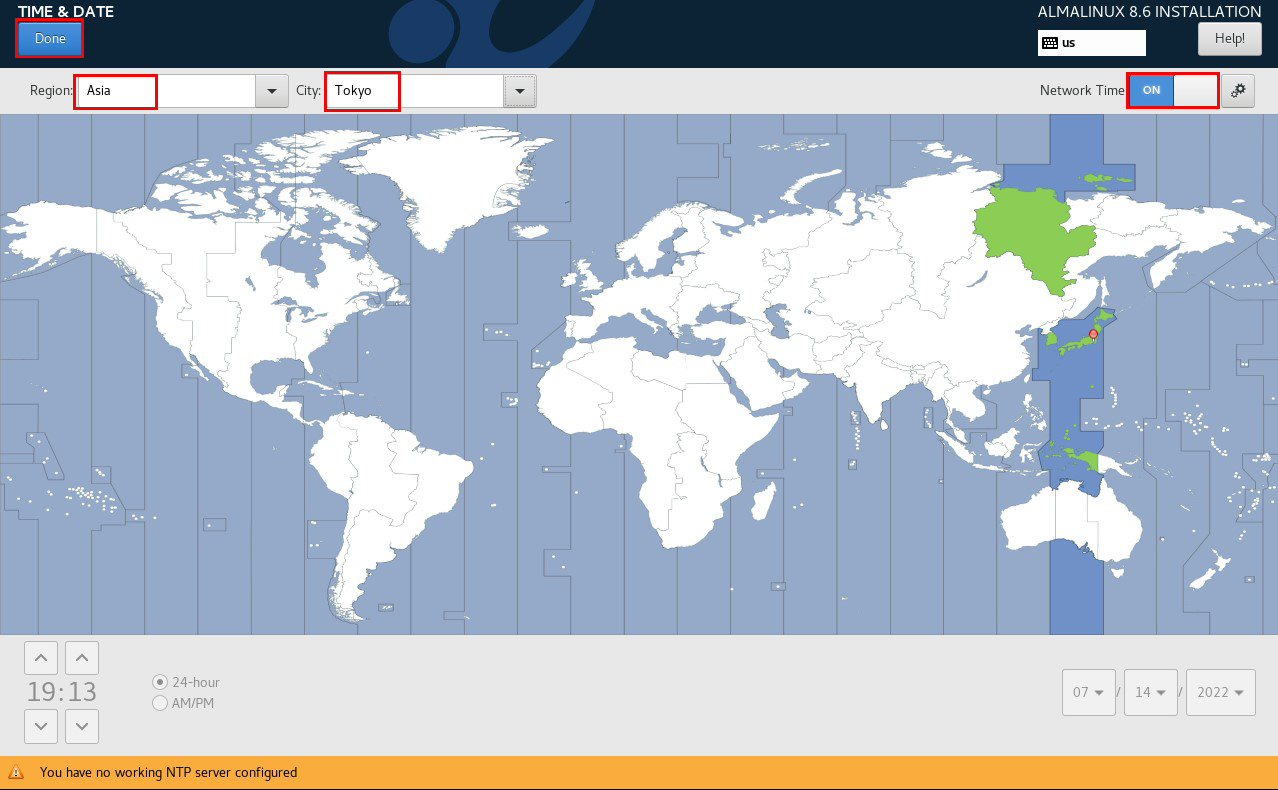
2.4 「Time & Date」
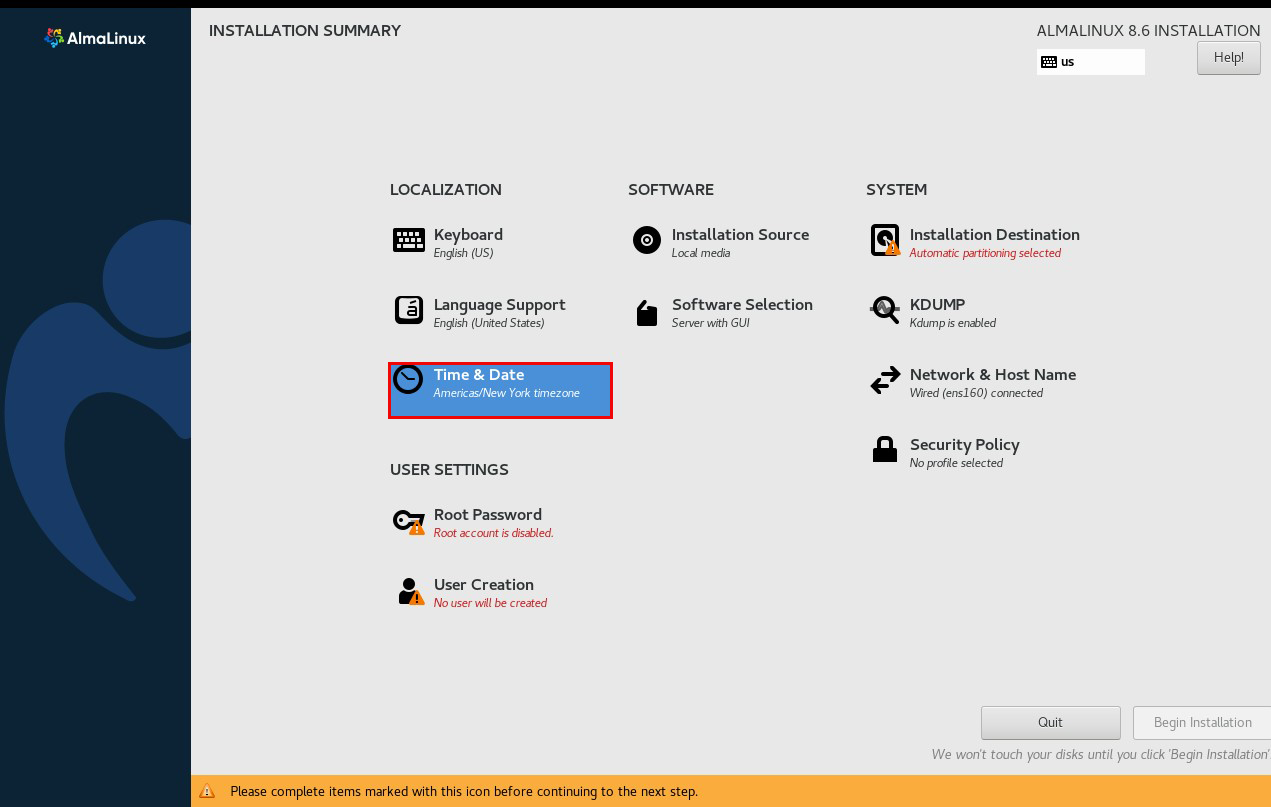
Region "Asia" City "Tokyo" 、Turn "ON" network time
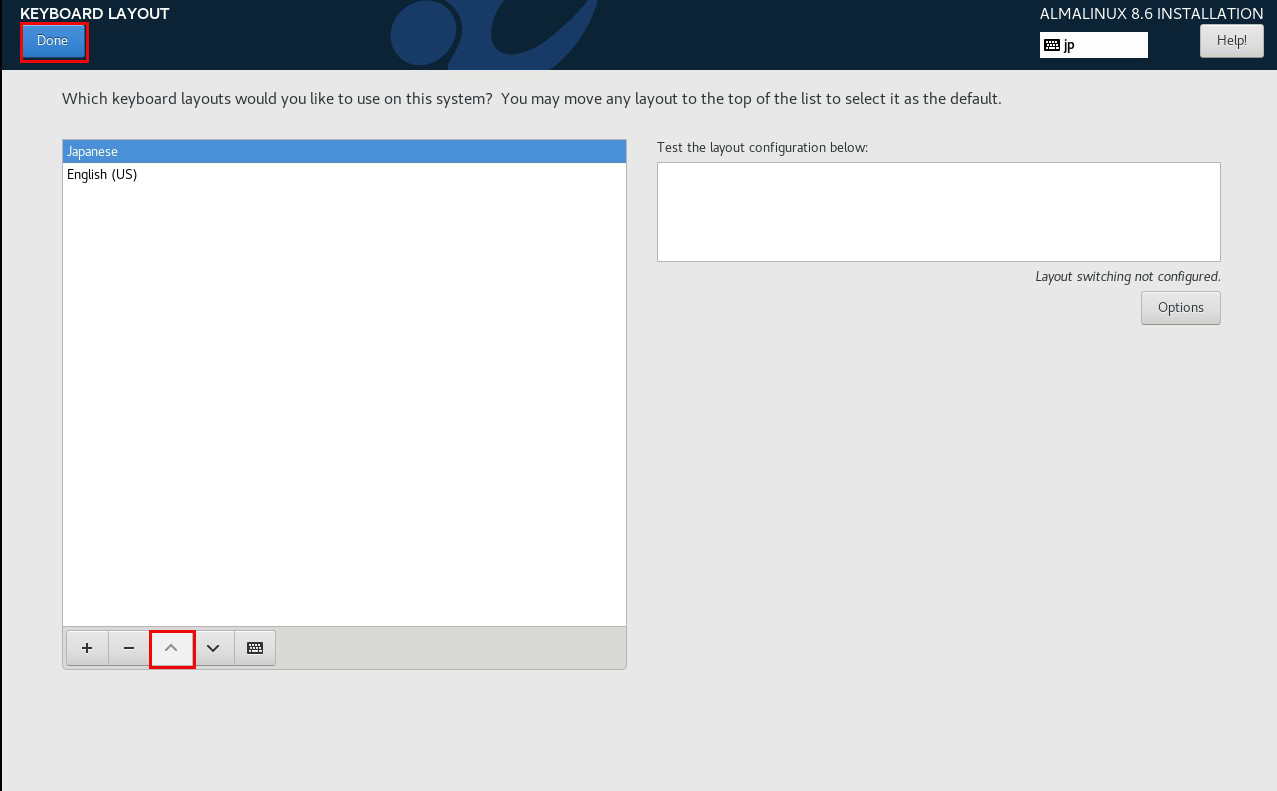
2.5 "keyboard" setup
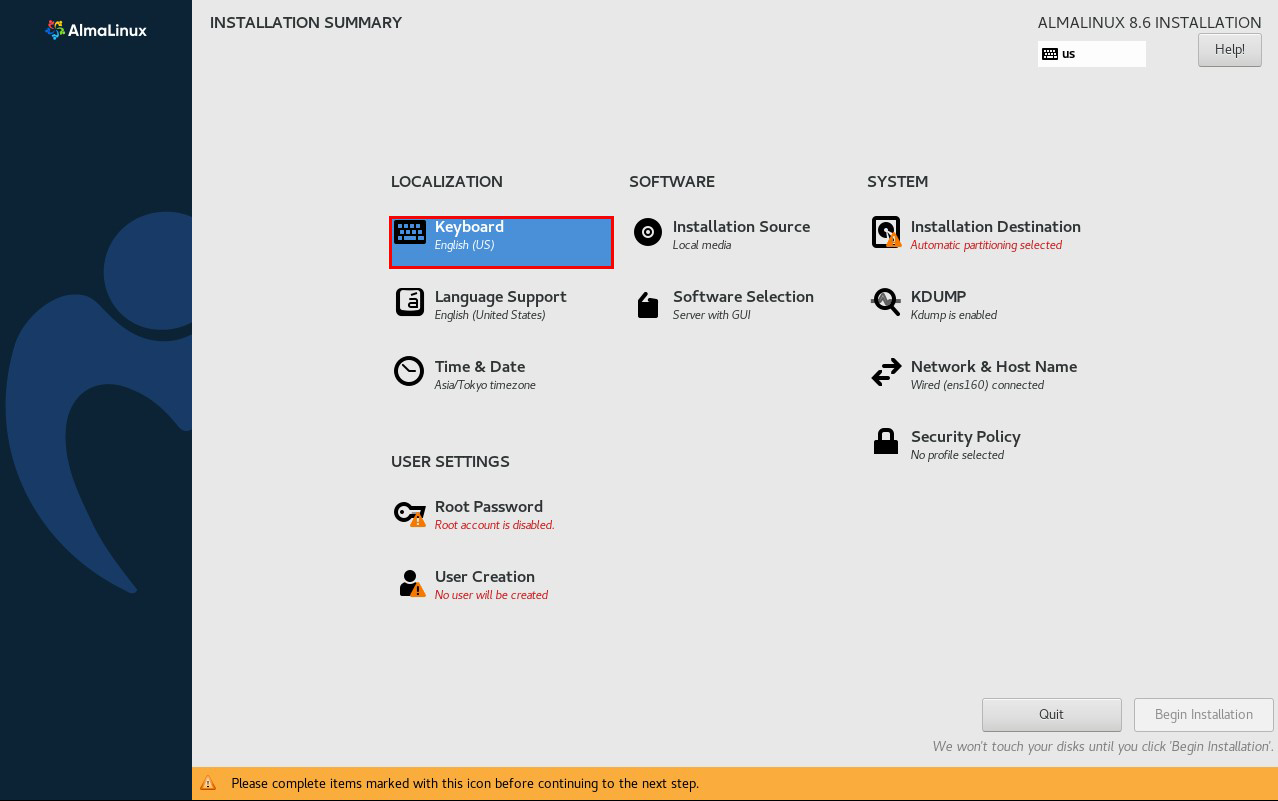
Click "+" to add Japanese layout
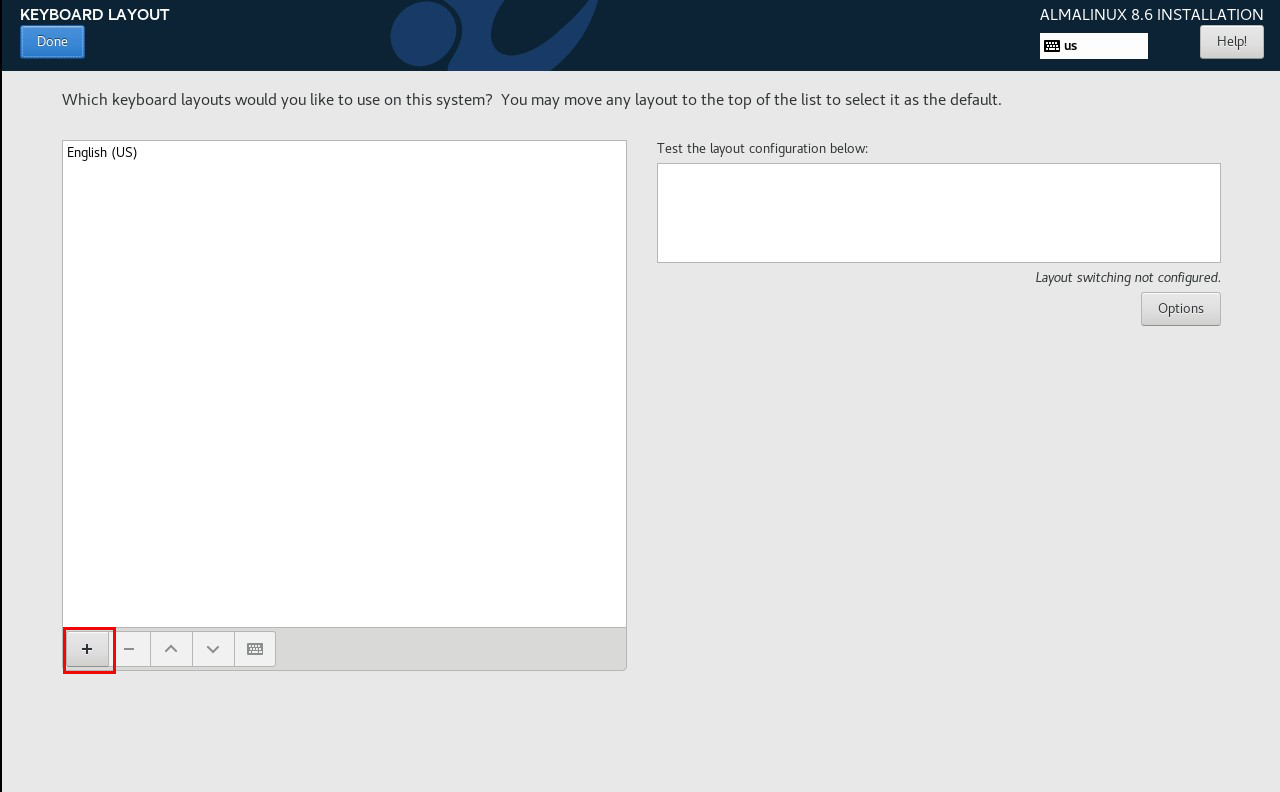
Select Japanese
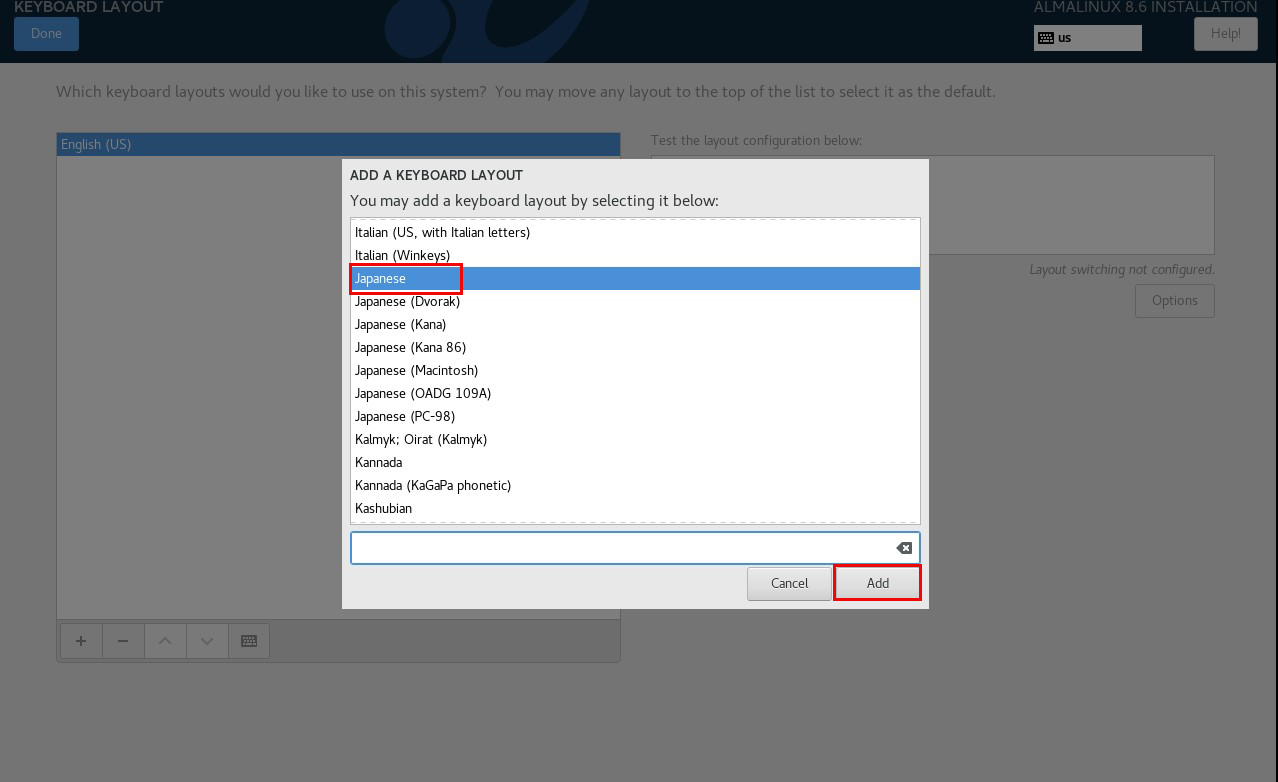
Click "^" to make Japanese the top line. Click "Done"
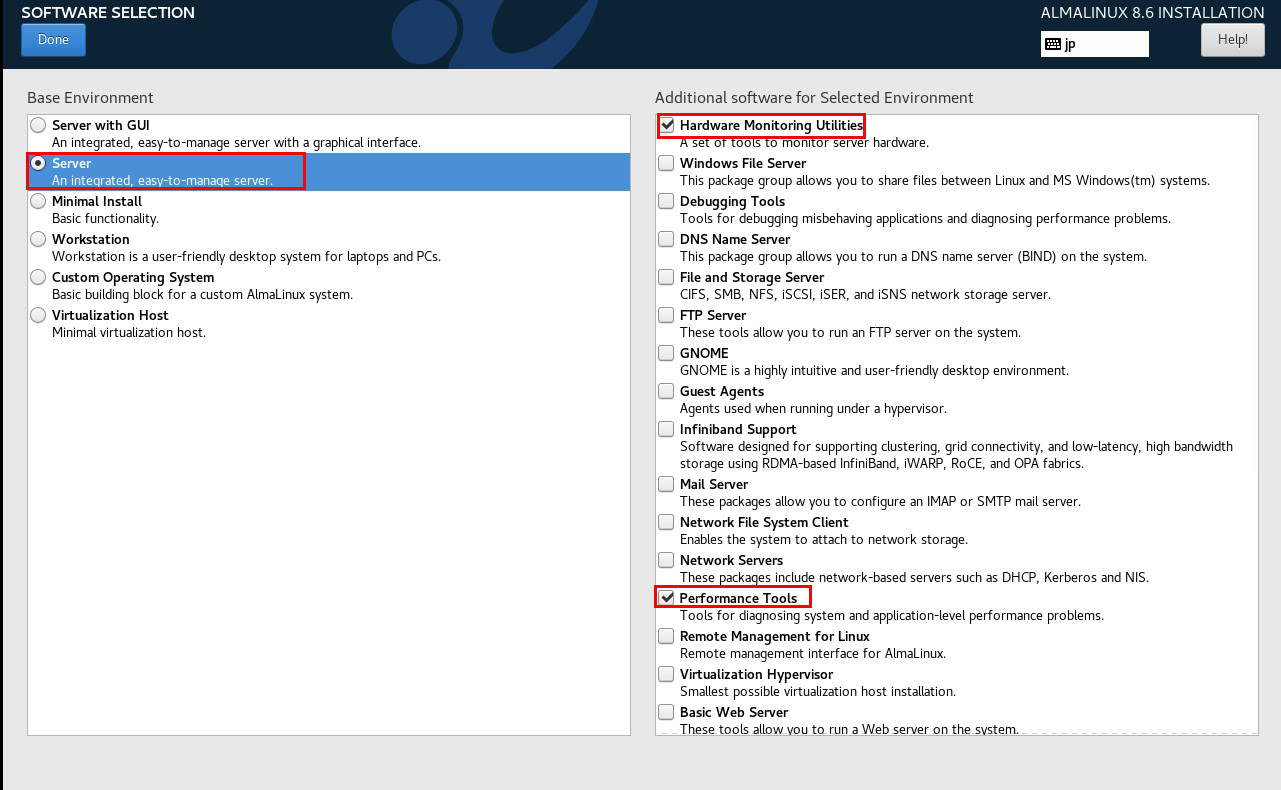
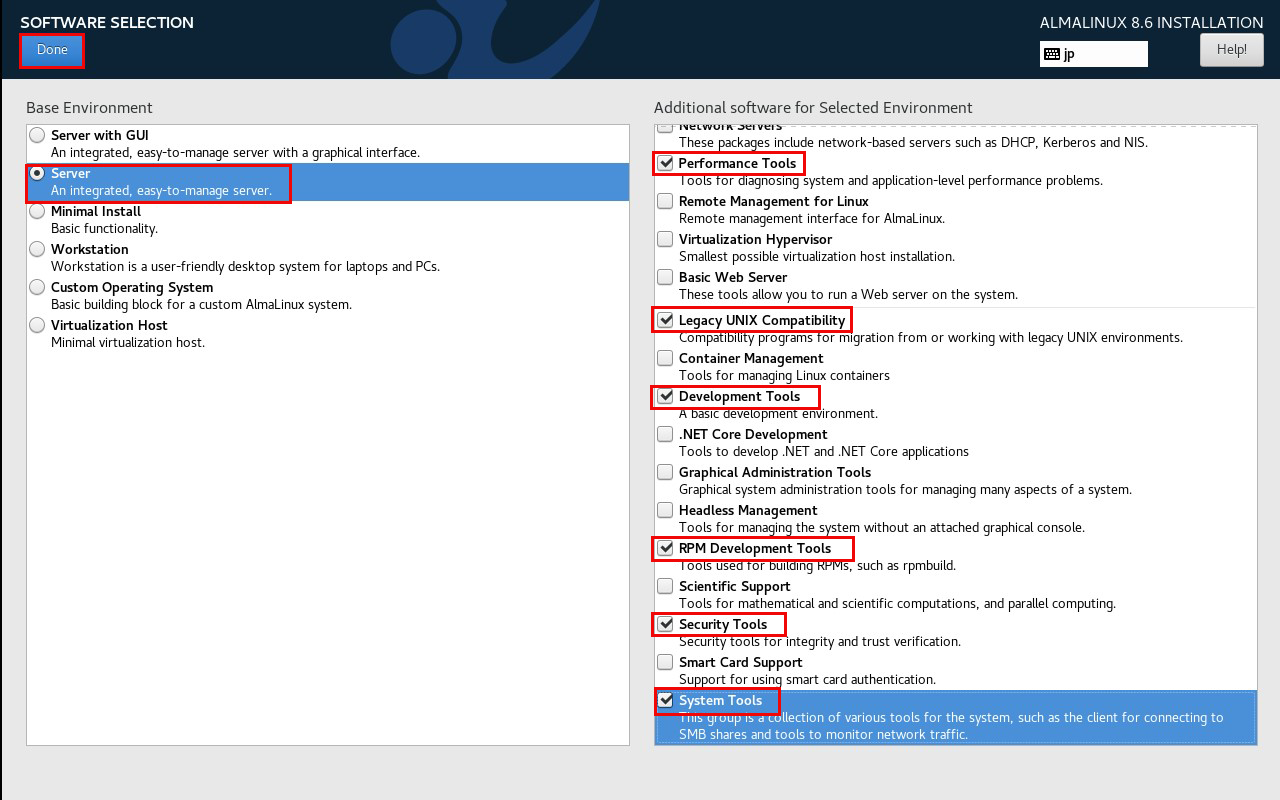
2.6 Software Selection
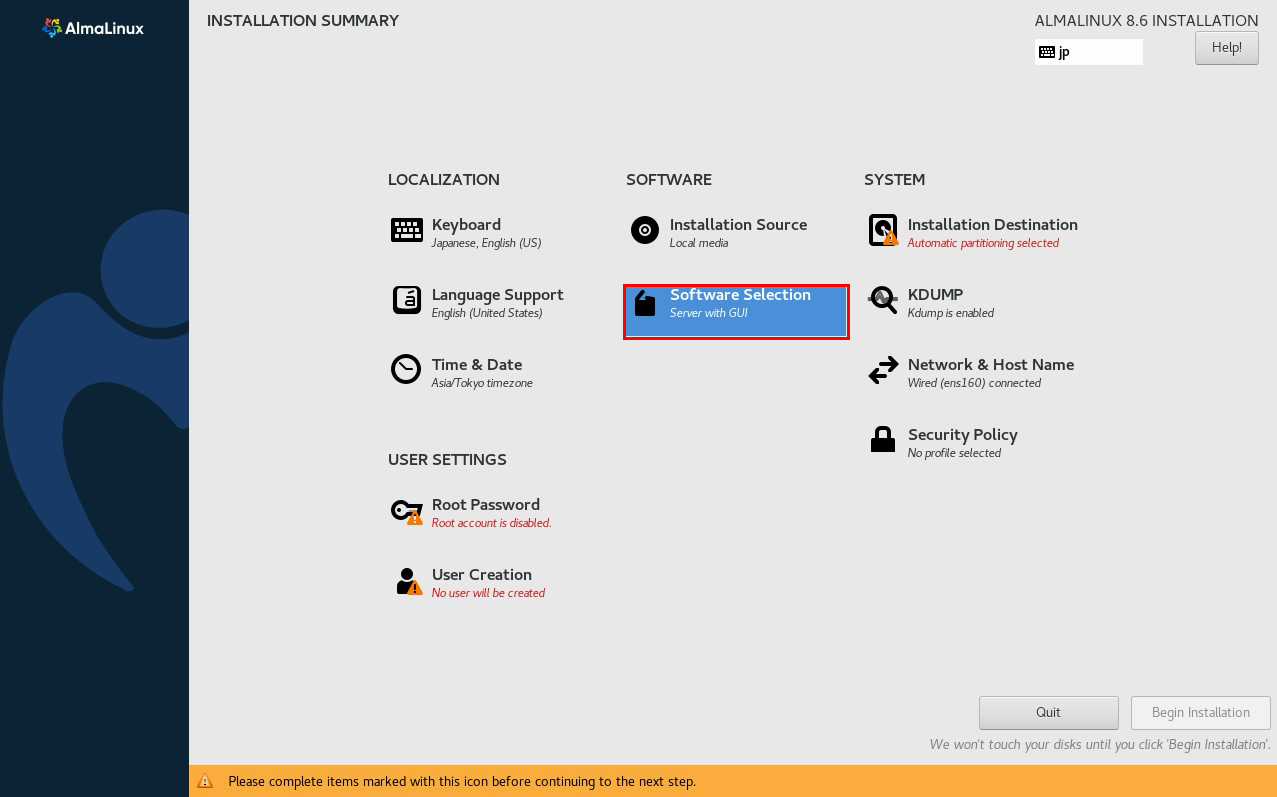
For "Base Environment" select "Server" and for "Software" select the following in the right column
- Hardware Monitoring Utilities
- Performance Tools
- Legacy UNIX Compatibility
- Development Tools
- RPM Development Tools
- Security Toolss
- System Tools
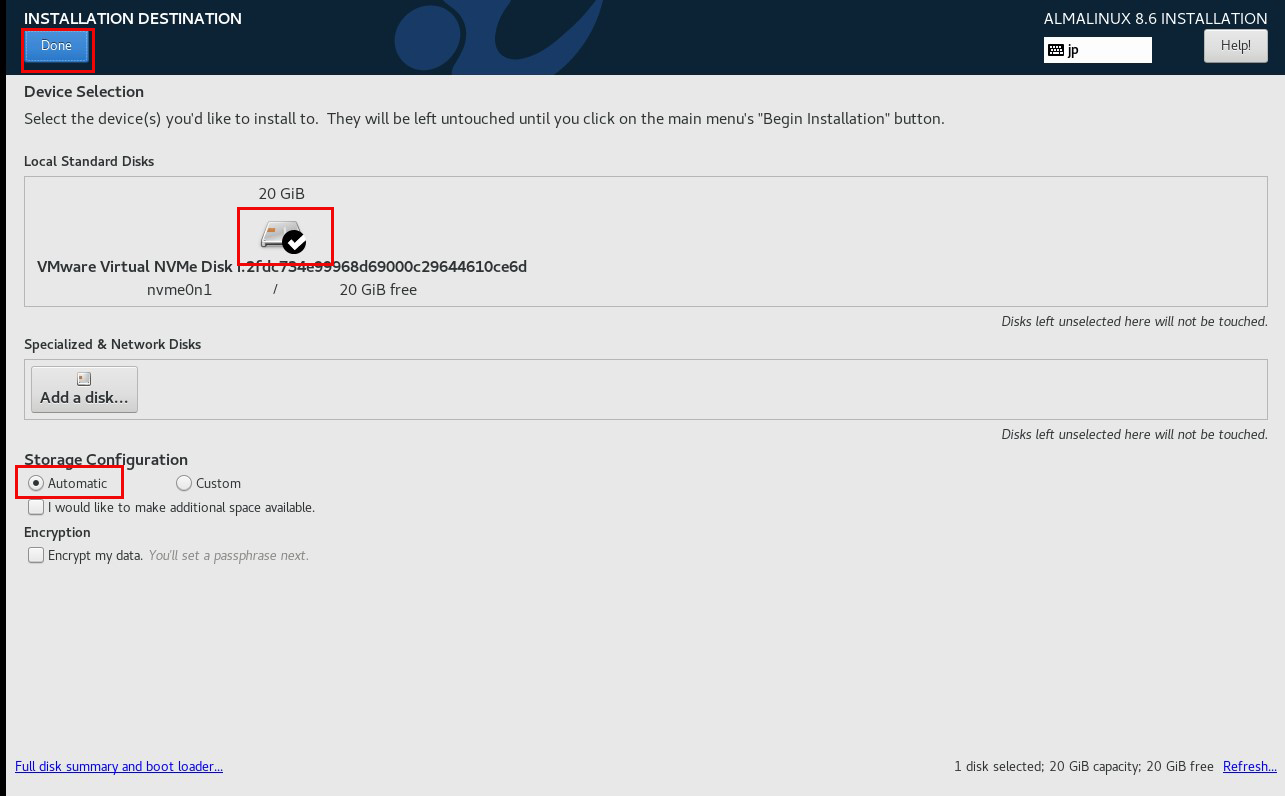
2.7 Setting "Install Destination"
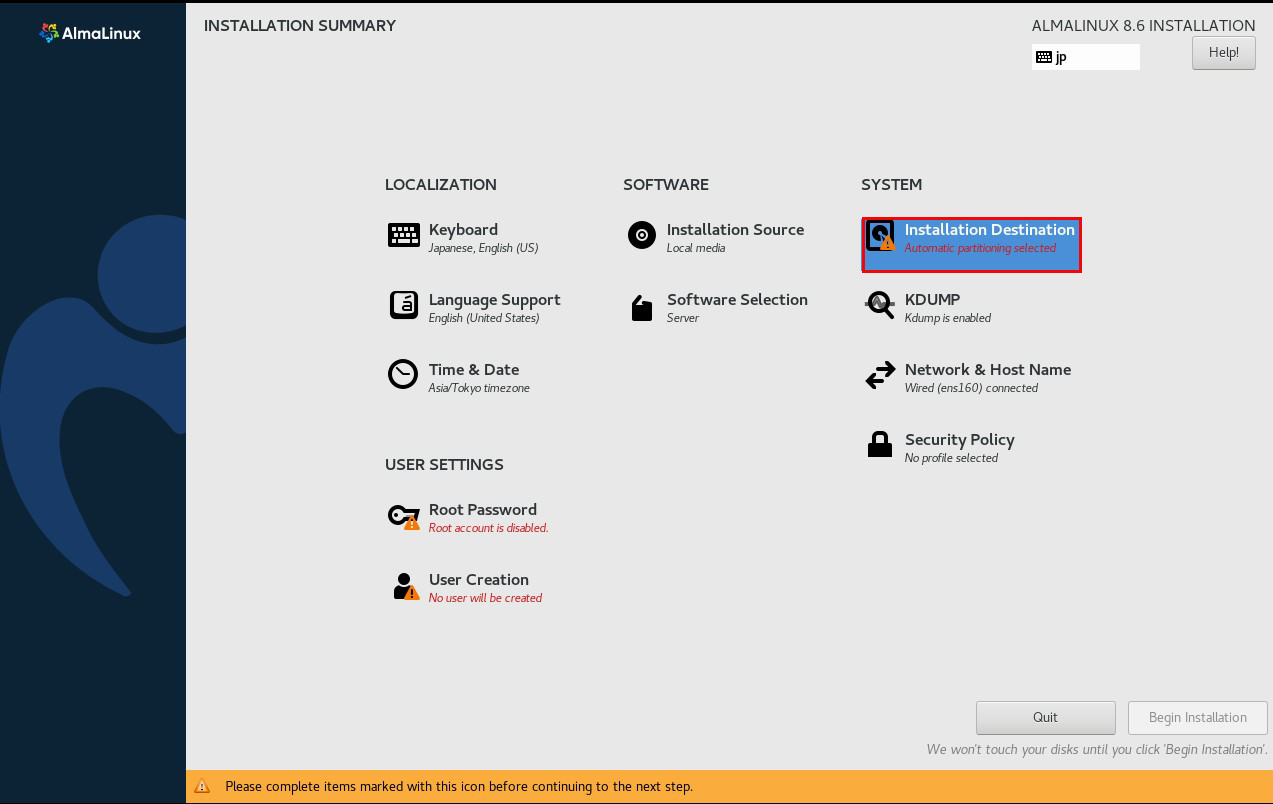
Set "Storage Configuration" to "Automatic" and click "Done".
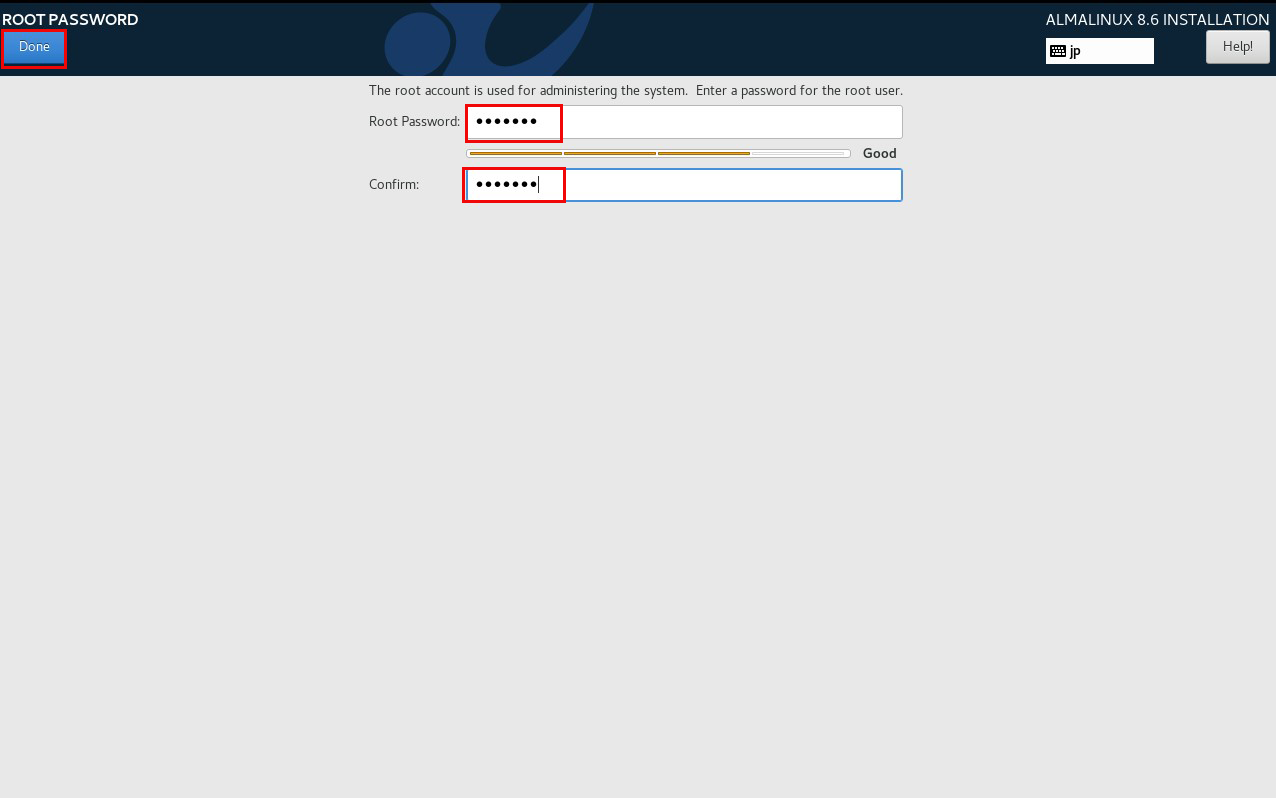
2.8 Setting "Root Password"
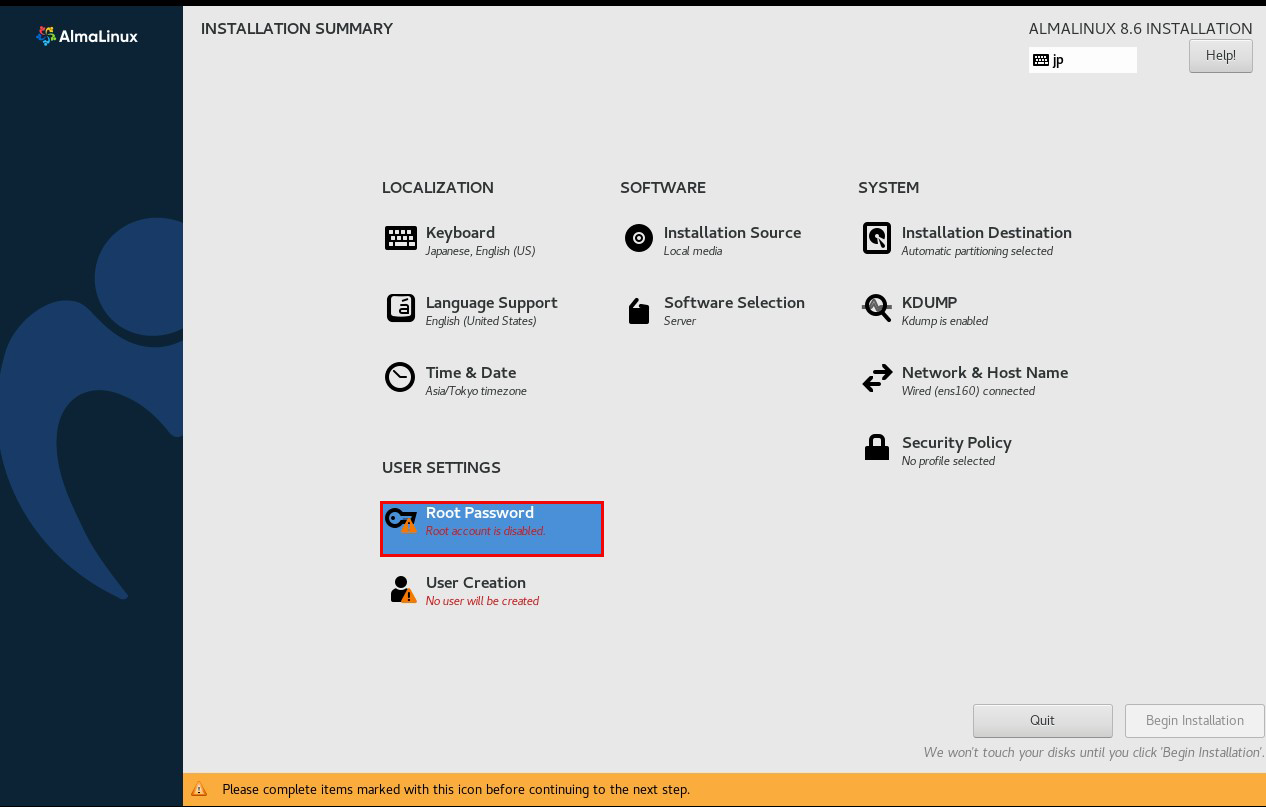
Enter Root Password and click "Done"
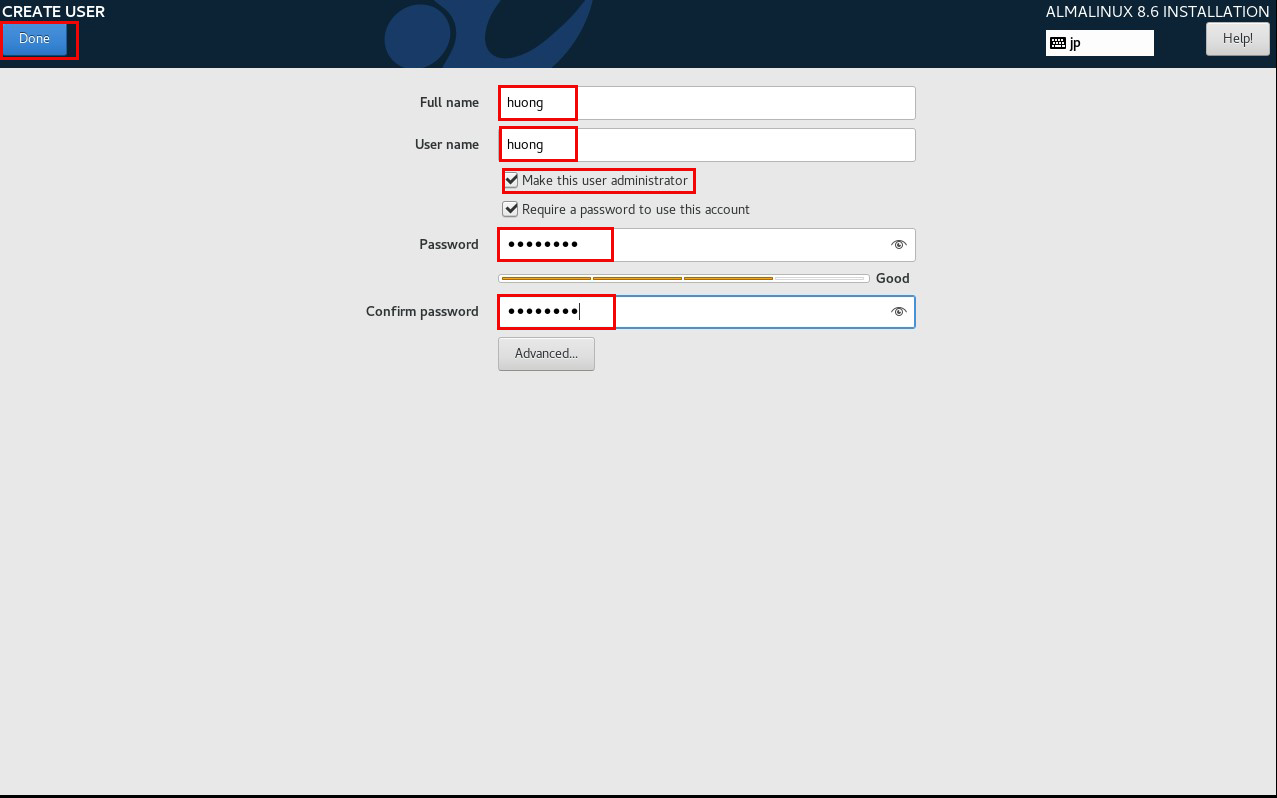
2.9 Setting "User Creation" 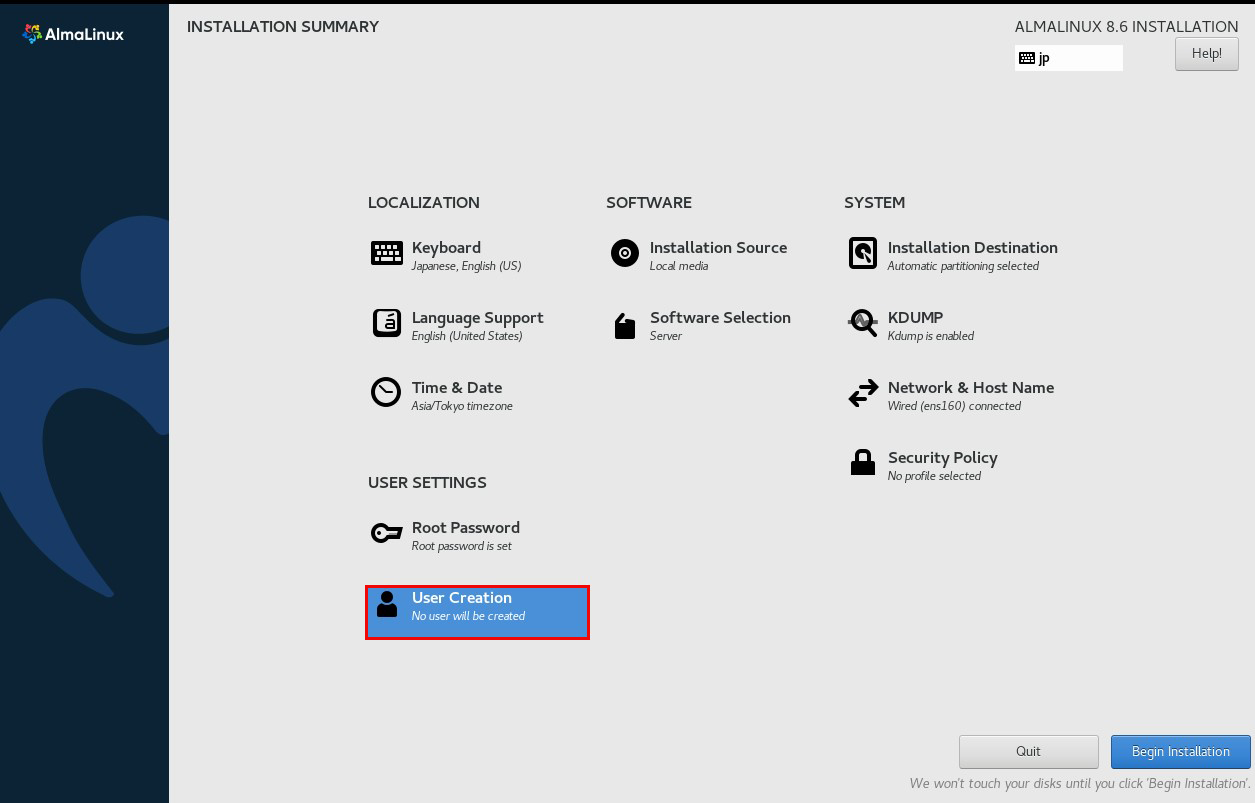
Add any name to "Full Name" and "User Name" and check the "Make this user an administrator" checkbox.
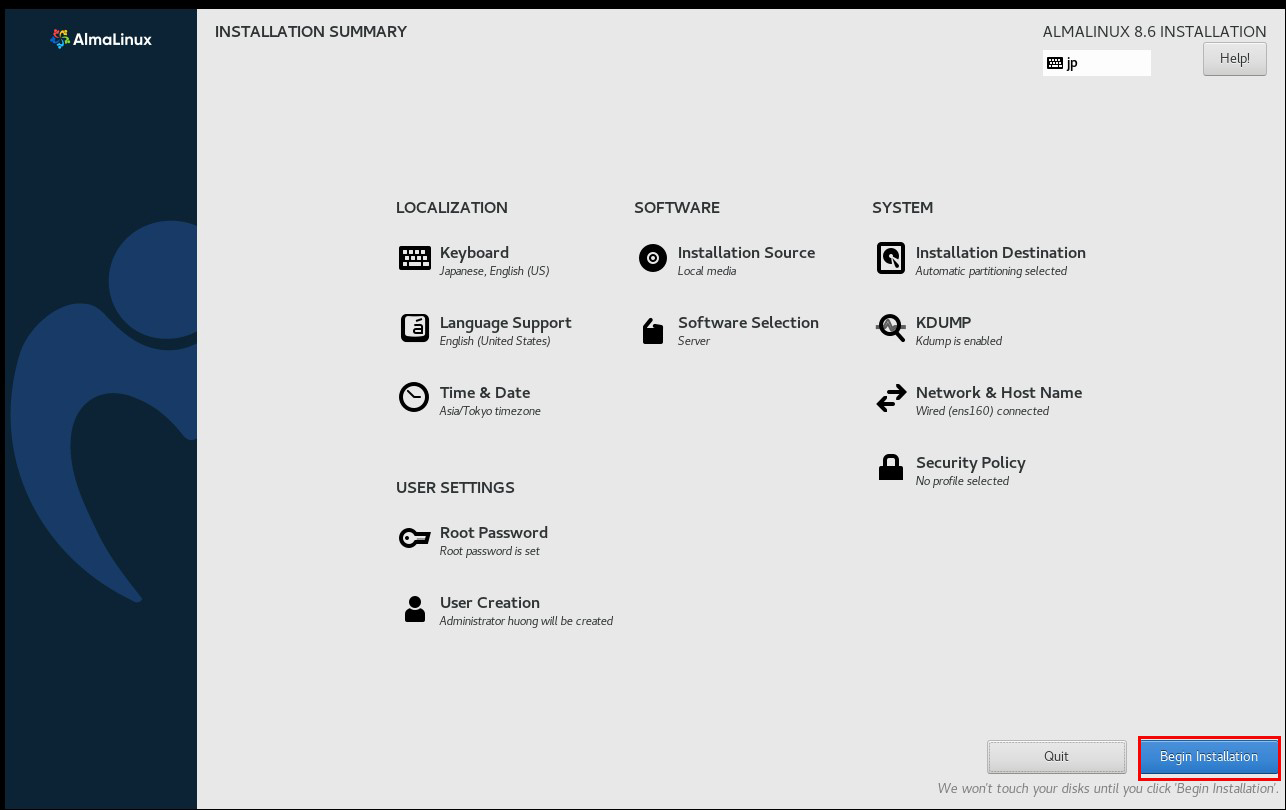
2.10 Click "Bigin Installation"
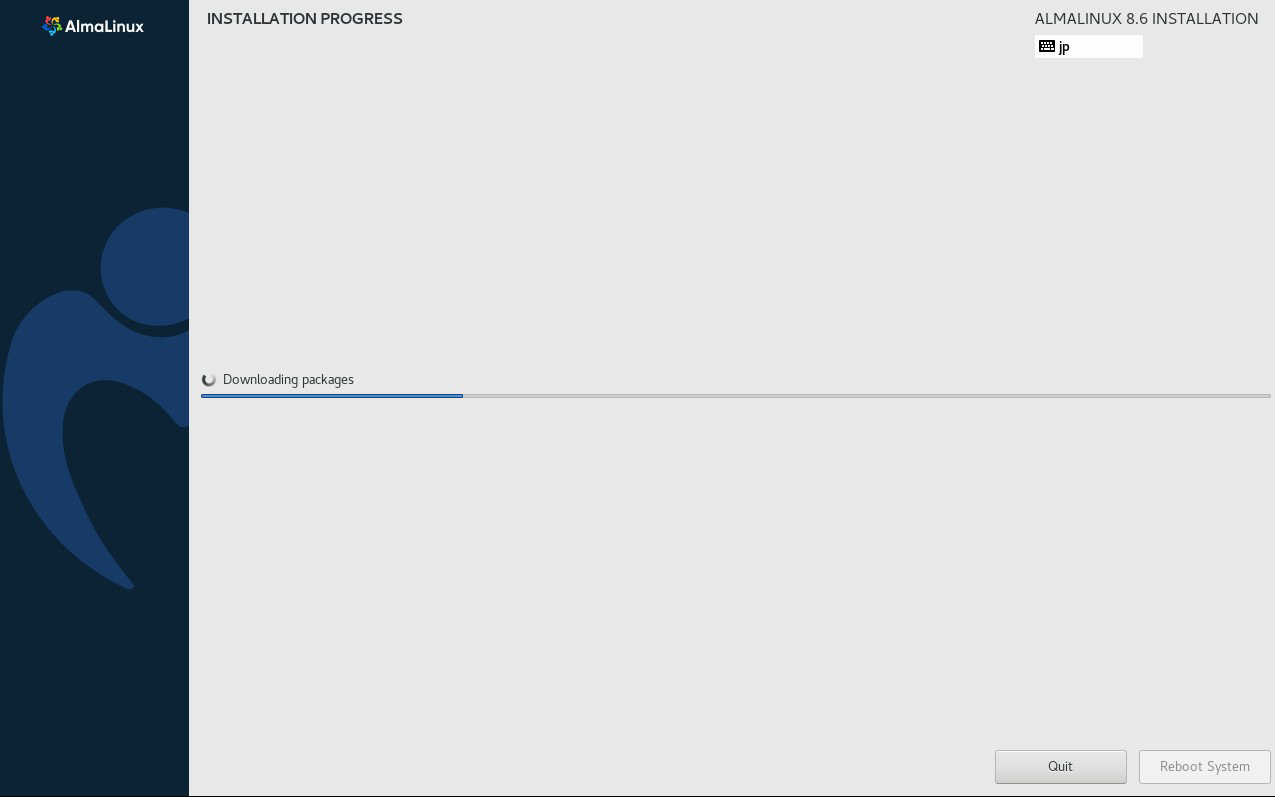
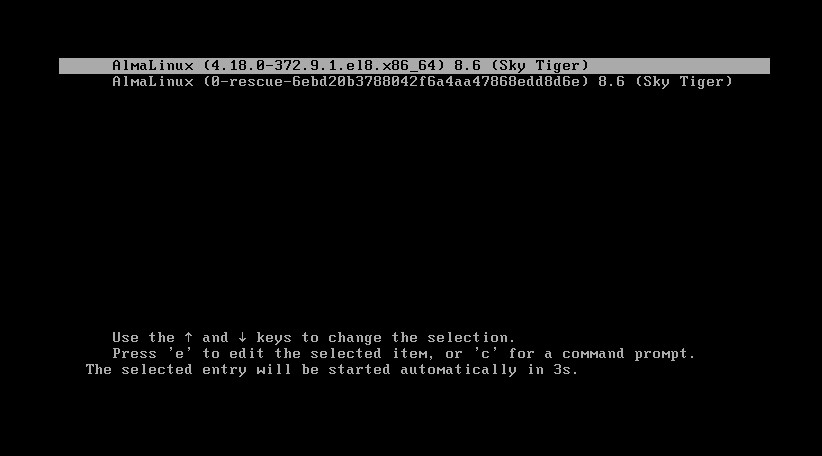
Reboot once installation is complete.
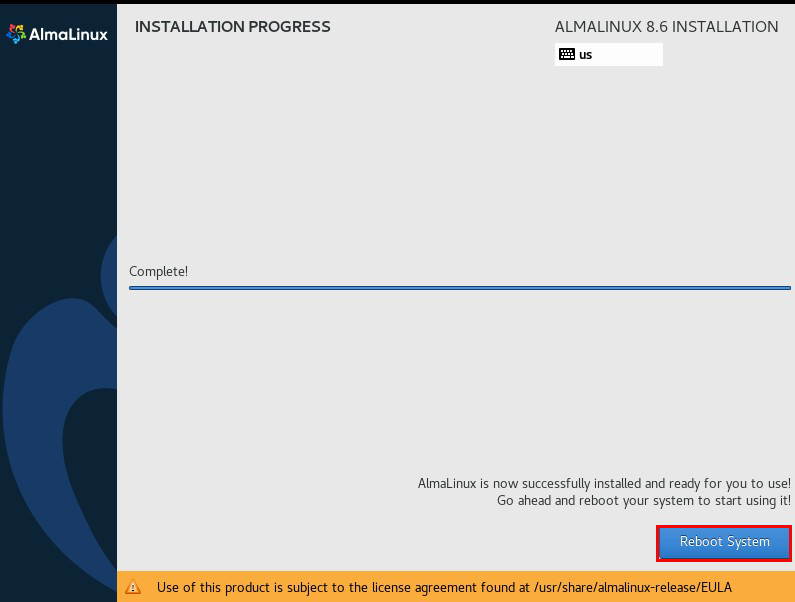
When the installation is finished and you click restart, you will see the following
The "hostname login:" screen will appear.
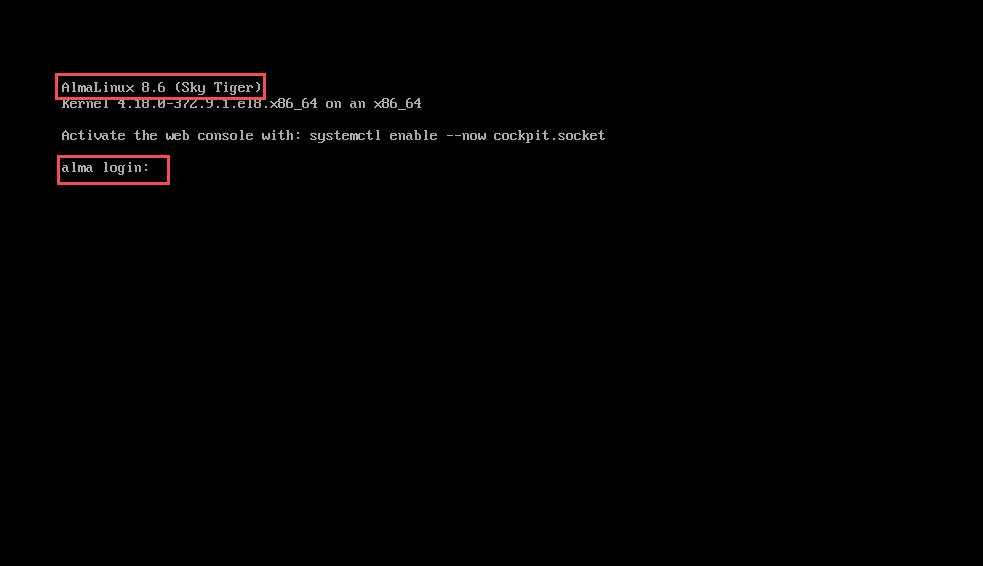
Log in with the general user username and password you just created.
When the bash prompt "$" appears, login is complete.