Rocky Linux Install
1.Rocky Linux 8.8 Download
To download the Rocky Linux 8.8 installation image, go to the following site and download "Rocky-8.8-x86_64-dvd1.iso".
https://dl.rockylinux.org/vault/rocky/8.8/isos/x86_64/
2.Rocky Linux 8.8 Install
Install USB media Change BIOS settings to boot from USB media.
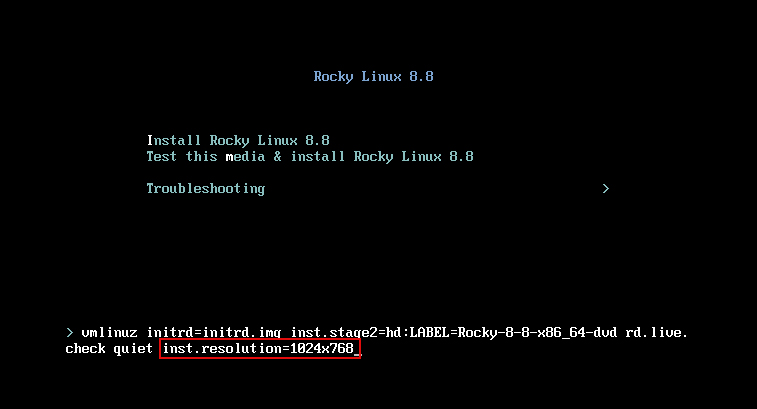
2.1 Installation initial screen
Press the [tab] key, enter "resolution=1024x768" and press the [Enter] key.
This way, the right edge of the installation screen is displayed without being cut off.
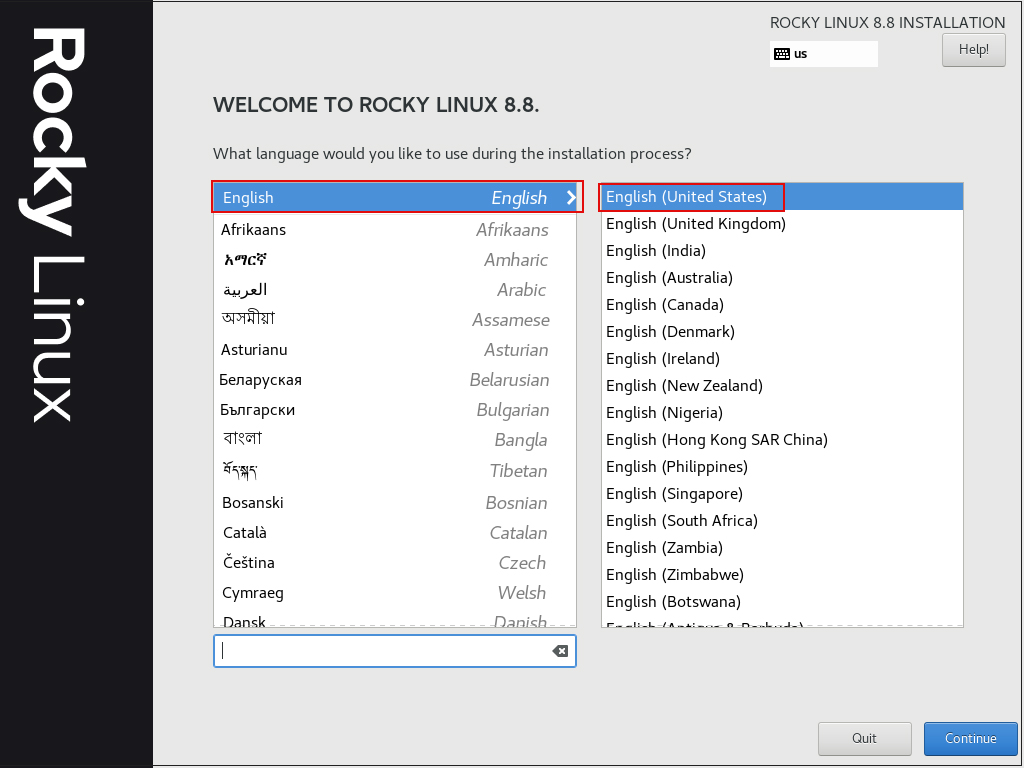
2.2 Language Selection
On the next language selection screen, select "English" and click "Continue". (The server will be set up in English.)
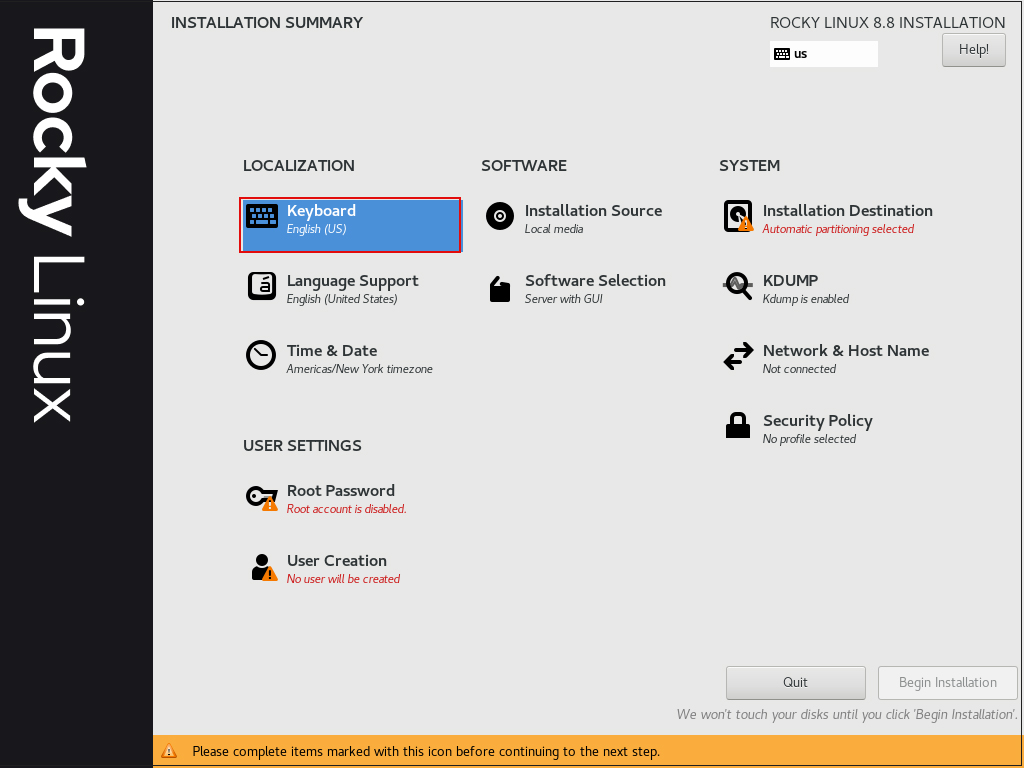
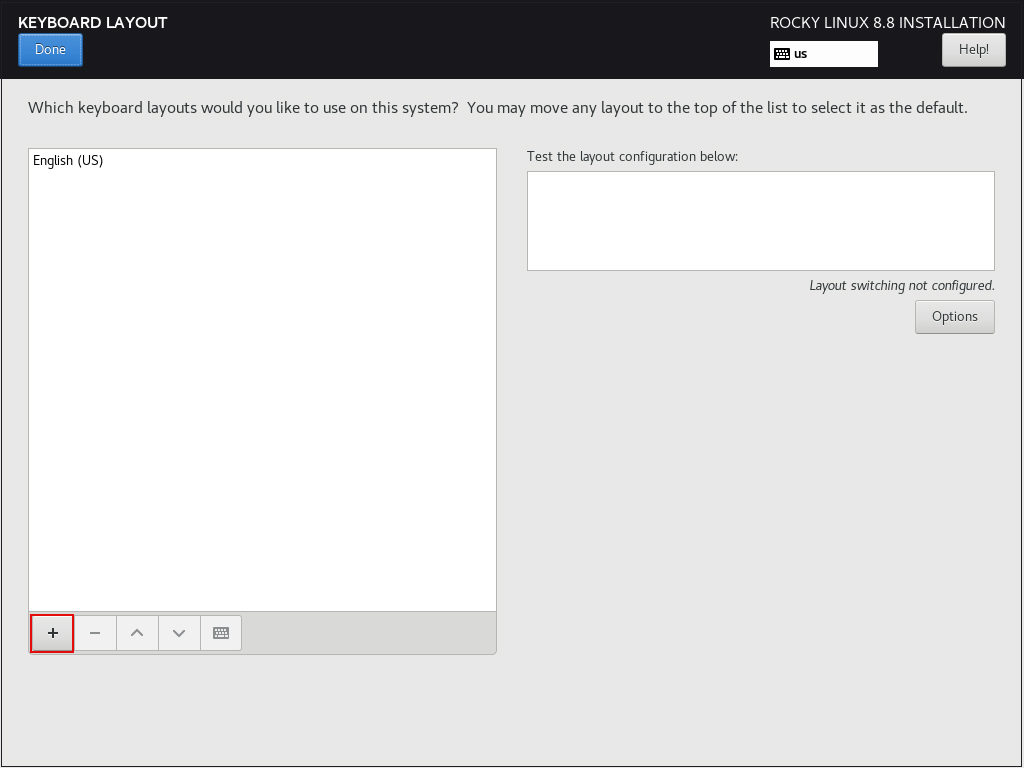
2.3 "Keyboard Layout" setting [Keyboard] Click
Click the [+] button
Select [Japanese] and click the [Add] button.
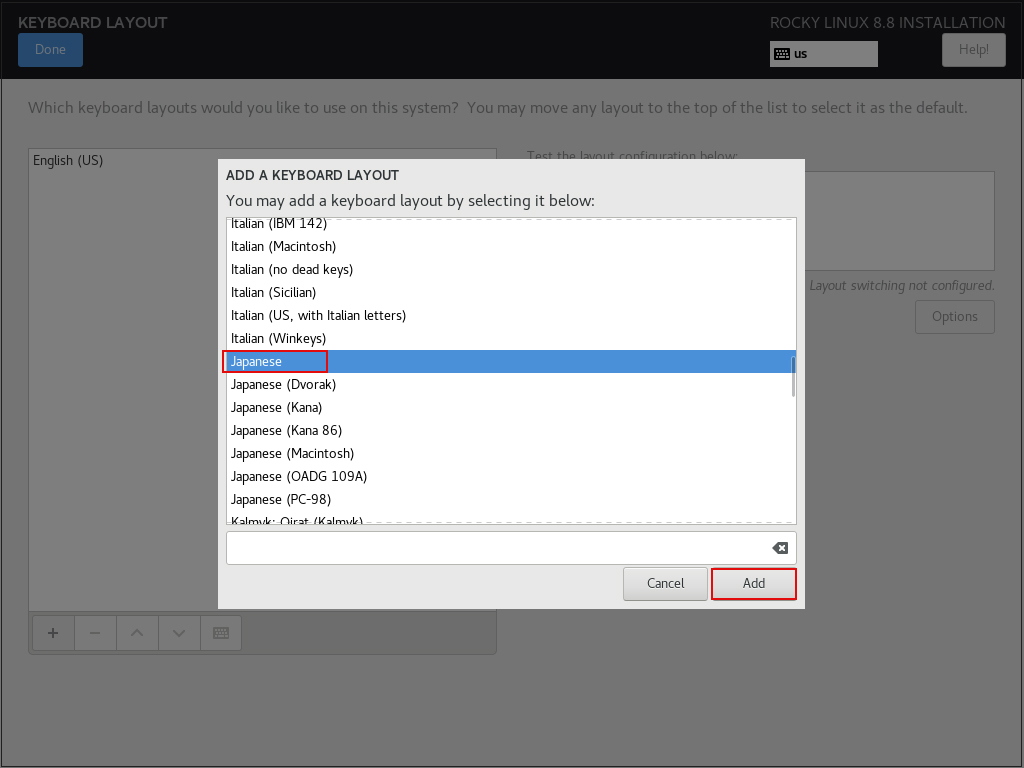
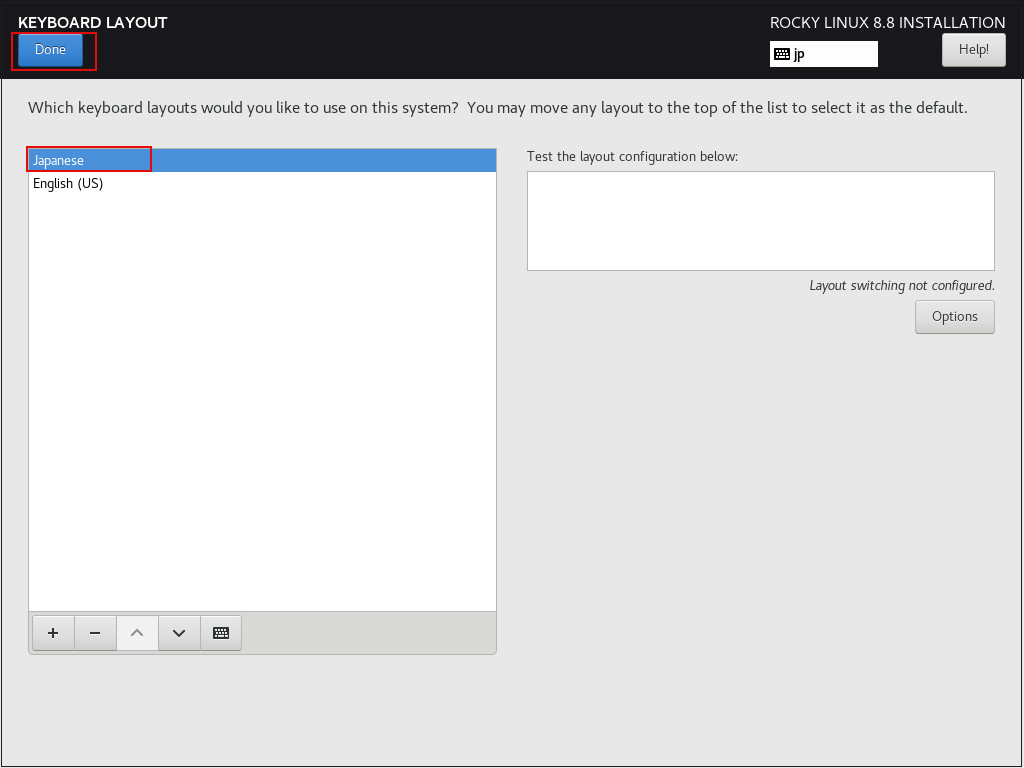
To change the priority, select [Japanes] and click the [^]button
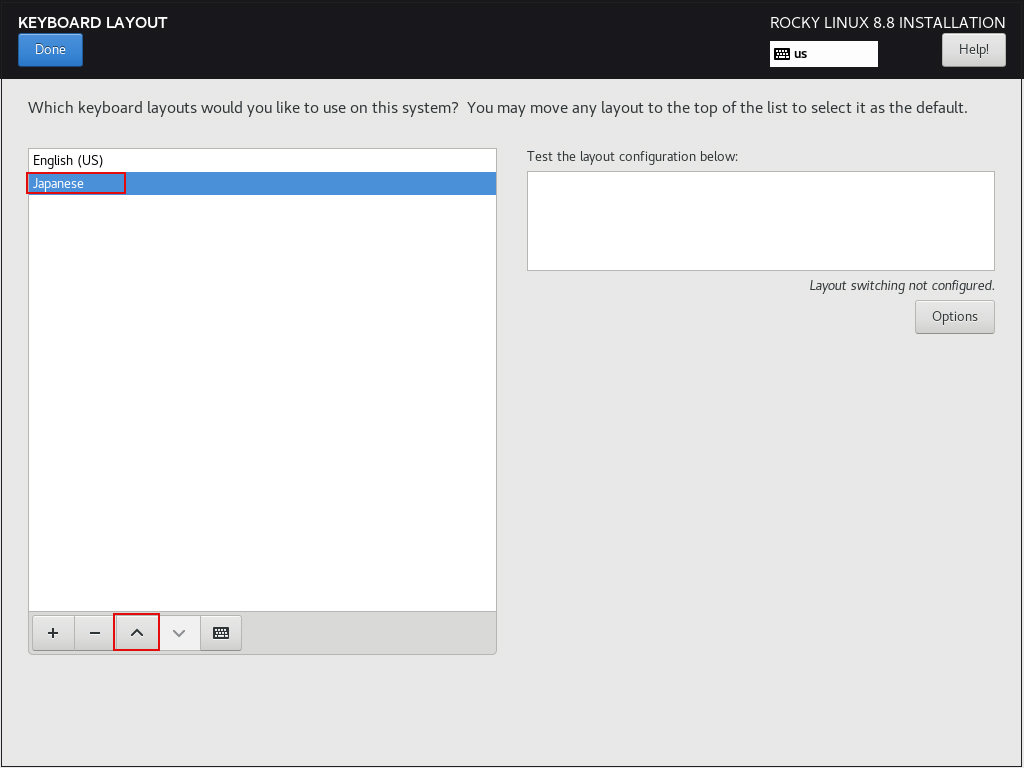
click Done
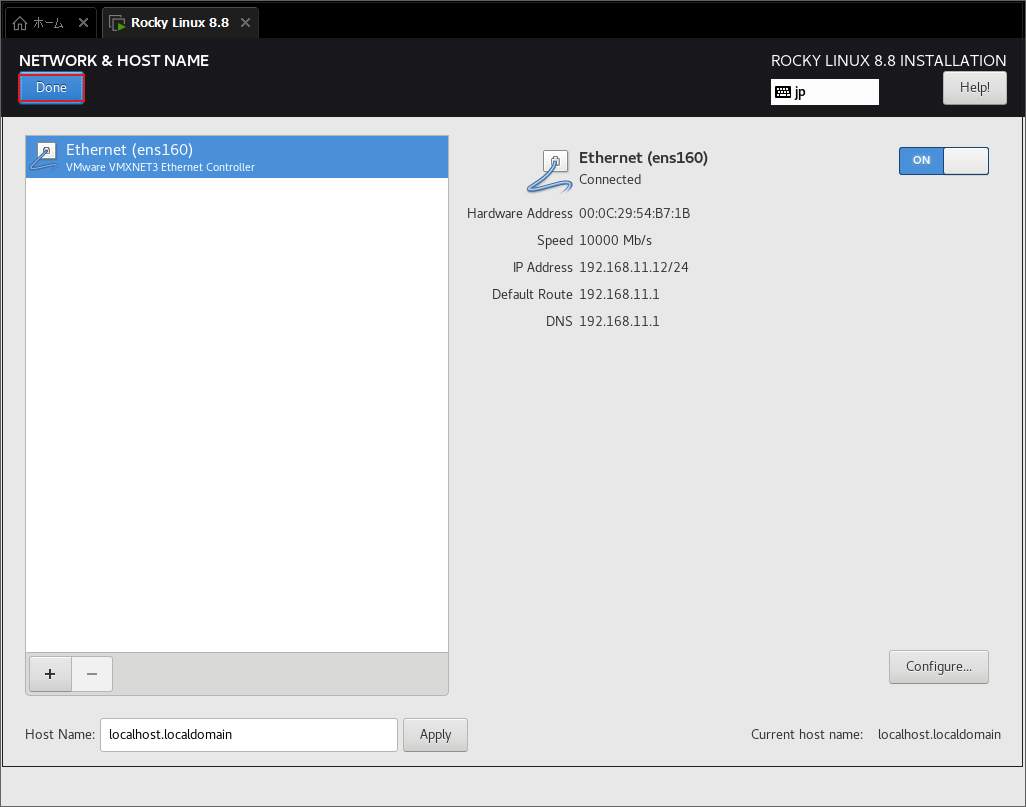
2.4 [Network & Host Name] setting
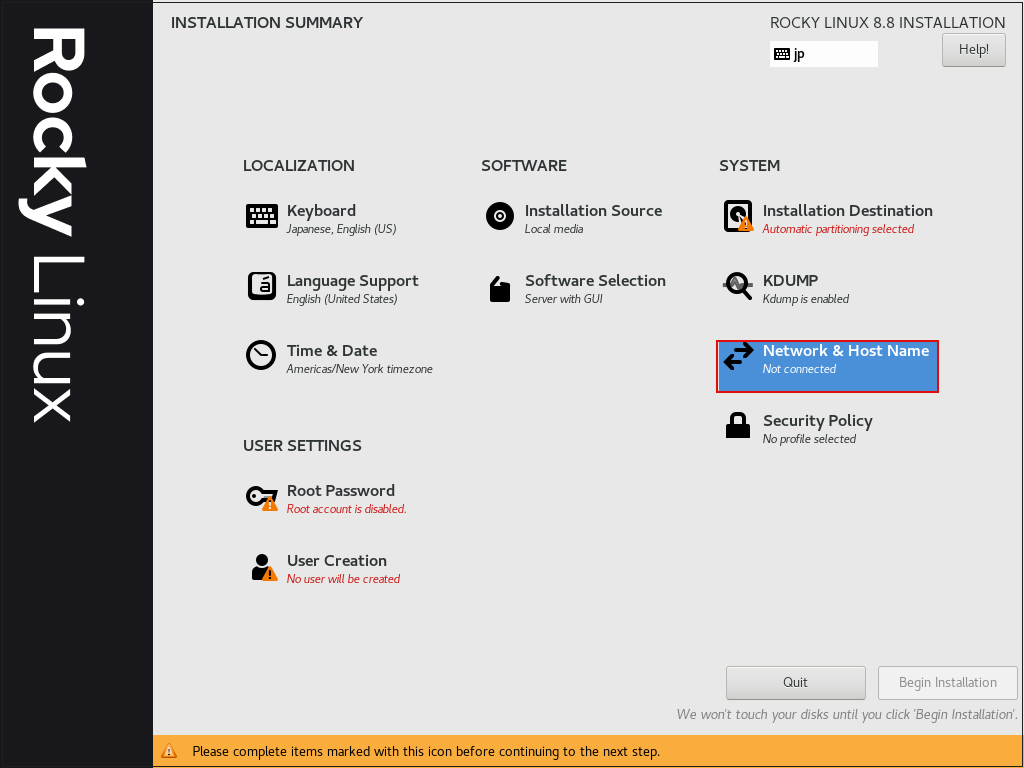
Turn "ON" in the upper right corner, otherwise proceed with DHCP enabled by default.
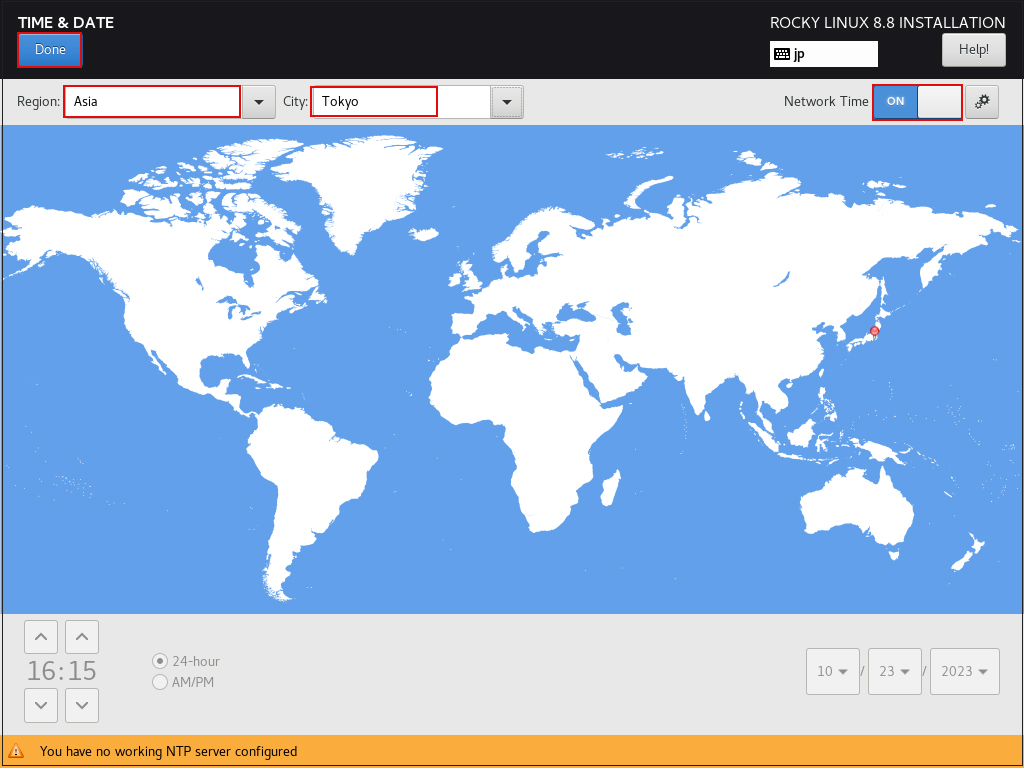
2.5 Date and Time Settings
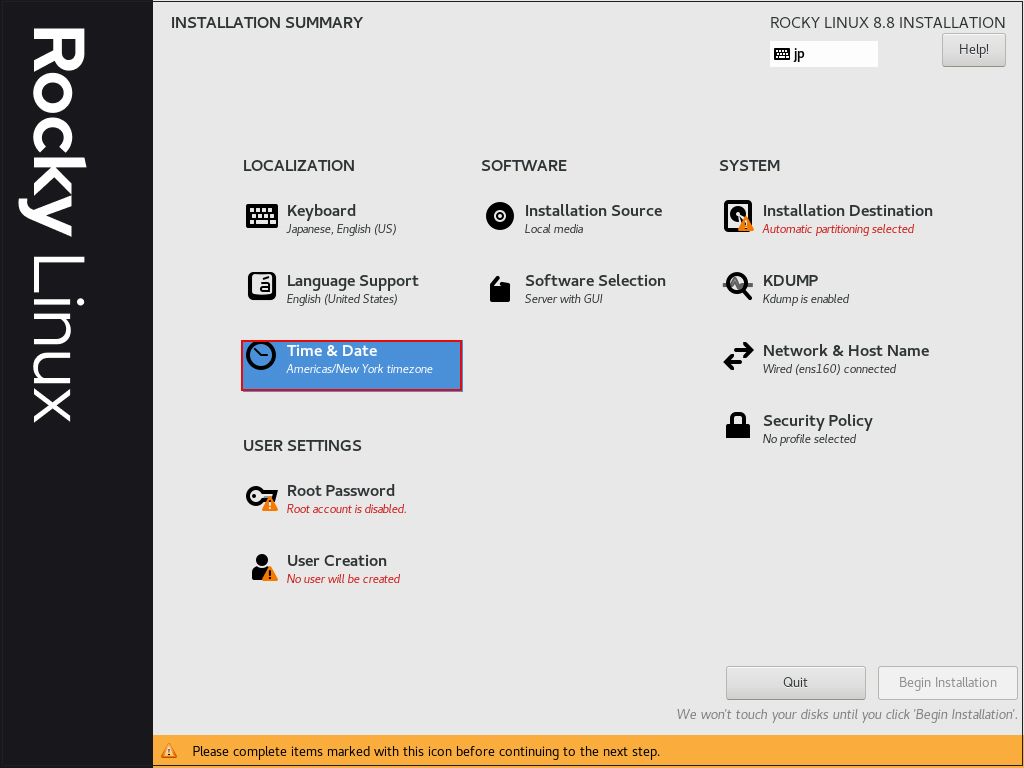
Set "Region" to "Asia" and "City" to "Tokyo".
Set "Network Time" to "ON" and click [Done]
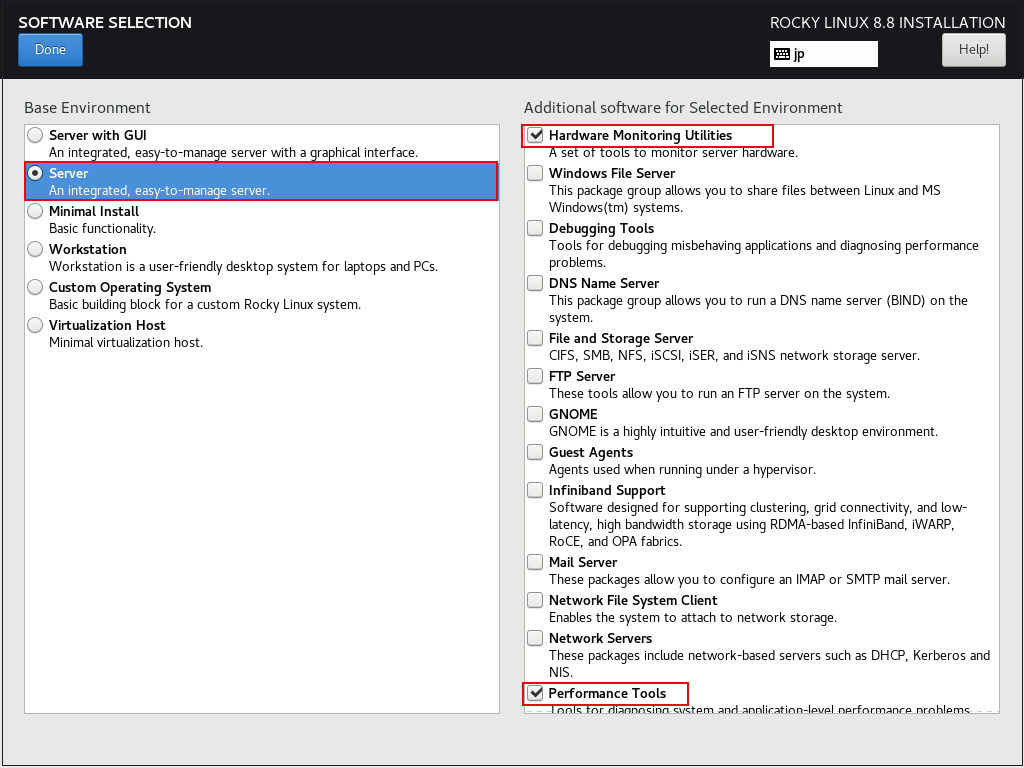
2.6 Click on "Software Selection"

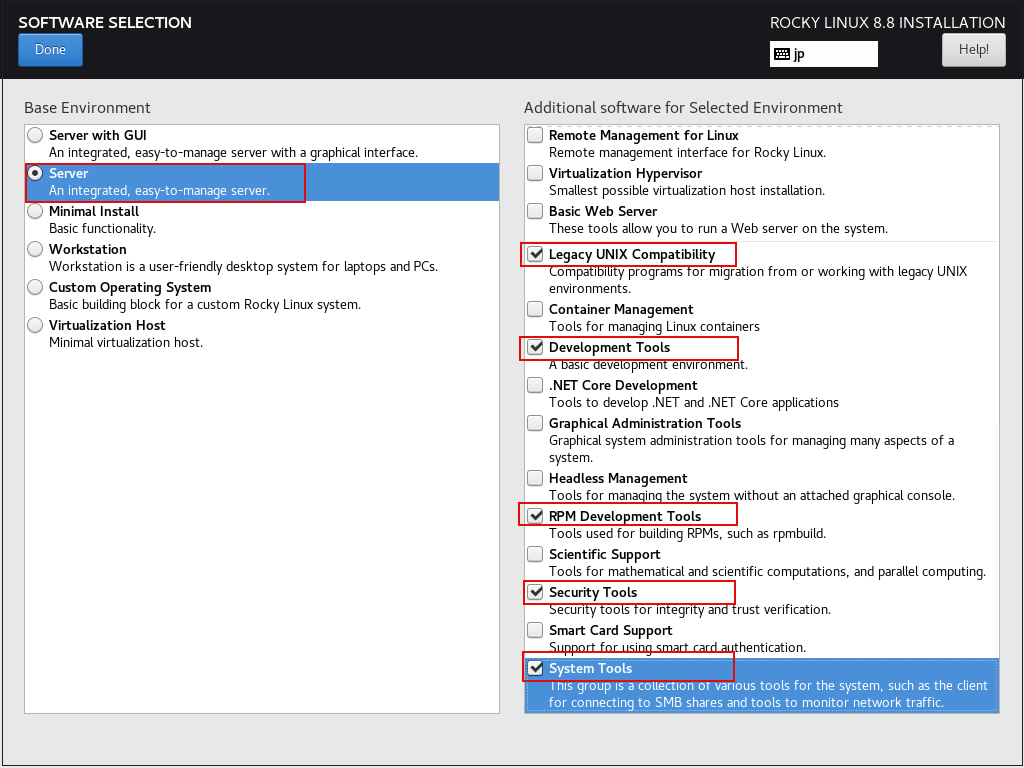
For "Base Environment" select "Server" and for "Software" select the following in the right column
①Hardware Monitoring Utilities
②Performance Tools
③Legacy UNIX Compatibility
④Development Tools
⑤RPM Development Tools
⑥Security Tools
⑦System Tools
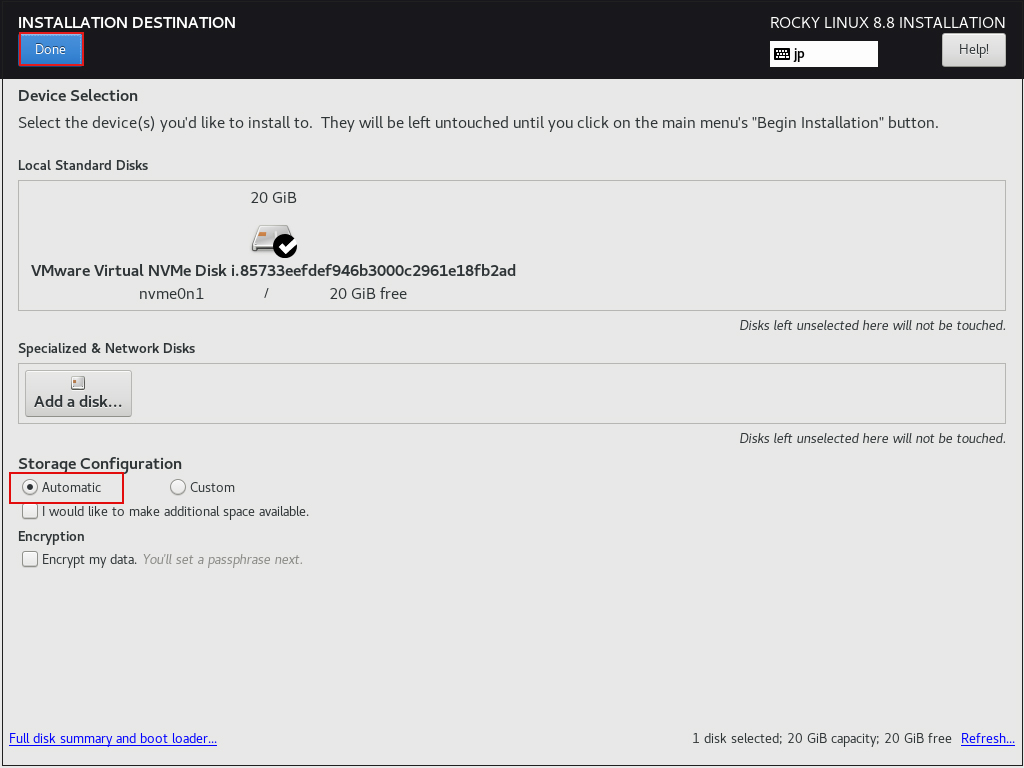
2.7 Click on "Installtion Destination"
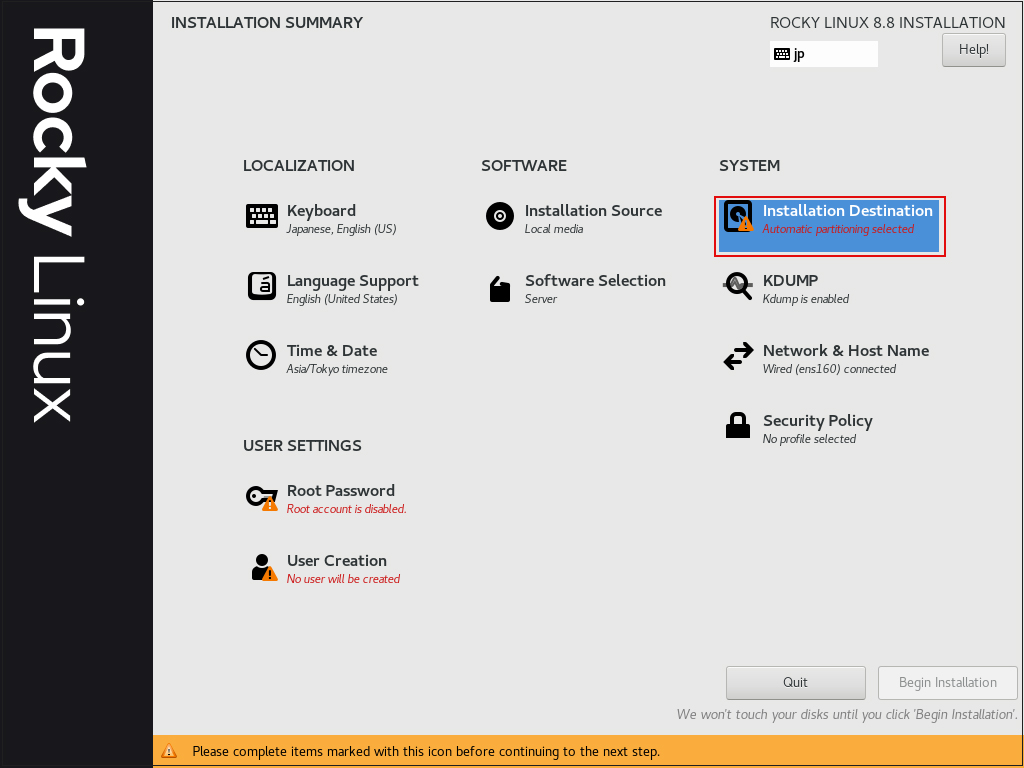
Set "Storage Configuration" to "Automatic" and click [Done]
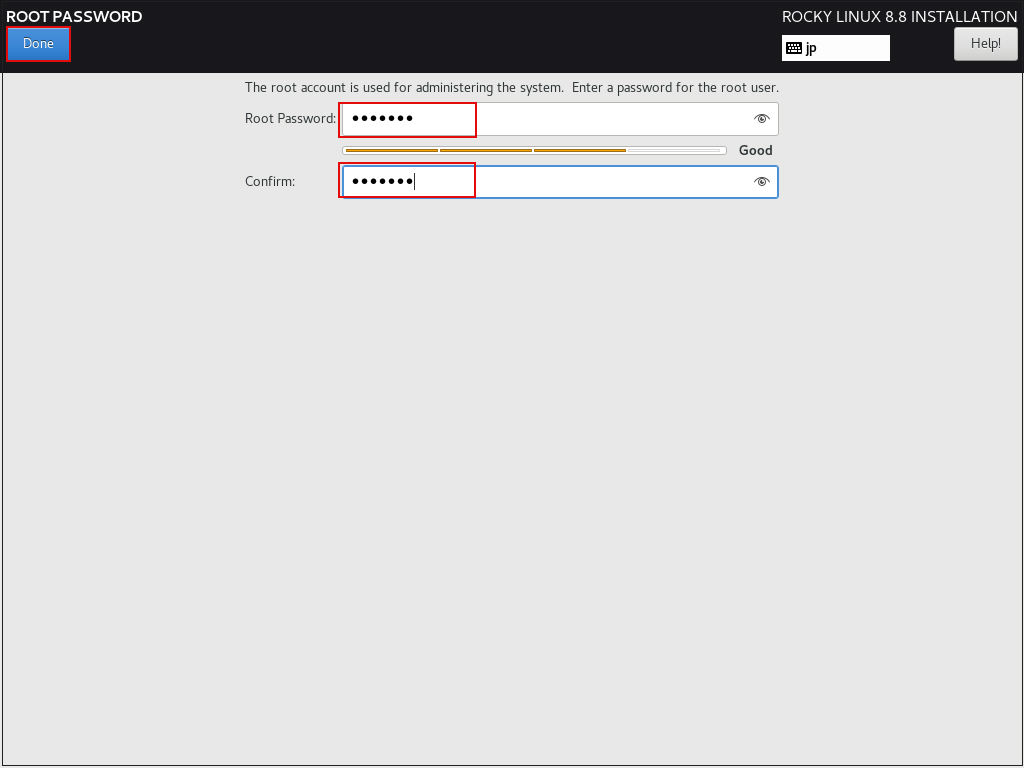
2.8 Setting "Root Password"
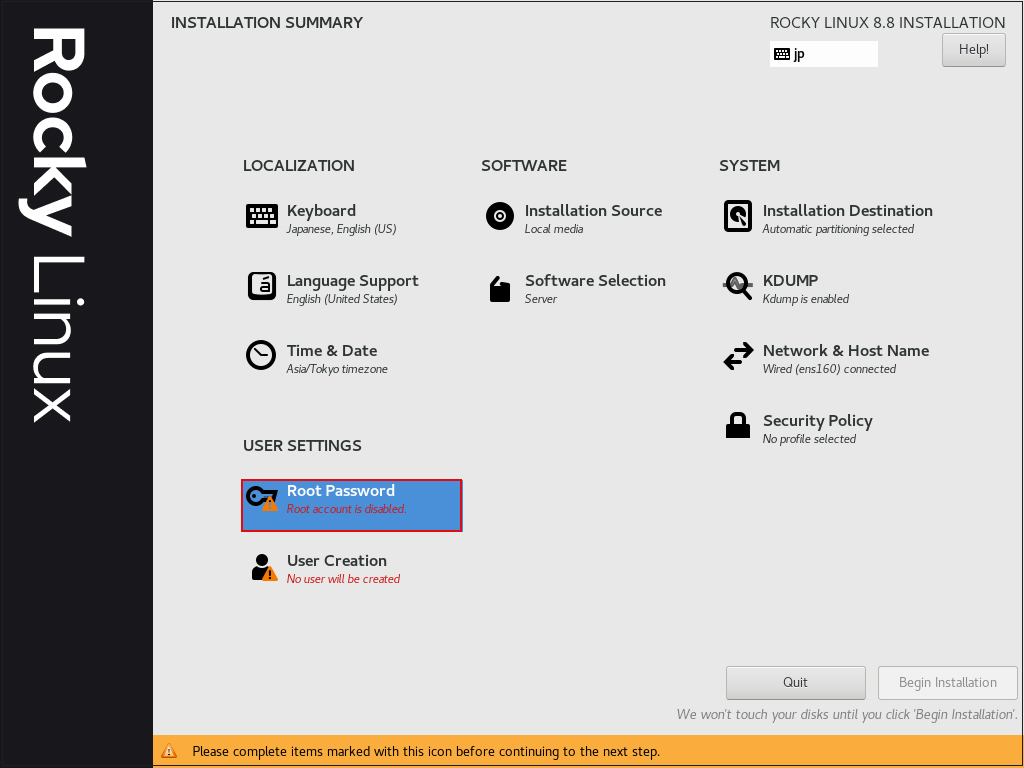
Enter root password and click [Done]
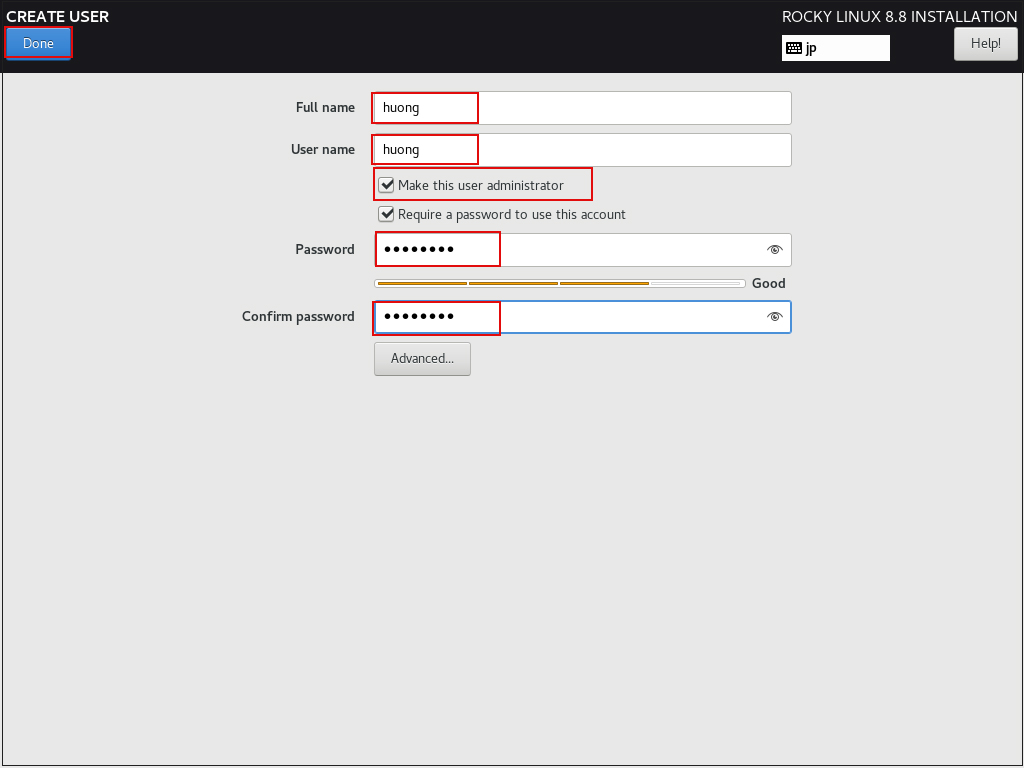
2.9 User Creation" Create user and set password"
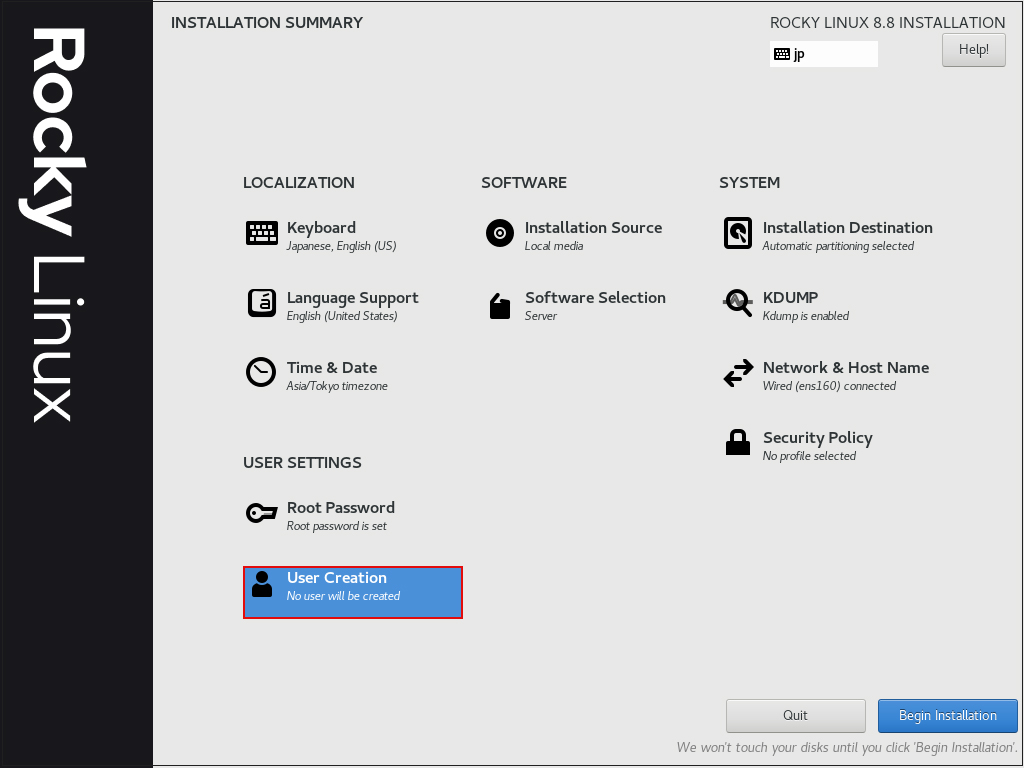
[Full name] Give any name to [User name] and check [Make this user administrator].
[Password] should be strong.
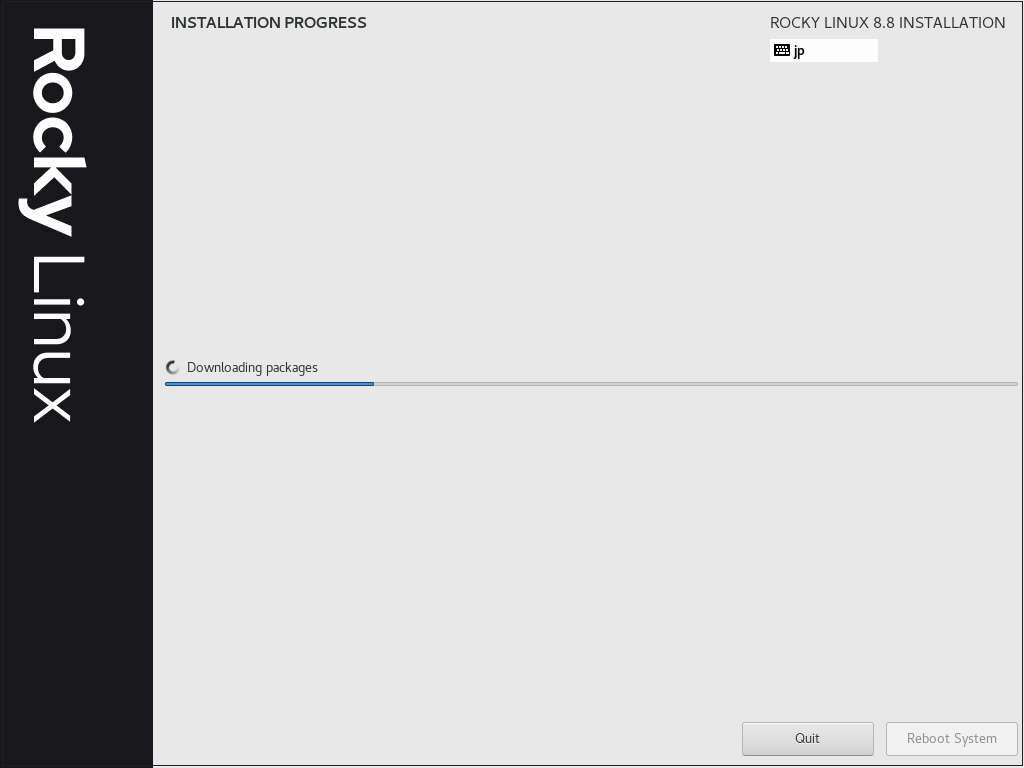
2.10 Click "Begin Installation"

Installation begins
After installation is complete, click on [Reboot System]
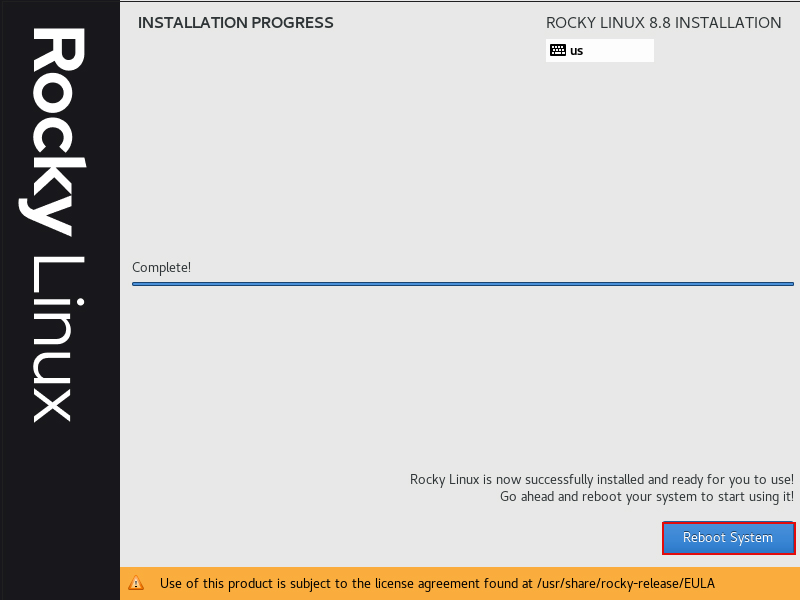
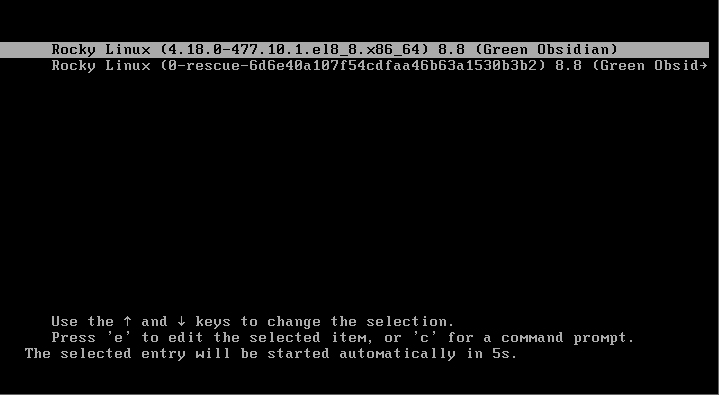
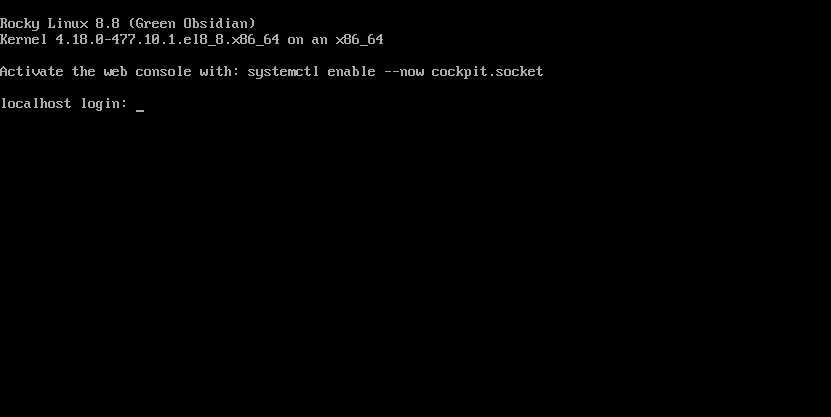
Reboot and you will be taken to the login screen
Log in with the user name and password of the general user you just created.
If you see the bash prompt "$", your login is complete.