Authenticated connection with SSH key pair
Creation of public and private key pairs
Create a public/private key pair for a user connecting to a Linux server using OpenSSH.
Use ssh-keygen to create the key pair.
The creation of a public/private key pair is performed with the authority of the user logging in remotely.
If you do not specify the creation destination and file name, id_ed25519 and id_ed25519.pub will be created in /home/(user name)/.ssh/. On the way, also enter the password for the key.
|
1 2 3 4 5 6 7 8 9 10 11 12 13 14 15 16 17 18 19 20 21 22 23 |
# su - huong [huong@Lepard ~]$ ssh-keygen -t ed25519 Generating public/private ed25519 key pair. Enter file in which to save the key (/home/huong/.ssh/id_ed25519): [Enter] Created directory '/home/huong/.ssh'. Enter passphrase (empty for no passphrase): [Password] Enter same passphrase again: [Paswword] Your identification has been saved in /home/huong/.ssh/id_ed25519 Your public key has been saved in /home/huong/.ssh/id_ed25519.pub The key fingerprint is: SHA256:ZP0Q7Ct0yAvtur00Zr2L2wQNmZVddrPoZ4ZyHFvq888 huong@Lepard The key's randomart image is: +--[ED25519 256]--+ | .oo .o..| | =o.....o| | o*oo o o | | .o=oooo * | | +So.o.B + | | +o. + + | | .=.o o | | .= = . o. | | ..=o+. .E| +----[SHA256]-----+ |
|
1 2 3 |
$ cat ~/.ssh/id_ed25519.pub >> ~/.ssh/authorized_keys $ chmod 600 ~/.ssh/authorized_keys $ chmod 700 ~/.ssh/ |
Save the created private key id_ed25519 to an appropriate location on windows using winSCP.
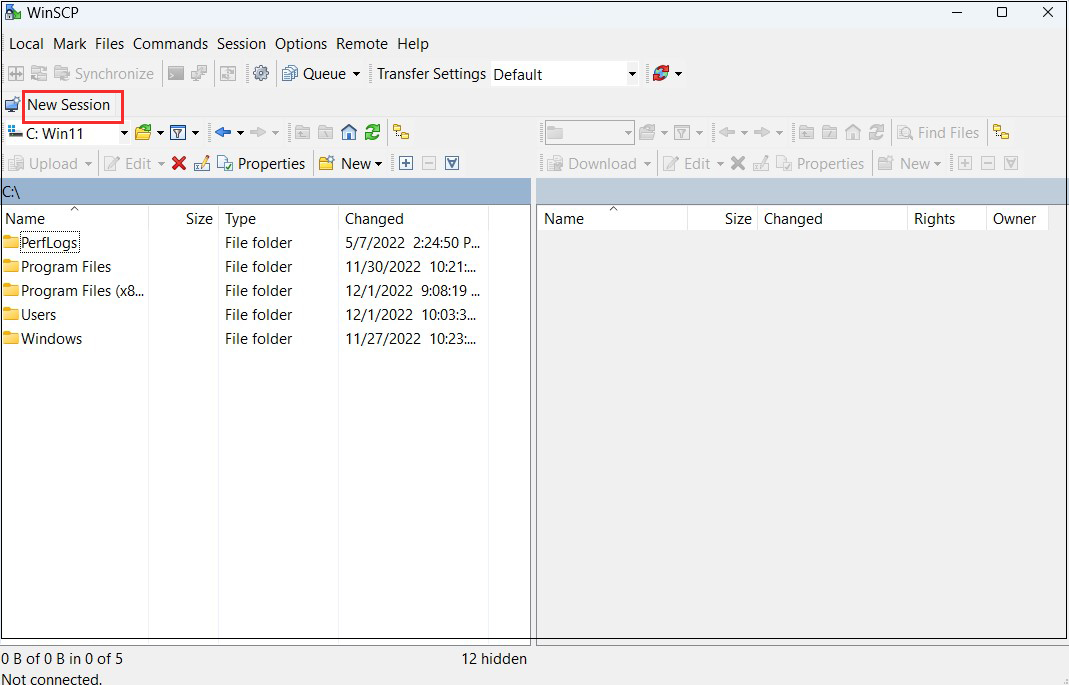
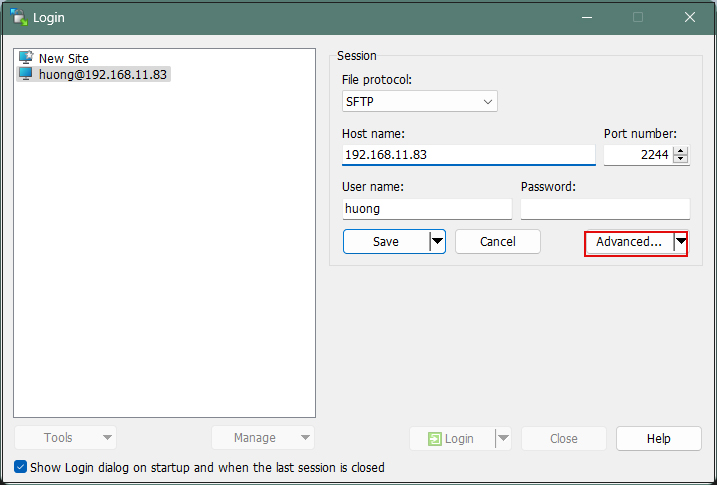
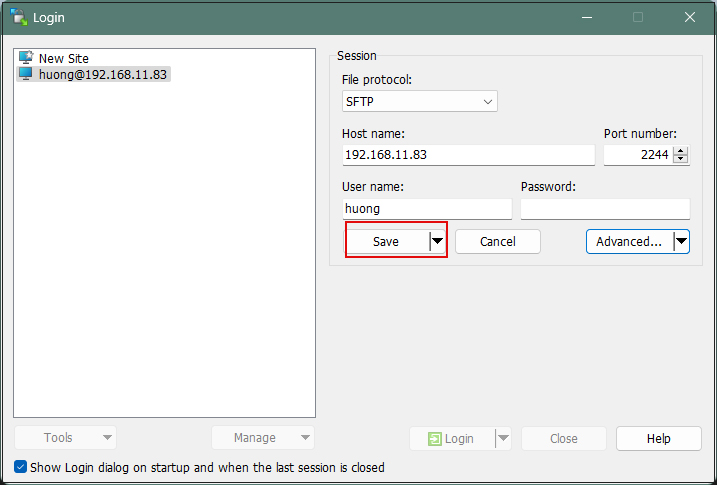
Start Winscp and click "New Session"
Host name : Server IP Address
Port number : SSH Port
User name : Server Login User
Password : Password for the same user
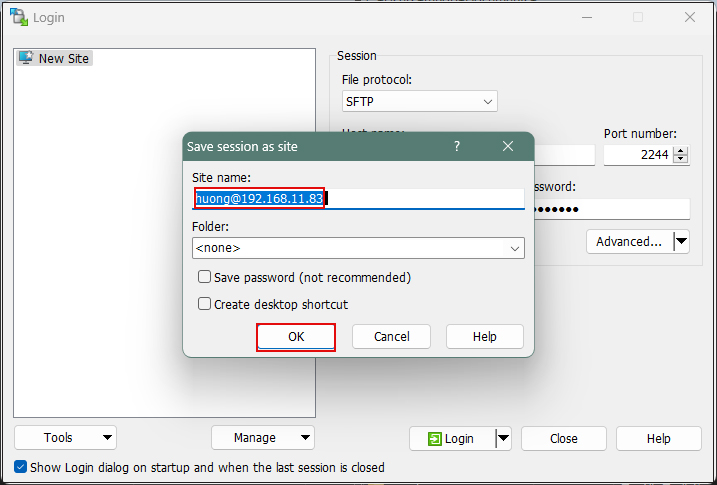
「Save」

Site name : Any name Click "OK"
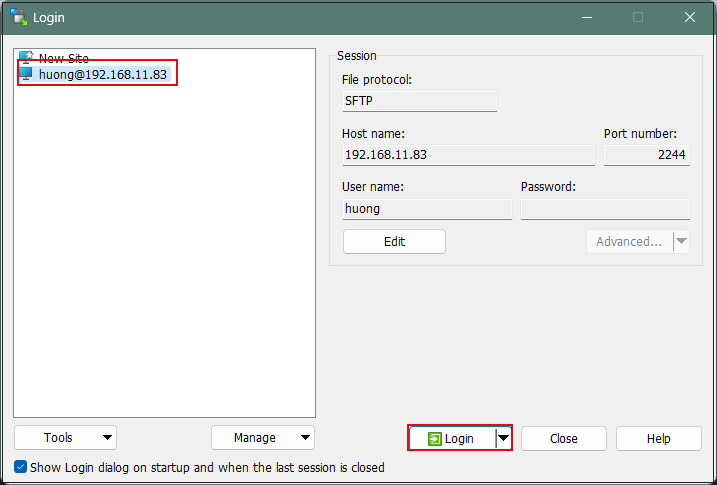
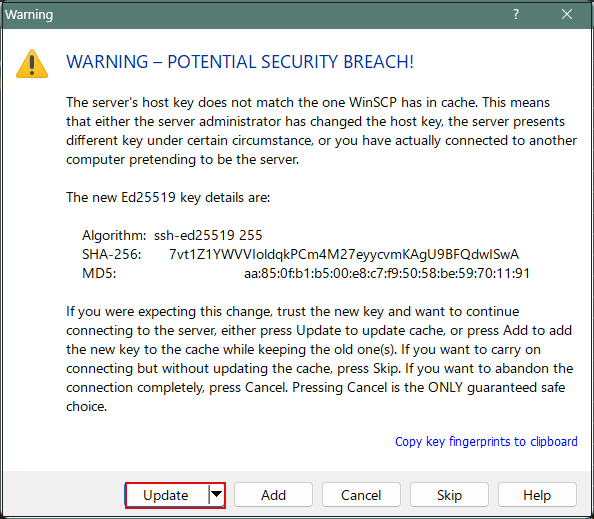
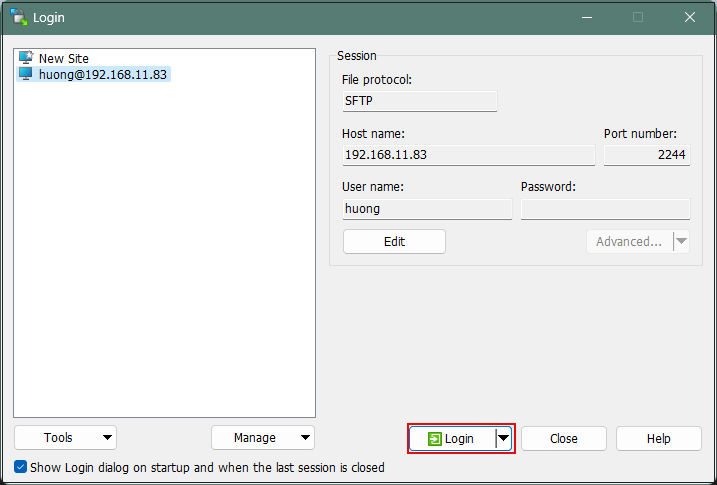
After confirming the server, click "Login".
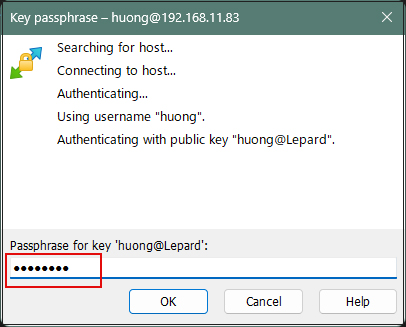
Click "Update" when the following screen appears
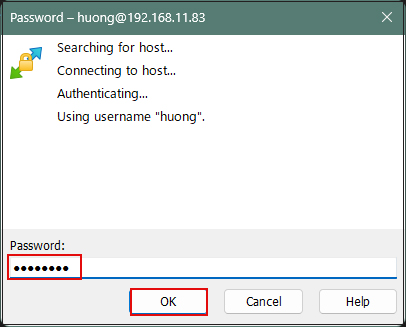
Password of the logged-in user in the Password field
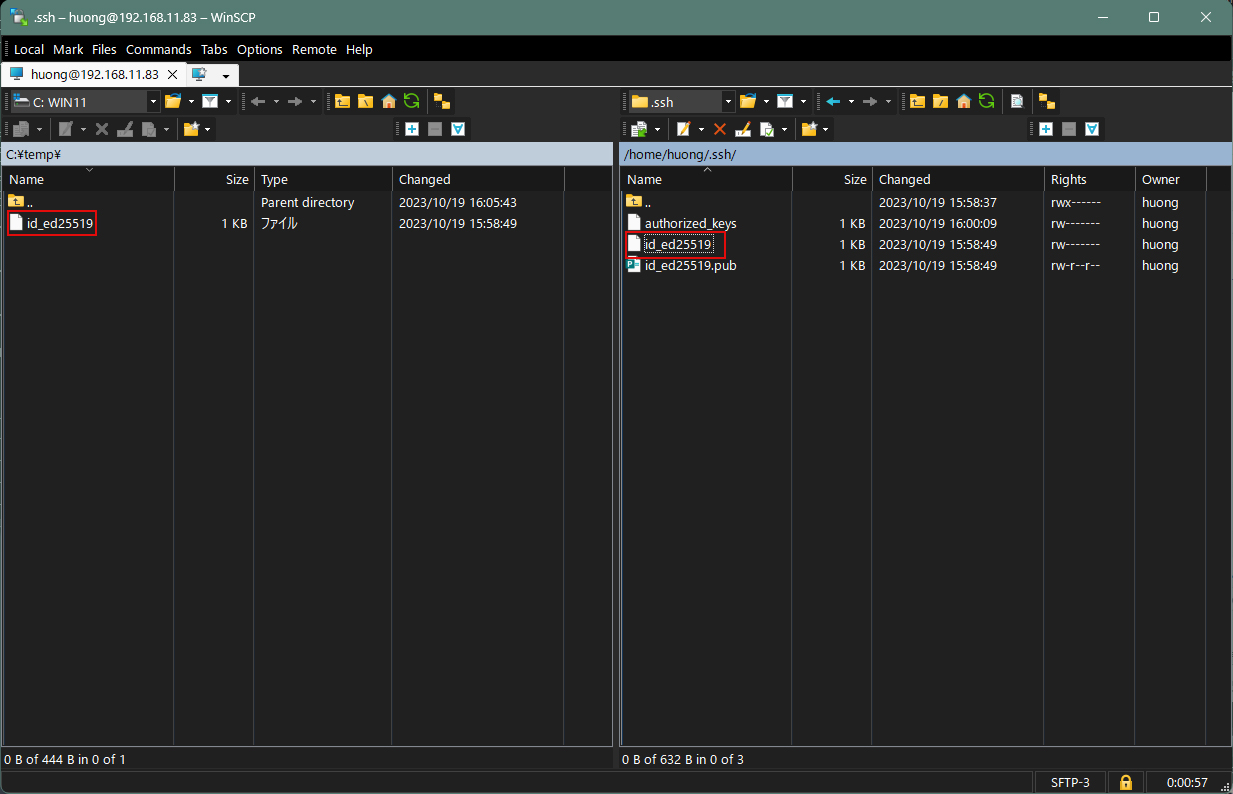
When connected, the right column is the server side and the left column is the PC (Windows) side.
Save the file "id_ed25519" in the .ssh directory to an appropriate location on Windows in the left column.
Editing SSH Configuration File
Edit the SSH configuration file to disable password authentication.
This time, use su - to become root instead of a normal user.
|
1 2 3 4 5 6 7 |
$ su - Password: # vi /etc/ssh/sshd_config # Line 66 : Changed to no password authentication PasswordAuthentication no # systemctl restart sshd |
How to connect using Tera Term
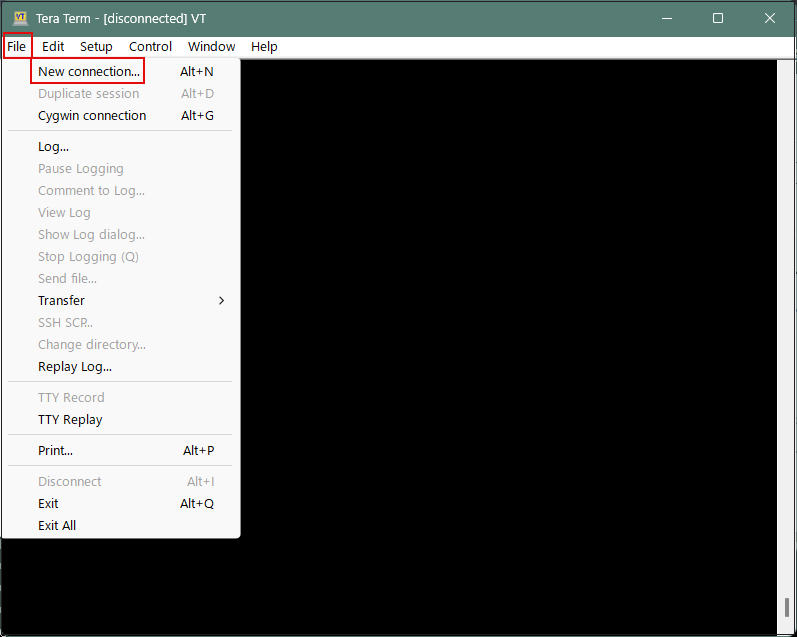
Start Tera Term, and select "File" menu "New connection"
Host : Server IP Address
TCP port : SSH Port
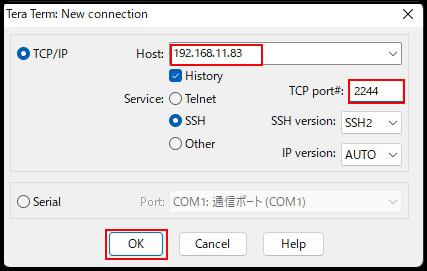
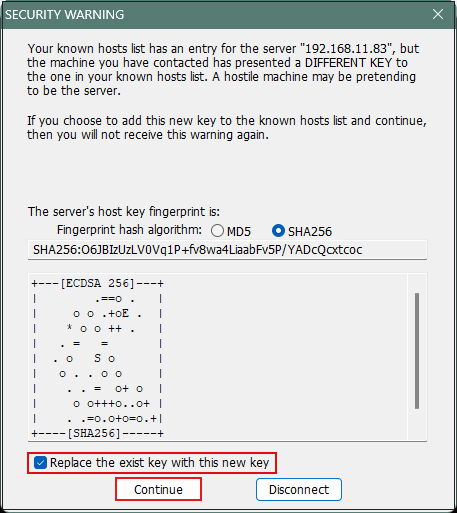
If you get the following security warning "Replace…." and click "Continue".
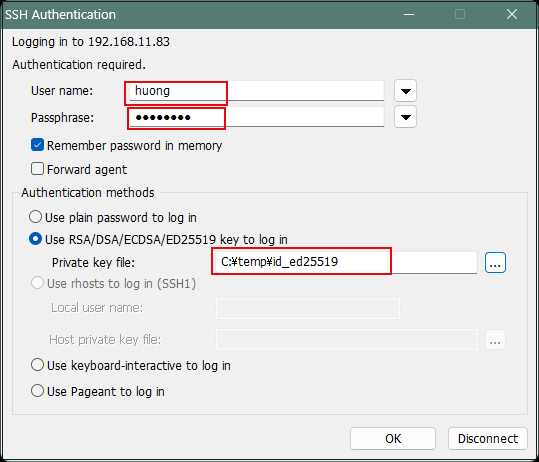
User name : Login User Name
Password :Password specified in the creation of a public/private key pair
Set "Use RSA/DSA/ECDSA/ED25519 key to log in" and "Private key file:" to "id_ed25519" saved in Windows earlier, and click "OK"
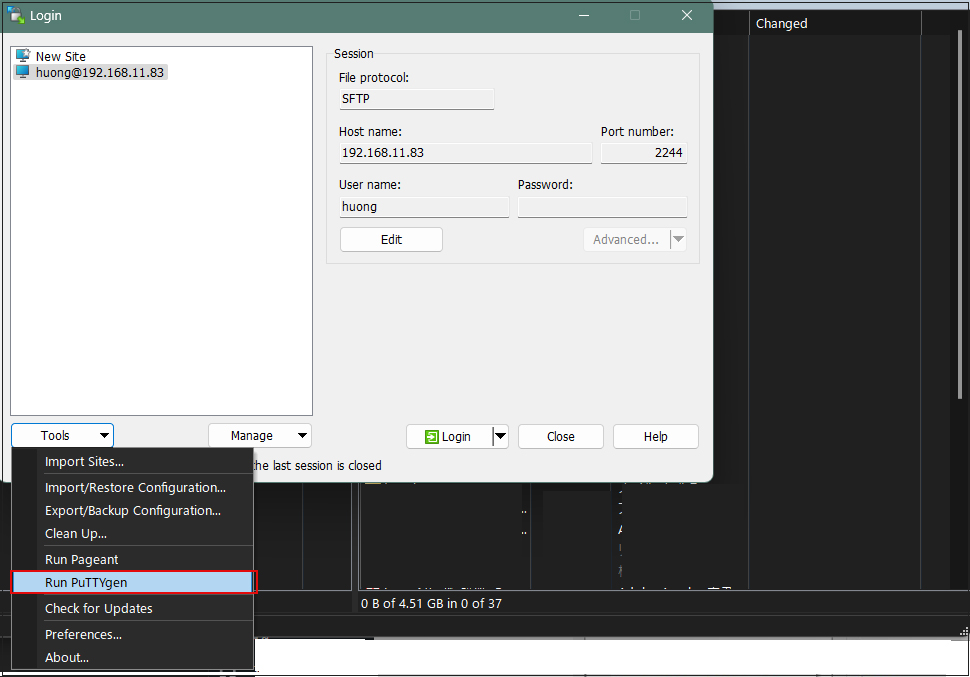
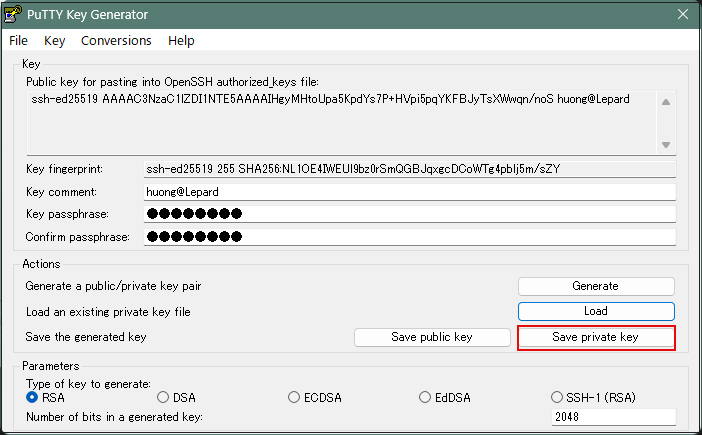
Creating a private key using PuTTYgen
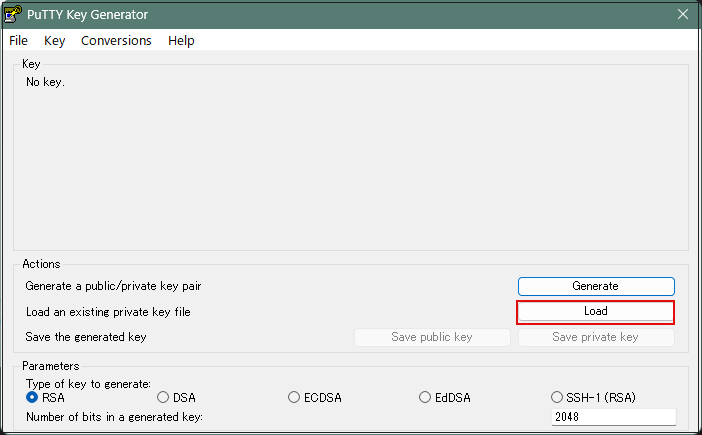
Start Winscp and launch Run Puttygen from "Tools".
Click Load
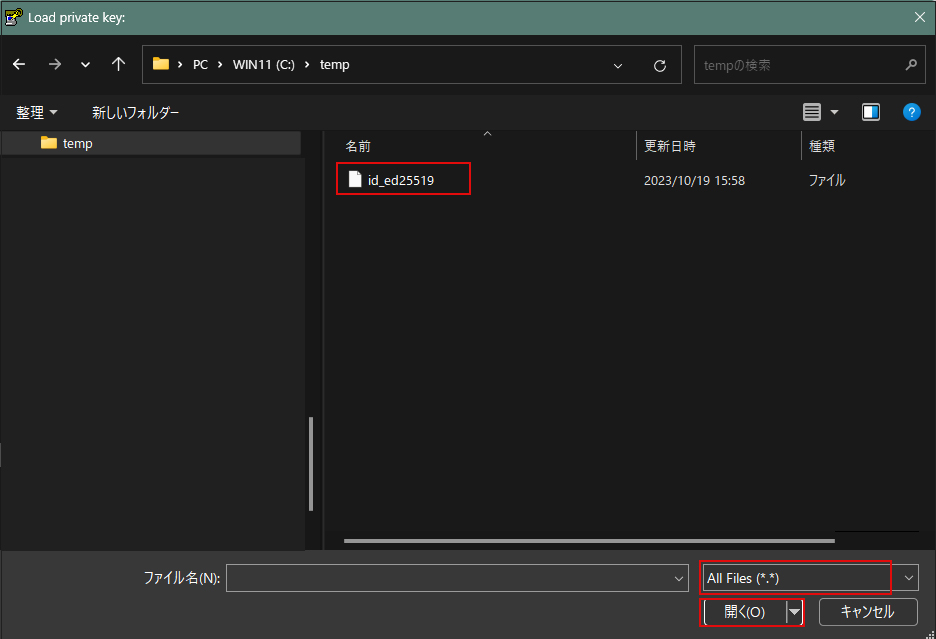
The Open File dialog box will open. and load the private key id_ed25519 transferred from the Linux server
The password is the password set in "Creating a public and private key pair" above
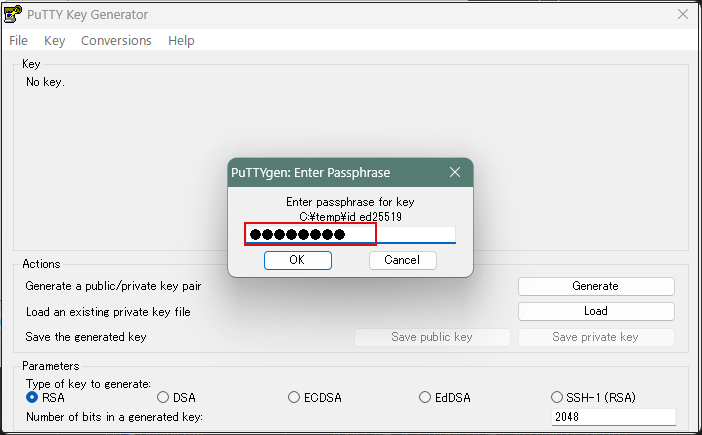
Click "OK"
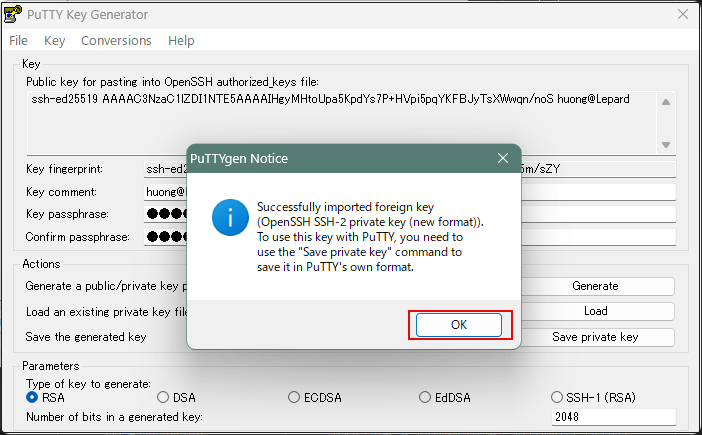
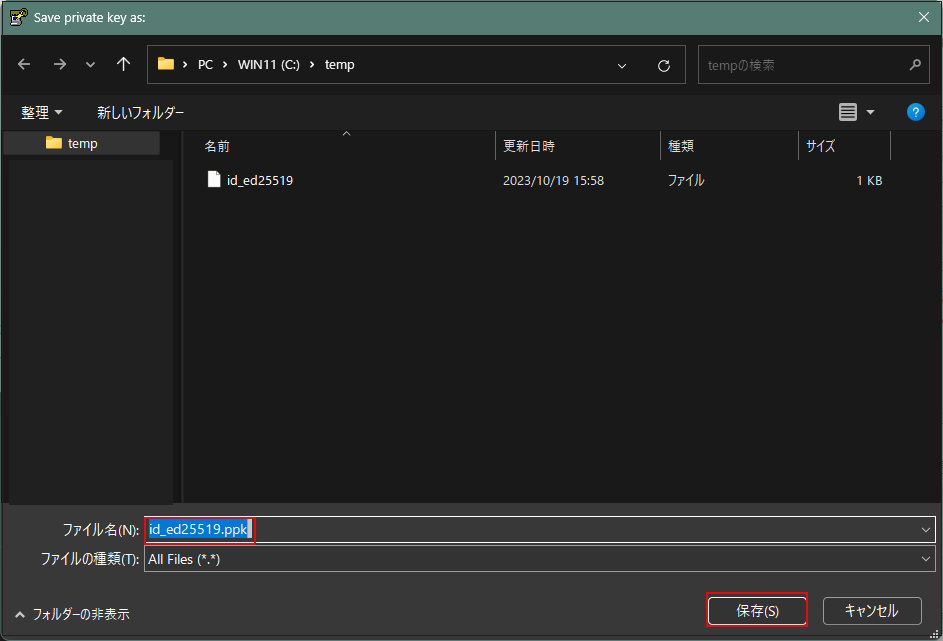
Click on "Save private key"
Save the file with the extension ".ppk" in the same place as "id_ed25519" saved earlier on the Windows side under the name "id_ed25519.ppk".
Select the appropriate server and click "Edit"

Click on "Advanced"
Open the "Authentication" menu and specify "id_ed25519.ppk" saved in Windows for "Private key file"
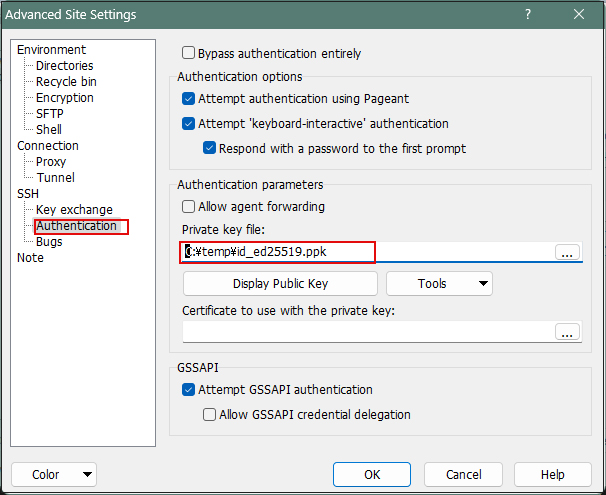
Click "Save"
Click on "Login"
The password is the password set in "Creating a public and private key pair" above
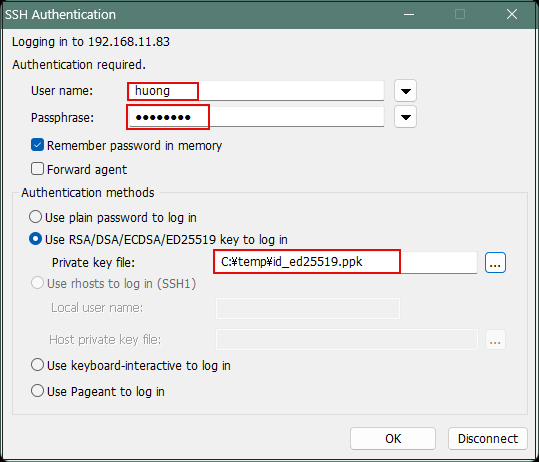
When connecting with Tera Term
In the "Use RSA/DSA/ECDSA/…" field, specify "id_ed25519.ppk" saved in windows.