1. WEB Server (Apache)
1.1 apache2 Install
# zypper -n install apache2
1.2 Apache2 :Basic Settings
# vi /etc/sysconfig/apache2

Line 146: Change to administrator address
APACHE_SERVERADMIN=<administrator  E-mail>

Line 163: Change to own domain name
APACHE_SERVERNAME="<domain name>"
# vi /etc/apache2/httpd.conf

Line 197:Set file names accessible only by directory name
DirectoryIndex index.html index.html.var index.php index.cgi
Enable and start Apache
# systemctl start apache2
# systemctl enable apache2
Created symlink '/etc/systemd/system/httpd.service' → '/usr/lib/systemd/system/apache2.service'.
Created symlink '/etc/systemd/system/apache.service' → '/usr/lib/systemd/system/apache2.service'.
Created symlink '/etc/systemd/system/multi-user.target.wants/apache2.service' → '/usr/lib/systemd/system/apache2.service'.
1.3 Firewalld
You must enable the HTTP service. Note that HTTP uses port 80/TCP, while HTTPS uses port 443.
# firewall-cmd --add-service=http --permanent
Success
# firewall-cmd --add-service=https --permanent
Success
# firewall-cmd --reload
success
1.4 Apache2 : operation check
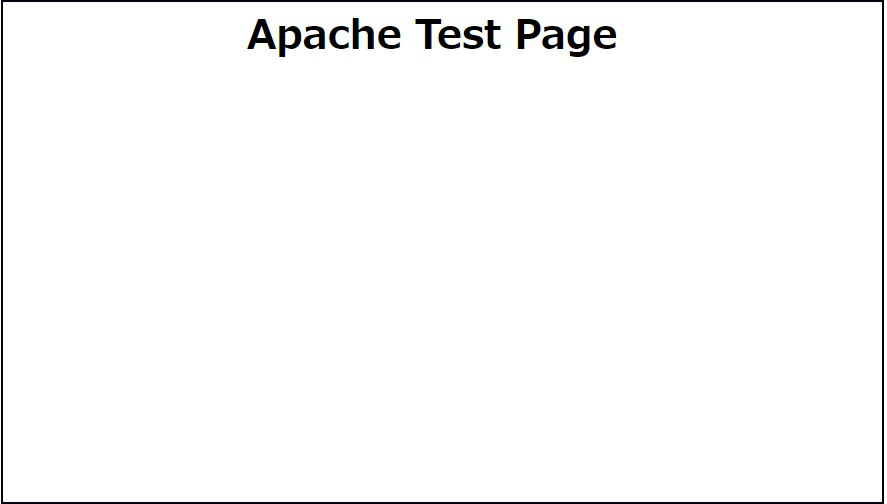
Create an HTML test page to check the operation. Start a Web browser on the client PC and check if the test page you created can be accessed as follows
# vi /srv/www/htdocs/index.html

Describe the following
<html>
<body>
<div style="width: 100%; font-size: 40px; font-weight: bold; text-align: center;">
Apache Test Page
</div>
</body>
</html>
Access http://[IP address] with a browser and confirm that it is displayed as shown below.
2. Apache2 : Using Perl Scripts
Configure Perl scripts to be used as CGI
2.1 Perl
①Install
# zypper -n install perl
②Enable CGI module
# a2enmod cgid
CGI execution is permitted by default under [/srv/www/cgi-bin/].
For example, by creating and placing the script [/srv/www/cgi-bin/index.cgi], you can access [http://(httpd server)/cgi-bin/index.cgi].
This configuration treats all files under [/srv/www/cgi-bin/] as CGI, so files other than CGI cannot be displayed.
# grep -n "^ *ScriptAlias" /etc/apache2/default-server.conf
72:ScriptAlias /cgi-bin/ "/srv/www/cgi-bin/"
# systemctl restart apache2
③Create test scripts and check operation
Creating a Directory
# mkdir -p /srv/www/cgi-bin
Creating Test Scripts
# cat > /srv/www/cgi-bin/test_script <<'EOF'
#!/usr/bin/perl
print "Content-type: text/html\n\n";
print "Hello CGI\n";
EOF
Authorize script files
# chmod 705 /srv/www/cgi-bin/test_script
operation check
# curl http://localhost/cgi-bin/test_script
Hello CGI
If "Hello CGI" is displayed, it is normal.
3. Apache2 : Virtual Host Settings
Assign and configure the domain name [FQDN] to be operated on the virtual host in the document root [/srv/www/htdocs/[FQDN]] directory
Create a new virtual host configuration file
# vi /etc/apache2/vhosts.d/vhost.conf

Describe the following
<VirtualHost *:80>
ServerName [FQDN]
ServerAdmin <Administrator's email address>
DocumentRoot /srv/www/htdocs/[FQDN]
ErrorLog /var/log/apache2/[FQDN].error.log
CustomLog /var/log/apache2/[FQDN].access.log combined
LogLevel warn
</VirtualHost>
Create directory named /srv/www/htdocs/[FQDN]
# mkdir /srv/www/htdocs/[FQDN]
Create the idex.html file in the /srv/www/htdocs/[FQDN] directory
# vi /srv/www/htdocs/[FQDN]/index.html

<html>
<body>
<div style="width: 100%; font-size: 40px; font-weight: bold; text-align: center;">
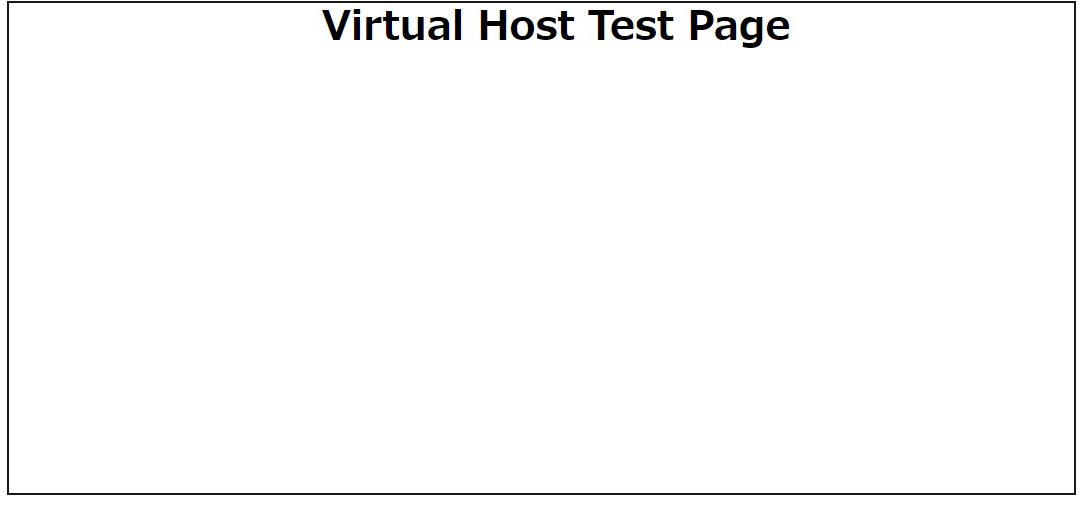
Virtual Host Test Page
</div>
</body>
</html>
Edit hosts file
# vi /etc/hosts

#
# hosts         This file describes a number of hostname-to-address
#               mappings for the TCP/IP subsystem.  It is mostly
#               used at boot time, when no name servers are running.
#               On small systems, this file can be used instead of a
#               "named" name server.
# Syntax:
#
# IP-Address  Full-Qualified-Hostname  Short-Hostname
#

127.0.0.1       localhost localhost.localdomain
::1             localhost localhost.localdomain ipv6-localhost ipv6-loopback

# special IPv6 addresses
fe00::0         ipv6-localnet

ff00::0         ipv6-mcastprefix
ff02::1         ipv6-allnodes
ff02::2         ipv6-allrouters
ff02::3         ipv6-allhosts

192.168.11.83   [FQDN]  ←Add
# systemctl restart apache2
Access "http://[FQDN]/" with a web browser.
4. Apache2 : Using PHP Scripts
Install and configure PHP so that PHP scripts are available
4.1 PHP Install
Find out what php version you can install
# zypper se -s php
Install PHP 8 and its extensions
# zypper -n install php8 php8-pear php8-mbstring apache2-mod_php8
# a2enmod php8
4.2 Edit the PHP configuration file
# vi /etc/php8/apache2/php.ini

Line 693 : Change
post_max_size = 300M

Line 851 : Change
upload_max_filesize = 200M

Line 964: Change time zone to Japan
date.timezone = 'Asia/Tokyo'
Restart Apache
# systemctl restart apache2
4.3 Create a PHP test page and check its operation
Create test page
# vi /srv/www/htdocs/[FQDN]/test.php

Describe the following
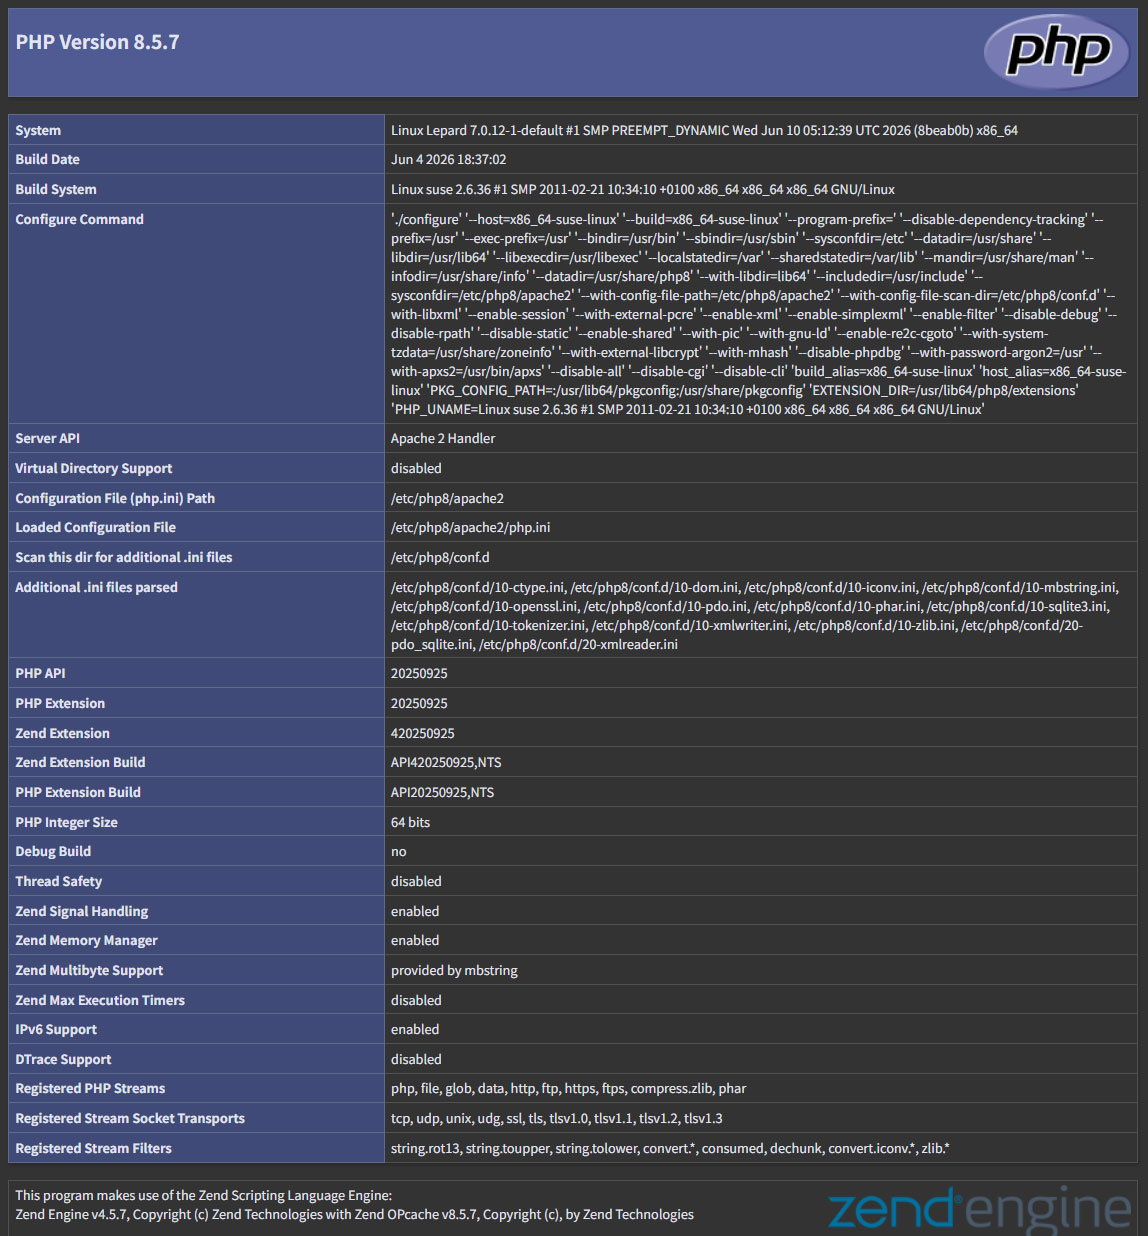
<?php phpinfo(); ?>
Start a Web browser on the client PC, access "http://[FQDN]/test.php", and if the test page you created is displayed as shown below, it is OK.