1.Apache2 Install , Virtual Host Configuration
1.1 Apache2 Install
①httpd Install
# dnf -y install httpd

Version Check
# httpd -v
Server version: Apache/2.4.62 (AlmaLinux)
Server built:   May 11 2026 00:00:00
1.2 Apache Configuration
①Edit httpd.conf file
# cp /etc/httpd/conf/httpd.conf /etc/httpd/conf/httpd.conf_org
# vi /etc/httpd/conf/httpd.conf
●Line 91: Administrator Address Specification
ServerAdmin [Email Address]
●Change the ServerName around line 100
Add "ServerName domain name" below "#ServerName www.example.com:80"
●Line 149: Change (Indexes removed)
Options FollowSymLinks
●Line 156: Change
AllowOverride All
●Line 169: File names accessible only by directory name
Add "index.php index.cgi index.htm"
●Add to the last line
ServerTokens Prod
②If Firewalld is enabled, HTTP service permission is required; HTTP uses [80/TCP]
# firewall-cmd --add-service=http --permanent
# firewall-cmd --reload
③Apache Auto-Start Configuration
# systemctl start httpd
# systemctl enable httpd
④operation check
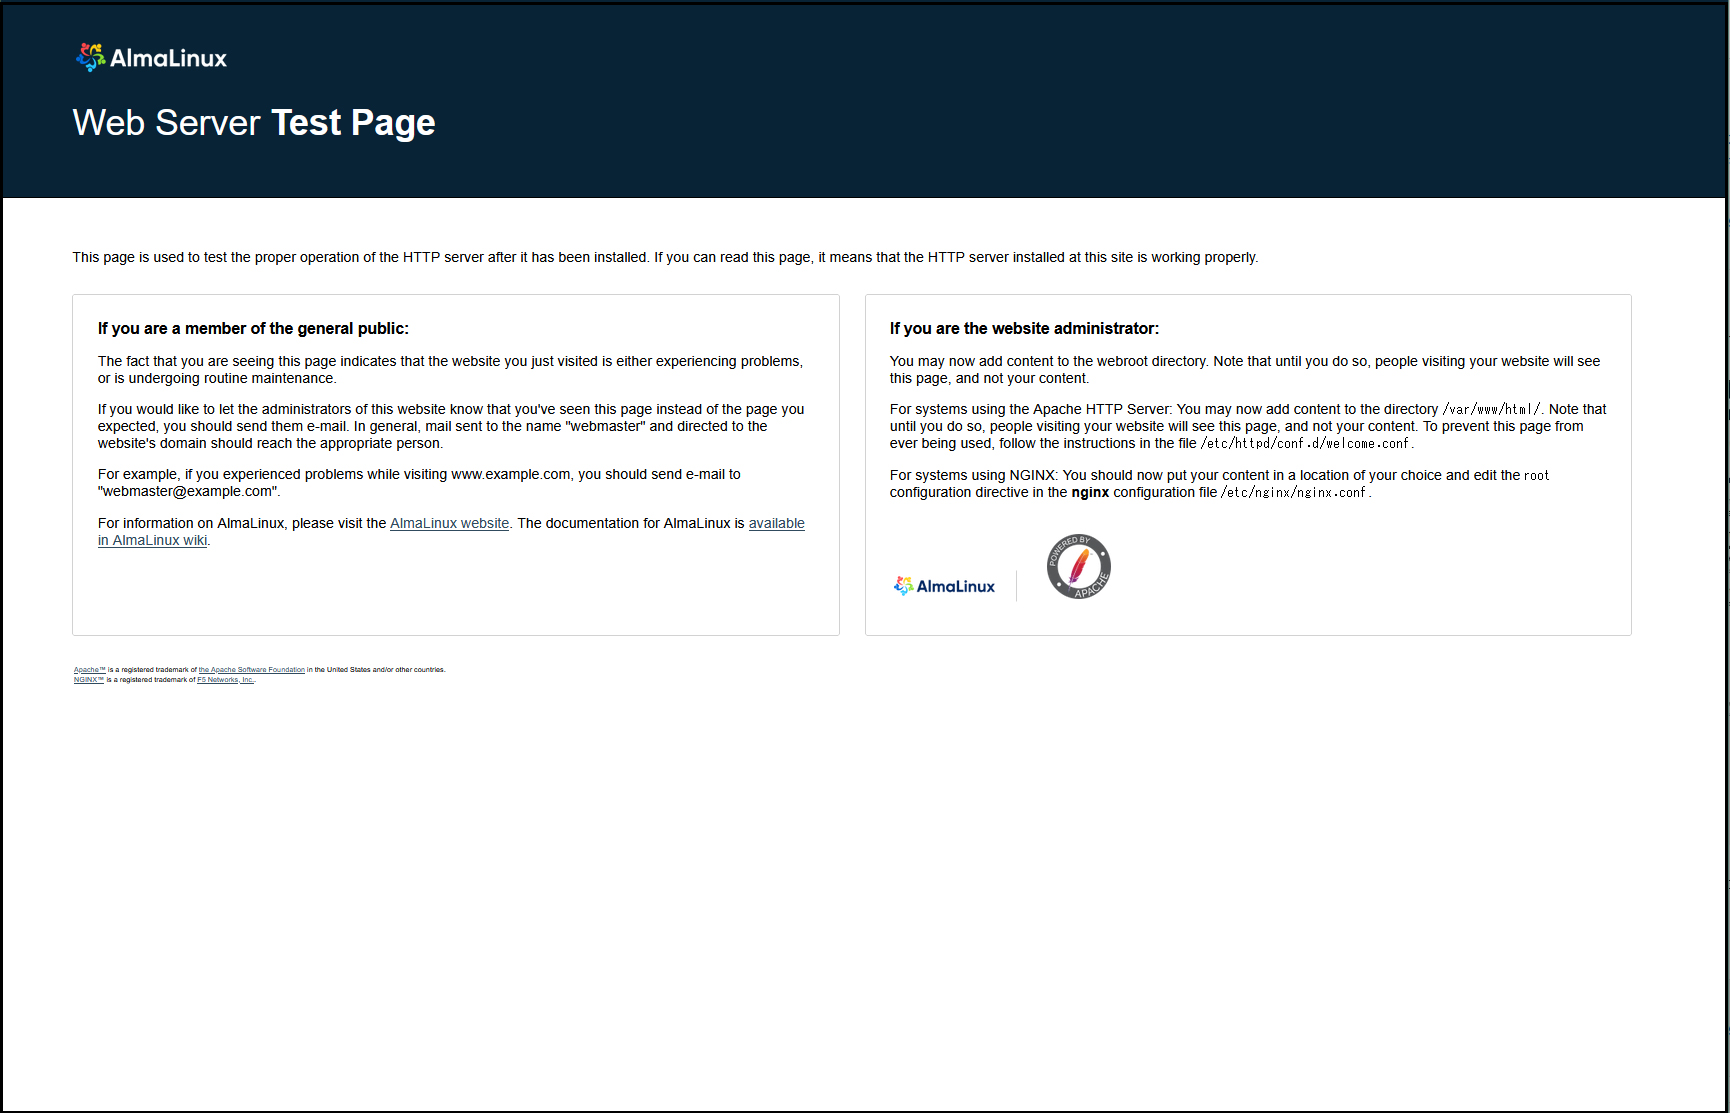
If you access http://[server IP address] and see the AlmaLinux Test Page as shown below, it is OK.
⑤Hide the Welcome page, create a new index.html file as a Test Page, and check apache operation
Rename the welcome page
# mv /etc/httpd/conf.d/welcome.conf /etc/httpd/conf.d/welcome.conf.org
Create an HTML test page
# vi /var/www/html/index.html

<html>
<body>
<div style="width: 100%; font-size: 40px; font-weight: bold; text-align: center;">
Apache Test Page
</div>
</body>
</html>
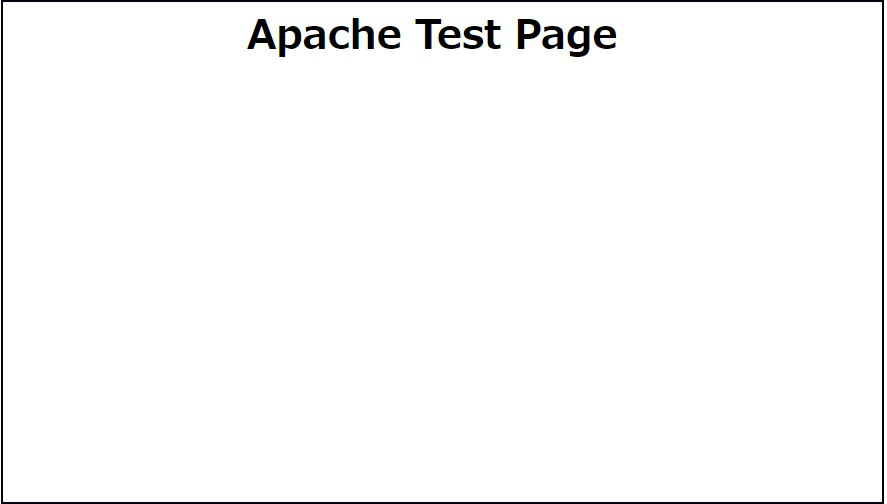
If you access http://[server IP] and the Test Page is displayed as shown below, it is OK.
1.3 Virtual Host Settings
Create a new virtual host configuration file
Assign and configure the domain name [FQDN] to the document root [/var/www/html/FQDN] directory for virtual host operation
# vi /etc/httpd/conf.d/vhost.conf

Describe as follows
<VirtualHost *:80>
DocumentRoot /var/www/html/[FQDN]
ServerName [FQDN]
ServerAdmin <Email Address> ←Administrator Email Address
ErrorLog logs/[FQDN].error_log
CustomLog logs/[FQDN].access_log combined
</VirtualHost>

<Directory "/var/www/html/[FQDN]">
Options FollowSymLinks
AllowOverride All
</Directory>
Creating a Document Directory
# mkdir /var/www/html/[FQDN]
Restart Apache
# systemctl restart httpd
2. Use of CGI Scripts
①CGI availability check
# grep -n "^ *ScriptAlias" /etc/httpd/conf/httpd.conf
252:    ScriptAlias /cgi-bin/ "/var/www/cgi-bin/"
The above is displayed and available under "/var/www/cgi-bin/".
②Create test scripts and check operation
# vi /var/www/cgi-bin/index.cgi

Describe as follows
#!/usr/libexec/platform-python
print("Content-type: text/html\n")
print("CGI Script Test Page")
# chmod 755 /var/www/cgi-bin/index.cgi
# curl localhost/cgi-bin/index.cgi
CGI Script Test Page ←It is displayed as shown on the left
3. PHP installation and configuration
3.1.Installing PHP 8
①Install
# dnf -y install php
②Version Check
# php -v
PHP 8.0.30 (cli) (built: Jun 30 2026 14:15:20) ( NTS gcc x86_64 )
Copyright (c) The PHP Group
Zend Engine v4.0.30, Copyright (c) Zend Technologies
    with Zend OPcache v8.0.30, Copyright (c), by Zend Technologies
If you are installing Php8.4, you will need the Remi repository, so install it if you have not already done so.
# dnf -y install https://rpms.remirepo.net/enterprise/remi-release-9.rpm
Stop PHP once
# dnf module disable php
PHP 8.4 Install
# dnf module install php:remi-8.4
Enable php-fpm
# systemctl enable php-fpm
Created symlink /etc/systemd/system/multi-user.target.wants/php-fpm.service → /usr/lib/systemd/system/php-fpm.service.
# php -v
PHP 8.4.22 (cli) (built: Jun  3 2026 01:12:32) (NTS gcc x86_64)
Copyright (c) The PHP Group
Built by Remi's RPM repository <https://rpms.remirepo.net/> #StandWithUkraine
Zend Engine v4.4.22, Copyright (c) Zend Technologies
    with Zend OPcache v8.4.22, Copyright (c), by Zend Technologies
③Apache Restart
After PHP installation, restarting Apache will invoke PHP-FPM (FPM : FastCGI Process Manager) by default, and php-fpm service will be started in conjunction with httpd startup.
# systemctl restart httpd
# systemctl status php-fpm
● php-fpm.service - The PHP FastCGI Process Manager
     Loaded: loaded (/usr/lib/systemd/system/php-fpm.service; enabled; preset: disabled)
     Active: active (running) since Wed 2026-07-01 11:05:15 JST; 6s ago
   Main PID: 34613 (php-fpm)
     Status: "Ready to handle connections"
      Tasks: 6 (limit: 22900)
     Memory: 14.1M (peak: 14.6M)
        CPU: 38ms
     CGroup: /system.slice/php-fpm.service
             ├─34613 "php-fpm: master process (/etc/php-fpm.conf)"
             ├─34614 "php-fpm: pool www"
             ├─34615 "php-fpm: pool www"
             ├─34616 "php-fpm: pool www"
             ├─34617 "php-fpm: pool www"
             └─34618 "php-fpm: pool www"

Jul 01 11:05:15 Lepard systemd[1]: Starting The PHP FastCGI Process Manager...
Jul 01 11:05:15 Lepard systemd[1]: Started The PHP FastCGI Process Manager.
④Confirmation of PHP operation
Create the following files
# vi /var/www/html/<FQDN>/info.php
<?php phpinfo(); ?>
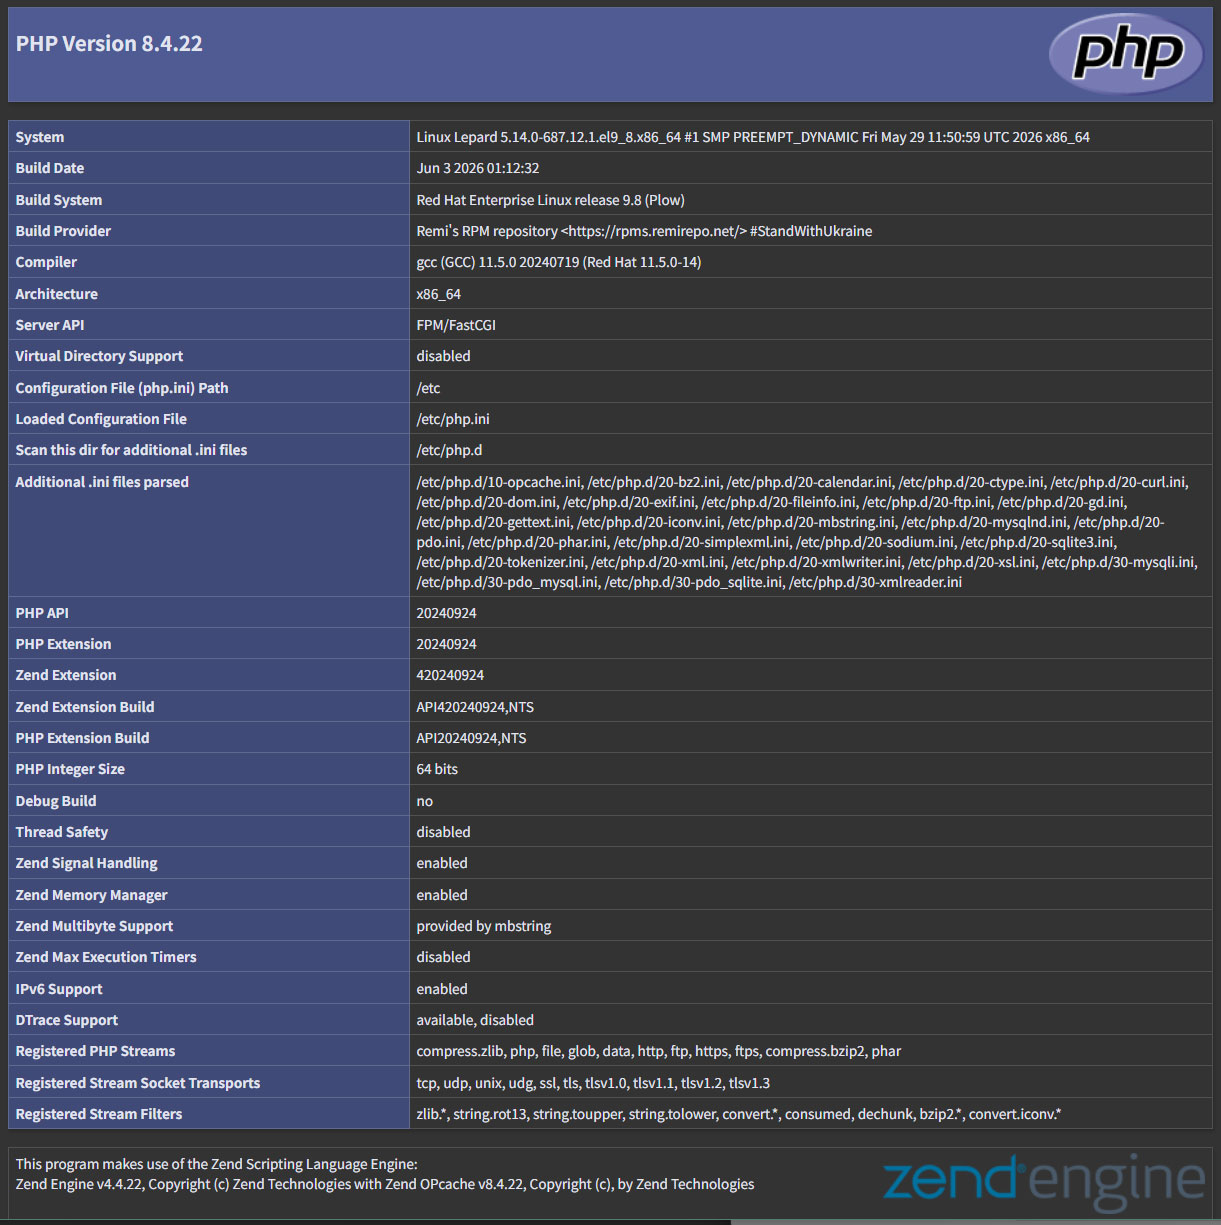
If you access http://[FQDN]/test.php in your browser and see the following screen, it is OK
4. Digest authentication with Apache2
Since Basic Authentication, a well-known authentication authorization method for http, sends authentication information in plain text, there is a risk of ID and password leakage if the packet is intercepted.
On the other hand, Digest Authentication encrypts and transmits authentication information, so there is almost no risk of information leakage.
4.1 Create password file for Digest authentication
Specify an authenticated area called realm. This realm allows the same directory to be accessed as authenticated.
For this example, the realm is "DigestAuth" and a user and password file named "secretuser" ".digestauth" is created.
# /usr/bin/htdigest -c /etc/httpd/.digestauth "DigestAuth" secretuser
New password:
Re-type new password:
Confirmation
# cat /etc/httpd/.digestauth
secretuser:DigestAuth:xxxxxxxxxxxxxxxxxxxxxxxxxxxxxxxxxxx
As above, secretuser and encrypted password are created
4.2 Edit Apache configuration file
Specify the directory to which Digest authentication will be applied. (In this case, specify the "secret" directory.)
# vi /etc/httpd/conf/httpd.conf
Add the following at the end
<Directory "/var/www/html/[FQDN]/secret">
AuthType Digest
AuthName "DigestAuth"
AuthDigestDomain /secret/
AuthUserFile "/etc/httpd/.digestauth"
Require valid-user
</Directory>
Create a directory for Digest authentication
# mkdir /var/www/html/[FQDN]/secret
Enable Digest authentication and reboot
# systemctl restart httpd.service
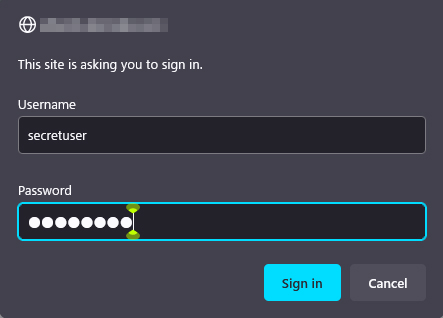
When accessing http://[FQDN]/secret with a browser, a screen appears asking for "user name" and "password".