1. MariaDB
1.1 Install
# apt -y install mariadb-server
Check MariaDB Version
# mariadb -V
mariadb from 11.8.6-MariaDB, client 15.2 for debian-linux-gnu (x86_64) using  EditLine wrapper
1.2 MariaDB Server Security Settings
MariaDB comes with a default security script, mariadb-secure-installation, which can be used to improve the security of your MariaDB installation, including
# systemctl start mariadb
# mariadb-secure-installation
Installation Status
NOTE: MariaDB is secure by default in Debian. Running this script is
useless at best, and misleading at worst. This script will be
removed in a future MariaDB release in Debian. Please read
/usr/share/doc/mariadb-server/README.Debian.gz for details.
Enter root user password or leave blank:
Enter current password for root (enter for none): [Enter]
OK, successfully used password, moving on…
Setting the root password or using the unix_socket ensures that nobody
can log into the MariaDB root user without the proper authorisation.
You already have your root account protected, so you can safely answer 'n'.
Switch to unix_socket authentication [Y/n] y
Enabled successfully (or at least no errors was emitted)!
Reloading privilege tables..
… Success!
You already have your root account protected, so you can safely answer 'n'.
Change the root password? [Y/n] y
New password: [Any Password]
Re-enter new password: [Any Password again]
Password updated successfully!
Reloading privilege tables..
… Success!
By default, a MariaDB installation has an anonymous user, allowing anyone
to log into MariaDB without having to have a user account created for
them. This is intended only for testing, and to make the installation
go a bit smoother. You should remove them before moving into a
production environment.
Remove anonymous users? [Y/n] y
… Success!
Normally, root should only be allowed to connect from 'localhost'. This
ensures that someone cannot guess at the root password from the network.
Disallow root login remotely? [Y/n] y
… Success!
By default, MariaDB comes with a database named 'test' that anyone can
access. This is also intended only for testing, and should be removed
before moving into a production environment.
Remove test database and access to it? [Y/n] y
- Dropping test database…
… Success! - Removing privileges on test database…
… Success!
Reloading the privilege tables will ensure that all changes made so far
will take effect immediately.
Reload privilege tables now? [Y/n] y
… Success!
Cleaning up…
All done! If you've completed all of the above steps, your MariaDB
installation should now be secure.
Thanks for using MariaDB!
After that, use the following commands when accessing MariaDB
# mariadb -u root -p
Enter password: (Enter the new password set above)
1.3 phpMyAdmin
Installed phpMyAdmin and configured it to operate MariaDB via web browser
①Install
# apt -y install phpmyadmin
Select a web server to use phpMyAdmin, this time Apache2
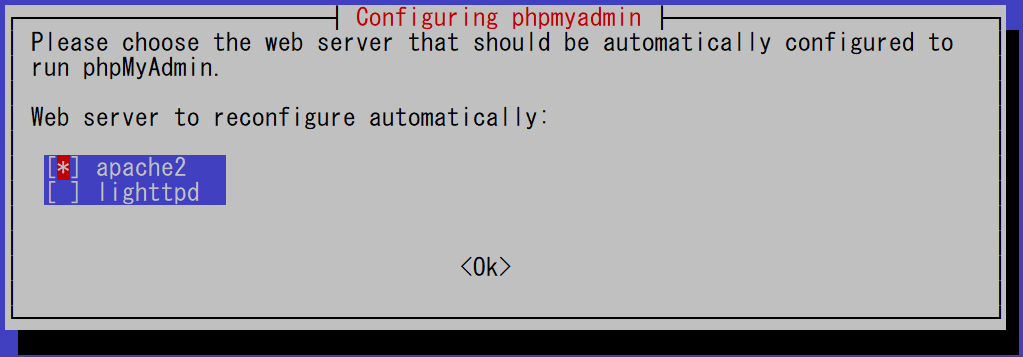
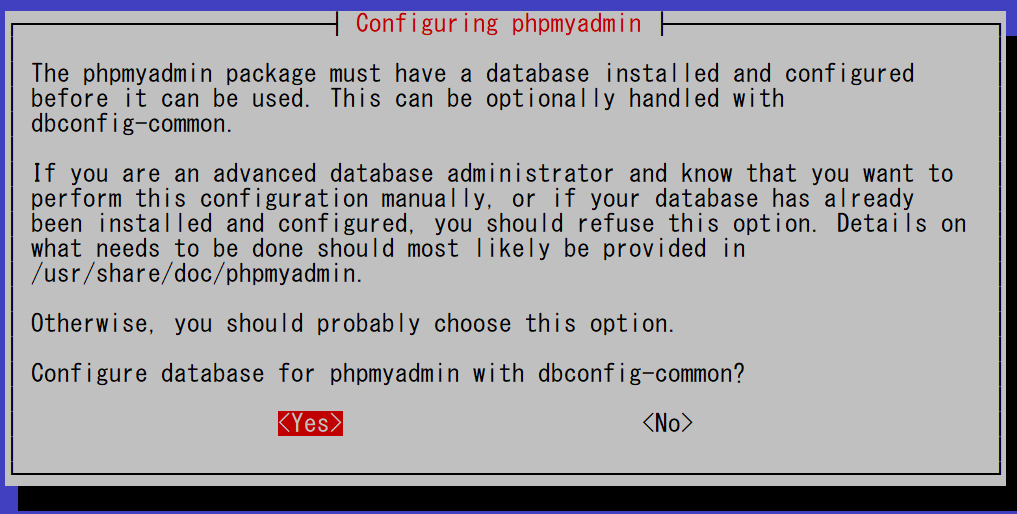
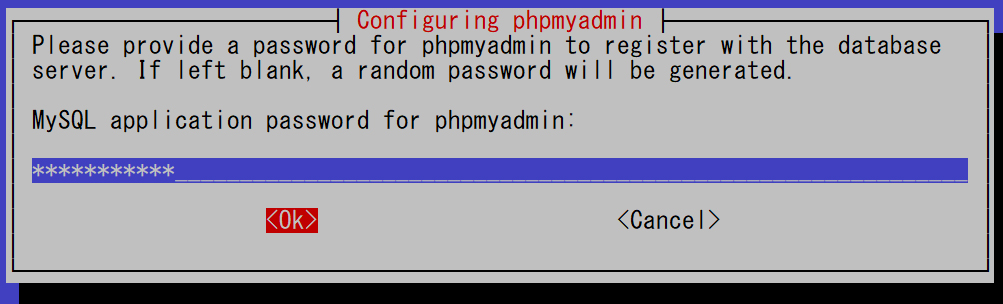
MariaDB password
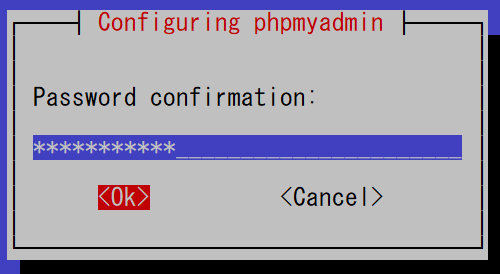
Confirm password again
apache.conf edit
# vi /etc/phpmyadmin/apache.conf

Line 8 : Add the range of permitted access
Require ip 127.0.0.1 192.168.11.0/24  ←Adjust to your own environment
Apache restart
# systemctl restart apache2
②Access http://[IP address]/phpmyadmin in your browser
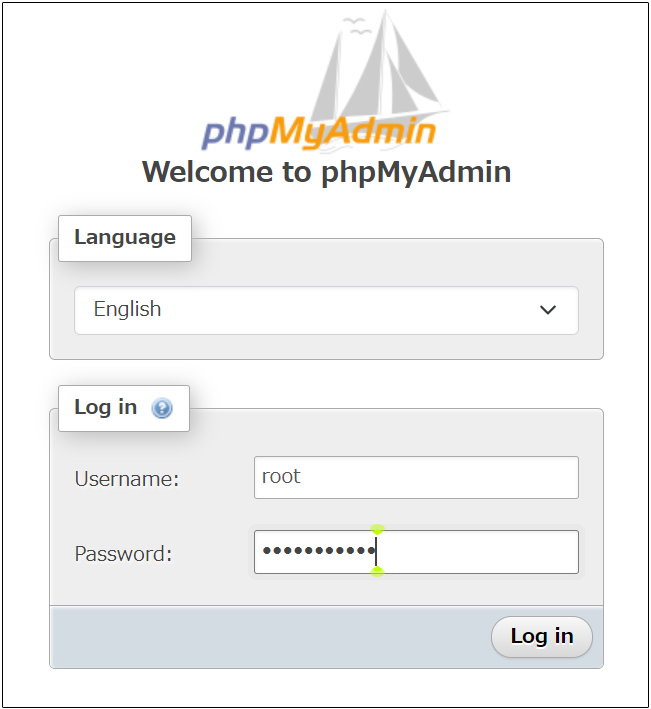
The following login screen will appear
Username : root
Password: Password for the root user set in the MariaDB security installation
Log in click
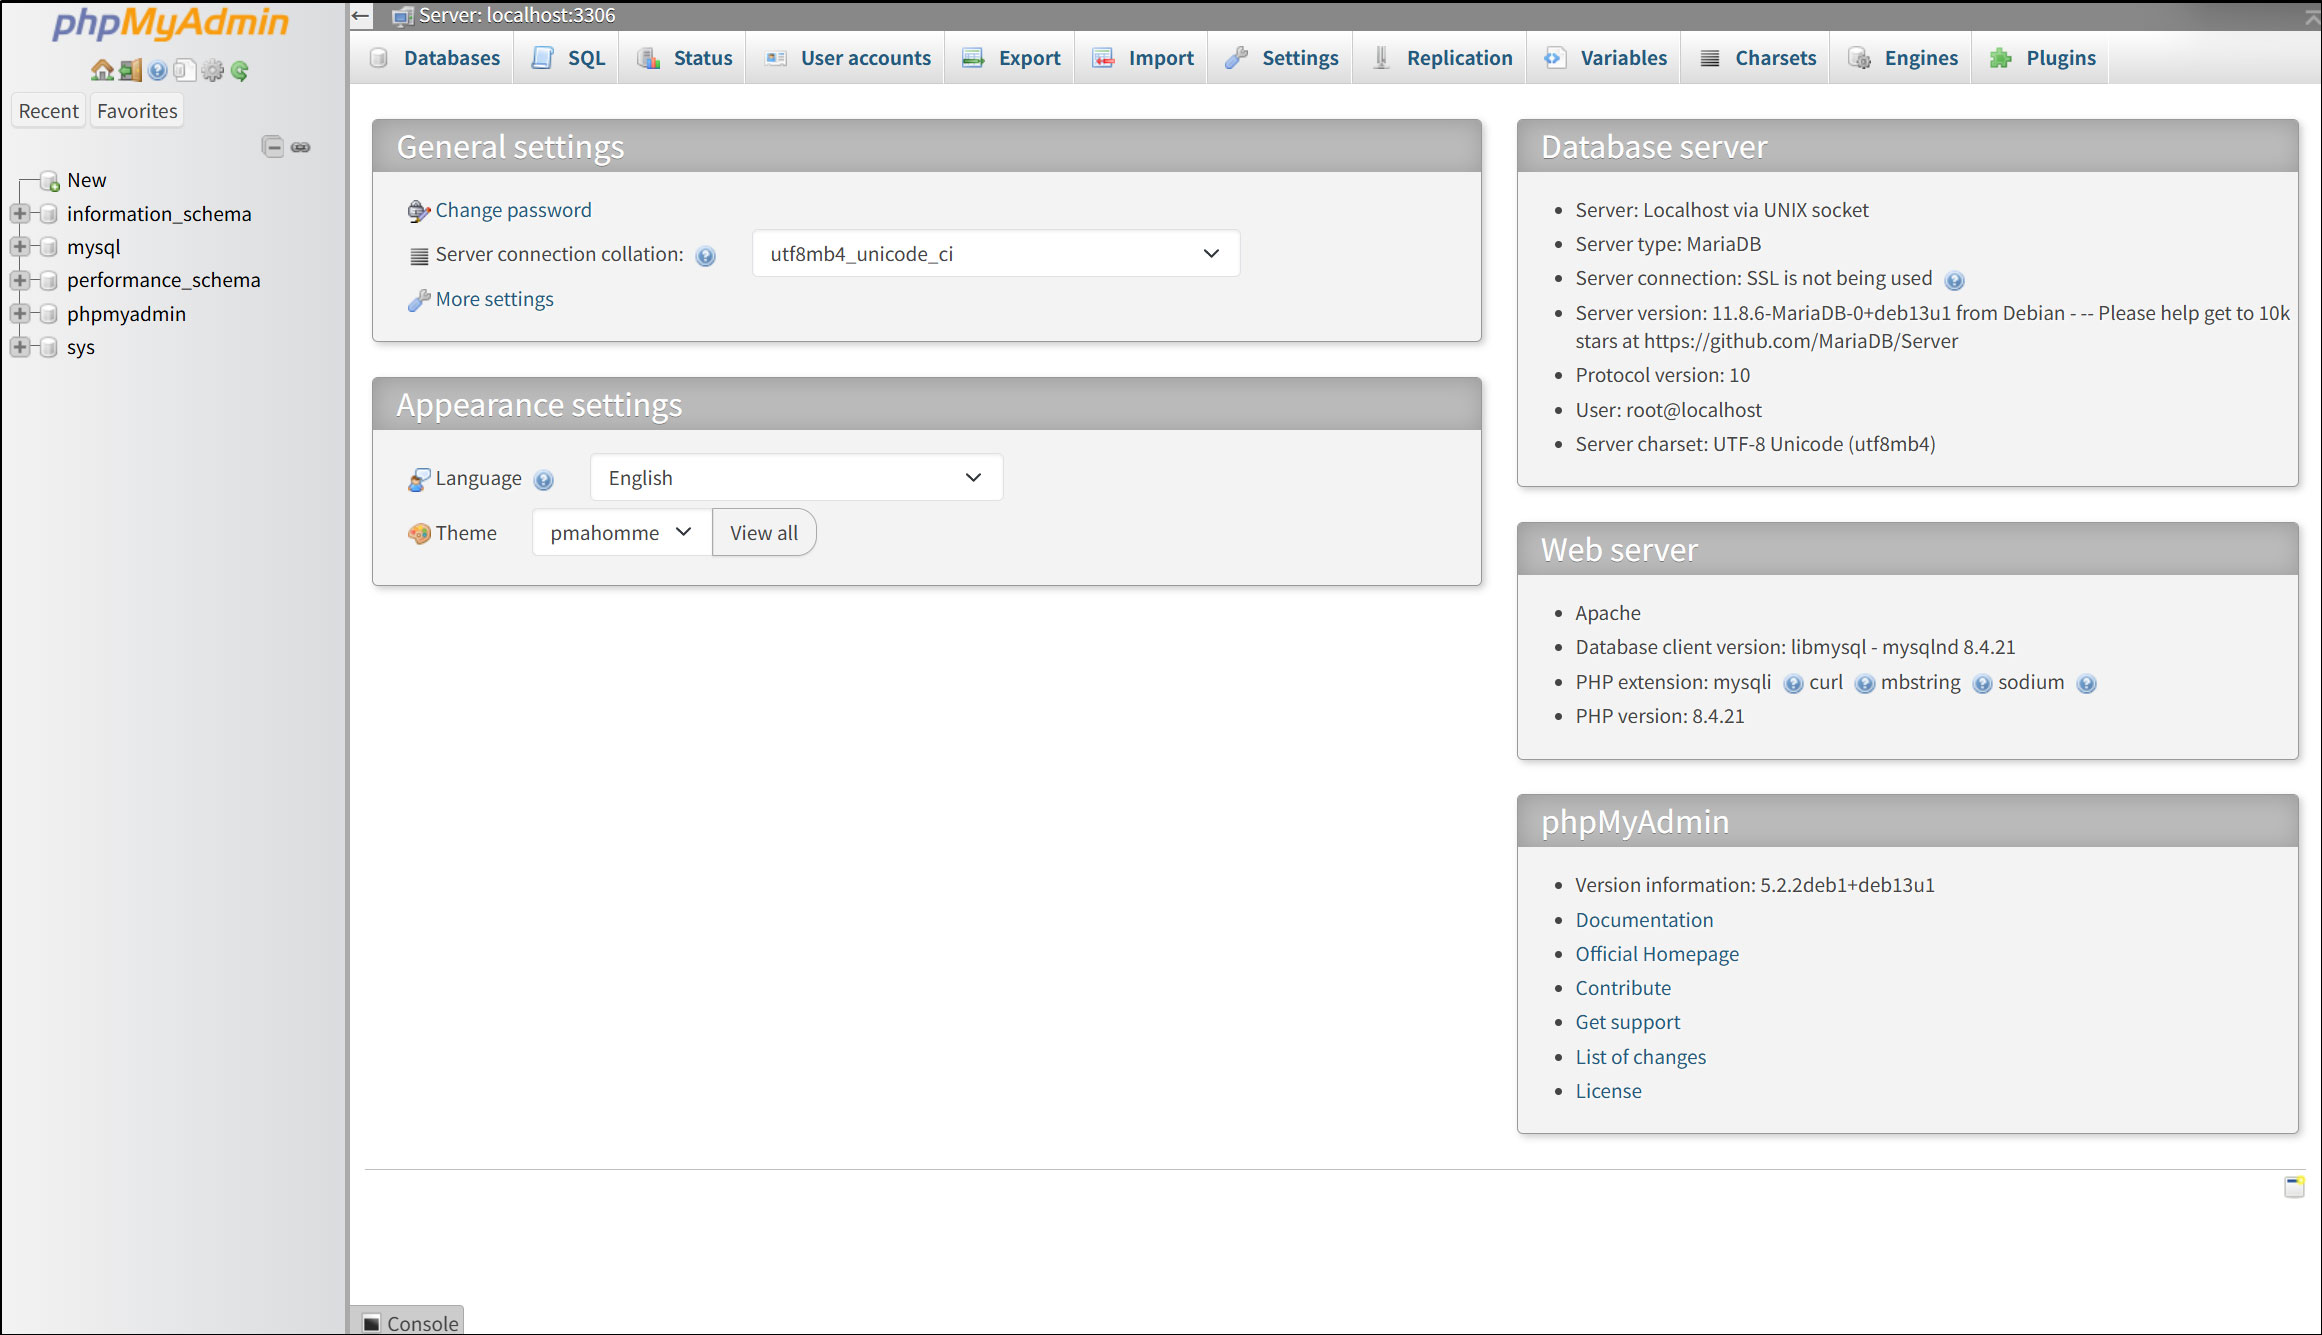
The following phpMyAdmin settings screen appears
2.WordPress
2.1 Database Creation
Create a database for Word Press (for example, in this case, the database name is "wp_db", the user name is "wp_user", and the password is "?Y123456y")
# mariadb -u root -p

Enter password:
Welcome to the MariaDB monitor.  Commands end with ; or \g.
Your MariaDB connection id is 97
Server version: 11.8.6-MariaDB-0+deb13u1 from Debian -- Please help get to 10k stars at https://github.com/MariaDB/Server

Copyright (c) 2000, 2018, Oracle, MariaDB Corporation Ab and others.

Type 'help;' or '\h' for help. Type '\c' to clear the current input statement.

MariaDB [(none)]> create database wp_db;
Query OK, 1 row affected (0.001 sec)

MariaDB [(none)]> create user 'wp_user'@'localhost' identified by '?Y123456y';
Query OK, 0 rows affected (0.001 sec)

MariaDB [(none)]> grant all on wp_db.* to 'wp_user'@'localhost';
Query OK, 0 rows affected (0.001 sec)

MariaDB [(none)]> flush privileges;
Query OK, 0 rows affected (0.001 sec)

MariaDB [(none)]> exit
Bye
2.2 WordPress Download and Installation
①Download and Deployment
# cd /var/www/html/<FQDN>
# wget http://wordpress.org/latest.tar.gz
# tar xvf latest.tar.gz
②Edit contents of wp-config.php
# cd wordpress/
# cp wp-config-sample.php wp-config.php
Changes made to wp-config.php
# vi wp-config.php

Line 23 : The database name created in “2.1 Creating a Database”
define( 'DB_NAME', 'wp_db' );

Line 26 : The user name created in “2.1 Creating a Database”
define( 'DB_USER', 'wp_user' );

Line 29 : 「The password for the user created in "2.1 Creating a Database"
define( 'DB_PASSWORD', '?Y123456y' );

Add the following to the last line
If you do not do this, you will be asked for FTP connection information when you add the plugin.
define('FS_METHOD', 'direct');
Move all files in the WordPress directory to the root of the documents directory
# cd /var/www/html/<FQDN>
# mv wordpress/* .
After confirming that the files have been moved, delete the wordpress directory and the downloaded latest.tar.gz
# rm -R -f wordpress
# rm -f latest.tar.gz
④Make apache the owner of the wordpress directory
# chown -R www-data:www-data /var/www/html/<FQDN>
⑤Access via browser
Access http://[FQDN]/wp-admin.
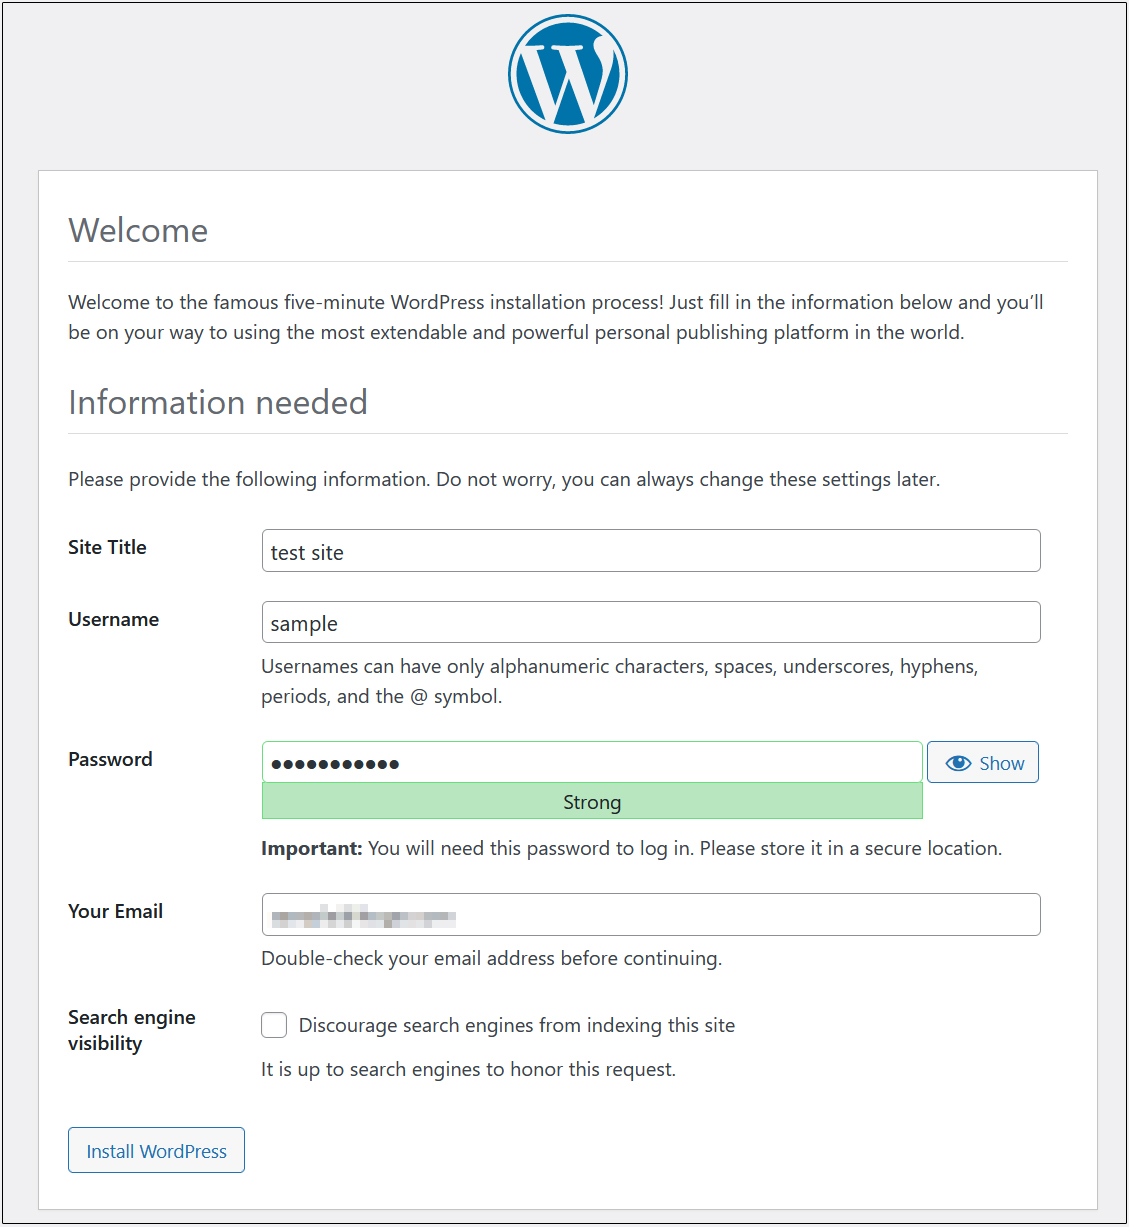
Upon successful completion, the following WordPress installation information input screen will appear.
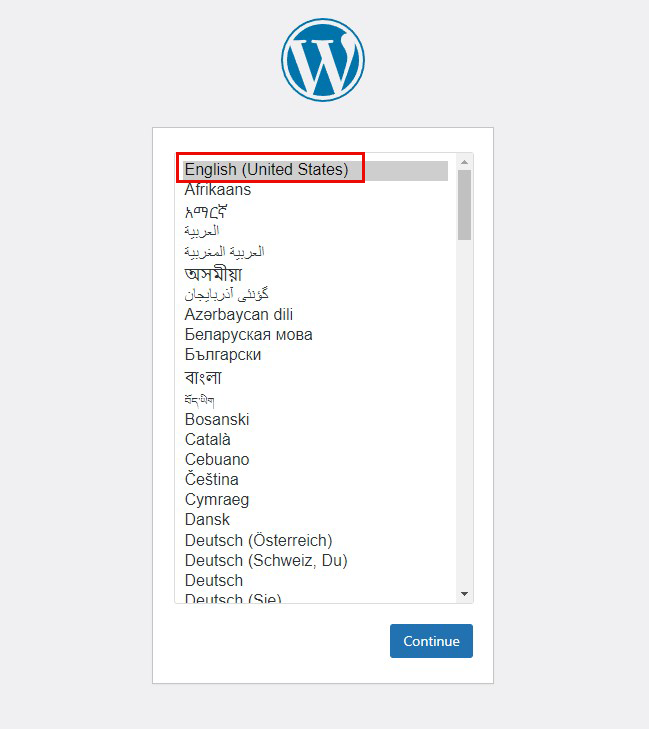
On the following input screen
- Site Title Any name
- Username Any name
- Password Any password
- Your Email Administrator's email address
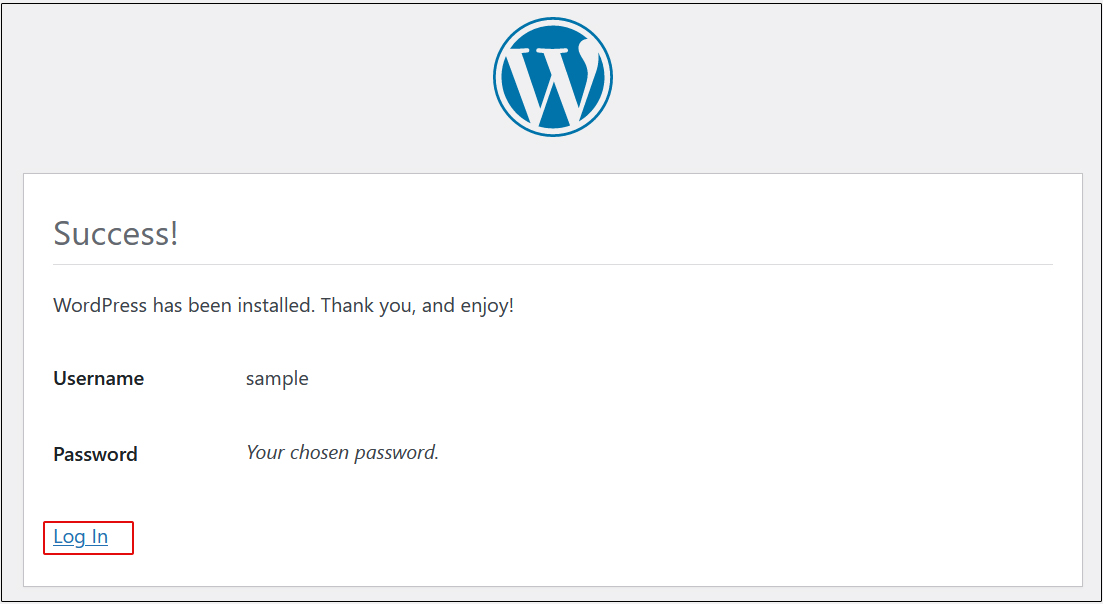
Enter the information and click "Install WordPress". Remember to enter y