Web server Apache2 installation
Allow http:80 port in UFW before installation
# ufw allow http

# ufw reload
1 Apache2 Installation and Configuration
Apache2 Install
# apt -y install apache2
2.Basic Apache2 Configuration
# vi /etc/apache2/conf-enabled/security.conf
Line 12:change
ServerTokens Prod
# vi /etc/apache2/mods-enabled/dir.conf
Check file names accessible by directory name only
DirectoryIndex index.html index.cgi index.pl index.php index.xhtml index.htm
# vi /etc/apache2/apache2.conf
Line 70:Server name added
ServerName <domain>
Line 172:change
AllowOverride ALL
# vi /etc/apache2/sites-available/000-default.conf
Line 11:Administrator address change
ServerAdmin <your mailaddress>
Apache restart
# systemctl restart apache2
3. Apache2; Using Perl Scripts
Enable CGI to make Perl scripts available
①Install Perl(Check with dpkg -l | grep perl and if not installed)
# apt -y install perl
②Enable CGI module and restart
# a2enmod cgid
# systemctl restart apache2
③Check the validity of CGI modules
Create test scripts
# vi /usr/lib/cgi-bin/test_script

#!/usr/bin/perl
print "Content-type: text/html\n\n" ;
print "Hello CGI\n"
Authorize script files
# chmod 705 /usr/lib/cgi-bin/test_script
operation check
# curl http://localhost/cgi-bin/test_script
If you get a "curl: command not found" message
# apt install curl
again
# curl http://localhost/cgi-bin/test_script
Hello CGI
4 Apache2 : Using PHP Scripts
①Install PHP
# apt -y install php php-cgi libapache2-mod-php php-common php-pear php-mbstring
②Apache2 Configuration
# a2enconf php8.4-cgi
Enabling conf php8.4-cgi.
To activate the new configuration, you need to run:
  systemctl reload apache2
# vi /etc/php/8.4/apache2/php.ini

Line 699 : change
post_max_size = 300M
Line 851 : change
upload_max_filesize = 200M
Line 966:Uncomment and set time zone
date.timezone = "Asia/Tokyo"
Considering the implementation of WordPress, we are increasing the size of upload files.
③Create a PHP test page and check its operation
# vi /var/www/html/info.php
<?php phpinfo(); ?>
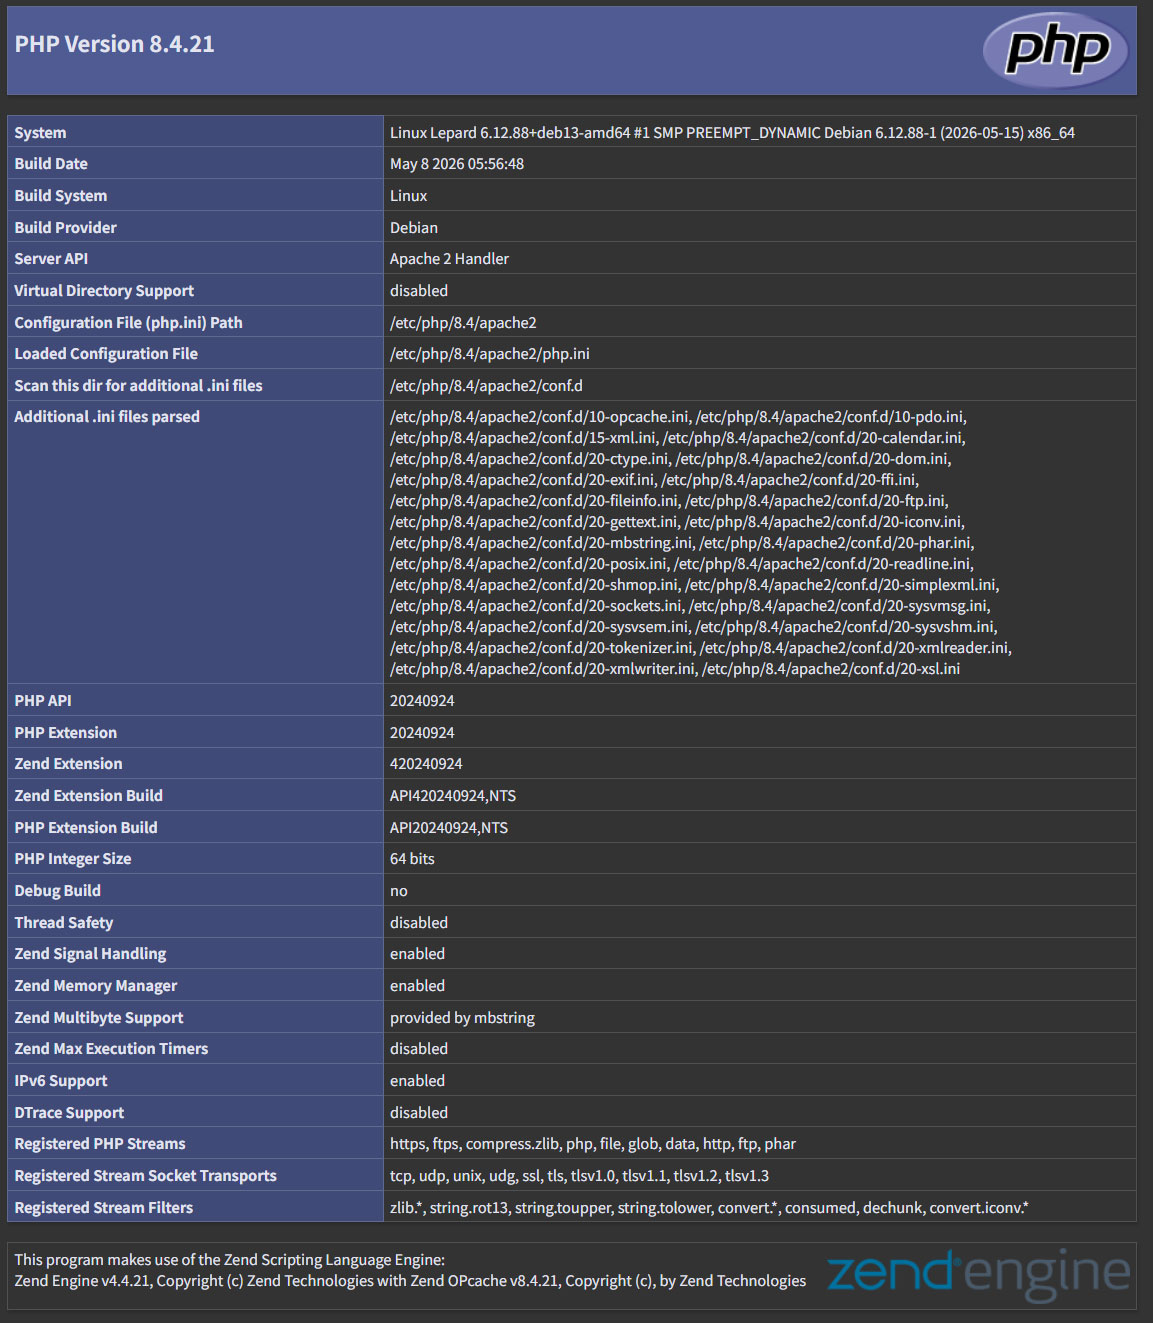
Access http://[server IP address]/info.php with a browser and if the following screen appears, OK
5. Virtual Host Settings
Copy the default configuration file (file name is arbitrary, in this case vhost.conf as an example) and configure the virtual host
# cd /etc/apache2/sites-available/
# cp 000-default.conf vhost.conf
Edit configuration file
# vi vhost.conf

<VirtualHost *:80>
~omission~
ServerName <FQDN>
ServerAdmin <Administrator's email address>
DocumentRoot /var/www/html/<FQDN>/
~omission~
ErrorLog ${APACHE_LOG_DIR}/<FQDN>.error.log
CustomLog ${APACHE_LOG_DIR}/<FQDN>.access.log combined
~omission~
</VirtualHost>
Symbolic link to the configuration file to disable the default configuration file
# cd /etc/apache2/sites-available/
# a2ensite vhost.conf
Default Disable
# a2dissite 000-default.conf
Apache Restart
# systemctl restart apache2
Edit hosts file
# vi /etc/hosts
Add the following
127.0.0.1 <FQDN>
directory creation
# mkdir /var/www/html/<FQDN>
Create test pages and check operation
# vi /var/www/html/<FQDN>/index.html
<html>
<body>
<div style="width: 100%; font-size: 40px; font-weight: bold; text-align: center;">
Virtual Host Test Page
</div>
</body>
</html>
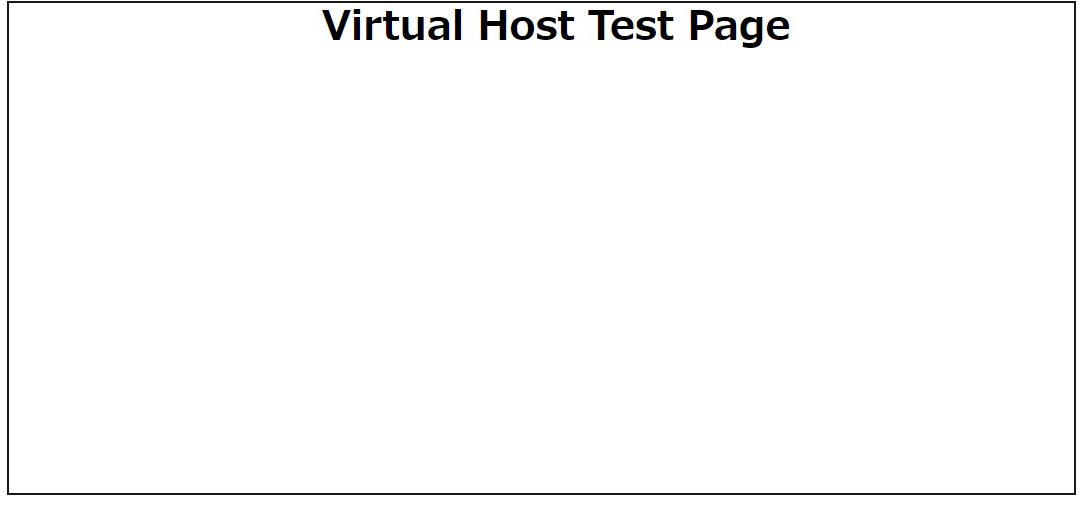
Access "http://[FQDN]/index.html" with a browser to check
6. Digest authentication with Apache2
Since Basic Authentication, a well-known authentication authorization method for http, sends authentication information in plain text, there is a risk of ID and password leakage if the packet is intercepted.
On the other hand, Digest Authentication encrypts and transmits authentication information, so there is almost no risk of information leakage.
6.1 Create password file for Digest authentication
Specify an authenticated area called realm. This realm allows the same directory to be accessed as authenticated.
As an example, we will create a user named "secretuser" with "DigestAuth" as the realm. Execute the following command and enter the password for "secretuser" when prompted.
# /usr/bin/htdigest -c /etc/apache2/.digestauth "DigestAuth" secretuser
New password:
Re-type new password:
Confirmation
# cat /etc/apache2/.digestauth
secretuser:DigestAuth:xxxxxxxxxxxxxxxxxxxxxxxxxxxxxxxxx
As above, secretuser and encrypted password are created
6.2 Edit Apache configuration file
Specify the directory to which Digest authentication will be applied. (In this case, specify the secret directory.)
# vi /etc/apache2/apache2.conf

Add the following at the end
<Directory /var/www/html/[FQDN]/secret>
AuthType Digest
AuthName "DigestAuth"
AuthDigestDomain [FQDN]/secret/
AuthUserFile /etc/apache2/.digestauth
Require valid-user
</Directory>
Create a directory for Digest authentication
# mkdir /var/www/html/[FQDN]/secret
Enable Digest authentication and reboot
# a2enmod auth_digest
# systemctl restart apache2
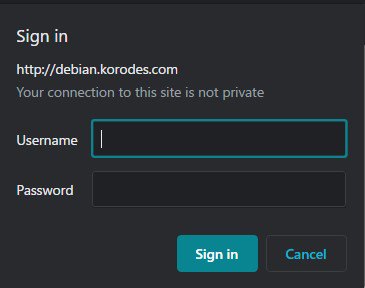
When you access http://[FQDN]/secret in your browser, a screen appears asking for your "username" and "password."