MySQL8 Install
# dnf -y install mysql-server
charset.cnf Create a new one with the following contents
# vi /etc/my.cnf.d/charset.cnf

#  Set default character encoding utf8mb4 for 4-byte characters such as pictographs

[mysqld]
character-set-server = utf8mb4

[client]
default-character-set = utf8mb4
# systemctl enable --now mysqld
Created symlink /etc/systemd/system/multi-user.target.wants/mysqld.service → /usr/lib/systemd/system/mysqld.service.
Use the "mysql_secure_installation" command to set the root user password and set some basic policies
# mysql_secure_installation
Securing the MySQL server deployment.
Connecting to MySQL using a blank password.
VALIDATE PASSWORD COMPONENT can be used to test passwords
and improve security. It checks the strength of password
and allows the users to set only those passwords which are
secure enough. Would you like to setup VALIDATE PASSWORD component?
Press y|Y for Yes, any other key for No: Y
There are three levels of password validation policy:
LOW Length >= 8
MEDIUM Length >= 8, numeric, mixed case, and special characters
STRONG Length >= 8, numeric, mixed case, special characters and dictionary file
Please enter 0 = LOW, 1 = MEDIUM and 2 = STRONG: 0 ←May be optional for each
Please set the password for root here.
New password: [Password]
Re-enter new password: [Password]
Estimated strength of the password: 100
Do you wish to continue with the password provided?(Press y|Y for Yes, any other key for No) : Y
By default, a MySQL installation has an anonymous user,
allowing anyone to log into MySQL without having to have
a user account created for them. This is intended only for
testing, and to make the installation go a bit smoother.
You should remove them before moving into a production
environment.
Remove anonymous users? (Press y|Y for Yes, any other key for No) : Y
Success.
Normally, root should only be allowed to connect from
'localhost'. This ensures that someone cannot guess at
the root password from the network.
Disallow root login remotely? (Press y|Y for Yes, any other key for No) : Y
Success.
By default, MySQL comes with a database named 'test' that
anyone can access. This is also intended only for testing,
and should be removed before moving into a production
environment.
Remove test database and access to it? (Press y|Y for Yes, any other key for No) : Y
- Dropping test database…
Success. - Removing privileges on test database…
Success.
Reloading the privilege tables will ensure that all changes
made so far will take effect immediately.
Reload privilege tables now? (Press y|Y for Yes, any other key for No) : Y
Success.
All done!
WordPress
1. Create database for WordPress
As an example, assume database [wp_db] database user [wp_user] password [?Ww123456]
# mysql -u root -p

Enter password: ←Enter root password for MySQL
Welcome to the MySQL monitor.  Commands end with ; or \g.
Your MySQL connection id is 10
Server version: 8.0.46 Source distribution

Copyright (c) 2000, 2026, Oracle and/or its affiliates.

Oracle is a registered trademark of Oracle Corporation and/or its
affiliates. Other names may be trademarks of their respective
owners.

Type 'help;' or '\h' for help. Type '\c' to clear the current input statement.

#Create a dedicated database controlled by WordPress
mysql> CREATE DATABASE wp_db DEFAULT CHARACTER SET utf8 COLLATE utf8_unicode_ci;
Query OK, 0 rows affected (0.00 sec)

#Create an account and set a password
mysql>CREATE USER 'wp_user'@'localhost' IDENTIFIED WITH mysql_native_password BY '?Ww123456';
Query OK, 0 rows affected (0.04 sec)

#Informs the database that the user must have full access to the setup database
mysql> GRANT ALL ON wp_db.* TO 'wp_user'@'localhost';
Query OK, 0 rows affected (0.04 sec)

#Reload Permissions
mysql> flush privileges;

#Exit mysql
mysql> exit;
Bye
2.Wordpress Install
# cd /var/www/html/[FQDN]
# wget http://wordpress.org/latest.tar.gz
# tar xvf latest.tar.gz
3.Edit WordPress configuration file
# cd wordpress/
# cp wp-config-sample.php wp-config.php
# vi wp-config.php
<?php
/**
-----(Omitted)-----
// ** Database settings - You can get this info from your web host ** //
/** The name of the database for WordPress */
define( 'DB_NAME', 'wp_db' );
/** Database username */
define( 'DB_USER', 'wp_user' );
/** Database password */
define( 'DB_PASSWORD', '?Ww123456' );
/** Database hostname */
define( 'DB_HOST', 'localhost' );
/** Database charset to use in creating database tables. */
define( 'DB_CHARSET', 'utf8' );
-----(Omitted)-----
/** Sets up WordPress vars and included files. */
require_once ABSPATH . 'wp-settings.php';
define('FS_METHOD', 'direct');
Add the following to the last line
If you do not do this, you will be asked for FTP connection information when you add the plugin.
define('FS_METHOD', 'direct');
4.Moving Files
①Move the expanded contents under /var/www/html/[domain for wordpress]
# cd /var/www/html/[FQDN]
# mv wordpress/* .
After confirming that the files have been moved, delete the wordpress directory and downloaded latest.tar.gz
# cd /var/www/html/[FQDN]
# rm -R -f wordpress
# rm -f latest.tar.gz
Make apache the owner of the wordpress directory.
# chown -R apache:apache /var/www/html/[FQDN]
5.Starting wordpress installation
You can use your browser to go to http://[FQDN]/wp-admin/install.php
"Your PHP installation appears to be missing the MySQL extension which is required by WordPress."When displayed
Install php library-related software if not already installed.
# dnf -y install php-mysqlnd
# systemctl restart mysqld
# systemctl restart httpd
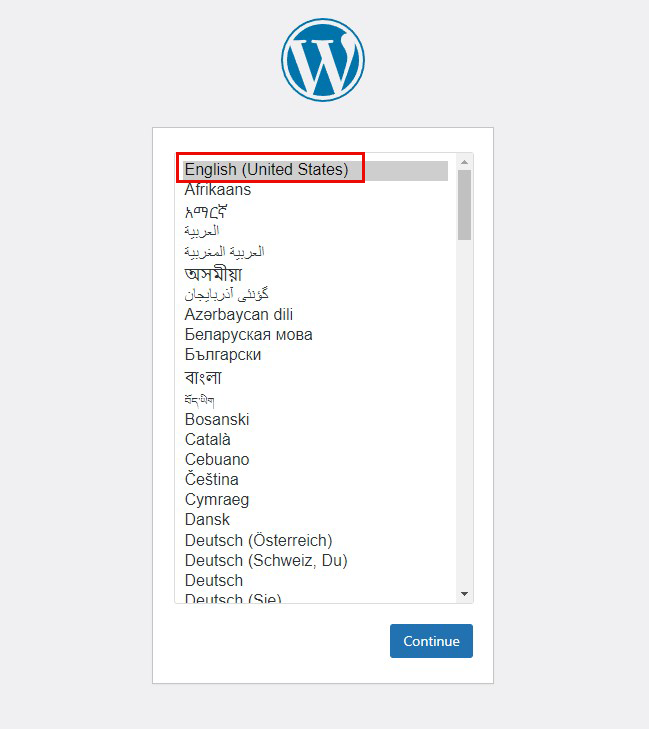
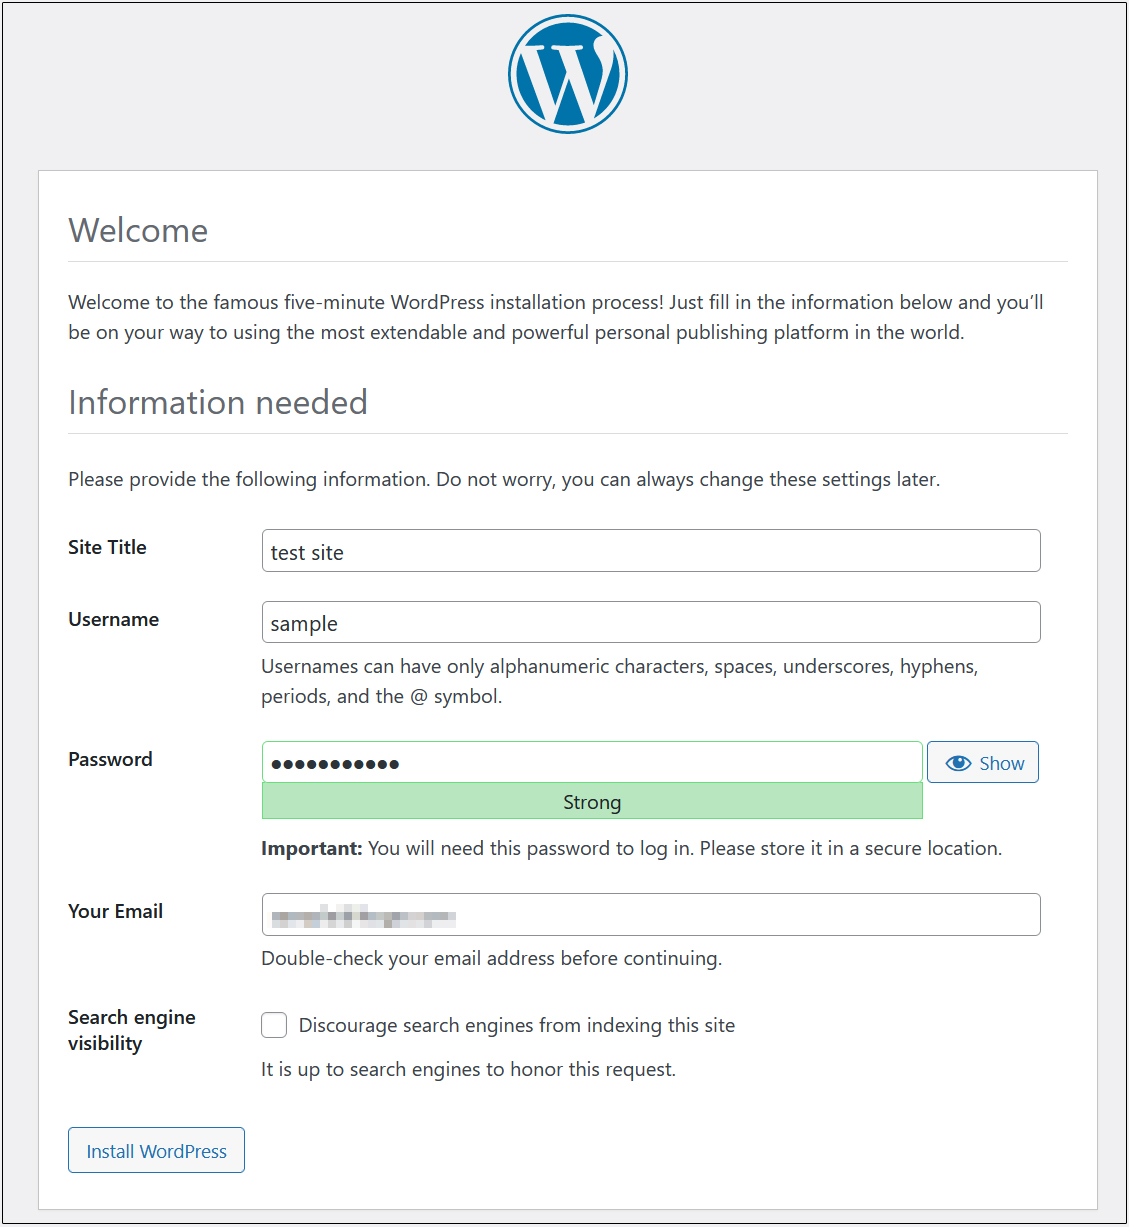
On the following input screen
Site Title Any name
Username Any name
Password Any password
Your Email Administrator's email address
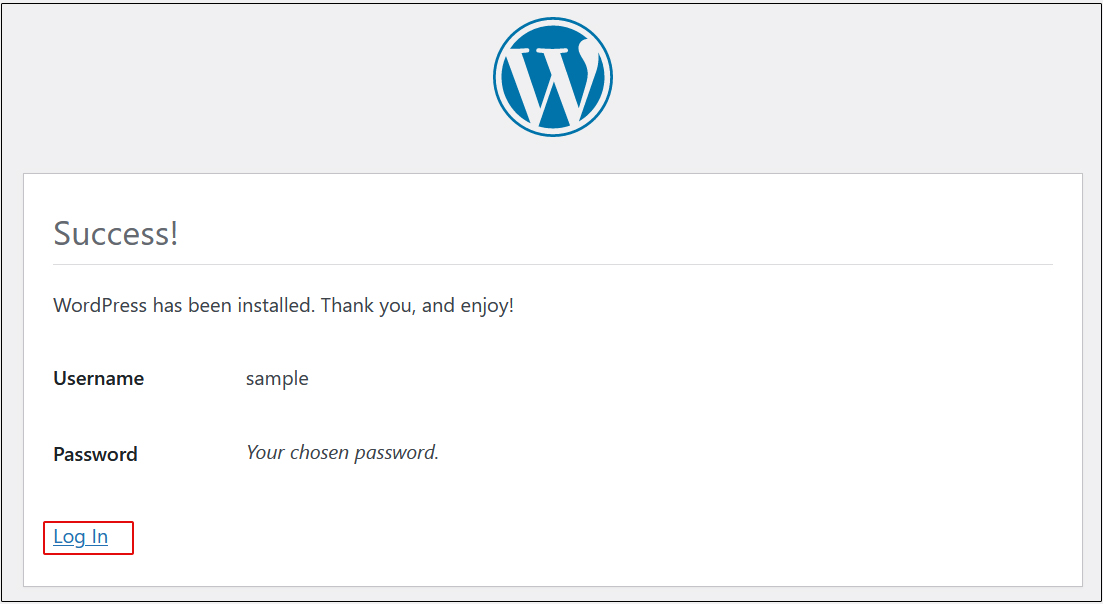
Click on "Login"
User Name : The user name you have just set
Password : User's password you have just set
and click "Login".
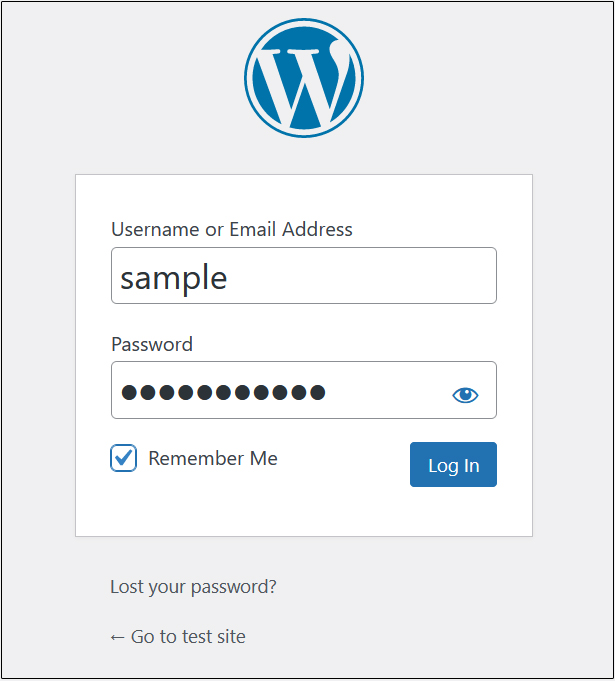
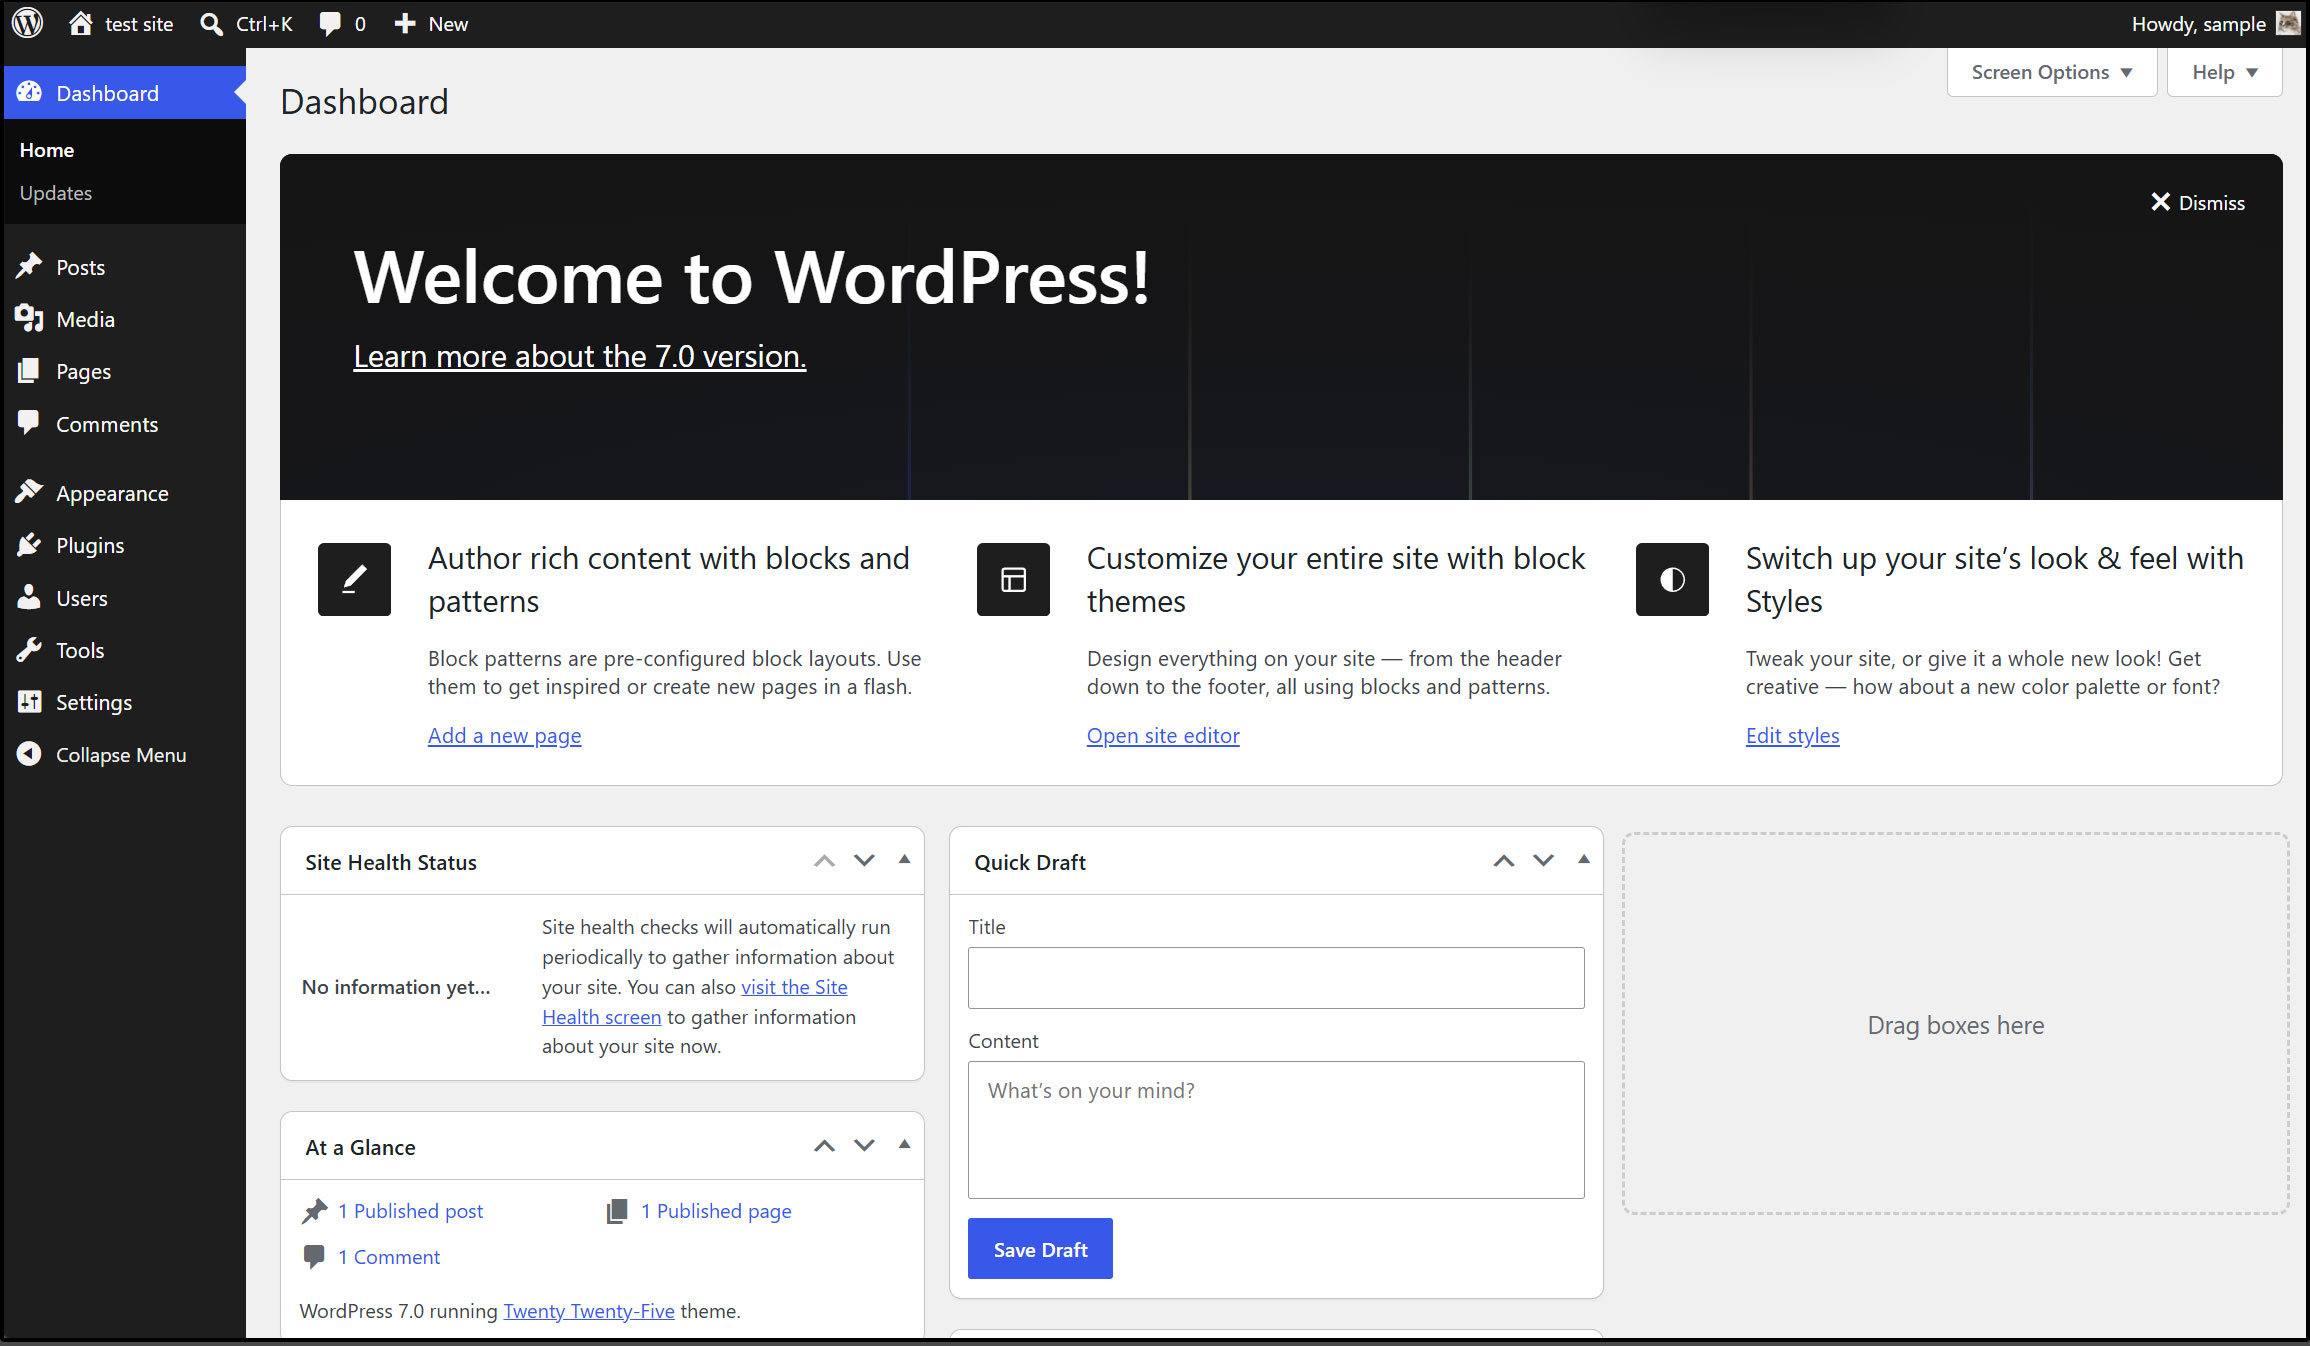
After successful login, you can access the WordPress admin panel below.