MariaDBインストール
①インストール
# slackpkg upgrade mariadb
➁MariaDB有効化と起動
# chmod +x /etc/rc.d/rc.mysqld

独自の内部データベースをセットアップするためにインストール・スクリプトを実行する
# mysql_install_db

MySQLユーザーに必要なMySQLファイルの所有権を与える
# chown -R mysql:mysql /var/lib/mysql

Mariadb起動
# /etc/rc.d/rc.mysqld start
➂MarisDBのバージョン確認
# mariadb -V
mariadb from 11.8.8-MariaDB, client 15.2 for Linux (x86_64) using readline 5.1
④rootユーザーのパスワードを設定
# mariadb-admin -u root password
New password:
Confirm new password:
⑤MariaDBの起動確認
# mariadb -u root  -p

Enter password: ←上記で設定したパスワード
Welcome to the MariaDB monitor.  Commands end with ; or \g.
Your MariaDB connection id is 4
Server version: 11.8.8-MariaDB Source distribution

Copyright (c) 2000, 2018, Oracle, MariaDB Corporation Ab and others.

Type 'help;' or '\h' for help. Type '\c' to clear the current input statement.

MariaDB [(none)]> show databases;
+--------------------+
| Database           |
+--------------------+
| information_schema |
| mysql              |
| performance_schema |
| sys                |
| test               |
+--------------------+
5 rows in set (0.001 sec)

MariaDB [(none)]> exit
Bye
⑥MariaDBのインストールのセキュリティー
MariaDBサーバーのrootユーザーのパスワードを変更しておきます。
# mariadb-secure-installation --skip-ssl

NOTE: RUNNING ALL PARTS OF THIS SCRIPT IS RECOMMENDED FOR ALL MariaDB
      SERVERS IN PRODUCTION USE!  PLEASE READ EACH STEP CAREFULLY!

In order to log into MariaDB to secure it, we'll need the current
password for the root user. If you've just installed MariaDB, and
haven't set the root password yet, you should just press enter here.

Enter current password for root (enter for none):  ←④で設定したパスワード
OK, successfully used password, moving on...

Setting the root password or using the unix_socket ensures that nobody
can log into the MariaDB root user without the proper authorisation.

You already have your root account protected, so you can safely answer 'n'.

Switch to unix_socket authentication [Y/n] Y
Enabled successfully!
Reloading privilege tables..
 ... Success!


You already have your root account protected, so you can safely answer 'n'.

Change the root password? [Y/n] Y
New password:
Re-enter new password:
Password updated successfully!
Reloading privilege tables..
 ... Success!


By default, a MariaDB installation has an anonymous user, allowing anyone
to log into MariaDB without having to have a user account created for
them.  This is intended only for testing, and to make the installation
go a bit smoother.  You should remove them before moving into a
production environment.

Remove anonymous users? [Y/n] Y
 ... Success!

Normally, root should only be allowed to connect from 'localhost'.  This
ensures that someone cannot guess at the root password from the network.

Disallow root login remotely? [Y/n] Y
 ... Success!

By default, MariaDB comes with a database named 'test' that anyone can
access.  This is also intended only for testing, and should be removed
before moving into a production environment.

Remove test database and access to it? [Y/n] Y
 - Dropping test database...
 ... Success!
 - Removing privileges on test database...
 ... Success!

Reloading the privilege tables will ensure that all changes made so far
will take effect immediately.

Reload privilege tables now? [Y/n] Y
 ... Success!

Cleaning up...

All done!  If you've completed all of the above steps, your MariaDB
installation should now be secure.

Thanks for using MariaDB!
以降MariaDBを起動するには
# mariadb -u root -p
Enter password: ←上記⑥で変更したパスワード
WorsPressインストール
WordPress用データベース
wordpress用ユーザー、パスワード、データベースを作成する
データベース : wp_db
ユーザー : wp_user
パスワード : ?Wabcd123
# mariadb -u root -p
Enter password: ←上記⑥で変更したパスワード
elcome to the MariaDB monitor.  Commands end with ; or \g.
Your MariaDB connection id is 15
Server version: 11.8.8-MariaDB Source distribution

Copyright (c) 2000, 2018, Oracle, MariaDB Corporation Ab and others.

Type 'help;' or '\h' for help. Type '\c' to clear the current input statement.

MariaDB [(none)]>  create database wp_db;
Query OK, 1 row affected (0.000 sec)

MariaDB [(none)]> create user 'wp_user'@'localhost' identified by '?Wabcd123';
Query OK, 0 rows affected (0.001 sec)

MariaDB [(none)]> grant all on wp_db.* to 'wp_user'@'localhost';
Query OK, 0 rows affected (0.001 sec)

MariaDB [(none)]> flush privileges;
Query OK, 0 rows affected (0.000 sec)

MariaDB [(none)]> exit
Bye
WordPress インストール
WordPressダウンロードとインストール
# cd /srv/httpd/htdocs/[FQDN]
# wget http://wordpress.org/latest.tar.gz
# tar zxvf latest.tar.gz
設定ファイルの編集
# cd /srv/httpd/htdocs/[FQDN]/wordpress/
# cp wp-config-sample.php wp-config.php
# vi wp-config.php

23行目
define( 'DB_NAME', 'wp_db' ); ←WordPress用データベース

26行目
define( 'DB_USER', 'wp_user' ); ←WordPress用データベースユーザー

29行目
define( 'DB_PASSWORD', '?Wabcd123' ); ←WordPress用データベースユーザーパスワード

最終行に以下の分を追加します。 これをしないと、プラグインを追加するときにFTP接続情報なるものを聞かれます。
define('FS_METHOD', 'direct');
/srv/httpd/htdocs/[FQDN]の配下に展開した中身を移動します
# cd /srv/httpd/htdocs/[FQDN]
# mv wordpress/* .
wordpressディレクトリの所有者をapacheにします。
これをしないとプラグインのインストールなどの際に、ディレクトリを作成できないとか言われてしまします。
# chown -R apache:apache /srv/httpd/htdocs/[FQDN]
# chmod 775 -R /srv/httpd/htdocs/[FQDN]
起動確認
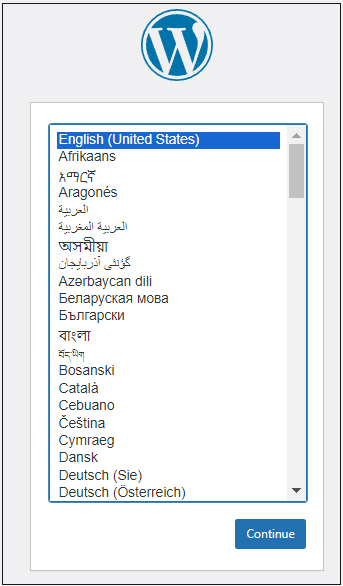
ブラウザで http://[FQDN]/wp-admin/install.php に接続すると言語の選択画面になるのでデフォルトのEnglishで進める
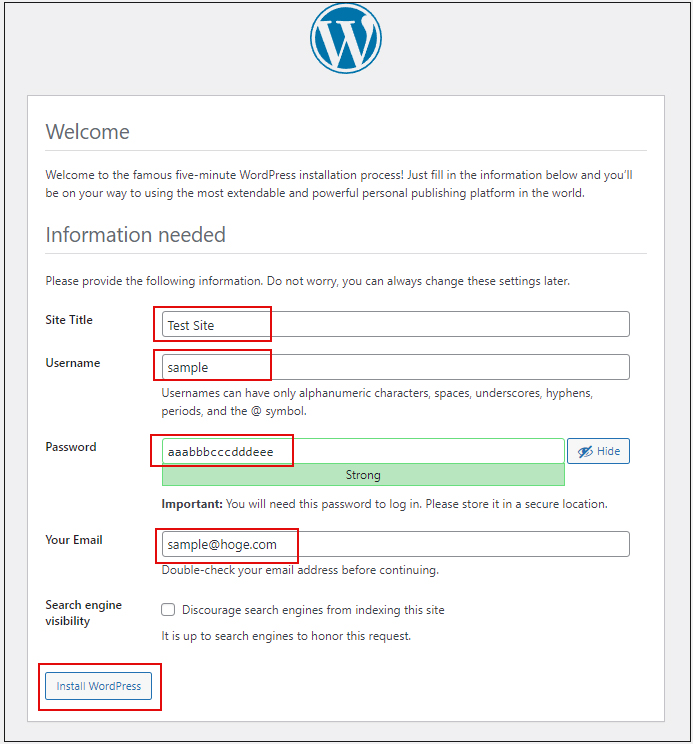
ユーザー名、パスワード等必要事項を入力し、インストールを開始する
Site Title : 任意のタイトル
Username : 任意のユーザー名
Password : 任意のパスワード
Your Email : 管理者のメールアドレス
を入力し、「Install WordPress」クリック
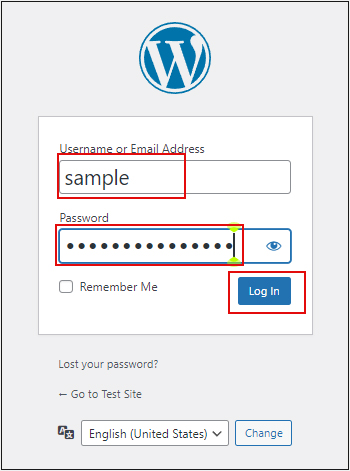
インストールが成功すると"Log In"クリック
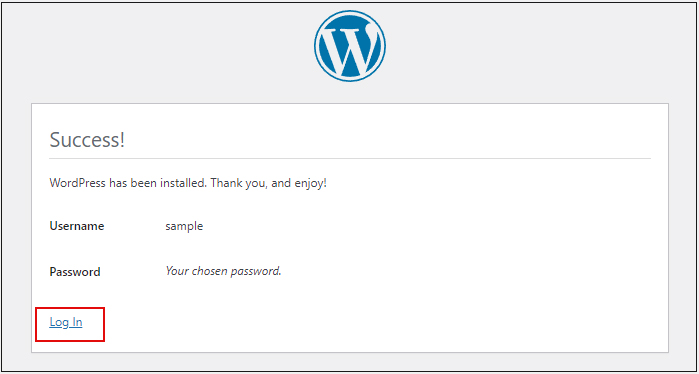
上記で設定した[Username][Password]を入力し、[Log In]クリック
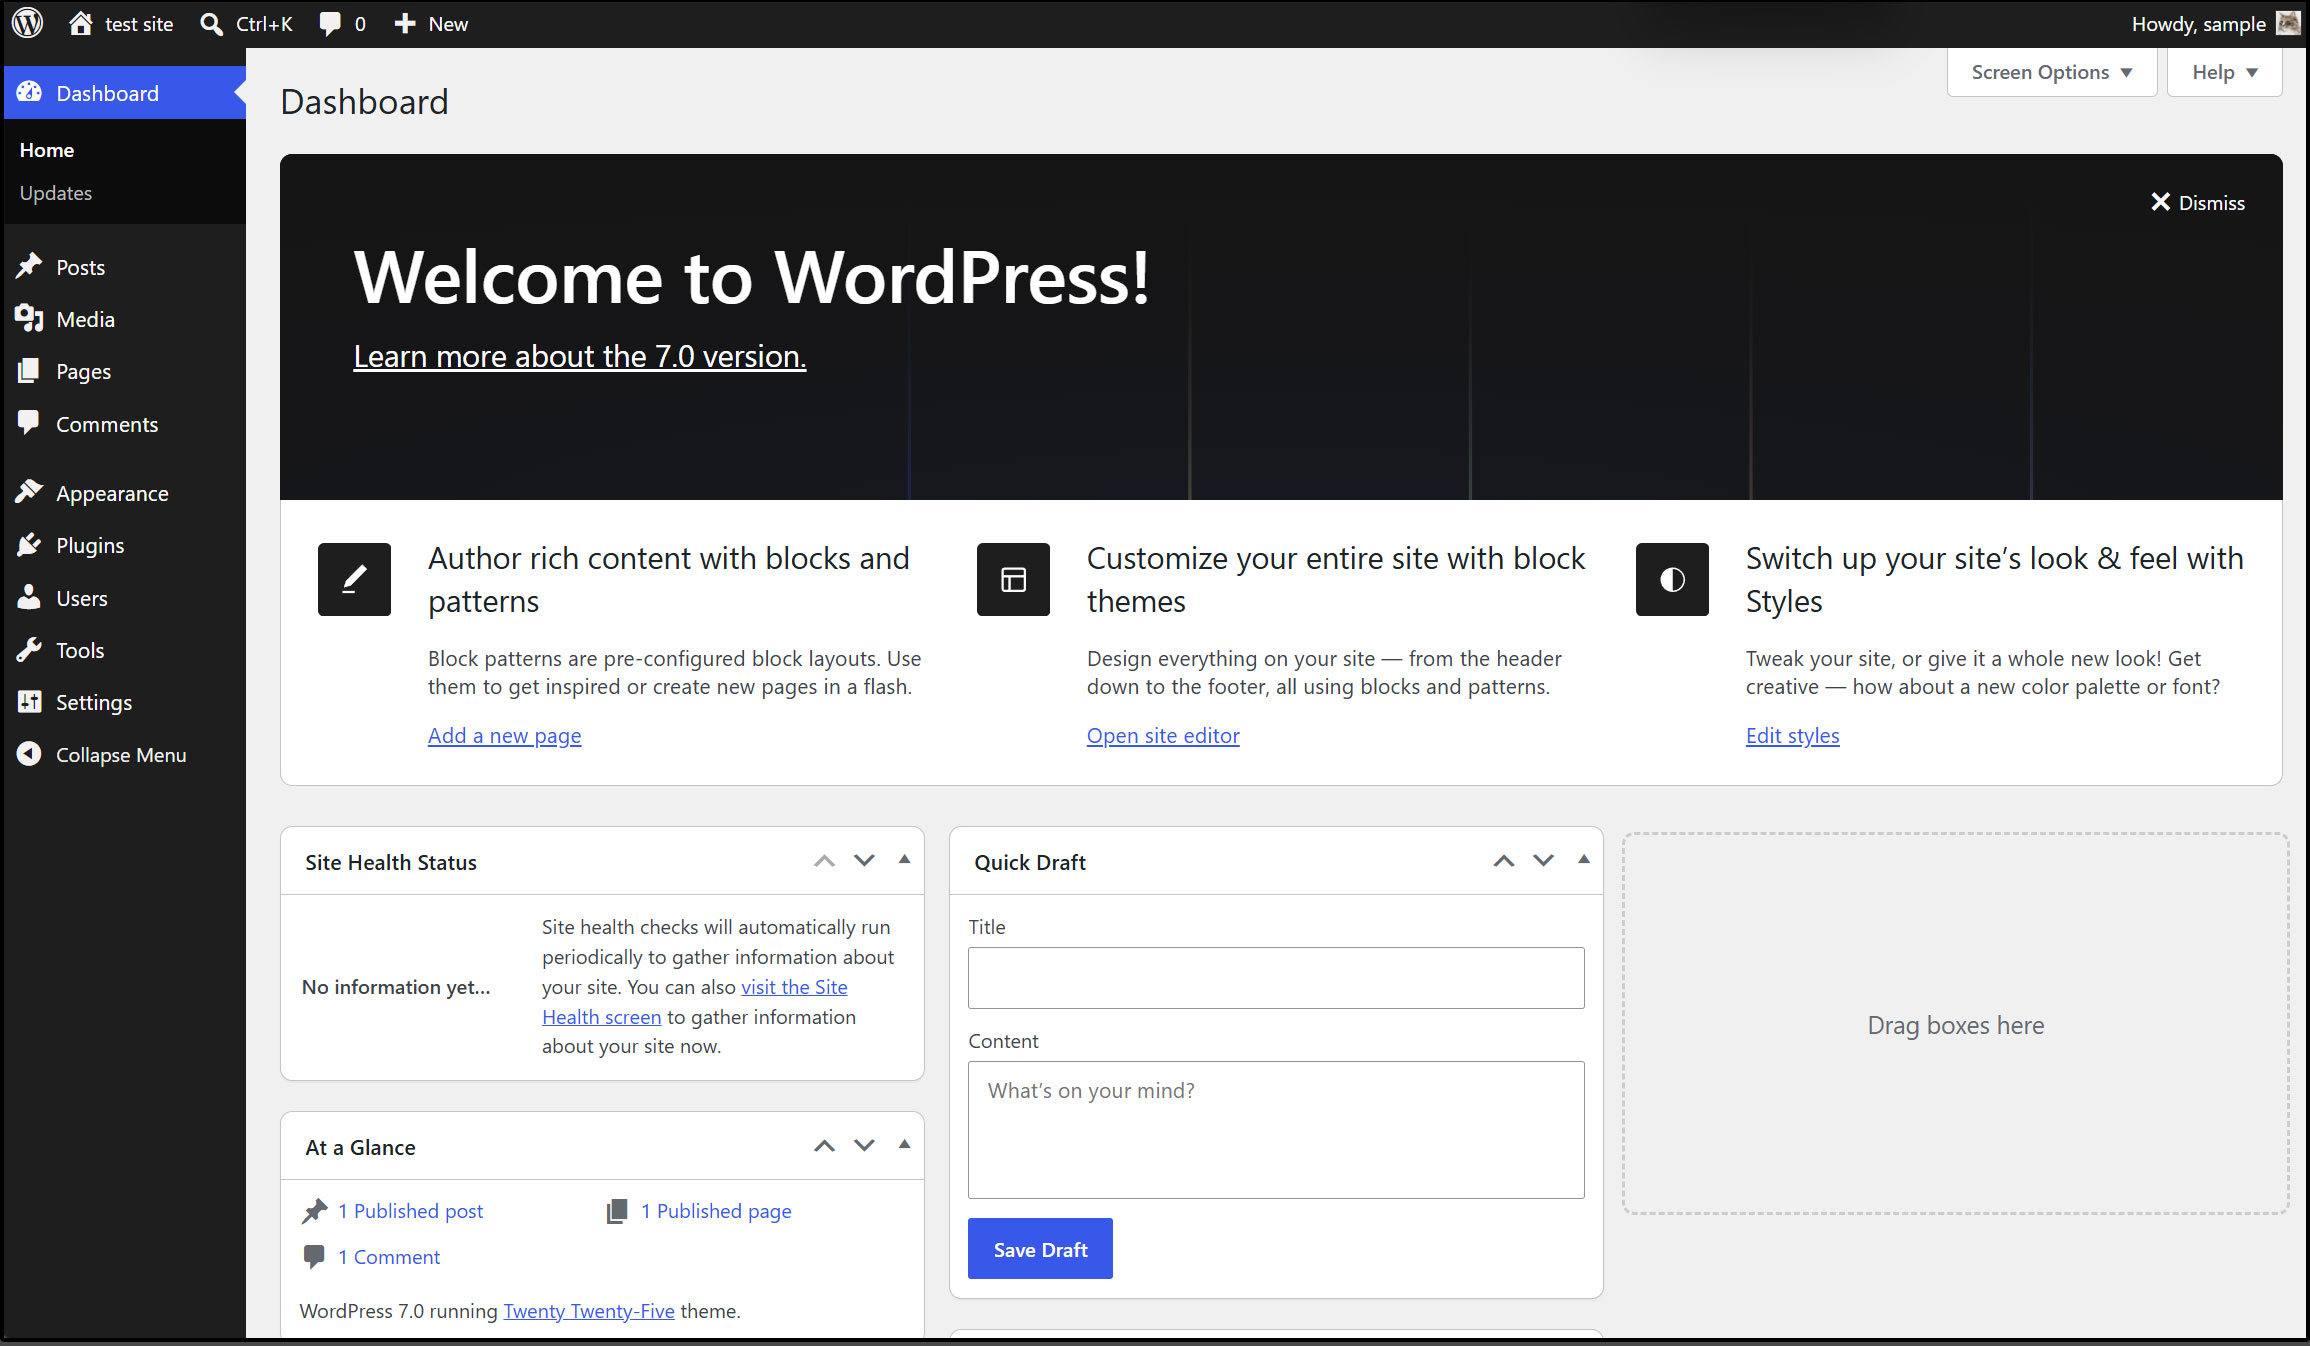
ログインに成功すると下記のようなWordPressダッシュボードが表示される