オープンソースの統合監視ソフトウェア「Nagios Server」
Nagiosは、Linux 上で実行するオープンソースの監視ソリューションです。
ネットワーク、アプリケーション、またはサーバーの重要なパラメーターを定期的にチェックするように設計されています。これらのパラメータには、マイクロプロセッサの負荷、実行中のプロセス数、ログ ファイル、ディスクおよびメモリの使用量の他、SMTP (Simple Mail Transfer Protocol)、HTTP (Hypertext Transfer Protocol)、POP3 ( Post Office Protocol 3)の他の多くのサービスもチェックできます。
Nagoisを実行するにはPHP、MySQLなどのデータベース、ApacheやNginxなどのWebサーバーが必要です。今回はこれらすべてが構成済みという前提で進めます。
1. 必要なパッケージをインストール
# apt -y install autoconf gcc libc6 make wget unzip libgd-dev libssl-dev
2. Nagios Coreのインストール
①ダウンロード・展開
# wget https://go.nagios.org/get-core/4-5-12
# tar zxvf 4-5-12
# cd nagios-4.5.12
# ./configure
# make all
➁Nagios ユーザーとグループを作成
# make install-groups-users
groupadd -r nagios
useradd -g nagios nagios
➂Nagios グループに Apache ユーザーを追加
# usermod -aG nagios www-data
④Nagios Core をインストール
# make install
⑤Nagios の init スクリプトをインストール
# make install-init
/usr/bin/install -c -m 755 -d -o root -g root /lib/systemd/system
/usr/bin/install -c -m 755 -o root -g root startup/default-service /lib/systemd/system/nagios.service
⑥外部コマンド ファイルと権限をインストール
# make install-commandmode

/usr/bin/install -c -m 775 -o nagios -g nagios -d /usr/local/nagios/var/rw
chmod g+s /usr/local/nagios/var/rw

*** External command directory configured ***
⑦Nagios 構成ファイルをインストール
# make install-config

*** Config files installed ***

Remember, these are *SAMPLE* config files.  You'll need to read
the documentation for more information on how to actually define
services, hosts, etc. to fit your particular needs.
⑧Nagios 用の Apache 構成ファイルをインストール
# make install-webconf

/usr/bin/install -c -m 644 sample-config/httpd.conf /etc/apache2/sites-available/nagios.conf
if [ 1 -eq 1 ]; then \
        ln -s /etc/apache2/sites-available/nagios.conf /etc/apache2/sites-enabled/nagios.conf; \
fi

*** Nagios/Apache conf file installed ***
# a2enmod cgi
# systemctl restart apache2
3. Nagios プラグインをインストール
①Nagios Pluginsページから最新の codeをダウンロード
# wget https://nagios-plugins.org/download/nagios-plugins-2.5.tar.gz
②インストール
# tar -xvf nagios-plugins-2.5.tar.gz
# cd nagios-plugins-2.5
# ./configure --with-nagios-user=nagios --with-nagios-group=nagios
# make
# make install
下記のとおりnagios-pluginsが利用可能である
# ls /usr/local/nagios/libexec

check_apt       check_file_age      check_load      check_ntp_time  check_smtp          check_users
check_breeze    check_flexlm        check_log       check_nwstat    check_spop          check_wave
check_by_ssh    check_ftp           check_mailq     check_oracle    check_ssh           negate
check_clamd     check_http          check_mrtg      check_overcr    check_ssl_validity  remove_perfdata
check_cluster   check_icmp          check_mrtgtraf  check_ping      check_ssmtp         urlize
check_dhcp      check_ide_smart     check_nagios    check_pop       check_swap          utils.pm
check_dig       check_ifoperstatus  check_nntp      check_procs     check_tcp           utils.sh
check_disk      check_ifstatus      check_nntps     check_real      check_time
check_disk_smb  check_imap          check_nt        check_rpc       check_udp
check_dns       check_ircd          check_ntp       check_sensors   check_ups
check_dummy     check_jabber        check_ntp_peer  check_simap     check_uptime
③必要なディレクトリを作成
# mkdir -p /usr/local/nagios/var/spool/checkresults
# chown -R nagios:nagios /usr/local/nagios/var/spool/checkresults
4. Nagios Web ユーザーの作成
Nagios Web ダッシュボードにアクセスするためのユーザー アカウントを作成する。このユーザーアカウントは、認証に使用される。
ユーザーのデフォルト名はnagiosadminで、/usr/local/nagios/etc/cgi.cfgファイル内に優先ユーザー名として定義されています。
# htpasswd -c /usr/local/nagios/etc/htpasswd.users nagiosadmin
New password:  [password]
Re-type new password:  [again password]
Adding password for user nagiosadmin
所有権と権限を設定
# chown www-data:www-data /usr/local/nagios/etc/htpasswd.users
# chmod 640 /usr/local/nagios/etc/htpasswd.users
5. Nagios 起動
Apache を再起動
# systemctl restart apache2
ファイアウォールで HTTP サービスポートを解放します
# ufw allow http
# ufw reload
Nagios サービスを有効にする
# systemctl enable nagios --now
システムを再起動
# shutdown -r now
サービスが実行しているか確認
# systemctl status nagios

● nagios.service - Nagios Core 4.5.12
     Loaded: loaded (/usr/lib/systemd/system/nagios.service; enabled; preset: enabled)
     Active: active (running) since Thu 2026-07-23 17:19:09 JST; 29s ago
 Invocation: b742ec8485754c87a673f3ae243fd10f
       Docs: https://www.nagios.org/documentation
   Main PID: 1188 (nagios)
      Tasks: 6 (limit: 4553)
     Memory: 6.3M (peak: 6.5M)
        CPU: 61ms
     CGroup: /system.slice/nagios.service
             ├─1188 /usr/local/nagios/bin/nagios -d /usr/local/nagios/etc/nagios.cfg
             ├─1230 /usr/local/nagios/bin/nagios --worker /usr/local/nagios/var/rw/nagios.qh
             ├─1231 /usr/local/nagios/bin/nagios --worker /usr/local/nagios/var/rw/nagios.qh
             ├─1232 /usr/local/nagios/bin/nagios --worker /usr/local/nagios/var/rw/nagios.qh
             ├─1233 /usr/local/nagios/bin/nagios --worker /usr/local/nagios/var/rw/nagios.qh
             └─1250 /usr/local/nagios/bin/nagios -d /usr/local/nagios/etc/nagios.cfg

Jul 23 17:19:09 Lepard nagios[1188]: qh: Socket '/usr/local/nagios/var/rw/nagios.qh' successfully initialized
Jul 23 17:19:09 Lepard nagios[1188]: qh: core query handler registered
Jul 23 17:19:09 Lepard nagios[1188]: qh: echo service query handler registered
Jul 23 17:19:09 Lepard nagios[1188]: qh: help for the query handler registered
Jul 23 17:19:09 Lepard nagios[1188]: wproc: Successfully registered manager as @wproc with query handler
Jul 23 17:19:09 Lepard nagios[1188]: wproc: Registry request: name=Core Worker 1233;pid=1233
Jul 23 17:19:09 Lepard nagios[1188]: wproc: Registry request: name=Core Worker 1230;pid=1230
Jul 23 17:19:09 Lepard nagios[1188]: wproc: Registry request: name=Core Worker 1231;pid=1231
Jul 23 17:19:09 Lepard nagios[1188]: wproc: Registry request: name=Core Worker 1232;pid=1232
Jul 23 17:19:09 Lepard nagios[1188]: Successfully launched command file worker with pid 1250
6. Nagios Web インターフェイスにアクセス
任意のブラウザで http://[IP_Address]/nagios/にアクセスし[Username]にnagiosadmin、[Password]には上記でユーザーを作成したとき指定したパスワードを入力し、[ログイン]
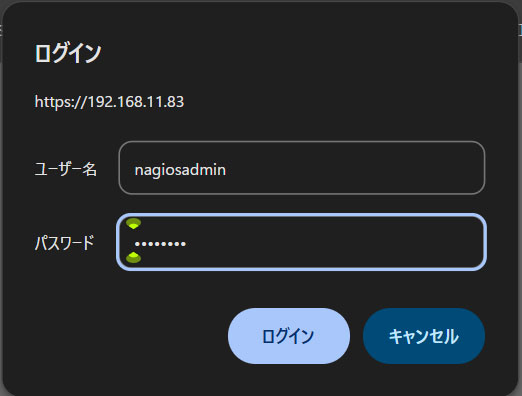
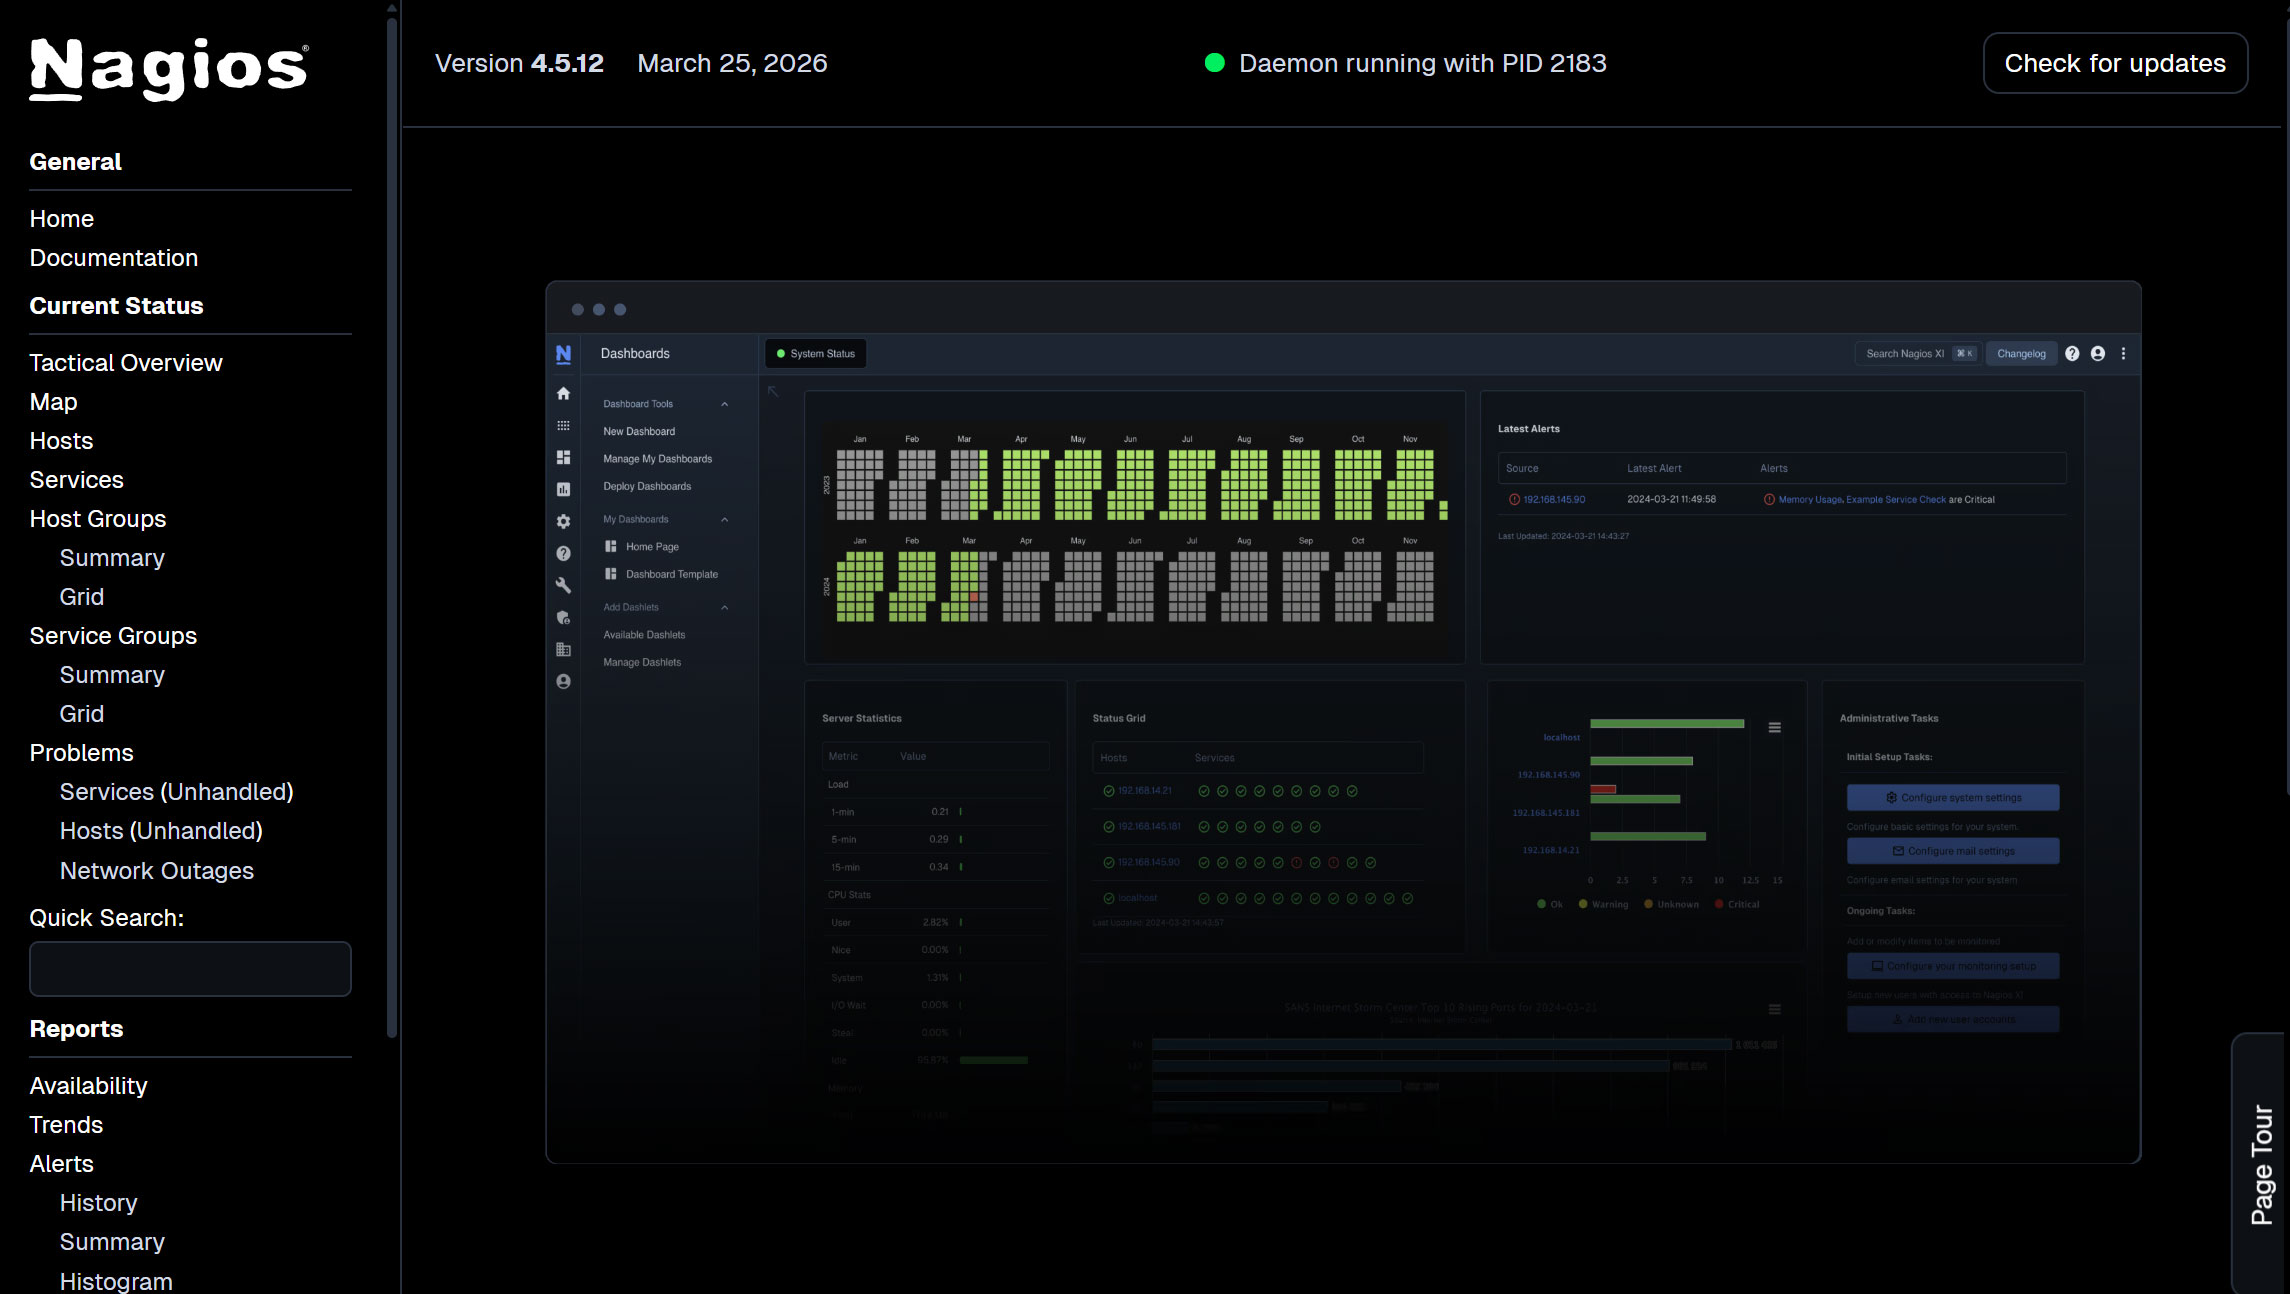
ログインに成功すると、以下のダッシュボードが表示されます。
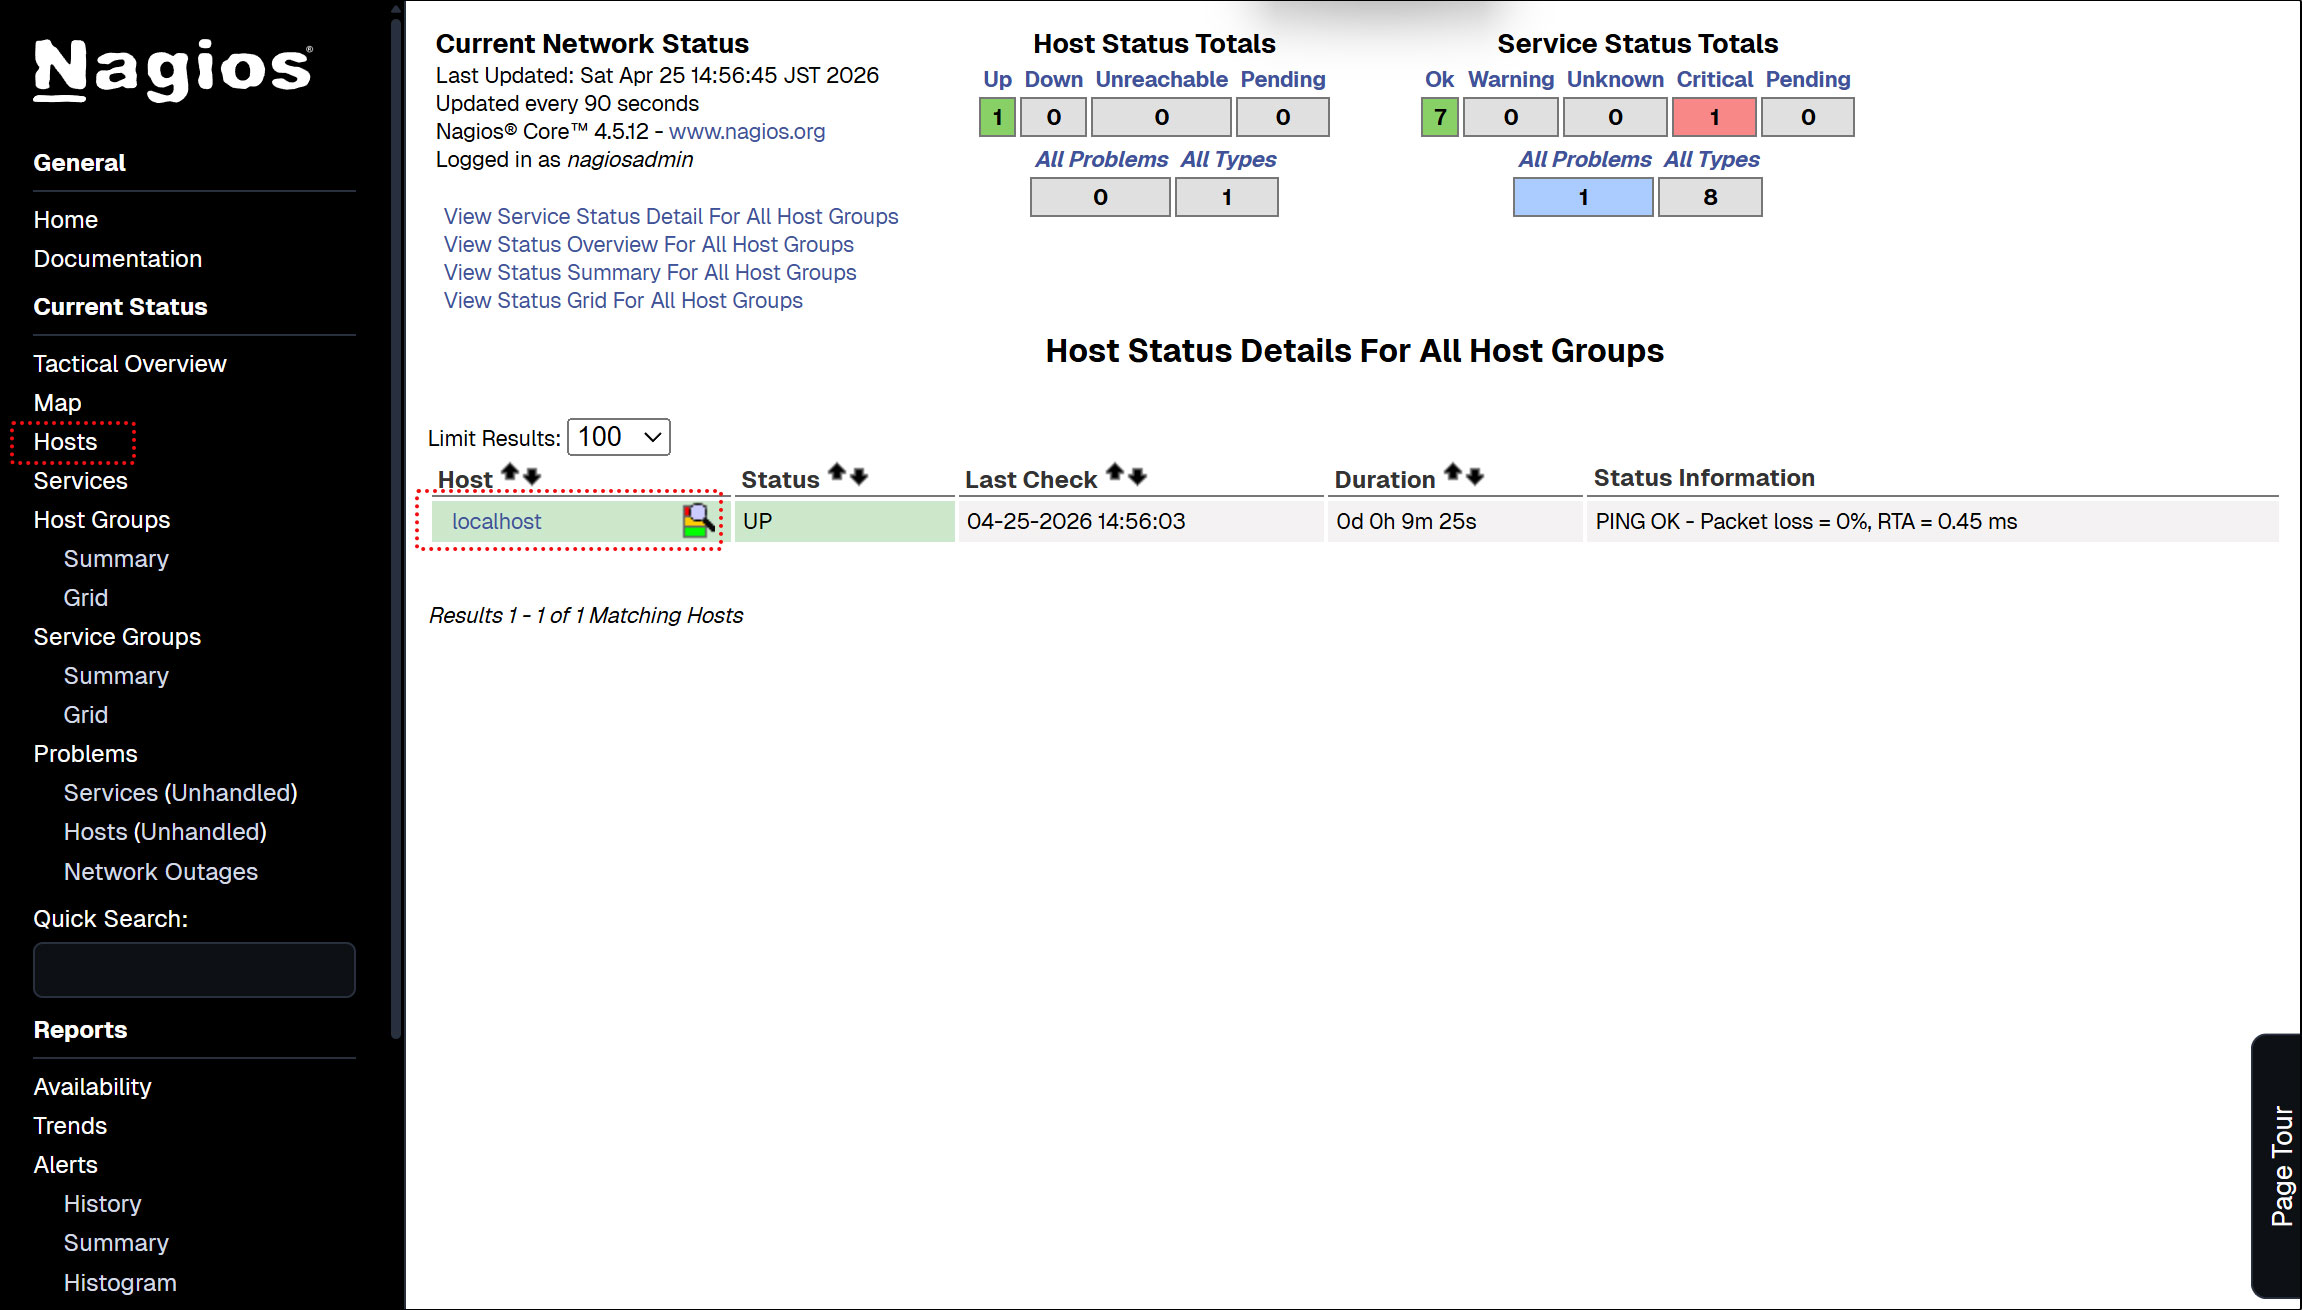
ホストの可用性を表示
左メニューの[Hosts]をクリック
現状ではNagios Serverのみ表示されている
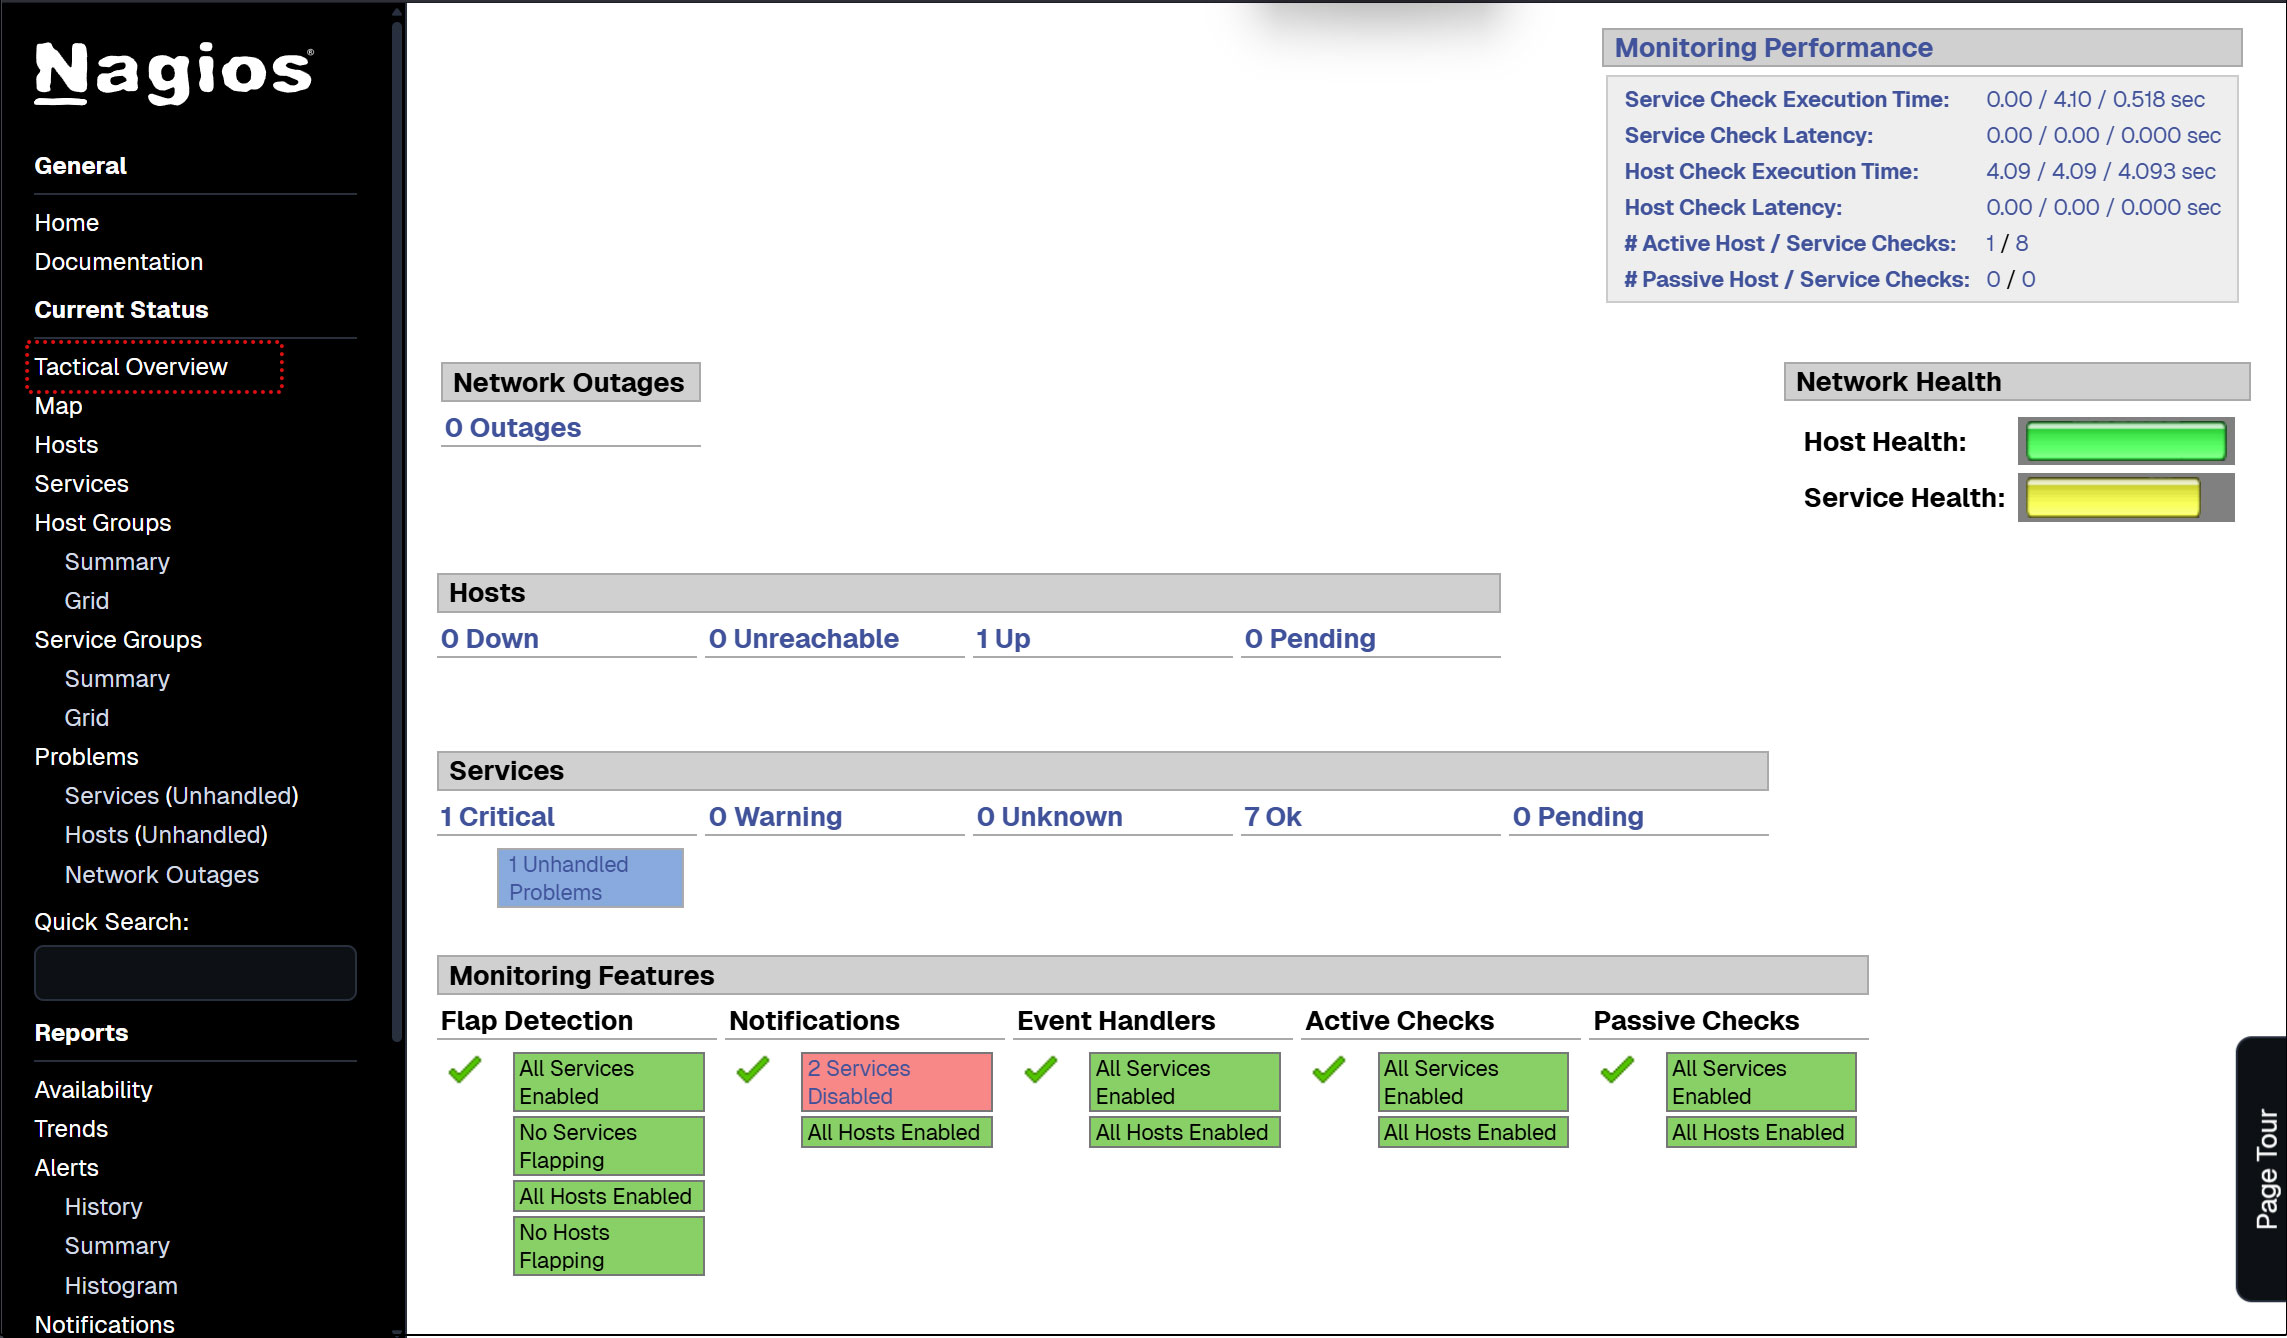
左メニューの [Tactical Overview] をクリックすると監視データを閲覧できる
左メニューの [Current Status] [Services] をクリック : 現在の監視サービス内容が表示される
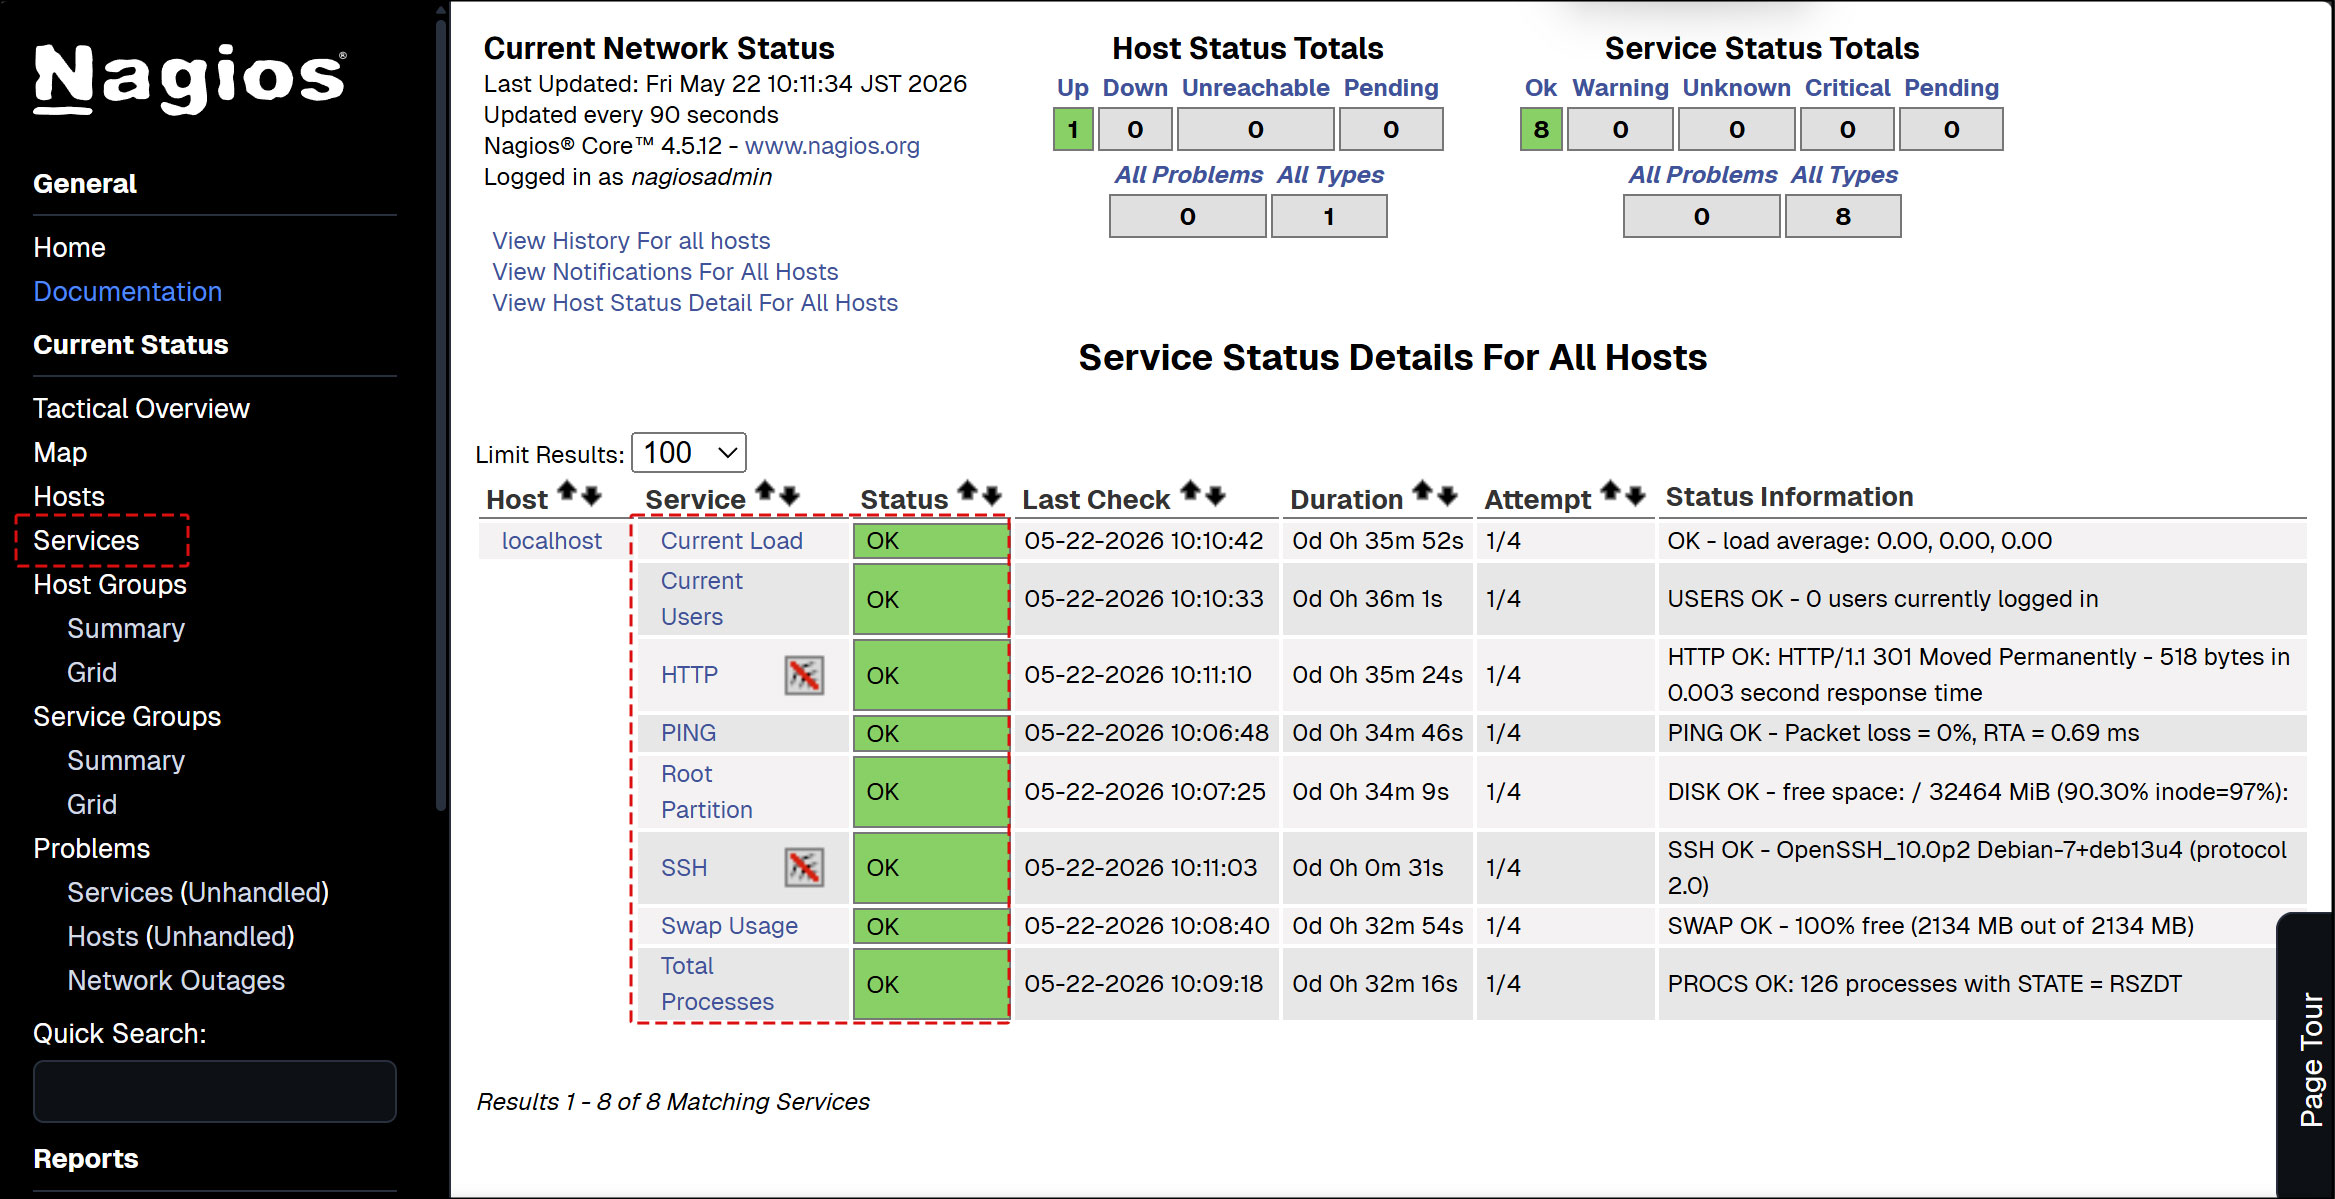
※ SSHポートをカスタム設定で2244を割り当てている場合は下記の通りlocalhost.cfgを変更しておきます
# vi /usr/local/nagios/etc/objects/localhost.cfg
143行目当たり
check_command           check_ssh
↓
check_command           check_ssh!-p 2244
7. Nagios エージェントの構成
エージェントを監視するため。以下をインストールする
• プラグインを実行するNRPE Agent
① Nagios NRPE Agentのインストール
NRPE エージェントは、デフォルトの Debian リポジトリで利用可能
# apt-cache policy nagios-nrpe-server
nagios-nrpe-server:
  Installed: (none)
  Candidate: 4.1.3-1
  Version table:
     4.1.3-1 500
        500 http://ftp.jp.debian.org/debian trixie/main amd64 Packages
# apt -y install nagios-nrpe-server
➁バージョン確認
# nrpe -V
NRPE - Nagios Remote Plugin Executor
Version: 4.1.3
➂サービスを開始して有効にする
# systemctl enable --now nagios-nrpe-server
④NRPEエージェントのステータスを確認
# systemctl status nagios-nrpe-server

● nagios-nrpe-server.service - Nagios Remote Plugin Executor
     Loaded: loaded (/usr/lib/systemd/system/nagios-nrpe-server.service; enabled; preset: enabled)
     Active: active (running) since Thu 2026-07-23 17:32:34 JST; 4min 28s ago
 Invocation: abfbdfc606d44db19fccea53485ab8d4
       Docs: http://www.nagios.org/documentation
   Main PID: 2090 (nrpe)
      Tasks: 1 (limit: 4553)
     Memory: 1.4M (peak: 1.9M)
        CPU: 12ms
     CGroup: /system.slice/nagios-nrpe-server.service
             └─2090 /usr/sbin/nrpe -c /etc/nagios/nrpe.cfg -f

Jul 23 17:32:34 Lepard systemd[1]: Started nagios-nrpe-server.service - Nagios Remote Plugin Executor.
Jul 23 17:32:34 Lepard (nrpe)[2090]: nagios-nrpe-server.service: Referenced but unset environment variable evaluates to an empty string: NRPE_OPTS
Jul 23 17:32:34 Lepard nrpe[2090]: Starting up daemon
Jul 23 17:32:34 Lepard nrpe[2090]: Server listening on 0.0.0.0 port 5666.
Jul 23 17:32:34 Lepard nrpe[2090]: Server listening on :: port 5666.
Jul 23 17:32:34 Lepard nrpe[2090]: Listening for connections on port 5666
Jul 23 17:32:34 Lepard nrpe[2090]: Allowing connections from: 127.0.0.1,::1
nagios-nrpe-server.service: Referenced but unset environment variable evaluates to an empty string: NRPE_OPTS
と表示されますが問題ありませんが気持ち悪いので以下の通りnagios-nrpe-server.serviceをオーバーライドしました
# vi /etc/default/nagios-nrpe-server

以下を追記する
NRPE_OPTS=""
# systemctl restart nagios-nrpe-server
これで表示されなくなりました
⑤ファイアウォールでNRPEのポートを開く
NRPEはデフォルトでTCP 5666ポートを使用します。ファイアウォールが動作している場合は、Nagiosモニタリングサーバーからの外部チェックを許可するために、このポートを開きます。
# ufw allow 5666/tcp
# ufw reload
ポート5666/tcpがリッスンされているか確認
#  ss -altnp | grep 5666

LISTEN 0      5            0.0.0.0:5666       0.0.0.0:*    users:(("nrpe",pid=4638,fd=4))


LISTEN 0      5               [::]:5666          [::]:*    users:(("nrpe",pid=4638,fd=5))
8. 監視ホストの追加
下記サーバーをホストに追加し、 単純なPing による死活監視対象として設定
OS : Debian13.5
IPアドレス : 192.168.11.85
①設定ファイル編集
# vi /usr/local/nagios/etc/nagios.cfg

51行目 : コメント解除
cfg_dir=/usr/local/nagios/etc/servers
➁ ディレクトリー作成
# mkdir /usr/local/nagios/etc/servers
# chgrp nagios /usr/local/nagios/etc/servers
# chmod 750 /usr/local/nagios/etc/servers
➂ 定義ファイル新規作成
"korodes.cfg" 名称は任意でよい
# vi /usr/local/nagios/etc/servers/korodes.cfg

define host {
    use                     linux-server
    host_name               korodes
    alias                   korodes
    address                 192.168.11.85
}
define service {
    use                     generic-service
    host_name               korodes
    service_description     PING
    check_command           check_ping!100.0,20%!500.0,60%
}
④ Nagiosサーバー再起動
# systemctl restart nagios.service
Nagios サーバーにログイン(http://[サーバーIPアドレス]/nagios)しHostsを見るとホストが追加されている
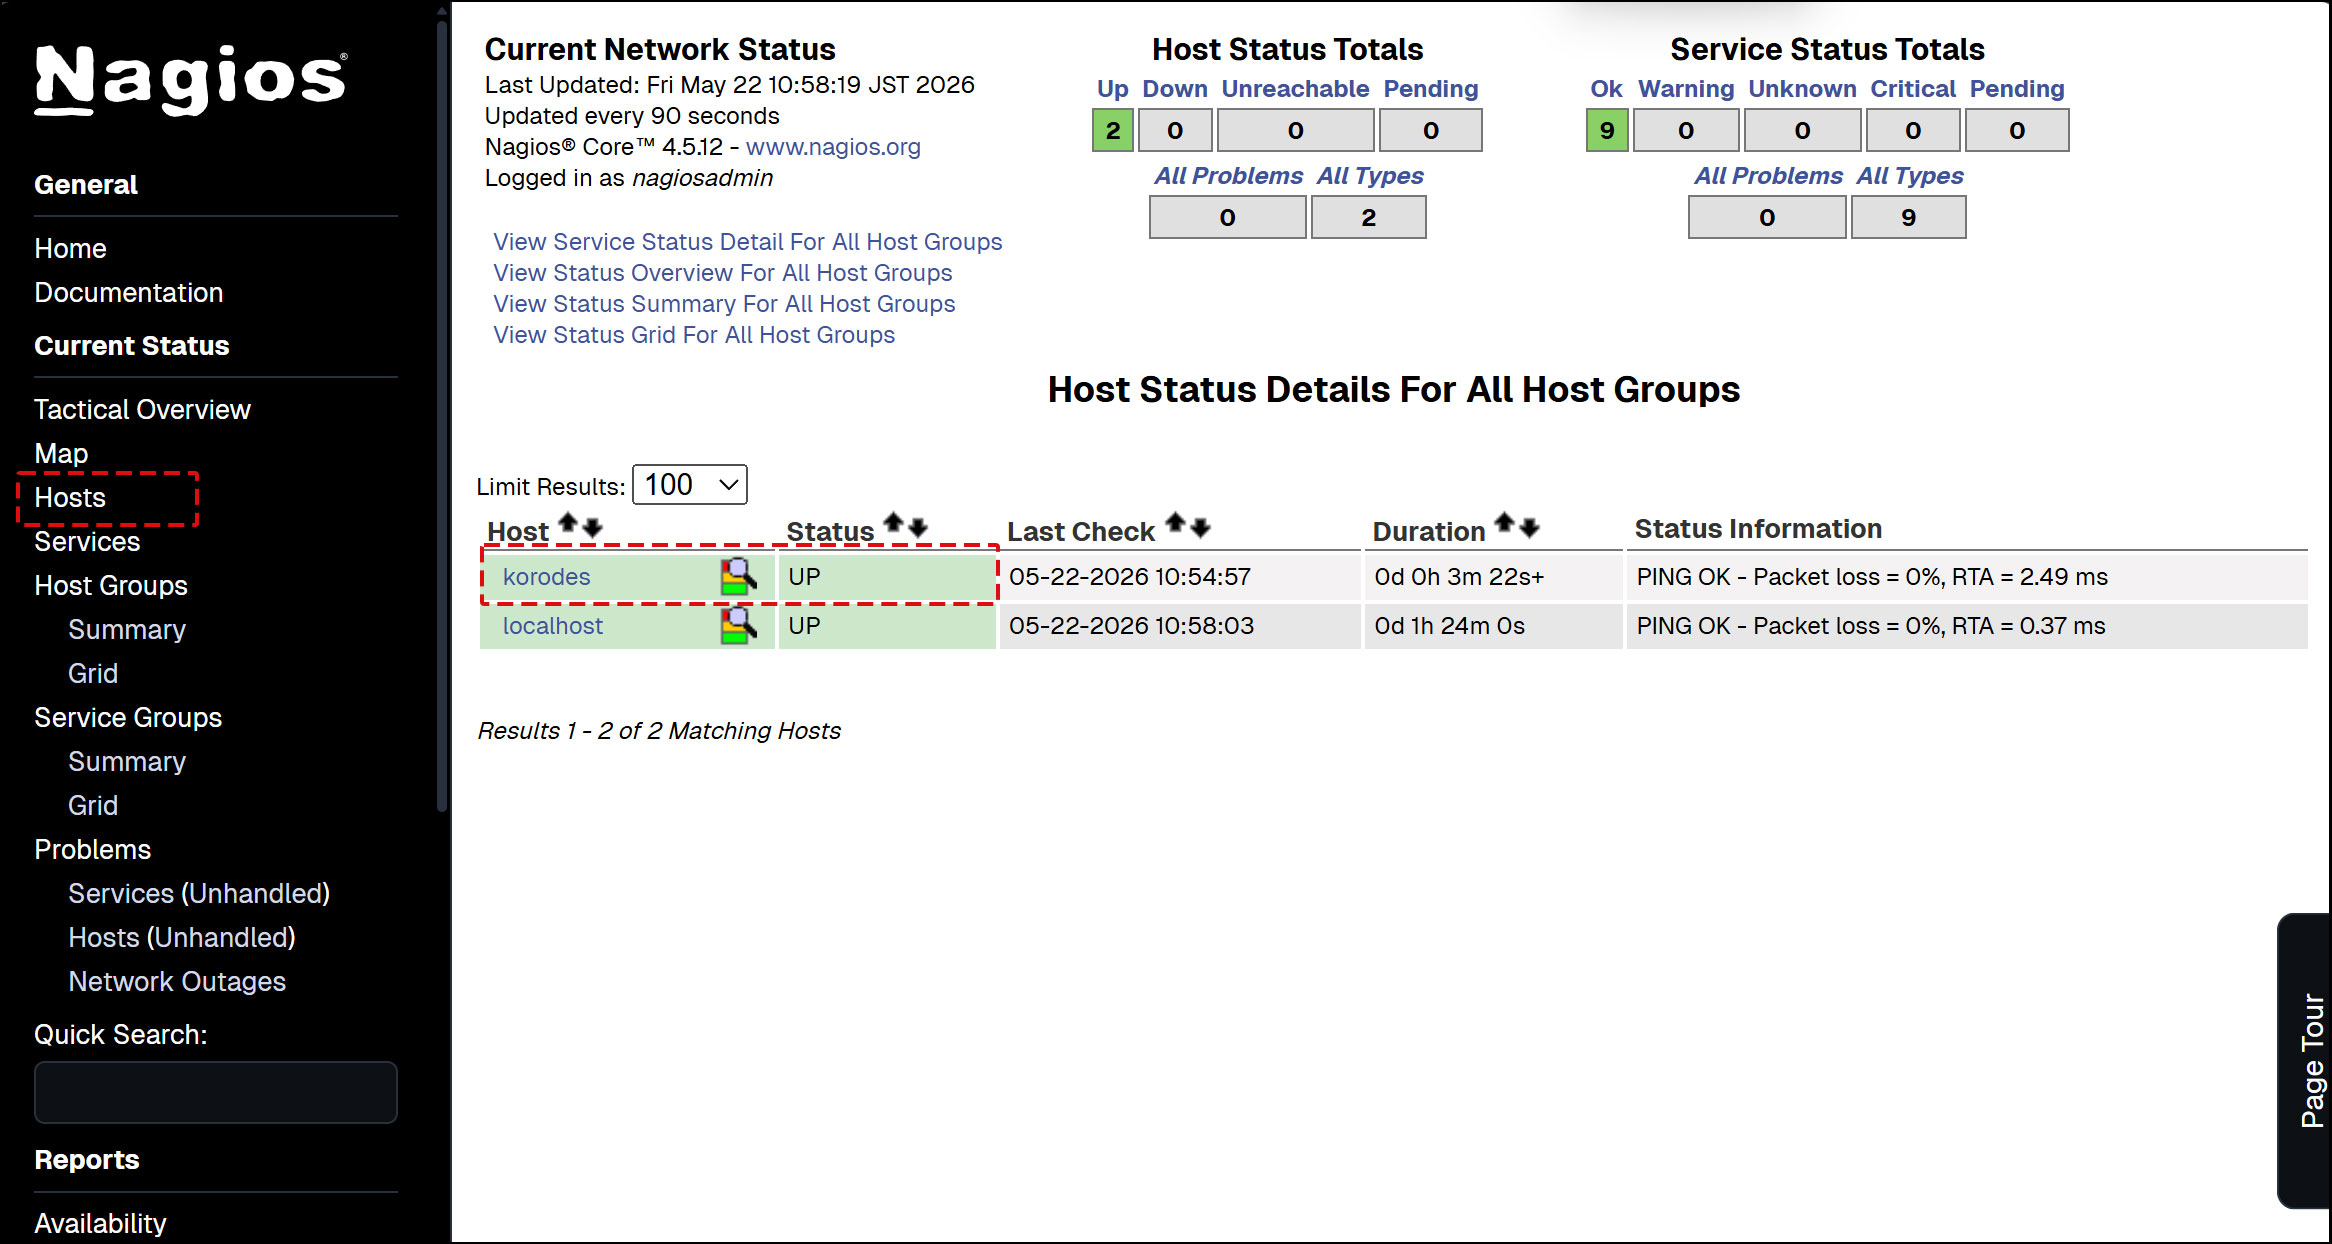
9. 監視サービスの追加
上記で追加したホストに監視サービスを追加する
OS : Debian13.5
IPアドレス : 192.168.11.85
9.1 監視対象サーバー側の設定
① 監視対象ホストにエージェントをインストール
# apt -y install nagios-nrpe-server
➁ 設定ファイル編集
# vi /etc/nagios/nrpe.cfg
106行目 : 接続を許可するホストを追記 (Nagios サーバーを指定)
allowed_hosts=127.0.0.1,::1,192.168.11.83
122行目 : コマンドの引数を許可
dont_blame_nrpe=1
300-304行目コメントにし、その下に追加
# command[check_users]=/usr/lib/nagios/plugins/check_users -w 5 -c 10
# command[check_load]=/usr/lib/nagios/plugins/check_load -r -w .15,.10,.05 -c .30,.25,.20
# command[check_hda1]=/usr/lib/nagios/plugins/check_disk -w 20% -c 10% -p /dev/hda1
# command[check_zombie_procs]=/usr/lib/nagios/plugins/check_procs -w 5 -c 10 -s Z
# command[check_total_procs]=/usr/lib/nagios/plugins/check_procs -w 150 -c 200
pluginの一部を追加する
command[check_by_ssh]=/usr/lib/nagios/plugins/check_by_ssh $ARG1$
command[check_dhcp]=/usr/lib/nagios/plugins/check_dhcp $ARG1$
command[check_disk]=/usr/lib/nagios/plugins/check_disk $ARG1$
command[check_file_age]=/usr/lib/nagios/plugins/check_file_age $ARG1$
command[check_ftp]=/usr/lib/nagios/plugins/check_ftp $ARG1$
command[check_http]=/usr/lib/nagios/plugins/check_http $ARG1$
command[check_imap]=/usr/lib/nagios/plugins/check_imap $ARG1$
command[check_load]=/usr/lib/nagios/plugins/check_load $ARG1$
command[check_log]=/usr/lib/nagios/plugins/check_log $ARG1$
command[check_mysql]=/usr/lib/nagios/plugins/check_mysql $ARG1$
command[check_ntp]=/usr/lib/nagios/plugins/check_ntp $ARG1$
command[check_ntp_peer]=/usr/lib/nagios/plugins/check_ntp_peer $ARG1$
command[check_ntp_time]=/usr/lib/nagios/plugins/check_ntp_time $ARG1$
command[check_ping]=/usr/lib/nagios/plugins/check_ping $ARG1$
command[check_pop]=/usr/lib/nagios/plugins/check_pop $ARG1$
command[check_spop]=/usr/lib/nagios/plugins/check_spop $ARG1$
command[check_procs]=/usr/lib/nagios/plugins/check_procs $ARG1$
command[check_smtp]=/usr/lib/nagios/plugins/check_smtp $ARG1$
command[check_ssmtp]=/usr/lib/nagios/plugins/check_ssmtp $ARG1$
command[check_ssh]=/usr/lib/nagios/plugins/check_ssh $ARG1$
command[check_swap]=/usr/lib/nagios/plugins/check_swap $ARG1$
command[check_tcp]=/usr/lib/nagios/plugins/check_tcp $ARG1$
command[check_udp]=/usr/lib/nagios/plugins/check_udp $ARG1$
command[check_ups]=/usr/lib/nagios/plugins/check_ups $ARG1$
command[check_users]=/usr/lib/nagios/plugins/check_users $ARG1$
➂ nrpeサーバー有効化、起動
# systemctl enable nagios-nrpe-server
Synchronizing state of nagios-nrpe-server.service with SysV service script with /usr/lib/systemd/systemd-sysv-install.
Executing: /usr/lib/systemd/systemd-sysv-install enable nagios-nrpe-server

# systemctl start nagios-nrpe-server

# systemctl status nagios-nrpe-server
● nagios-nrpe-server.service - Nagios Remote Plugin Executor
     Loaded: loaded (/usr/lib/systemd/system/nagios-nrpe-server.service; enabled; preset: enabled)
     Active: active (running) since Thu 2026-07-23 18:43:49 JST; 8min ago
 Invocation: 2d50ffcb71304e929af88419f1fed34d
       Docs: http://www.nagios.org/documentation
   Main PID: 4638 (nrpe)
      Tasks: 1 (limit: 4553)
     Memory: 1.4M (peak: 1.9M)
        CPU: 12ms
     CGroup: /system.slice/nagios-nrpe-server.service
             └─4638 /usr/sbin/nrpe -c /etc/nagios/nrpe.cfg -f

Jul 23 18:43:49 Lepard systemd[1]: Started nagios-nrpe-server.service - Nagios Remote Plugin Executor.
Jul 23 18:43:49 Lepard nrpe[4638]: Starting up daemon
Jul 23 18:43:49 Lepard nrpe[4638]: Server listening on 0.0.0.0 port 5666.
Jul 23 18:43:49 Lepard nrpe[4638]: Server listening on :: port 5666.
Jul 23 18:43:49 Lepard nrpe[4638]: Listening for connections on port 5666
Jul 23 18:43:49 Lepard nrpe[4638]: Allowing connections from: 127.0.0.1,::1
④ ファイアウォールでNRPEのポート5666/tcp,5666/udpを開く
# ufw allow 5666/tcp
# ufw allow 5666/udp
# ufw reload
9.2 Nagios サーバー側の設定
① nrpeプラグインのインストール
# apt -y install nagios-nrpe-plugin
➁ nagiosプラグインディレクトリーにコピー
# cp /usr/lib/nagios/plugins/check_nrpe /usr/local/nagios/libexec/
➂ commands.cfg編集
# vi /usr/local/nagios/etc/objects/commands.cfg

最終行に追記
define command {
    command_name    check_nrpe
    command_line    $USER1$/check_nrpe -H $HOSTADDRESS$ -c $ARG1$
}
④ 先ほどホストを追加したときに作成した korodes.cfg を編集する
今回はHTTP,SSH,FTPを追加してみる
# vi /usr/local/nagios/etc/servers/korodes.cfg

# 以下を追加する

# 'HTTP' command definition
define service{
        use                              local-service
        host_name                        korodes
        service_description              HTTP
        check_command                    check_http
        }
# 'SSH' command definition
define service{
        use                              local-service
        host_name                        korodes
        service_description              SSH
        check_command                    check_ssh
       }
# 'FTP' command definition
define service{
        use                              local-service
        host_name                        korodes
        service_description              FTP
        check_command                    check_ftp
        }
⑤ Nagios 再起動
# systemctl restart nagios.service
⑥ http://[Nagios Server IP Address]/nagios にアクセスする
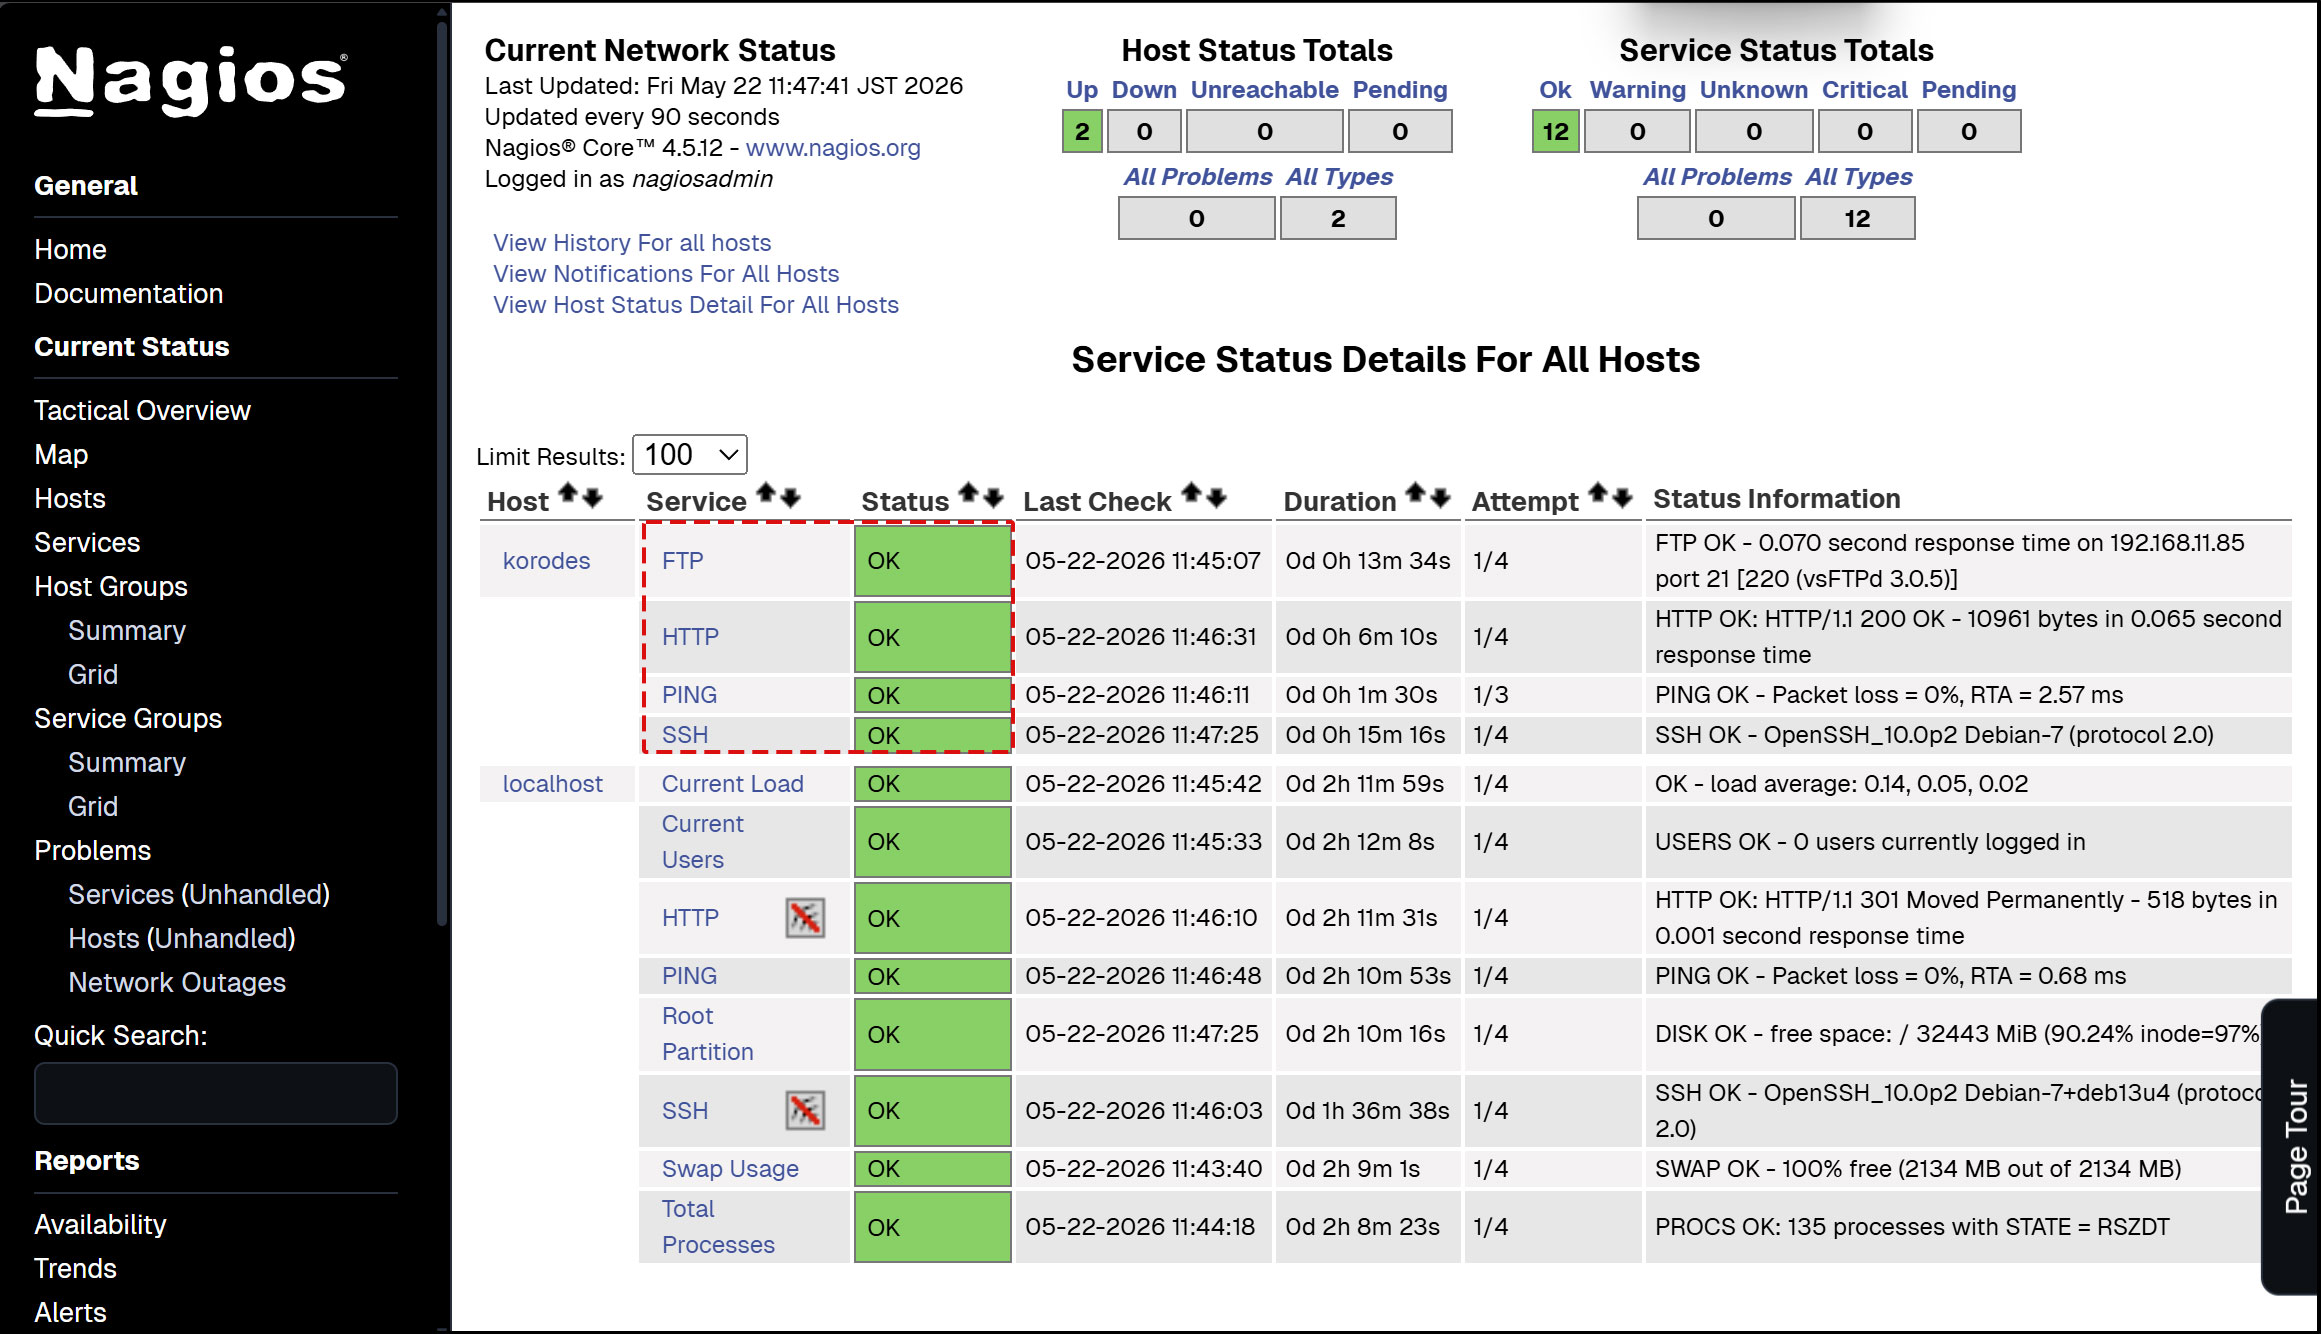
下図のように新しく追加した監視サービスが追加されている