OpenSUSE
OpenSUSE is a Linux distribution that is community-based, free to the public, and active in adopting the latest technologies. It is sponsored by Novell and developed by the community. Originally, SUSE Linux was developed by SUSE, but after the acquisition of SUSE by Novell in 2003, Novell shifted the development structure to community-based by the OpenSUSE project as a distribution aiming for 100% open source, and changed the name from SUSE Linux to OpenSUSE Linux The name was changed to the current name.
openSUSE is available as Leap, the stable version, and Tumbleweed, which uses a rolling-release model and is also the basis for the paid-for version of SUSE Linux Enterprise.
The openSUSE project announced the official release of "openSUSE Leap 15.4" on June 8, 2022.
This is the fourth point release of the community version of the "openSUSE 15" series, built from the same source code and the same binary packages as the enterprise version "SUSE Linux Enterprise 15 SP4".
1. OS Image Download
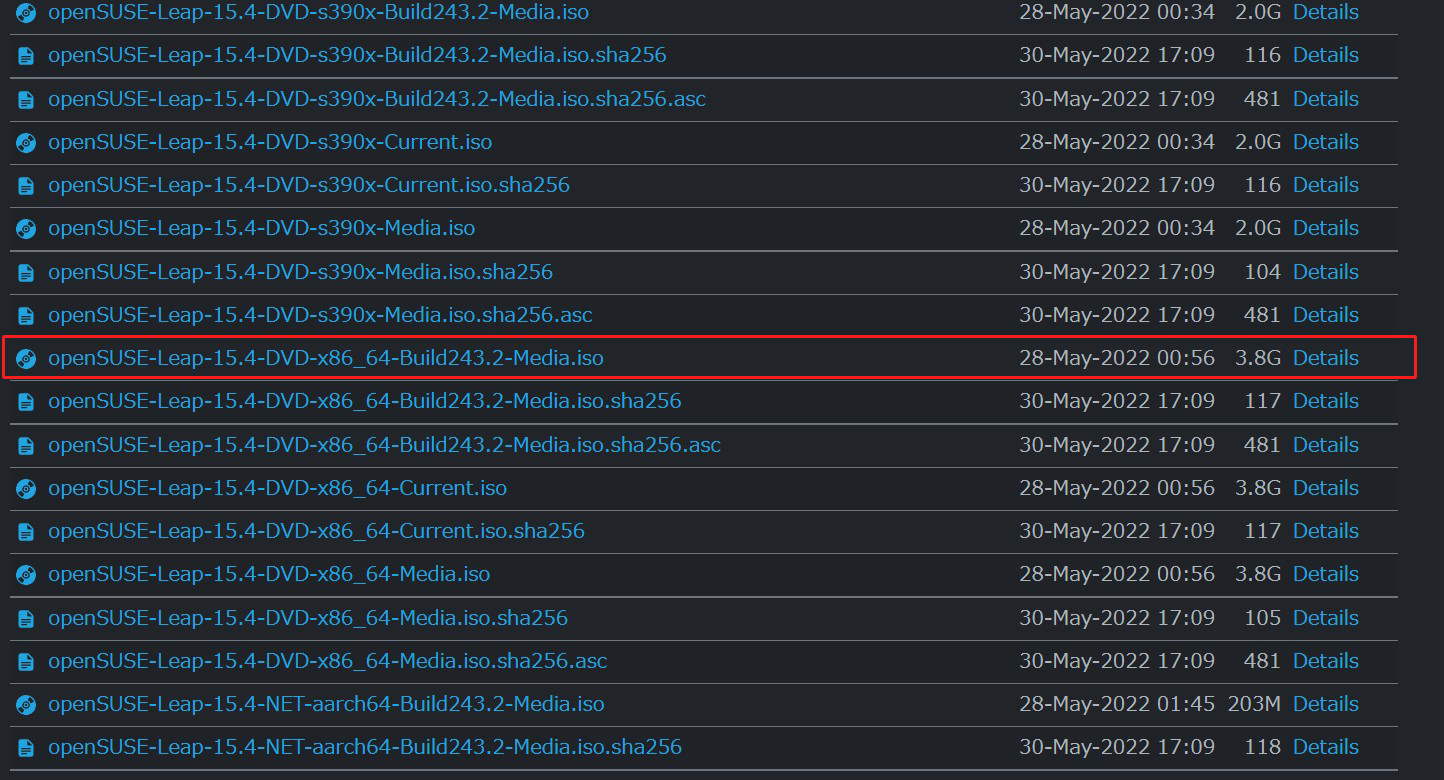
Go to https://download.opensuse.org/distribution/leap/15.4/iso/, download the ISO installation disk image (openSUSE-Leap-15.4-DVD-x86_64-Build243.2-Media. iso) and create it as a boot disk on DVD or USB. However, as stated on the official page, when creating a USB boot disk, create it in DD mode.
The following snapshots are taken from the download to the completion of installation.
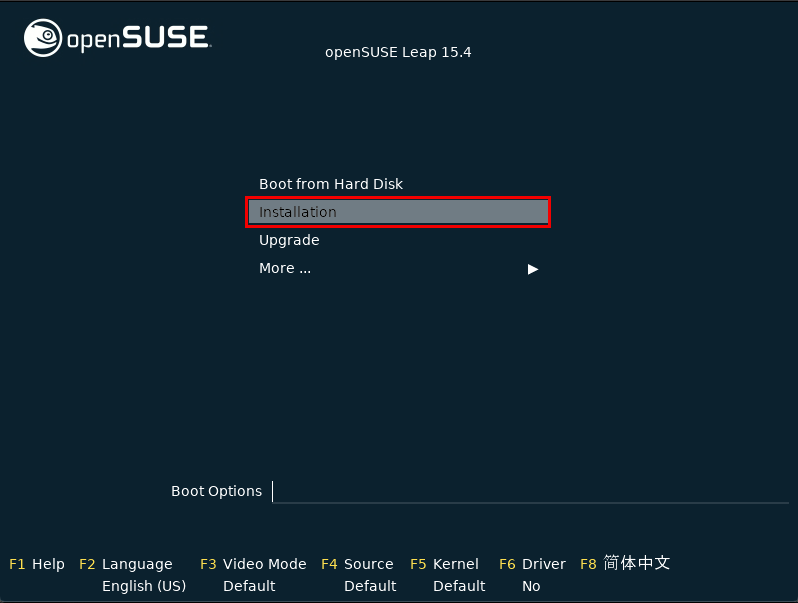
After setting the BIOS to boot the PC from the created boot disk (DVD, USB), the following screen appears
The installation will be done in English, so press ENTER
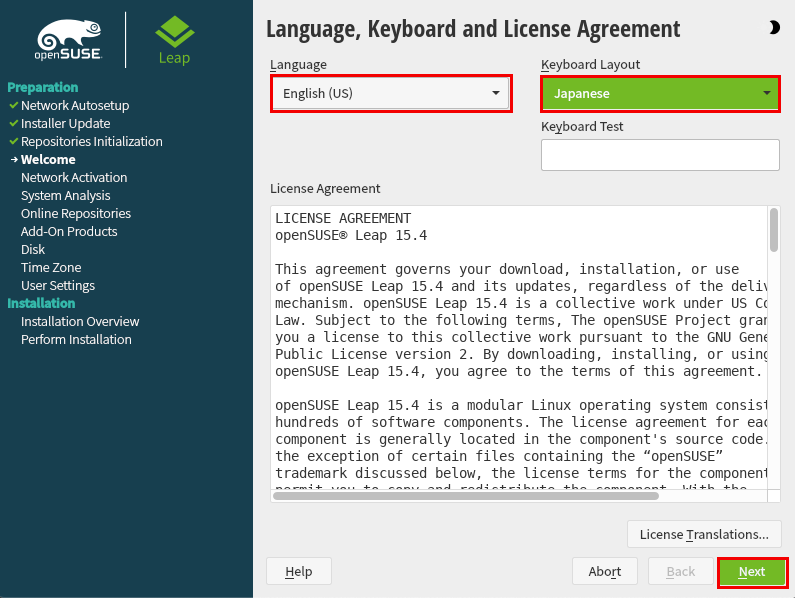
Language and Keyboard Selection
Language : English(US) It is a server, so it will be installed in English.
Keyboard Layout : Japanese Keyboard layout is Japanese 106 JIS keys
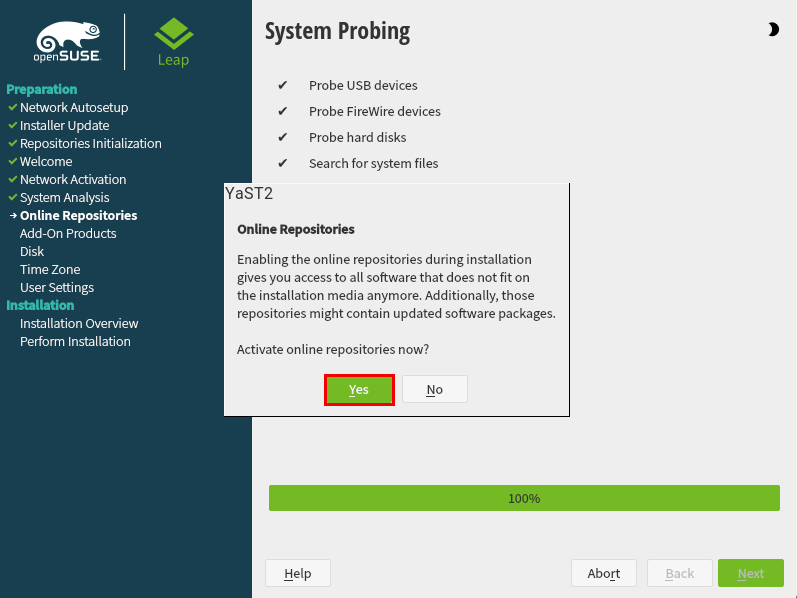
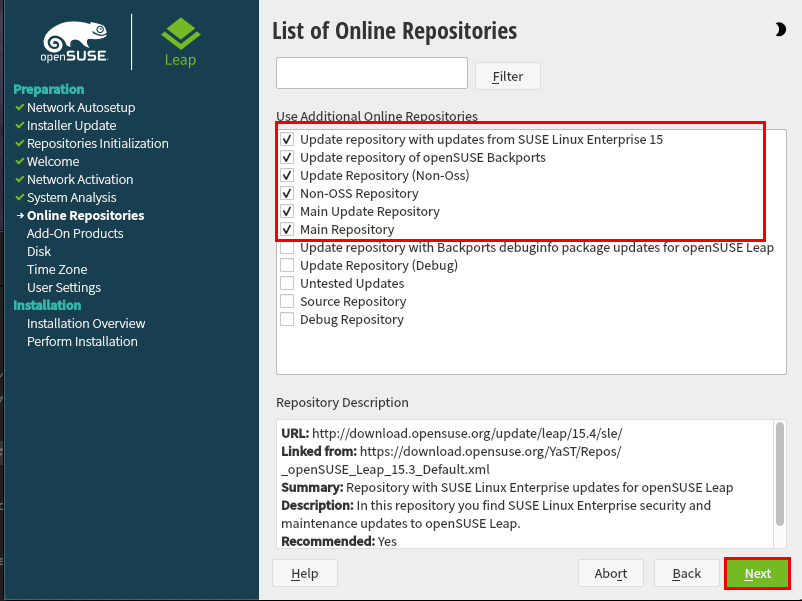
Using the Online Repository
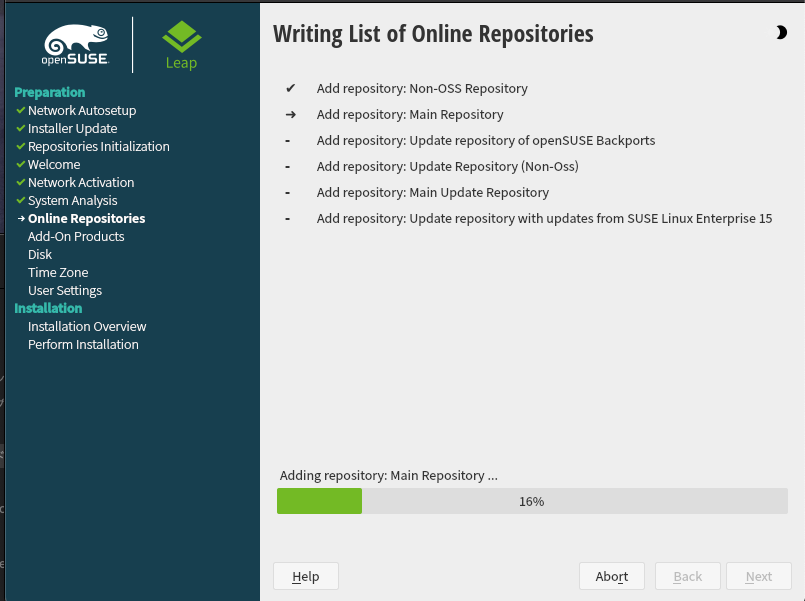
The "List of Online Repositories" appears. OK by default, click "Next" to start writing.
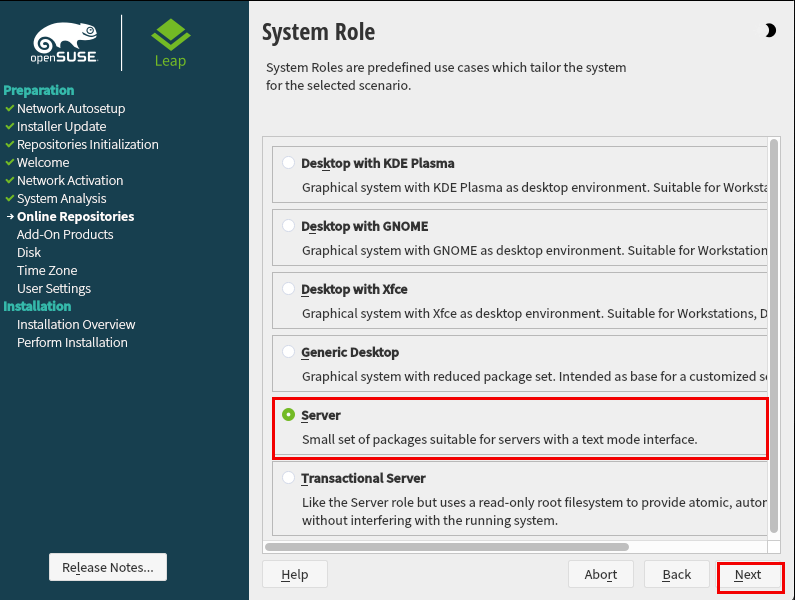
Package Selection
In the selection of the package to install, select "Server" since the desktop environment is not included in the server construction this time.
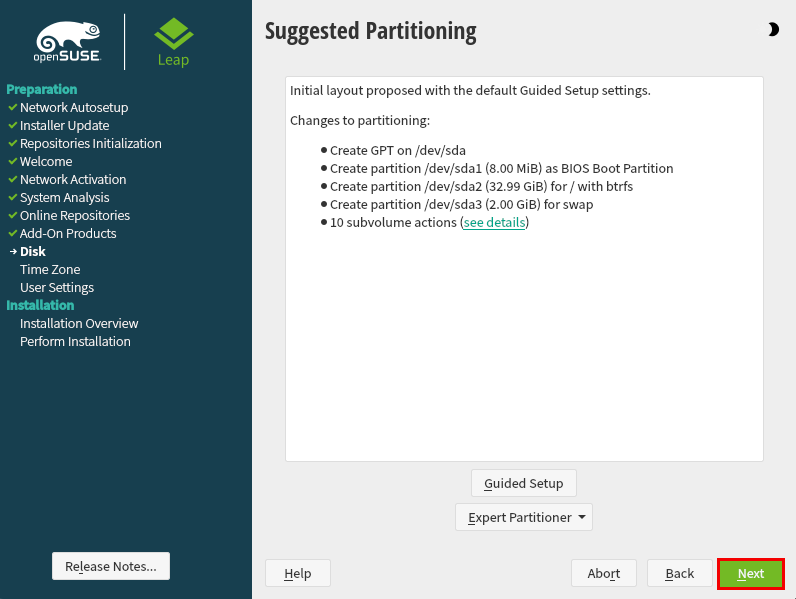
Partition settings
Use by default
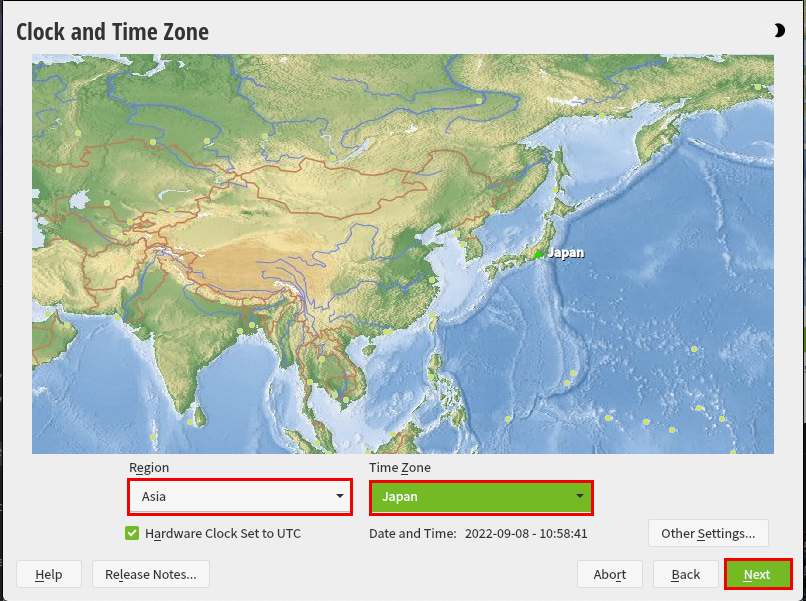
Set region and time
Region : Asia Time Zone : Japan
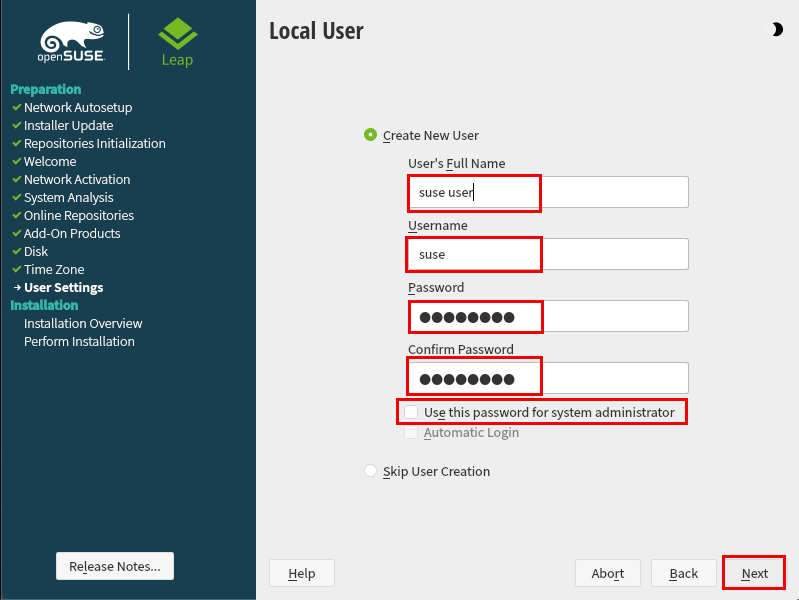
Create local login user and root user
local login user
The first step is to create an account to log in. By default, "Use this password for system administrator" is checked, but uncheck this checkbox and set up the next root user.
root user
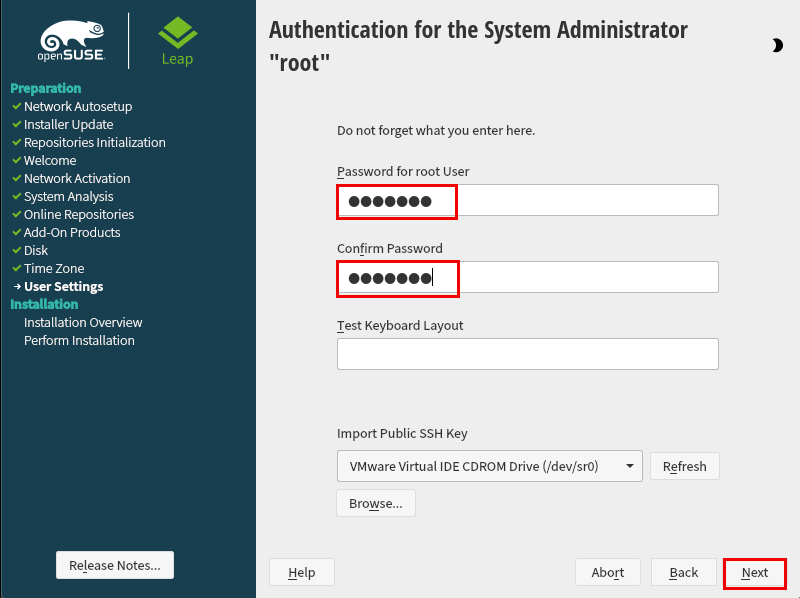
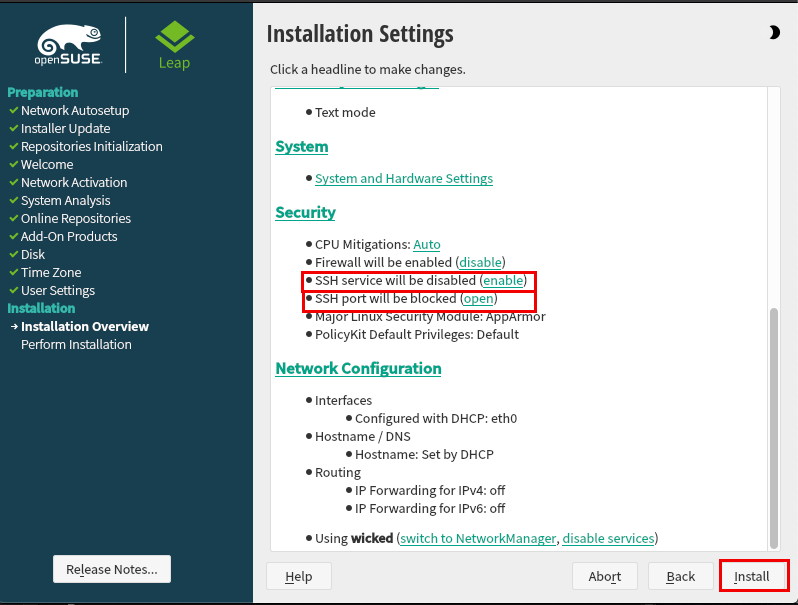
Installation Configuration
In the "Installation Settings" section, proceed with the default settings, but make sure that the SSH server is enabled and the SSH port is open, then click "Install"
A confirmation dialog box will appear.
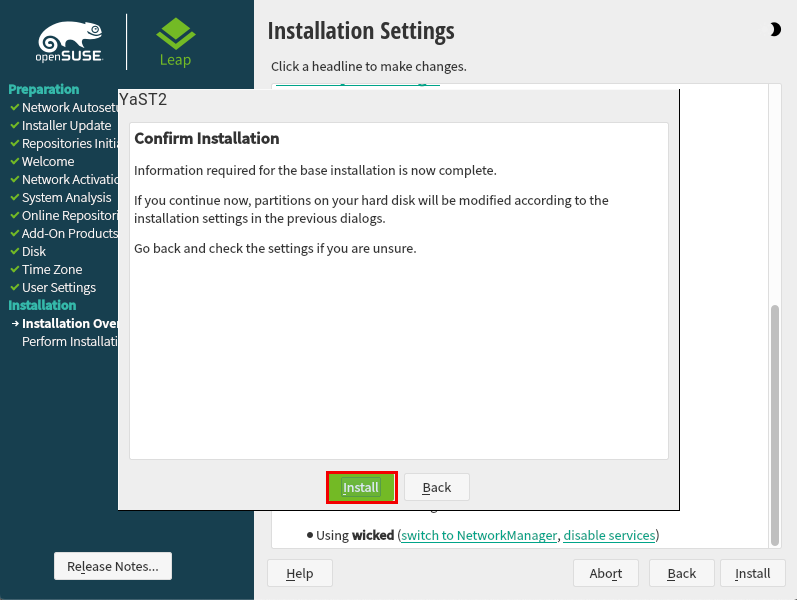
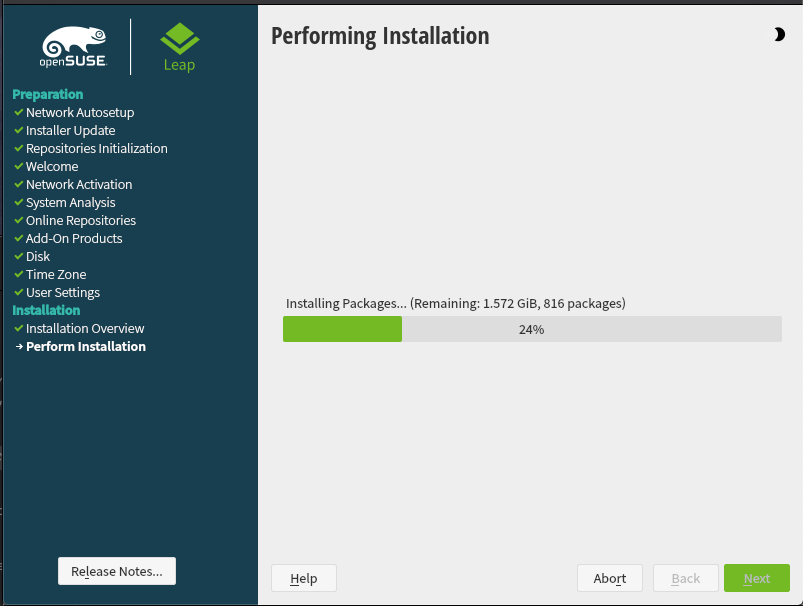
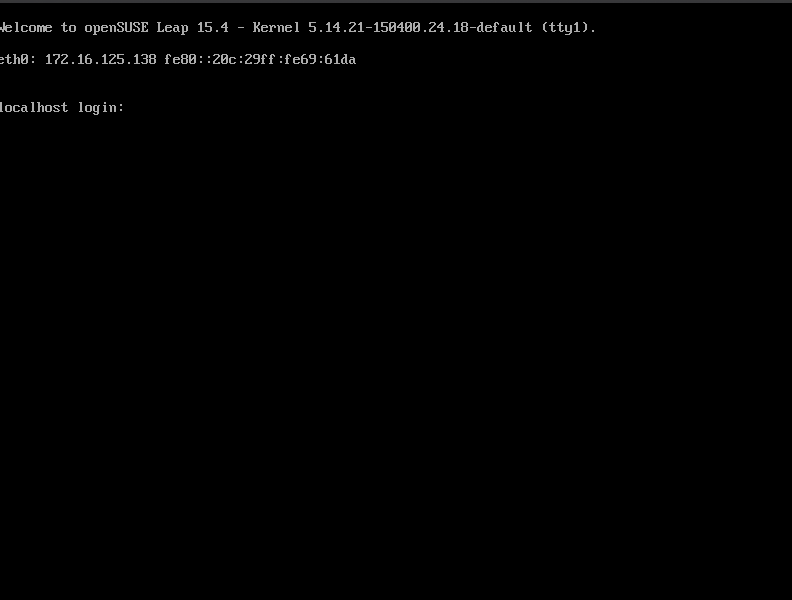
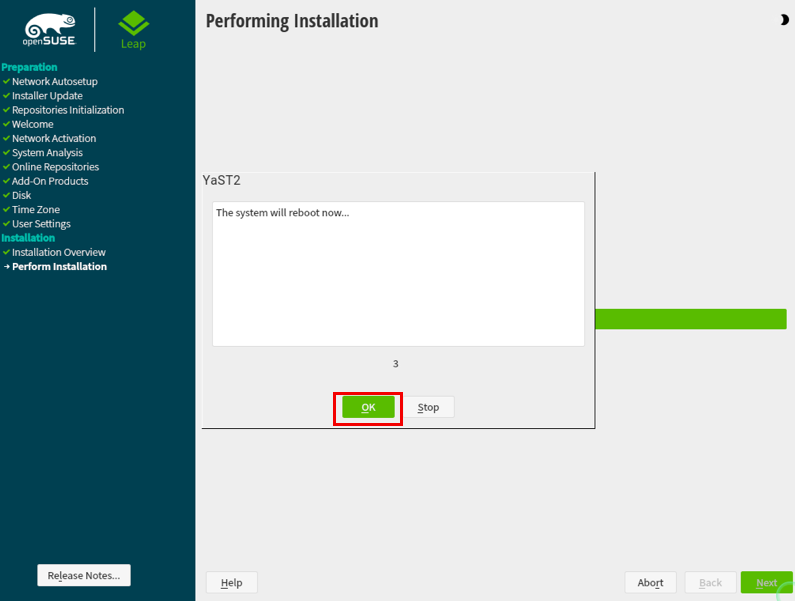
Once the installation is complete, click "OK" and the server will restart.
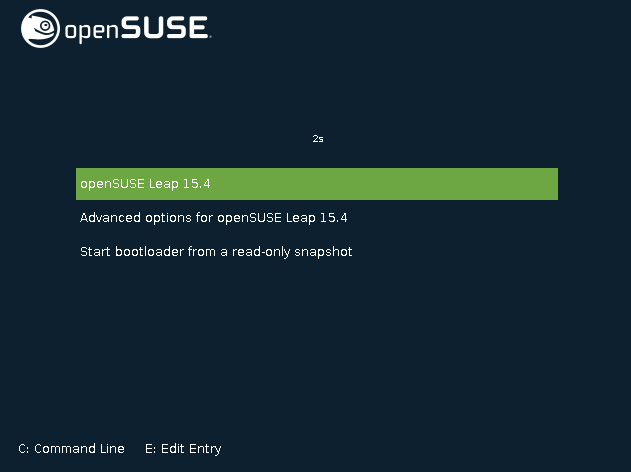
If installed successfully, you will see the following screen