1.Apache2のインストールとバーチャルホスト設定
1.1 Apache2インストール
①httpdをインストール
# dnf -y install httpd
バージョン確認
# httpd -v
Server version: Apache/2.4.63 (Rocky Linux)
Server built:   Feb 12 2026 00:00:00
1.2 Apache の設定
①httpd.conf ファイルを編集
# cp /etc/httpd/conf/httpd.conf /etc/httpd/conf/httpd.conf_org

# vi /etc/httpd/conf/httpd.conf
91行目 : 管理者アドレス指定
ServerAdmin [Email Address]

101行目 : ServerName の追加
#ServerName www.example.com:80
ServerName [ドメイン名]

149行目 : 変更 (Indexes は削除)
Options FollowSymLinks

156行目 : 変更
AllowOverride All

170行目 : ディレクトリ名のみでアクセスできるファイル名追加
DirectoryIndex index.html index.php index.cgi

最終行に追記
ServerTokens Prod
②Firewalld を有効にしている場合は HTTP サービスの許可が必要。HTTP は [80/TCP] を使用します
# firewall-cmd --add-service=http --permanent
# firewall-cmd --reload
③Apache の自動起動設定
# systemctl start httpd
# systemctl enable httpd
# systemctl status httpd
● httpd.service - The Apache HTTP Server
     Loaded: loaded (/usr/lib/systemd/system/httpd.service; enabled; preset: disabled)
     Active: active (running) since Wed 2026-06-03 08:54:47 JST; 15s ago
 Invocation: 35d1e7013b7548b19c76cd4ee8c388e7
       Docs: man:httpd.service(8)
   Main PID: 6668 (httpd)
     Status: "Total requests: 0; Idle/Busy workers 100/0;Requests/sec: 0; Bytes served/sec:   0 >
      Tasks: 177 (limit: 22808)
     Memory: 14.1M (peak: 14.3M)
        CPU: 74ms
     CGroup: /system.slice/httpd.service
             ├─6668 /usr/sbin/httpd -DFOREGROUND
             ├─6669 /usr/sbin/httpd -DFOREGROUND
             ├─6670 /usr/sbin/httpd -DFOREGROUND
             ├─6671 /usr/sbin/httpd -DFOREGROUND
             └─6679 /usr/sbin/httpd -DFOREGROUND

Jun 03 08:54:47 Lepard systemd[1]: Starting httpd.service - The Apache HTTP Server...
Jun 03 08:54:47 Lepard (httpd)[6668]: httpd.service: Referenced but unset environment variable e>
Jun 03 08:54:47 Lepard httpd[6668]: Server configured, listening on: port 80
Jun 03 08:54:47 Lepard systemd[1]: Started httpd.service - The Apache HTTP Server.
httpd.service: Referenced but unset environment variable evaluates to an empty string: OPTIONS
と表示されます。apacheサービスは起動していますが気持ちが悪いので次の通り設定し、再現しないようにしました。
# vi /etc/systemd/system/httpd.service.d/override.conf

下記を記入
[Service]
  ExecStart=
  ExecStart=/usr/sbin/httpd -DFOREGROUND
# systemctl daemon-reload
# systemctl restart httpd
# systemctl status httpd
● httpd.service - The Apache HTTP Server
     Loaded: loaded (/usr/lib/systemd/system/httpd.service; enabled; preset: disabled)
    Drop-In: /etc/systemd/system/httpd.service.d
             └─override.conf
     Active: active (running) since Wed 2026-06-03 08:57:44 JST; 4s ago
 Invocation: 86a0e25001144d7a9d16f3acf7c3065d
       Docs: man:httpd.service(8)
   Main PID: 7085 (httpd)
     Status: "Started, listening on: port 80"
      Tasks: 177 (limit: 22808)
     Memory: 13.3M (peak: 13.7M)
        CPU: 68ms
     CGroup: /system.slice/httpd.service
             ├─7085 /usr/sbin/httpd -DFOREGROUND
             ├─7086 /usr/sbin/httpd -DFOREGROUND
             ├─7087 /usr/sbin/httpd -DFOREGROUND
             ├─7088 /usr/sbin/httpd -DFOREGROUND
             └─7089 /usr/sbin/httpd -DFOREGROUND

Jun 03 08:57:44 Lepard systemd[1]: Starting httpd.service - The Apache HTTP Server...
Jun 03 08:57:44 Lepard httpd[7085]: Server configured, listening on: port 80
Jun 03 08:57:44 Lepard systemd[1]: Started httpd.service - The Apache HTTP Server.
④動作確認
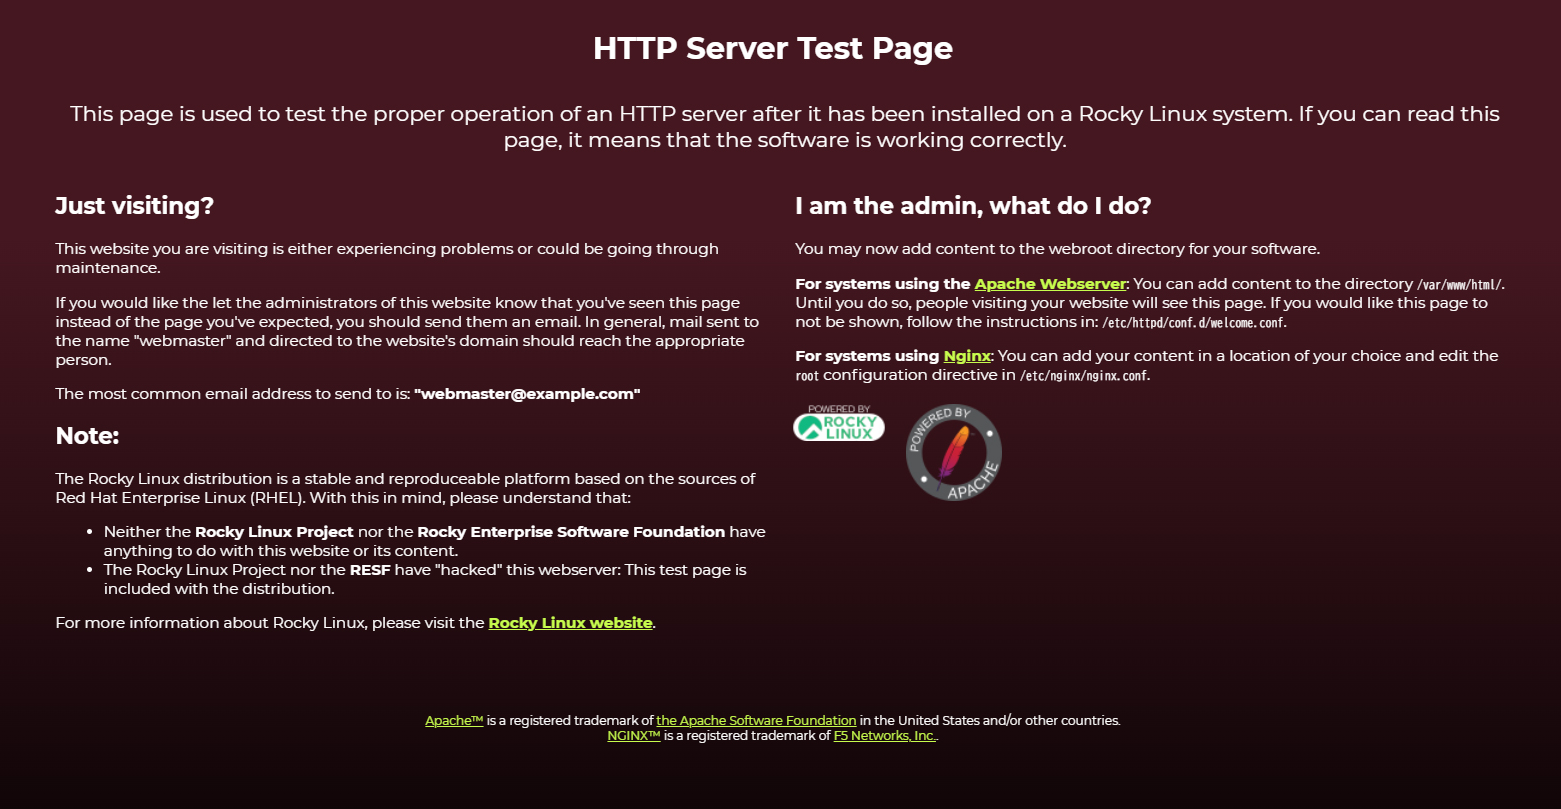
http://[サーバーIPアドレス] にアクセスすると下記のようにHTTP Server Test Page が表示されればOK
⑤Welcomeページを非表示にし、Test Pageとして新規にindex.htmlファイルを作成し、apacheの動作確認
ウェルカムページをリネームする
# mv /etc/httpd/conf.d/welcome.conf /etc/httpd/conf.d/welcome.conf.org
HTML テストページを作成
# vi /var/www/html/index.html

下記を記述
<html>
<body>
<div style="width: 100%; font-size: 40px; font-weight: bold; text-align: center;">
Apache Test Page
</div>
</body>
</html>
http://[サーバーIPアドレス] にアクセスすると下記のようにTest Page が表示されればOK
1.3 バーチャルホストの設定
バーチャルホストで運用するドメイン名 [FQDN] を、ドキュメントルート[/var/www/html/FQDN] ディレクトリに割り当てて設定します
# vi /etc/httpd/conf.d/vhost.conf

下記を記述(バーチャルホストのドメインの設定)
<VirtualHost *:80>
DocumentRoot /var/www/html/[FQDN]
ServerName [FQDN]
ServerAdmin <Email Address> ←管理者メールアドレス
ErrorLog logs/[FQDN].error_log
CustomLog logs/[FQDN].access_log combined
</VirtualHost>

<Directory "/var/www/html/[FQDN]">
Options FollowSymLinks
AllowOverride All
</Directory>
ドキュメントディレクトリーの作成
# mkdir /var/www/html/[FQDN]
Apacheの再起動
# systemctl restart httpd
2. CGIスクリプトの利用確認
①CGIの利用可確認
# grep -n "^ *ScriptAlias" /etc/httpd/conf/httpd.conf
252:    ScriptAlias /cgi-bin/ "/var/www/cgi-bin/"
上記が表示され、「/var/www/cgi-bin/」配下で利用可能
②テストスクリプトを作成し、作動確認
# vi /var/www/cgi-bin/index.cgi

下記を記述
#!/usr/libexec/platform-python
print("Content-type: text/html\n")
print("CGI Script Test Page")
# chmod 755 /var/www/cgi-bin/index.cgi
# curl localhost/cgi-bin/index.cgi
CGI Script Test Page
3. PHPのインストールと設定
3.1.PHP8インストール
①インストール
# dnf -y install php
②バージョン確認
# php -v

PHP 8.3.29 (cli) (built: Dec 16 2025 14:32:42) (NTS gcc x86_64)
Copyright (c) The PHP Group
Zend Engine v4.3.29, Copyright (c) Zend Technologies
    with Zend OPcache v8.3.29, Copyright (c), by Zend Technologies
php-fpm の有効化、起動
# systemctl enable php-fpm
Created symlink '/etc/systemd/system/multi-user.target.wants/php-fpm.service' → '/usr/lib/systemd/system/php-fpm.service'.

# systemctl start php-fpm
③Apache の再起動
PHP インストール後は、Apache を再起動すればデフォルトで PHP-FPM (FPM : FastCGI Process Manager) が呼び出され、httpd の起動と連動して php-fpm サービスも起動されます
# systemctl restart httpd
# systemctl status php-fpm
● php-fpm.service - The PHP FastCGI Process Manager
     Loaded: loaded (/usr/lib/systemd/system/php-fpm.service; enabled; preset: disabled)
     Active: active (running) since Wed 2026-06-03 09:08:05 JST; 42s ago
 Invocation: a9aa1e8ceaac411d995ed46d54aaf7c8
   Main PID: 8322 (php-fpm)
     Status: "Processes active: 0, idle: 5, Requests: 0, slow: 0, Traffic: 0.00req/sec"
      Tasks: 6 (limit: 22808)
     Memory: 13M (peak: 13.4M)
        CPU: 42ms
     CGroup: /system.slice/php-fpm.service
             ├─8322 "php-fpm: master process (/etc/php-fpm.conf)"
             ├─8324 "php-fpm: pool www"
             ├─8325 "php-fpm: pool www"
             ├─8326 "php-fpm: pool www"
             ├─8327 "php-fpm: pool www"
             └─8328 "php-fpm: pool www"

Jun 03 09:08:05 Lepard systemd[1]: Starting php-fpm.service - The PHP FastCGI Process Manager...
Jun 03 09:08:05 Lepard systemd[1]: Started php-fpm.service - The PHP FastCGI Process Manager.
④PHP の動作確認
下記のファイルを作成
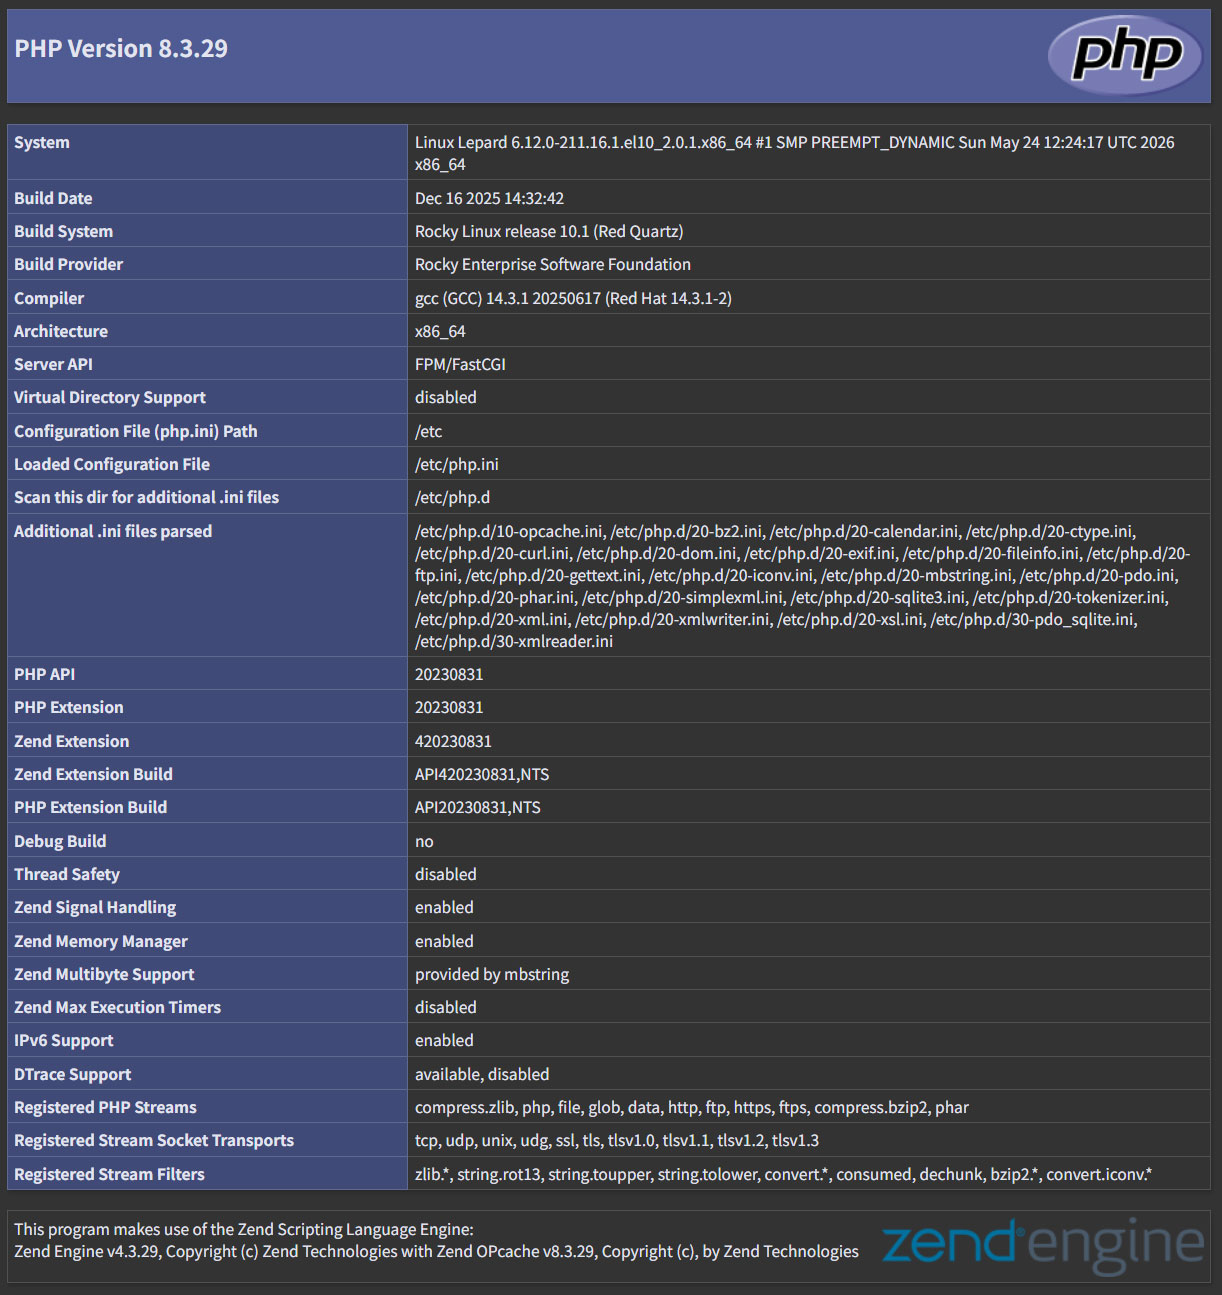
# vi /var/www/html/[FQDN]/info.php

下記を記述
<?php phpinfo(); ?>
ブラウザでhttp://[FQDN]/info.phpにアクセスすると下記のような画面が表示されればOK
4. Apache2でDigest認証を行う
http の認証認定方式として有名なBasic 認証は認証情報を平文で送信するので、パケット盗聴されるとID とパスワードが漏洩する危険があります。
一方、Digest 認証は認証情報を暗号化して送信するので、情報漏えいの心配がほとんどありません。Digest 認証はBasic 認証を強化した認証認定方式と言えます。
4.1 Digest認証のパスワードファイルを作成
realmと呼ばれる認証領域を指定する。このrealmが同じディレクトリは認証済みとしてアクセスできるようにするためのものです。
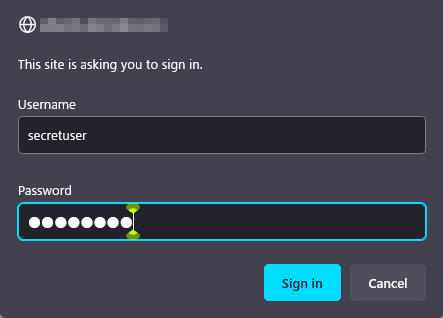
今回は例として、realmは"DigestAuth"で、"secretuser"と言うユーザー及びパスワードファイル".digestauth"を作成する。下記のコマンドを実行すると"secretuser"のパスワードを求められるので入力する。
# /usr/bin/htdigest -c /etc/httpd/.digestauth "DigestAuth" secretuser
New password:
Re-type new password:
確認する
# cat /etc/httpd/.digestauth
secretuser:DigestAuth:xxxxxxxxxxxxxxxxxxxxxxxxxxxxxxxxxx
上記の通り、secretuserと暗号化されたパスワードが作成されています
4.2 Apacheの設定ファイル編集
Digest認証をかけるディレクトリを指定する。(今回はsecretディレクトリーを指定する)
# vi /etc/httpd/conf/httpd.conf

最後尾に下記追加
<Directory "/var/www/html/[FQDN]/secret">
AuthType Digest
AuthName "DigestAuth"
AuthDigestDomain /[FQDN]/secret/
AuthUserFile "/etc/httpd/.digestauth"
Require valid-user
</Directory>
Digest認証をかけるディレクトリを作成する
# mkdir /var/www/html/[FQDN]/secret
Digest認証を有効にして再起動する
# systemctl restart httpd.service
ブラウザでhttp://[FQDN]/secret にアクセスすると「ユーザー名」「パスワード」求める画面が出る