Download the installation image
he installation media for Ubuntu Server can be downloaded from the official site on the Internet. As long as you have a fast connection, you can download the OS itself in about 2 to 3 minutes. You will need to create an installation CD/DVD from the downloaded iso file.
Download the iso file ubuntu-18.04.6-live-server-amd64.iso from the following Past releases site
https://releases.ubuntu.com/18.04.6/?_ga=2.260712333.1847371593.1696292482-1058847681.1696060103
Install
Change the BIOS so that the PC can boot from the installation disk created above, and then boot the PC.
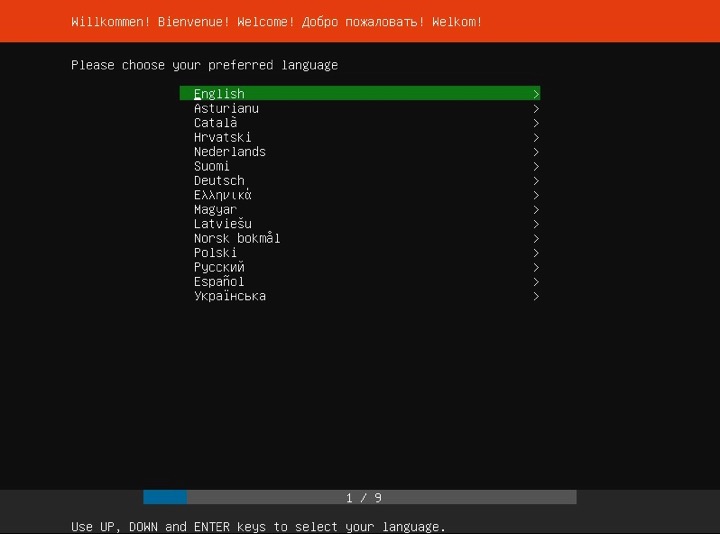
1.Installation screen
①Select your language and press [ENTER] key, there doesn't seem to be any Japanese, so we will proceed in English.
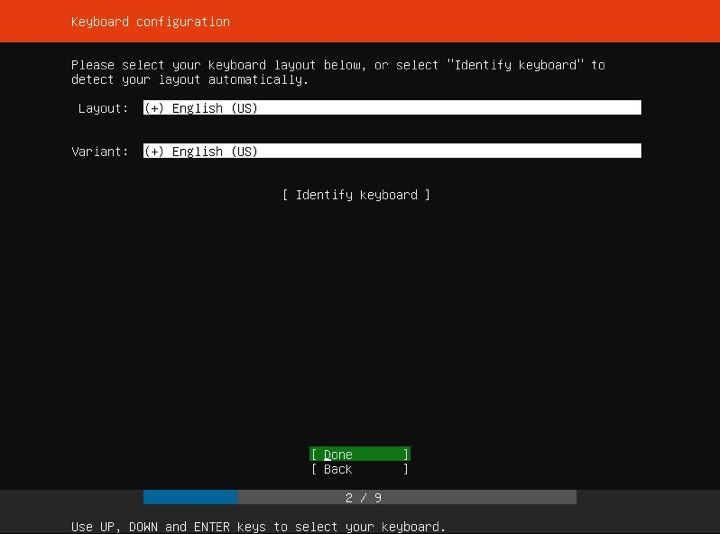
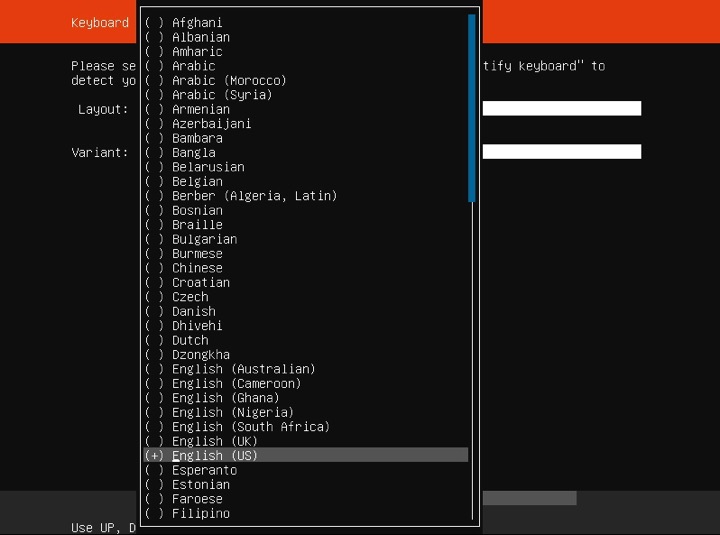
②Selecting a Keyboard
Move the cursor to Layout and press the [ENTER] key.
To move the cursor, use the [Up/Down Arrow] keys or the [Tab] key.
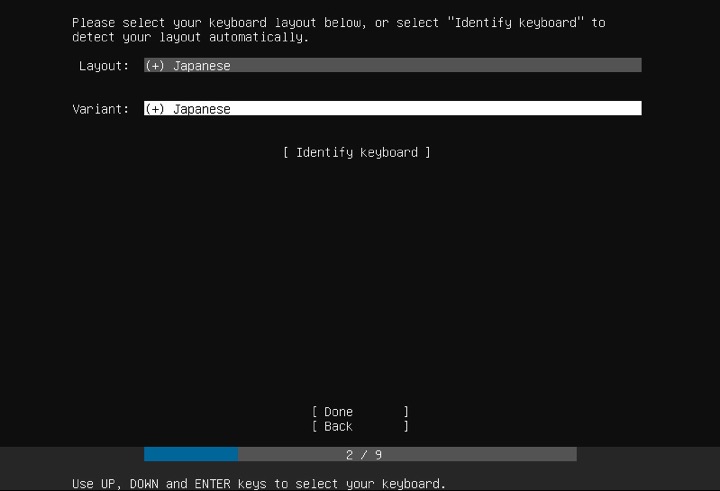
③Select [Japanese] for the keyboard layout and press the [ENTER] key.
④When the keyboard layout is selected, press [Done].
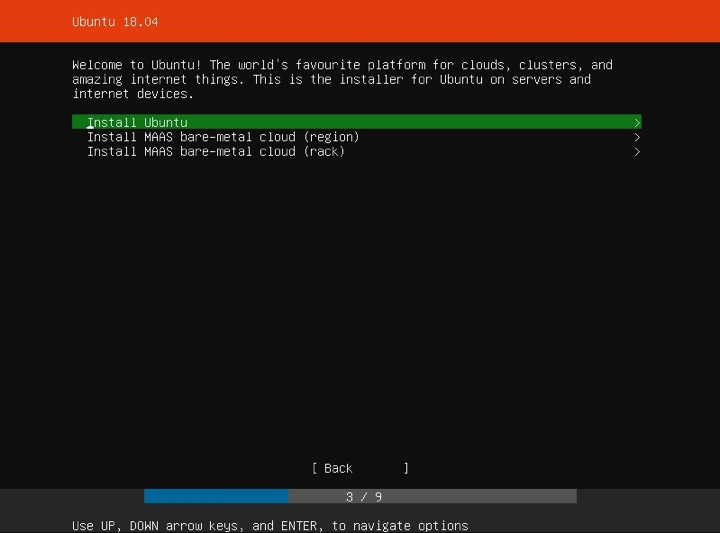
⑤Select [Install Ubuntu].
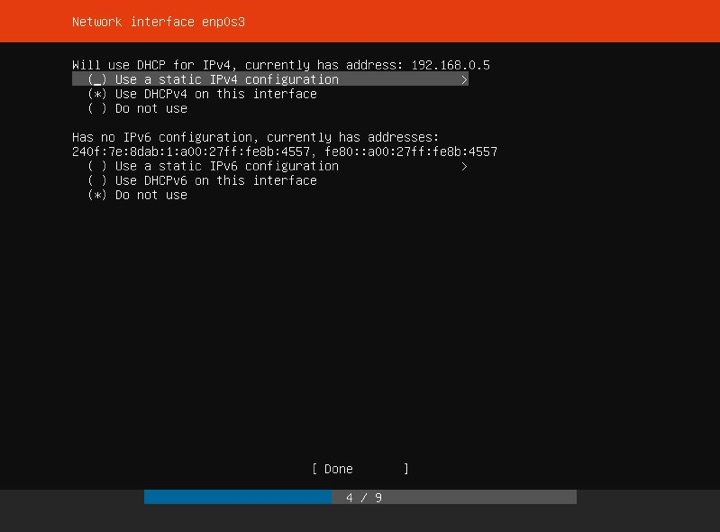
⑥Network Settings
Select the NIC you are connected to and press [ENTER].

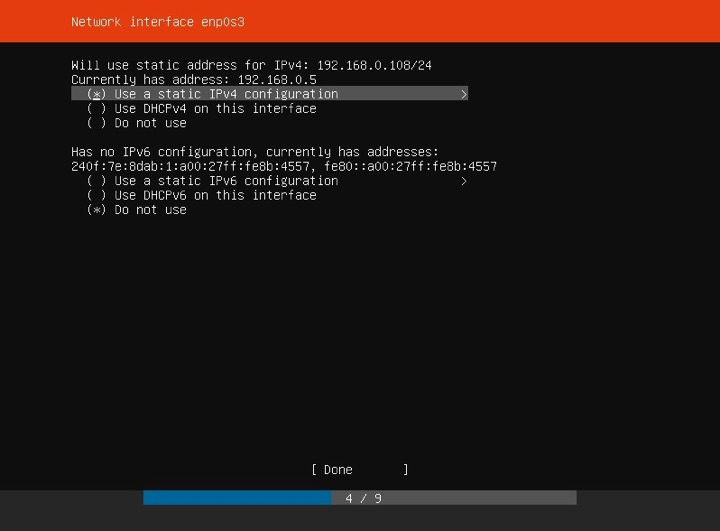
⑦Use a static IP address
Select [Use a static IPv4 Configuretion] and press the [ENTER] key.
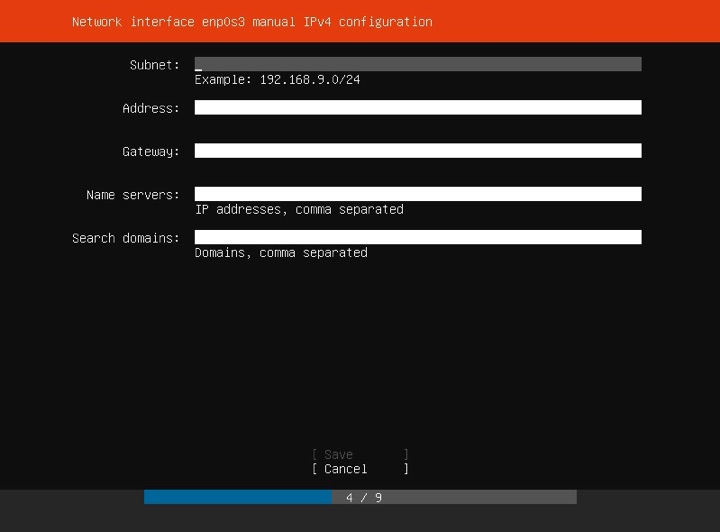
⑧Enter the network settings as shown below and select [Save].
サーバーのローカールIPアドレスが「192.168.0.100」の場合を例にすると
Subnet : 192.168.0.0/24
Adddress : 192.168.0.100
Gateway : 192.168.0.1 (Usually the address of the router)
Name Servers : 192.168.0.1 (Usually the address of the router)
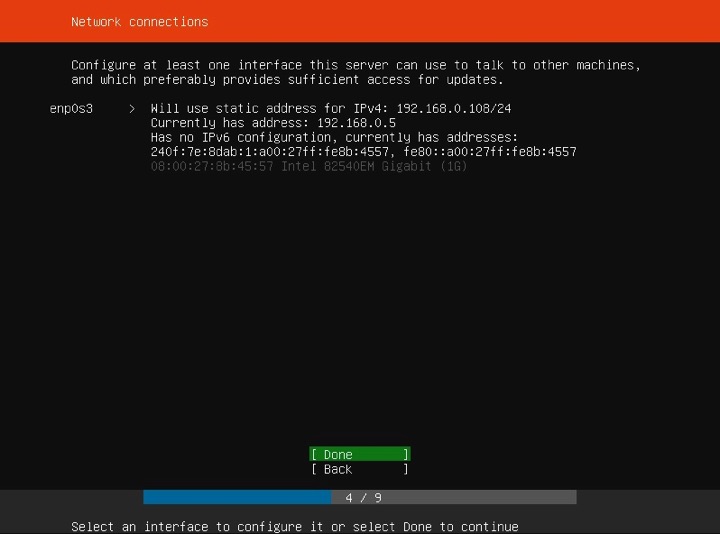
⑨Make sure that the IP address is correctly assigned and select Done.
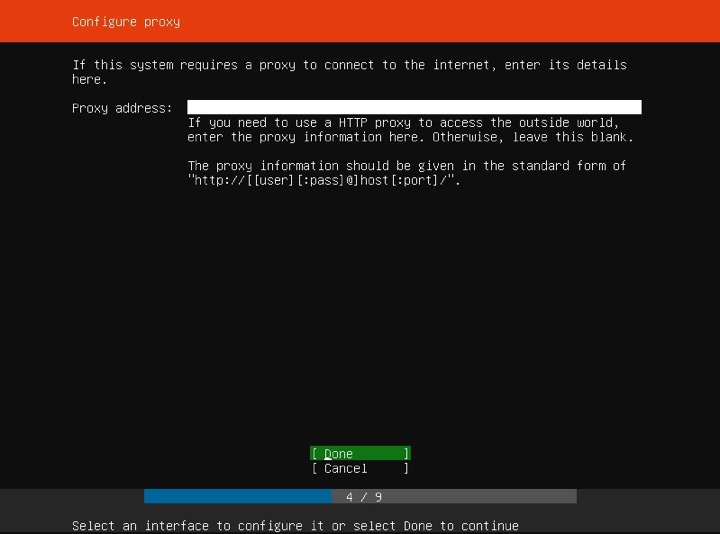
⑩If your environment uses a proxy, enter the proxy server information.
If you do not want to use a proxy server, leave it blank and select [Done].
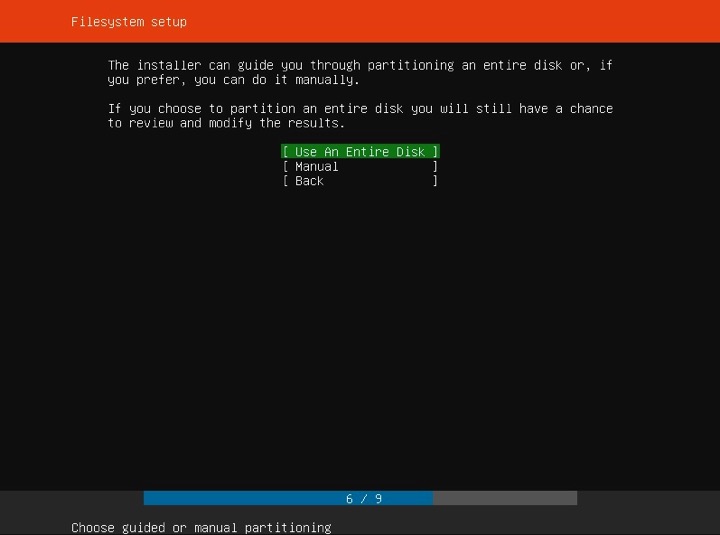
⑪Set the disk configuration for the installation destination. This time, set it to automatic.
Select [Use An Entire Disk] for automatic configuration, or [Manual] for manual configuration.
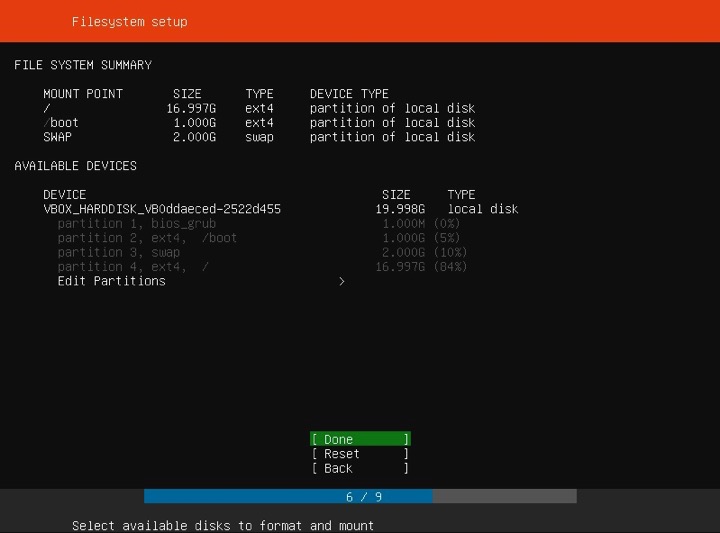
⑫Select [Done] on the confirmation screen.
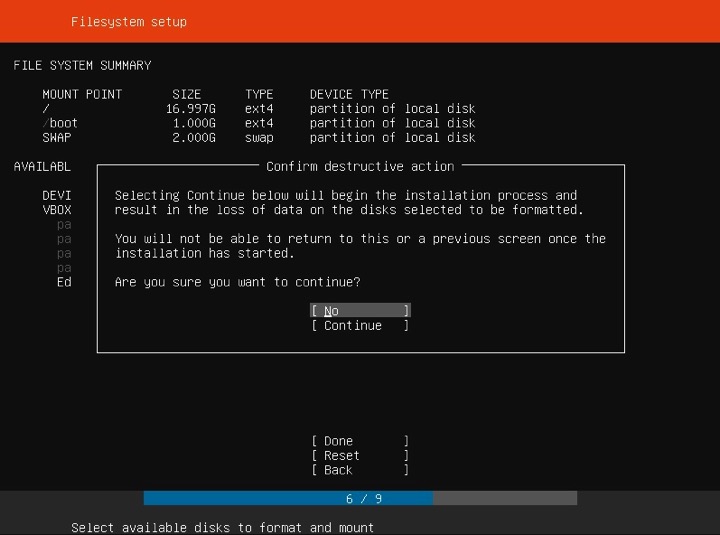
⑬Select Continue to confirm formatting.
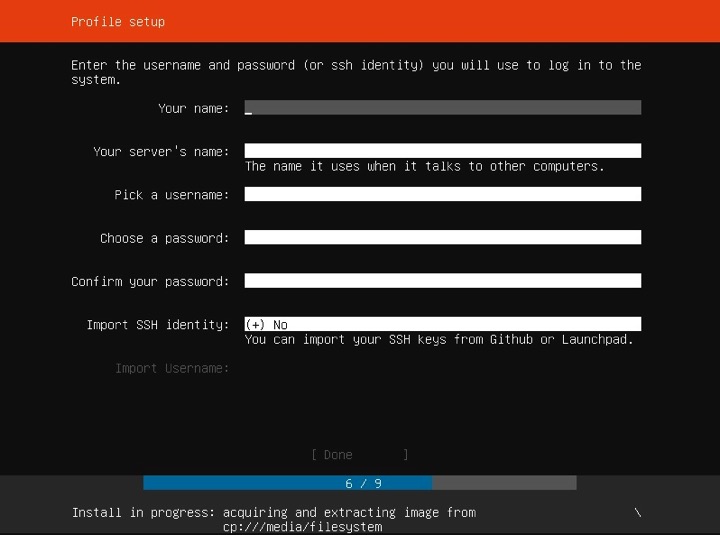
⑭Enter [User Name], [Host Name], [Password], etc. and select [Done].
SSH item is a choice for importing SSH Key (NO if not specified)
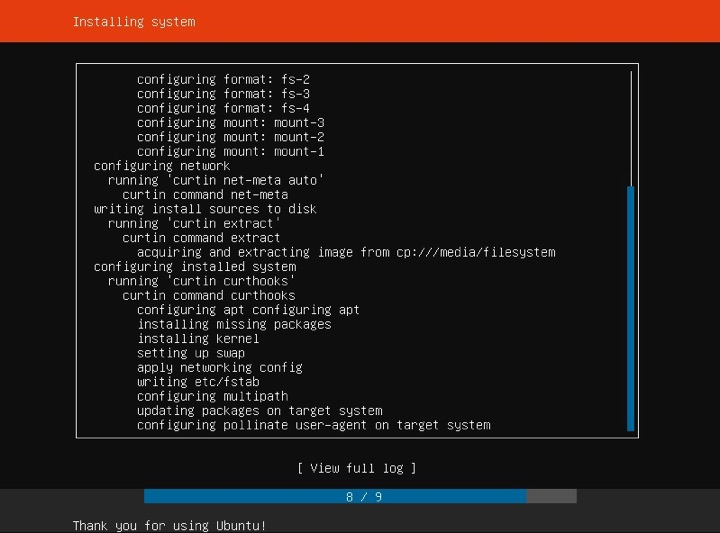
⑮The installation status will be displayed.
⑯When the installation is complete, select [Reboot NOW].

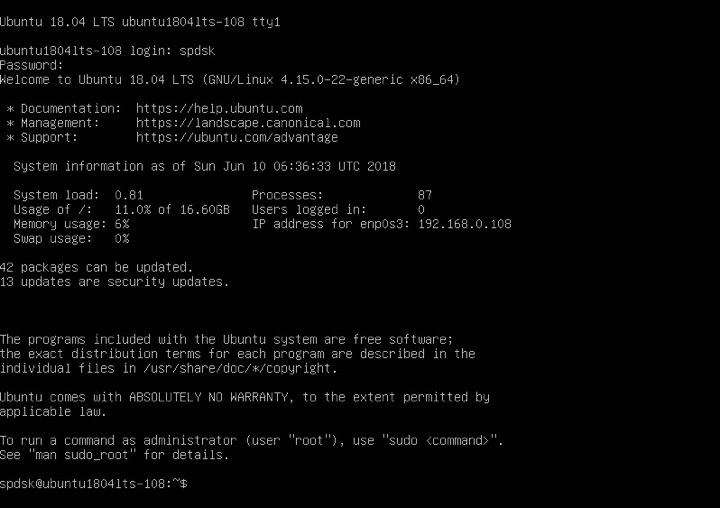
⑰Ubuntu will start and the console will be displayed. If you can login, the installation is successful.