Ubuntu Server 23.04 Download Installation Image
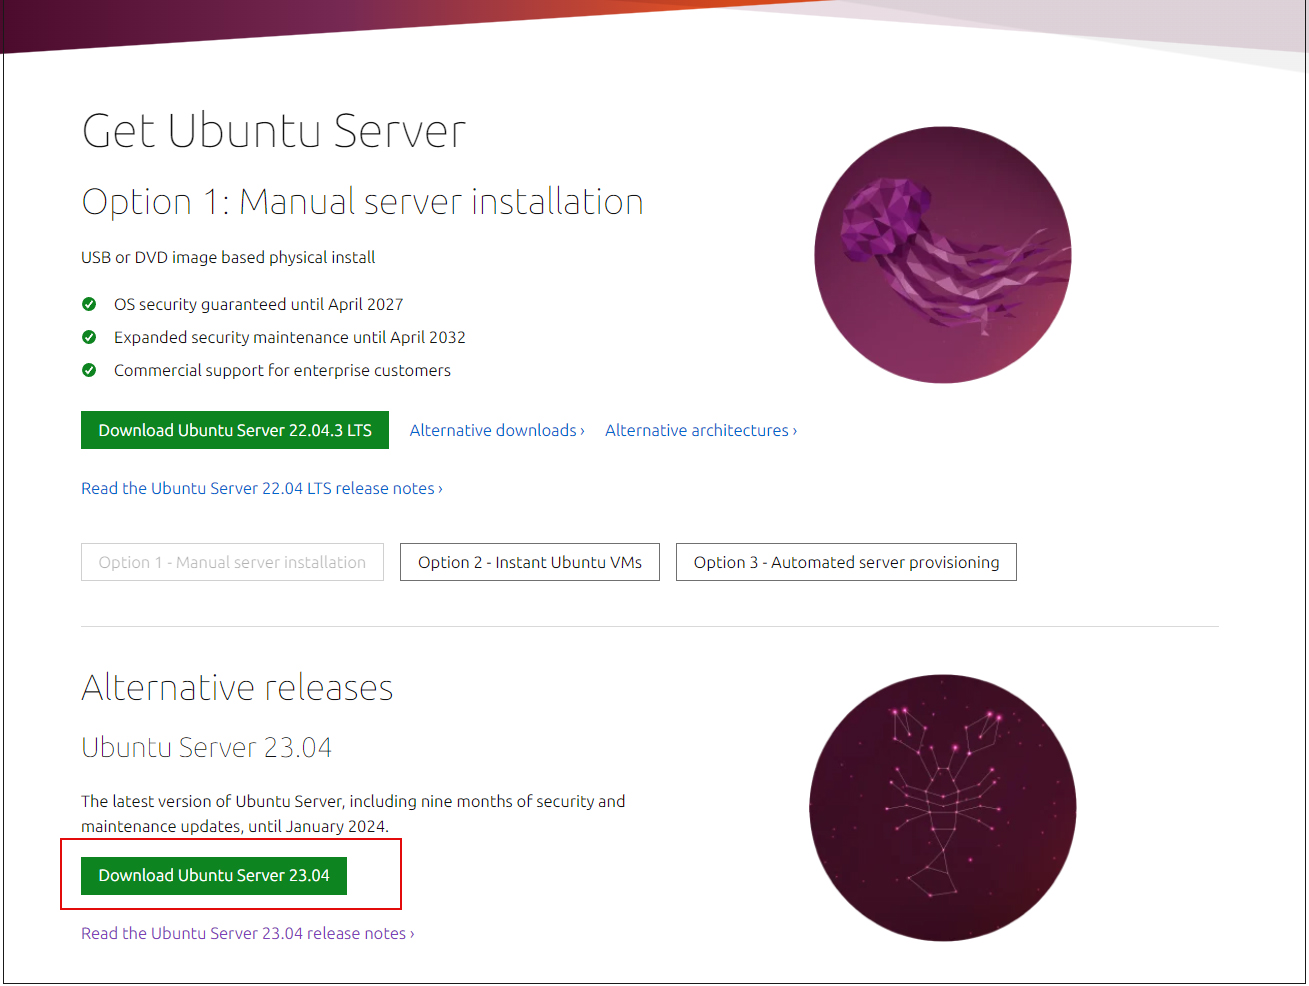
The installation media for Ubuntu Server can be downloaded from the official site on the Internet. As long as you have a fast connection, you can download the OS itself in about 2 to 3 minutes. You will need to create an installation CD/DVD from the downloaded iso file. (approx. 2.5G)
The iso file itself can be used for installation on a virtual machine using Vmware or other software.
The iso file can be downloaded from the "Official Ubuntu Download Site".
Ubuntu 23.04 (released on April 20, 2023) is supported until January 2024, so it is safer to install the LTS version of Ubuntu 22.04 in the production environment.
Ubuntu Server 23.04 Install
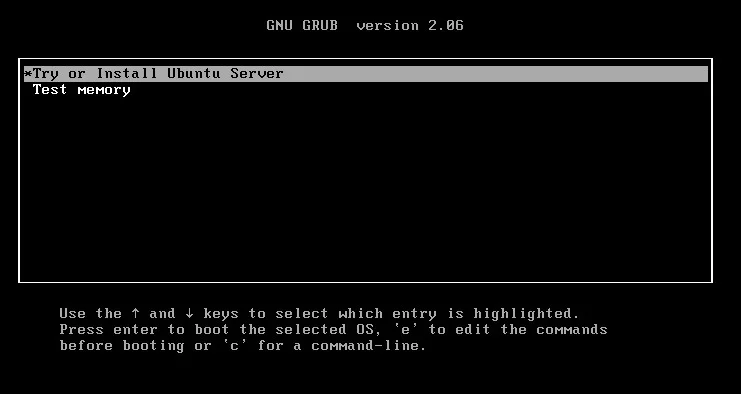
Change the BIOS so that the PC can boot from the installation disk created above.
1.Installation screen
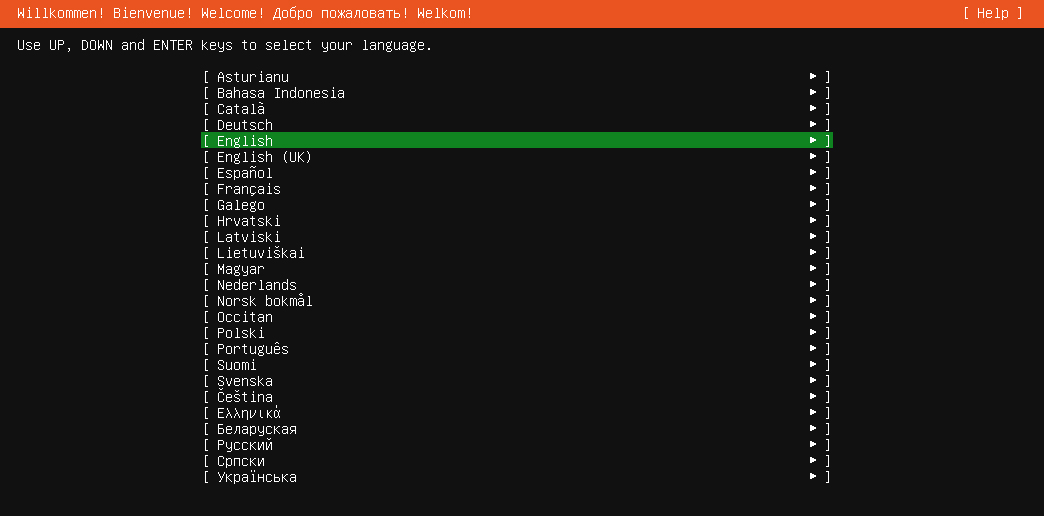
①Select a language and press [ENTER],
There seems to be no Japanese, so proceed in English.
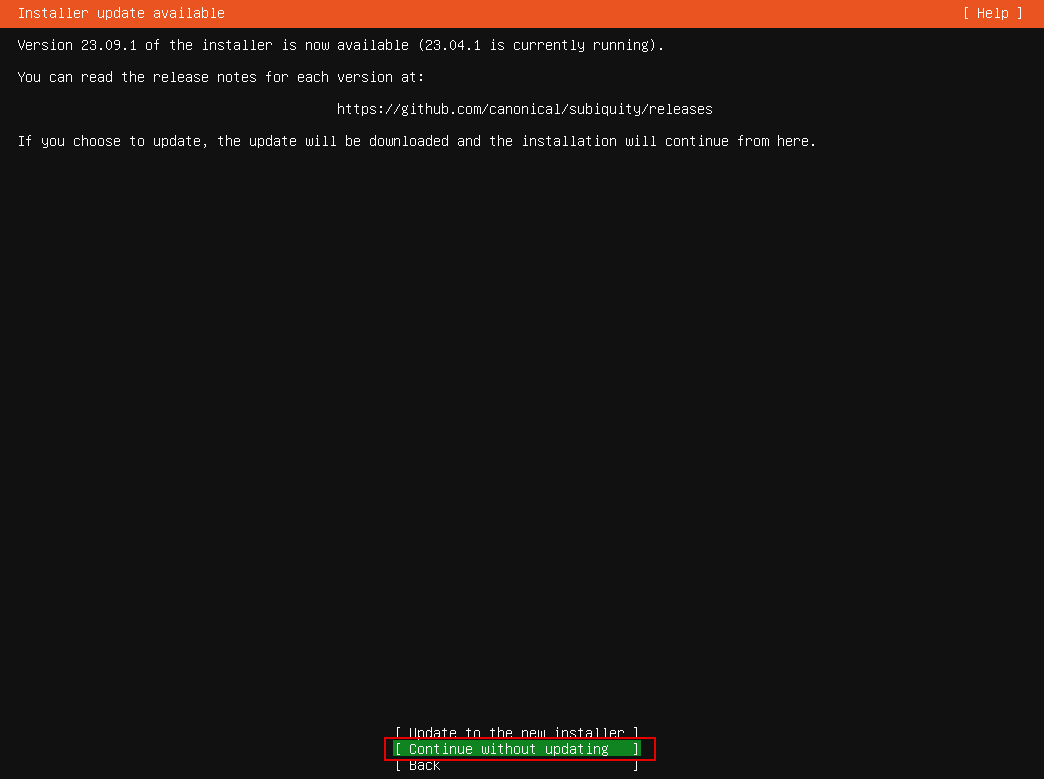
You are asked if you want to update the Installer, but ignore it this time.
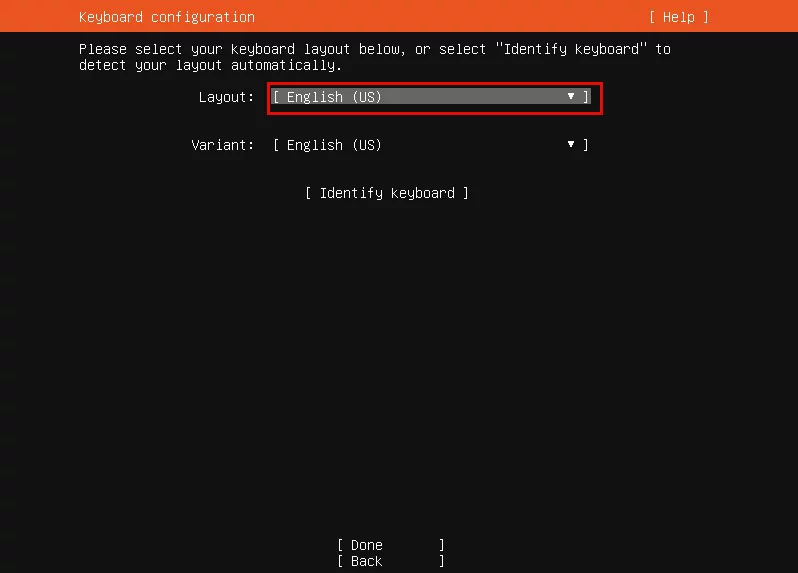
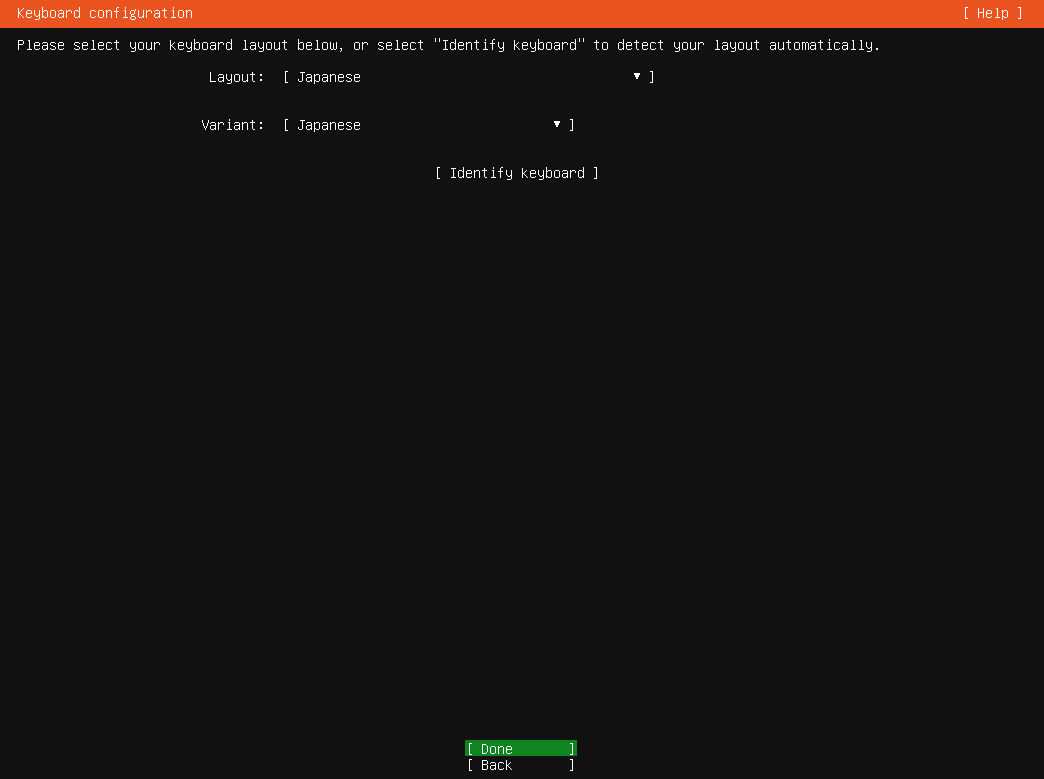
②Keyboard Selection
Move the cursor to Layout and press [ENTER] key
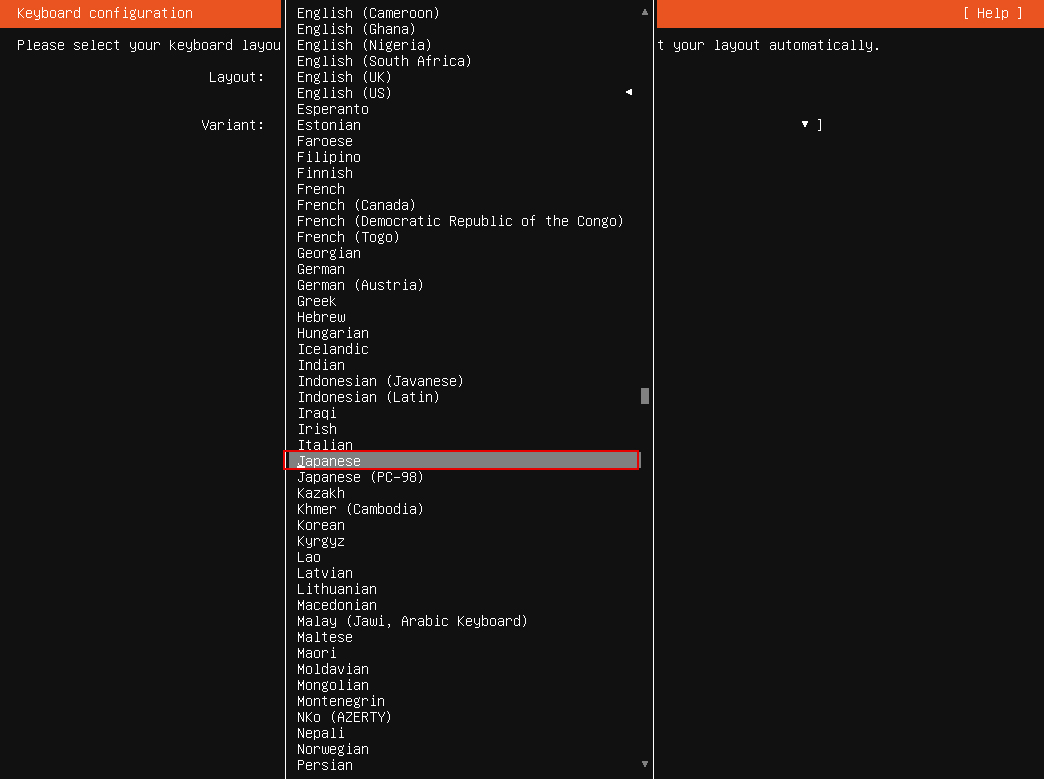
③Select "Japanese" in the keyboard layout and press the [ENTER] key
④Press "Done" when the keyboard layout has been selected.
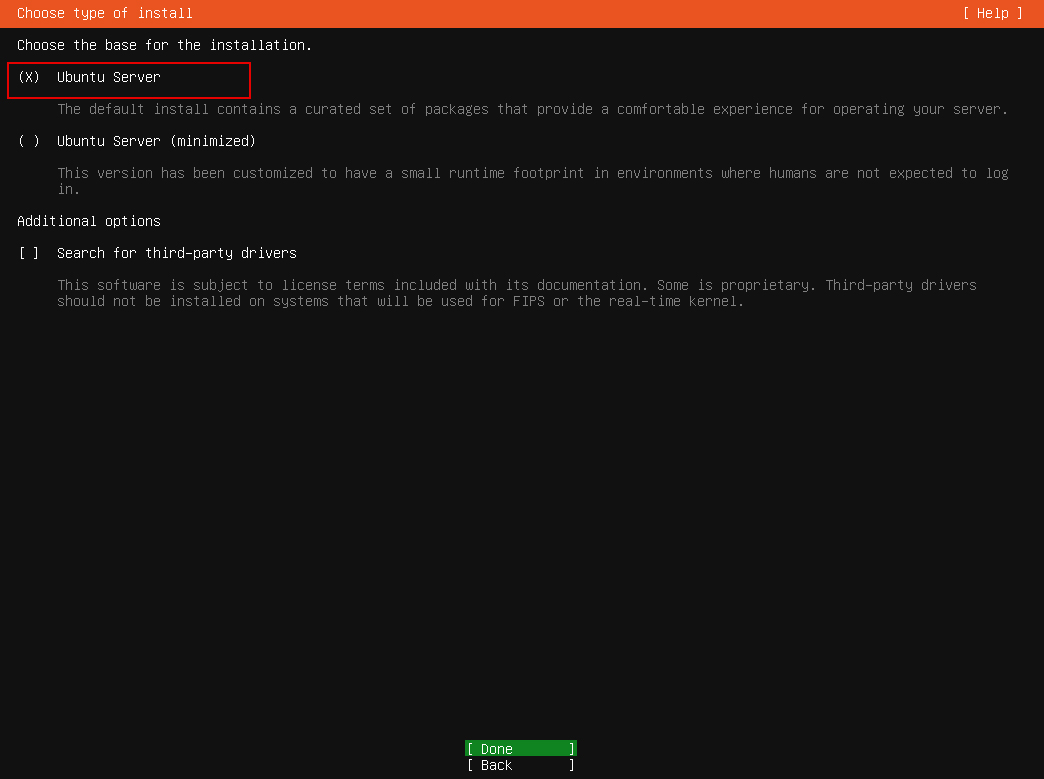
⑤Select "Ubuntu Server" as the installation type.
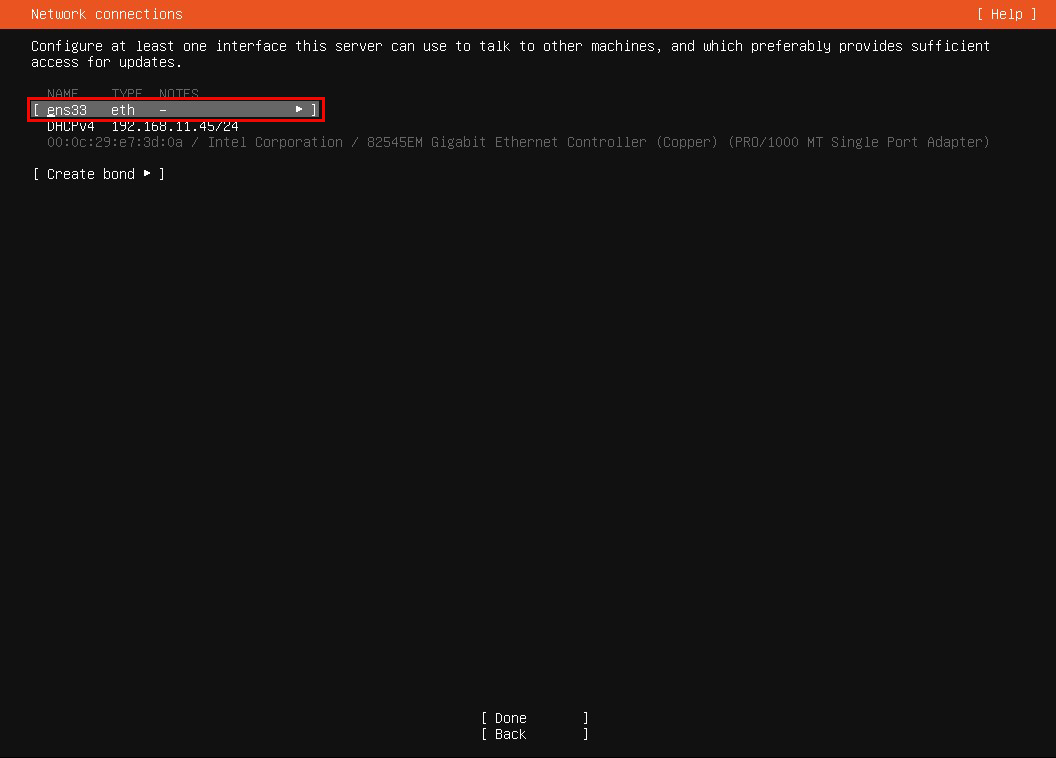
⑥Network settings (using a static IP address)
Select the NIC you are connecting to and press [ENTER] Select "Edit IPv4" and press Enter
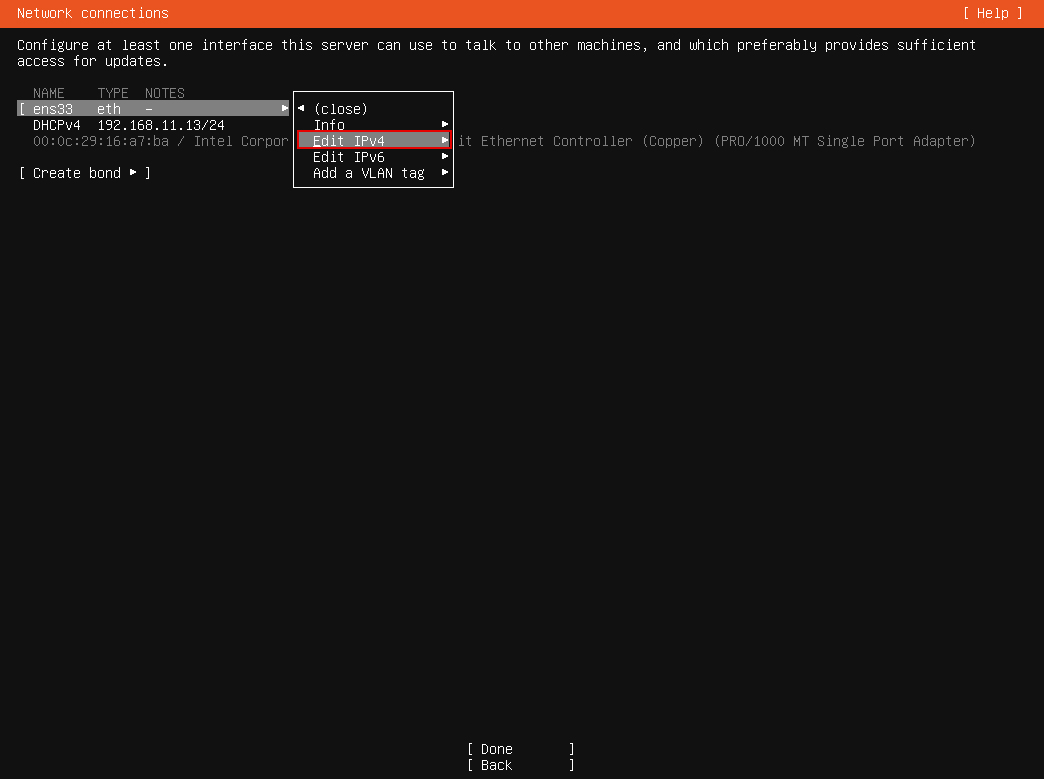
Then select "Manual" on the next screen and press Enter
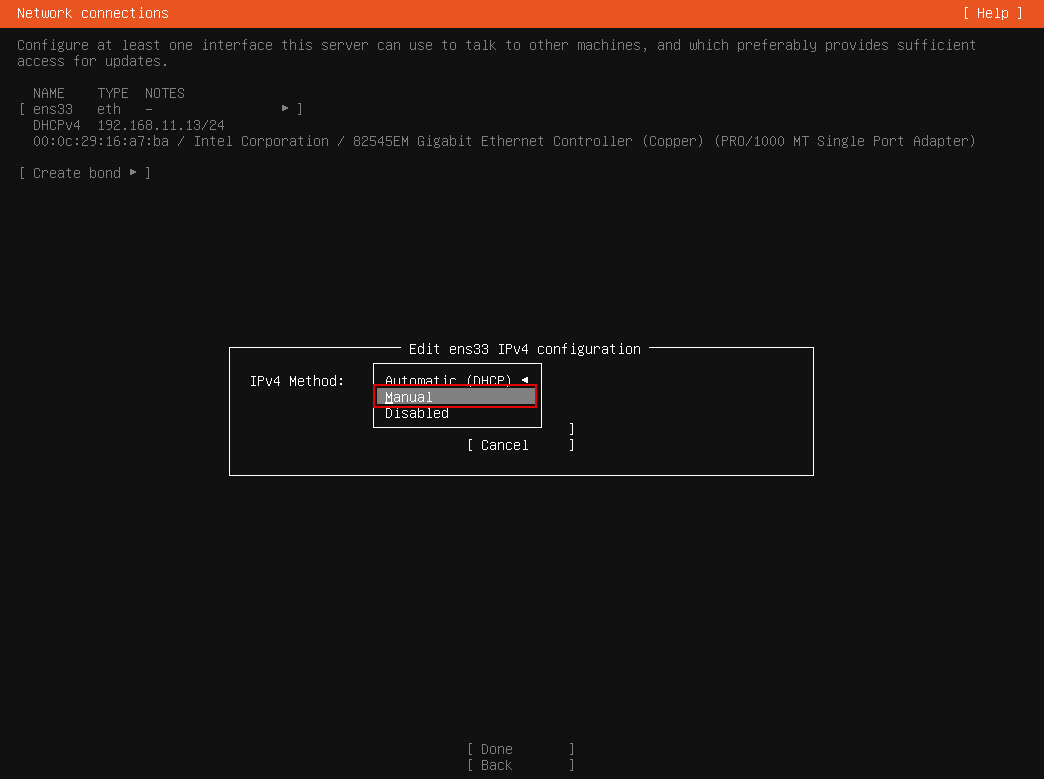
Fill in the required information.
Let's take the case where the local IP address of the server is "192.168.11.83" as an example
Method : Manual
Subnet : 192.168.11.0/24
Adddress : 192.168.11.83
Gateway : 192.168.11.1 (Usually router address)
Name Servers 192.168.11.1 (Usually router address)
Search domains Your own domain to be applied to the server
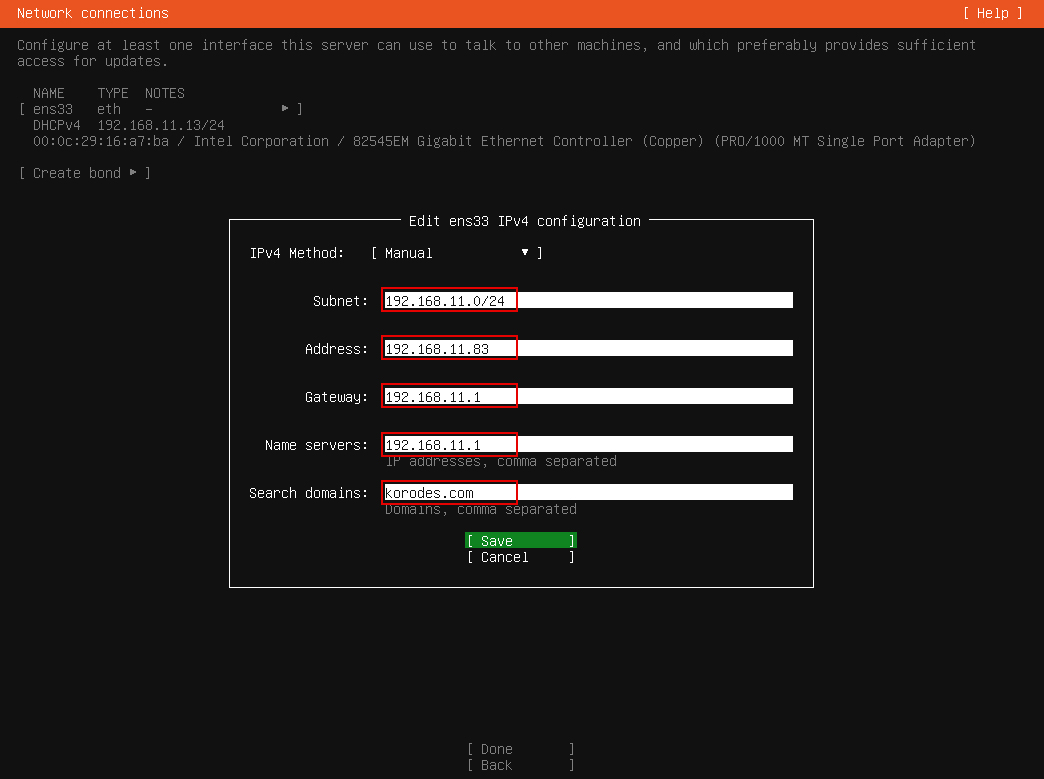
Select "Save"
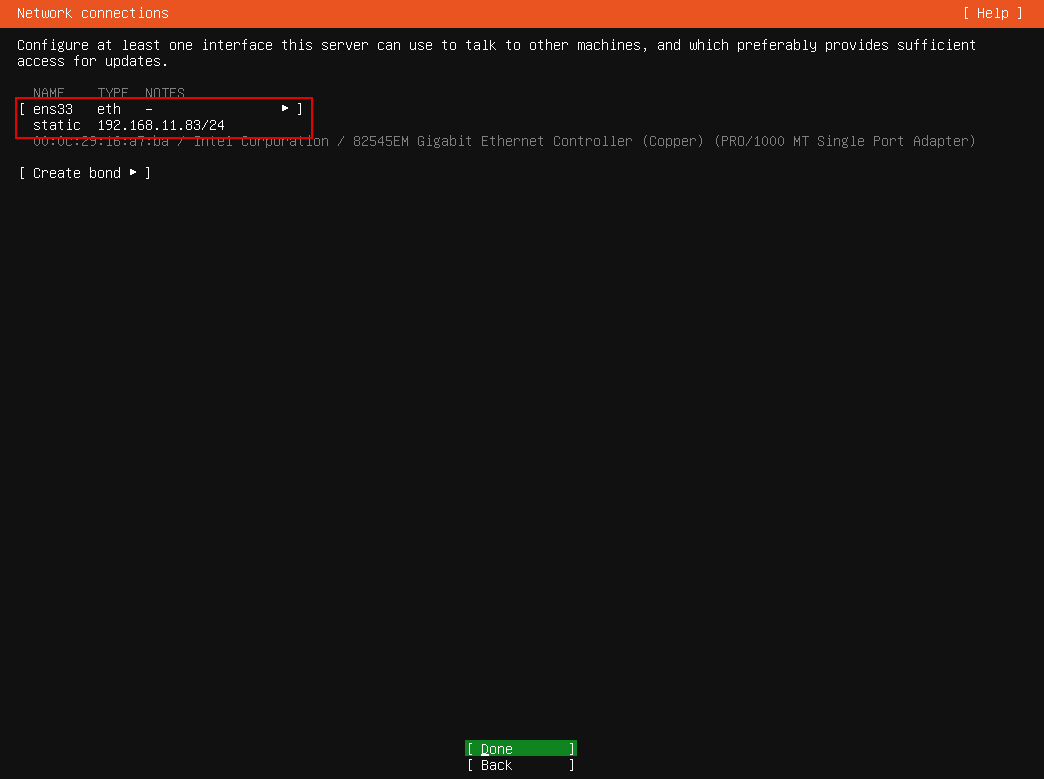
⑦Confirm that the IP address is correctly assigned and select "Done"
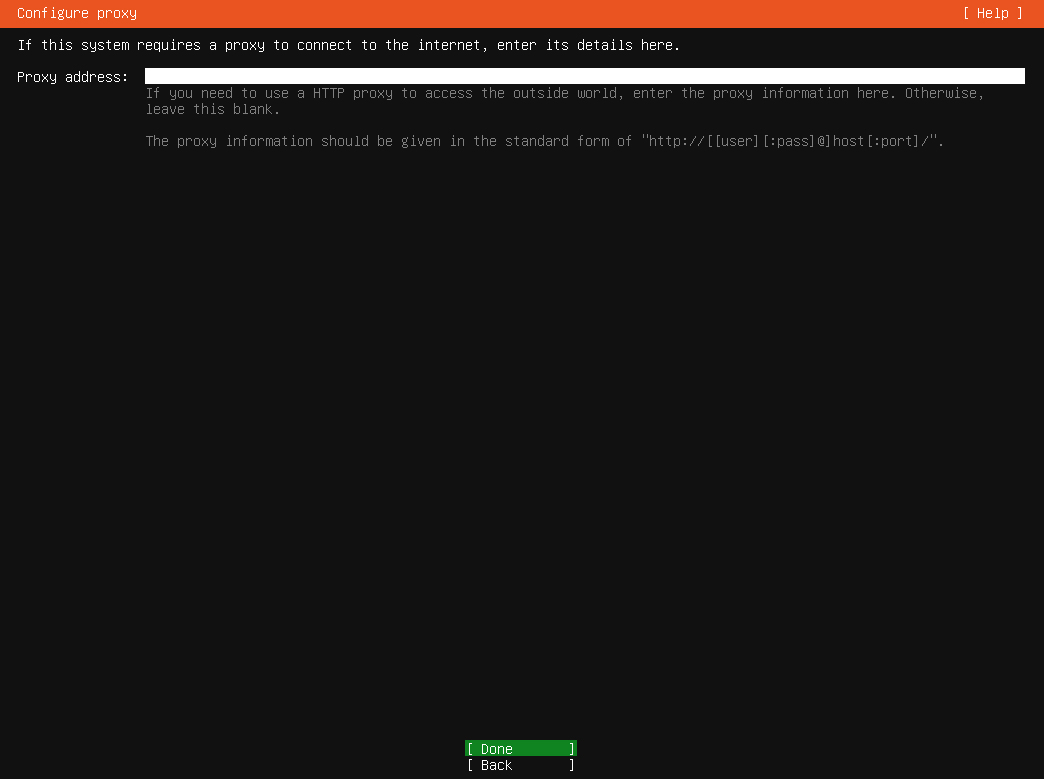
⑦If you are using a proxy server, enter the proxy server information.
If you do not use a proxy server, leave blank and select "Done".
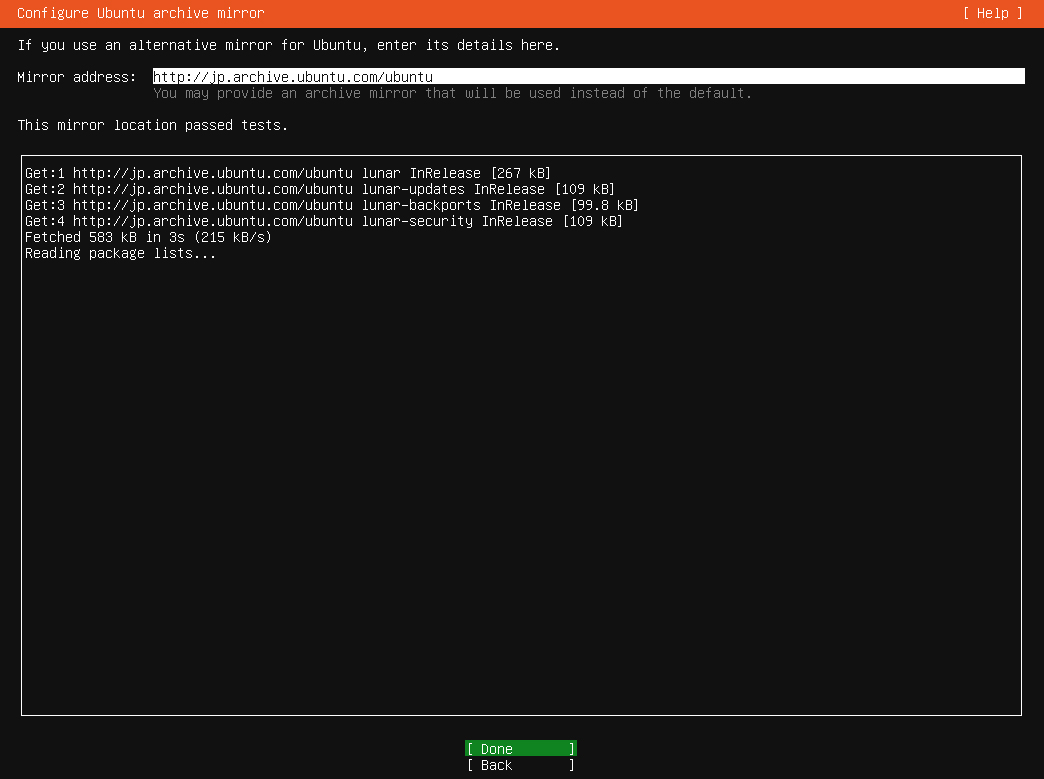
⑧Selecting a Mirror Site
Select Japanese mirror sites as much as possible. By default, mirror sites with jp will be displayed.
Enter "Done" as it is.
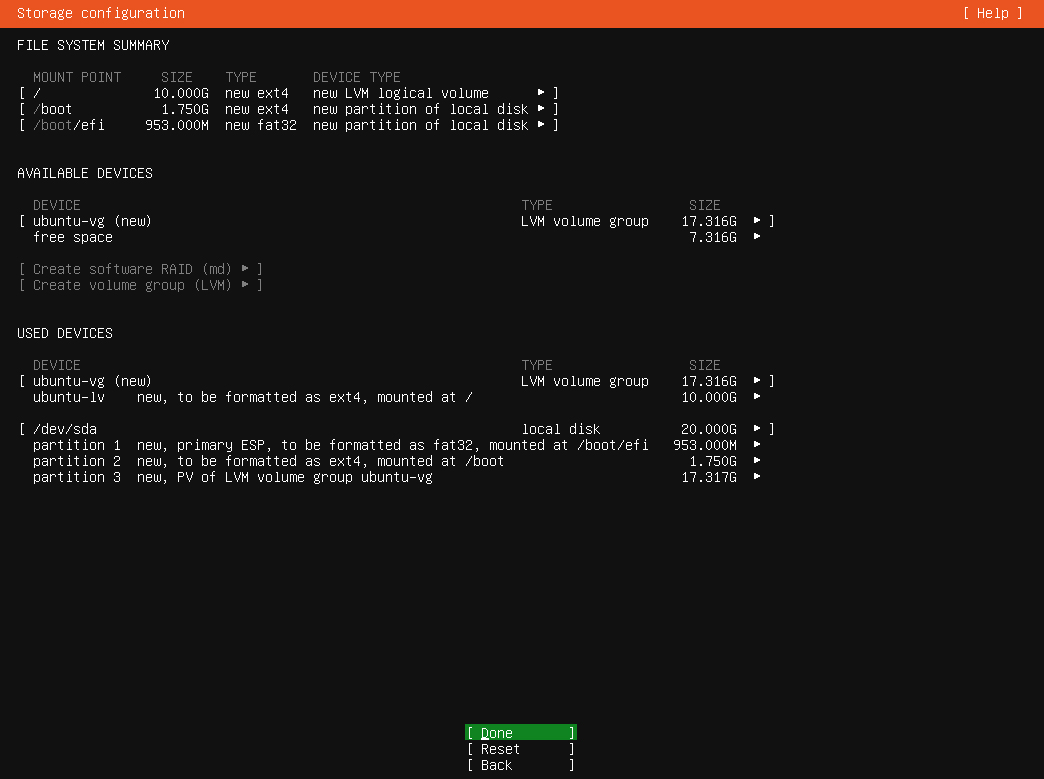
⑨Set the destination disk configuration
This time, set to automatic configuration.
Mark [Use an entire disk] if you want to set it automatically, then Done,

⑩Select "Done" on the confirmation screen
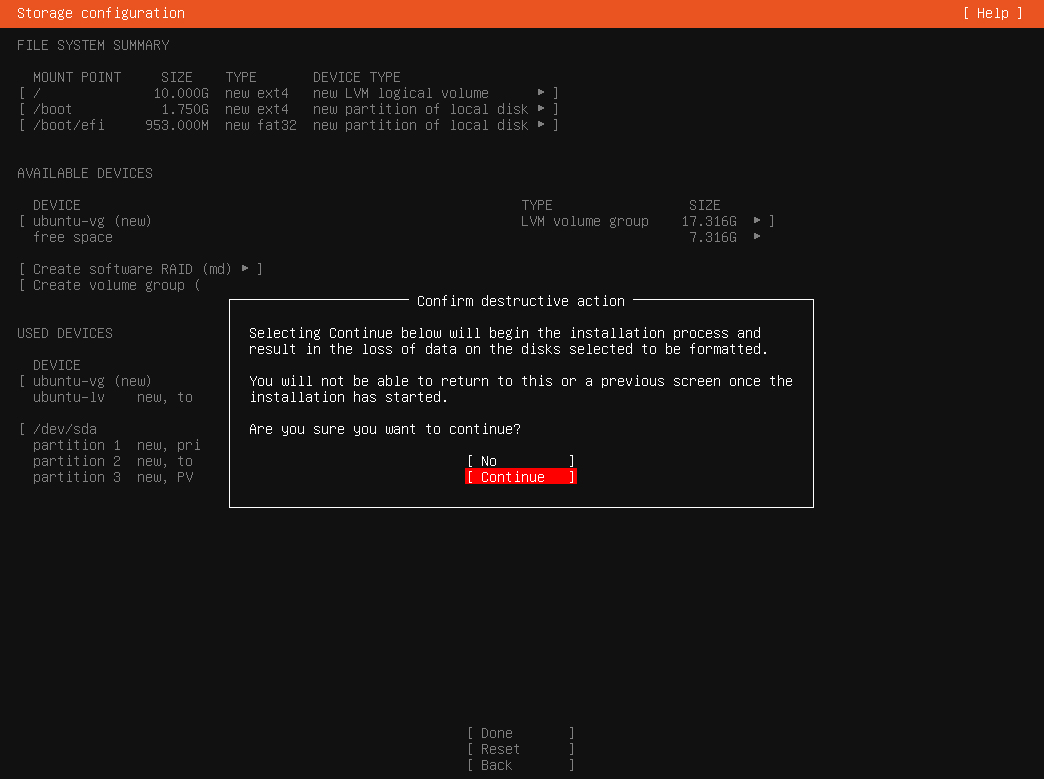
⑪Select "Continue" to confirm formatting
⑫Enter [User Name], [Host Name], [Password], etc. and select [Done]
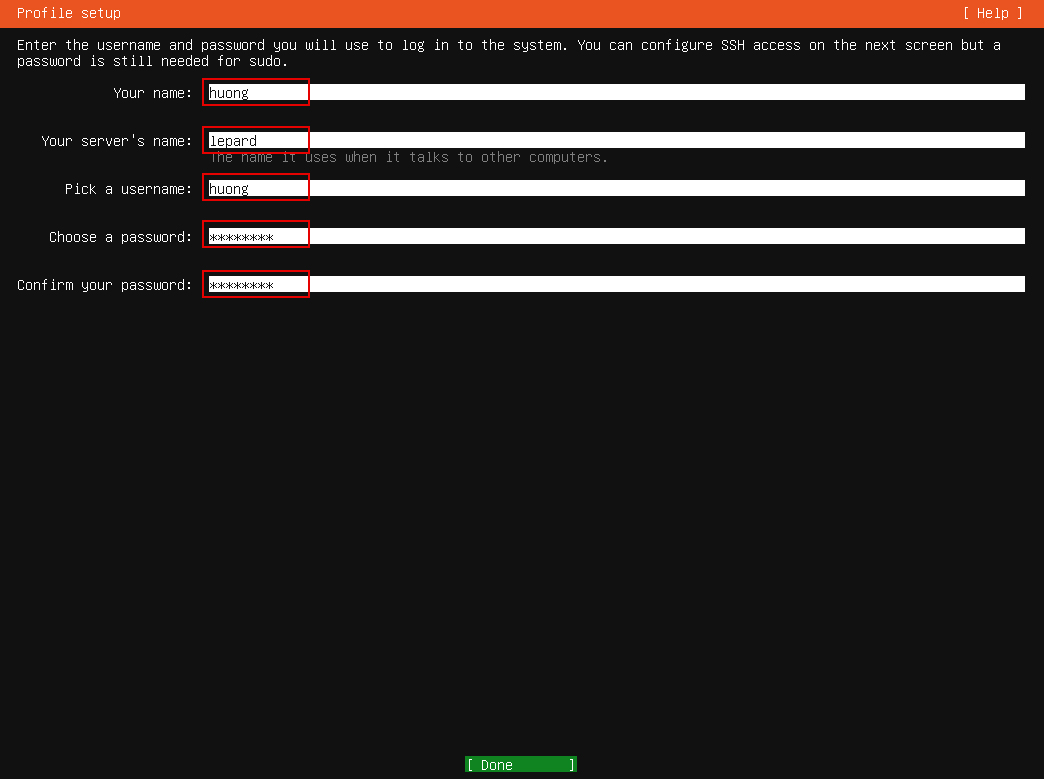
Your name : any name
Your server’s name : Host name to distinguish it from other computers
Pick a username : General user name to log in to the server
Choose a password : Password to log in as a general user
Confirm your password : Same as above Password
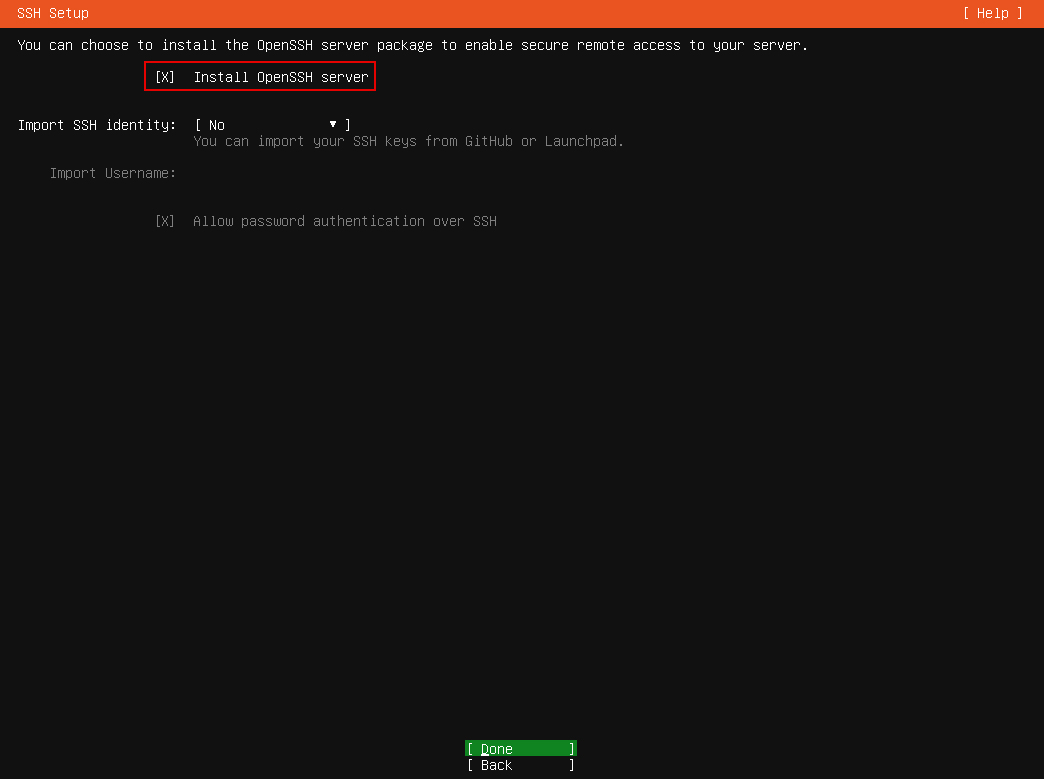
⑬Install SSH server
Mark "Install Openssh server".
Select "No" because SSH Key is not required, and Done
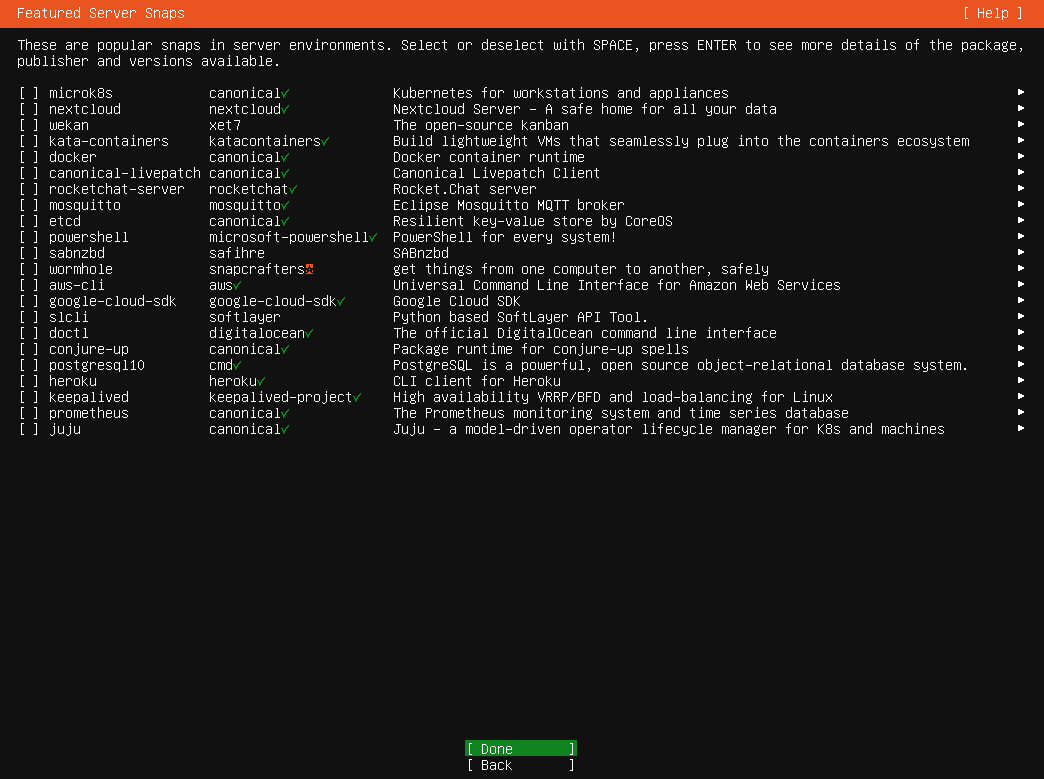
⑭Selecting packages to install
Since nothing is selected this time, Done as is.
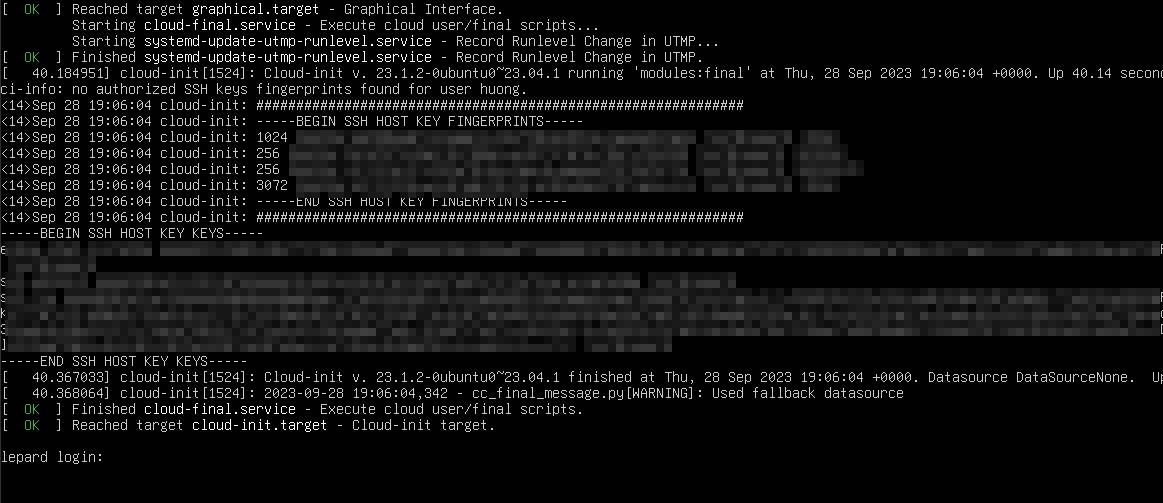
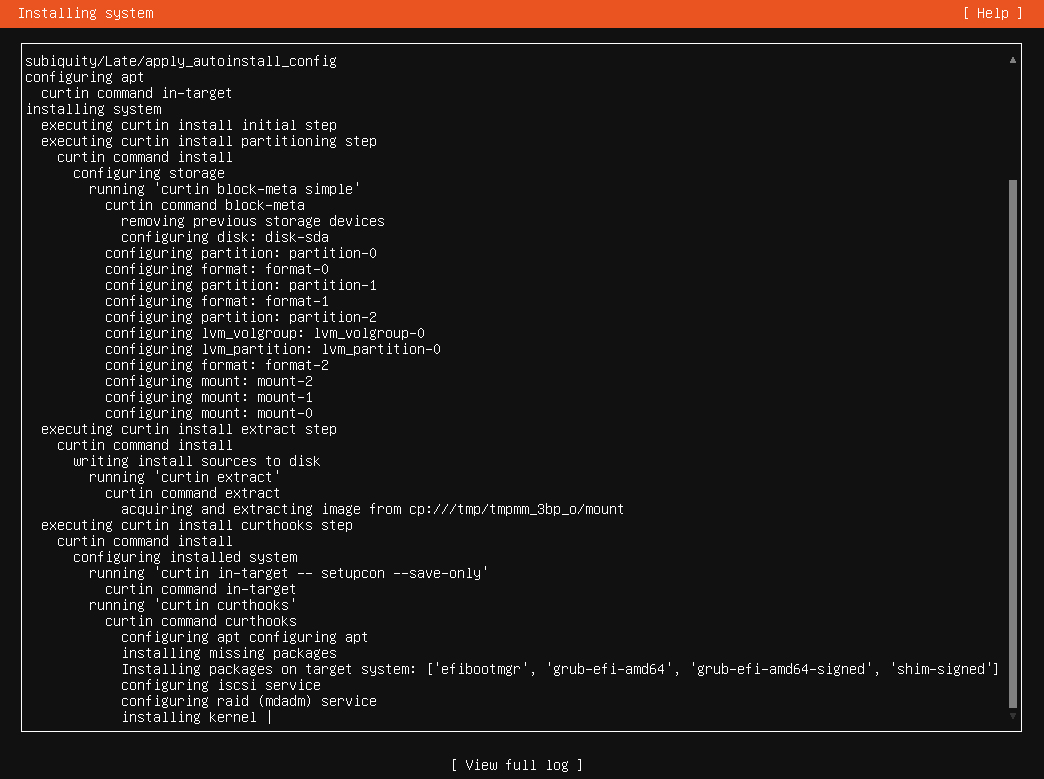
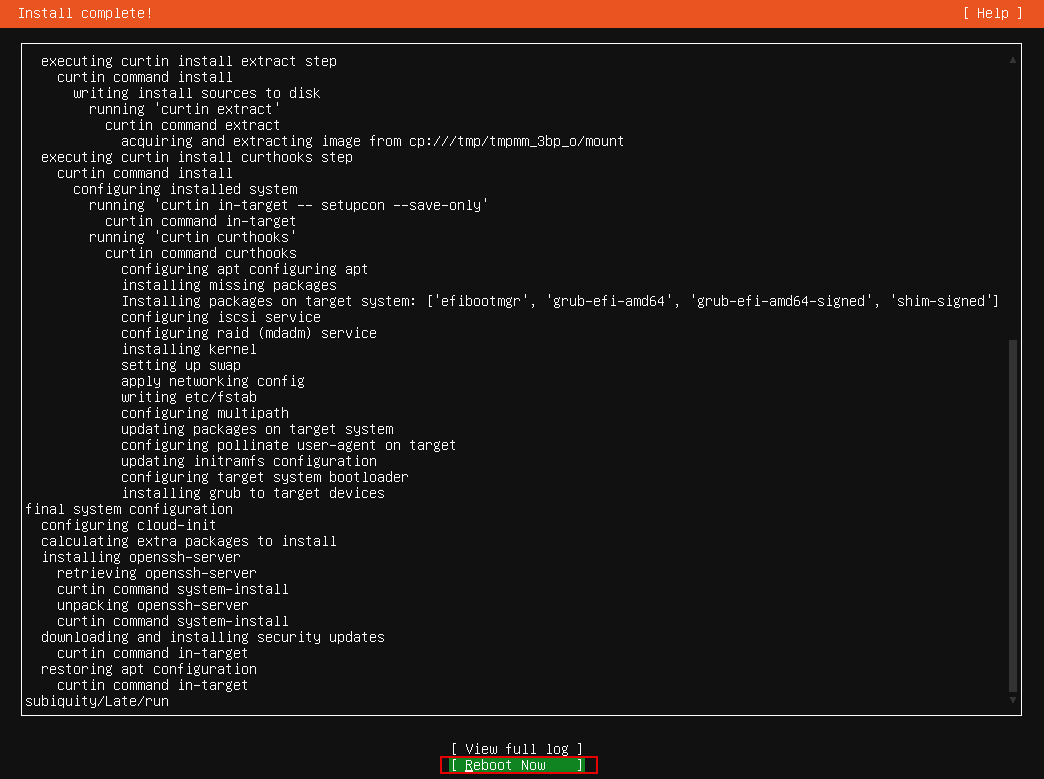
⑮Installation status will be displayed
Select "Reboot NOW" after installation is complete
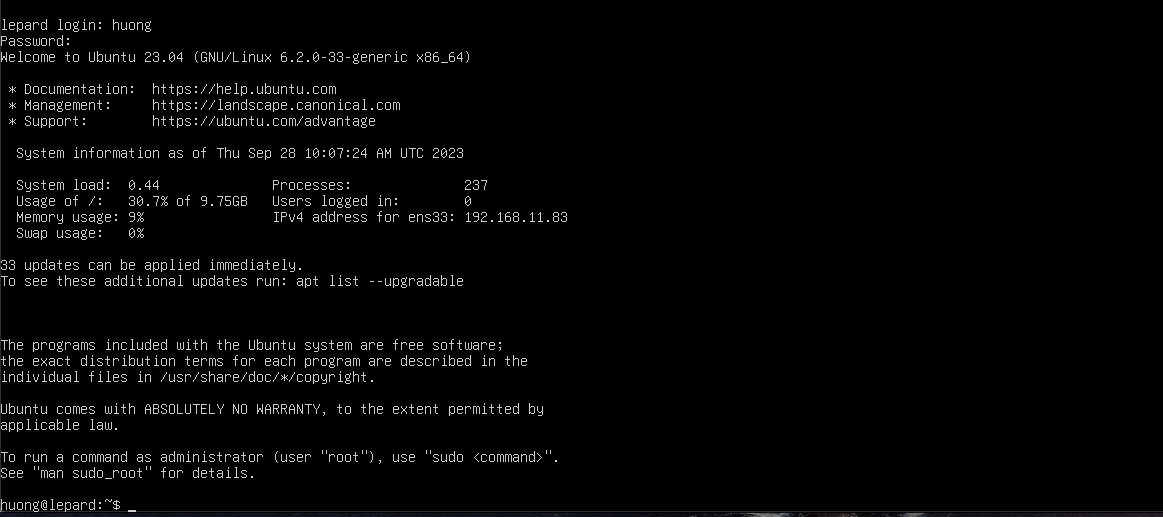
⑯Ubuntu will boot and the console will appear. If you can log in, the installation was successful.