Create a private key for the client and a public key for the server so that the client can log in using the key pair authentication.
Contents
1.Key pair creation
Create a pair of public and private keys for the user who will connect to the Linux server using OpenSSH.
To create a key pair, use ssh-keygen.
The creation of a public/private key pair should be performed as a user with remote login privileges.
If you do not specify the destination and file name, id_ecdsa and id_ecdsa.pub will be created in /home/(user name)/.ssh/. On the way, you will also enter the password for the key.
Key pair creation
|
1 |
Lepard:# su - suse |
|
1 2 3 4 5 6 7 8 9 10 11 12 13 14 15 16 17 18 19 20 21 22 23 |
suse@Lepard:~> ssh-keygen -t ecdsa Generating public/private ecdsa key pair. Enter file in which to save the key (/home/lan/.ssh/id_ecdsa): Empty Enter Created directory '/home/lan/.ssh'. Enter passphrase (empty for no passphrase): Any password Enter same passphrase again: Password again Your identification has been saved in /home/suse/.ssh/id_ecdsa Your public key has been saved in /home/suse/.ssh/id_ecdsa.pub The key fingerprint is: SHA256:6sznBoibHBTvHW96JYuzWs+zMoELYpmcxJcCLvSPtHs lan@Lepard The key's randomart image is: +---[ECDSA 256]---+ | | |... | |= .o. | |.=.=. . | |+.Bo++ oS | |.*+o+.+.+ . | |.o =..o* + | | +..E*o* | | o.=X=o | +----[SHA256]-----+ |
|
1 2 3 4 |
suse@Lepard:~> ll ~/.ssh total 8 -rw------- 1 lan users 557 Jan 30 14:11 id_ecdsa -rw-r--r-- 1 lan users 172 Jan 30 14:11 id_ecdsa.pub |
|
1 2 |
suse@Lepard:~>cat ~/.ssh/id_ecdsa.pub >> ~/.ssh/authorized_keys suse@Lepard:~>chmod 600 ~/.ssh/authorized_keys |
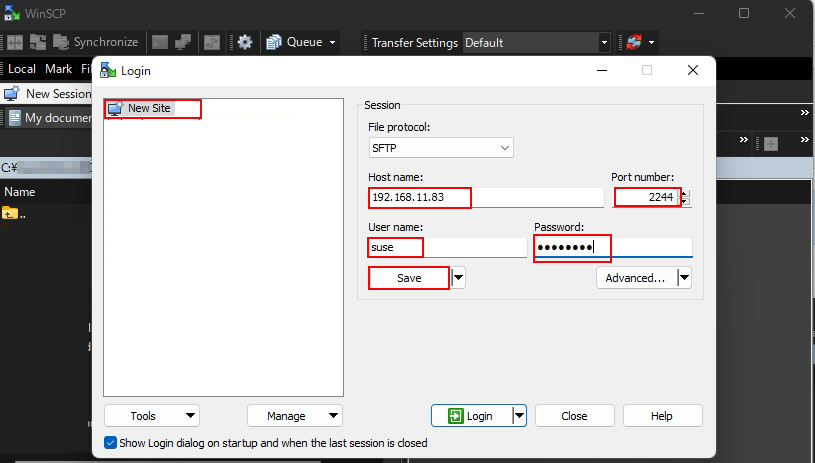
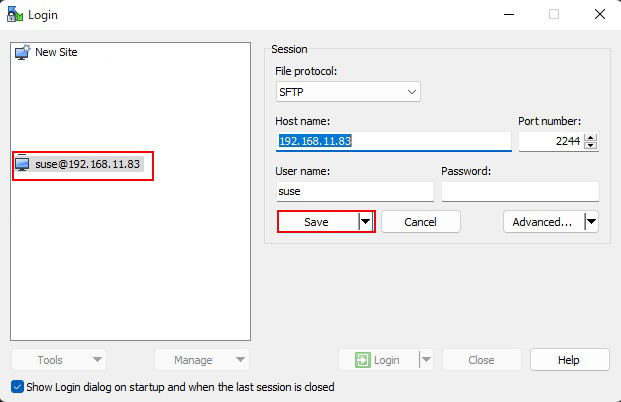
Start winSCP
New Site Click
Host name : Server IP address
Port number : SSH port number
User name : Login user name
Password : Password of the above user
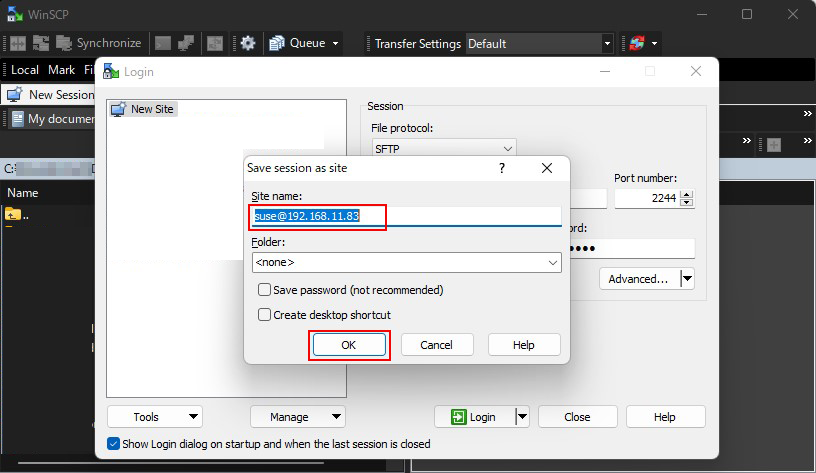
Click Save
Click OK
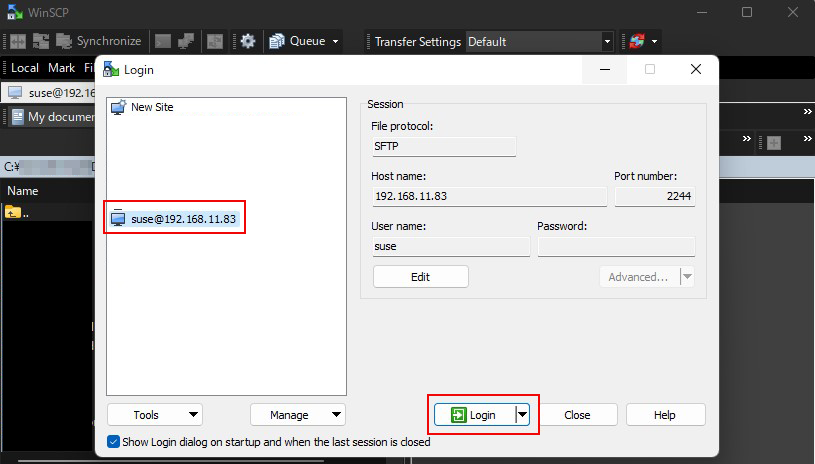
OK Click

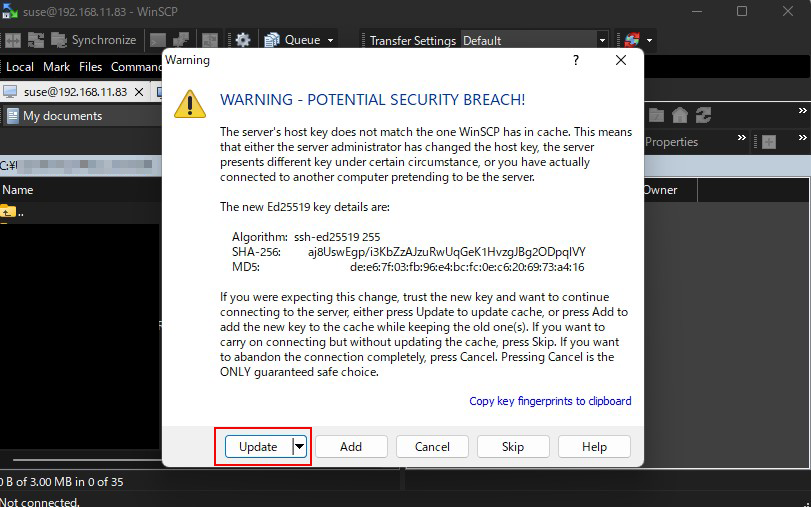
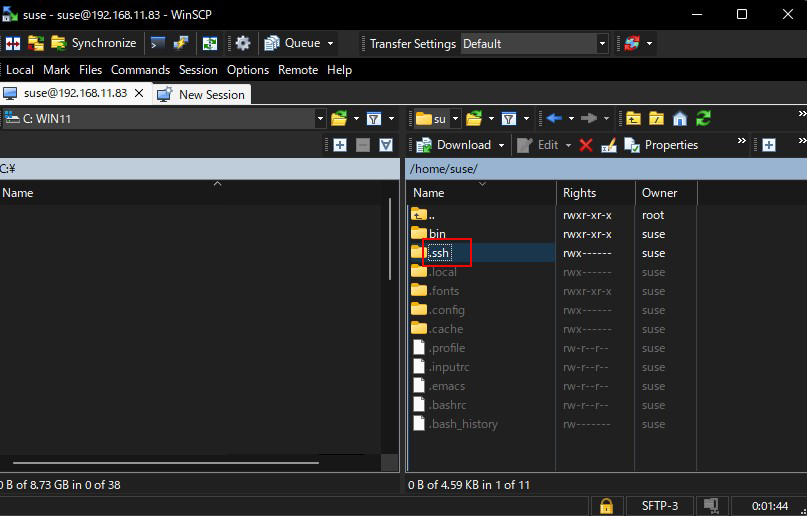
The /home/username directory will appear in the right column Open the .ssh directory
2. Editing SSH settings
2.1 Edit the configuration file
If you use key authentication, you can make the environment more secure by disabling password authentication on the SSH server side as follows
If you are not a regular user, su - will make you root.
|
1 2 3 4 5 |
# vi /etc/ssh/sshd_config # Lines 58, 62: uncomment and change to password authentication disabled. PasswordAuthentication no ChallengeResponseAuthentication no |
|
1 |
# systemctl restart sshd.service |
2.2 How to connect with Tera Term
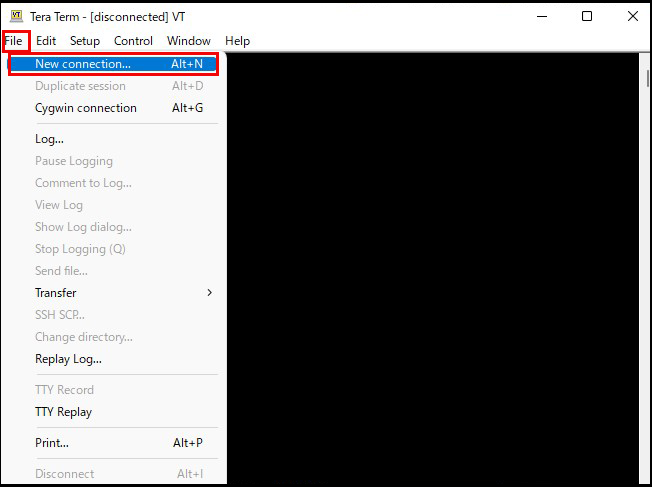
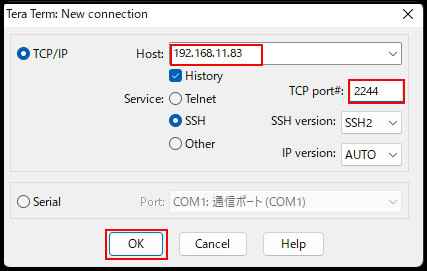
Open TeraTerm and click "New Connection" from the "File" menu.
Host : Server IP address TCP port : SSH port number
OK Click
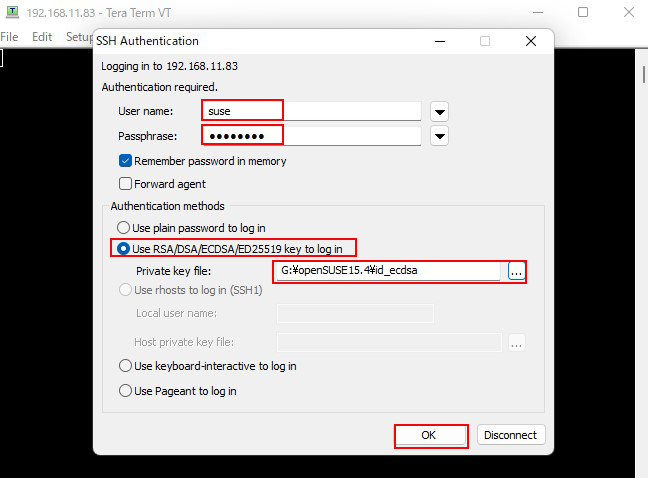
User name : login user name
Passphrase : Password set when creating private key id_ecdsa
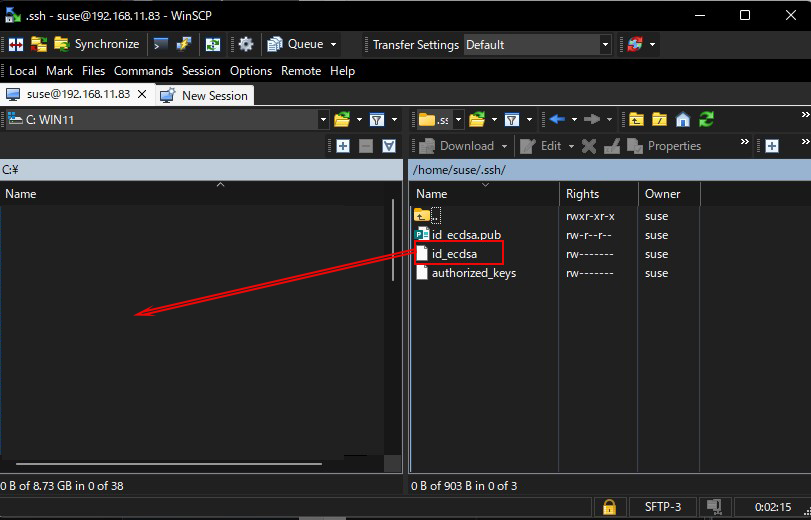
Under "Use RSA/DSA/ECDSA/ED25519 key to log in," set "Private key file:" to "id_ecdsa" that you just saved in Windows.
Set "id_ecdsa" that you just saved in Windows to "Private key file:" and click "OK".
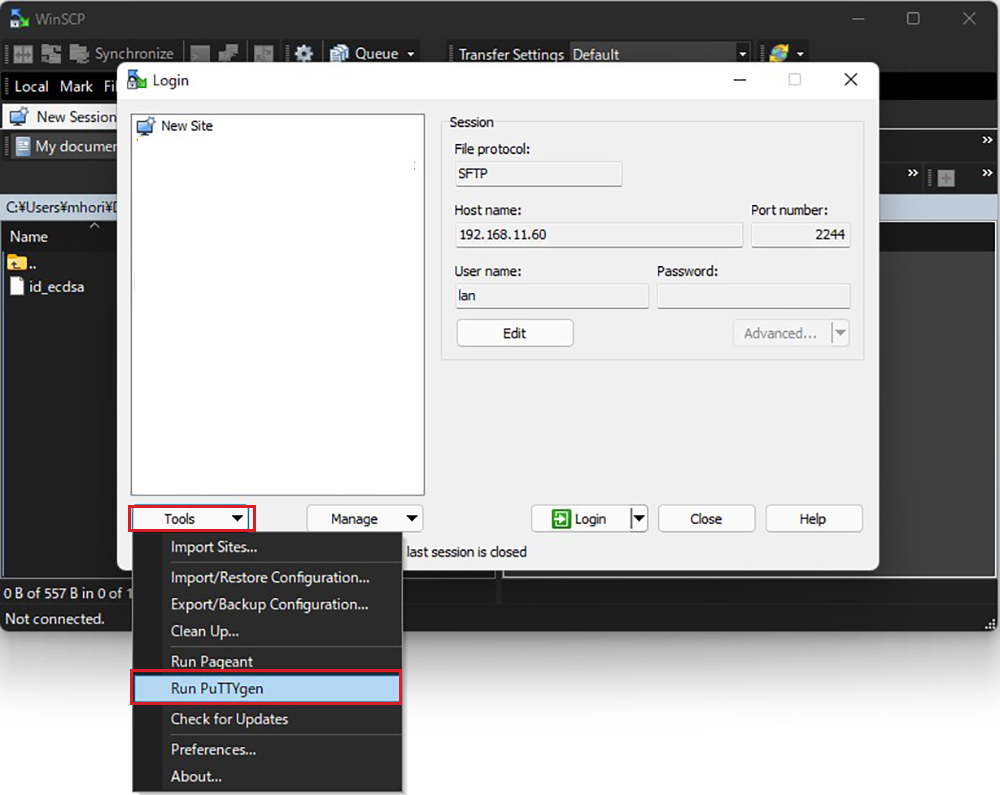
2.3 Creating a private key using PuTTYgen
Start Winscp and run "Run PuTTYgen" from Tools
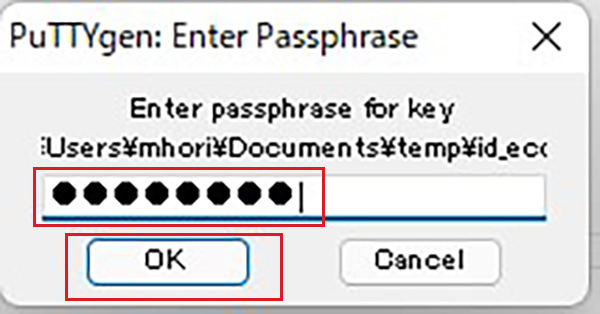
Click Load.
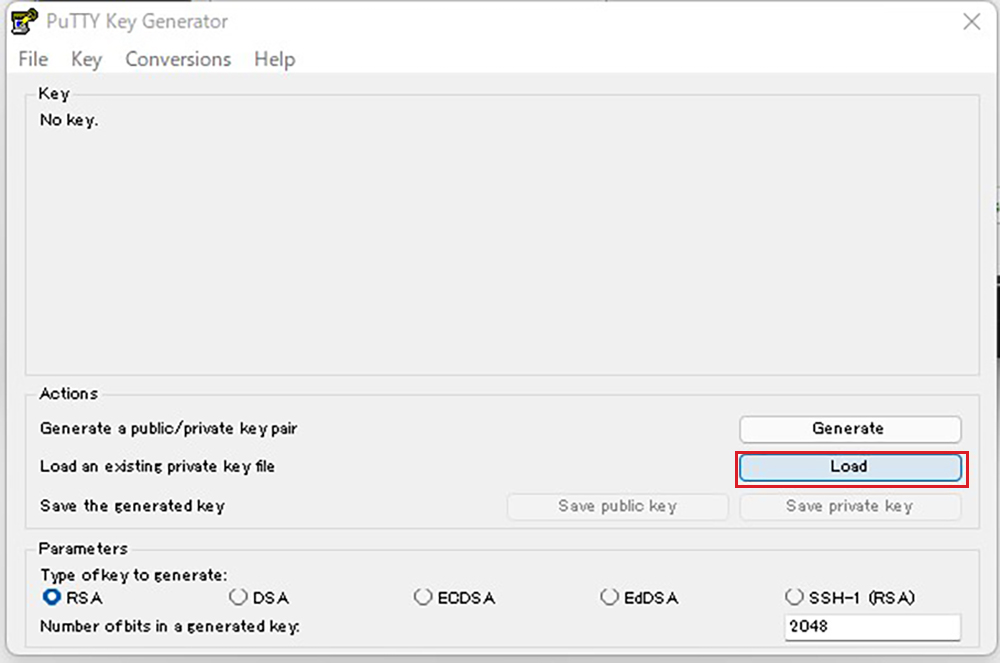
Change the file type to [ All Files (*. Change the file type to [ All Files (*. *) ] and load the private key id_ecdsa transferred from the Linux server.

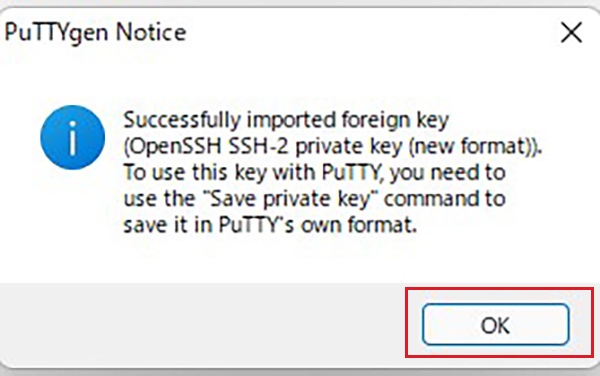
Click "Save private key".
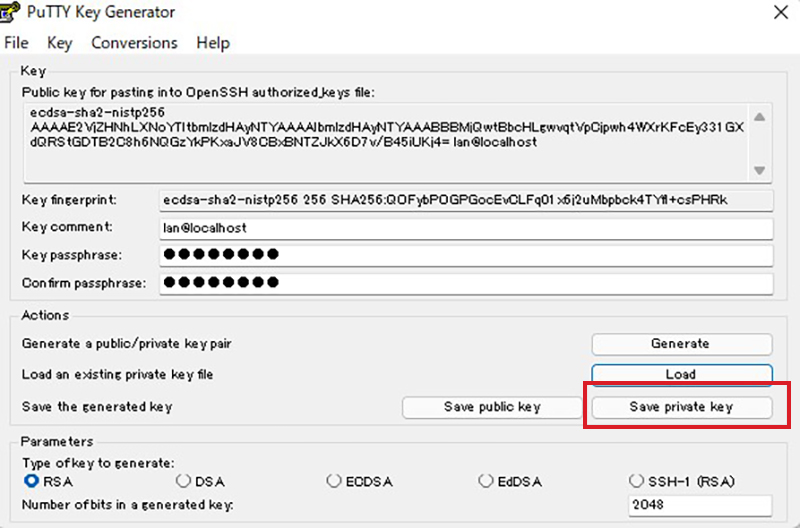
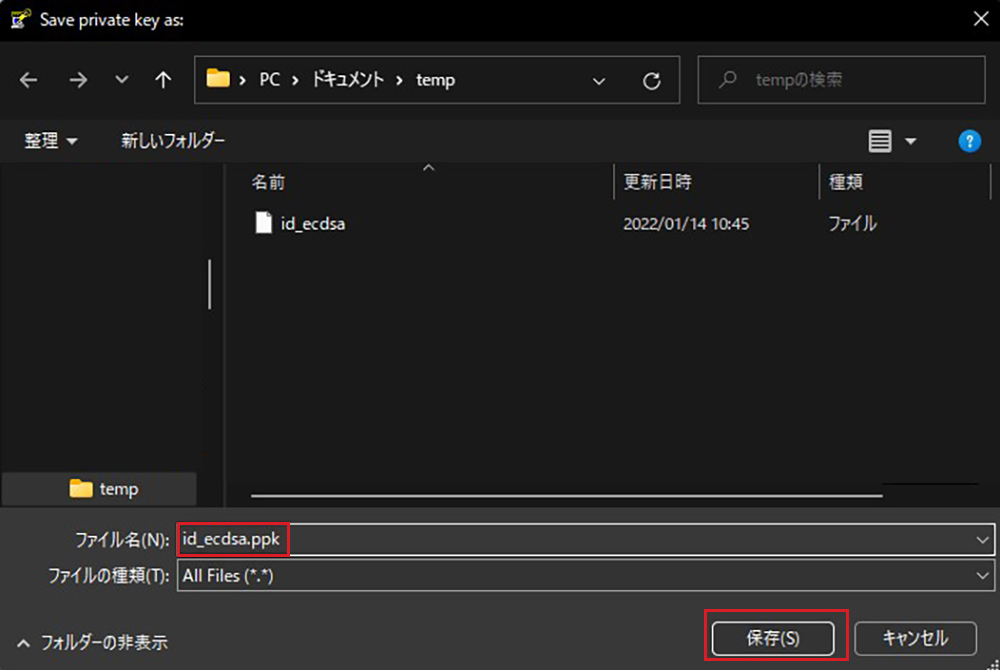
Save the file as "id_ecdsa.ppk" with the extension ".ppk" in the same place as "id_ecdsa" saved earlier in Windows.
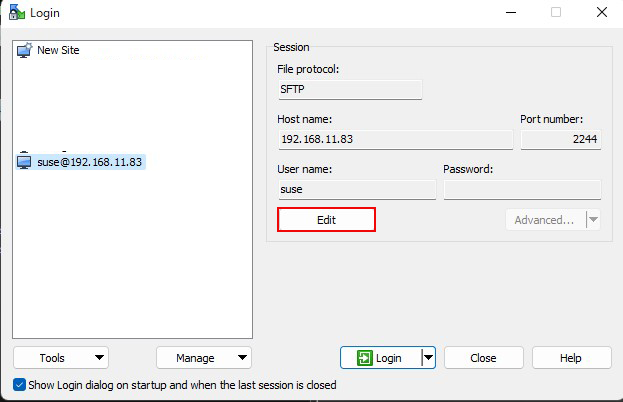
Check the server and click "Save".
Click Edit
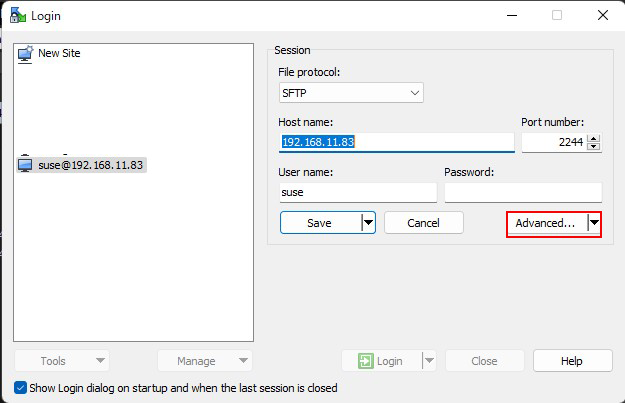
Click on "Advanced".
Open the "Authentication" menu, and specify "id_ecdsa.ppk" that you just saved in Windows as the "Private key file".
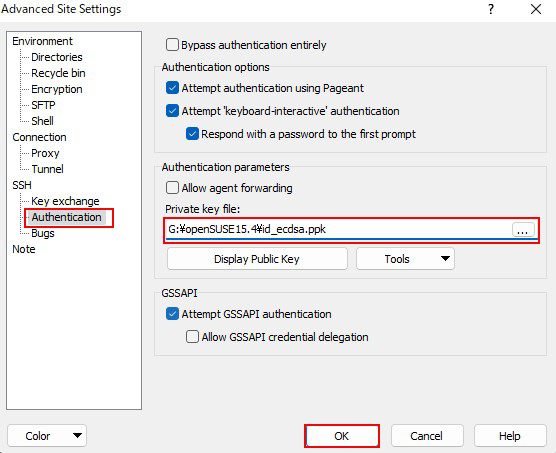
Click "Save" and then "Login".
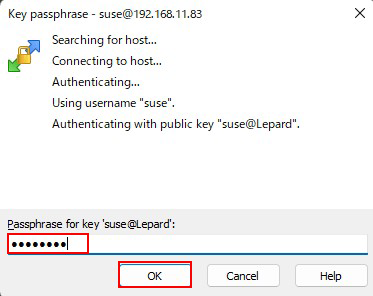
In the Password field, enter the password defined in the first public key course you created..
It is not the user's login password.