
OracleLinux8.6 Install
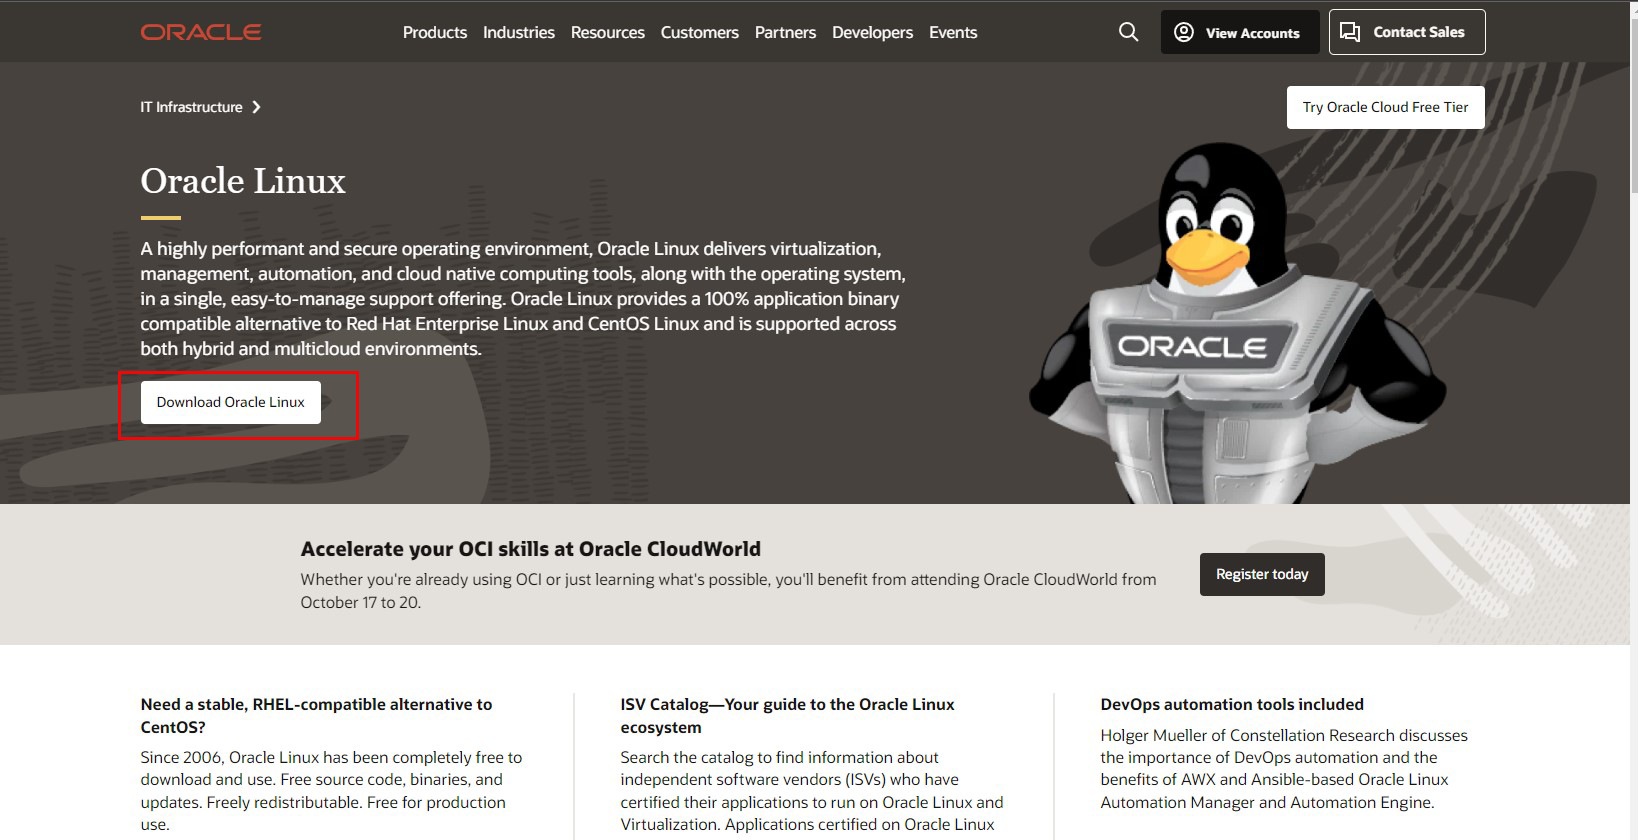
Oracle Linux provides a 100% application binary compatible alternative to Red Hat Enterprise Linux and CentOS Linux for both hybrid and multi-cloud environments.
Since 2006, Oracle Linux has been completely free to download and use. Source code, binaries and updates are provided free of charge. It is freely redistributable. Free for use in production environments.
This time, we will proceed with Oracle Linux 8.6 because the latest Oracle Linux 9.0 does not yet have sufficient software.
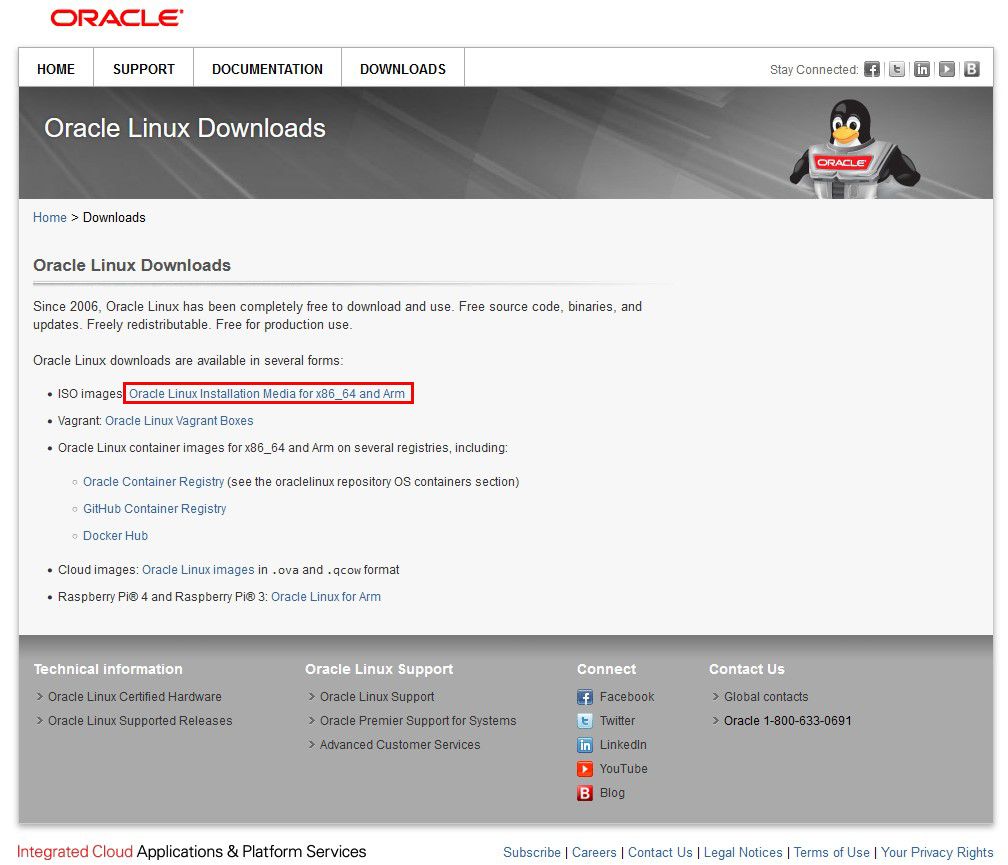
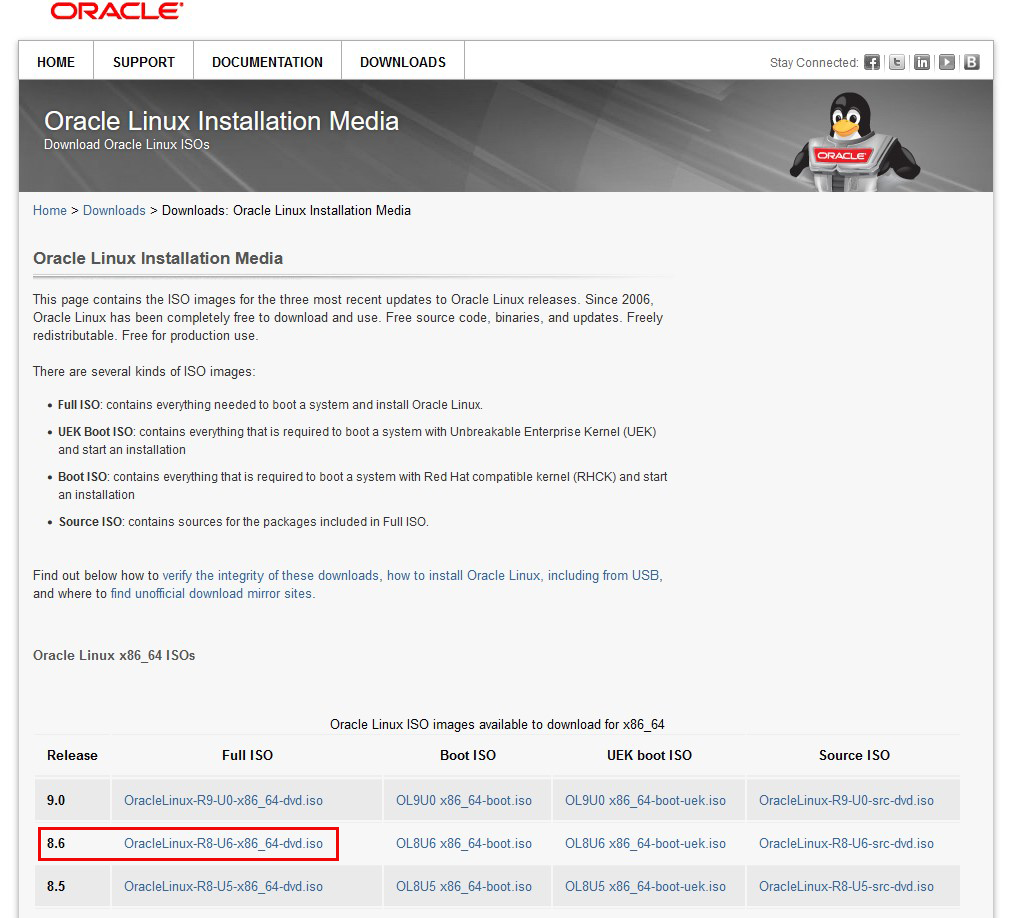
1.Oracle Linux8.6 Download
Oracle Linux8.6 installation image (OracleLinux-R8-U6-x86_64-dvd.iso ) can be downloaded from the following site

↓
↓
2.Oracle Linux 8.6 Install
Install USB media Change BIOS settings to boot from USB media.
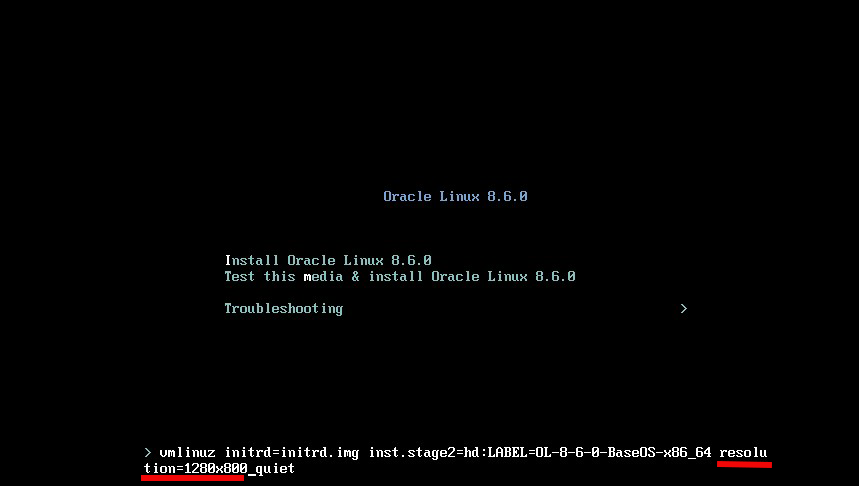
2.1 Initial installation screen
Press the tab key to add "resolution=1280x800", then press ENTER
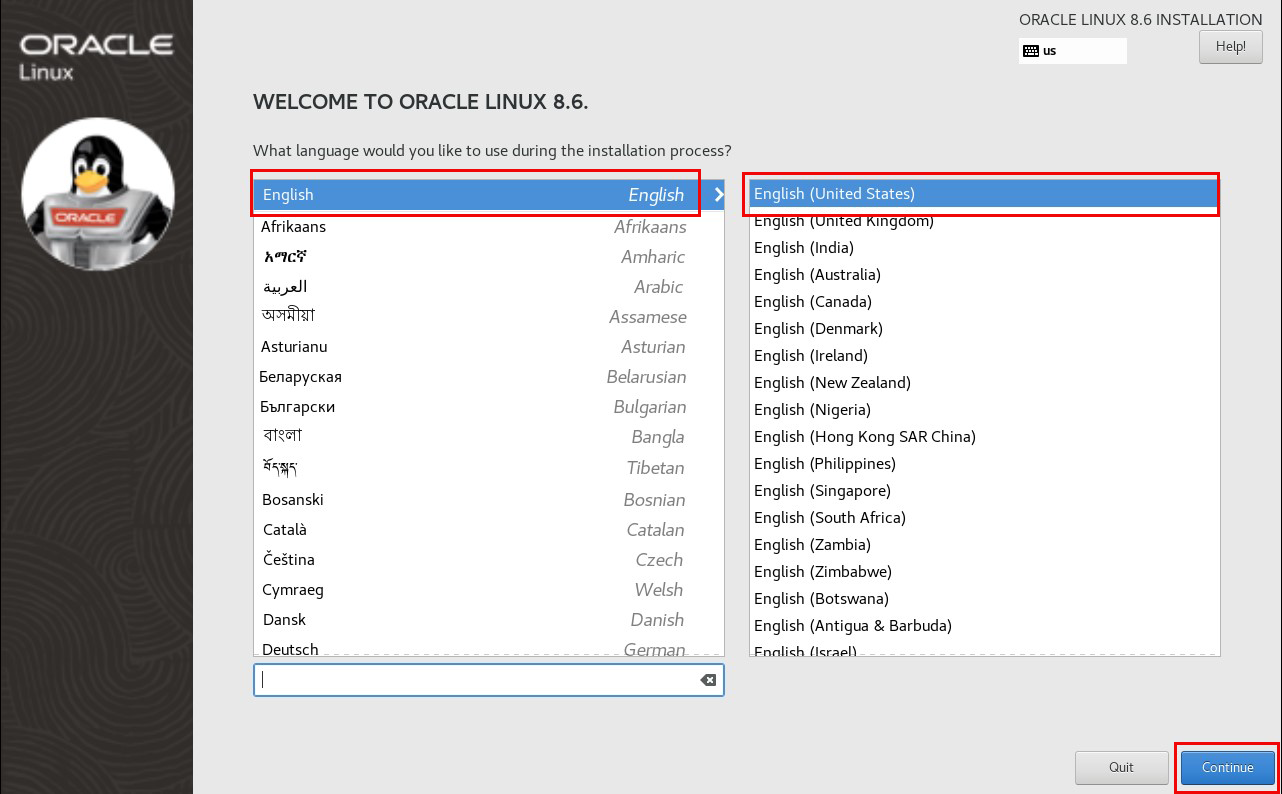
2.2 Language Selection
Scroll down to the bottom of the next language selection screen and select "English" and click "Continue.
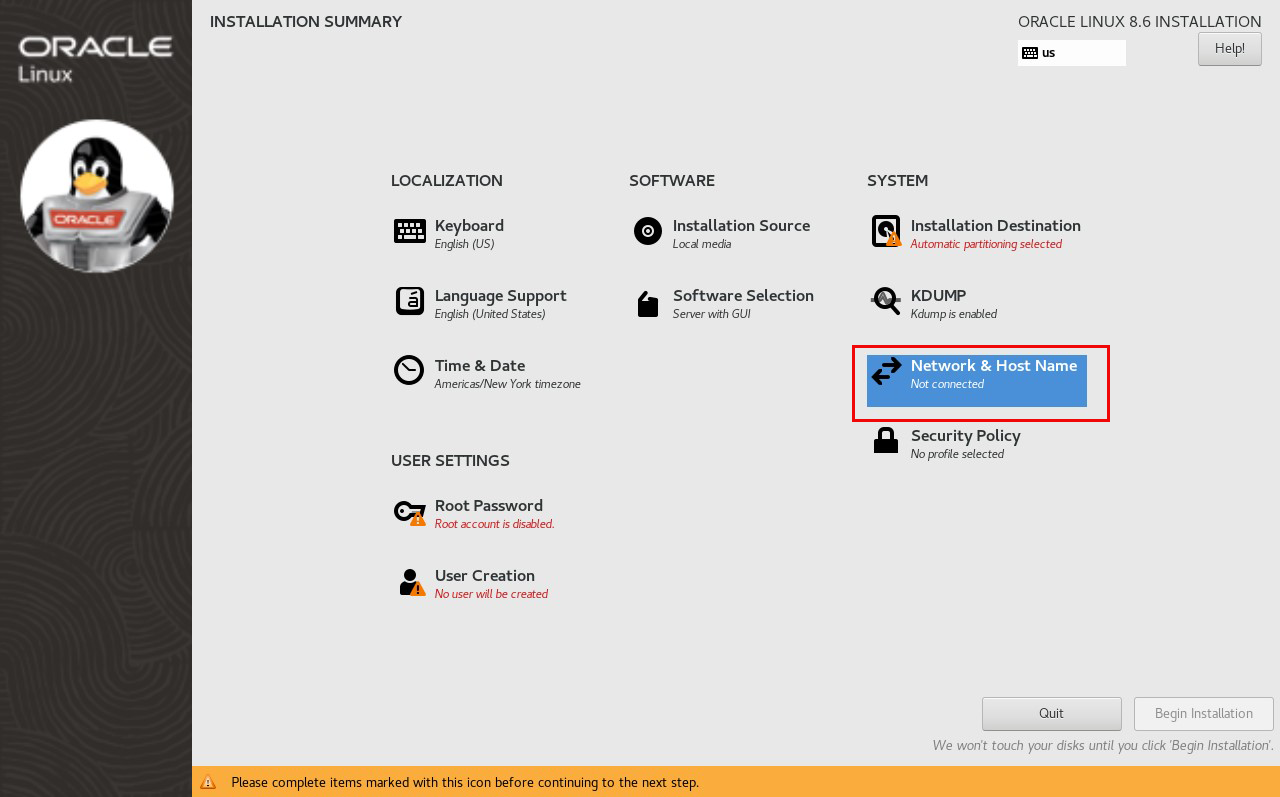
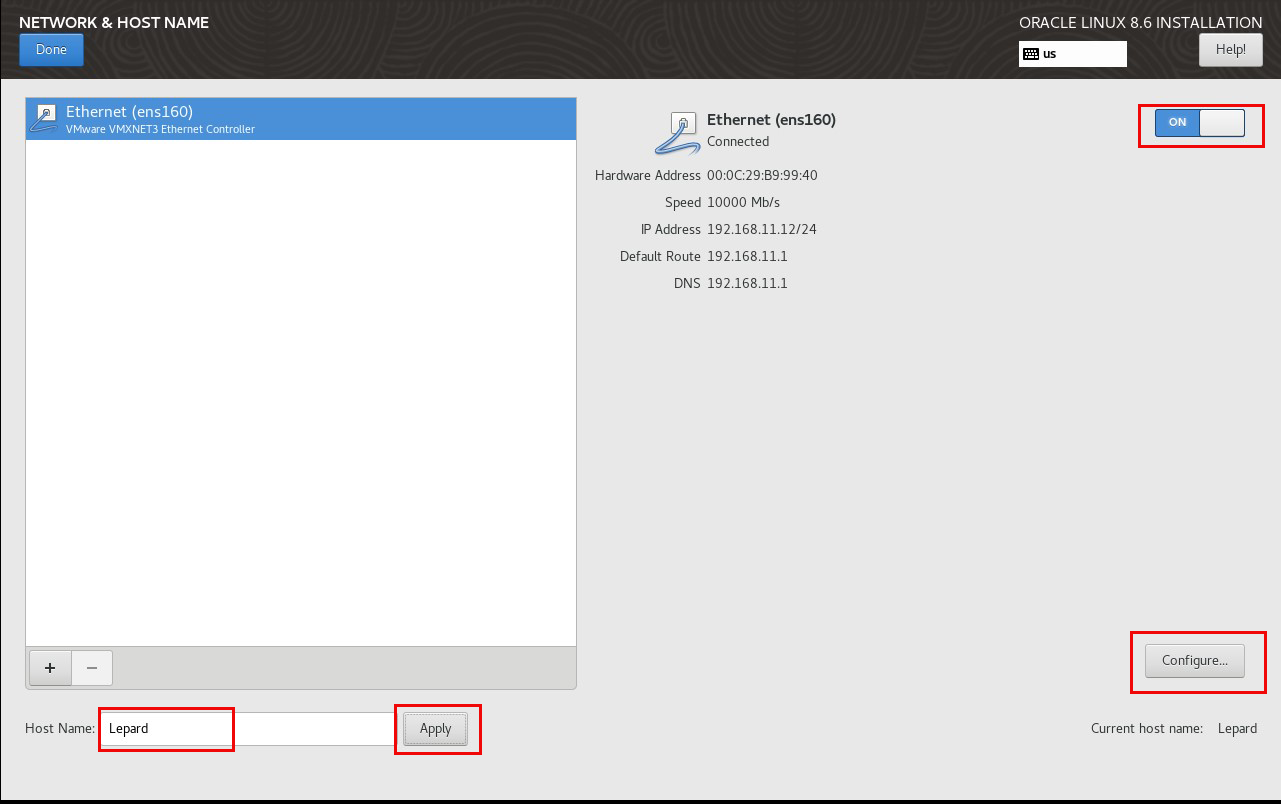
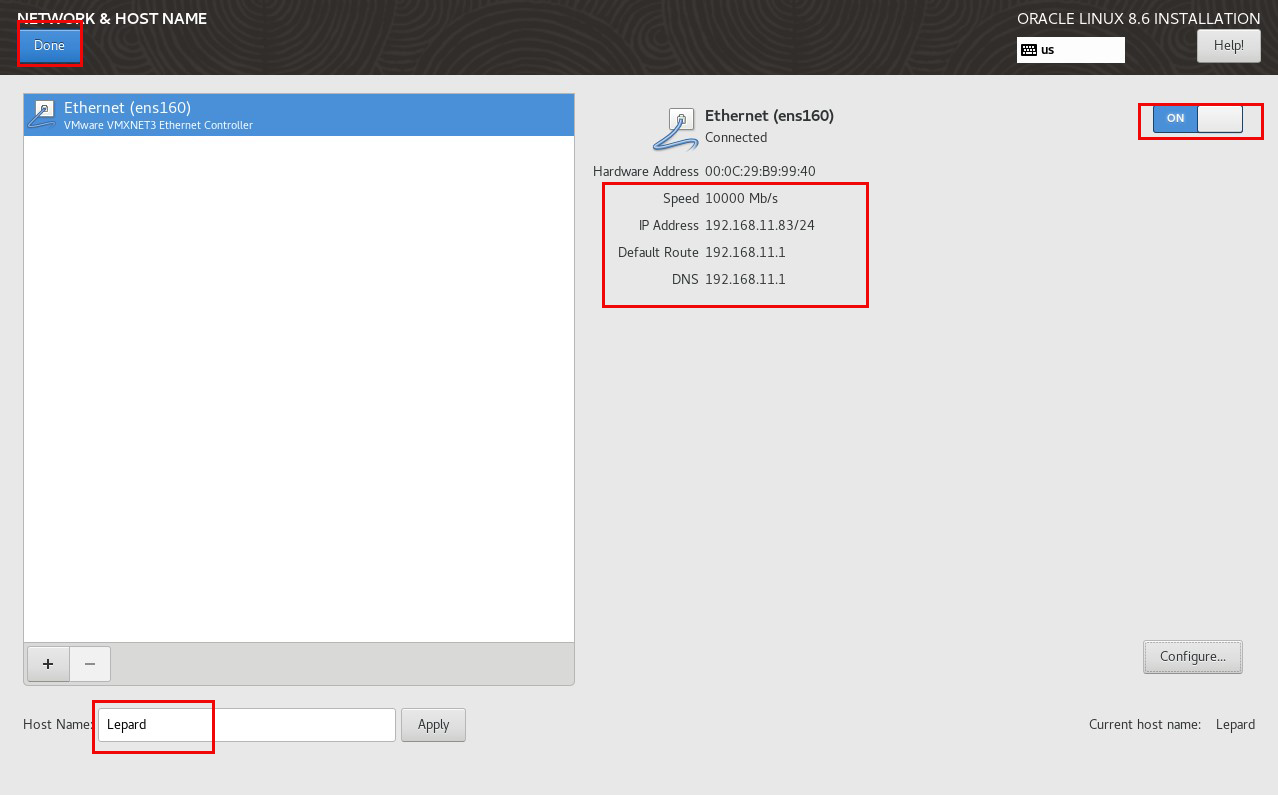
2.3 "Network & Host Name" setting
Turn "ON" the network in the upper right column.
Enter any name in "Host Name" and click "Apply
Click "Configure" to continue.
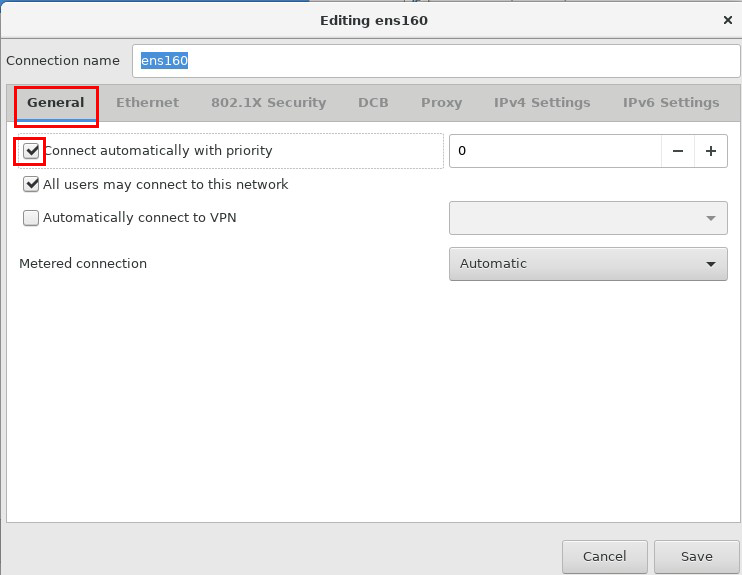
In the "General" tab, check the "Connect automatically with priority" checkbox.
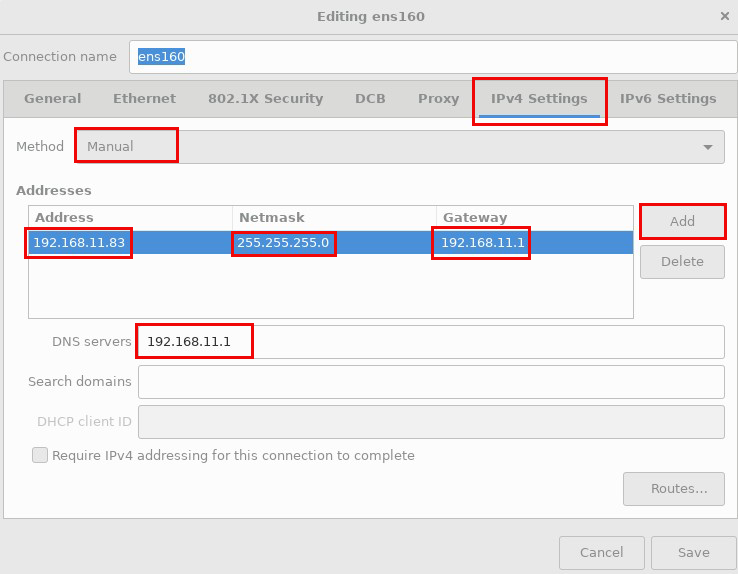
On the "IPv4" tab, click
Method : Manual
Click Add
Address : IP address of the server (this time, proceed as 192.168.11.83)
Netmask : 255.255.255.0
Gateway : 192.168.11.1 (IP address of router)
DNS servers : 192.168.11.1 (IP address of router)
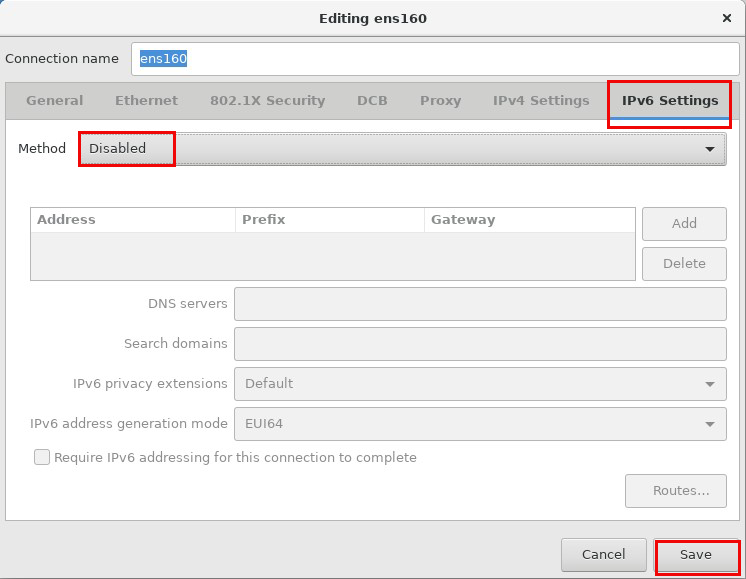
In the "IPv6" tab, set "Method" to "Disabled" and click "Save
Confirm each setting and click "Done
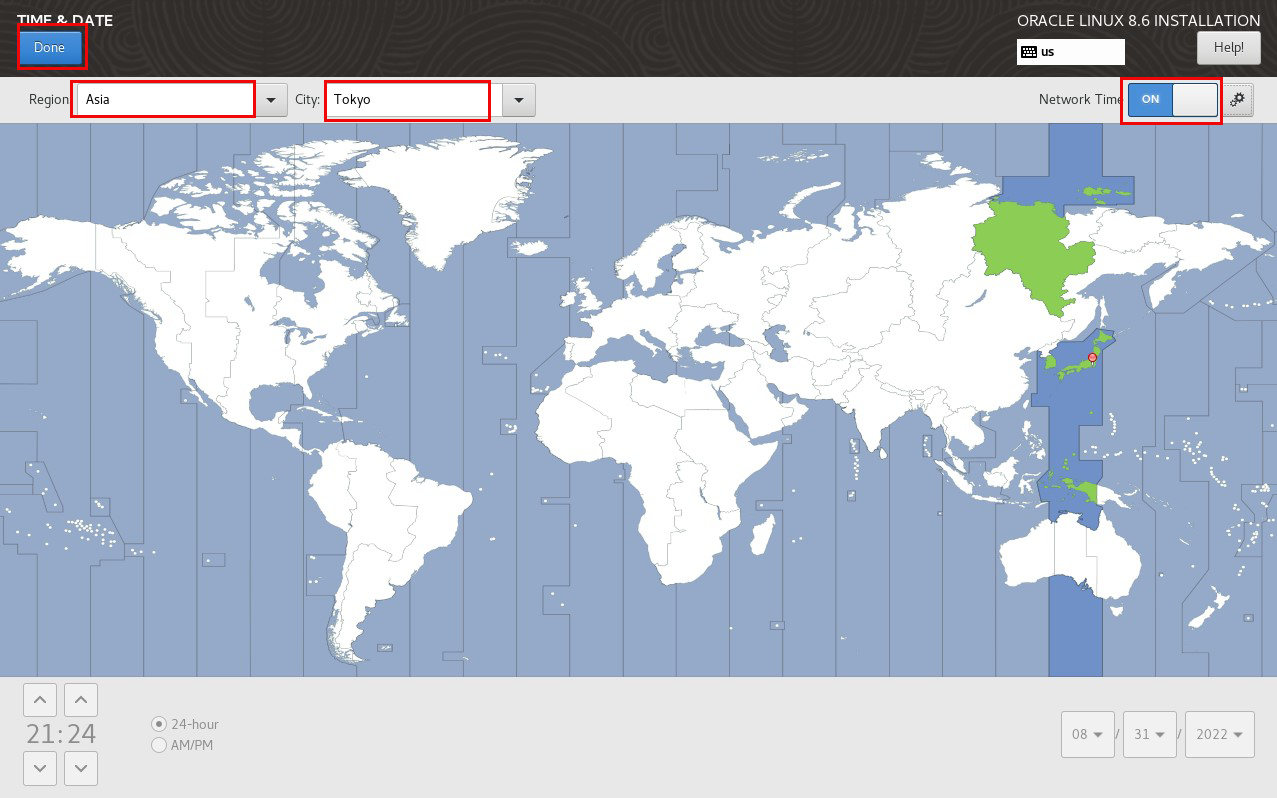
2.4 "Time & Date" setting
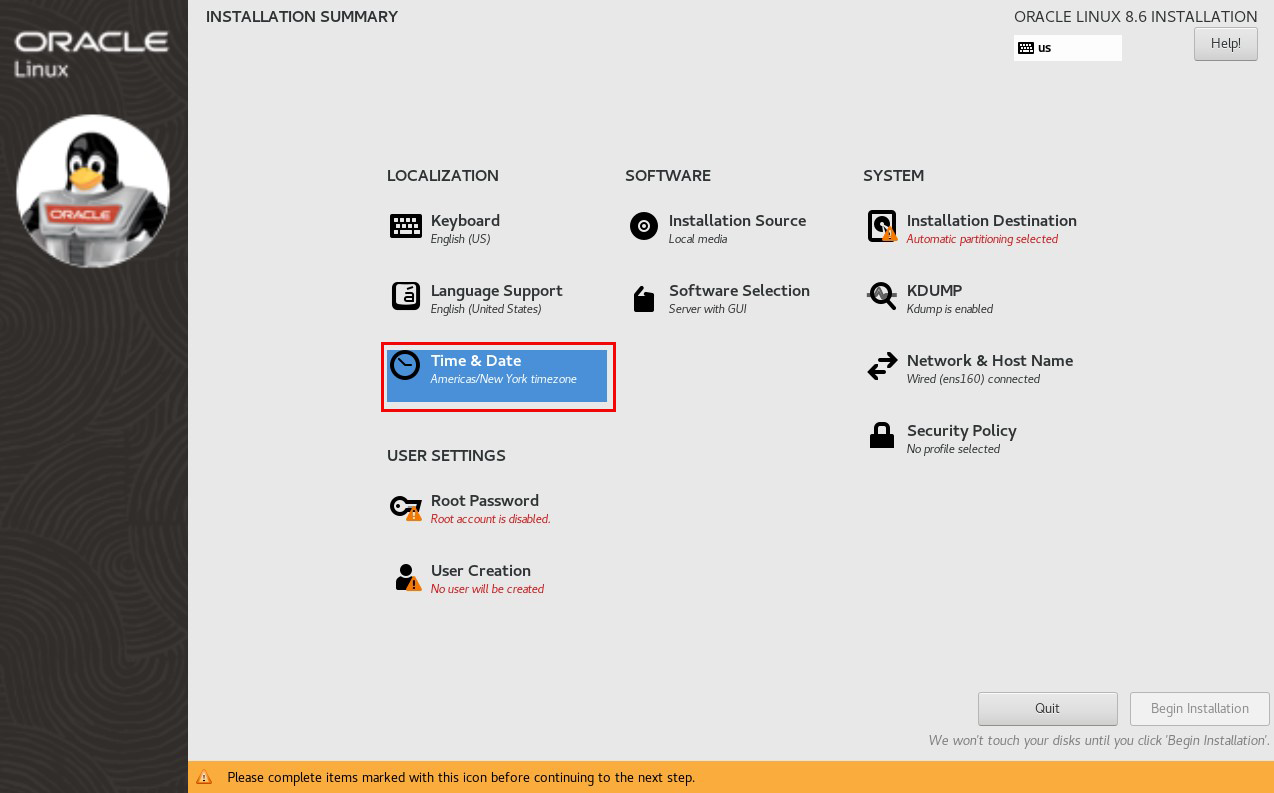
Confirm that "Region" is set to "Asia", "City" to "Tokyo", and "Network Time" to "ON", then click "Done".
2.5 "Keyboard" setting
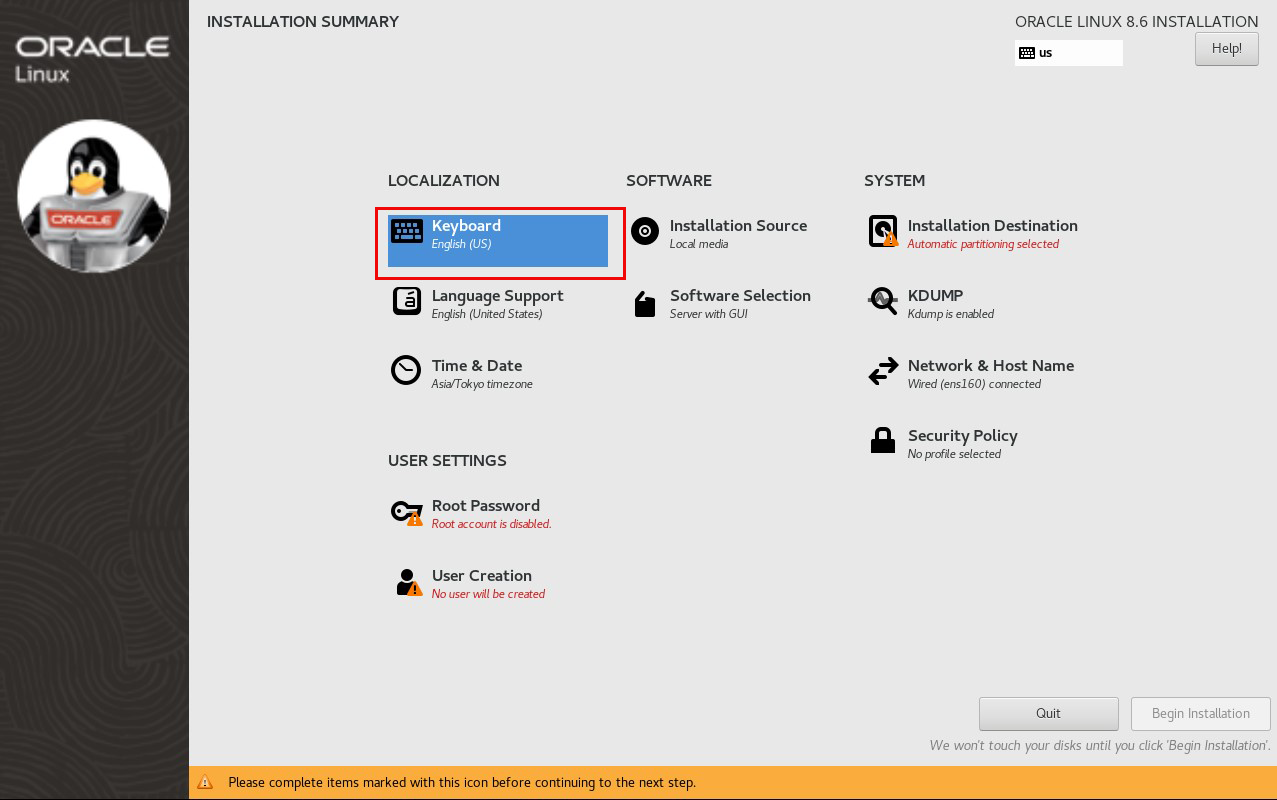
Click "add" and select Japanese
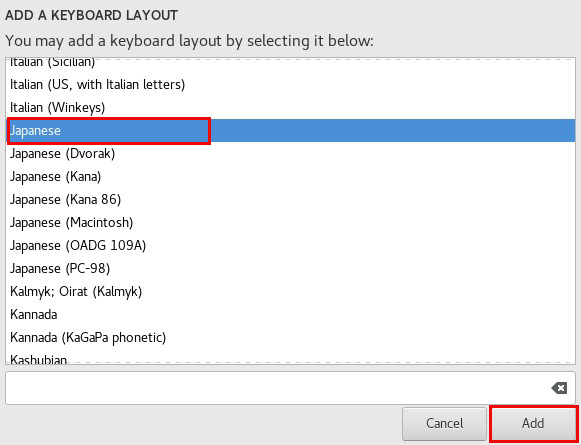
Click on "^" to make Japanese the upper language. 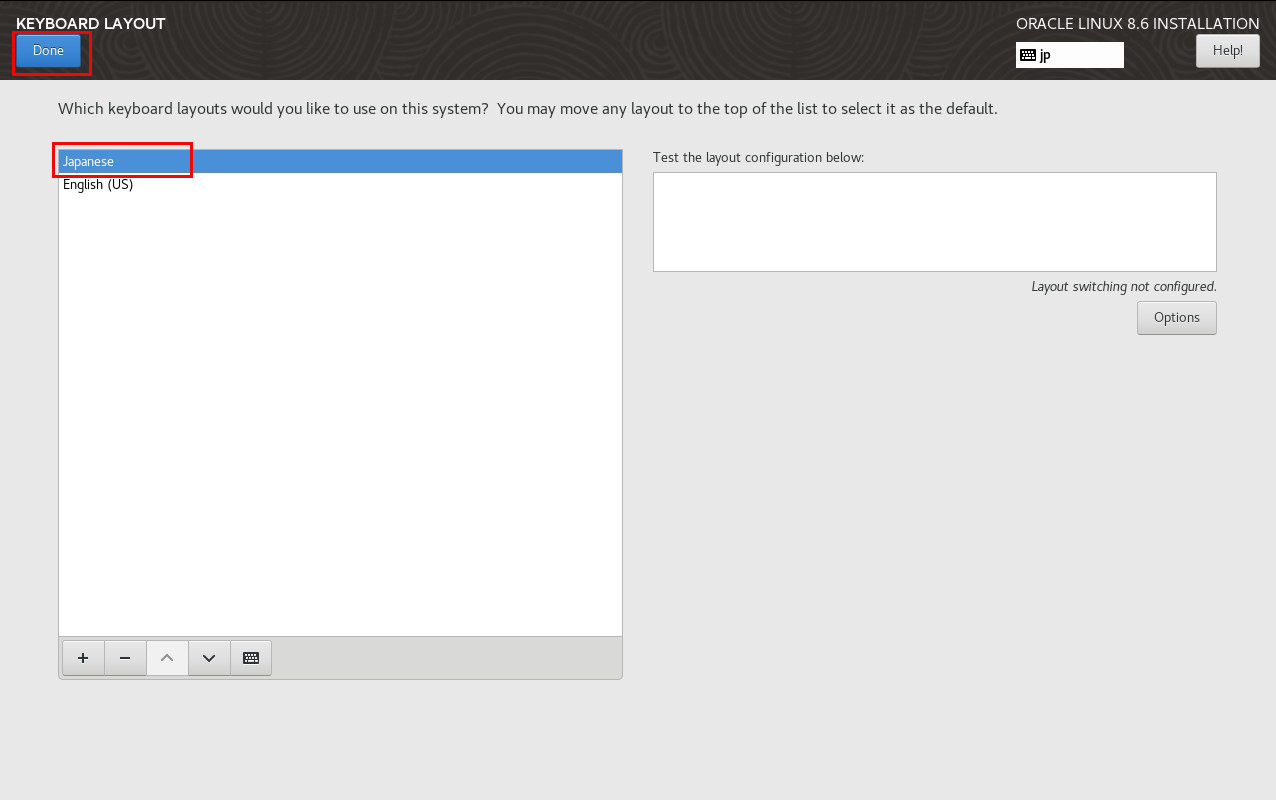
2.6 "Software Selection" setting
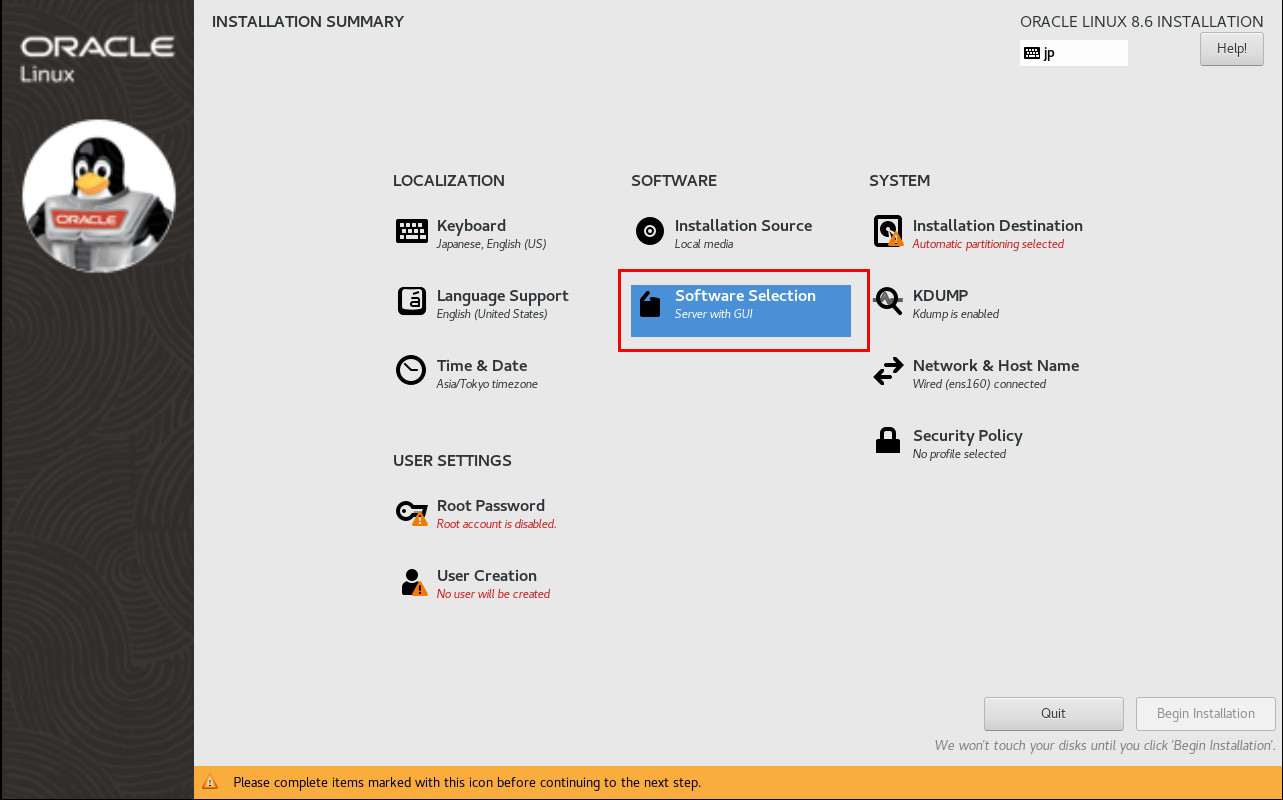
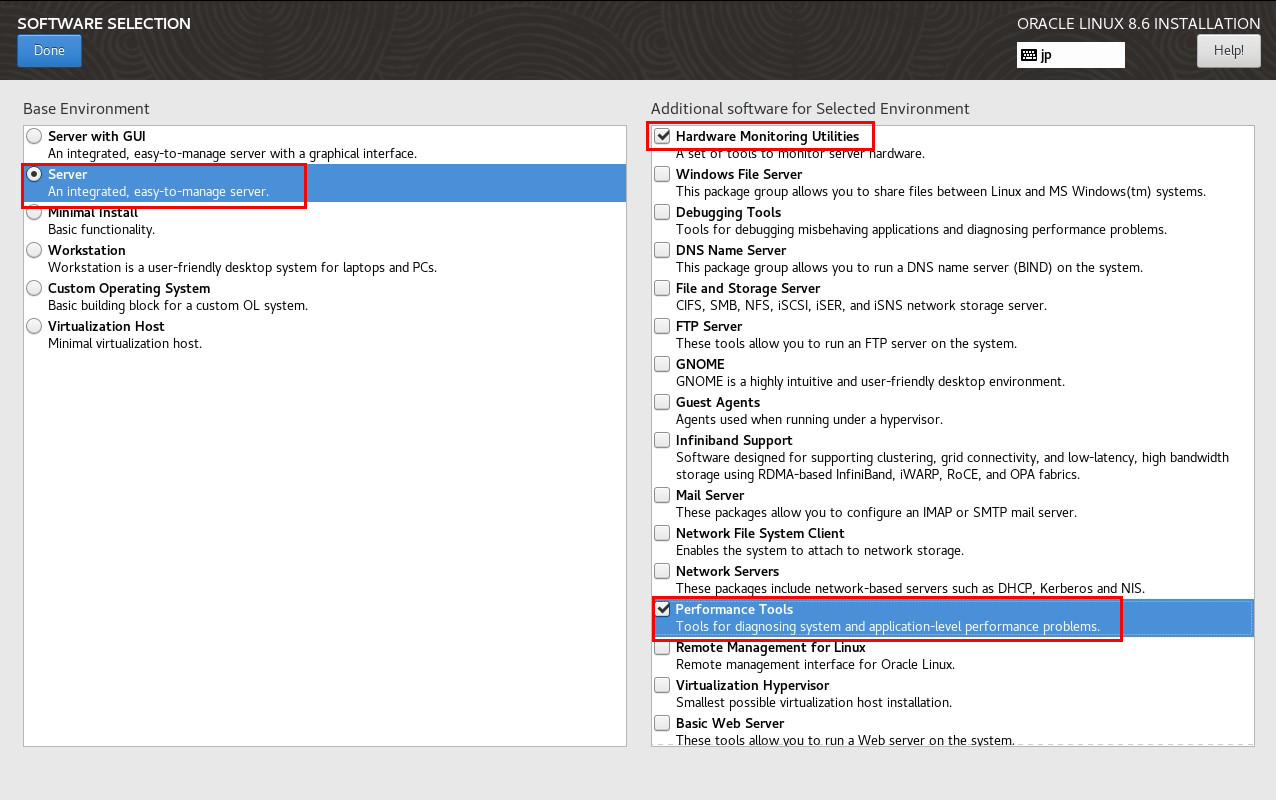
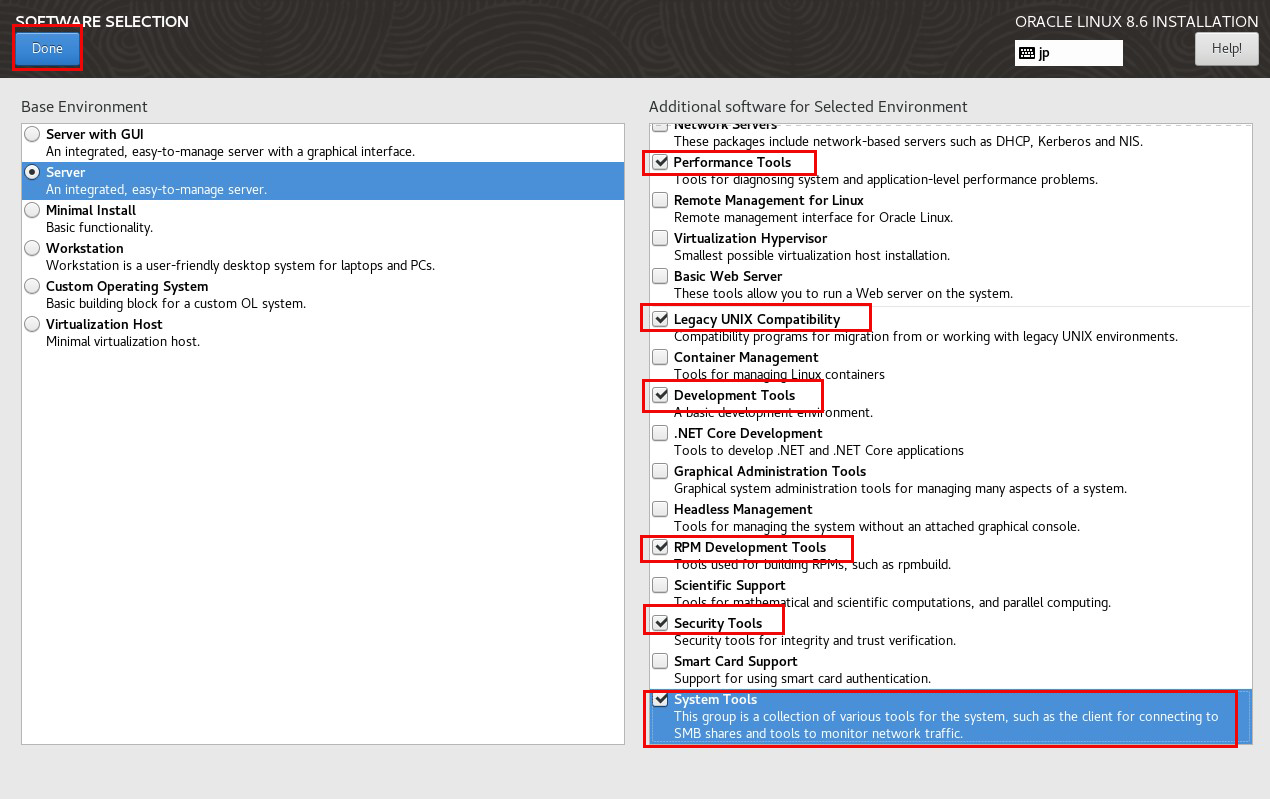
For "Base Environment" select "Server" and for "Software" select the following in the right column
・Hardware Monitoring Utilities ・Performance Tools ・Legacy UNIX Compatibility
・Development Tools ・RPM Development Tools ・Security Tools ・System Tools
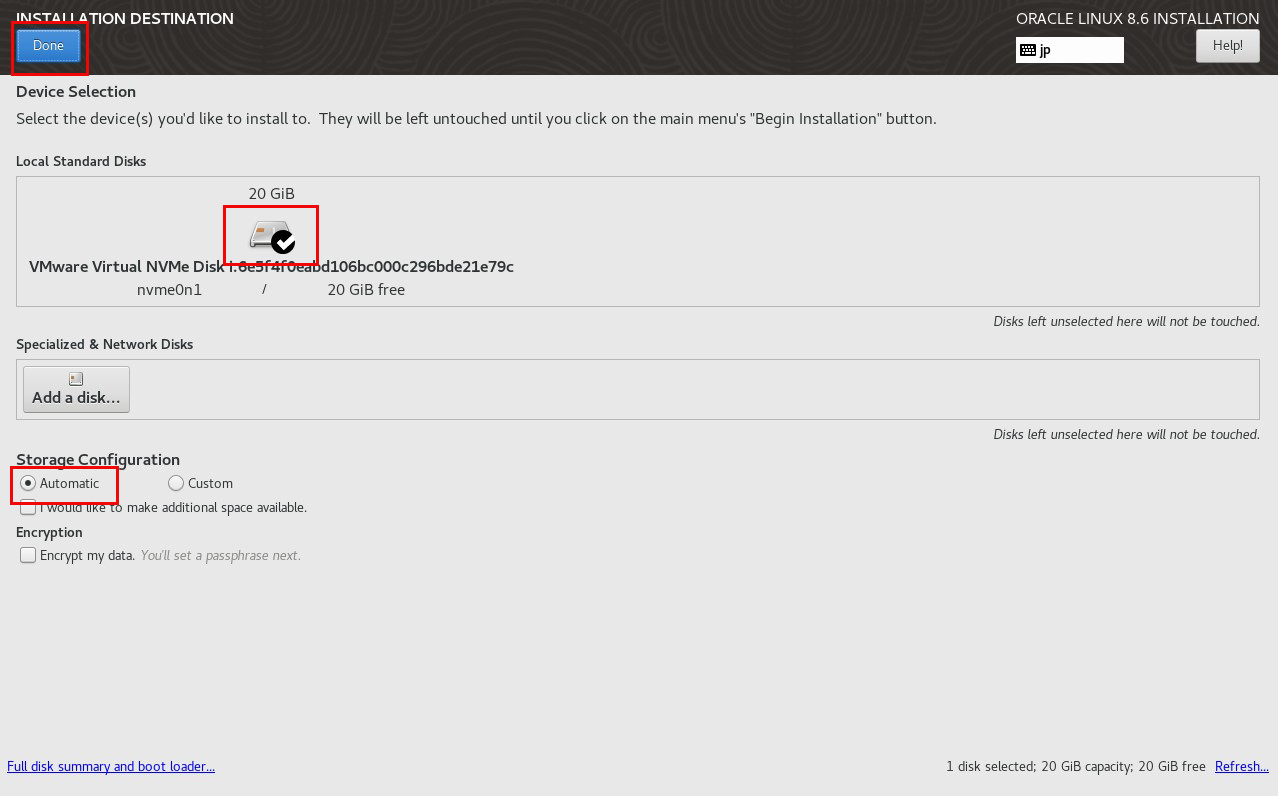
2.7 "Installation Destination" settings
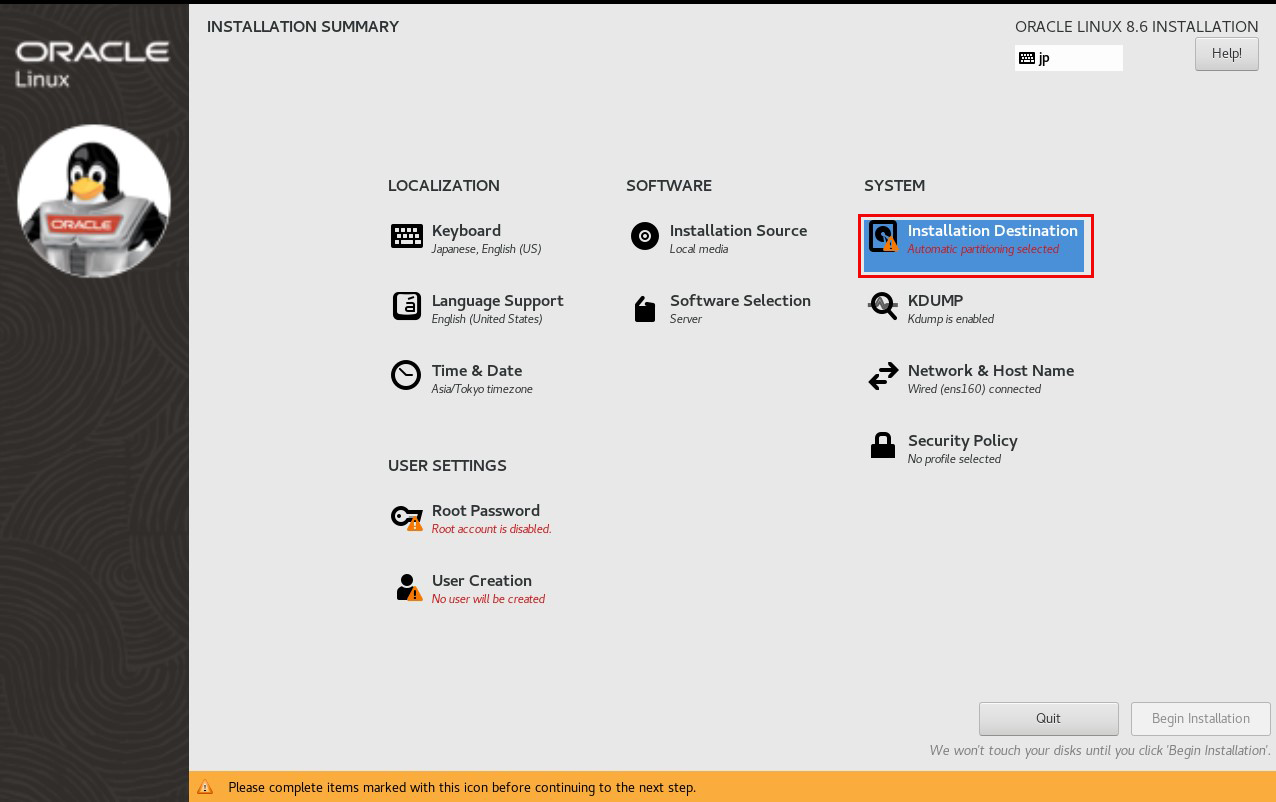
Set "Storage Configuration" to "Automatic" and click "Done
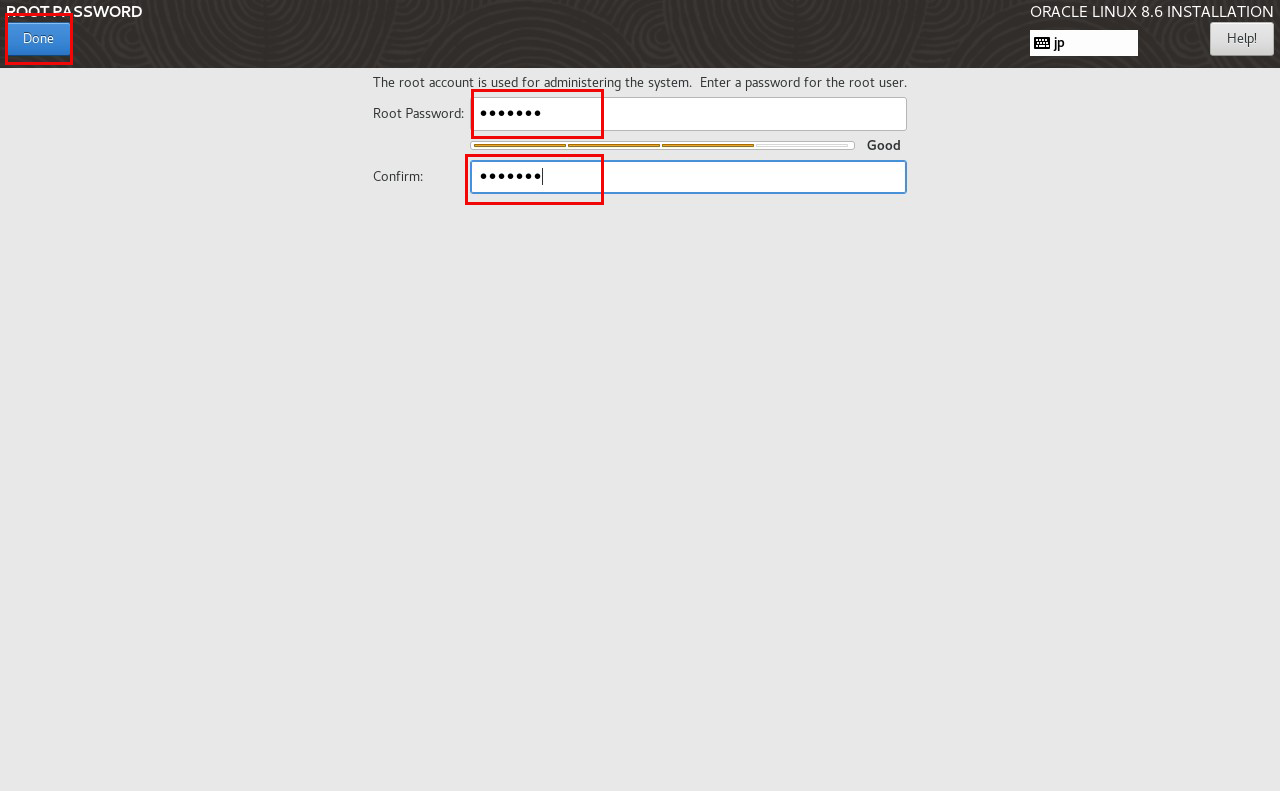
2.8 Setting "Root password"
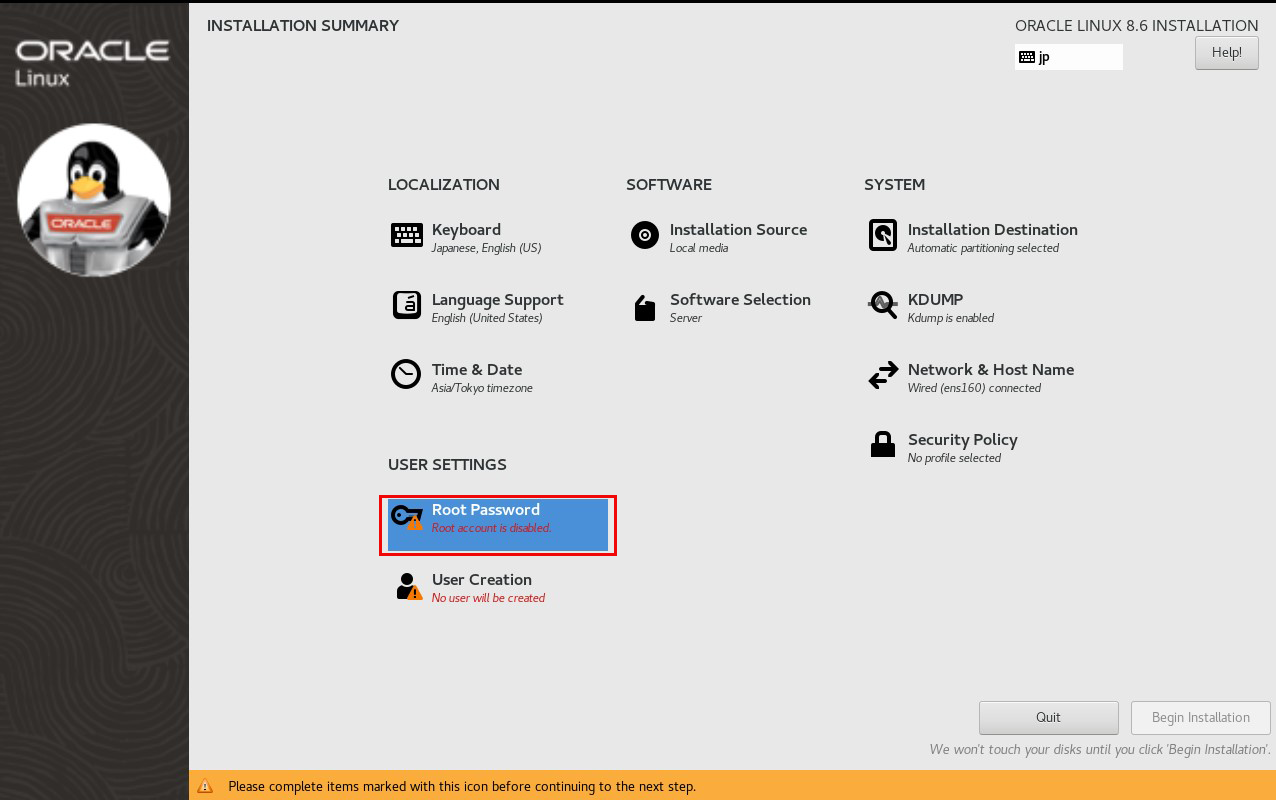
Enter Root Password and click "Done"
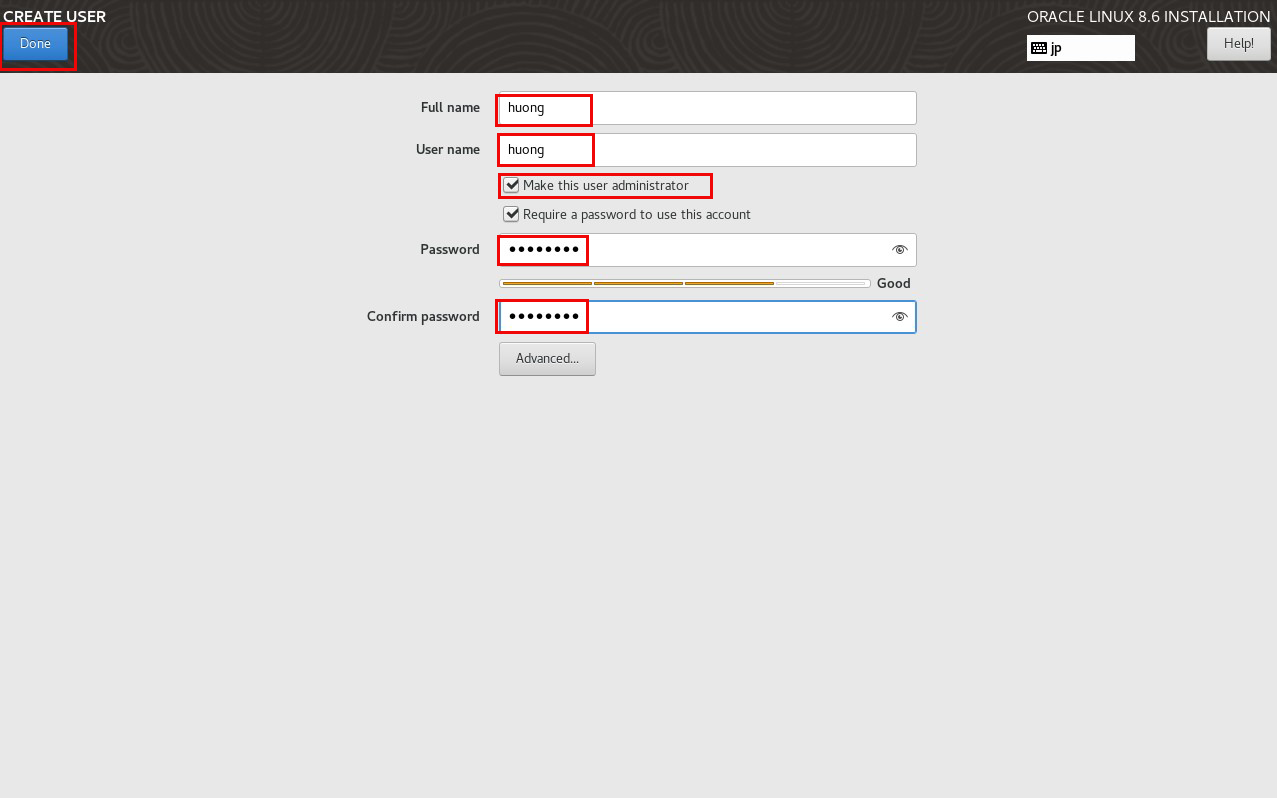
2.9 "User Creation" Settings
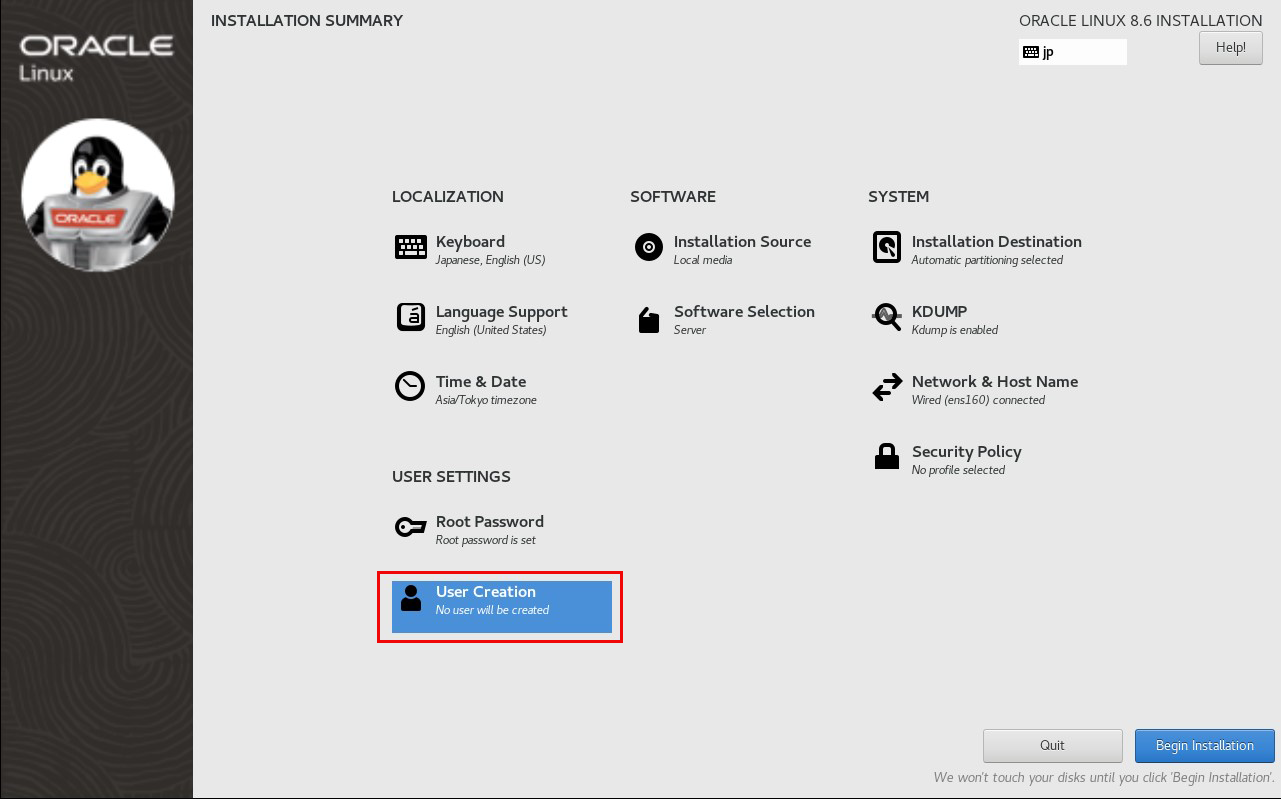
Add any name to "Full name" and "User name" and check the "Make this user administrator" checkbox.
Keep "passwords" strong.
"Done" click
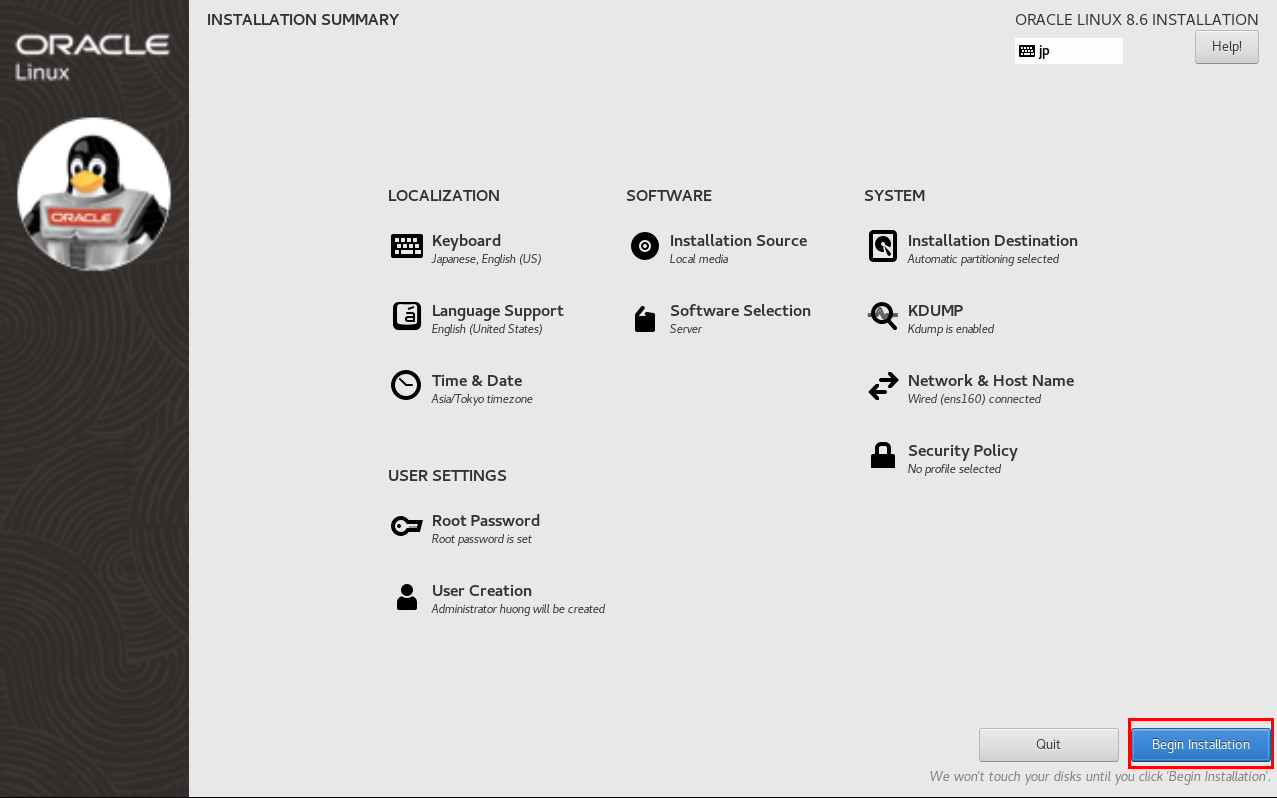
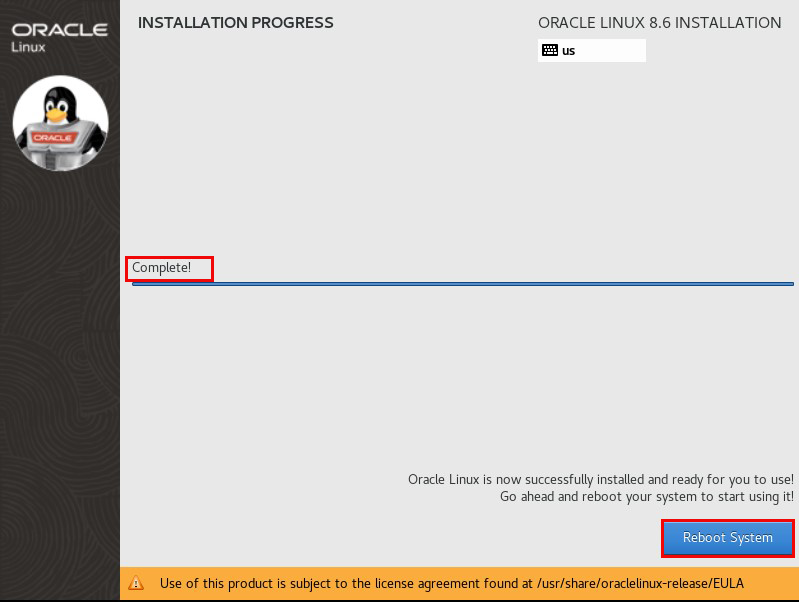
2.10 Click "Begin Installation"
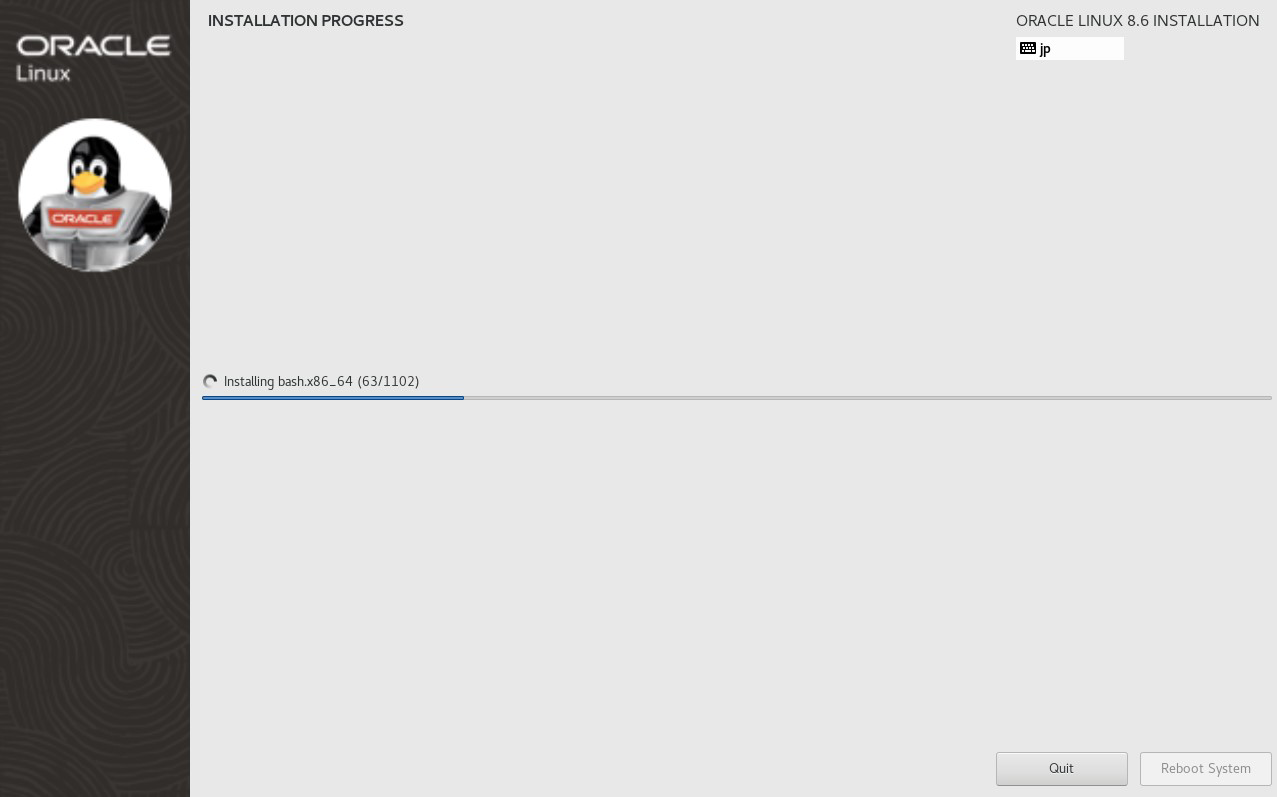
Click "Reboot Syrtem" after installation is complete.
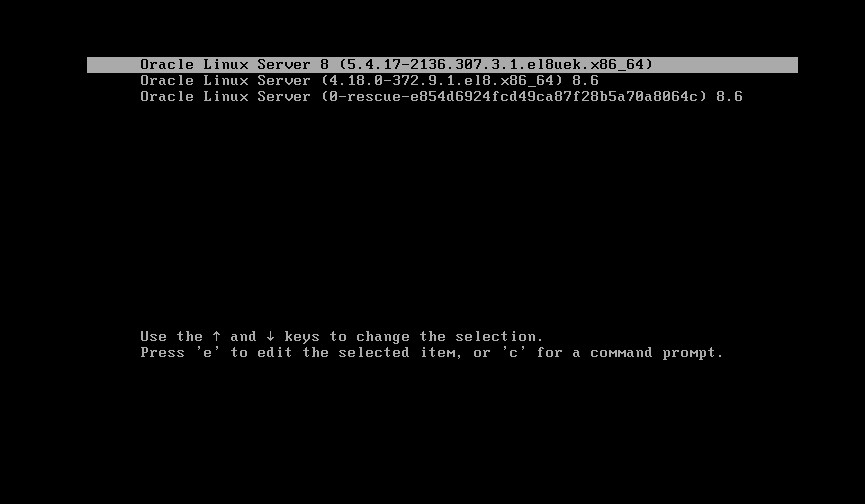
2.11 Termination and restart of installation
You will get a "hostname login:" screen as follows
The "hostname login:" screen appears.
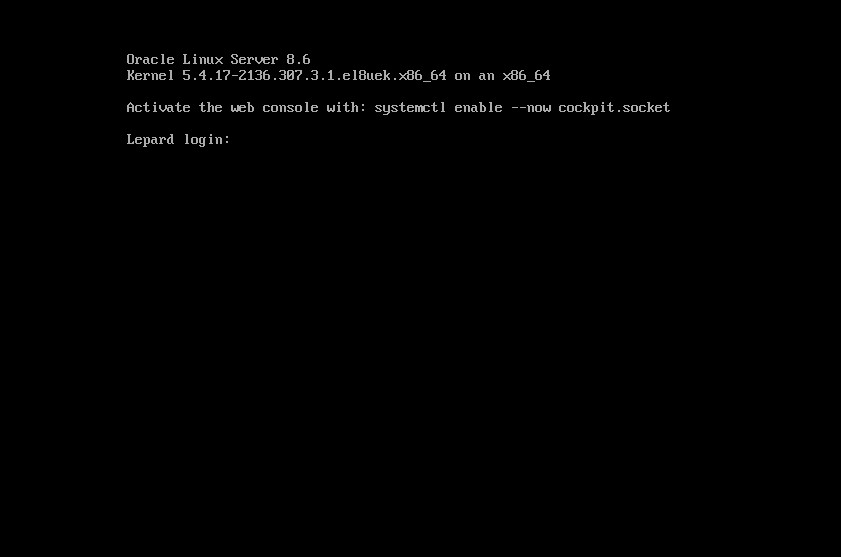
Log in with the user name and password of the general user you just created.
If you see the bash prompt "$", your login is complete.