MiracleLinux
MIRACLE LINUX is a Japanese Linux distribution provided by Cybertrust Corporation.
Miracle Linux (now Cybertrust), established by Oracle Japan and NEC in June 2000, began development of Oracle Database for business and enterprise use with the aim of ensuring stable operation.
It has been based on RHEL since Version 2.0 released in May 2001, and has been a full RHEL clone since Version 6.0 released in January 2012, with the latest version being 8.4 as of December 2021.
MIRACLE LINUX, the famous domestic RHEL clone, was initially a commercial OS with a paid license, but following the termination of CnetOS8, it was announced that it would be offered free of charge starting with the latest 8.4.
The current distribution is Red Hat Enterprise Linux (RHEL) 9 compatible with the latest version 9.0 released on November 1, 2022.
Like RHEL9, MIRACLE LINUX 9 is based on Linux kernel 5.14. In addition to version upgrades to major packages such as OpenSSL, MIRACLE LINUX 9 offers mainly enhanced security-related features such as improved SELinux performance and secure boot support.
Package updates and security patches will be provided free of charge until November 2032.
MiracleLinux ; Download
MiracleLinux ISO image files can be obtained from the following official web sites
https://www.miraclelinux.com/
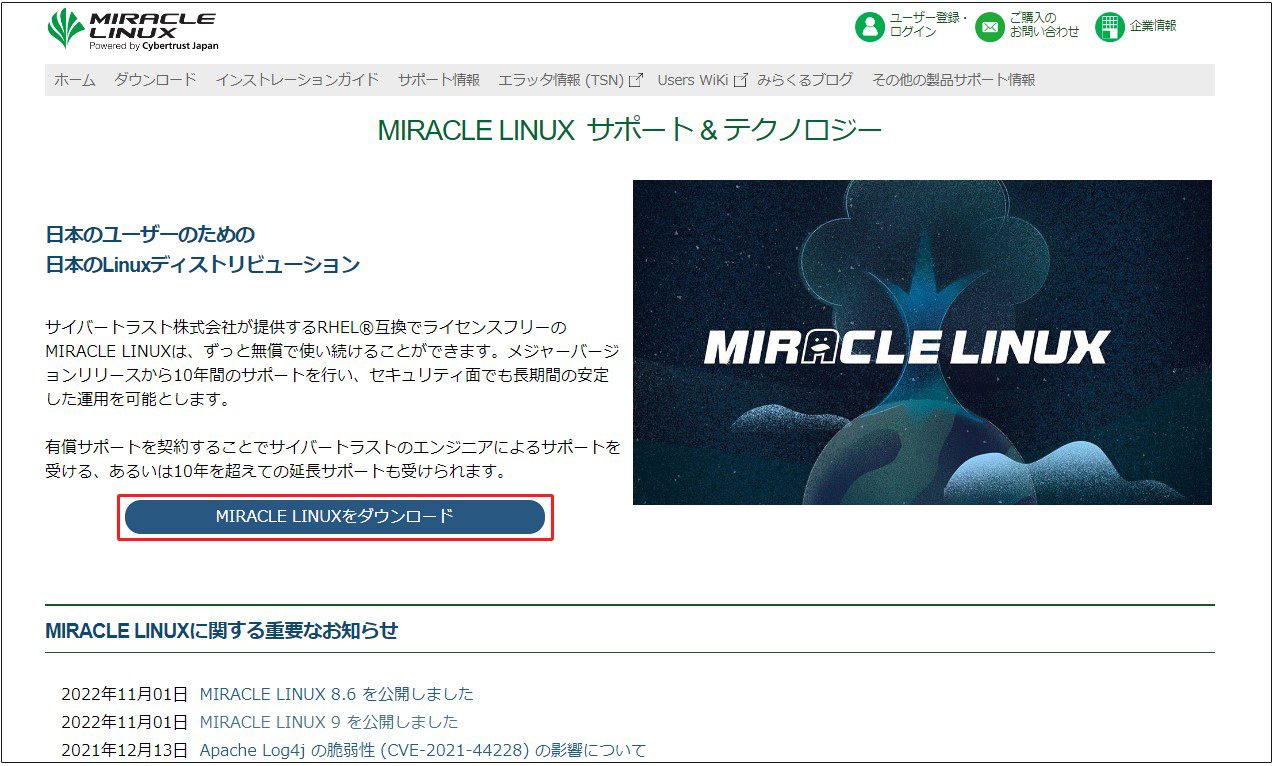
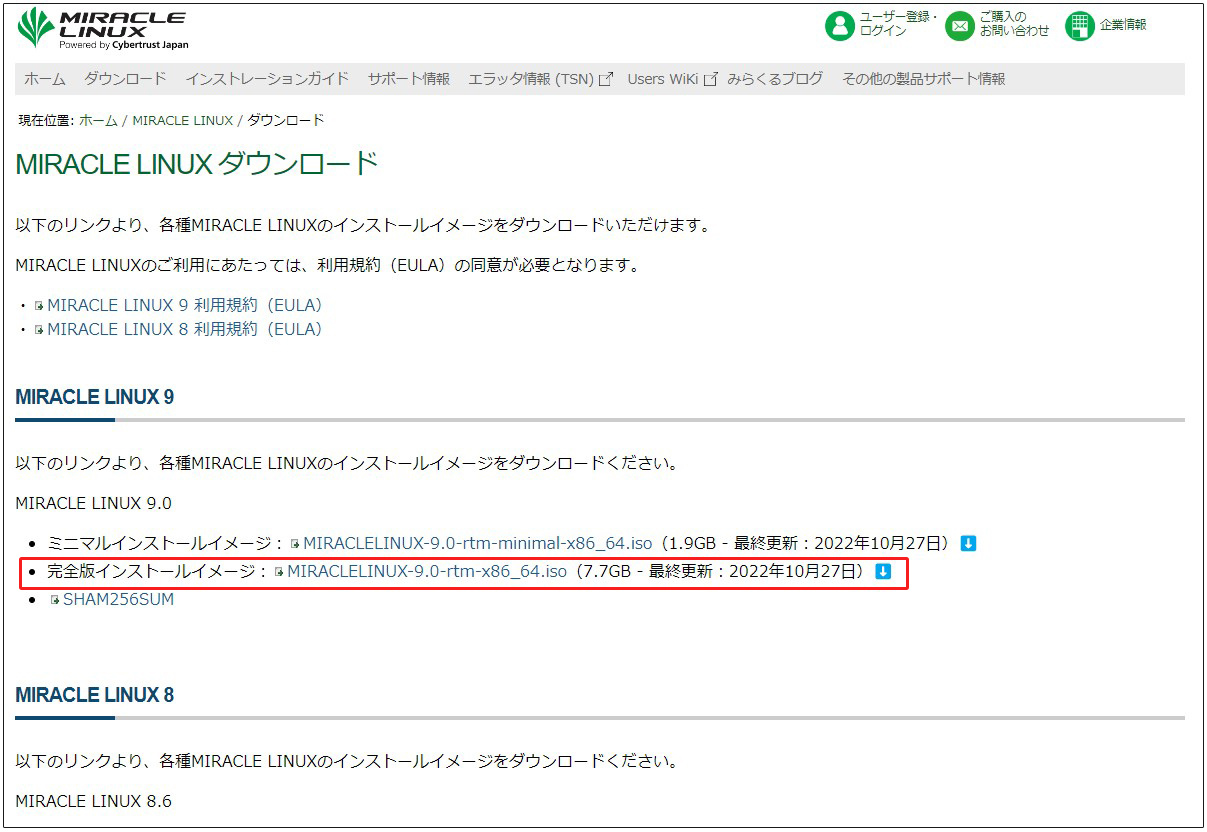
Download "MIRACLELINUX-9.0-rtm-x86_64.iso", create an installation disk on a USB disk and install it on the actual machine, or create a virtual machine with Vmware player or VirtualBox and install it.
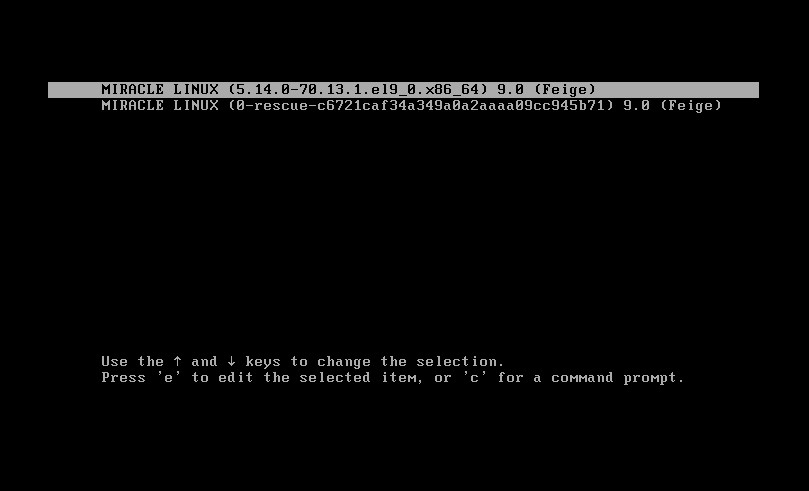
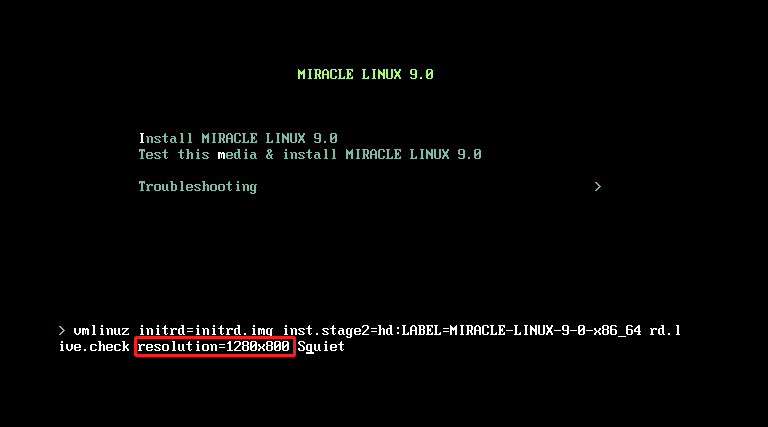
MiracleLinux Install
Press the "tab" key to change the screen resolution.
By adding "resolution=1280x800" and pressing Enter, the right edge of the installation screen will be uninterrupted.
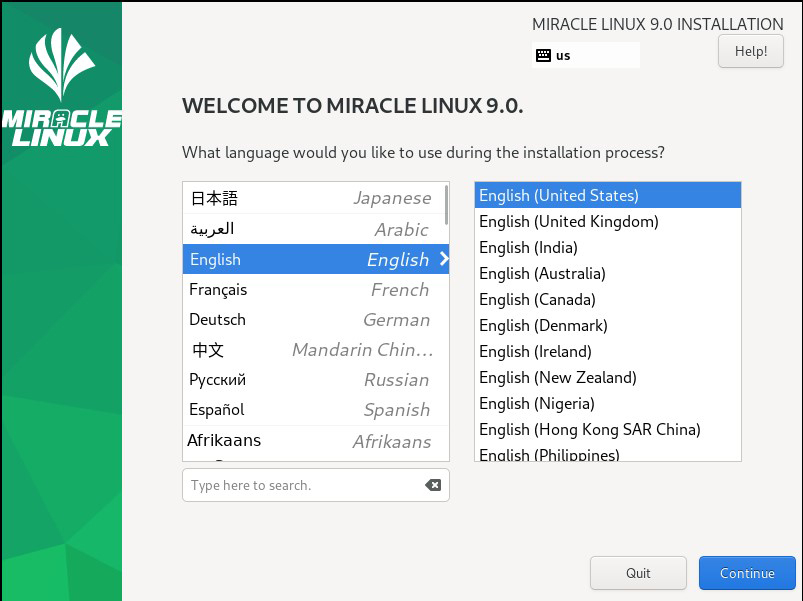
①language selection
Select "English" and click "Continue". (English is selected because we are building a server.)
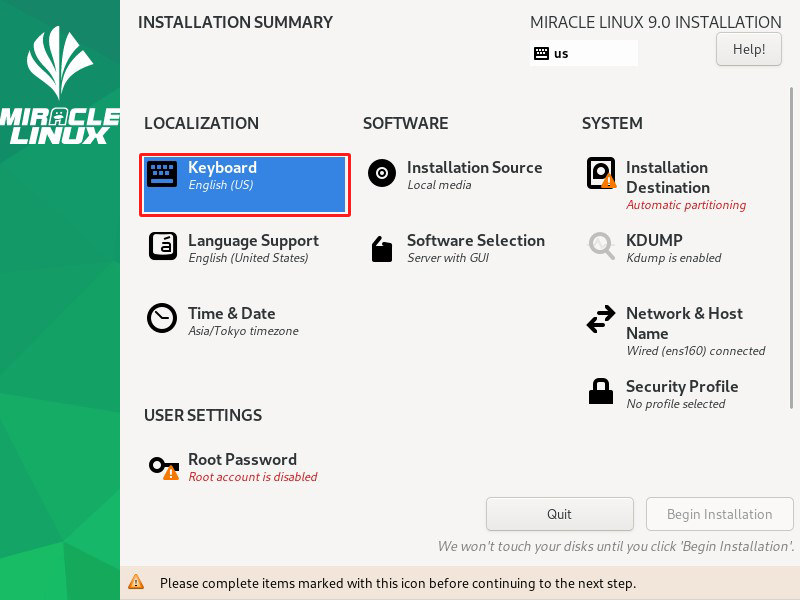
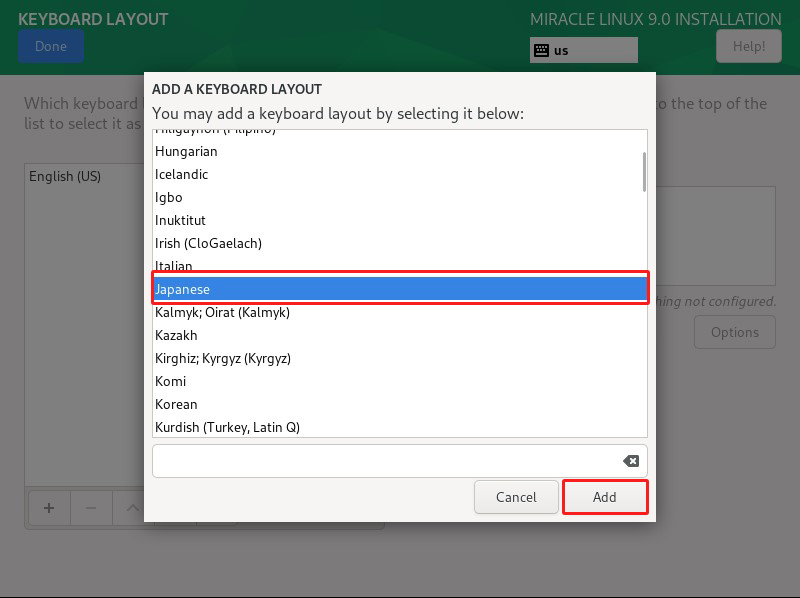
②"Keyboard Layout" setting Click [Keyboard]
Click the [+] button
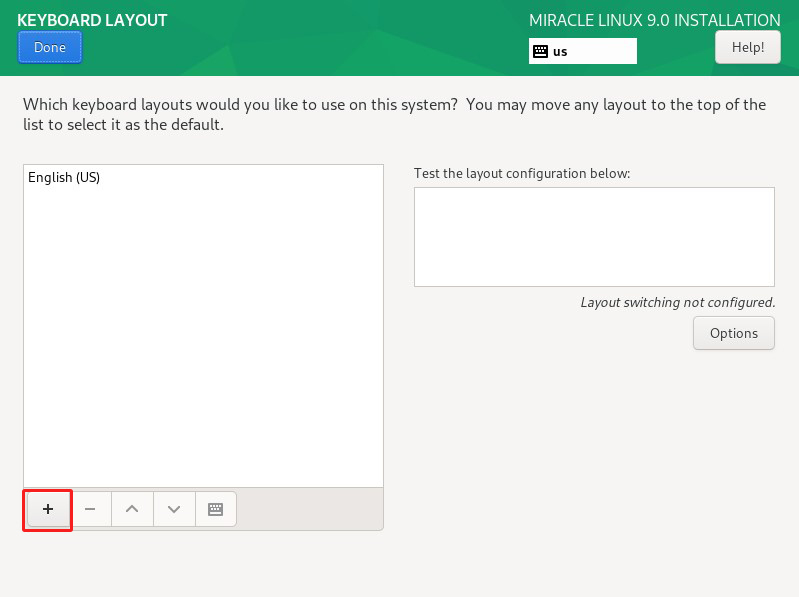
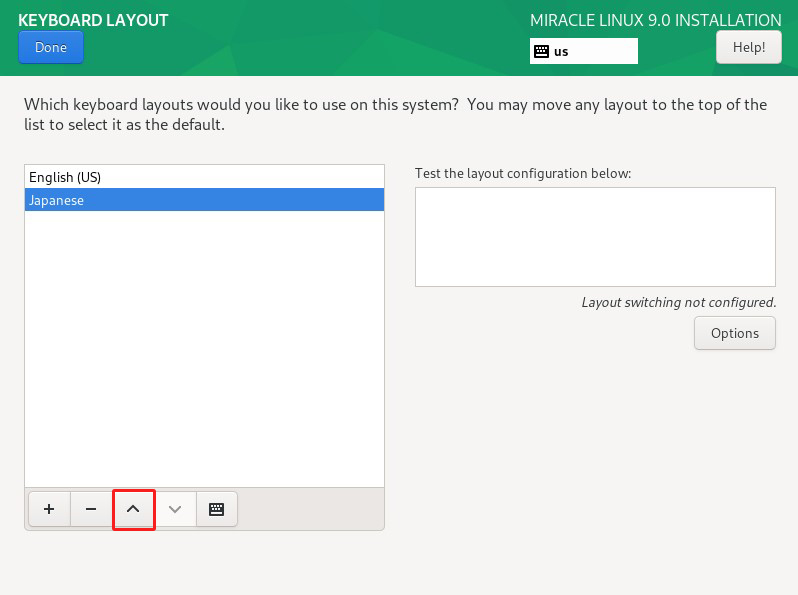
To change the priority, select "Japanese" and click the "^" button.
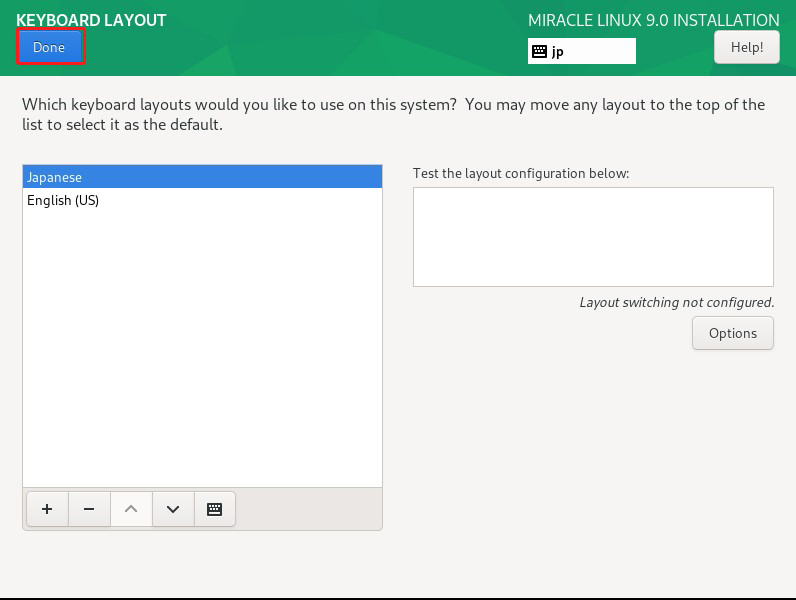
Click the "Done" button
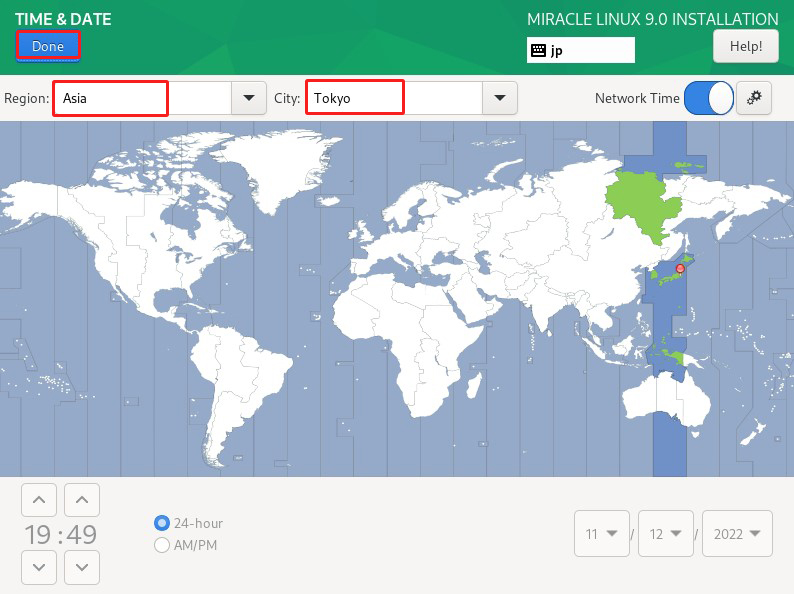
③Date and Time setting Click on "Time & Date"
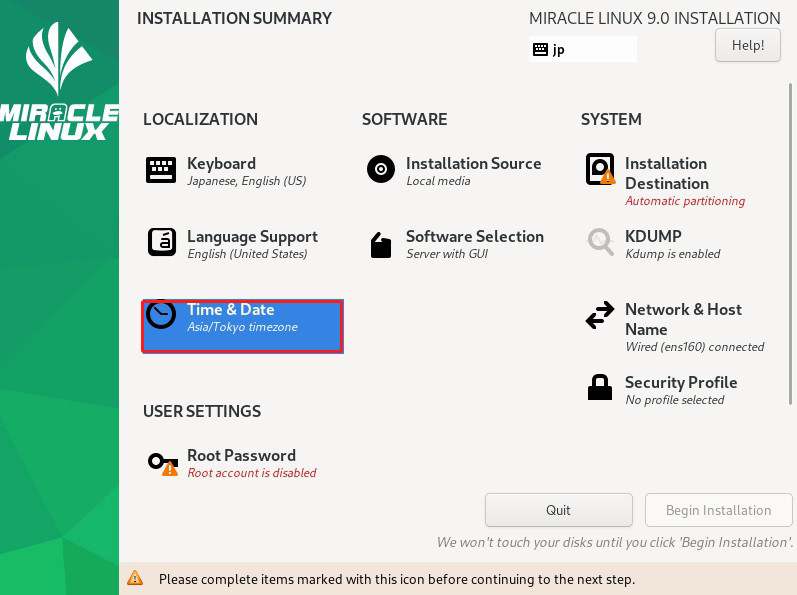
Make sure that [Region} is [Asia] and [City] is [Tokyo], and click [Done].
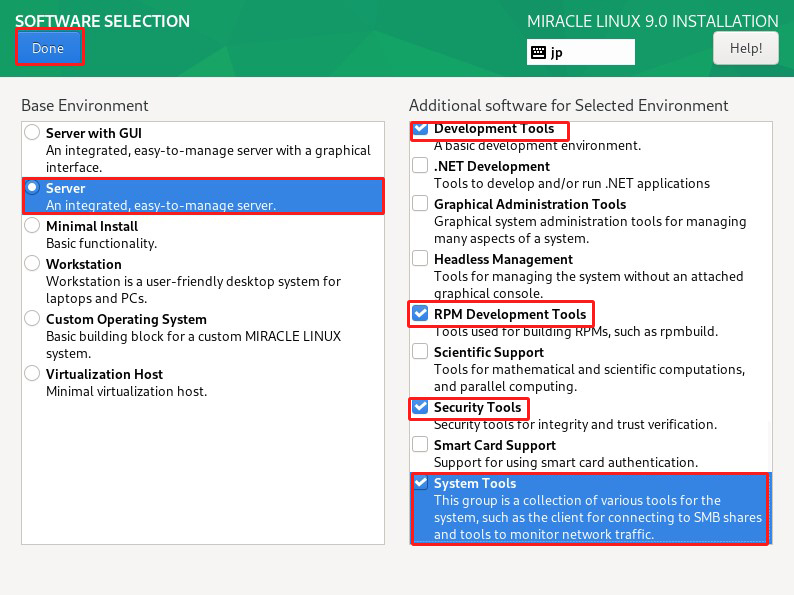
④"Software Selection" setting
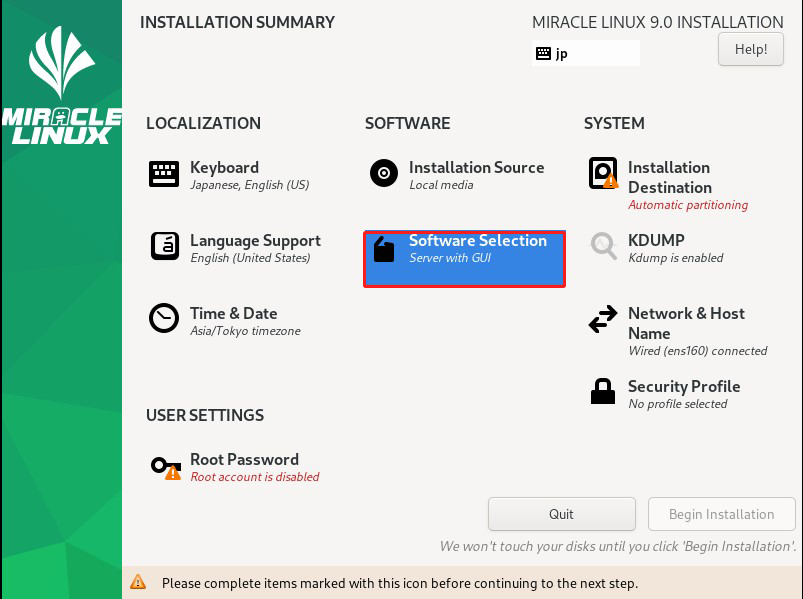
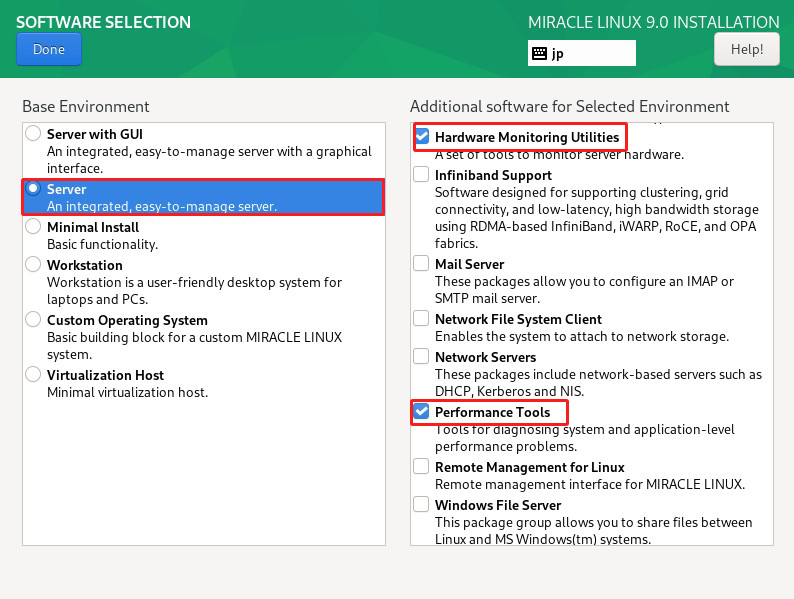
For "Base Environment" select "Server" and for "Additional software for Selected Environment" select
①Hardware Monitoring Utilities
②Performance Tools
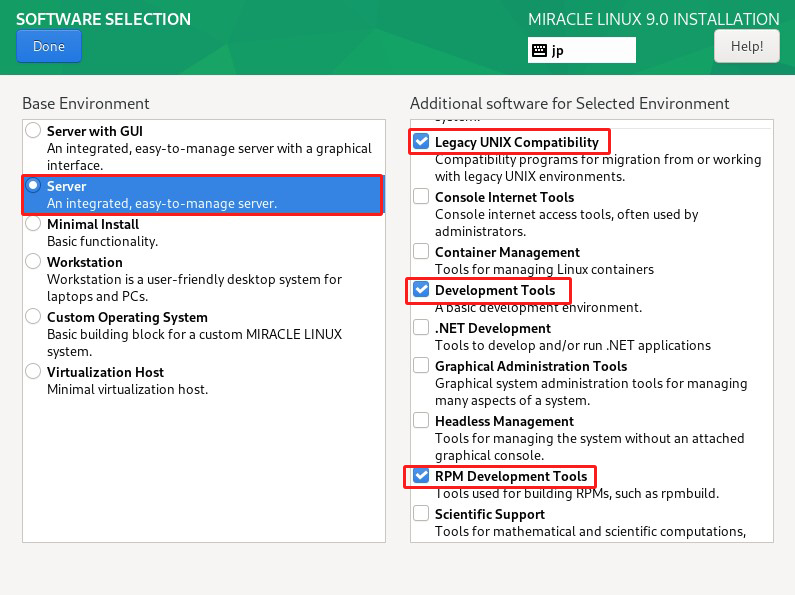
③Legacy UNIX Compatibility
④Development Tools
⑤RPM Development Tools
⑥Security Tools
⑦System Tools
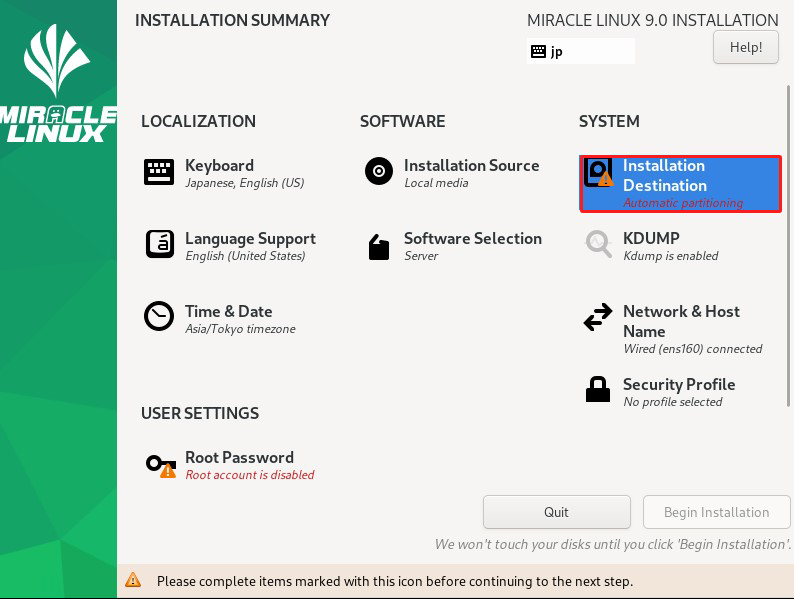
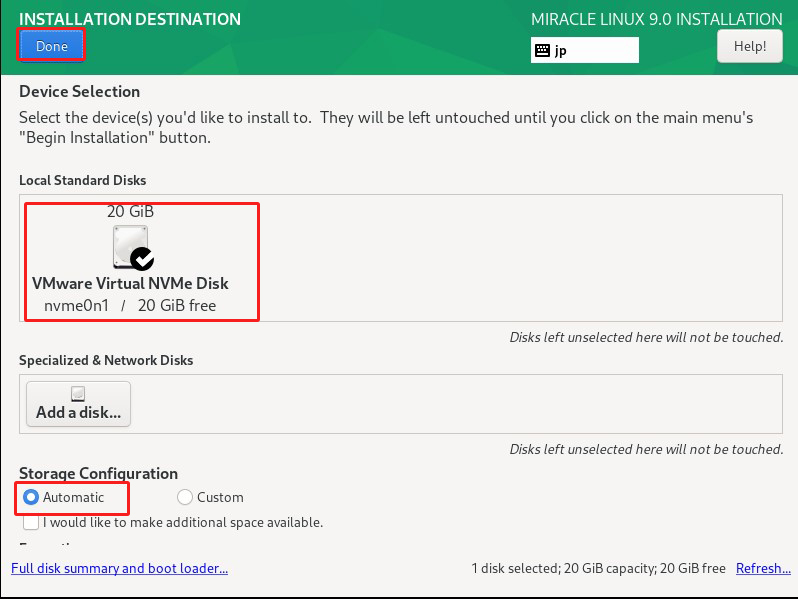
⑤ Set "Where to Install". Click on "Installtion Destination"
Set "Storage Configuration" to "Automatic" and click "Done".
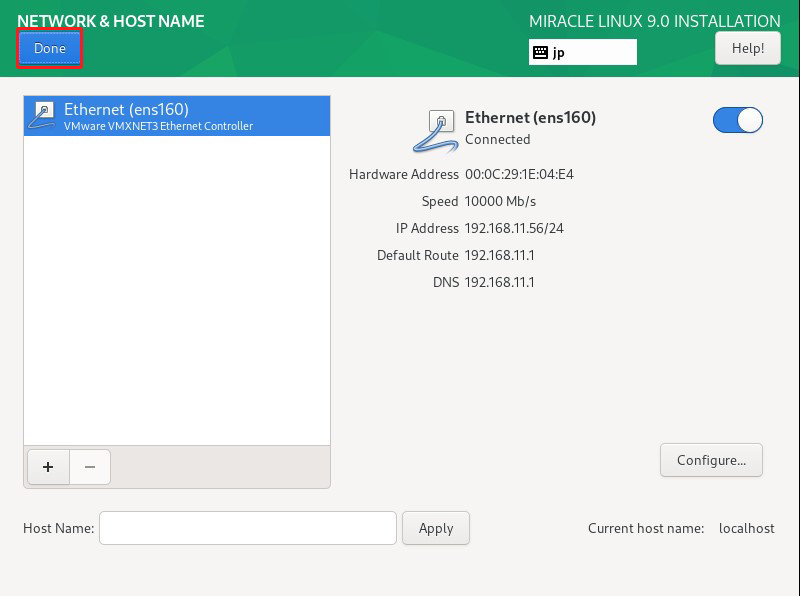
⑥"Network & Host Name" setting
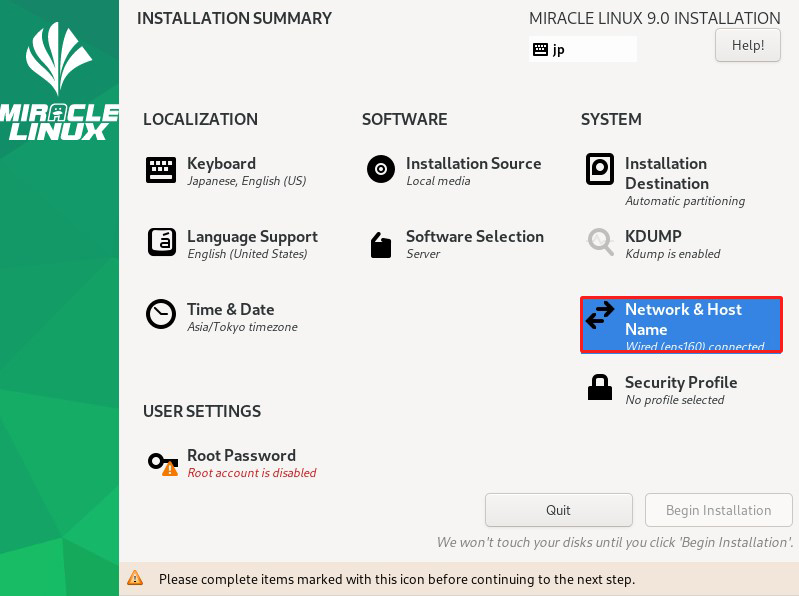
Do not set [Host Name], and click [Done] to proceed with the default server address with DHCP enabled.
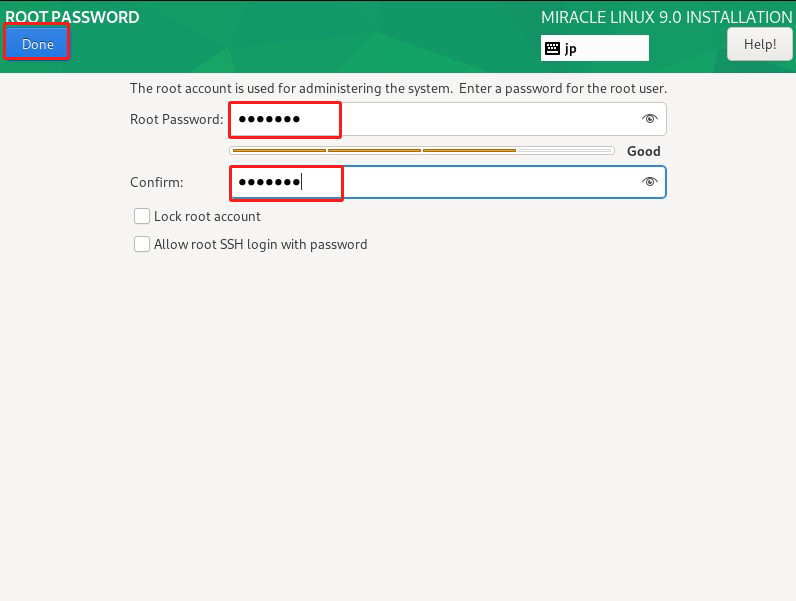
⑦Setting "Root Password"
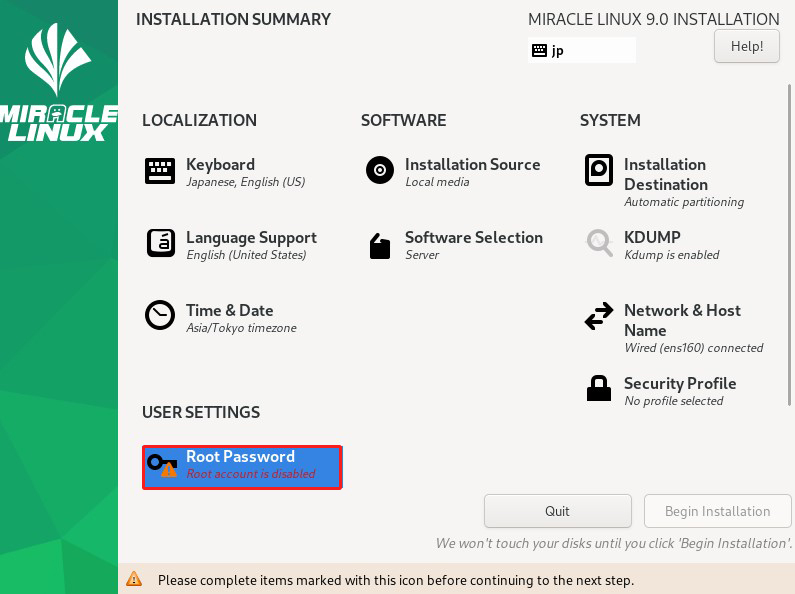
Enter root password and click "Done"
⑧ Create user and set password Click on "User Creation"
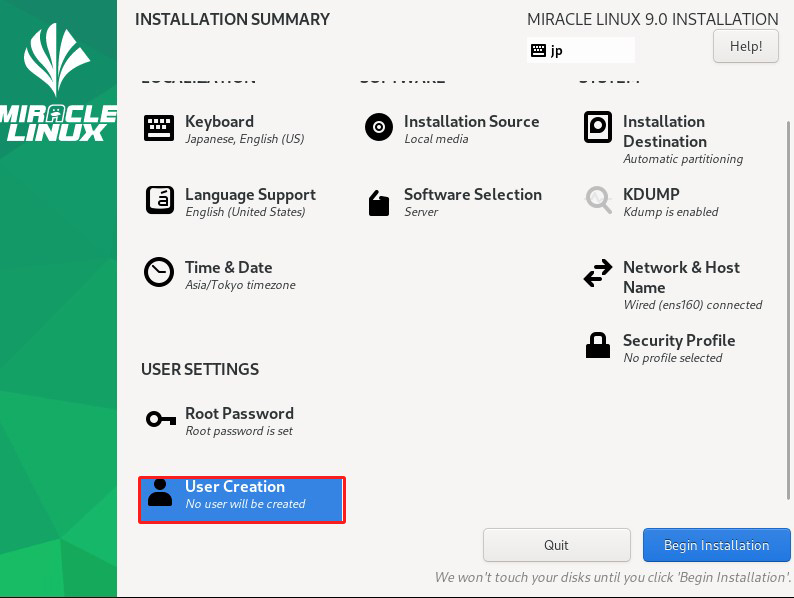
[Full name] [User name] : Any name
[Make this user administrator] : check (e.g.mark)
[Password] : Keep it strong.
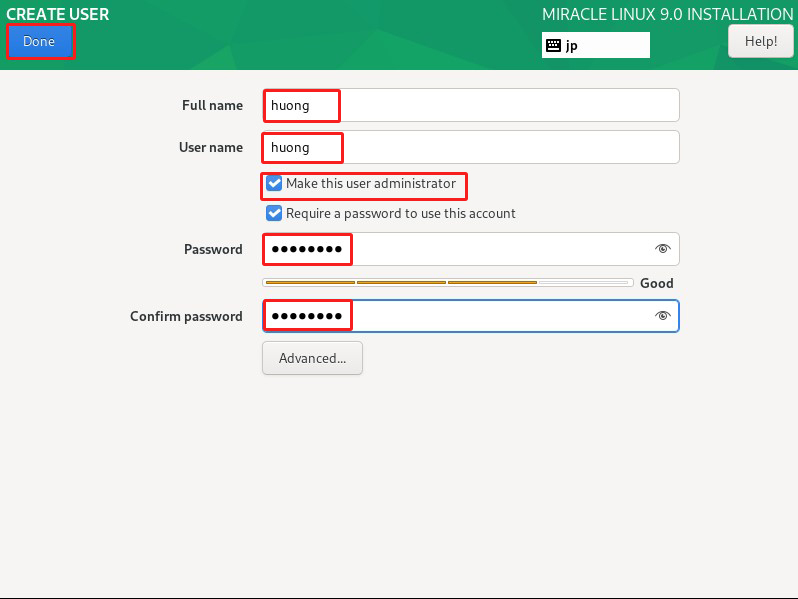
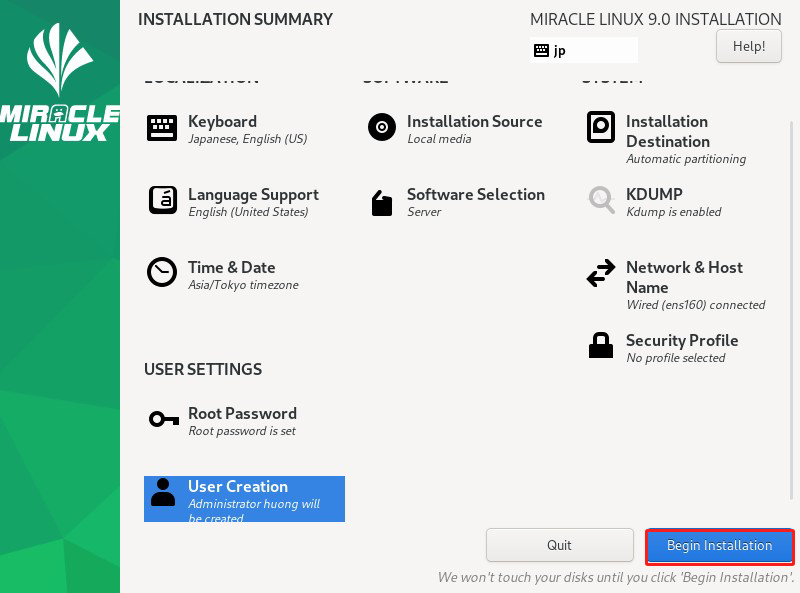
⑨Click on "Begin Installation"
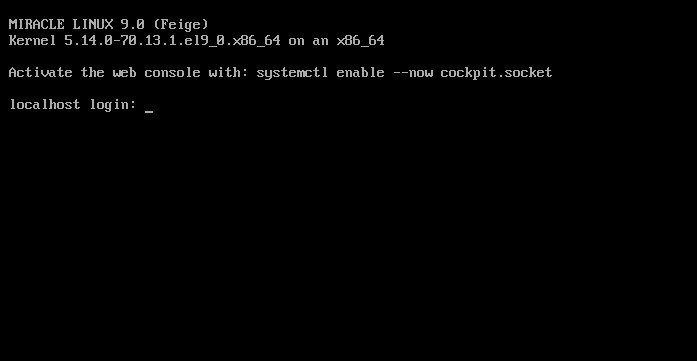
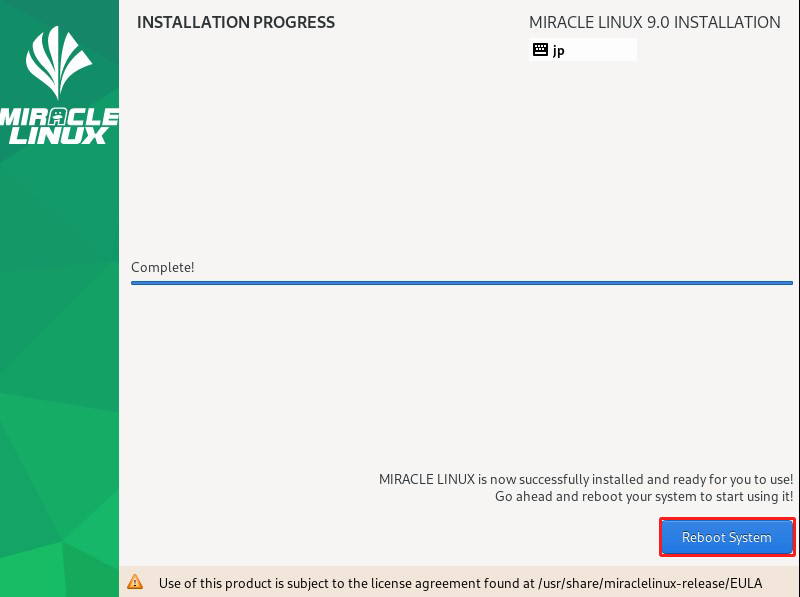
After installation is complete, click on "Reboot System"
After rebooting, the "hostname login:" screen appears as follows