Mysql8 Install
1.Preparation and Confirmation
If MariaDB is already installed, remove it.
# yum list installed | grep mariadb
mariadb-libs.x86_64                   1:5.5.68-1.el7                 @anaconda
Stopping and Deleting MariaDB
# systemctl stop mariadb.service
# yum remove mariadb-*
# rm -rf /var/lib/mysql/
2.MySQL8 install
Add Official MySQL Repository
# yum install https://dev.mysql.com/get/mysql80-community-release-el7-3.noarch.rpm
MySQL install
# yum --enablerepo=mysql80-community install mysql-community-server
Check the version
# mysqld --version
/usr/sbin/mysqld Ver 8.0.32 for Linux on x86_64 (MySQL Community Server - GPL)
MySQL startup and autostart settings
# systemctl start mysqld.service
# systemctl enable mysqld.service
Confirm and save default password
Required for initialization in the next "mysql_secure_installation".
# grep password /var/log/mysqld.log
2023-02-18T01:26:26.281528Z 6 [Note] [MY-010454] [Server] A temporary password is generated for root@localhost: xxxxxxxxx  ← Remember to write down this password.
MySQL Initial Setup
Use the "mysql_secure_installation" command to set the root user password and set some basic policies
# mysql_secure_installation
Securing the MySQL server deployment.
Enter password for user root:******** Default password saved above
The existing password for the user account root has expired. Please set a new password.
New password:xxxxxxxx New password to be set
Re-enter new password:xxxxxxxx Same as above Password
The 'validate_password' component is installed on the server.
The subsequent steps will run with the existing configuration
of the component.
Using existing password for root.
Estimated strength of the password: 100
Change the password for root ? ((Press y|Y for Yes, any other key for No) : y
New password:xxxxxxxx Newly set password
Re-enter new password:xxxxxxxx Same as above Password
Estimated strength of the password: 100
Do you wish to continue with the password provided?(Press y|Y for Yes, any other key for No) : y
By default, a MySQL installation has an anonymous user,
allowing anyone to log into MySQL without having to have
a user account created for them. This is intended only for
testing, and to make the installation go a bit smoother.
You should remove them before moving into a production
environment.
Remove anonymous users? (Press y|Y for Yes, any other key for No) : y
Success.
Normally, root should only be allowed to connect from
'localhost'. This ensures that someone cannot guess at
the root password from the network.
Disallow root login remotely? (Press y|Y for Yes, any other key for No) : y
Success.
By default, MySQL comes with a database named 'test' that
anyone can access. This is also intended only for testing,
and should be removed before moving into a production
environment.
Remove test database and access to it? (Press y|Y for Yes, any other key for No) : y
-Dropping test database…
Success.
-Removing privileges on test database…
Success.
Reloading the privilege tables will ensure that all changes
made so far will take effect immediately.
Reload privilege tables now? (Press y|Y for Yes, any other key for No) : y
Success.
All done!
Create a new charset.cnf with the following contents
#vi /etc/my.cnf.d/charset.cnf
[mysqld]
character-set-server = utf8mb4
[client]
default-character-set = utf8mb4
WordPress Install
1. Create database for Word Press
As an example, assume database [wp_db] database user [wp_user] password [?W123456]
|
1 2 3 4 5 6 7 8 9 10 11 12 13 14 15 16 17 18 19 20 21 22 23 24 25 26 27 28 29 30 31 32 33 34 35 36 37 38 39 40 41 42 |
# mysql -u root -p Enter password: ←Enter root password for MySQL (not shown on screen) Welcome to the MySQL monitor. Commands end with ; or \g. Your MySQL connection id is 2 Server version: 5.7.24 Source distribution Copyright (c) 2000, 2018, Oracle and/or its affiliates. All rights reserved. Oracle is a registered trademark of Oracle Corporation and/or its affiliates. Other names may be trademarks of their respective owners. Type 'help;' or '\h' for help. Type '\c' to clear the current input statement #Create a dedicated database controlled by WordPress mysql> CREATE DATABASE wp_db DEFAULT CHARACTER SET utf8 COLLATE utf8_unicode_ci; Query OK, 1 row affected (0.00 sec) #Database Check mysql> show databases; +--------------------+ | Database | +--------------------+ | information_schema | | mysql | | performance_schema | | sys | wp_db | +--------------------+ 5 rows in set (0.00 sec) #Create an account, set a password, and grant access to the database you have created mysql>CREATE USER 'wp_user'@'localhost' IDENTIFIED WITH mysql_native_password BY '?Ww123456'; Query OK, 0 rows affected (0.04 sec) #Informs the database that the user must have full access to the setup database mysql> GRANT ALL ON wp_db.* TO 'wp_user'@'localhost'; Query OK, 0 rows affected (0.04 sec) #Reload Authority mysql> flush privileges; #Quit mysql mysql> exit; Bye |
2.Wordpress Installation
# cd /var/www/html/cent.korodes.com
# wget http://wordpress.org/latest.tar.gz
# tar xvf latest.tar.gz
3.Edit WordPress configuration file
# cd wordpress/
# cp wp-config-sample.php wp-config.php
# vi wp-config.php
// ** Database settings - You can get this info from your web host ** //
/** The name of the database for WordPress */
define( 'DB_NAME', 'wp_db' );

/** Database username */
define( 'DB_USER', 'wp_user' );

/** Database password */
define( 'DB_PASSWORD', '?Ww123456' );

#Also, add the following to the last line.
#If you do not do this, you will be asked for what amounts to FTP connection #information when you add the plugin.
define('FS_METHOD', 'direct');
4.Moving Files
①Move the expanded contents under /var/www/html/[domain name for wordpress]
# cd /var/www/html/cent.korodes.com
# mv wordpress/* .
After confirming that the files have been moved, delete the wordpress directory and the downloaded latest.tar.gz
# cd /var/www/html/alma.korodes.com
# rm -R -f wordpress
# rm latest.tar.gz
Make apache the owner of the wordpress directory.
# chown -R apache:apache /var/www/html/cent.korodes.com
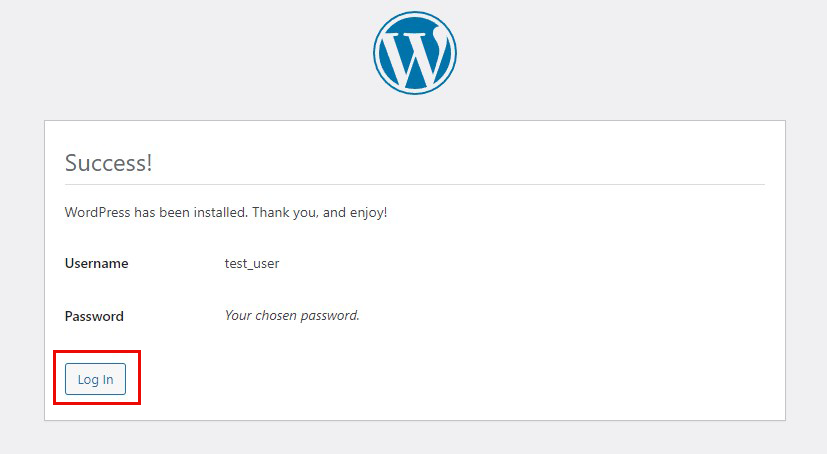
5.Starting wordpress installation
Enter your username, password, and other necessary information to start the installation
Your server's PHP does not seem to be able to utilize the MySQL extensions required for WordPress." If you see this, install the following and restart apache and mysql
# yum install php-mysqlnd
# systemctl restart mysqld
# systemctl restart httpd
again
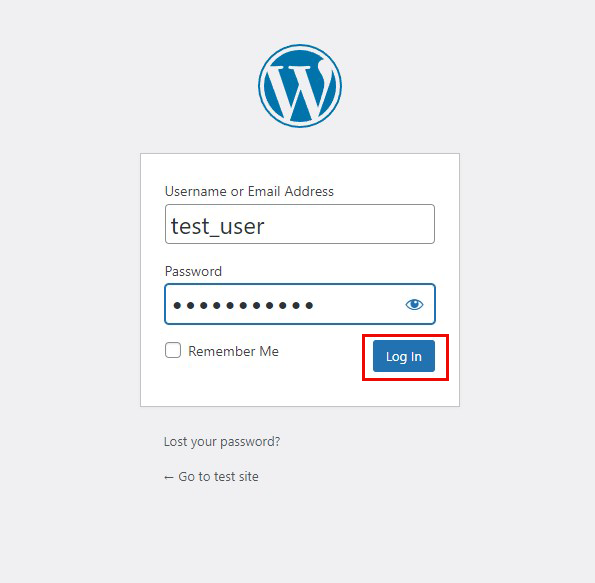
Access http://cent.korodes.com/wp-admin/install.php
On the following input screen
Site Title Any name
Username Any name
Password Any password
Your Email Administrator's email address
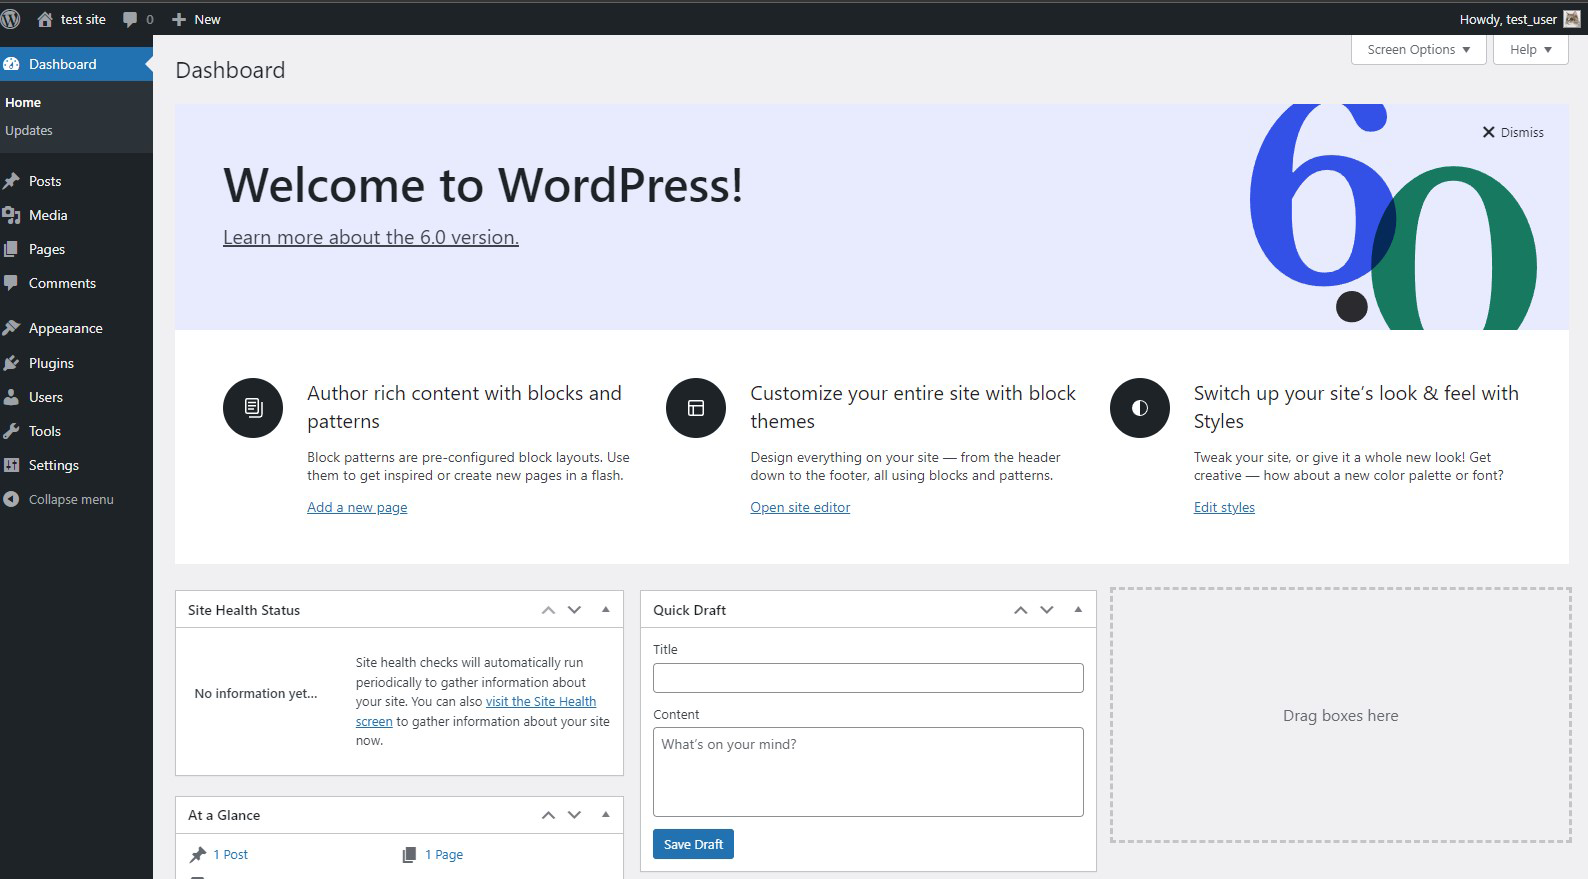
Enter the information and click "Install WordPress". Remember to enter your "username" and "password" as they are required to access the WordPress administration screen.