1. Apache2
1.1 Install
# pkg install apache24
1.2 apache24 - setting
①extra/httpd-default.conf editing
# vi /usr/local/etc/apache24/extra/httpd-default.conf

For security purposes, change the settings as follows
Line 55 : Change to "ProductOnly"
ServerTokens ProductOnly

Line 75 : Change to "On"
HostnameLookups On
➁httpd.conf editing
# vi /usr/local/etc/apache24/httpd.conf

Line 160 : Uncomment
LoadModule dav_module libexec/apache24/mod_dav.so

Line 217 : Change to administrator's email address
ServerAdmin [administrator's email address]

Line 227 : Add a Server Domain Name
ServerName [Domain]

Line 264 : Delete “Indexes"
Options FollowSymLinks

To enable the setting to “/usr/local/etc/apache24/extra/httpd-default.conf” configured in the previous section, delete “#” at the beginning of the following and enable “Include”.。
Line 518 : Uncomment
Include etc/apache24/extra/httpd-default.conf
1.3 Start apache
Enable automatic apache startup
# service apache24 enable
apache24 enabled in /etc/rc.conf
Scripts for startup and shutdown are located in /usr/local/etc/rc.d/apache24
Check the configuration file
If the description is correct, "Syntax OK" is printed.
# service apache24 configtest
Performing sanity check on apache24 configuration:
Syntax OK
Apache start
# service apache24 start
Performing sanity check on apache24 configuration:
Syntax OK
Starting apache24.
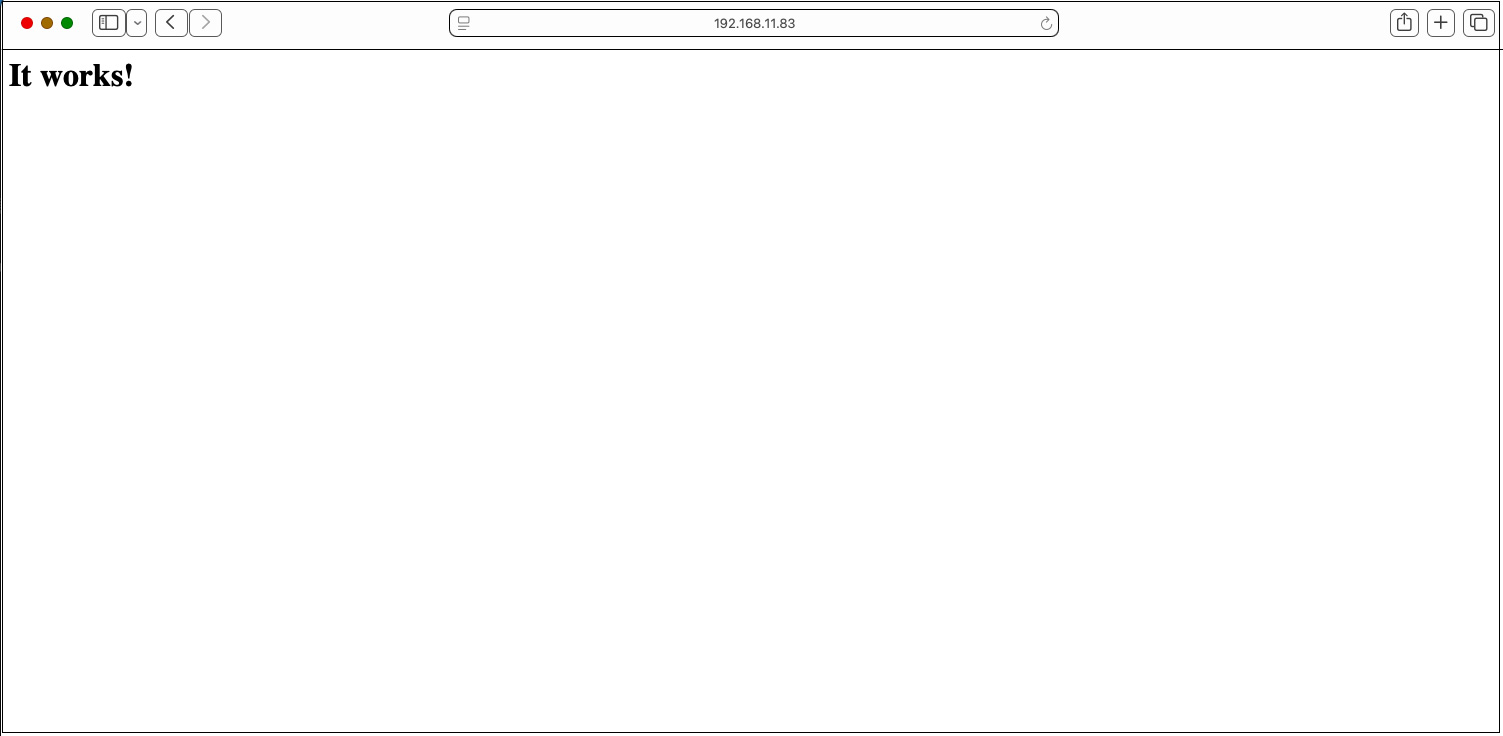
If you access the server from the client (http://server IP address [or domain name]) and see the following, it is normal.
1.4 Virtual Host Settings
document root: /usr/local/www/apache24/data/[FQDN]/
domain : [FQDN]
Set up virtual hosts
# vi /usr/local/etc/apache24/httpd.conf
Fill in the following at the end
Include etc/apache24/extra/bsd-vhost.conf
Create new bsd-vhost.conf under /usr/local/etc/apache24/extra
# cd /usr/local/etc/apache24/extra
# vi bsd-vhost.conf
Created with the following content
<VirtualHost *:80>
    ServerAdmin [Administrator's email address]
    DocumentRoot "/usr/local/www/apache24/data/[FQDN]"
    ServerName [FQDN]
    ErrorLog "/var/log/httpd/[FQDN].error_log"
    CustomLog "/var/log/httpd/[FQDN].access_log" common
</VirtualHost>
<Directory /usr/local/www/apache24/data/[FQDN]>
   AddHandler cgi-script .cgi
   Options FollowSymlinks Includes
   AllowOverride All
   Require all granted
</Directory>
directory creation
# mkdir /var/log/httpd
# mkdir /usr/local/www/apache24/data/[FQDN]
# chown -R www:www /usr/local/www/apache24/data/[FQDN]
Apache restart
# service apache24 restart
Performing sanity check on apache24 configuration:
Syntax OK
Stopping apache24.
Waiting for PIDS: 5034.
Performing sanity check on apache24 configuration:
Syntax OK
Starting apache24.
1.5 apache24 - Running cgi
p5-CGI Installation
Verify installation using the following command
(To use portversion, portupgrade must be installed beforehand.)
# portversion -v | grep p5-CGI
[Reading data from pkg(8) ... - 125 packages found - done]
If it is not installed, install it with the following command
# pkg install p5-CGI
httpd.conf editing
# vi /usr/local/etc/apache24/httpd.conf

Line 166,169 : Uncomment
<IfModule !mpm_prefork_module>
    LoadModule cgid_module libexec/apache24/mod_cgid.so
</IfModule>
<IfModule mpm_prefork_module>
    LoadModule cgi_module libexec/apache24/mod_cgi.so
</IfModule>

Line 431 : Uncomment
AddHandler cgi-script .cgi
Apache restart
# service apache24 restart
2. MySQL Install
Install MySQL before installing PHP
# pkg install -y mysql84-client mysql84-server
Check version
# mysql --version
mysql  Ver 8.4.9 for FreeBSD15.0 on amd64 (Source distribution)
Enable and start MySQL
# sysrc mysql_enable=yes
mysql_enable:  -> yes

# service mysql-server start
Starting mysql.
MySQL Startup Confirmation
# service mysql-server status
mysql is running as pid 6311.
Running Security Scripts
# mysql_secure_installation

Securing the MySQL server deployment.

Connecting to MySQL using a blank password.

VALIDATE PASSWORD COMPONENT can be used to test passwords
and improve security. It checks the strength of password
and allows the users to set only those passwords which are
secure enough. Would you like to setup VALIDATE PASSWORD component?

Press y|Y for Yes, any other key for No: y

There are three levels of password validation policy:

LOW    Length >= 8
MEDIUM Length >= 8, numeric, mixed case, and special characters
STRONG Length >= 8, numeric, mixed case, special characters and dictionary                  file

Please enter 0 = LOW, 1 = MEDIUM and 2 = STRONG: 0
Please set the password for root here.

New password:

Re-enter new password:

Estimated strength of the password: 100
Do you wish to continue with the password provided?(Press y|Y for Yes, any other key for No) : y
By default, a MySQL installation has an anonymous user,
allowing anyone to log into MySQL without having to have
a user account created for them. This is intended only for
testing, and to make the installation go a bit smoother.
You should remove them before moving into a production
environment.

Remove anonymous users? (Press y|Y for Yes, any other key for No) : y
Success.


Normally, root should only be allowed to connect from
'localhost'. This ensures that someone cannot guess at
the root password from the network.

Disallow root login remotely? (Press y|Y for Yes, any other key for No) : y
Success.

By default, MySQL comes with a database named 'test' that
anyone can access. This is also intended only for testing,
and should be removed before moving into a production
environment.


Remove test database and access to it? (Press y|Y for Yes, any other key for No) : y
 - Dropping test database...
Success.

 - Removing privileges on test database...
Success.

Reloading the privilege tables will ensure that all changes
made so far will take effect immediately.

Reload privilege tables now? (Press y|Y for Yes, any other key for No) : y
Success.

All done!
To log in to the mysql server afterwards
# mysql -u root -p
Enter password: Password set above
3. apache24 - PHP 8.3
3.1 PHP Install
When I search for "php" using pkg search, the results include php82-8.2.30, php83-8.3.30, php84-8.4.19, and php85-8.5.4, but for this example, I'll install php83.
# pkg install php83
3.2 php83-extensions Install
# pkg install php83-extensions
3.3 mod_php83 Install
# pkg install mod_php83
3.4 PHP - initialization
①Configuration file "php.ini" setting
# cd /usr/local/etc/
# cp php.ini-production php.ini

# vi /usr/local/etc/php.ini

Line 713
post_max_size = 300M

Line 865
upload_max_filesize = 200M

Line 989 : Uncommented and added "Asia/Tokyo" to the time zone setting.
[Date]
; Defines the default timezone used by the date functions
; http://php.net/date.timezone
date.timezone = "Asia/Tokyo"
➁httpd.conf editing
# vi /usr/local/etc/apache24/httpd.conf

Line 284 : Use "index.php" as directory index
<IfModule dir_module>
    DirectoryIndex index.html index.php index.cgi ←Add
</IfModule>

Per Line423
Add the following two lines.
AddType application/x-httpd-php .php
AddType application/x-httpd-php-source .phps
Apache Configuration Check
If "Syntax OK" is displayed, it is normal.
# service apache24 configtest
Performing sanity check on apache24 configuration:
Syntax OK
Apache restart
# service apache24 restart
3.5 PHP operation check
Create "info.php" in the document root of the web server
# vi /usr/local/www/apache24/data/[FQDN]/info.php
<?php
 phpinfo();
 ?>
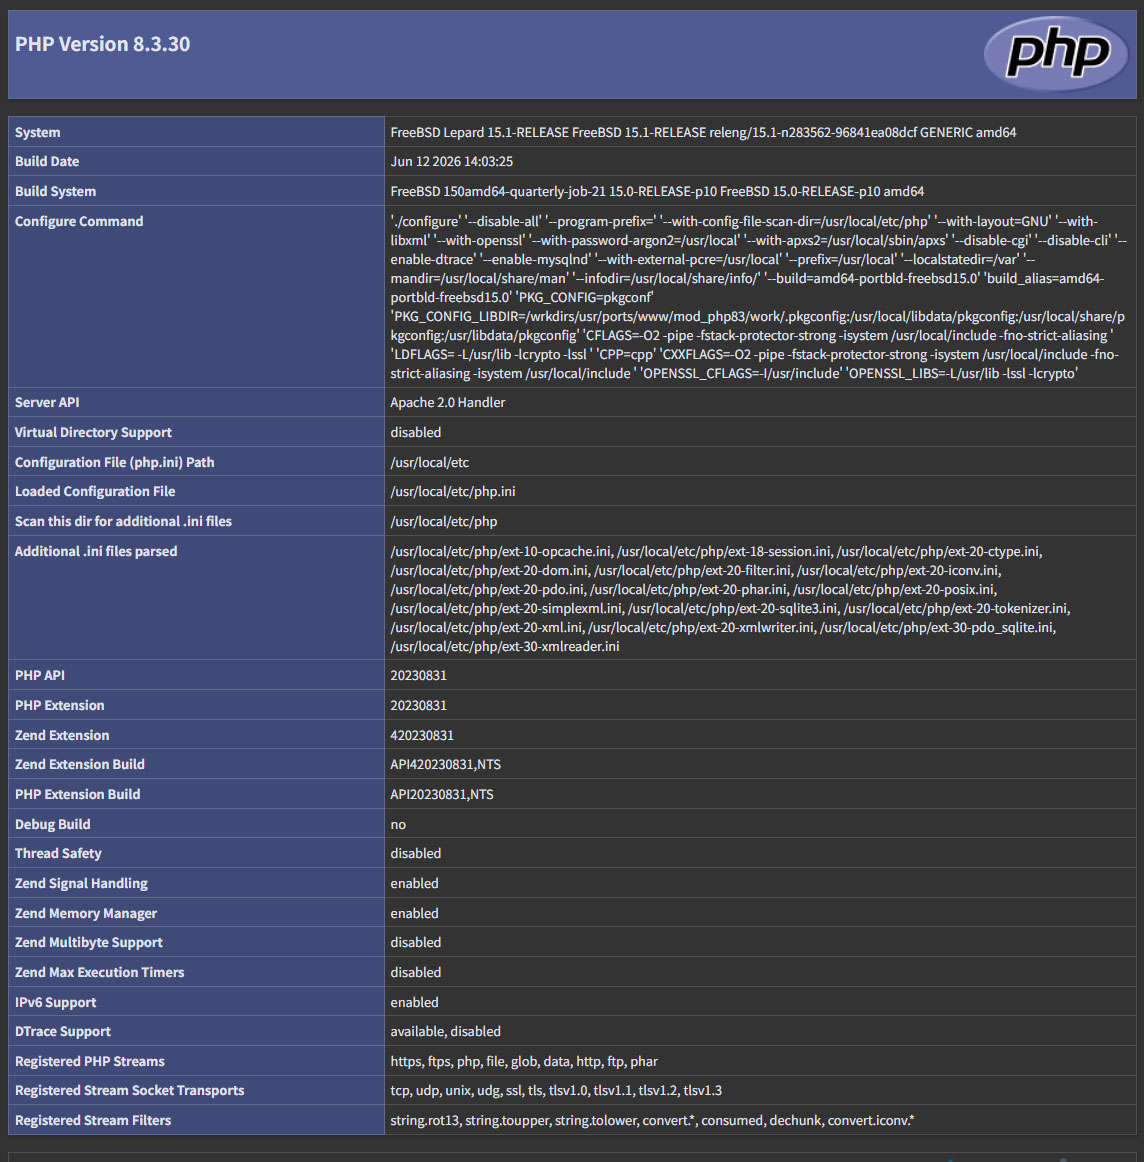
If you access "http://[FQDN]/info.php" with a browser and see the following, it is OK
4. WordPress Install
4.1 Changing MySQL 8.4 Settings
In MySQL 8.4, the "mysql_native_password" authentication plugin is disabled by default and has been replaced by "caching_sha2_password."
To use the "mysql_native_password" authentication plugin, create a new configuration file as shown below
# vi /usr/local/etc/mysql/my.cnf

[mysqld]

mysql_native_password=ON
Restart the MySQL service
# service mysql-server restart
4.2 Create a database for WordPress
For example, let's say the database is [wp_db], the database user is [wp_user], and the password is [?Ww123456].
# mysql -u root -p

Enter password: ←Enter the MySQL root password
Welcome to the MySQL monitor.  Commands end with ; or \g.
Your MySQL connection id is 8
Server version: 8.4.9 Source distribution

Copyright (c) 2000, 2026, Oracle and/or its affiliates.

Oracle is a registered trademark of Oracle Corporation and/or its
affiliates. Other names may be trademarks of their respective
owners.

Type 'help;' or '\h' for help. Type '\c' to clear the current input statement.

#Create a dedicated database managed by WordPress
mysql> CREATE DATABASE wp_db DEFAULT CHARACTER SET utf8 COLLATE utf8_unicode_ci;
Query OK, 1 row affected (0.00 sec)

#Create an account, set a password, and grant access to the database you created.
mysql>CREATE USER 'wp_user'@'localhost' IDENTIFIED WITH mysql_native_password BY '?Ww123456';
Query OK, 0 rows affected (0.04 sec)

Notify the database that the user needs full access to the configured database.
mysql> GRANT ALL ON wp_db.* TO 'wp_user'@'localhost';
Query OK, 0 rows affected (0.04 sec)

#Reload Permissions
mysql> flush privileges;

#Exit MySQL
mysql> exit;
Bye
4.3 WordPress Download and Extract
# pkg install wget
# cd  /usr/local/www/apache24/data/[FQDN]/
# wget http://wordpress.org/latest.tar.gz
# tar xvf latest.tar.gz
4.4 Editing WordPress Configuration Files
# cd wordpress/
# cp wp-config-sample.php wp-config.php
# vi wp-config.php

Line 23 : Database Specification
define( 'DB_NAME', 'wp_db' );

Line 26 : User-specified
define( 'DB_USER', 'wp_user' );

Line 29 : Password Specification
define( 'DB_PASSWORD', '?Ww123456' );

Add the following to the last line. If you don't do this, you'll be asked for FTP connection information when adding a plugin.
define('FS_METHOD', 'direct');
4.5 Moving Files
①Move the contents extracted into the WordPress document directory
# cd  /usr/local/www/apache24/data/[FQDN]/
# mv wordpress/* .
After confirming that the files have been moved, delete the WordPress directory and the downloaded latest.tar.gz file.
# cd /var/www/html/[FQDN]
# rm -R -f wordpress
# rm -f latest.tar.gz
Set the owner of the WordPress directory to Apache.
# chown -R www:www /usr/local/www/apache24/data/[FQDN]/
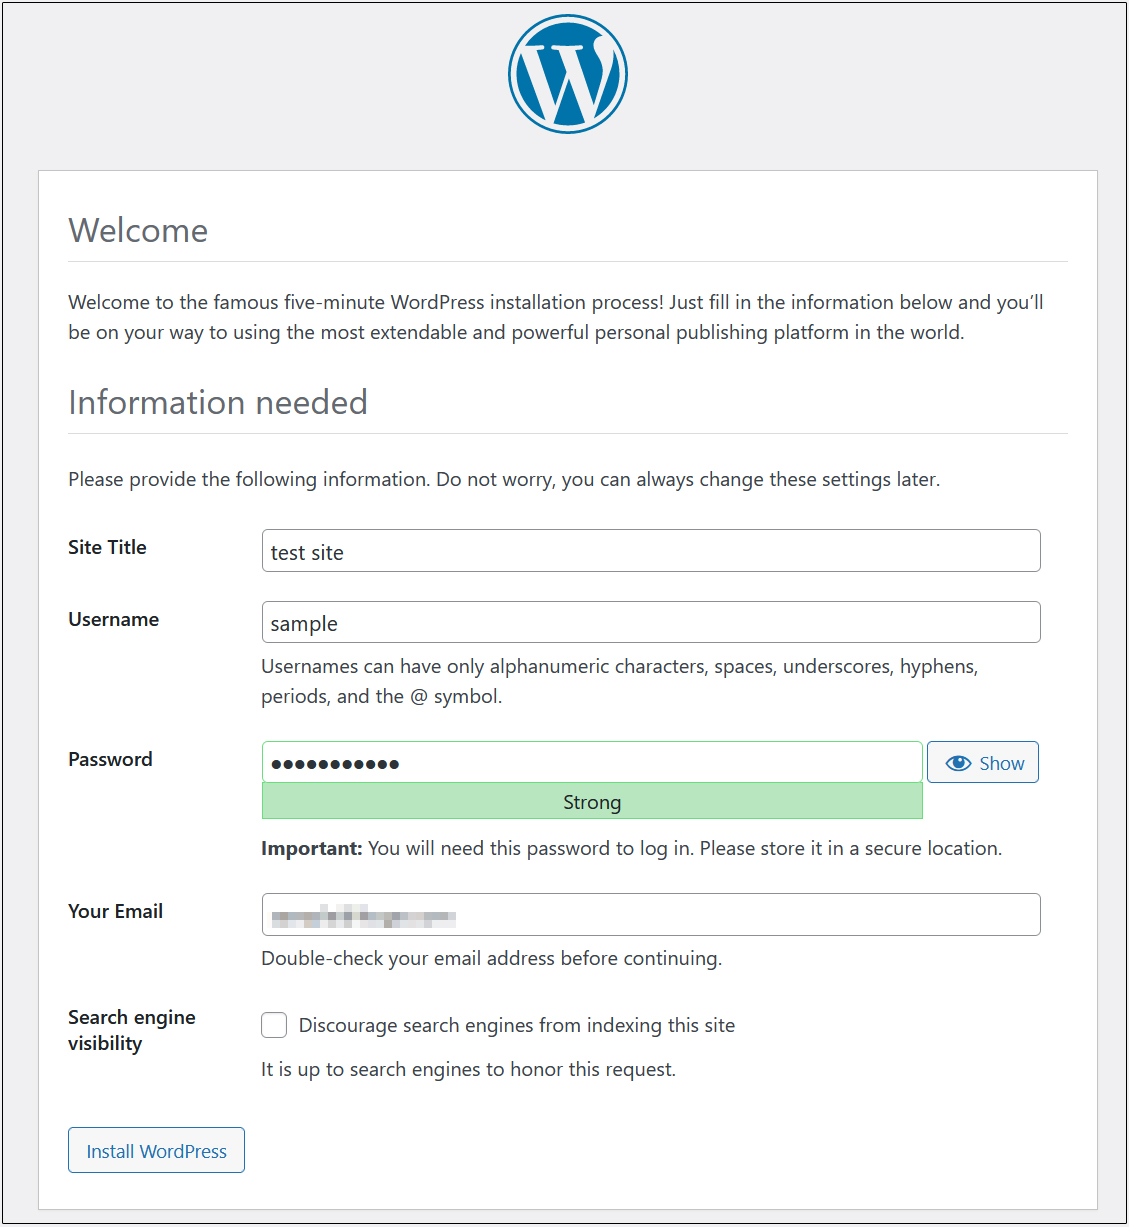
4.6 Start the WordPress Installation
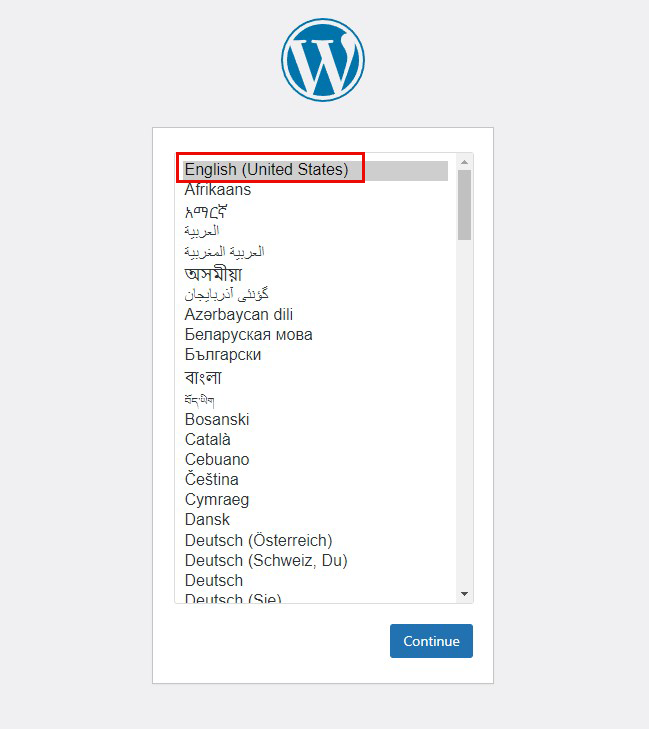
Open your browser and go to http://[FQDN]/wp-admin/install.php, enter the required information—such as your username and password—and start the installation.
"Your PHP installation appears to be missing the MySQL extension which is required by WordPress."
When the message above appears, install the following and restart Apache and MySQL.
# pkg install php83-mysqli-8.3.30
# service mysql-server restart
# service apache24 restart
If you encounter the error "Uncaught Error: Call to undefined function WpOrg\Requests\gzinflate() in" during debugging,
it is because the "zlib" extension is not installed in your PHP environment.
Install as follows:
# pkg install php83-zlib-8.3.30
# service apache24 restart
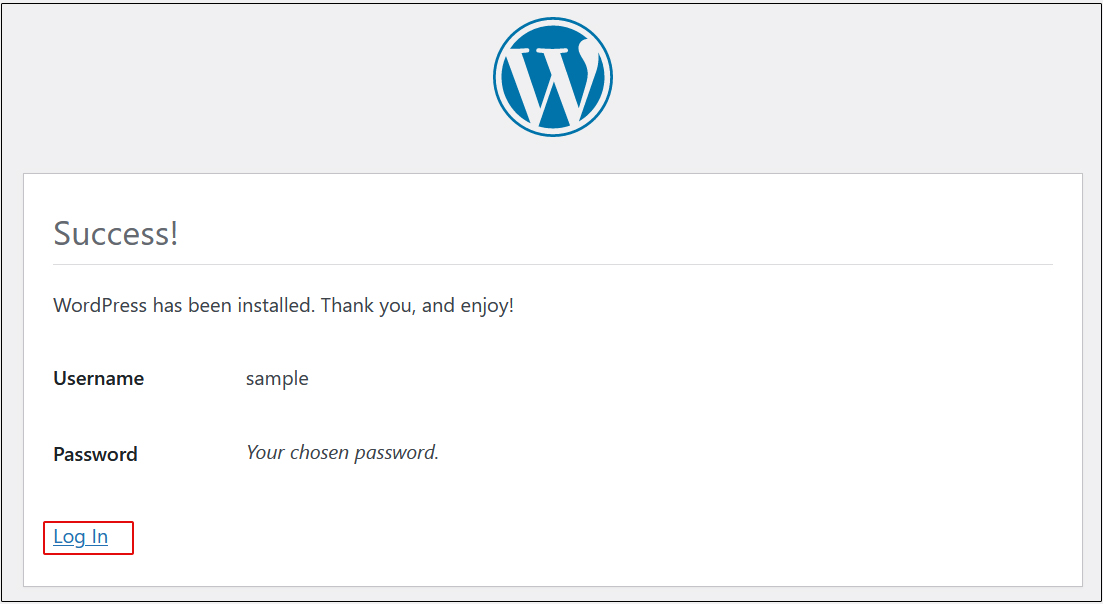
Again go to http://[FQDN]/wp-admin/install.php
Click on "Login"
User Name : The user name you have just set
Password : User's password you have just set
and click "Login".
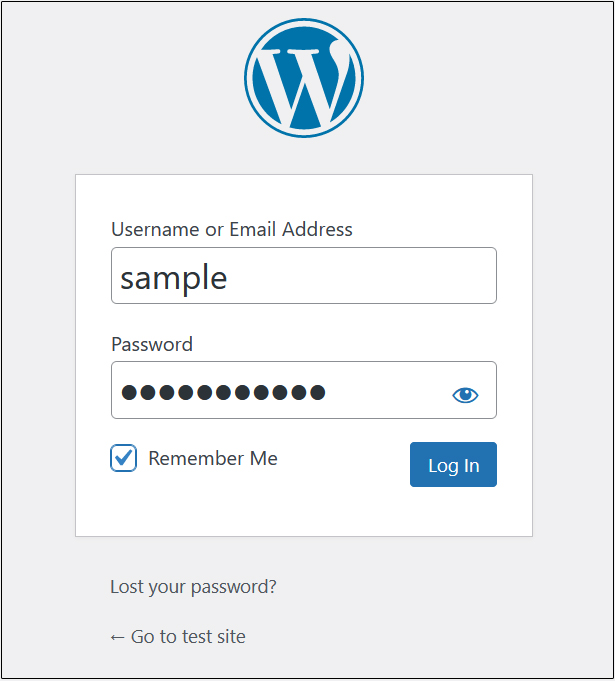
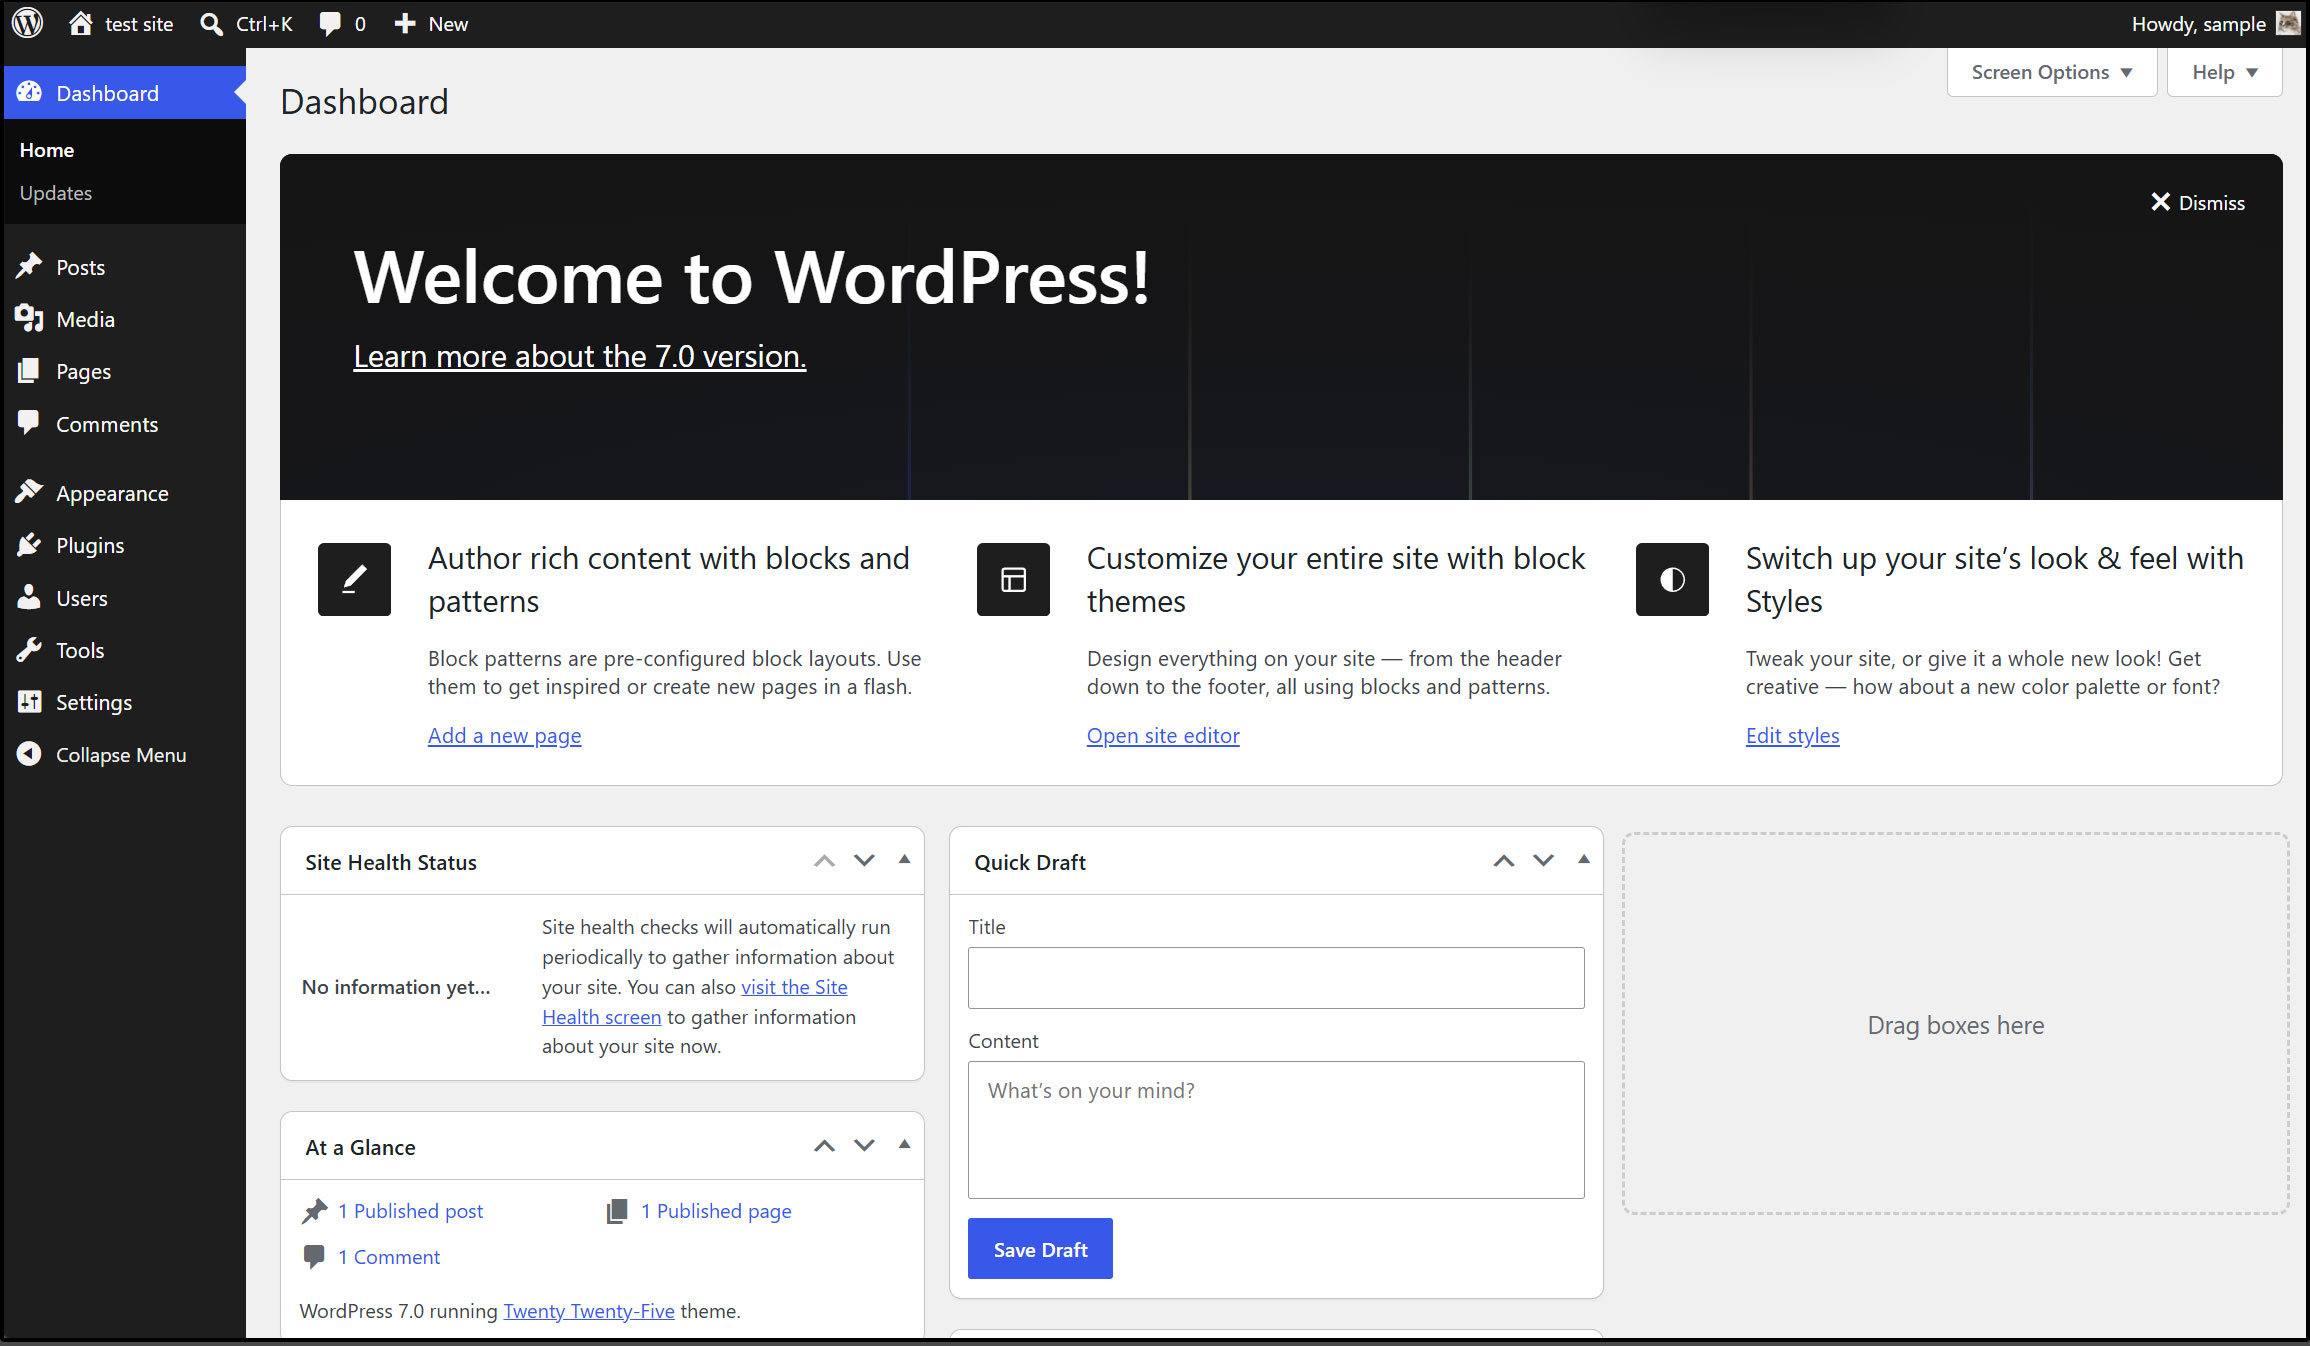
After successfully logging in, you will be able to access the following WordPress admin page