1. MariaDBインストール
1.1 インストール
# apt -y install mariadb-server
MariaDBlバージョン確認
# mariadb -V
mariadb from 11.8.6-MariaDB, client 15.2 for debian-linux-gnu (x86_64) using  EditLine wrapper
1.2 MariaDBサーバのセキュリティ設定
MariaDBには、デフォルトのセキュリティスクリプトであるmariadb-secure-installationが付属しており、これを使用してMariaDBインストールの下記のようなセキュリティを向上させることができます。
rootアカウントのパスワードを設定する(必要な場合)。
データベースへのリモートrootログインを無効化する。
匿名ユーザーアカウントを削除する。
デフォルトで匿名ユーザーがアクセスできるテストデータベースを削除する。
# systemctl restart mariadb
# mariadb-secure-installation
インストール状況
NOTE: RUNNING ALL PARTS OF THIS SCRIPT IS RECOMMENDED FOR ALL MariaDB
SERVERS IN PRODUCTION USE! PLEASE READ EACH STEP CAREFULLY!
In order to log into MariaDB to secure it, we'll need the current
password for the root user. If you've just installed MariaDB, and
haven't set the root password yet, you should just press enter here.
Enter current password for root (enter for none): [Enter]
OK, successfully used password, moving on…
Setting the root password or using the unix_socket ensures that nobody
can log into the MariaDB root user without the proper authorisation.
You already have your root account protected, so you can safely answer 'n'.
Switch to unix_socket authentication [Y/n] y
Enabled successfully!
Reloading privilege tables..
… Success!
You already have your root account protected, so you can safely answer 'n'.
Change the root password? [Y/n] y
New password: [Any Password]
Re-enter new password: [Any Password again]
Password updated successfully!
Reloading privilege tables..
… Success!
By default, a MariaDB installation has an anonymous user, allowing anyone
to log into MariaDB without having to have a user account created for
them. This is intended only for testing, and to make the installation
go a bit smoother. You should remove them before moving into a
production environment.
Remove anonymous users? [Y/n] y
… Success!
Normally, root should only be allowed to connect from 'localhost'. This
ensures that someone cannot guess at the root password from the network.
Disallow root login remotely? [Y/n] y
… Success!
By default, MariaDB comes with a database named 'test' that anyone can
access. This is also intended only for testing, and should be removed
before moving into a production environment.
Remove test database and access to it? [Y/n] y
- Dropping test database…
… Success! - Removing privileges on test database…
… Success!
Reloading the privilege tables will ensure that all changes made so far
will take effect immediately.
Reload privilege tables now? [Y/n] y
… Success!
Cleaning up…
All done! If you've completed all of the above steps, your MariaDB
installation should now be secure.
Thanks for using MariaDB!
以降 MariaDBにアクセスするときは
# mariadb -u root -p
Enter password: (上記で設定した新しいパスワードを入力)
1.3 phpMyAdmin
phpMyAdmin をインストールして、Web ブラウザ経由で MariaDB の操作ができるように設定
①インストール
# apt -y install phpmyadmin
phpMyAdmin を使用する Webサーバーの選択、今回はApache2
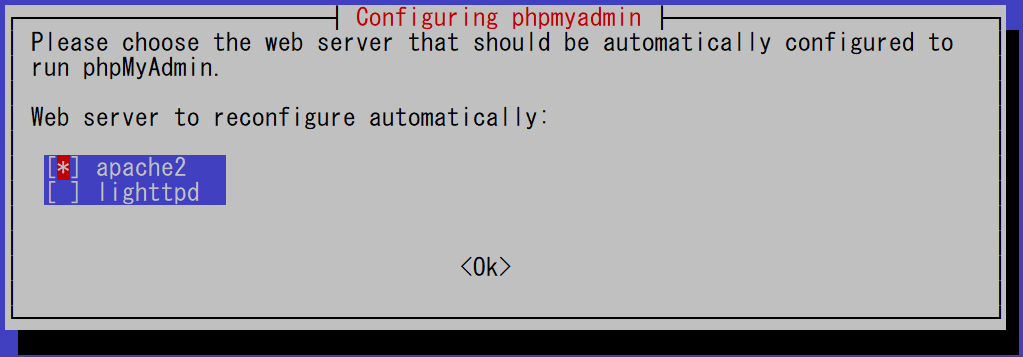
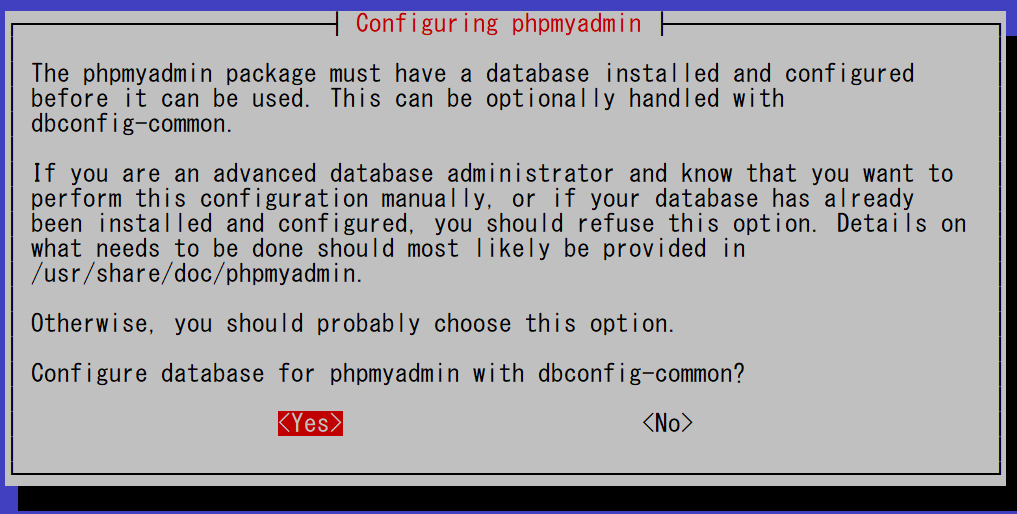
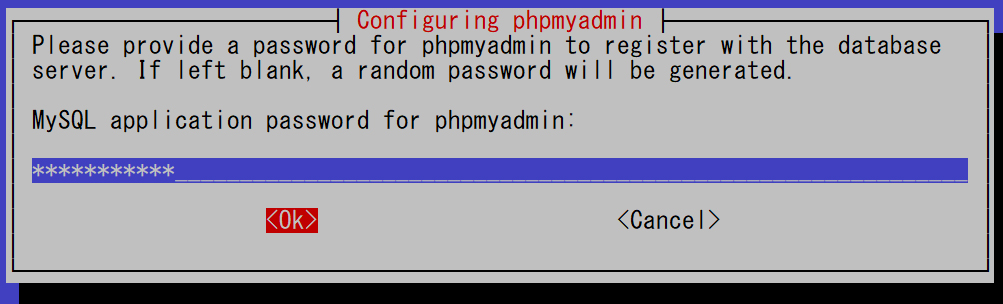
MariaDB パスワード
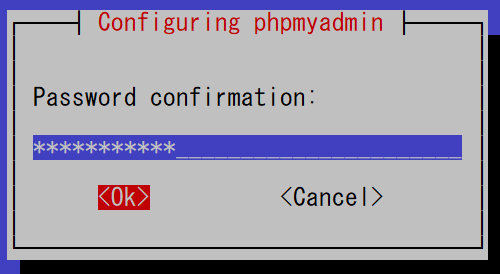
MariaDB パスワード再度確認
apache.conf編集
# vi /etc/phpmyadmin/apache.conf

8行目 : アクセス許可する範囲を追記
Require ip 127.0.0.1 192.168.11.0/24  ←各自環境に合わす
Apache再起動
# systemctl restart apache2
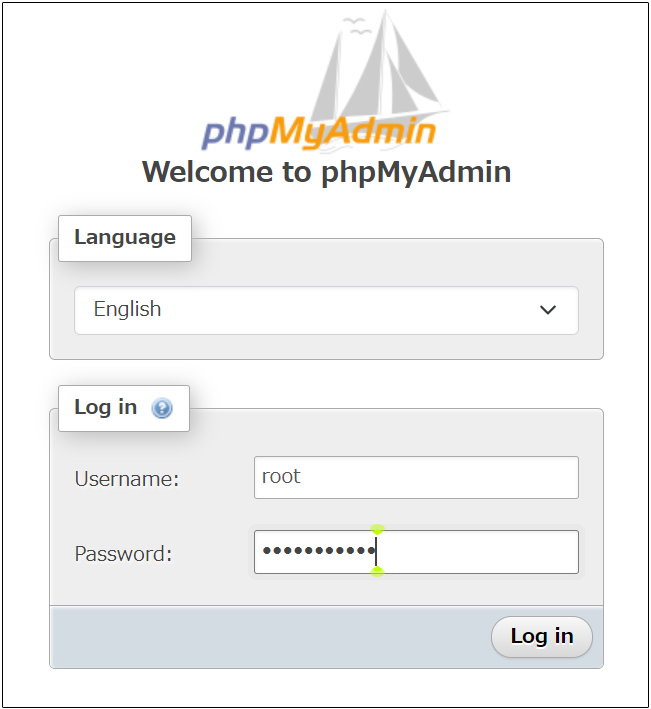
②ブラウザで http://[IPアドレス]/phpmyadmin にアクセス
下記のログイン画面が表示されるので
Username : root
Password: MariaDBのセキュリティーインストールで設定したrootユーザーのパスワード
Log in クリック
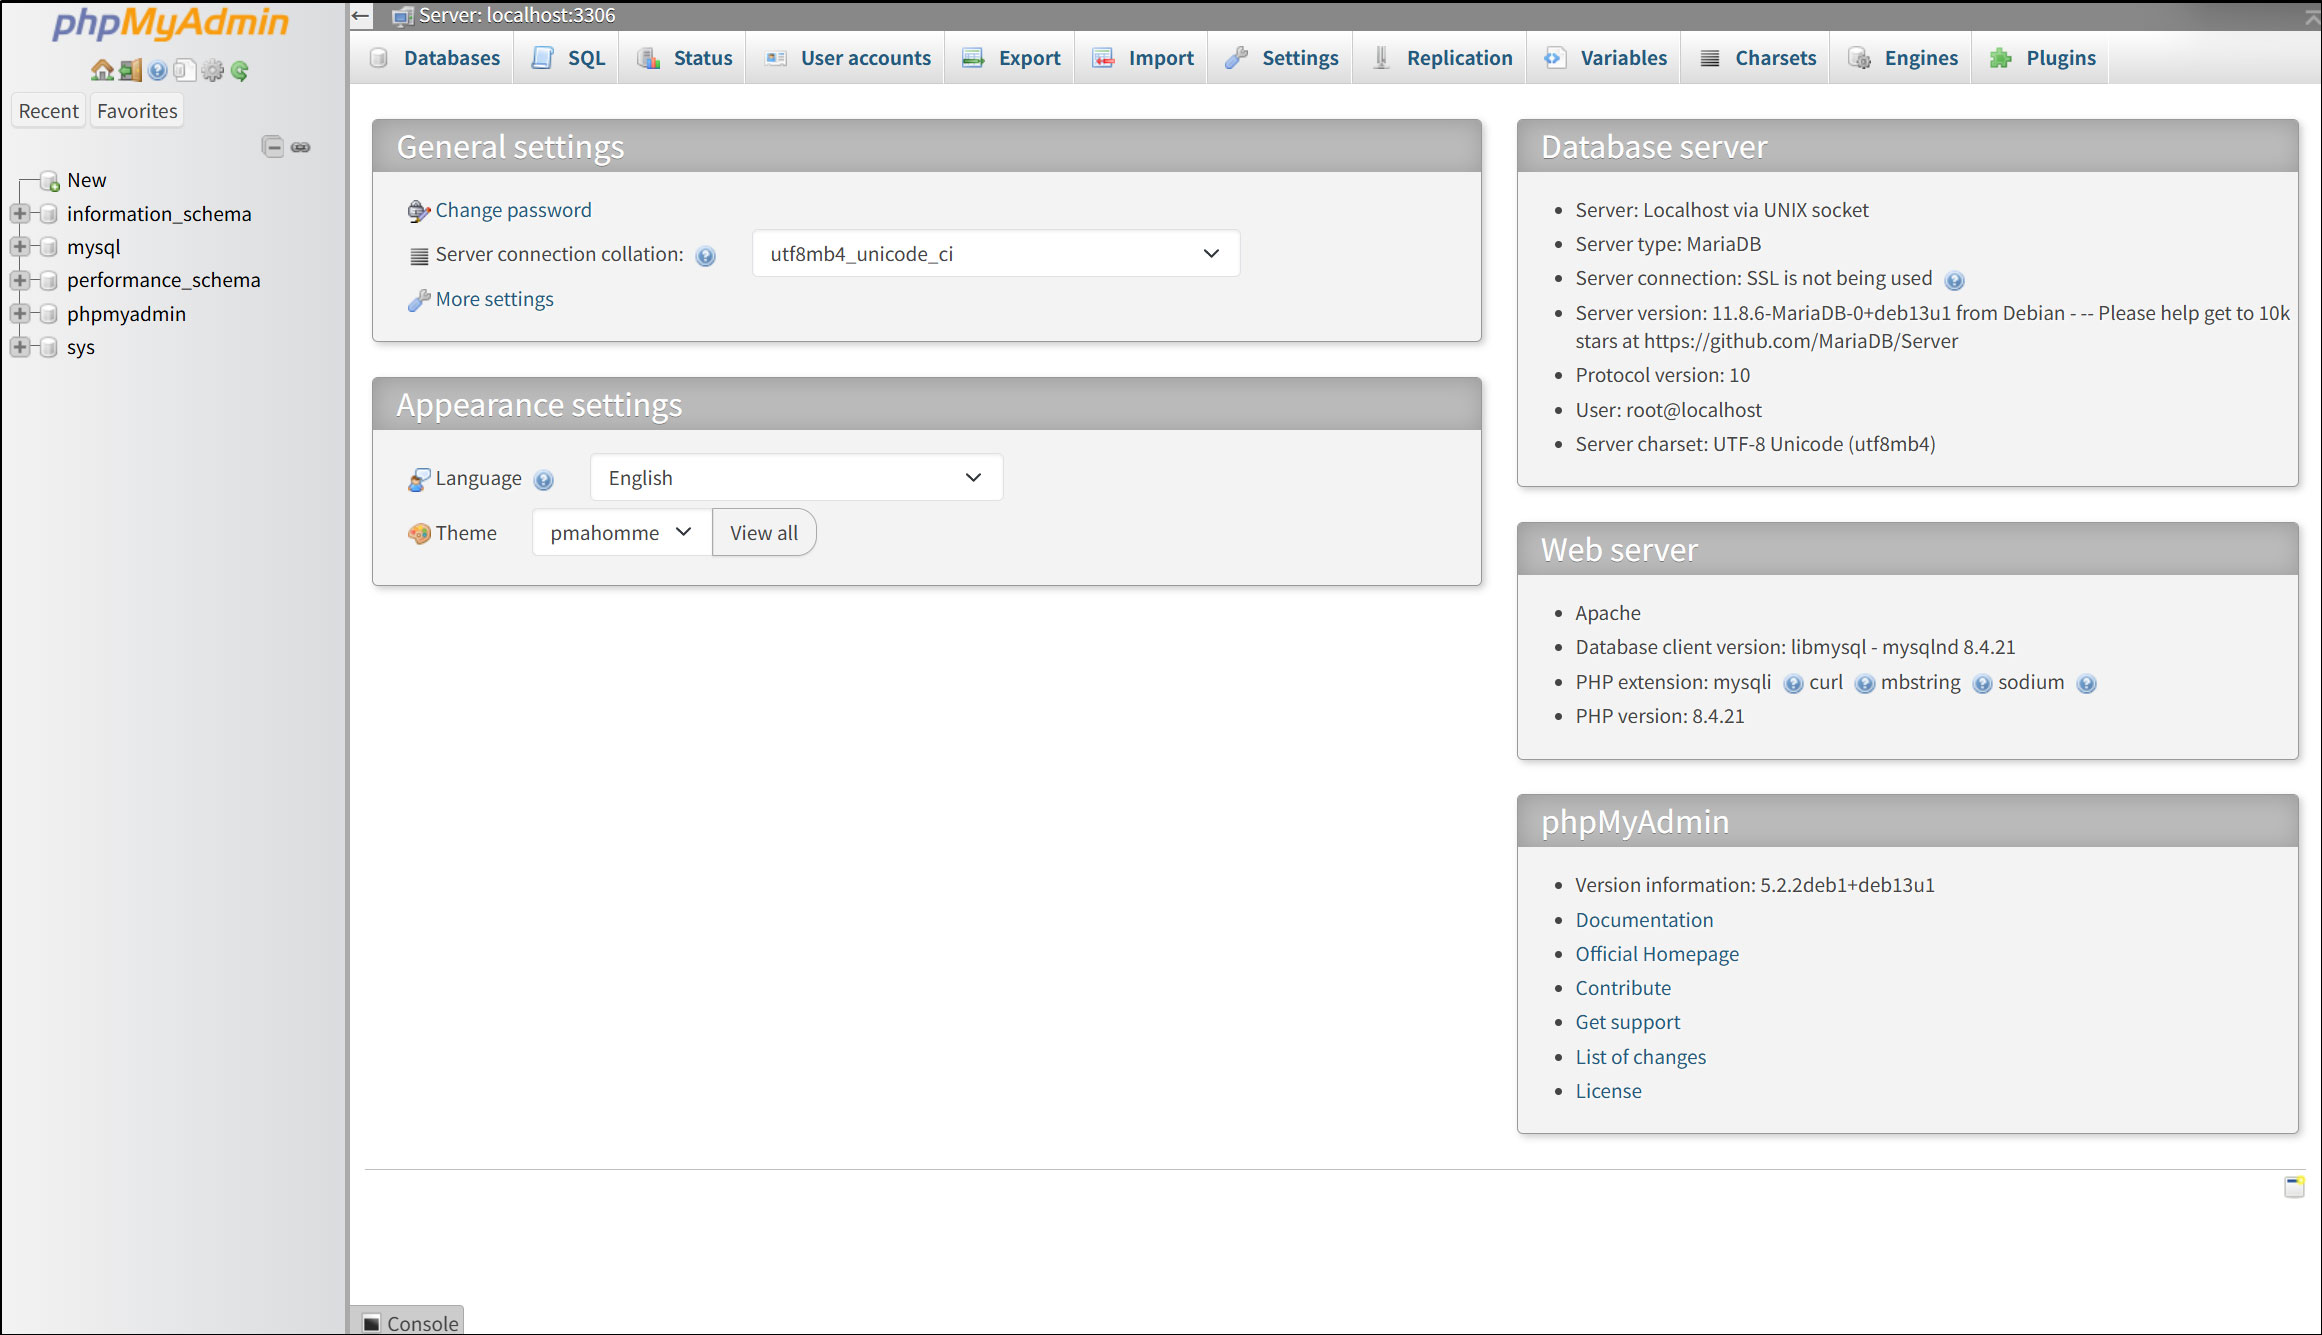
下記phpMyAdminの設定画面が表示される
2.WordPressインストール
2.1 データベース作成
Word Press 用のデータベースを作成します(例として今回はデータベース名を 「wp_db」、ユーザー名を「wp_user」、パスワードを「?Y123456y」)
# mariadb -u root -p

Enter password:
Welcome to the MariaDB monitor.  Commands end with ; or \g.
Your MariaDB connection id is 97
Server version: 11.8.6-MariaDB-0+deb13u1 from Debian -- Please help get to 10k stars at https://github.com/MariaDB/Server

Copyright (c) 2000, 2018, Oracle, MariaDB Corporation Ab and others.

Type 'help;' or '\h' for help. Type '\c' to clear the current input statement.

MariaDB [(none)]> create database wp_db;
Query OK, 1 row affected (0.001 sec)

MariaDB [(none)]> create user 'wp_user'@'localhost' identified by '?Y123456y';
Query OK, 0 rows affected (0.001 sec)

MariaDB [(none)]> grant all on wp_db.* to 'wp_user'@'localhost';
Query OK, 0 rows affected (0.001 sec)

MariaDB [(none)]> flush privileges;
Query OK, 0 rows affected (0.001 sec)

MariaDB [(none)]> exit
Bye
2.2 WordPressダウンロードとインストール
①ダウンロードと展開
# cd /var/www/html/<FQDN>
# wget http://ja.wordpress.org/latest-ja.tar.gz
# tar xvf latest-ja.tar.gz
②Wordpress設定ファイルの編集
# cd wordpress/
# cp wp-config-sample.php wp-config.php
wp-config.phpの編集内容
# vi wp-config.php

<?php
/**
 * The base configuration for WordPress
 *
 * The wp-config.php creation script uses this file during the installation.
 * You don't have to use the website, you can copy this file to "wp-config.php"
 * and fill in the values.
 *
 * This file contains the following configurations:
 *
 * * Database settings
 * * Secret keys
 * * Database table prefix
 * * ABSPATH
 *
 * @link https://developer.wordpress.org/advanced-administration/wordpress/wp-config/
 *
 * @package WordPress
 */

// ** Database settings - You can get this info from your web host ** //
/** The name of the database for WordPress */
define( 'DB_NAME', 'wp_db' );  ←「2.1 データベース作成」で作成したデータベース名

/** Database username */
define( 'DB_USER', 'wp_user' );  ←「2.1 データベース作成」で作成したユーザー名

/** Database password */
define( 'DB_PASSWORD', '?Y123456y' );  ←「2.1 データベース作成」で作成したユーザー用パスワード

/** Database hostname */
define( 'DB_HOST', 'localhost' );

/** Database charset to use in creating database tables. */
define( 'DB_CHARSET', 'utf8mb4' );

/** The database collate type. Don't change this if in doubt. */
define( 'DB_COLLATE', '' );

/**#@+
 * Authentication unique keys and salts.
 *
 * Change these to different unique phrases! You can generate these using
 * the {@link https://api.wordpress.org/secret-key/1.1/salt/ WordPress.org secret-key service}.
 *
 * You can change these at any point in time to invalidate all existing cookies.
 * This will force all users to have to log in again.
 *
 * @since 2.6.0
 */
define( 'AUTH_KEY',         'put your unique phrase here' );
define( 'SECURE_AUTH_KEY',  'put your unique phrase here' );
define( 'LOGGED_IN_KEY',    'put your unique phrase here' );
define( 'NONCE_KEY',        'put your unique phrase here' );
define( 'AUTH_SALT',        'put your unique phrase here' );
define( 'SECURE_AUTH_SALT', 'put your unique phrase here' );
define( 'LOGGED_IN_SALT',   'put your unique phrase here' );
define( 'NONCE_SALT',       'put your unique phrase here' );

/**#@-*/

/**
 * WordPress database table prefix.
 *
 * You can have multiple installations in one database if you give each
 * a unique prefix. Only numbers, letters, and underscores please!
 *
 * At the installation time, database tables are created with the specified prefix.
 * Changing this value after WordPress is installed will make your site think
 * it has not been installed.
 *
 * @link https://developer.wordpress.org/advanced-administration/wordpress/wp-config/#table-prefix
 */
$table_prefix = 'wp_';

/**
 * For developers: WordPress debugging mode.
 *
 * Change this to true to enable the display of notices during development.
 * It is strongly recommended that plugin and theme developers use WP_DEBUG
 * in their development environments.
 *
 * For information on other constants that can be used for debugging,
 * visit the documentation.
 *
 * @link https://developer.wordpress.org/advanced-administration/debug/debug-wordpress/
 */
define( 'WP_DEBUG', false );

/* Add any custom values between this line and the "stop editing" line. */


/* That's all, stop editing! Happy publishing. */

/** Absolute path to the WordPress directory. */
if ( ! defined( 'ABSPATH' ) ) {
        define( 'ABSPATH', __DIR__ . '/' );
}

/** Sets up WordPress vars and included files. */
require_once ABSPATH . 'wp-settings.php';

/** 最終行に以下の分を追加します。
これをしないと、プラグインを追加するときにFTP接続情報なるものを聞かれます。 */
define('FS_METHOD', 'direct');
wordpressディレクトリー内のすべてのファイルをドキュメントディレクトリー直下に移動する
# cd /var/www/html/<FQDN>
# mv wordpress/* .
移動されたことを確認後 wordpressディレクトリーとダウンロードしたlatest-ja.tar.gzを削除
# rm -R -f wordpress
# rm -f latest-ja.tar.gz
④wordpressディレクトリの所有者をapacheにします
# chown -R www-data:www-data /var/www/html/<FQDN>
⑤ブラウザからアクセスする
http://[FQDN]/wp-admin にアクセスします。
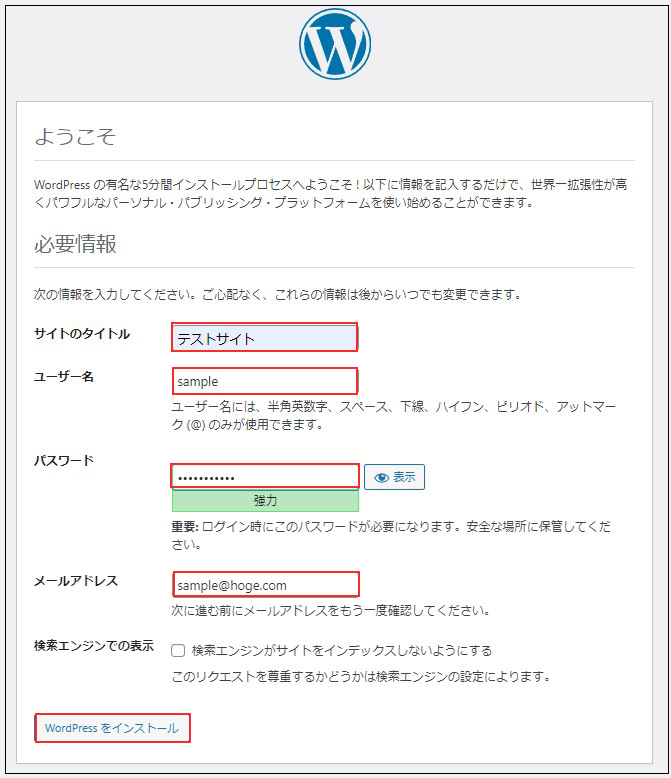
成功すると下記のWordpressインストール情報入力画面が出力されます。
下記入力画面で
- サイトのタイトル 任意の名称
- ユーザー名 任意の名称
- パスワード 任意のパスワード
- メールアドレス 管理者用メールアドレス
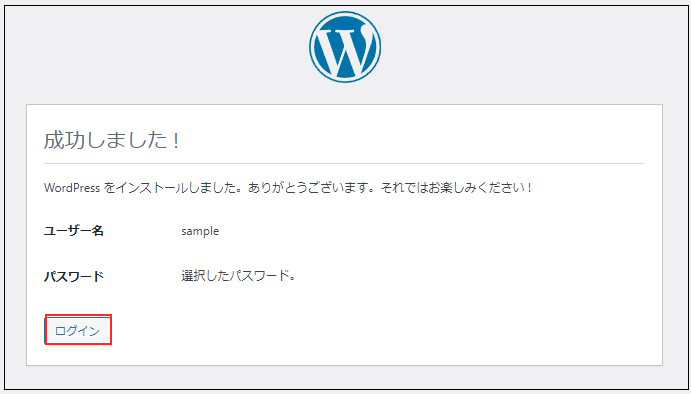
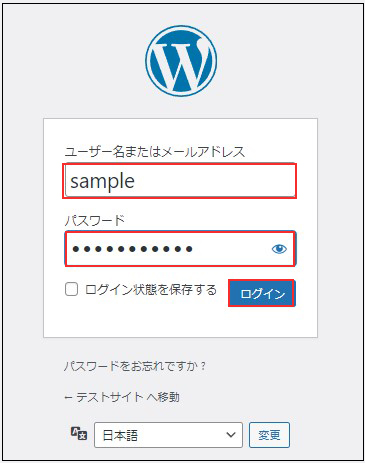
を入力し、「Wordpressインストール」をクリックする。「ユーザー名」「パスワード」はwordpress管理画面にアクセスするときに必要なため忘れないようにする。