1. Webサーバー(Apache)SSL化
portsでは更にFreeBSDの定期ジョブ設定による更新が行える。
certbotをpkgでインストールする。webrootモードで更新したいのでapache用のプラグインも入れる。
1.1 Let's Encrypt 用 Certbot ツールのインストール
インストールできるcertbotを検索する
# pkg search certbot

py311-certbot-4.2.0,1          Let's Encrypt client
py311-certbot-apache-4.2.0     Apache plugin for Certbot
py311-certbot-dns-cloudflare-4.2.0 Cloudflare DNS plugin for Certbot
py311-certbot-dns-cpanel-0.4.0_1 CPanel DNS Authenticator plugin for Certbot
py311-certbot-dns-digitalocean-4.2.0 DigitalOcean DNS Authenticator plugin for Certbot
py311-certbot-dns-dnsimple-4.2.0 DNSimple DNS Authenticator plugin for Certbot
py311-certbot-dns-dnsmadeeasy-4.2.0 DNS Made Easy DNS Authenticator plugin for Certbot
py311-certbot-dns-gandi-1.5.0_1 Gandi LiveDNS plugin for Certbot
-----------------------------------------------------------------------------------------------------
py311-certbot のみインストールできます
以下のコマンドを実行して、CertbotパッケージとApache HTTPプラグインをインストールします
# pkg install py311-certbot py311-certbot-apache
1.2 Apache 設定ファイル編集
①mod_sslモジュールを有効にする
httpsポート追加
# vi  /usr/local/etc/apache24/httpd.conf

53行目あたりに追加
Listen 443

92行目当たりコメント解除
LoadModule socache_shmcb_module libexec/apache24/mod_socache_shmcb.so

148行目あたりコメント解除
LoadModule ssl_module libexec/apache24/mod_ssl.so
1.3 Rewriteモジュールを有効にする
HTTPからHTTPSにリダイレクトする際にURLを変更するために必要
# vi /usr/local/etc/apache24/httpd.conf

181行目あたりコメント解除
LoadModule rewrite_module libexec/apache24/mod_rewrite.so
Apache24再起動
# service apache24 restart
1.4 Let's Encrypt証明書の取得
単一ドメイン[FQDN]のみをカバーする証明書を取得するには、以下のcertbotコマンドを実行する:
今回は--standaloneオプションを使い取得しますので、一度apacheを停止します
# service apache24 stop
# certbot certonly --standalone -d [FQDN]

Saving debug log to /var/log/letsencrypt/letsencrypt.log
Enter email address or hit Enter to skip.
 (Enter 'c' to cancel): [E-mail address]

- - - - - - - - - - - - - - - - - - - - - - - - - - - - - - - - - - - - - - - -
Please read the Terms of Service at:
https://letsencrypt.org/documents/LE-SA-v1.7-June-04-2026.pdf
You must agree in order to register with the ACME server. Do you agree?
- - - - - - - - - - - - - - - - - - - - - - - - - - - - - - - - - - - - - - - -
(Y)es/(N)o: y

- - - - - - - - - - - - - - - - - - - - - - - - - - - - - - - - - - - - - - - -
Would you be willing, once your first certificate is successfully issued, to
share your email address with the Electronic Frontier Foundation, a founding
partner of the Let's Encrypt project and the non-profit organization that
develops Certbot? We'd like to send you email about our work encrypting the web,
EFF news, campaigns, and ways to support digital freedom.
- - - - - - - - - - - - - - - - - - - - - - - - - - - - - - - - - - - - - - - -
(Y)es/(N)o: y
Account registered.
Requesting a certificate for [FQDN]

Successfully received certificate.
Certificate is saved at: /usr/local/etc/letsencrypt/live/[FQDN]/fullchain.pem
Key is saved at:         /usr/local/etc/letsencrypt/live/[FQDN]/privkey.pem
This certificate expires on 2026-09-15.
These files will be updated when the certificate renews.

NEXT STEPS:
- The certificate will need to be renewed before it expires. Certbot can automatically renew the certificate in the background, but you may need to take steps to enable that functionality. See https://certbot.org/renewal-setup for instructions.

- - - - - - - - - - - - - - - - - - - - - - - - - - - - - - - - - - - - - - - -
If you like Certbot, please consider supporting our work by:
 * Donating to ISRG / Let's Encrypt:   https://letsencrypt.org/donate
 * Donating to EFF:                    https://eff.org/donate-le
- - - - - - - - - - - - - - - - - - - - - - - - - - - - - - - - - - - - - - - -
apache24を起動します
# service apache24 start
1.5 Apache設定ファイルの編集
①/usr/local/etc/apache24/extra/httpd-ssl.conf の編集
httpd-ssl.confをコピーしてbsd-httpd-ssl.confを作成し、編集する(bsd-httpd-sslは任意の名称)
# cp /usr/local/etc/apache24/extra/httpd-ssl.conf /usr/local/etc/apache24/extra/bsd-httpd-ssl.conf

# vi /usr/local/etc/apache24/extra/bsd-httpd-ssl.conf
36行目 : コメントアウト
#Listen 443

124-128行目 : 下記のように変更
 DocumentRoot "/usr/local/www/apache24/data/[FQDN]"
 ServerName [FQDN]:443
 ServerAdmin [mail address]
 ErrorLog "/var/log/[FQDN].httpd-error.log"
 TransferLog "/var/log/[FQDN].httpd-access.log"

129行目 : 追加
 CustomLog "/var/log/httpd/[FQDN].httpd-ssl-access.log" combined

144行目 : コメント
#SSLCertificateFile "/usr/local/etc/apache24/server.crt"

147行目 : 追加
 SSLCertificateFile "/usr/local/etc/letsencrypt/live/[FQDN]/cert.pem"

154行目 : コメント
#SSLCertificateKeyFile "/usr/local/etc/apache24/server.key"

157行目 : 追加
 SSLCertificateKeyFile "/usr/local/etc/letsencrypt/live/[FQDN]/privkey.pem"

166行目 : 追加
 SSLCertificateChainFile "/usr/local/etc/letsencrypt/live/[FQDN]/chain.pem"

287,288行目 : コメント
#CustomLog "/var/log/httpd-ssl_request.log" \
 #           "%t %h %{SSL_PROTOCOL}x %{SSL_CIPHER}x \"%r\" %b"

</VirtualHost>
➁bsd-httpd-ssl.conf をApacheに読み込ませるため、シンボリックリンクを作る
Includesディレクトリ内にある*.confファイルがインクルードされる
# ln -s /usr/local/etc/apache24/extra/bsd-httpd-ssl.conf /usr/local/etc/apache24/Includes/bsd-httpd-ssl.conf
1.6 HTTP 通信を HTTPS へリダイレクト
バーチャルホスト設定ファイルに下記を追記する
RewriteEngine on
RewriteCond %{HTTPS} off
RewriteRule ^(.*)$ https://%{HTTP_HOST}%{REQUEST_URI} [R=301,L]
# cd /usr/local/etc/apache24/extra
# vi bsd-vhost.conf

<VirtualHost *:80>
    RewriteEngine on
    RewriteCond %{HTTPS} off
    RewriteRule ^(.*)$ https://%{HTTP_HOST}%{REQUEST_URI} [R=301,L]
    ServerAdmin [E-mail address]
    DocumentRoot "/usr/local/www/apache24/data/[FQDN]"
    ServerName [FQDN]
    ErrorLog "/var/log/httpd/[FQDN].error_log"
    CustomLog "/var/log/httpd/[FQDN].access_log" common
</VirtualHost>
<Directory /usr/local/www/apache24/data/[FQDN]>
   AddHandler cgi-script .cgi
   Options FollowSymlinks Includes
   AllowOverride All
   Require all granted
</Directory>
2. Webminインストール
Webminは、LinuxなどのUnix系オペレーティングシステム (OS) を設定できるウェブブラウザベースのツールである。 ユーザーやディスク使用上限、サービス、設定ファイル等といったOS内部設定の変更を多数行え、ApacheやPHP、MySQLなどといった多くのオープンソースのアプリケーションの変更や制御を行える。
Webminは主にPerlで構築されており、独自のプロセス、そしてウェブサーバとして動作する。 初期設定では10000番のTCPポートで通信する。
2.1 インストール
# pkg install webmin
2.2 セットアップ
ログインユーザー ; admin
パスワード ; 任意
その他はデフォルトでEnter
以下の要領で初期セットアップを行います。
# /usr/local/lib/webmin/setup.sh
Welcome to the Webmin setup script, version 2.610
Webmin is a web-based interface that allows Unix-like operating
systems and common Unix services to be easily administered.
Installing Webmin in /usr/local/lib/webmin
Webmin uses separate directories for configuration files and log files.
Unless you want to run multiple versions of Webmin at the same time
you can just accept the defaults.
Config file directory [/usr/local/etc/webmin]: /usr/local/etc/webmin
Log file directory [/var/db/webmin]: /var/db/webmin
Webmin is written entirely in Perl. Please enter the full path to the
Perl 5 interpreter on your system.
Full path to perl (default /usr/local/bin/perl): /usr/local/bin/perl
Testing Perl ..
.. done
Operating system name: FreeBSD
Operating system version: 15.1
Webmin uses its own password protected web server to provide access
to the administration programs. The setup script needs to know :
- What port to run the web server on. There must not be another
web server already using this port. - The login name required to access the web server.
- The password required to access the web server.
- If the web server should use SSL (if your system supports it).
- Whether to start webmin at boot time.
Web server port (default 10000):
Login name (default admin): [enter]
Login password: [password]
Password again: [password]
Use SSL (y/n): y
**********************************************************
Creating web server config files ..
.. done
Creating access control file ..
.. done
Creating start and stop scripts ..
.. done
Copying config files ..
.. done
Changing ownership and permissions ..
.. done
Running postinstall scripts ..
.. done
Enabling background status collection ..
.. done
2.3 /etc/rc.conf の編集
# sysrc webmin_enable=YES
webmin_enable:  -> YES
2.4 起動
起動スクリプトは/usr/local/etc/rc.d/webmin
# service webmin start
Starting webmin.
Starting Webmin server in /usr/local/lib/webmin
2.5 WebminのSSL設定
webサーバーのSSL化で取得したLetsencryptets 証明書と秘密鍵を単一の.pemファイルに結合します。(今回はwebmin.pemとします)
# cat /usr/local/etc/letsencrypt/live/[FQDN]/fullchain.pem /usr/local/etc/letsencrypt/live/[FQDN]/privkey.pem > webmin.pem
webmin.pem 証明書ファイルを Webmin 設定ディレクトリに移動します
# mv webmin.pem /usr/local/etc/webmin/
Webminのメイン設定ファイルを編集
keyfileの項目を下記の通り書き換えます
# vi /usr/local/etc/webmin/miniserv.conf

30行目 : 変更
keyfile=/usr/local/etc/webmin/webmin.pem
webmin再起動
# service webmin restart
2.6 ログイン
事前にFirewallで10000ポートを開放しておく(ipfw.rulesに追記する)
外部から接続する場合はルータの変更も必要
ブラウザで
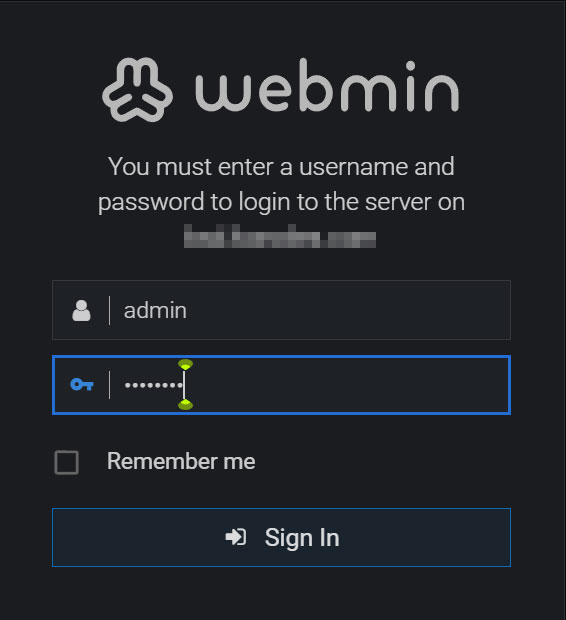
https://サーバドメイン名または IP アドレス:10000/にアクセスするとログイン画面が表示されます。
設定しておいたユーザ(admin)とパスワードでログインします。
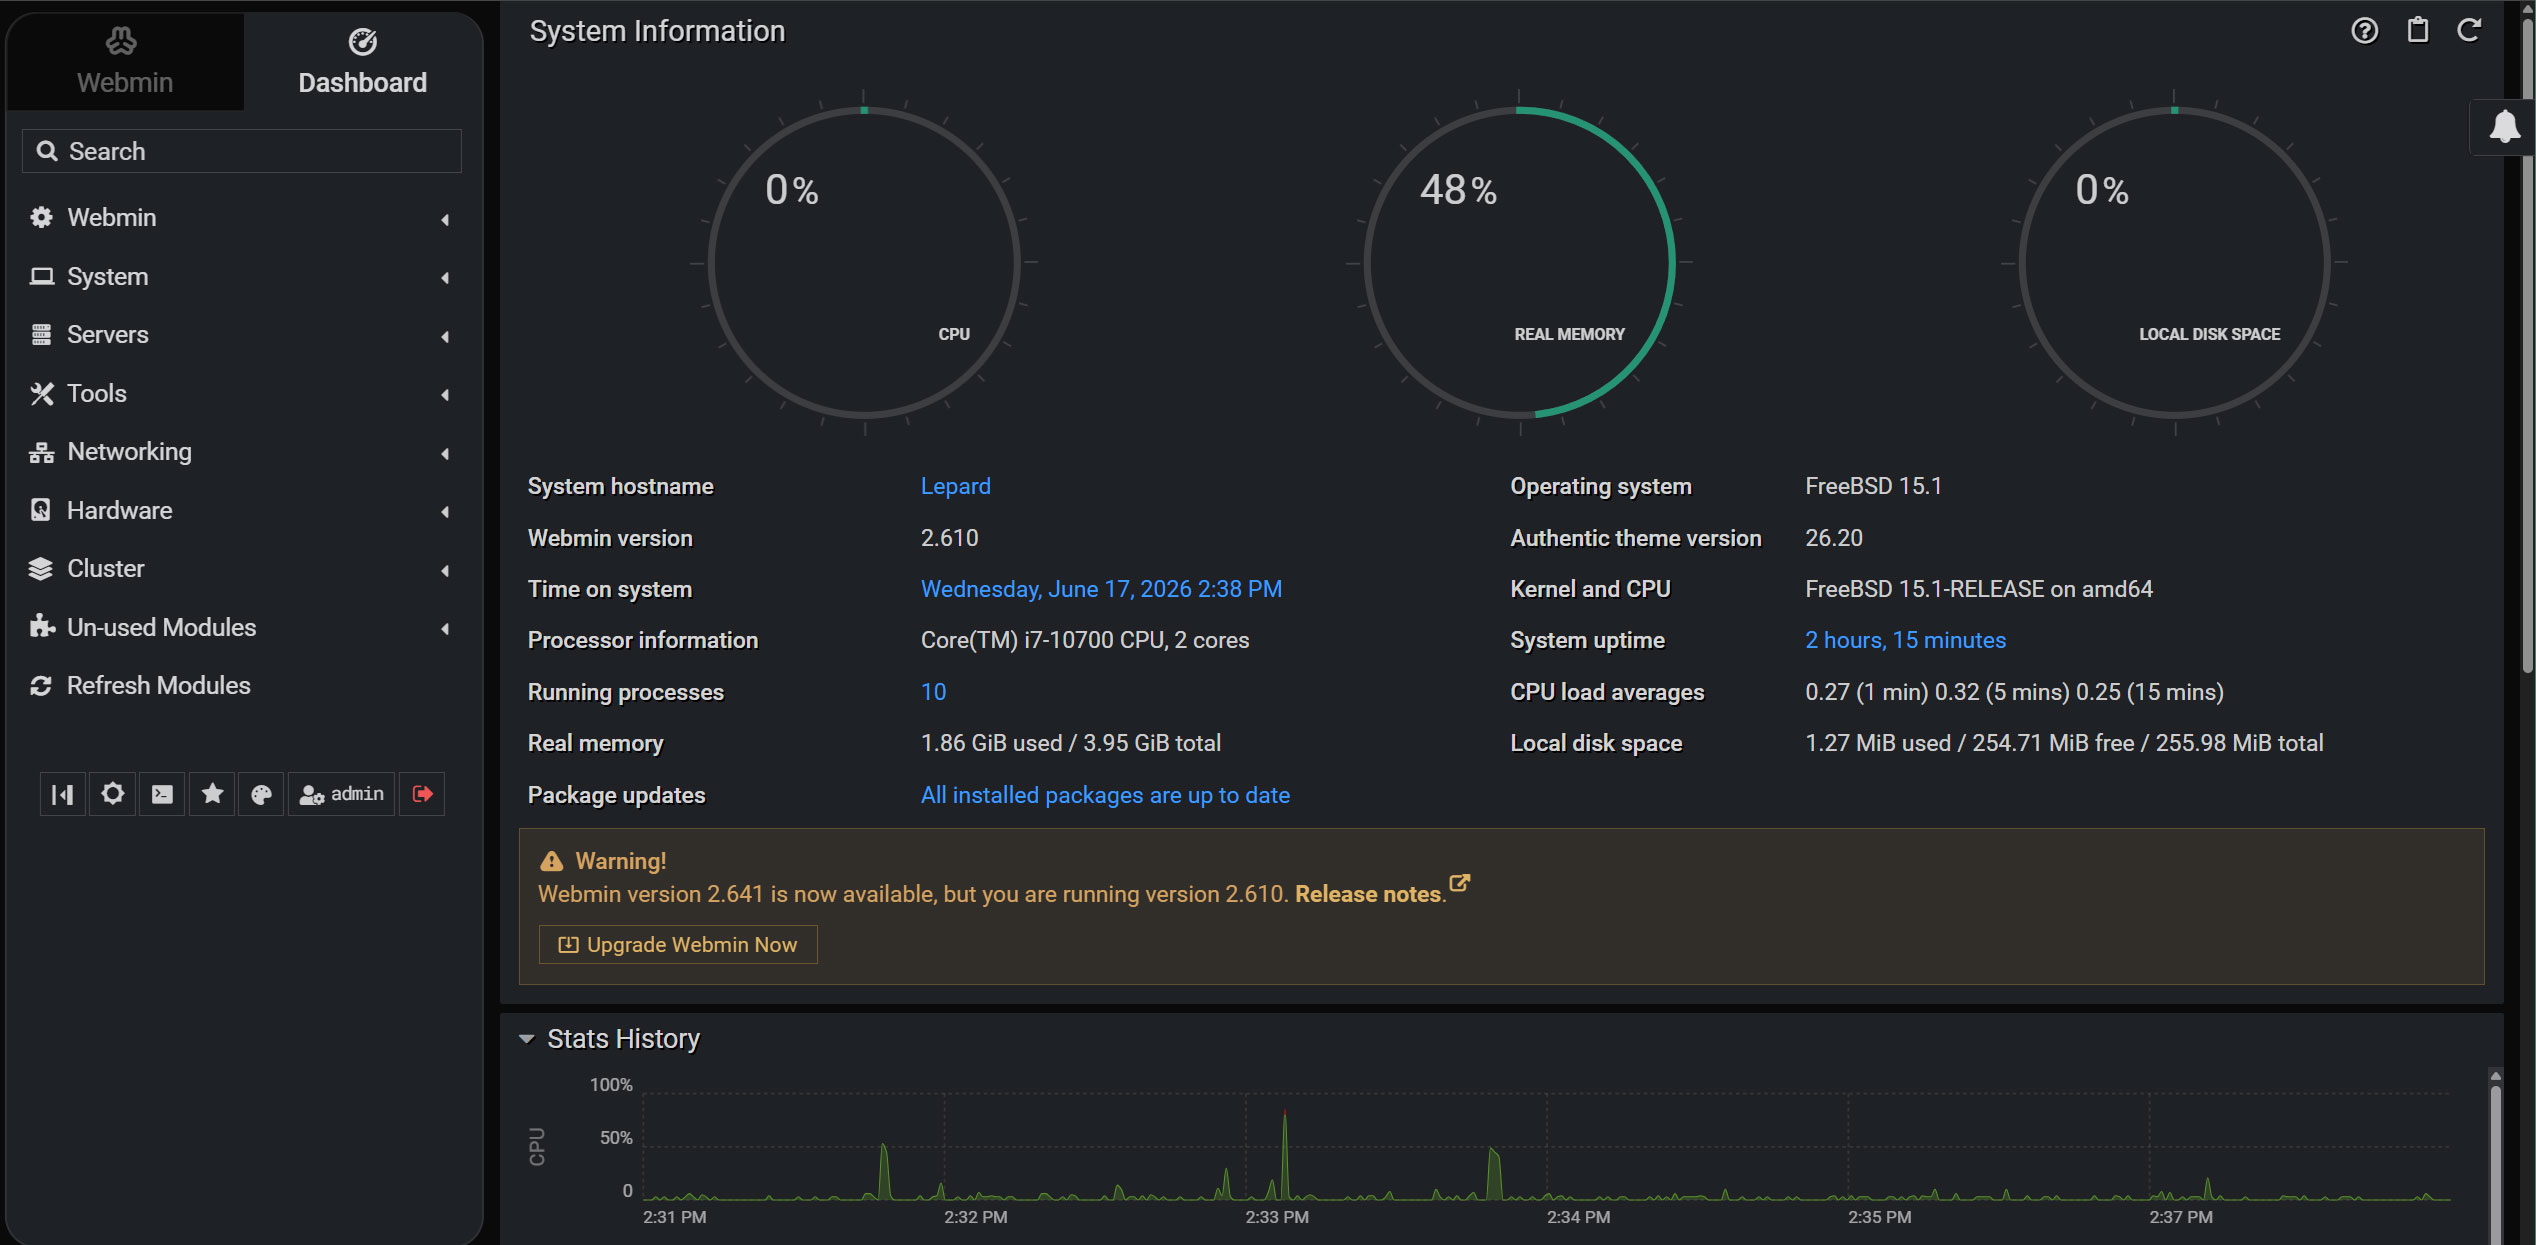
Webmin のメイン画面
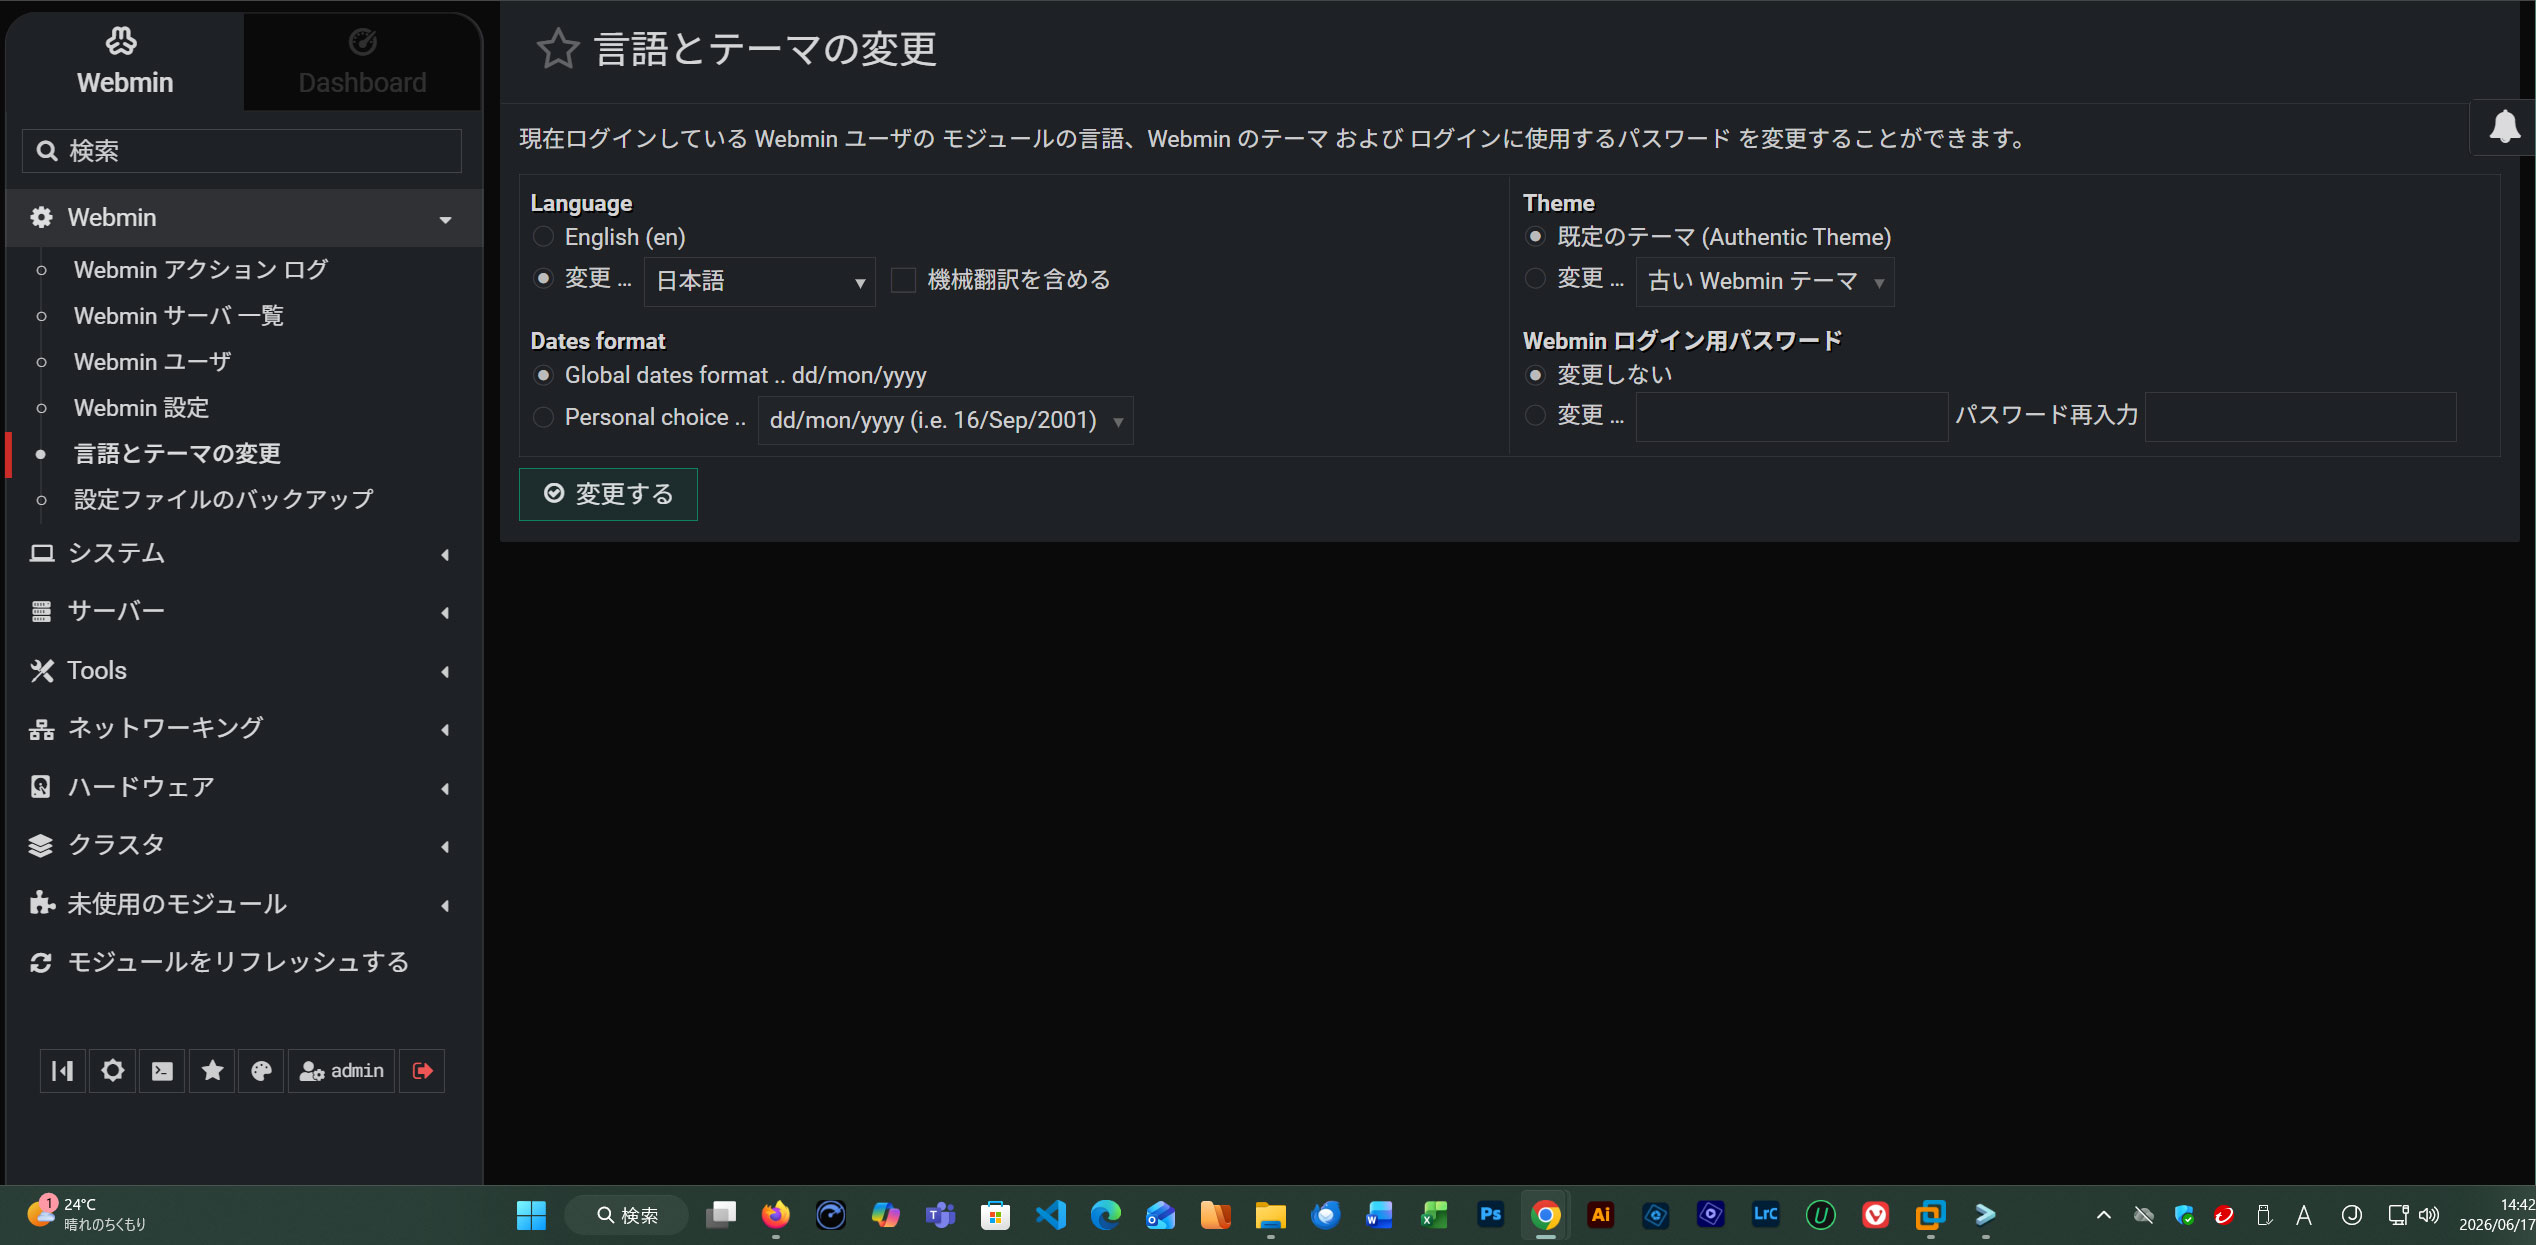
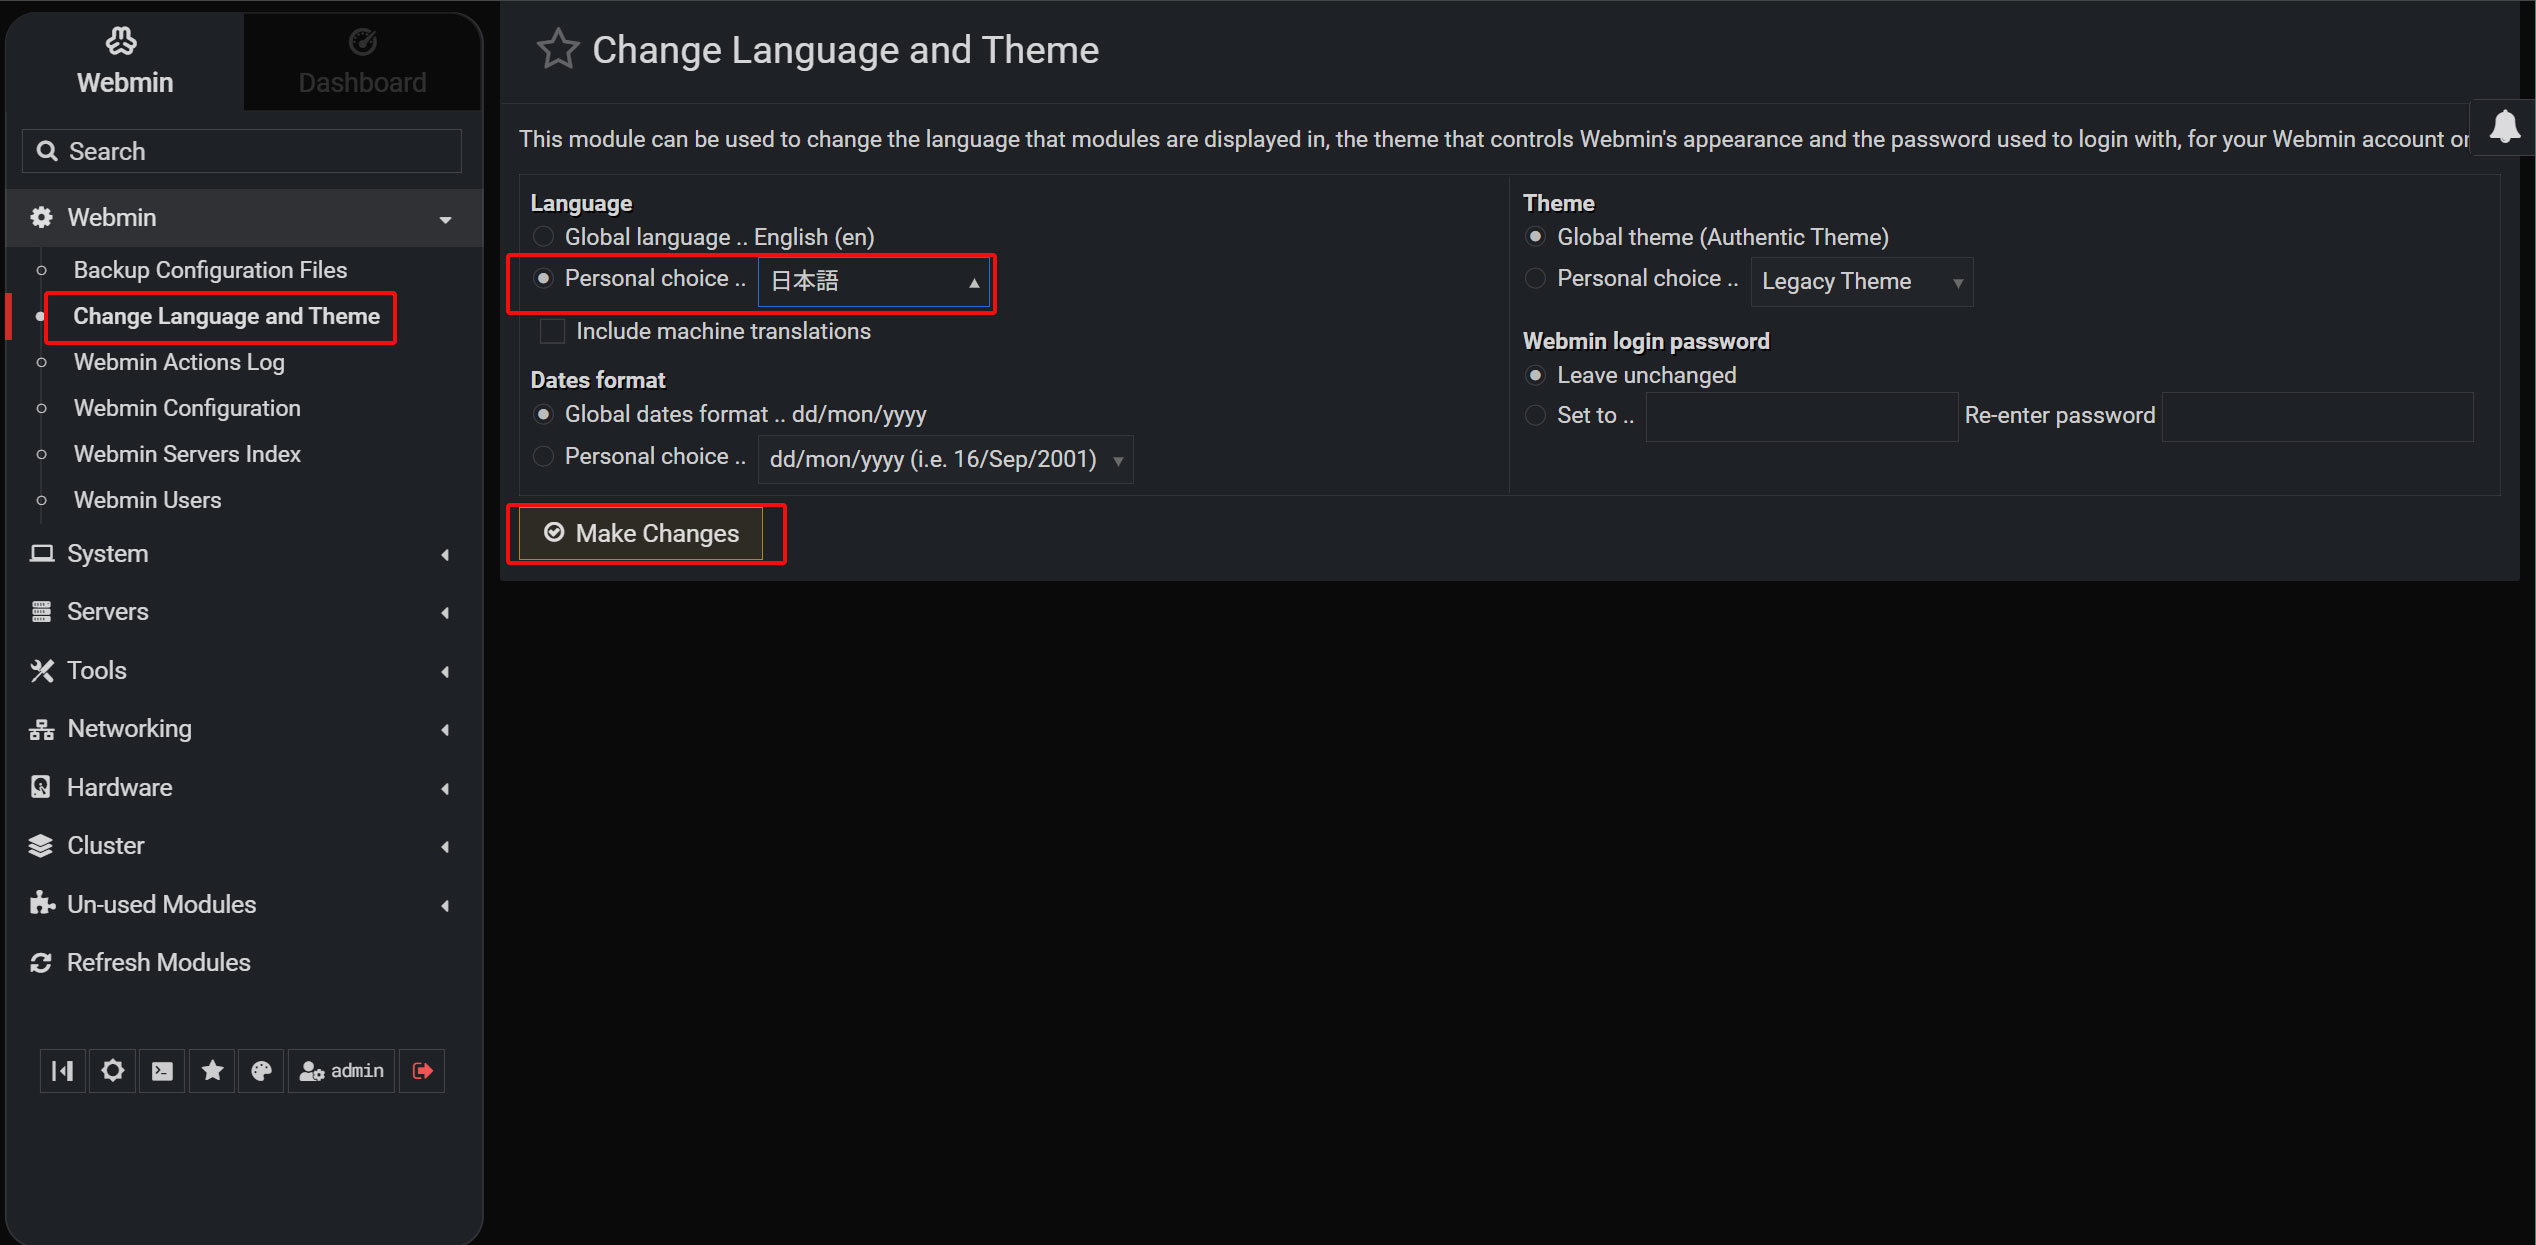
左メニューで [Webmin] - [Change Language and Theme] をクリックし、右ペインの [Personal choice] から日本語に変更
メニューが日本語に変わりました