1. Apache2
1.1 インストール
# pkg install apache24
1.2 apache24 - 初期設定
①extra/httpd-default.conf 編集
# vi /usr/local/etc/apache24/extra/httpd-default.conf

セキュリティ対策のために以下のように設定を変更します。
55行目 : 「ProductOnly」に変更
ServerTokens ProductOnly

75行目 : 「On」に変更
HostnameLookups On
➁httpd.conf 編集
# vi /usr/local/etc/apache24/httpd.conf

160行目 : コメント解除
LoadModule dav_module libexec/apache24/mod_dav.so

217行目 : 管理者のメールアドレスに変更
ServerAdmin [管理者メールアドレス]

227行目 : サーバのドメイン名を追加
ServerName [ドメイン名]

264行目 : 「Indexes」削除
Options FollowSymLinks

前項で設定した、「/usr/local/etc/apache24/extra/httpd-default.conf」への設定を有効にするために、下記の先頭の「#」を削除して、「Include」を有効にします。
518行目 : コメント解除
Include etc/apache24/extra/httpd-default.conf
1.3 apache の起動
apacheの起動を有効化
# service apache24 enable
apache24 enabled in /etc/rc.conf
起動停止用のスクリプトは/usr/local/etc/rc.d/apache24
設定ファイルのチェック
記述が正しければ、Syntax OK と出力される
# service apache24 configtest
Performing sanity check on apache24 configuration:
Syntax OK
Apache起動
# service apache24 start
Performing sanity check on apache24 configuration:
Syntax OK
Starting apache24.
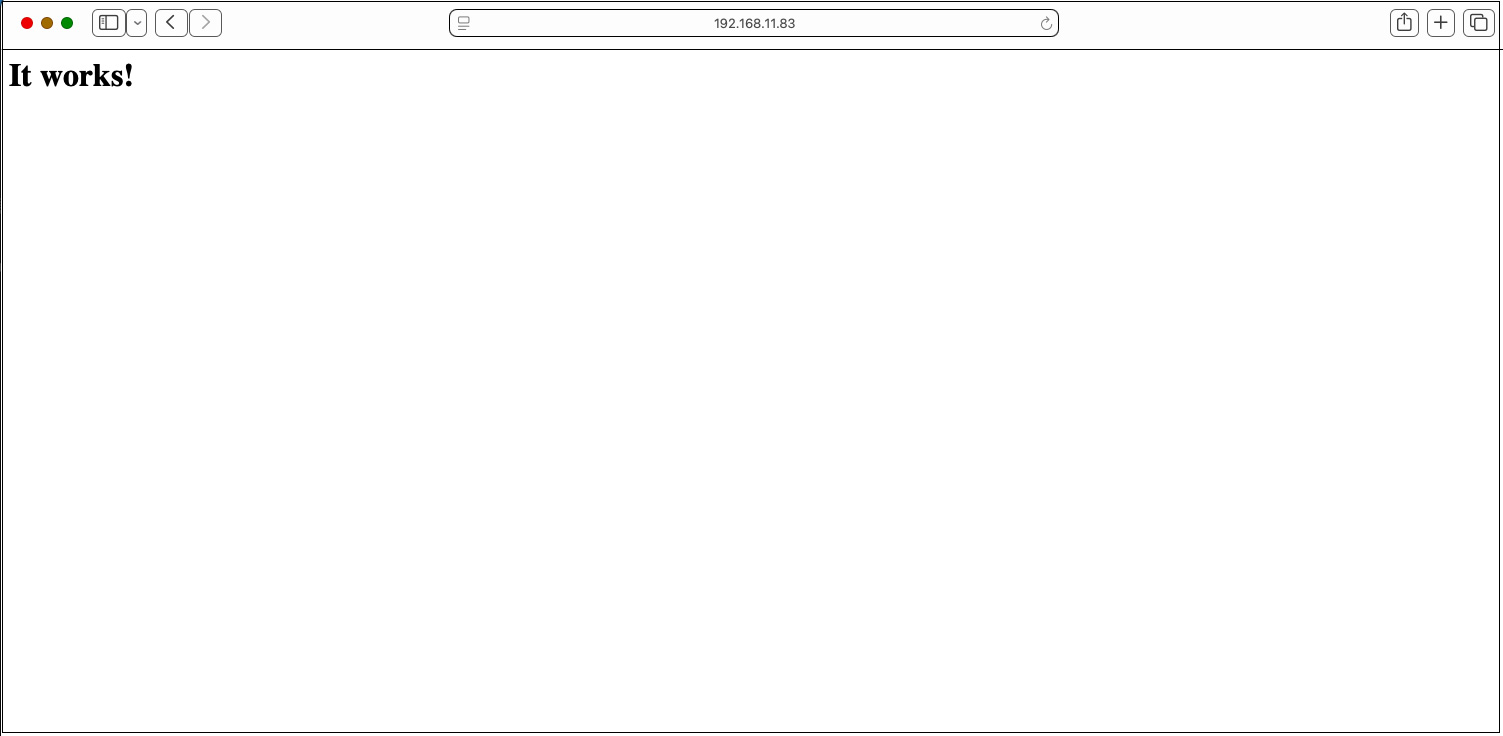
クライアントから、サーバにアクセス(http://サーバーIPアドレス[またはドメイン名])すると下記のような表示が出れば正常です
1.4 バーチャルホストの設定
ドキュメントルート : /usr/local/www/apache24/data/[FQDN]/
ドメイン : [FQDN]
としてバーチャルホストを設定します
# vi /usr/local/etc/apache24/httpd.conf
最後のほうに下記を記入
Include etc/apache24/extra/bsd-vhost.conf
/usr/local/etc/apache24/extra配下にbsd-vhost.conf新規作成
# cd /usr/local/etc/apache24/extra
# vi bsd-vhost.conf
下記内容で作成
<VirtualHost *:80>
    ServerAdmin [管理者メールアドレス]
    DocumentRoot "/usr/local/www/apache24/data/[FQDN]"
    ServerName [FQDN]
    ErrorLog "/var/log/httpd/[FQDN].error_log"
    CustomLog "/var/log/httpd/[FQDN].access_log" common
</VirtualHost>
<Directory /usr/local/www/apache24/data/[FQDN]>
   AddHandler cgi-script .cgi
   Options FollowSymlinks Includes
   AllowOverride All
   Require all granted
</Directory>
ディレクトリー作成
# mkdir /var/log/httpd
# mkdir /usr/local/www/apache24/data/[FQDN]
# chown -R www:www /usr/local/www/apache24/data/[FQDN]
Apache再起動
# service apache24 restart
Performing sanity check on apache24 configuration:
Syntax OK
Stopping apache24.
Waiting for PIDS: 5034.
Performing sanity check on apache24 configuration:
Syntax OK
Starting apache24.
1.5 apache24 : cgi を動作
p5-CGI インストール
下記コマンドでインストールされているか確認
(portversionを利用するにはportupgradeを事前にインストール済であること)
# portversion -v | grep p5-CGI
[Reading data from pkg(8) ... - 125 packages found - done]
もし、インストールされていなければ下記コマンドでインストールする
# pkg install p5-CGI
httpd.conf の編集
# vi /usr/local/etc/apache24/httpd.conf

166、169行のコメント解除
<IfModule !mpm_prefork_module>
    LoadModule cgid_module libexec/apache24/mod_cgid.so
</IfModule>
<IfModule mpm_prefork_module>
    LoadModule cgi_module libexec/apache24/mod_cgi.so
</IfModule>

431行目 : コメント解除
AddHandler cgi-script .cgi
Apache再起動
# service apache24 restart
2. MySQLインストール
PHPをインストールする前にMySQLをインストールしておきます。
# pkg install -y mysql84-client mysql84-server
バージョンを確認
# mysql --version
mysql  Ver 8.4.9 for FreeBSD15.0 on amd64 (Source distribution)
MySQL を有効にして起動
# sysrc mysql_enable=yes
mysql_enable:  -> yes

# service mysql-server start
Starting mysql.
MySQL 起動確認
# service mysql-server status
mysql is running as pid 6311.
セキュリティ スクリプトの実行
# mysql_secure_installation

Securing the MySQL server deployment.

Connecting to MySQL using a blank password.

VALIDATE PASSWORD COMPONENT can be used to test passwords
and improve security. It checks the strength of password
and allows the users to set only those passwords which are
secure enough. Would you like to setup VALIDATE PASSWORD component?

Press y|Y for Yes, any other key for No: y

There are three levels of password validation policy:

LOW    Length >= 8
MEDIUM Length >= 8, numeric, mixed case, and special characters
STRONG Length >= 8, numeric, mixed case, special characters and dictionary                  file

Please enter 0 = LOW, 1 = MEDIUM and 2 = STRONG: 0
Please set the password for root here.

New password:

Re-enter new password:

Estimated strength of the password: 100
Do you wish to continue with the password provided?(Press y|Y for Yes, any other key for No) : y
By default, a MySQL installation has an anonymous user,
allowing anyone to log into MySQL without having to have
a user account created for them. This is intended only for
testing, and to make the installation go a bit smoother.
You should remove them before moving into a production
environment.

Remove anonymous users? (Press y|Y for Yes, any other key for No) : y
Success.


Normally, root should only be allowed to connect from
'localhost'. This ensures that someone cannot guess at
the root password from the network.

Disallow root login remotely? (Press y|Y for Yes, any other key for No) : y
Success.

By default, MySQL comes with a database named 'test' that
anyone can access. This is also intended only for testing,
and should be removed before moving into a production
environment.


Remove test database and access to it? (Press y|Y for Yes, any other key for No) : y
 - Dropping test database...
Success.

 - Removing privileges on test database...
Success.

Reloading the privilege tables will ensure that all changes
made so far will take effect immediately.

Reload privilege tables now? (Press y|Y for Yes, any other key for No) : y
Success.

All done!
以降mysqlサーバーにログインするには
# mysql -u root -p
Enter password: 上記で設定したパスワード
3. apache24 - PHP 8.3
3.1 PHPインストール
pkg search phpで検索すると php82-8.2.30 , php83-8.3.30 , php84-8.4.19 , php85-8.5.4 がありますが、今回はphp83をインストールします
# pkg install php83
3.2 php83-extensionsインストール
# pkg install php83-extensions
3.3 mod_php83 インストール
# pkg install mod_php83
3.4 PHP - 初期設定
①コンフィグレーションファイル「php.ini」の設定
# cd /usr/local/etc/
# cp php.ini-production php.ini

# vi /usr/local/etc/php.ini

713行目
post_max_size = 300M

865行目
upload_max_filesize = 200M

989行目タイムゾーンの設定、コメント解除し"Asia/Tokyo"追記
[Date]
; Defines the default timezone used by the date functions
; http://php.net/date.timezone
date.timezone = "Asia/Tokyo"
➁httpd.conf の編集
# vi /usr/local/etc/apache24/httpd.conf

284行目 ディレクトリのインデックスとして「index.php index.cgi」を使う
<IfModule dir_module>
    DirectoryIndex index.html index.php index.cgi ←追記
</IfModule>

423行目当たりに
以下の2行を追記。
AddType application/x-httpd-php .php
AddType application/x-httpd-php-source .phps
Apache設定チェック
Syntax OKと表示されれば正常
# service apache24 configtest
Performing sanity check on apache24 configuration:
Syntax OK
Apache再起動
# service apache24 restart
3.5 PHP動作確認
ウェブサーバのドキュメントルートに「info.php」を作成
# vi /usr/local/www/apache24/data/[FQDN]/info.php
<?php
 phpinfo();
 ?>
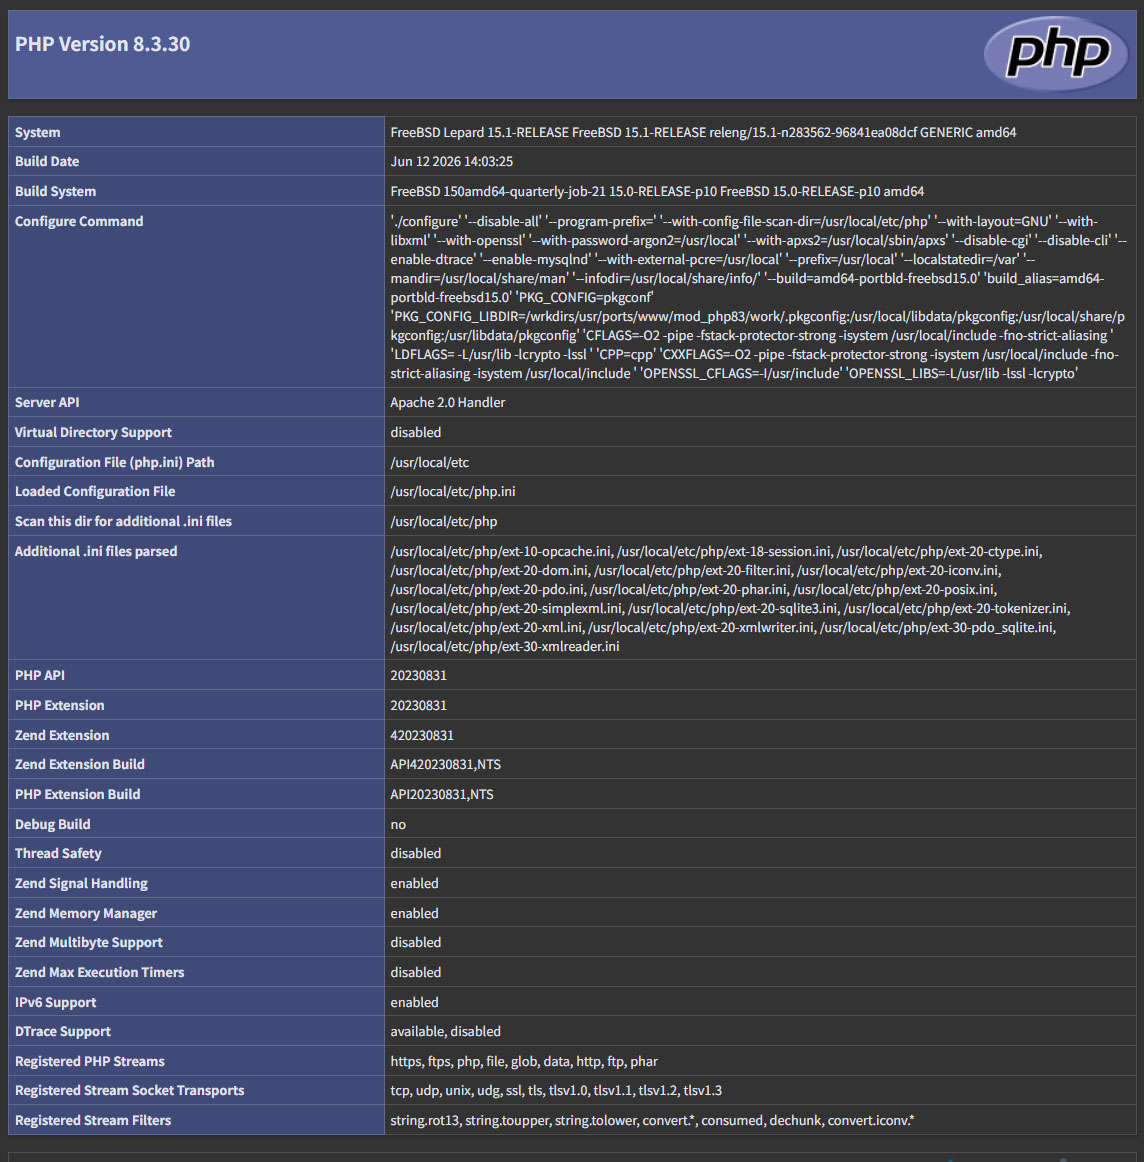
ブラウザで「http://[FQDN]/info.php」にアクセスすると下記のように表示されればOK
4. WordPressインストール
4.1 MySQL8.4の設定変更
MySQL8.4では、"mysql_native_password"認証プラグインがデフォルトで無効になり、"caching_sha2_password"になっています。
"mysql_native_password"認証プラグインを利用するため設定ファイルを下記の通り新規作成します
# vi /usr/local/etc/mysql/my.cnf

[mysqld]

mysql_native_password=ON
mysqlサービス再起動
# service mysql-server restart
4.2 Word Press 用のデータベースを作成
例としてデータベース[wp_db] データベースユーザー[wp_user] パスワード[?Ww123456]とします
# mysql -u root -p

Enter password: ←MySQL 用root パスワード入力します
Welcome to the MySQL monitor.  Commands end with ; or \g.
Your MySQL connection id is 8
Server version: 8.4.9 Source distribution

Copyright (c) 2000, 2026, Oracle and/or its affiliates.

Oracle is a registered trademark of Oracle Corporation and/or its
affiliates. Other names may be trademarks of their respective
owners.

Type 'help;' or '\h' for help. Type '\c' to clear the current input statement.

#WordPressが制御する専用のデータベースを作成
mysql> CREATE DATABASE wp_db DEFAULT CHARACTER SET utf8 COLLATE utf8_unicode_ci;
Query OK, 1 row affected (0.00 sec)

#アカウントを作成し、パスワードを設定し、作成したデータベースへのアクセスを許可します
mysql>CREATE USER 'wp_user'@'localhost' IDENTIFIED WITH mysql_native_password BY '?Ww123456';
Query OK, 0 rows affected (0.04 sec)

ユーザーがセットアップ済データベースにフルアクセスできる必要があることをデータベースに知らせます
mysql> GRANT ALL ON wp_db.* TO 'wp_user'@'localhost';
Query OK, 0 rows affected (0.04 sec)

#権限をリロード
mysql> flush privileges;

#mysqlを終了する
mysql> exit;
Bye
4.3 WordPress ダウンロードと展開
# pkg install wget
# cd  /usr/local/www/apache24/data/[FQDN]/
# wget http://ja.wordpress.org/latest-ja.tar.gz
# tar xvf latest-ja.tar.gz
4.4 WordPress設定ファイルの編集
# cd wordpress/
# cp wp-config-sample.php wp-config.php
# vi wp-config.php

23行目 : データベース指定
define( 'DB_NAME', 'wp_db' );

26行目 : ユーザー指定
define( 'DB_USER', 'wp_user' );

29行目 : パスワード指定
define( 'DB_PASSWORD', '?Ww123456' );

最終行に下記を追加。 これをしないと、プラグインを追加するときにFTP接続情報なるものを聞かれます。
define('FS_METHOD', 'direct');
4.5 ファイルの移動
①wordpress用ドキュメントディレクトリーの下に展開した中身を移動
# cd  /usr/local/www/apache24/data/[FQDN]/
# mv wordpress/* .
移動されたことを確認後 wordpressディレクトリーとダウンロードしたlatest-ja.tar.gzを削除
# cd /var/www/html/[FQDN]
# rm -R -f wordpress
# rm -f latest-ja.tar.gz
wordpressディレクトリの所有者をapacheにします。
# chown -R www:www /usr/local/www/apache24/data/[FQDN]/
4.6 wordpress インストールの開始
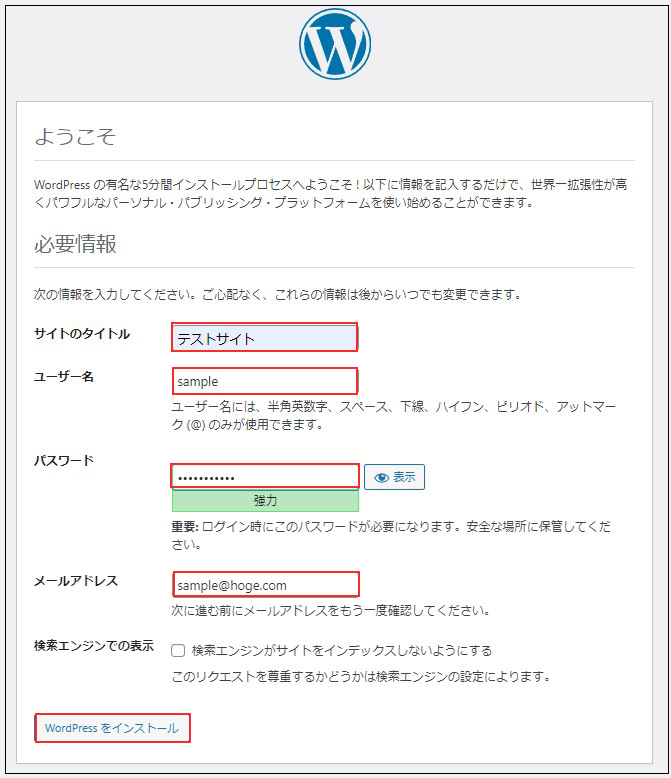
ブラウザでhttp://[FQDN]/wp-admin/install.phpにアクセスし、ユーザー名、パスワード等必要事項を入力し、インストールを開始してください
「お使いのサーバーの PHP では WordPress に必要な MySQL 拡張を利用できないようです。mysqli PHP 拡張機能がインストールされ、有効になっていることを確認してください。」
上記が表示されたら 次をインストールしてapacheとmysqlを再起動する
# pkg install php83-mysqli-8.3.30
# service mysql-server restart
# service apache24 restart
デバッグで"Uncaught Error: Call to undefined function WpOrg\Requests\gzinflate() in"エラーが発生する場合は
PHP環境で「zlib」拡張モジュールがインストールされていないことが原因です
次の通りインストールします
# pkg install php83-zlib-8.3.30
# service apache24 restart
[ログイン]をクリック
ユーザー名 : 先ほど設定したユーザー名
パスワード : 先ほど設定したユーザーのパスワード
を入力し、[ログイン]をクリック

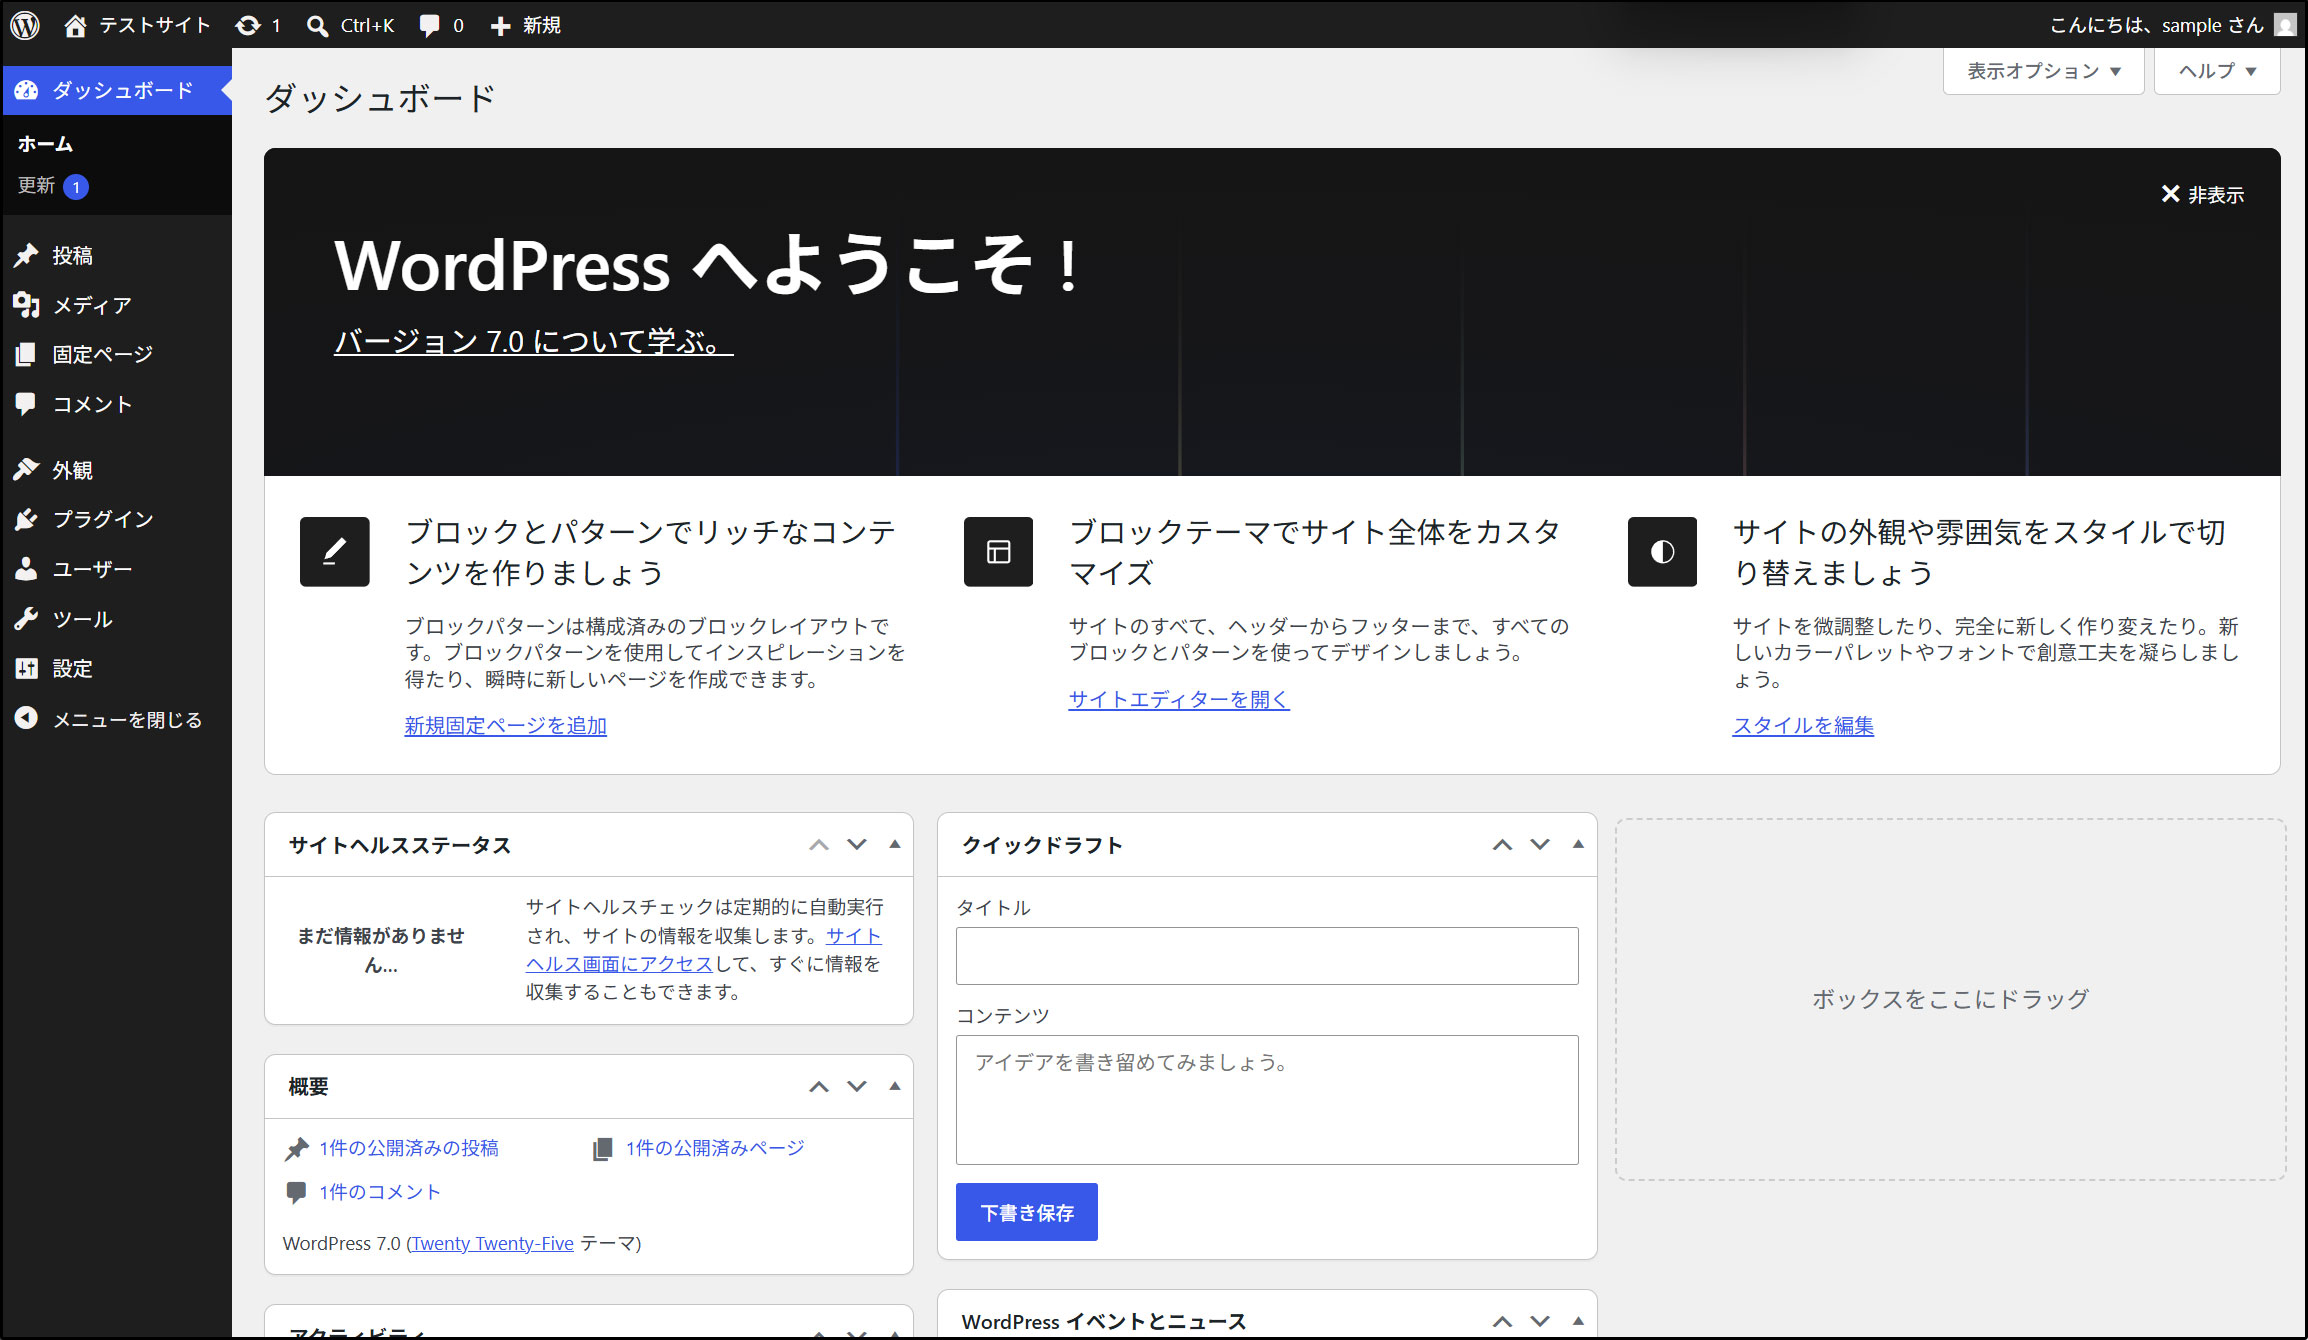
ログインに成功すると下記WordPressの管理画面にアクセスできます