Contents
1. Webサーバー Apacheの導入
1.1 apache2のインストール
|
1 |
# zypper -n install apache2 |
1.2 Apache2 : 基本設定
|
1 2 3 4 5 6 7 8 |
# vi /etc/sysconfig/apache2 # 152行目:管理者アドレスに変更 APACHE_SERVERADMIN=<管理者E-mail> # 169行目:自ドメイン名に変更 APACHE_SERVERNAME="<自ドメイン名>" # 248行目:変更 APACHE_SERVERTOKENS="Prod" |
|
1 2 3 4 |
# vi /etc/apache2/httpd.conf # 197行目:ディレクトリ名のみでアクセスできるファイル名を設定 DirectoryIndex index.html index.htm index.php |
|
1 2 3 4 5 |
# systemctl start apache2 # systemctl enable apache2 Created symlink /etc/systemd/system/httpd.service → /usr/lib/systemd/system/apache2.service. Created symlink /etc/systemd/system/apache.service → /usr/lib/systemd/system/apache2.service. Created symlink /etc/systemd/system/multi-user.target.wants/apache2.service → /usr/lib/systemd/system/apache2.service. |
1.3 Firewalld を有効
HTTP サービスの許可が必要です。なお、HTTP は 80/TCP を使用します。HTTPSは443
|
1 2 3 4 5 6 |
# firewall-cmd --add-service=http --permanent Success # firewall-cmd --add-service=https --permanent Success # firewall-cmd --reload success |
1.4 Apache2 : 起動確認
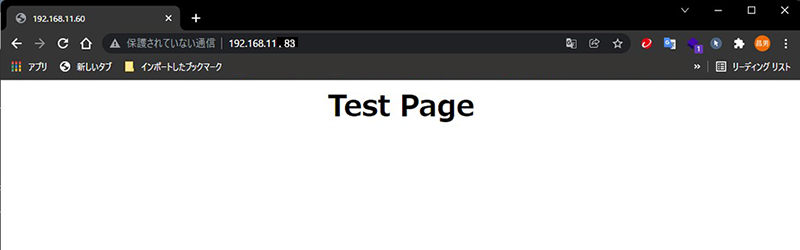
HTMLテストページを作成して動作確認をします。クライアントPC で Web ブラウザを起動し、以下のように作成したテストページにアクセスできれば OK です
|
1 2 3 4 5 6 7 8 9 |
# vi /srv/www/htdocs/index.html <html> <body> <div style="width: 100%; font-size: 40px; font-weight: bold; text-align: center;"> Test Page </div> </body> </html> |
ブラウザで http://<IPアドレス> にアクセスし、下図のように表示される確認
2. Apache2 : Perlスクリプトを利用する
Perl スクリプトを CGI として利用できるよう設定します
2.1 Perl をインストール
①インストール
|
1 |
# zypper -n install perl |
②CGI モジュールを有効にします
|
1 |
# a2enmod cgid |
CGI の実行はデフォルトで [/srv/www/cgi-bin/] 配下で許可されています。
よって、例えば [/srv/www/cgi-bin/index.cgi] スクリプトを作成して配置することで、[http://(httpd サーバー)/cgi-bin/index.cgi] へアクセス可能となります。 なお、当該設定は [/srv/www/cgi-bin/] 配下のファイルを全て CGI と扱うため、CGI 以外のファイルは表示不可です。
# 以下の設定により /srv/www/cgi-bin/ 配下では CGI の実行が許可されている
|
1 2 |
# grep -n "^ *ScriptAlias" /etc/apache2/default-server.conf 72:ScriptAlias /cgi-bin/ "/srv/www/cgi-bin/" |
|
1 |
# systemctl restart apache2 |
③テストスクリプト作成し、動作確認
|
1 2 3 4 5 |
# cat > /srv/www/cgi-bin/test_script <<'EOF' #!/usr/bin/perl print "Content-type: text/html\n\n"; print "Hello CGI\n"; EOF |
スクリプトファイルに権限を与える
|
1 |
# chmod 705 /srv/www/cgi-bin/test_script |
動作確認
|
1 2 |
# curl http://localhost/cgi-bin/test_script Hello CGI |
「Hello CGI」と表示されれば正常です
3. Apache2 : バーチャルホストの設定
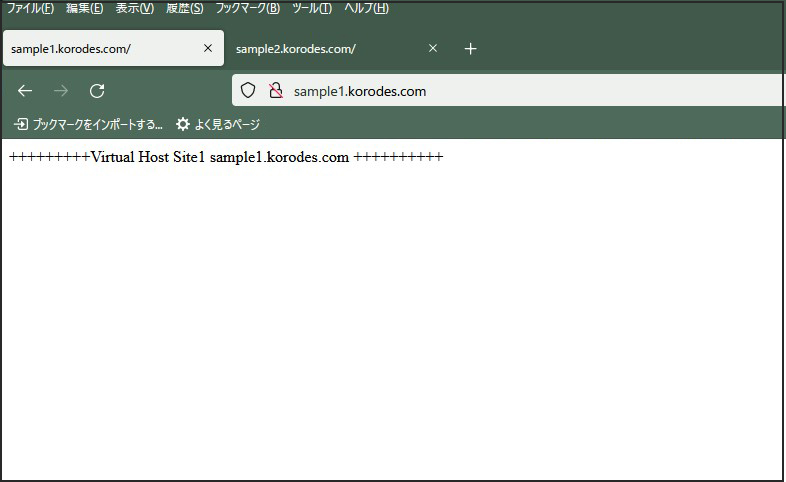
ドメイン sample1.korodes.com sample2.korodes.com の両方を一つのサーバーで表示されるよう設定する
|
1 |
# cd /srv/www/htdocs/ |
/srv/www/htdocs/ 配下にsample1.korodes.comという名前のディレクトリー作成
|
1 |
# mkdir sample1.korodes.com |
sample1.korodes.comディレクトリー内にidex.htmlファイルを作成する
|
1 2 3 |
# vi sample1.korodes.com/index.html +++++++++Virtual Host Site1 sample1.korodes.com ++++++++++ |
/etc/apache2/vhosts.d 配下に virtual_host.conf を新規に作成
|
1 2 3 4 5 6 7 8 9 10 |
# vi /etc/apache2/vhosts.d/virtual_host.conf <VirtualHost *:80> ServerName sample1.korodes.com ServerAdmin <管理者メールアドレス> DocumentRoot /srv/www/htdocs/sample1.korodes.com ErrorLog /var/log/apache2/sample1.korodes.com.error.log CustomLog /var/log/apache2/sample1.korodes.com.access.log combined LogLevel warn </VirtualHost> |
|
1 2 3 4 5 6 7 8 9 10 11 12 13 14 15 16 17 18 19 20 21 |
#vi /etc/hosts # hosts This file describes a number of hostname-to-address # mappings for the TCP/IP subsystem. It is mostly # used at boot time, when no name servers are running. # On small systems, this file can be used instead of a # "named" name server. # Syntax: # # IP-Address Full-Qualified-Hostname Short-Hostname # 127.0.0.1 localhost # special IPv6 addresses ::1 localhost ipv6-localhost ipv6-loopback fe00::0 ipv6-localnet ff00::0 ipv6-mcastprefix ff02::1 ipv6-allnodes ff02::2 ipv6-allrouters ff02::3 ipv6-allhosts 192.168.11.83 sample1.korodes.com ←追加する |
|
1 |
# systemctl restart apache2 |
|
1 2 |
# cd /srv/www/htdocs # mkdir sample2.korodes.com |
|
1 2 3 |
# vi sample2.korodes.com/index.html *************Virtual Host Site2 sample2.korodes.com ********* |
virtual_host.conf ファイルに追記
|
1 2 3 4 5 6 7 8 9 10 11 12 13 14 15 16 17 18 19 20 |
# vi /etc/apache2/vhosts.d/virtual_host.conf <VirtualHost *:80> ServerName sample1.korodes.com ServerAdmin <管理者メールアドレス> DocumentRoot /srv/www/htdocs/sample1.korodes.com ErrorLog /var/log/apache2/sample1.korodes.com.error.log CustomLog /var/log/apache2/sample1.korodes.com.access.log combined LogLevel warn </VirtualHost> # 下記追加 <VirtualHost *:80> ServerName sample2.korodes.com ServerAdmin <管理者メールアドレス> DocumentRoot /srv/www/htdocs/sample2.korodes.com ErrorLog /var/log/apache2/sample2.korodes.com.error.log CustomLog /var/log/apache2/sample2.korodes.com.access.log combined LogLevel warn </VirtualHost> |
hostsファイルに追加
|
1 2 3 4 5 6 7 8 9 10 11 12 13 14 15 16 17 18 19 20 |
#vi /etc/hosts # hosts This file describes a number of hostname-to-address # mappings for the TCP/IP subsystem. It is mostly # used at boot time, when no name servers are running. # On small systems, this file can be used instead of a # "named" name server. # Syntax: # # IP-Address Full-Qualified-Hostname Short-Hostname # 127.0.0.1 localhost # special IPv6 addresses ::1 localhost ipv6-localhost ipv6-loopback fe00::0 ipv6-localnet ff00::0 ipv6-mcastprefix ff02::1 ipv6-allnodes ff02::2 ipv6-allrouters ff02::3 ipv6-allhosts 192.168.11.83 sample1.korodes.com 192.168.11.83 sample2.korodes.com ←追加する |
|
1 |
# systemctl restart apache2 |
webブラウザで「http://sample1.korodes.com」「http://sample2.korodes.com」をそれぞれ下図の通り表示されればOK

4. Apache2 : PHPスクリプトを利用する
PHP をインストールして PHP スクリプトが利用できるように設定します
4.1 PHP をインストール
|
1 2 |
# zypper -n install php7 php7-pear php7-mbstring apache2-mod_php7 # a2enmod php7 |
|
1 2 3 4 |
# vi /etc/php7/apache2/php.ini # 962行目:タイムゾーン設定 date.timezone = 'Asia/Tokyo' |
|
1 |
# systemctl restart apache2 |
4.2 PHPテストページを作成して動作確認
テストページを作成
|
1 2 3 |
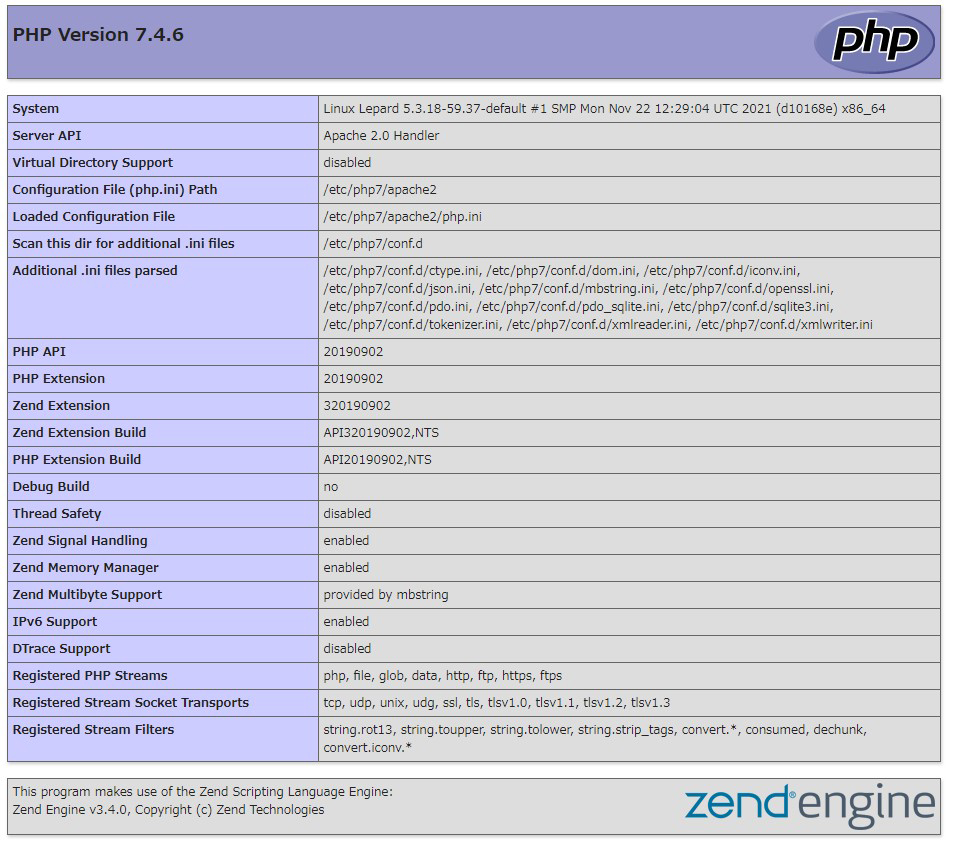
# vi /srv/www/htdocs/sample1.korodes.com/test.php <?php phpinfo(); ?> |
|
1 |
# systemctl restart httpd.service |
クライアントPC で Web ブラウザを起動し、「http://sample1.korodes.com/test.php」にアクセスし以下のように作成したテストページが表示されれば OK です。