Contents
1. vsftpd( FTPサーバ インストール)
1.1 vsftpdインストール
openSUSEインストール時点ですでにインストール済みですが
もし、インストールされていなければ次のコマンドでインストール
|
1 |
# zypper -n install vsftpd |
1.2 vsftpd設定ファイル編集
編集前の vsftpd.conf を .bak を付けて保存しておきます。
|
1 |
# cp /etc/vsftpd.conf /home/suse/vsftpd.conf.bak |
|
1 2 3 4 5 6 7 8 9 10 11 12 13 14 15 16 17 18 19 20 21 22 23 24 25 26 27 28 29 30 31 |
# vi /etc/vsftpd.conf # 19行目:変更 write_enable=YES # 36行目:コメント解除 ( ディレクトリごと一括での転送有効 ) ls_recurse_enable=YES # 57行目:コメント解除 local_umask=022 # 62,63行目:コメント解除 ( chroot有効 ) chroot_local_user=YES chroot_list_enable=YES # 65行目:コメント解除 ( chroot リストファイル指定 ) chroot_list_file=/etc/vsftpd.chroot_list # 80行目:匿名ログイン禁止 anonymous_enable=NO # 151行目:追加 #connect_from_port_20=YES listen_port=21 # 171,172行目:コメント解除 ( アスキーモードでの転送を許可 ) ascii_upload_enable=YES ascii_download_enable=YES # 184行目:必要に応じて変更 (IPv4のみをリスンする場合 ) listen=YES # 189行目:必要に応じて変更 (IPv4のみをリスンする場合) # YES の場合は IPv4/IPv6 両方 listen listen_ipv6=NO # 217行目:コメント解除 (seccomp filter をオフにする) seccomp_sandbox=NO # 最終行へ追記 # ローカルタイムを使う use_localtime=YES |
上層への ディレクトリへのアクセスを許可するユーザーを追加
|
1 2 3 |
# vi /etc/vsftpd.chroot_list suse |
または、
|
1 |
# echo "suse" >> /etc/vsftpd.chroot_list |
私の場合 suse を書込みました。
vsftpd を自動起動を有効にし、起動する
|
1 2 |
# systemctl enable vsftpd Created symlink /etc/systemd/system/multi-user.target.wants/vsftpd.service → /usr/lib/systemd/system/vsftpd.service. |
|
1 |
# systemctl start vsftpd |
# が表示すれば OK です。
1.3 firewall設定
FTPポート開放(FTPは21を使用)
|
1 2 |
# firewall-cmd --add-service=ftp --permanent # firewall-cmd --reload |
windows 側から、FileZilla で接続できるか確認をしておきます
FileZillaを起動し、「ファイル」メニューから「サイトマネージャー」を選択
FileZillaを起動し、「ファイル」メニューから「サイトマネージャー」を選択
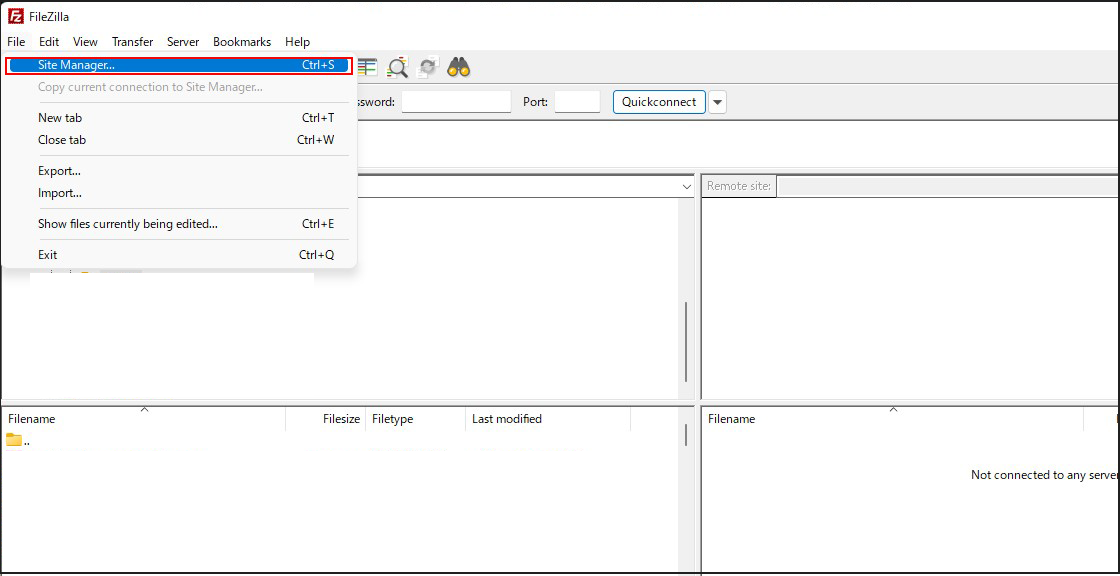
「New site」をクリック
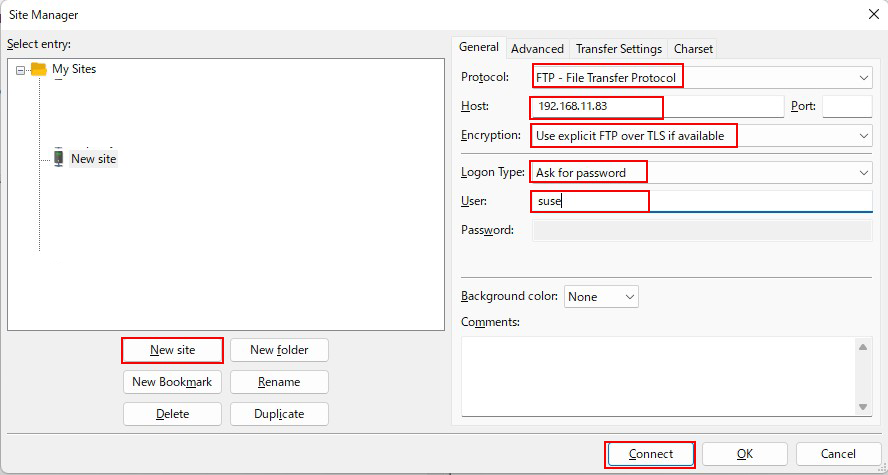
各項目の設定は次の通り入力し、 "Connect"クリック
Protocol : FTP - File Transfer Protocol
Host: サーバーのIPアドレス
Port: (空白)
Encryption : Use explicit FTP over TLS if available
Logon Type: Ask for password
User : サーバーのログインユーザー
各項目の設定は次の通り入力し、 "Connect"クリック
Protocol : FTP - File Transfer Protocol
Host: サーバーのIPアドレス
Port: (空白)
Encryption : Use explicit FTP over TLS if available
Logon Type: Ask for password
User : サーバーのログインユーザー
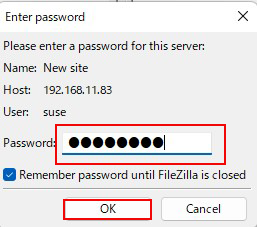
「Password」にはログインユーザーのパスワードを設定し、「OK」クリック
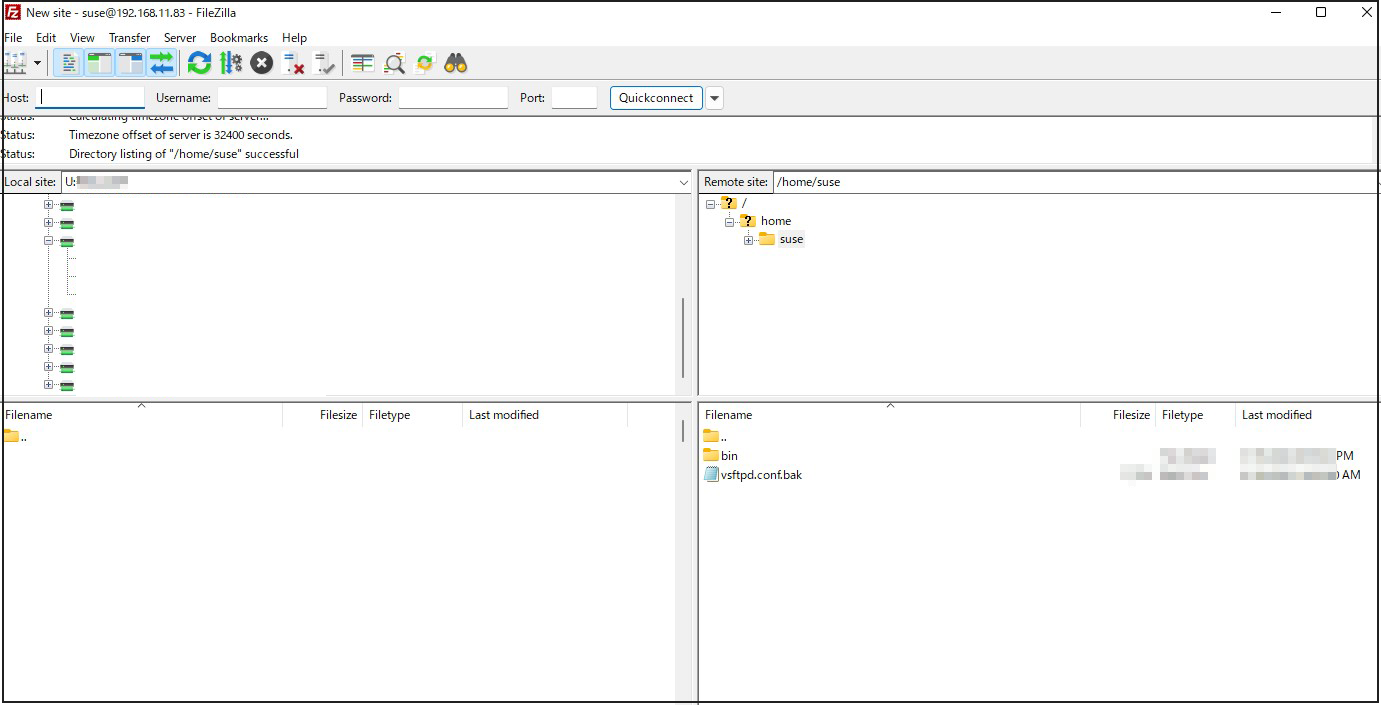
接続に成功すると右側にサーバーのディレクトリー、左側にWedowsのディレクトリーが表示される ↓
2. vsftpd SSL/TLS
Vsftpd を SSL/TLS で利用できるように設定します
2.1 自己署名の証明書を作成
Let's Encrypt 等の信頼された正規の証明書を使用する場合は当作業は不要です
|
1 |
# cd /etc/ssl/private |
|
1 2 3 4 5 6 7 8 9 10 11 12 13 14 15 16 17 18 19 20 |
/etc/ssl/private # openssl req -x509 -nodes -newkey rsa:2048 -keyout vsftpd.pem -out vsftpd.pem -days 365 Generating a 2048 bit RSA private key ............+++......+++ writing new private key to '/etc/pki/tls/certs/vsftpd.pem' ----- You are about to be asked to enter information that will be incorporated into your certificate request. What you are about to enter is what is called a Distinguished Name or a DN. There are quite a few fields but you can leave some blank For some fields there will be a default value, If you enter '.', the field will be left blank. ----- Country Name (2 letter code) [AU]:JP 国コード State or Province Name (full name) [Some-State]:Tokyo 地域(県) Locality Name (eg, city) []:Tama 都市 Organization Name (eg, company) [Internet Widgits Pty Ltd]:Private 組織名 Organizational Unit Name (eg, section) []:Admin 組織の部門名 Common Name (e.g. server FQDN or YOUR name) []:Lepard ホスト名 Email Address []:sample@korodes.com 管理者アドレス |
|
1 |
# systemctl restart vsftpd |
2.2 Firewalldの許可
|
1 2 3 4 5 6 7 8 9 10 11 12 13 14 |
# vi /etc/vsftpd.conf # 194行目:変更 ssl_enable=YES # 最終行に追記 rsa_cert_file=/etc/ssl/private/vsftpd.pem rsa_private_key_file=/etc/ssl/private/vsftpd.pem ssl_ciphers=HIGH force_local_data_ssl=YES force_local_logins_ssl=YES パッシブポートを使用する場合 176行目 pasv_enable=YES |
|
1 |
# systemctl restart vsftpd |
Firewalldの許可
|
1 2 3 4 |
# firewall-cmd --add-port=30000-30100/tcp --permanent success # firewall-cmd --reload success |
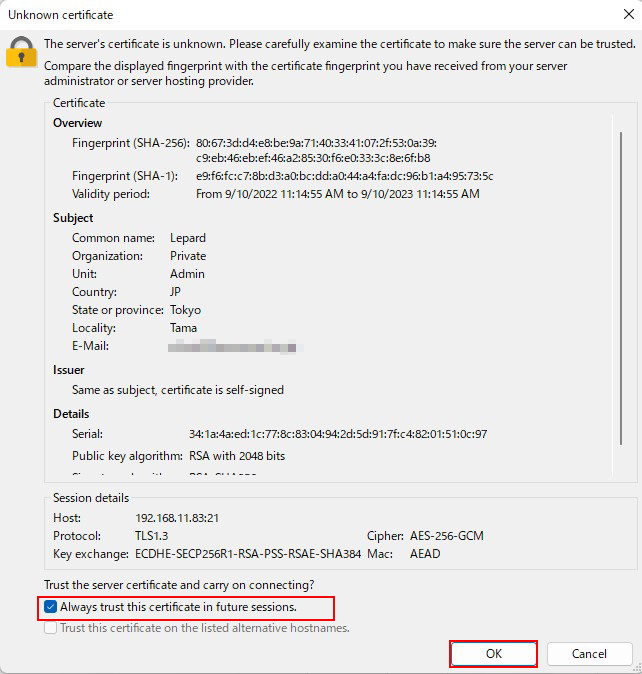
先ほどの通りFileZilla に接続すると次の画面が出るのでチェックを入れ「OK」クリックすると
先ほどの通り接続される