Fedora39 ; Download (Released on Nov 07, 2023)
Fedora39 can be downloaded from the following mirror siteshttps://ftp.riken.jp/Linux/fedora/releases/39/Server/x86_64/iso/
The file to download is the "Fedora-Server-dvd-x86_64-39-1.5.iso" image
Create an installation disk from the downloaded "Fedora-Server-dvd-x86_64-39-1.5.iso" image on a USB disk and install it on the actual device.
Fedora39 ; Install
①Change to boot from USB disk on the BIOS change screen of the PC and boot the PC.
Select "Install Fedoara 39" at the top and press Enter

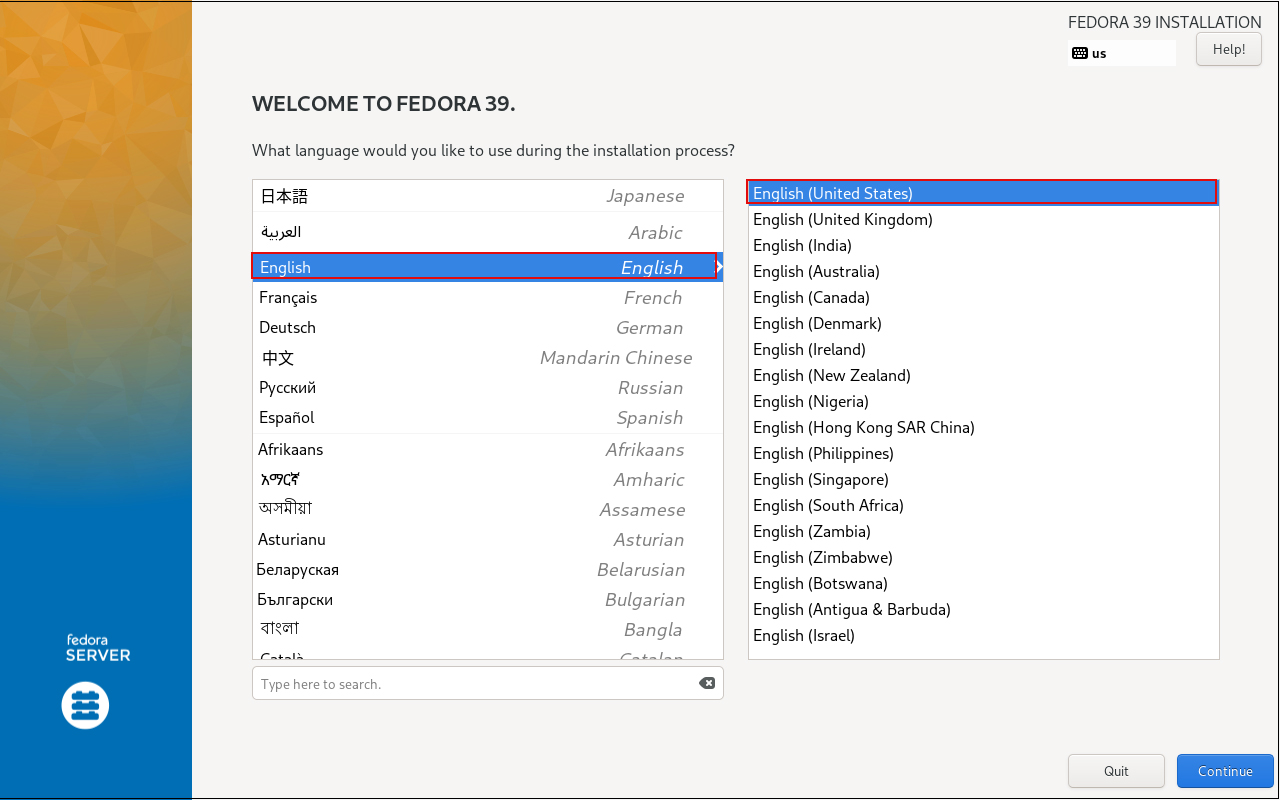
➁On the language selection screen, select "English" since the server will be built.
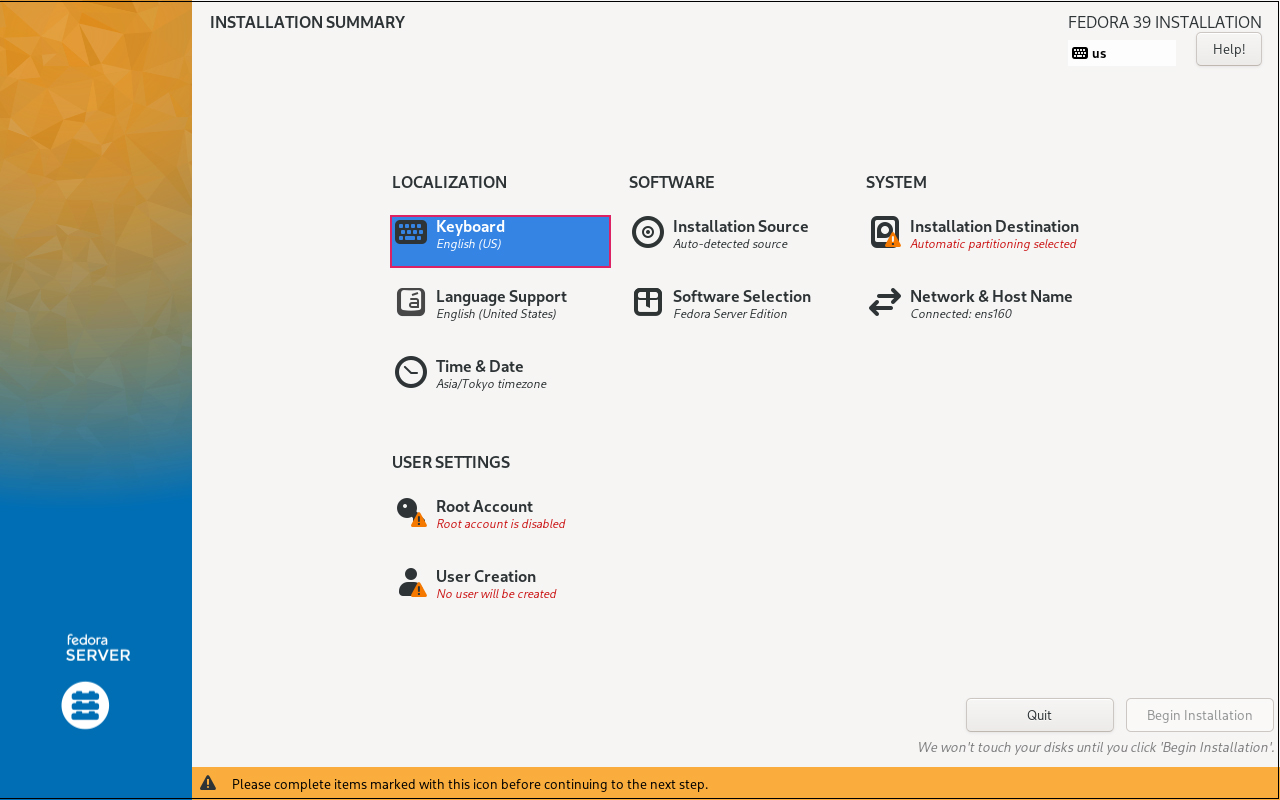
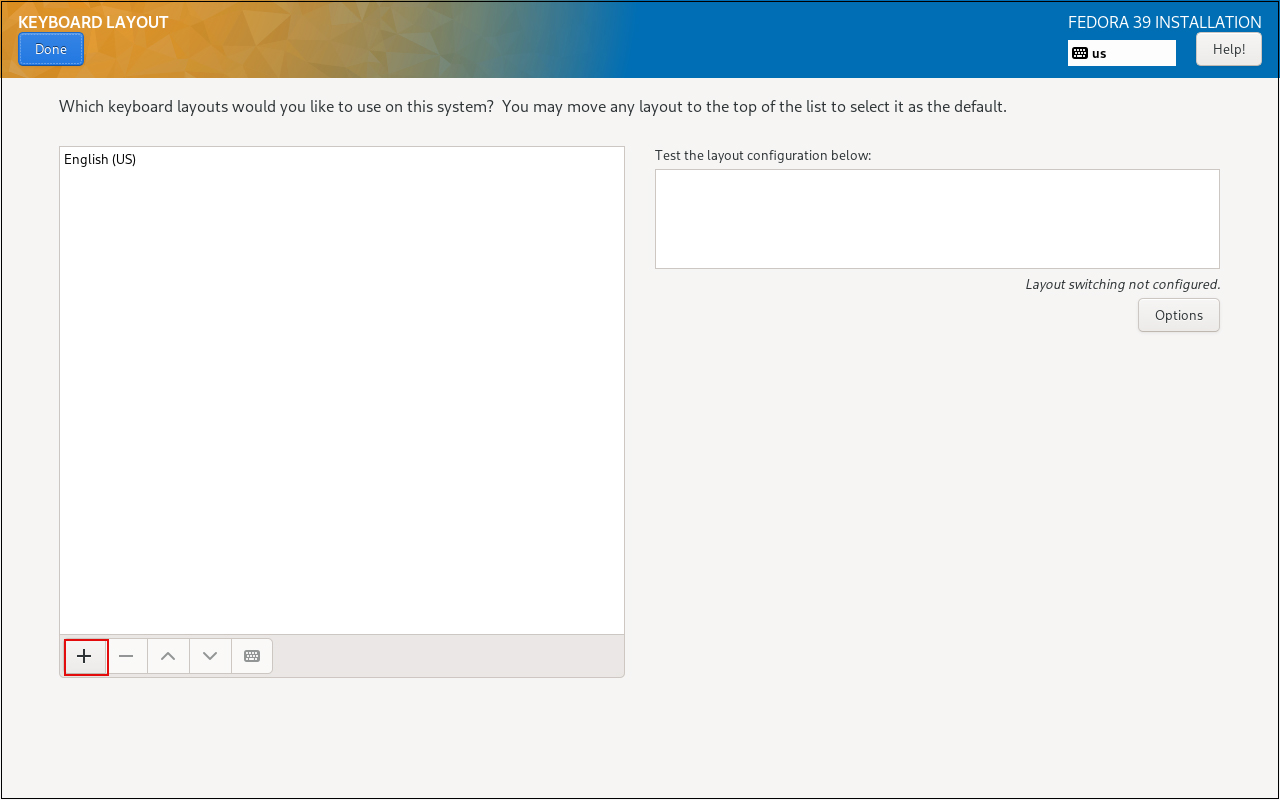
➂Keyboard Settings Click on the [Keyboard] icon in the [LOCALIZATION] category
Click the [+] button
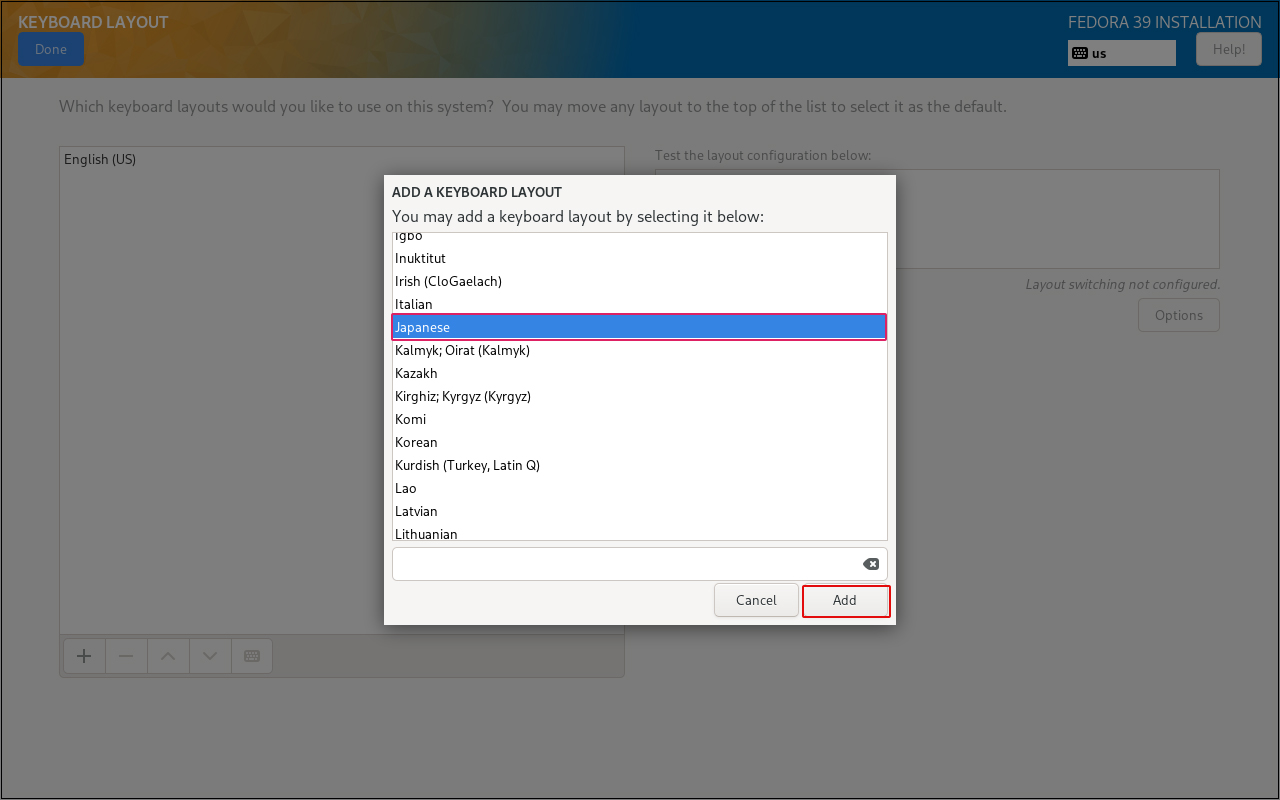
Select the keyboard type and click the [Add] button (this time select Japanese keyboard)
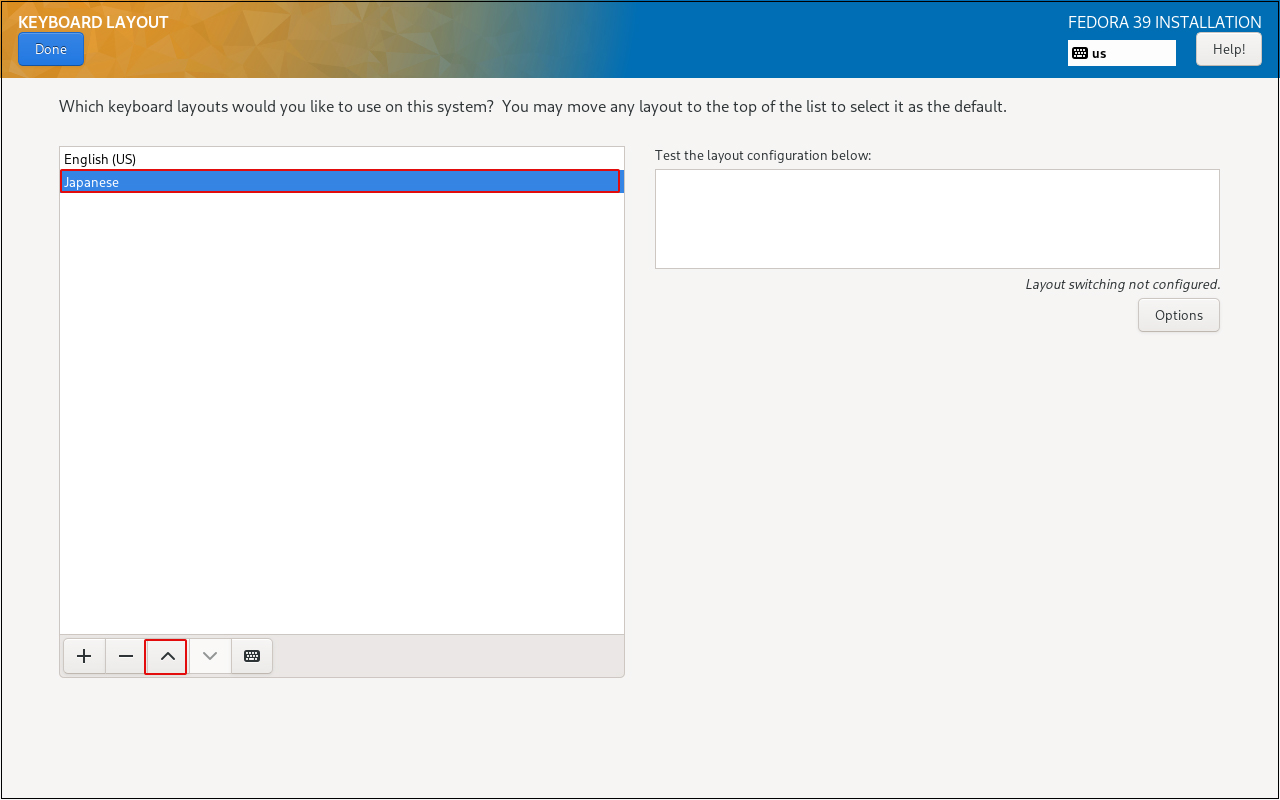
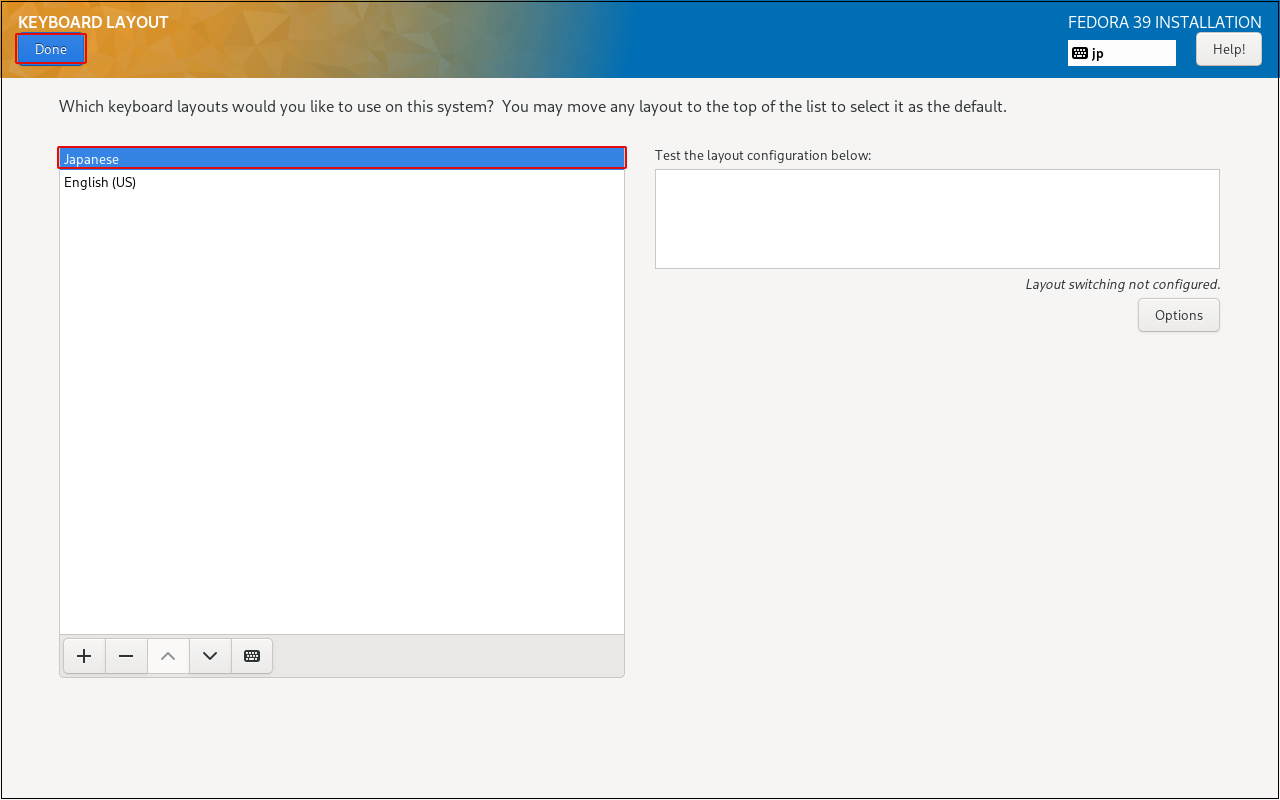
Click the [^] button to keep Japanese at the top of the list, then click the [Done] button.
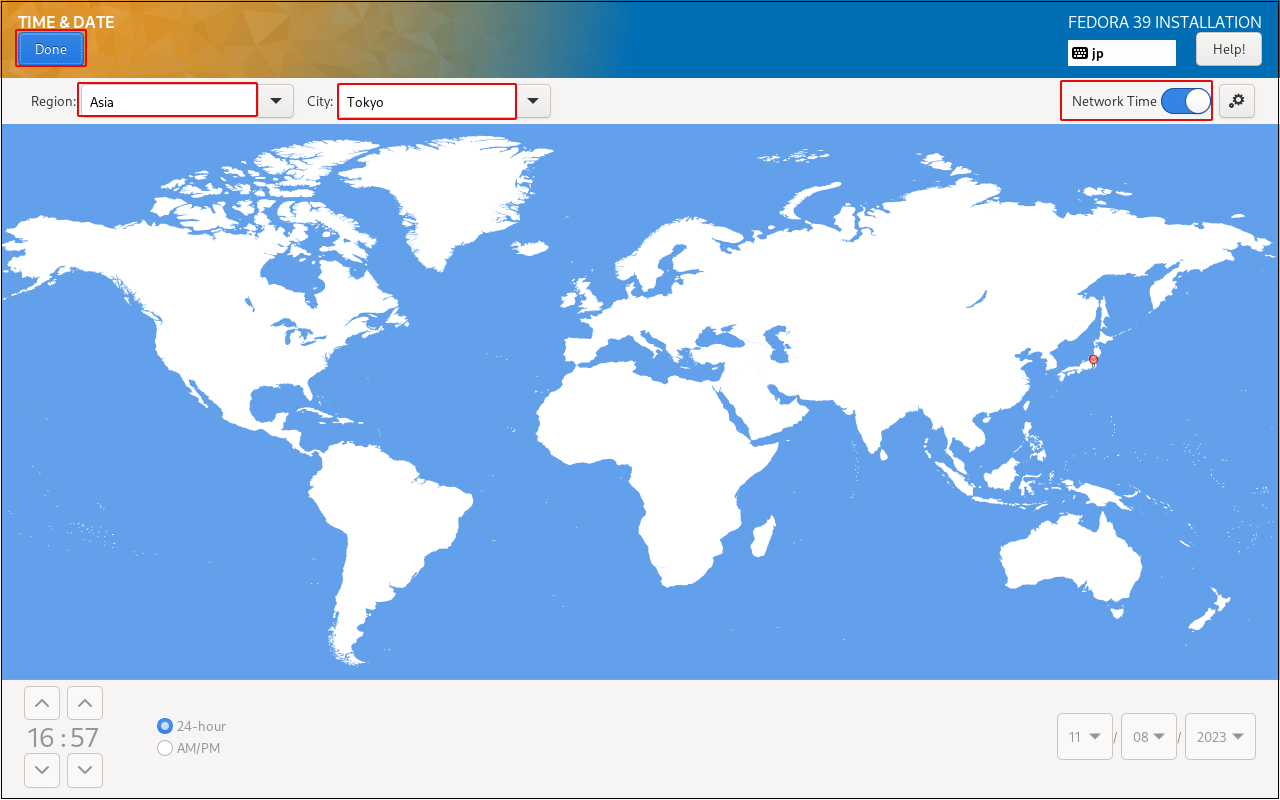
④Set time zone Click on the "Time & Date" icon in the "LOCALIZATION" category
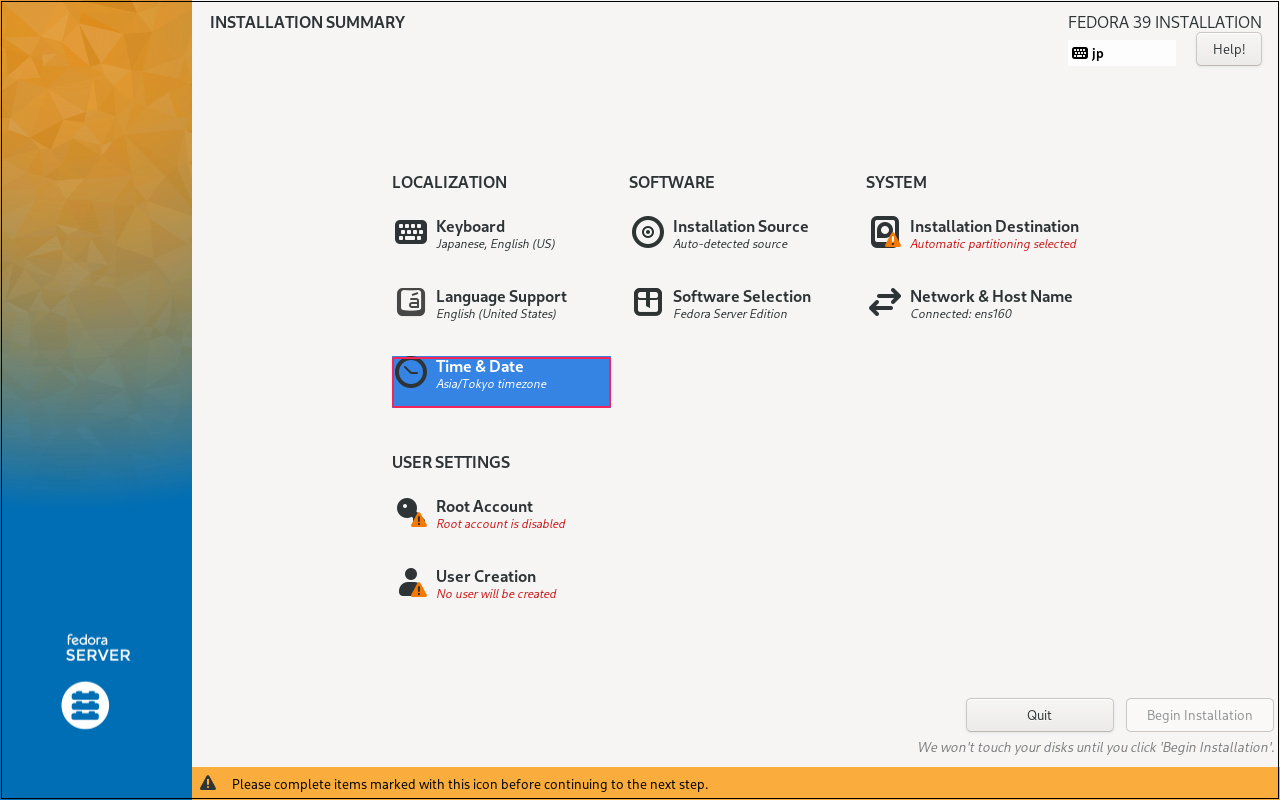
Region : Asia City : Tokyo Click the "Done" button.
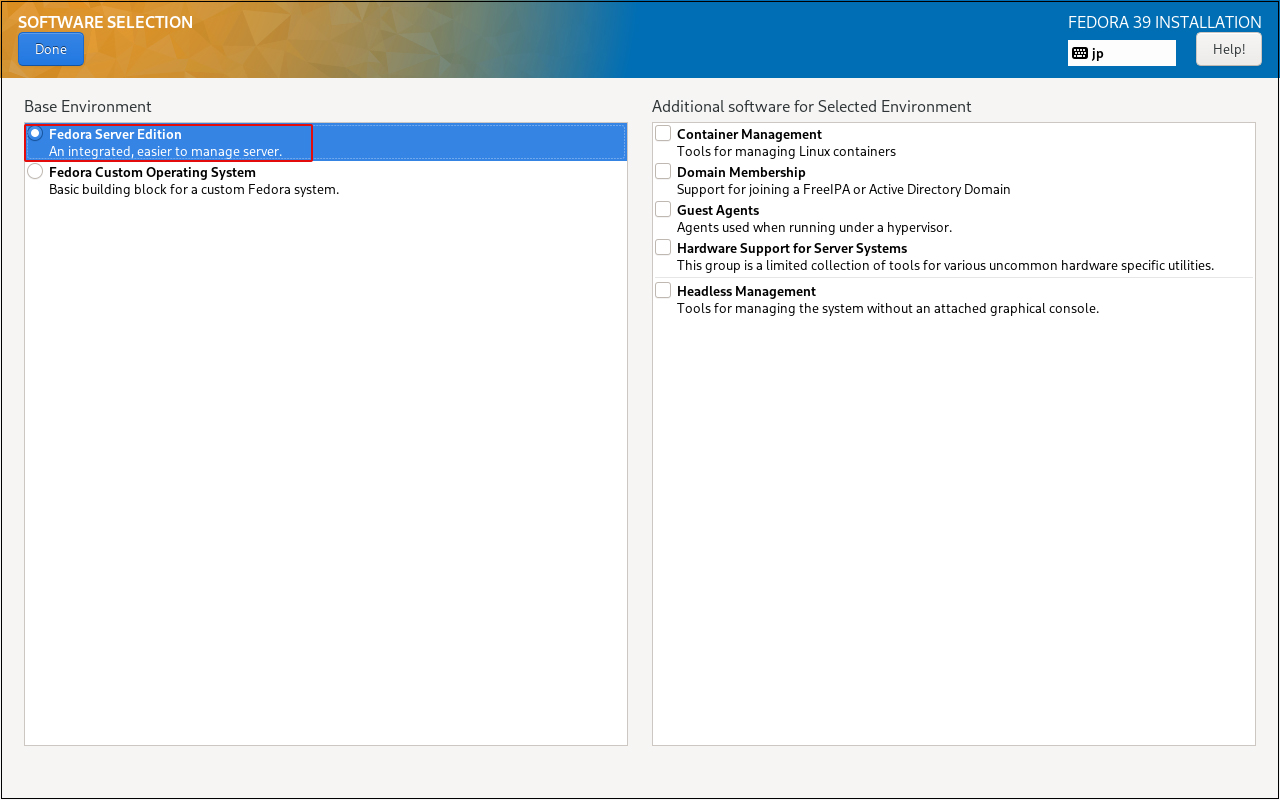
⑤Select software to install Click on the "Software Selection" icon in the "SOFTWARE" category
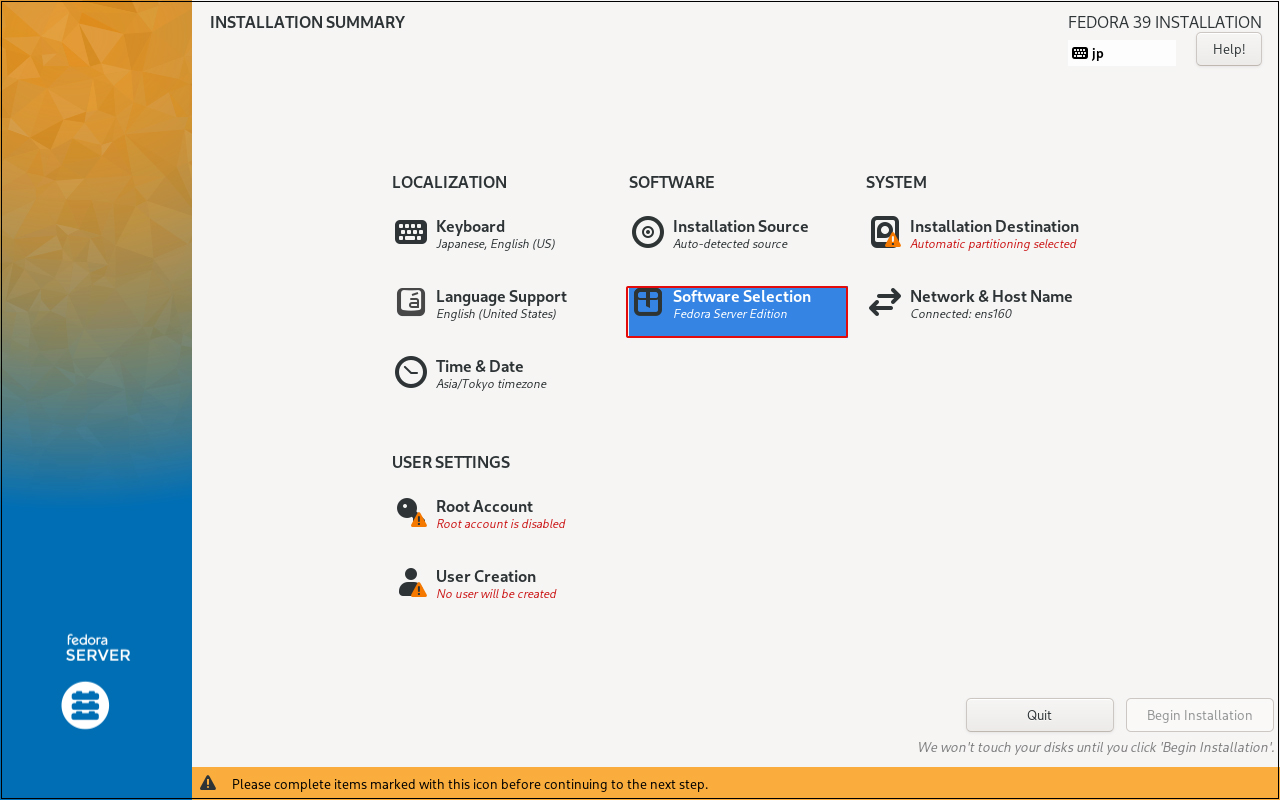
Select [Fedora Server Edition] to build the server.
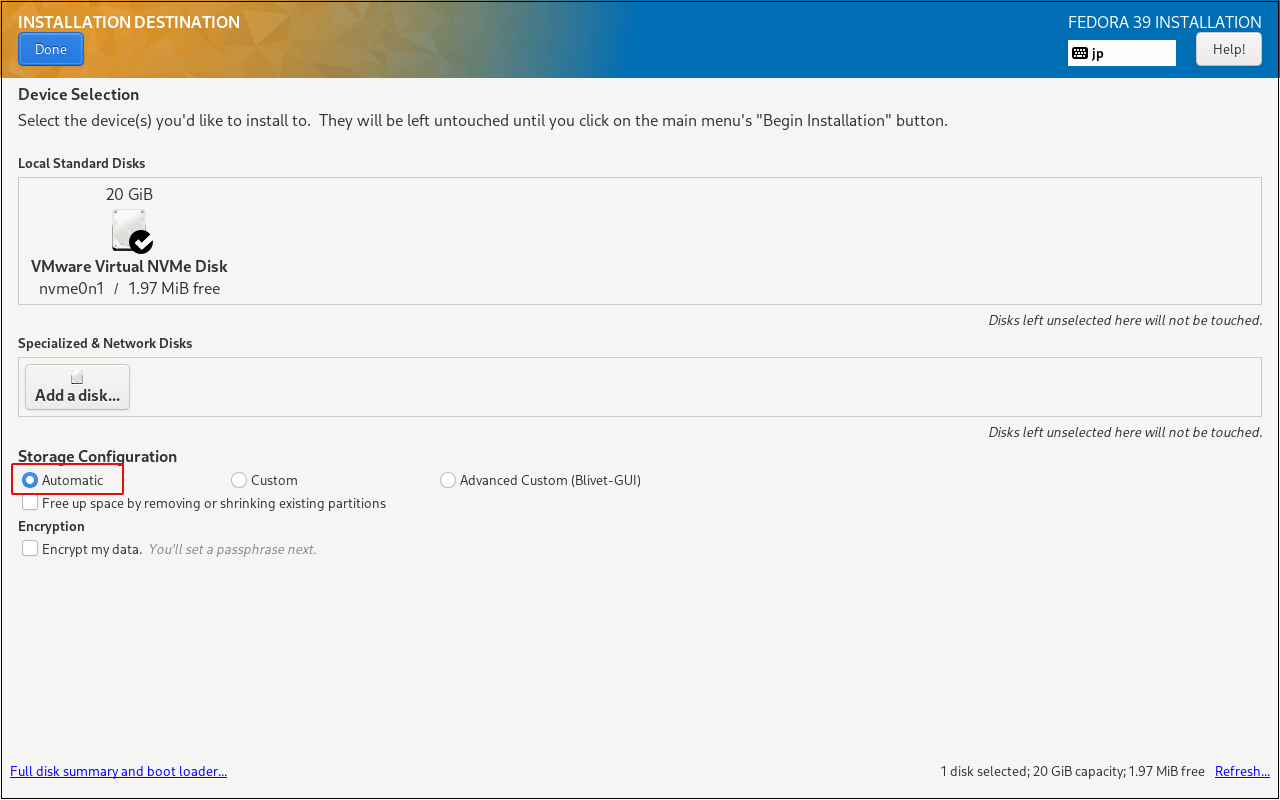
⑥Select destination disk Click on the Installation Destination icon in the SYSTEM category.
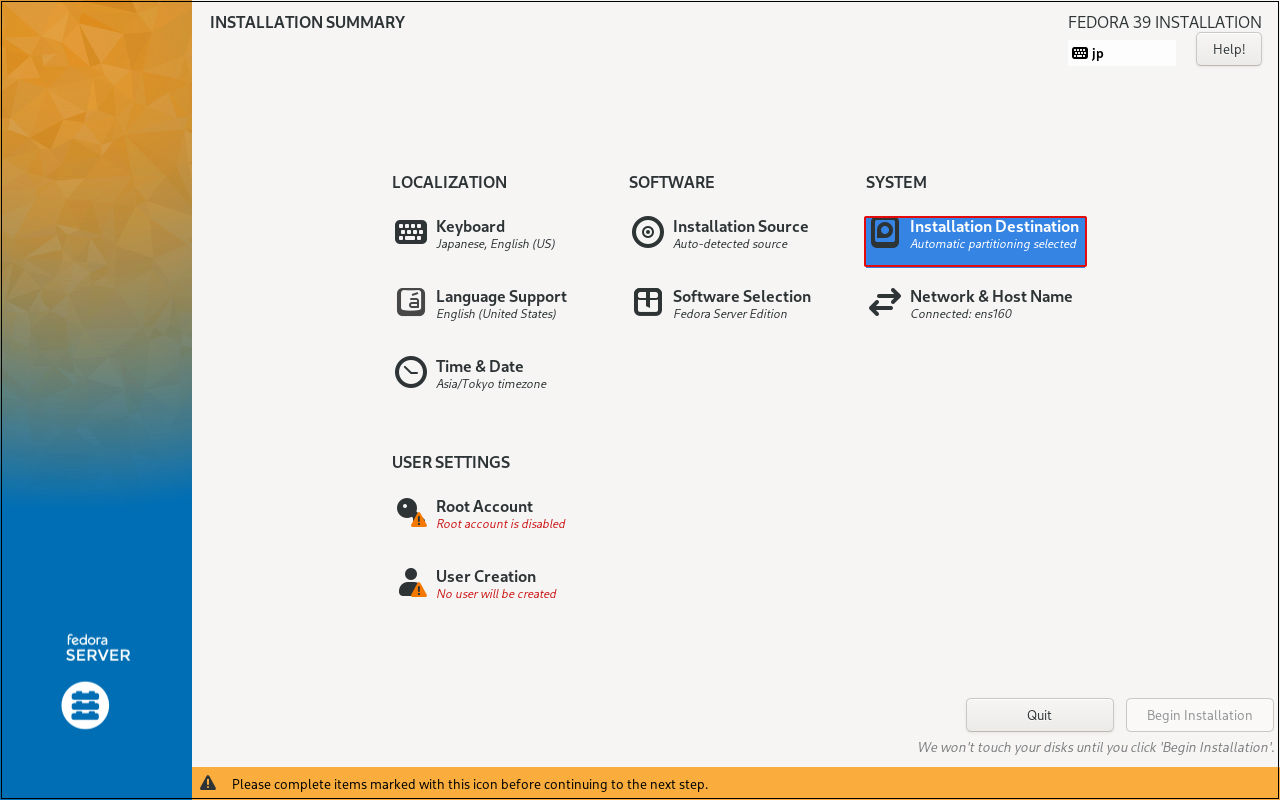
Check [Automatic] in [Storage Configuration] to set the partition layout automatically.
Click the "Done" button.
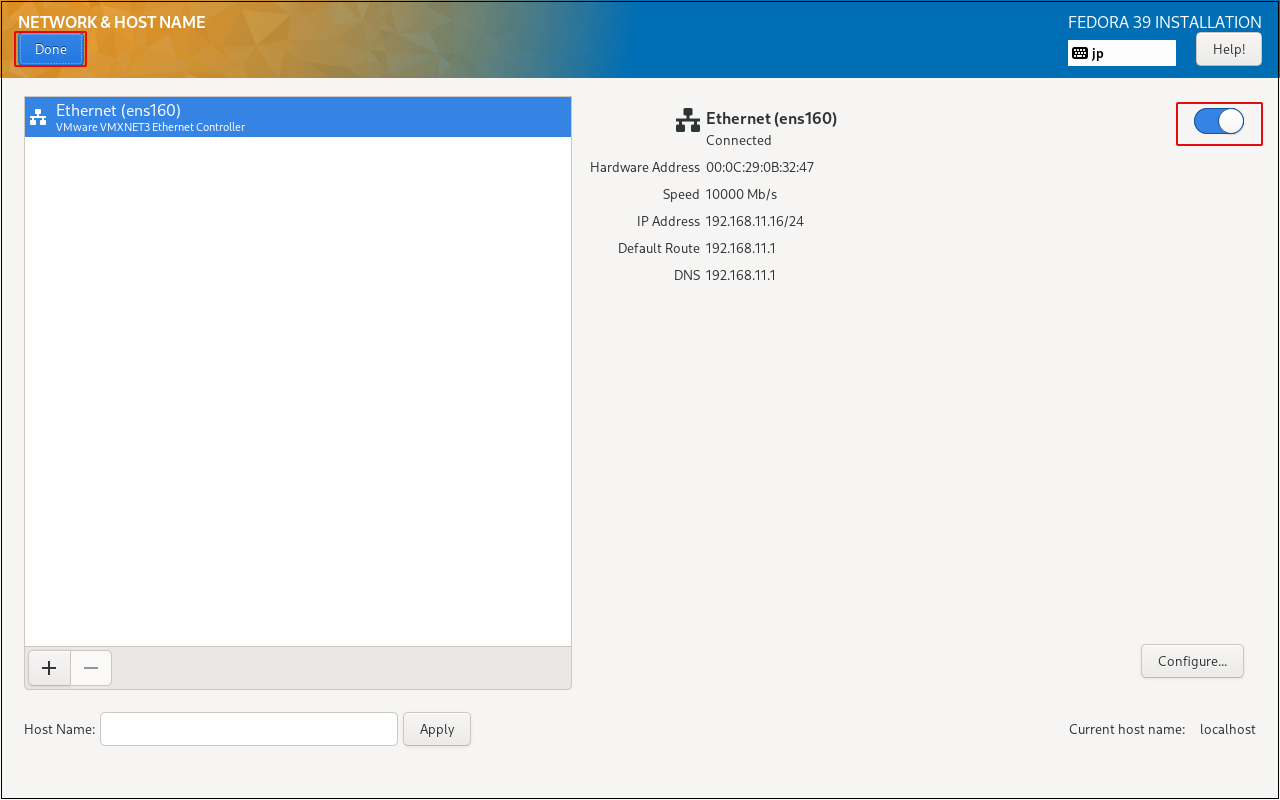
⑦Network and Hostname settings Click the Network & Host Name icon in the SYSTEM category.
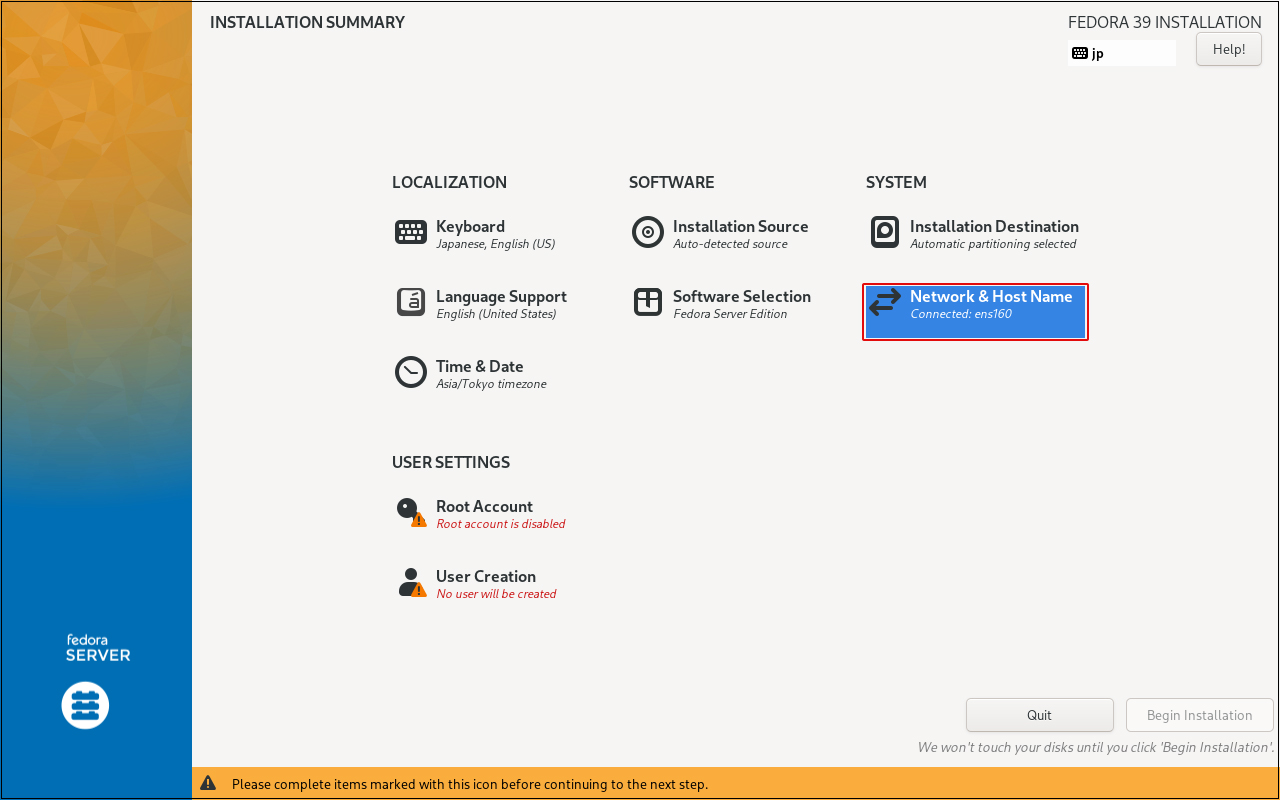
This time, specify the host name as "Lepard" and proceed with the settings for obtaining an IP address by DHCP, so click the "Done" button.
⑧Click on the Root Account icon in the USER SETTINGS category.
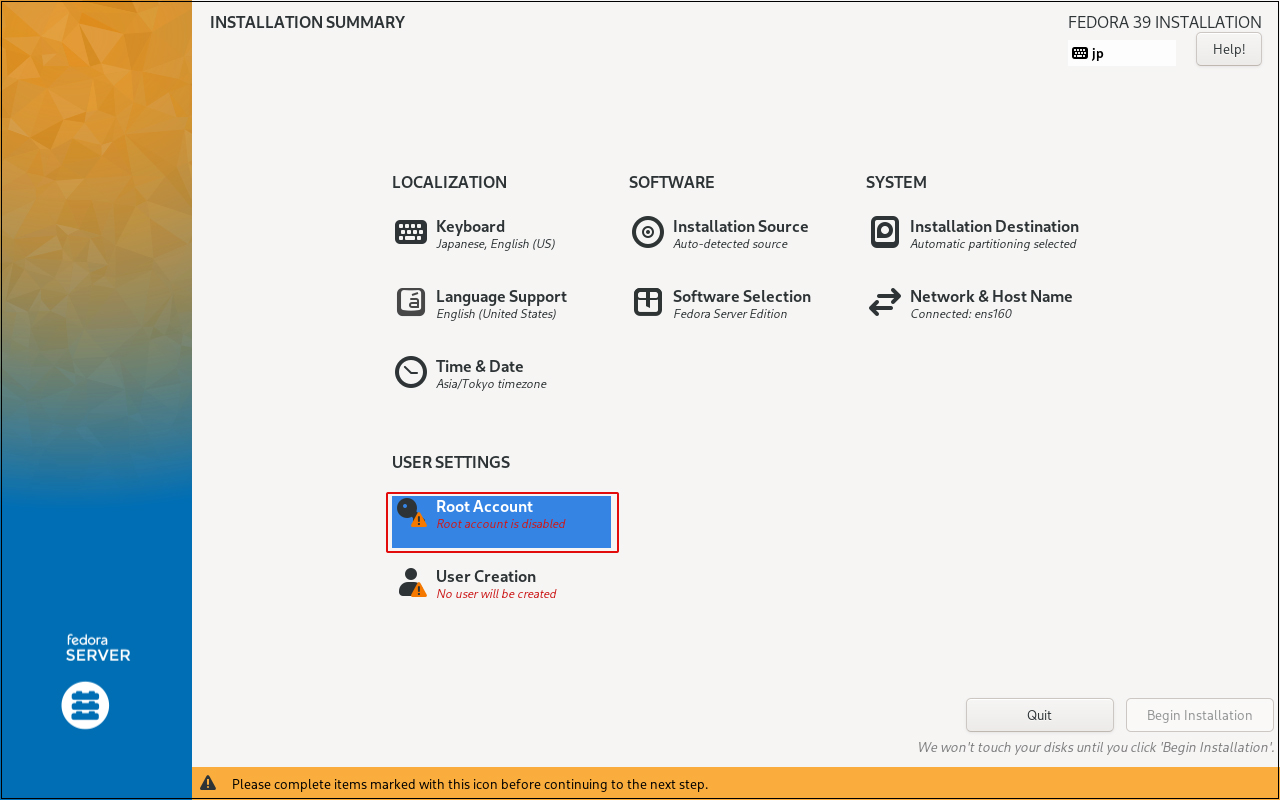
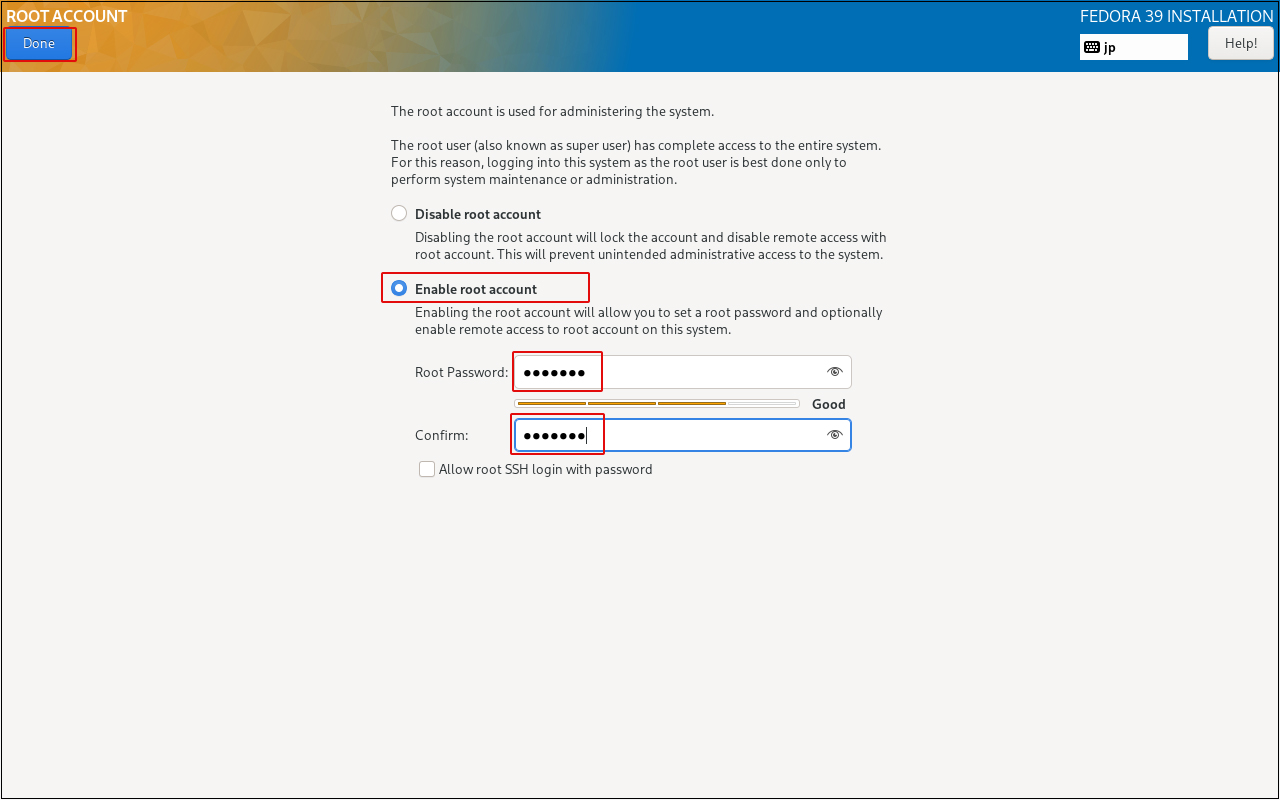
Check [Enable root account] and enter the root password you wish to set.
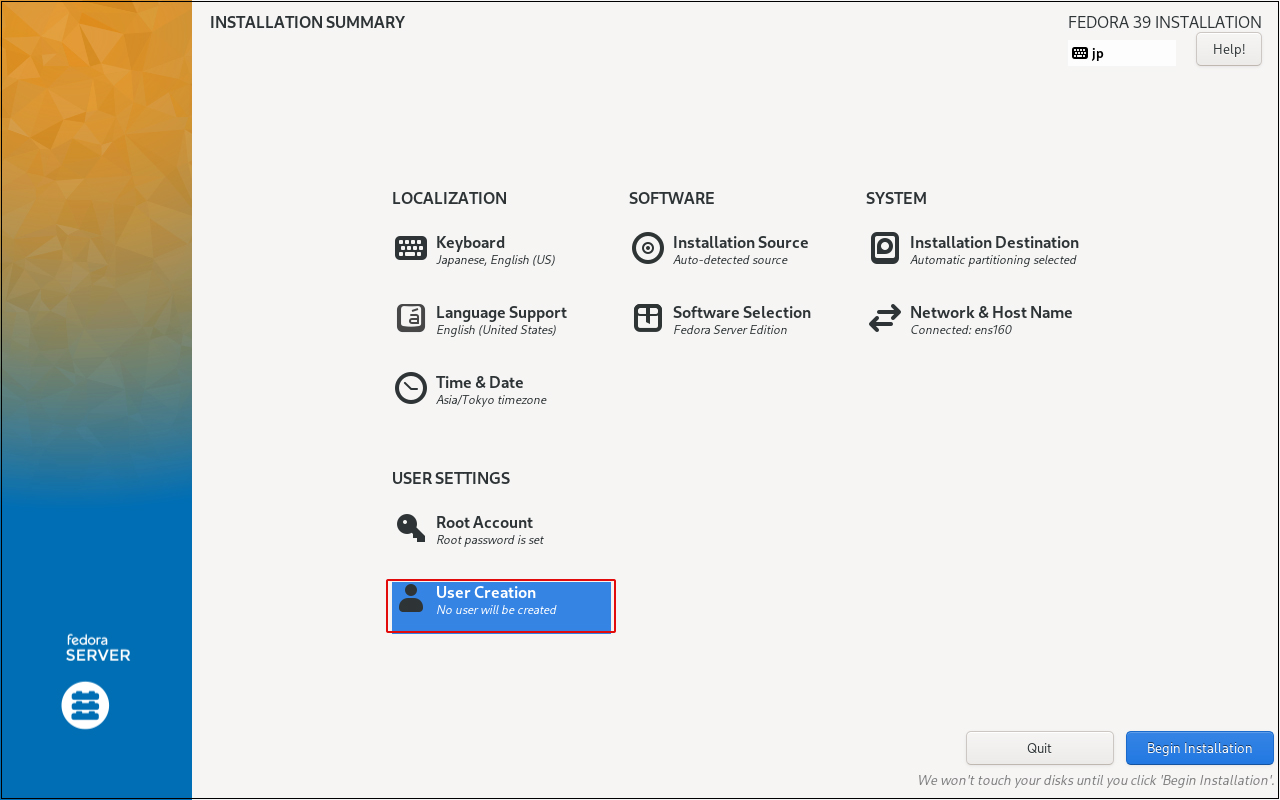
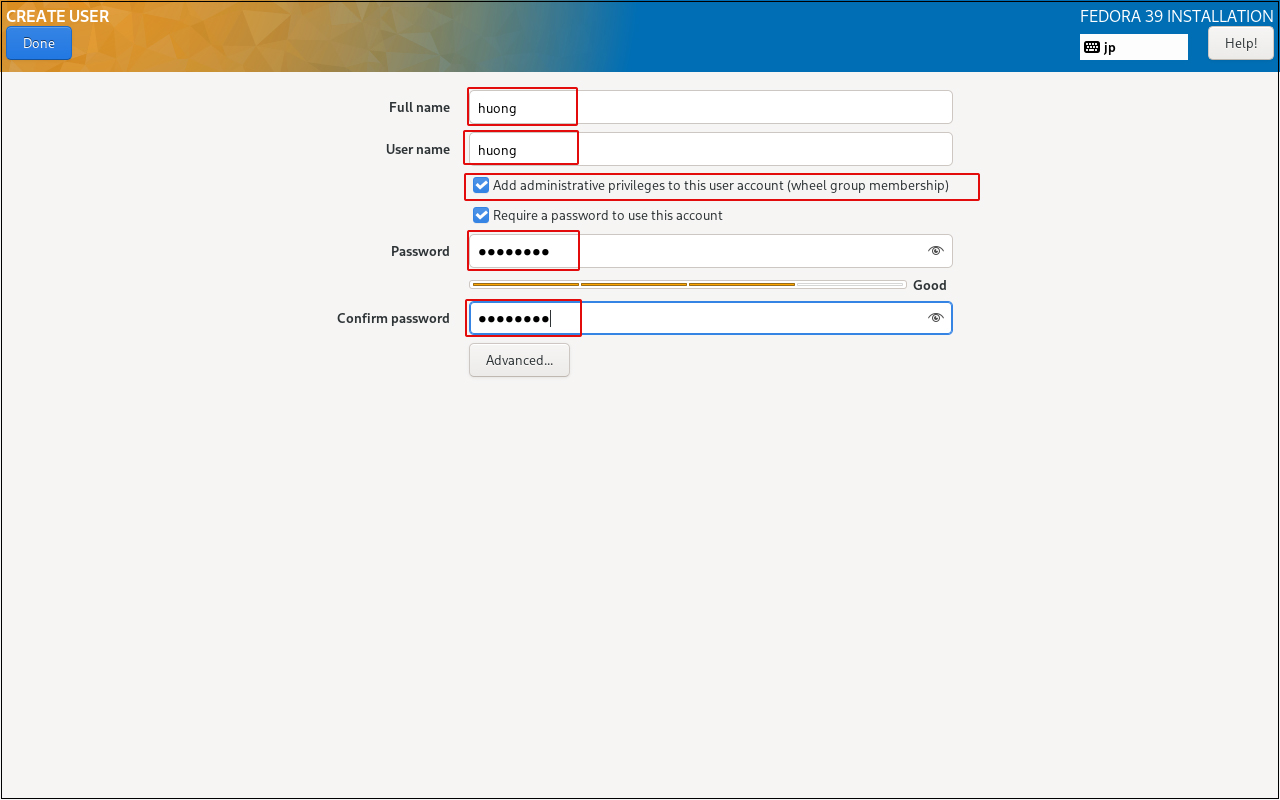
⑨Creating a General User Click on the User Creation icon in the USER SETTINGS category.
Check the "Add administrative privileges… "checkbox to grant administrative privileges to the general user account to be created.
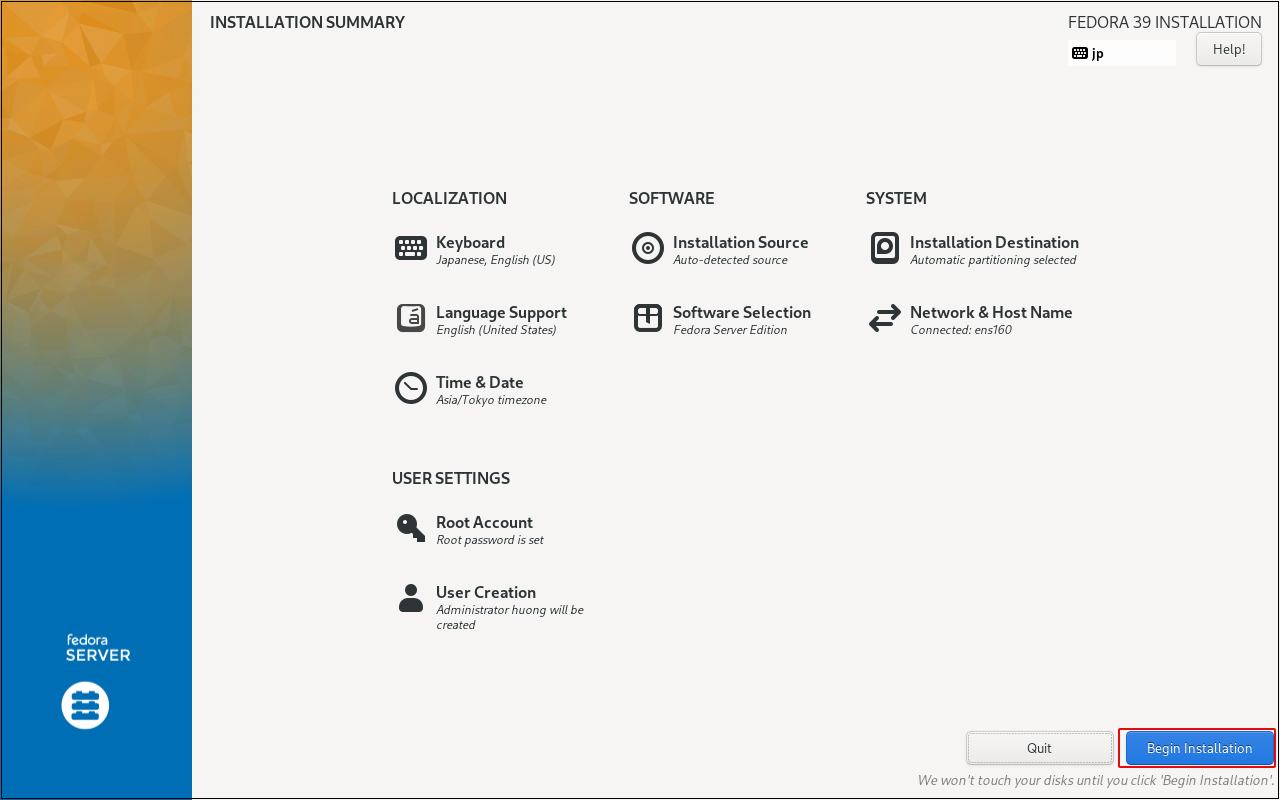
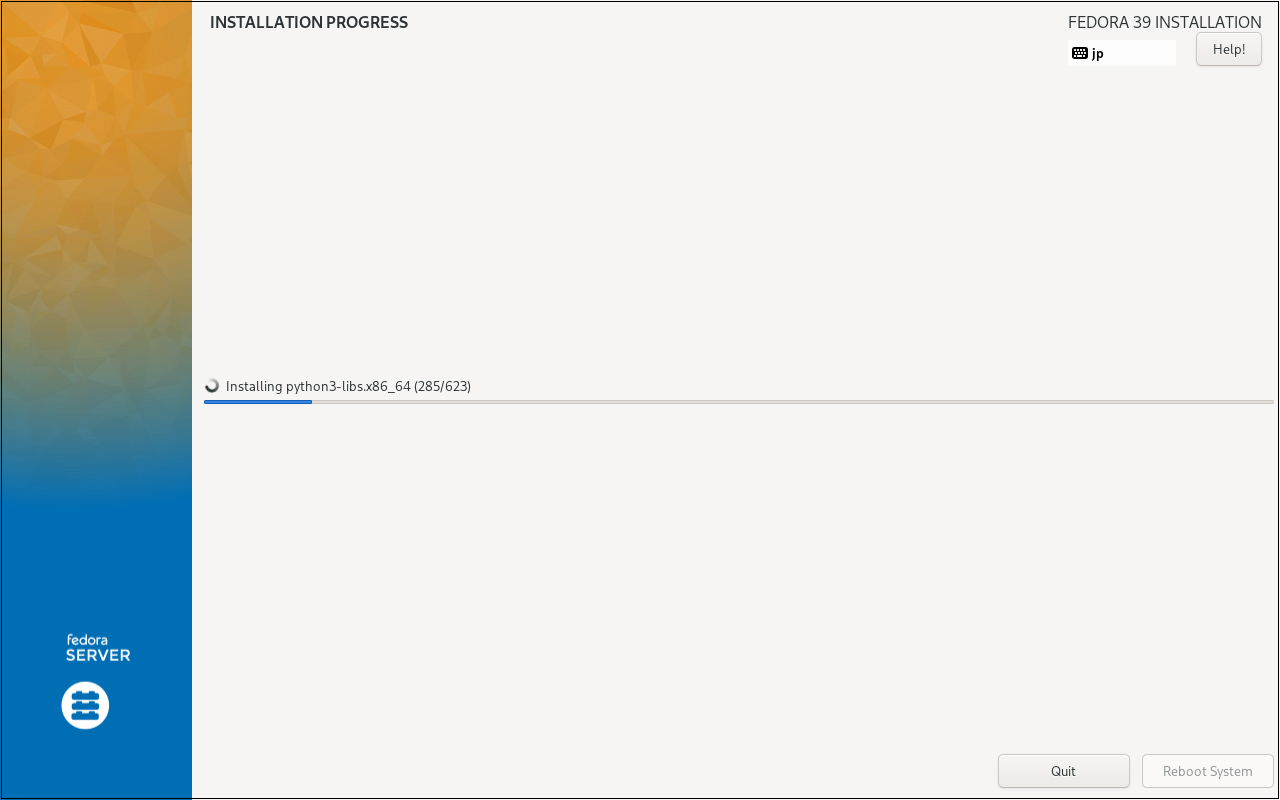
⑩Click "Begin Installation" to start installation.
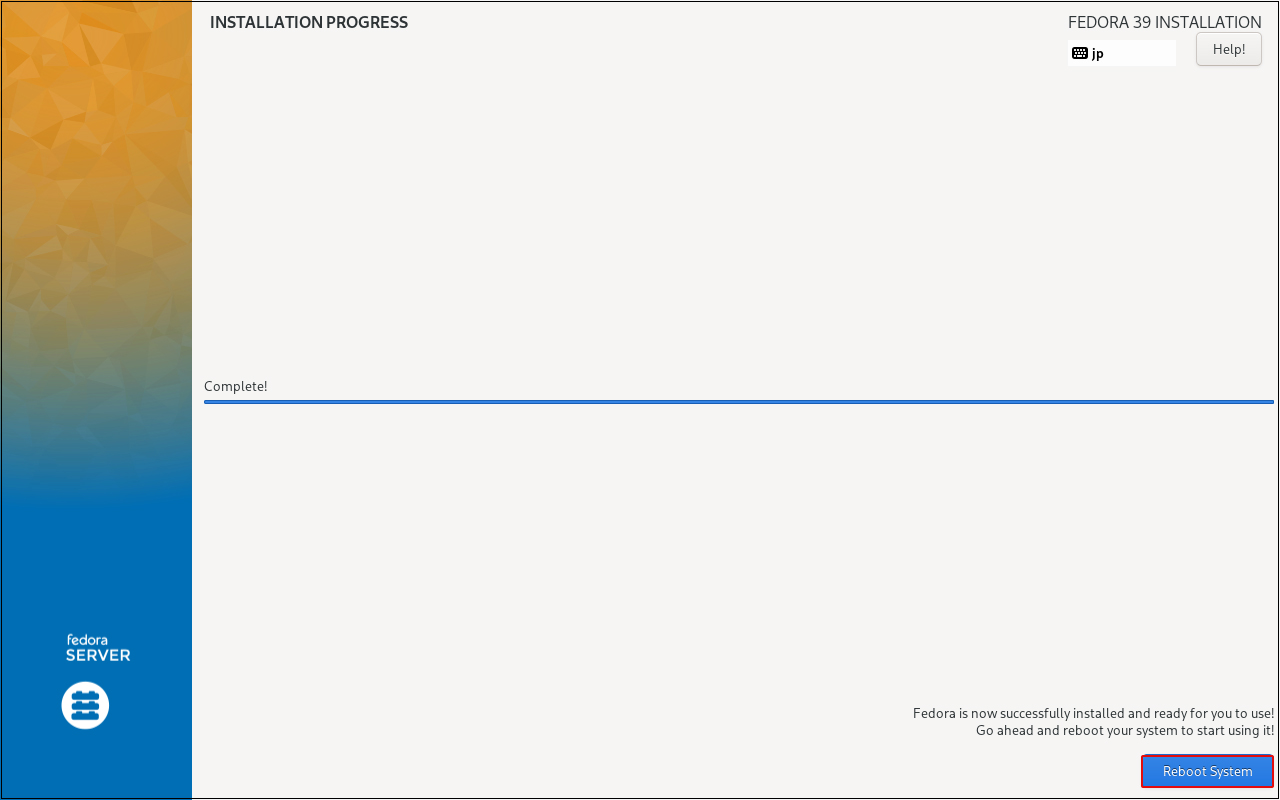
Click the "Reboot System" button after installation is complete.
⑪After rebooting, you will be at the Fedora startup screen and then at the console screen.