1.Overview of Debian13
In this article, we will explain how to build a server with Debian, the basis of the user-friendly Linux distribution UBUNTU. The latest is the stable Debian 13 "Trixie" released on August 9, 2025.
2.Download Debian13.0 installation image
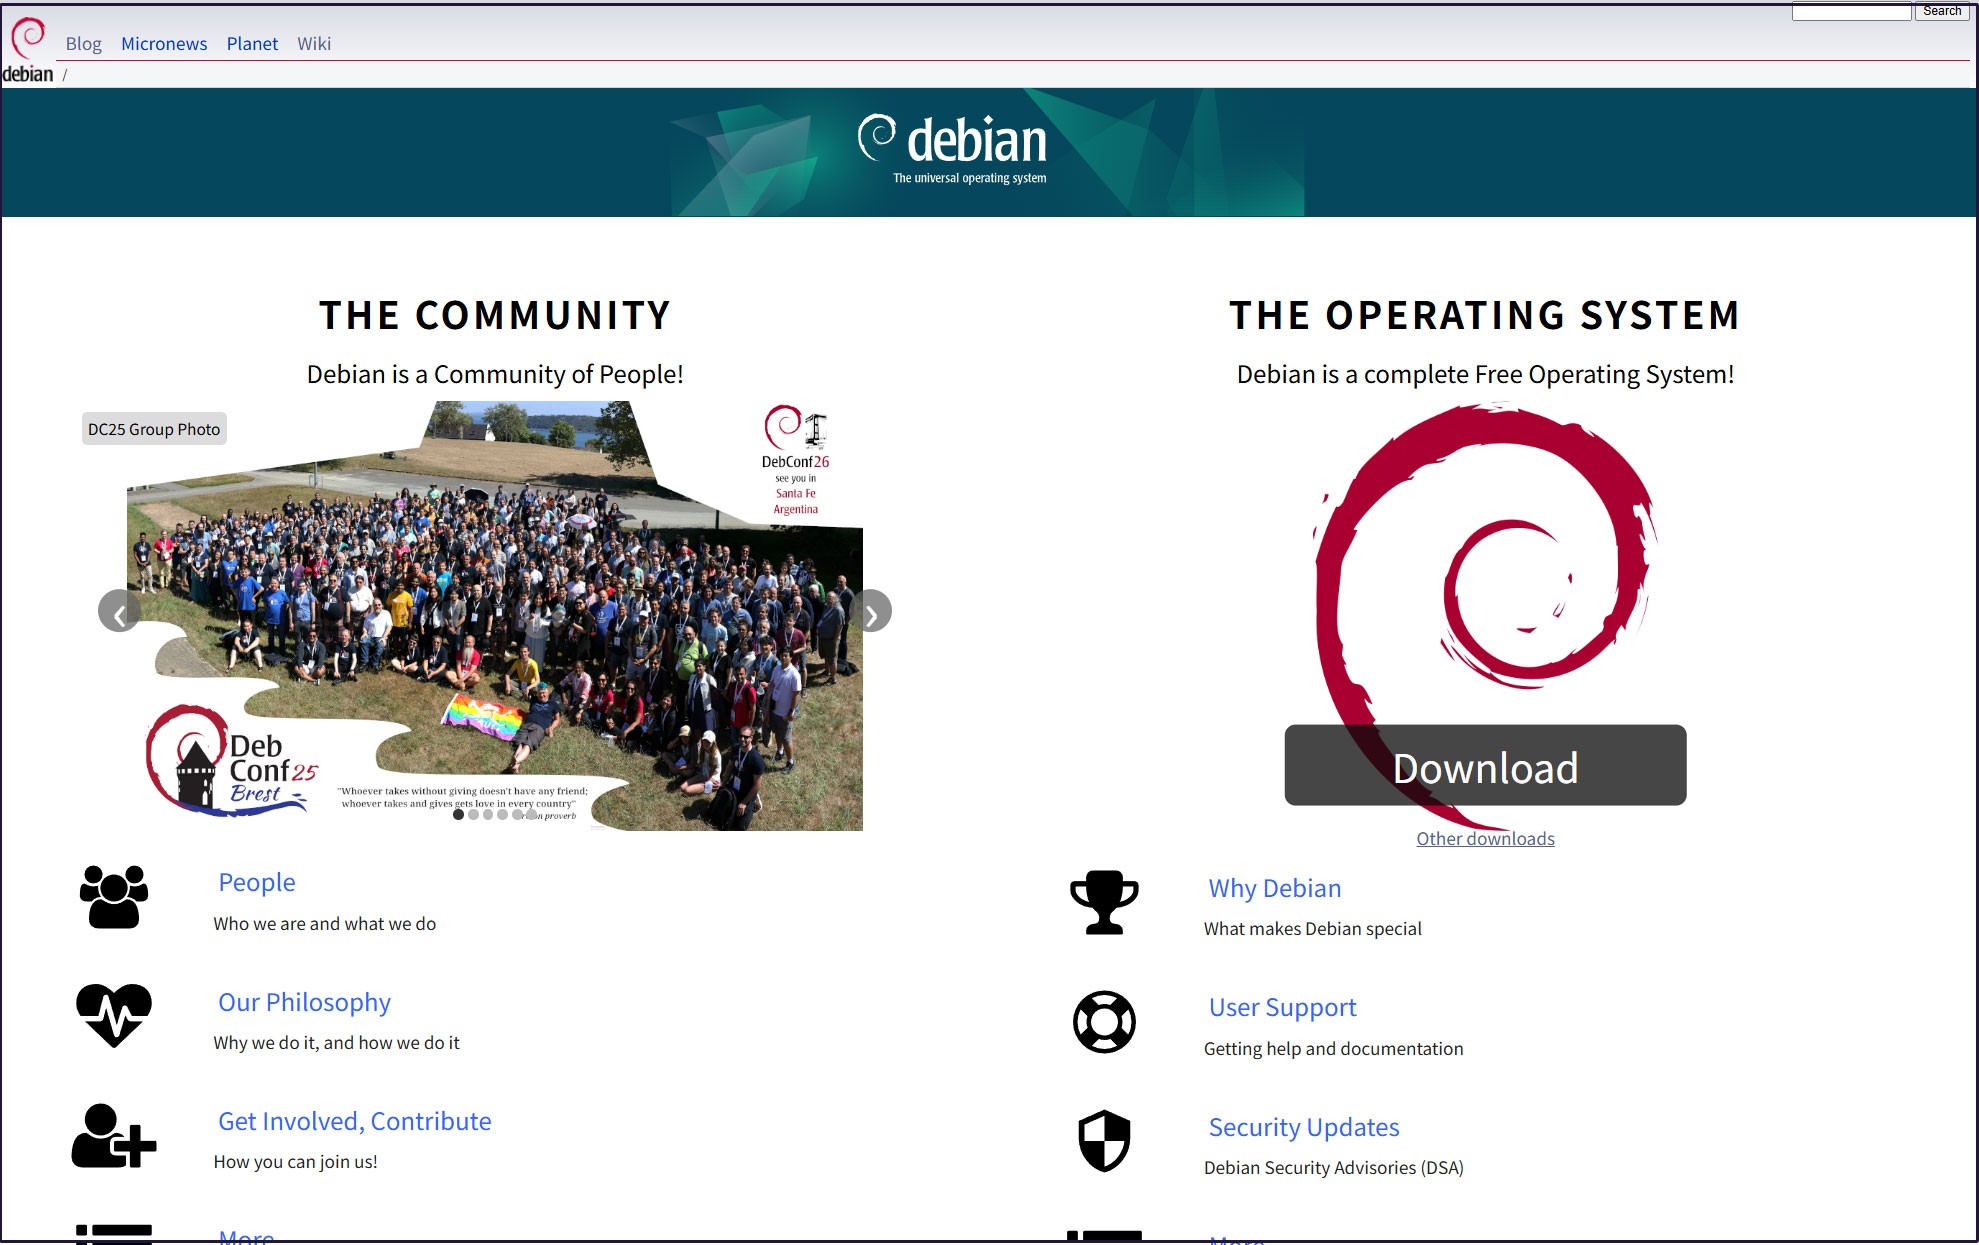
Go to the official Debian website https://www.debian.org/ and download debian-13.0.0-amd64-netinst.is
Burn the iso image saved above as a boot disk to CD or USB using your favorite writing software.
3.Debian13.0 INSTALL
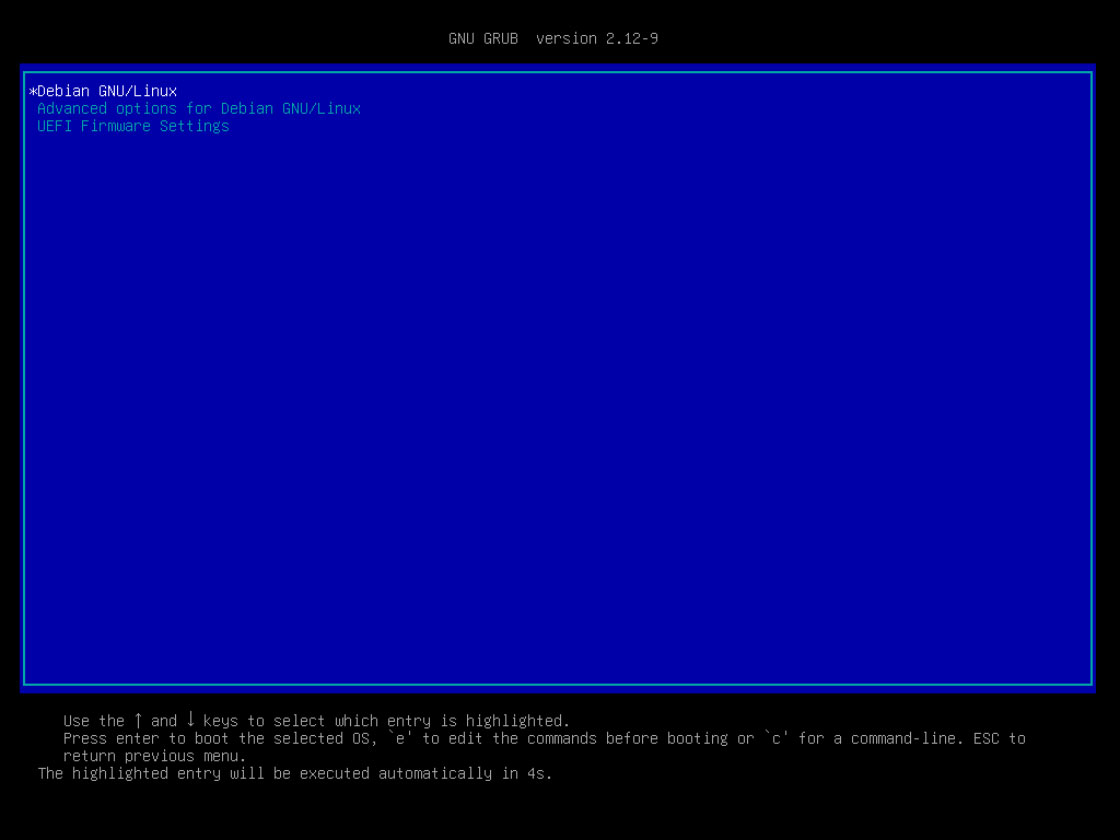
Change the BIOS so that the PC can boot from the installation disk created above.
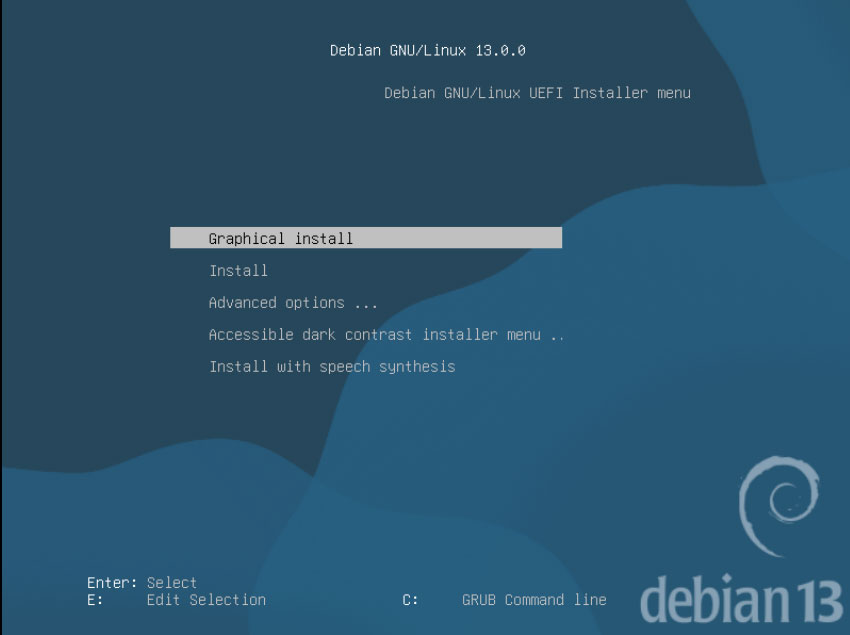
3.1.Installation screen
Select "Graphical install" from the screen that appears.
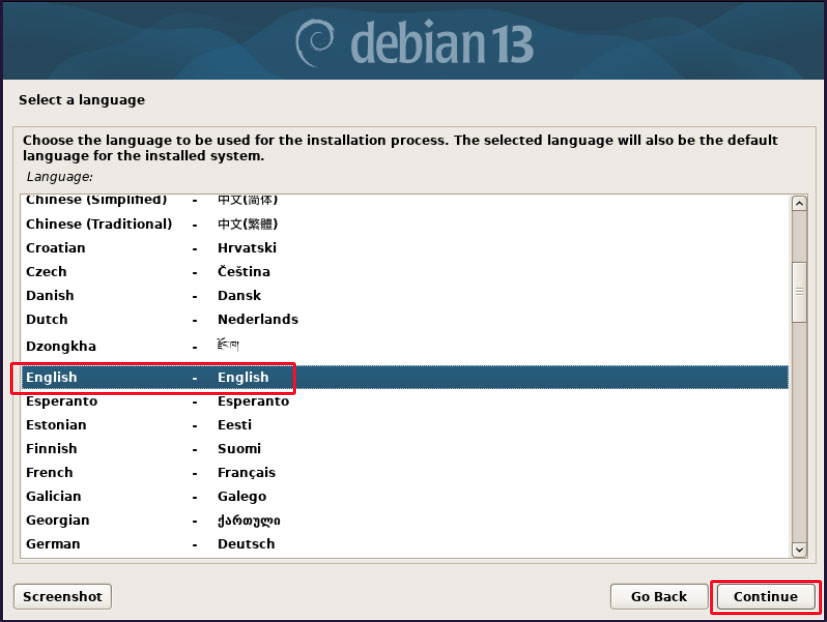
3.2.Select installation language
Select the default "English" and click "Continue".
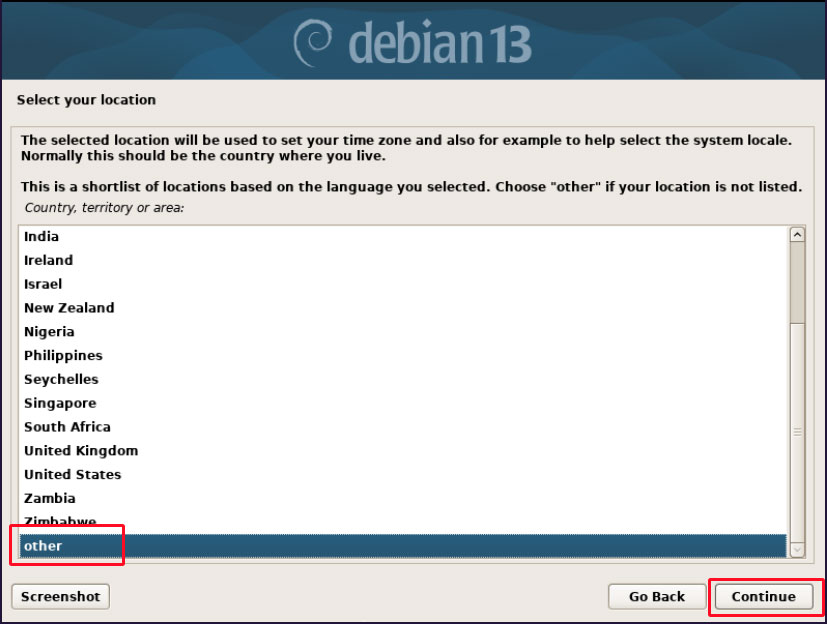
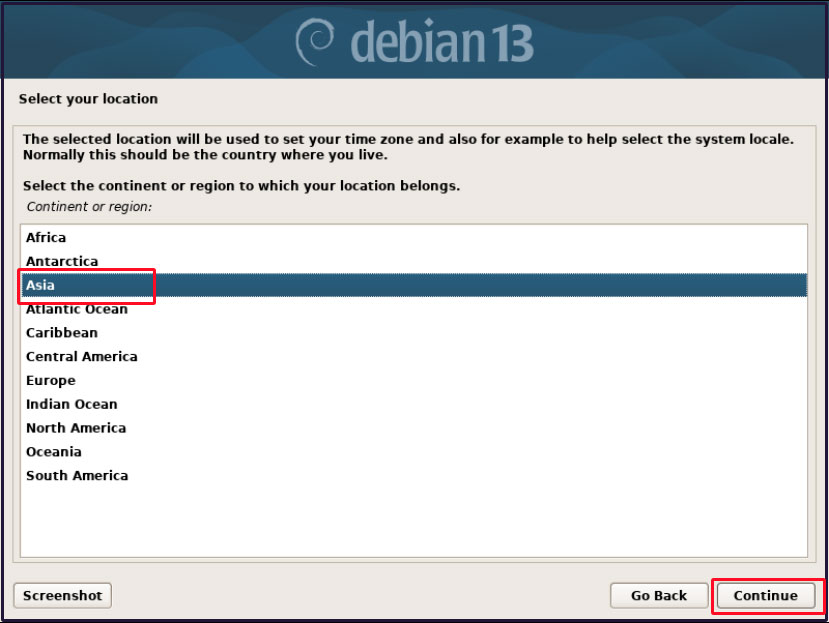
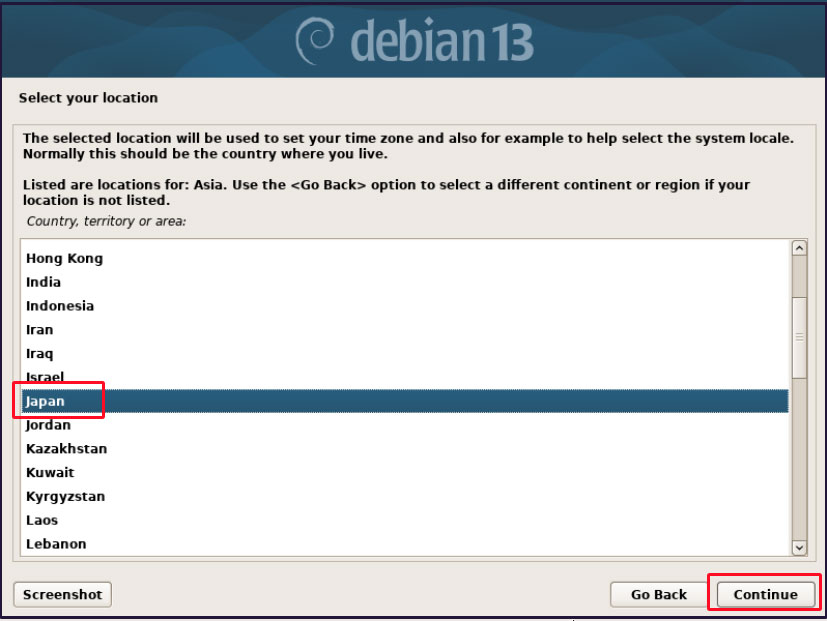
3.3.Select Location
Select [other] [Asia] [Japan]
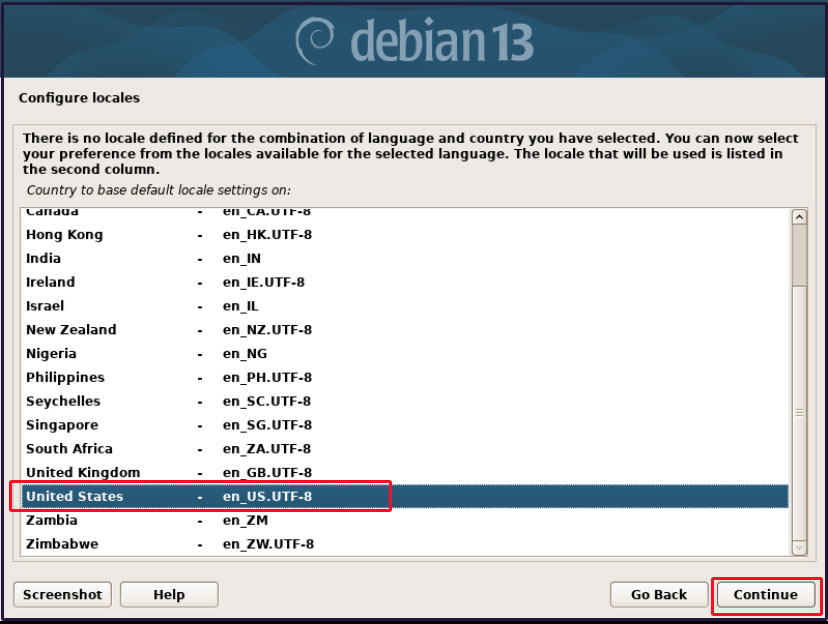
3.4.Language Selection
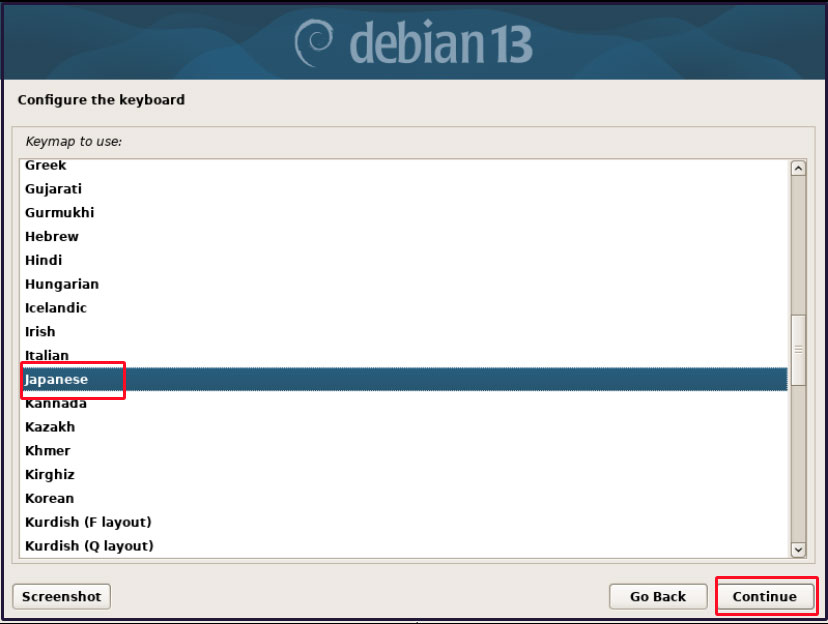
3.5. Keyboard Settings
Configure the keyboard settings for use with the system. Select the keyboard of the language you wish to use from the keymap to be used.
In this case, select "Japanese".
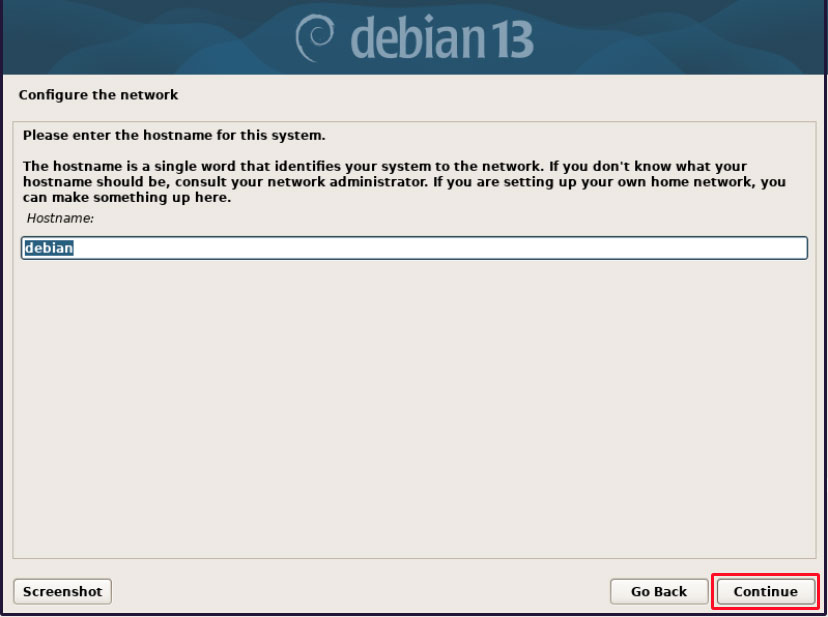
3.6. Network Settings
Since a fixed local address cannot be specified at the time of Debian13 installation, and the network environment is assumed to have a DHCP server running, the IP address settings are done automatically. A fixed IP address can be specified from the command after installation.
3.6.1. ホスト名の設定
Debianのシステムにホスト名を設定します。デフォルトでは「debian」が指定されていますが、お好きな名前にできます、
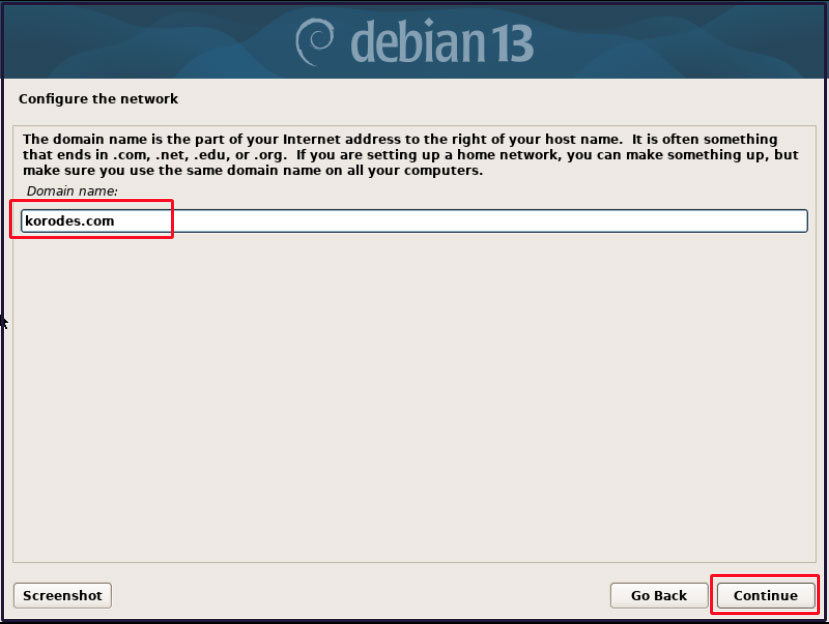
3.6.2. ドメイン名
ドメイン名を設定します。設定値は任意になります。
3.7. ユーザーとパスワードのセットアップ
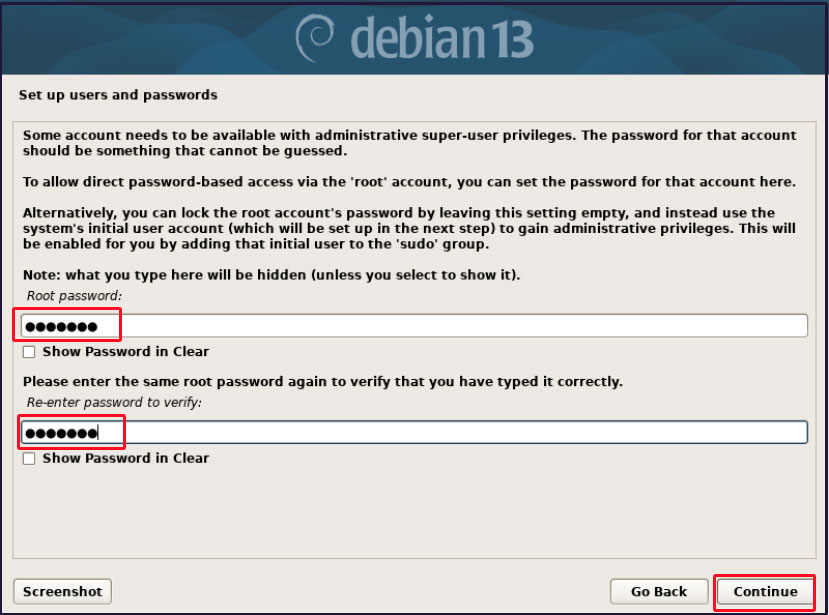
3.7.1 rootパスワードの設定
システムの管理者(rootユーザー)のパスワードを設定します。
rootはシステムに対してフルアクセス権を所有しています。画面に表示されている「rootのパスワード」にパスワードを入力します。
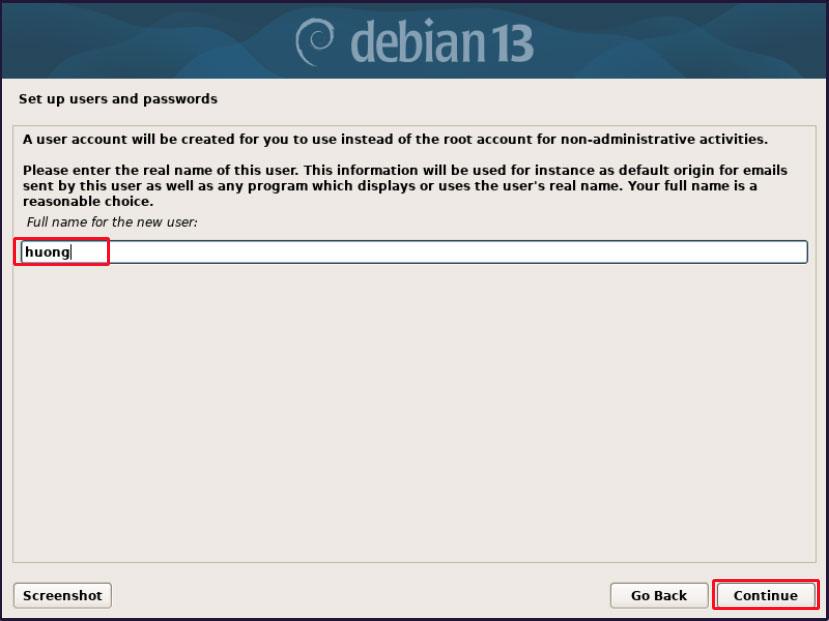
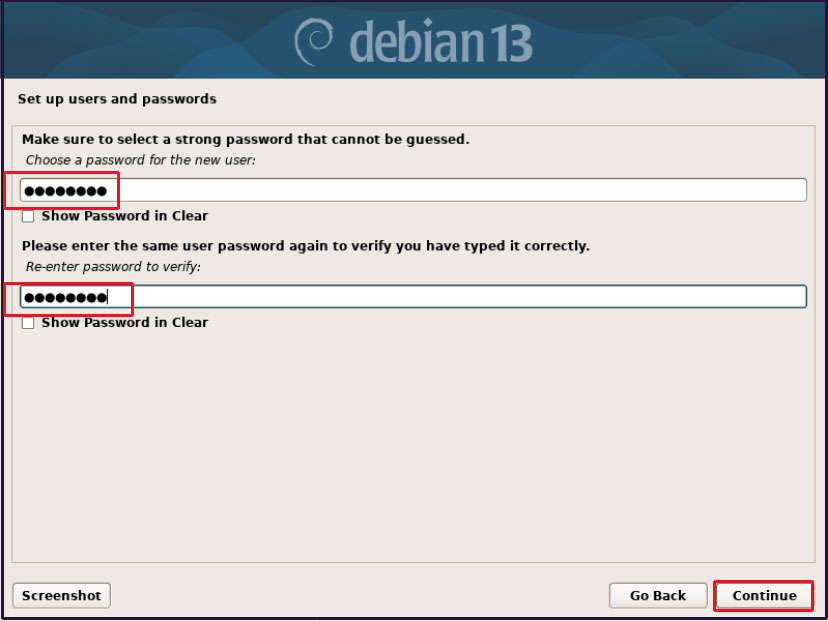
3.7.2 一般ユーザーの設定
rootパスワードの設定が終わったら、続いてroot以外の操作を行う一般ユーザー(非管理者権限)の設定を行います。ユーザーの本名(フルネーム)を入力します。"huong"を入力しています。
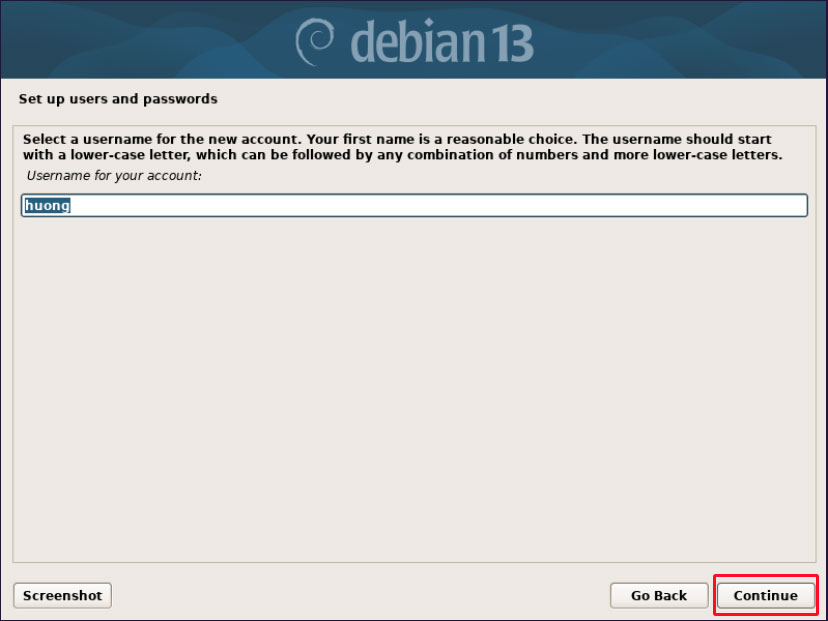
ユーザーアカウント名を入力します(任意の名前)
作成したユーザーのパスワードを設定します
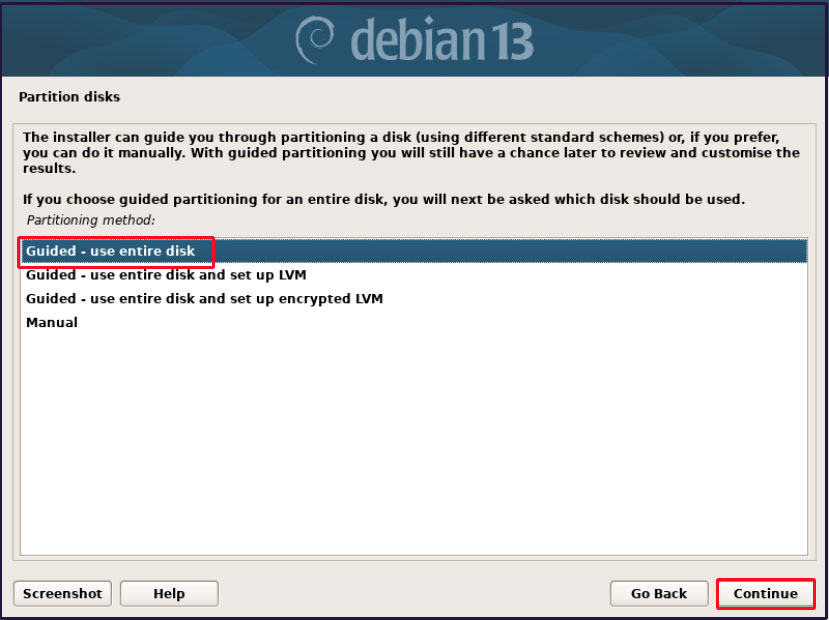
3.8. ディスクのパーティショニング
3.8.1 ディスクのパーティショニング
Debianシステムをインストールするディスクのパーティショニング(論理的に分割)を設定します。パーティショニングの方法は以下の4つになります。
ガイド - ディスク全体を使う
ガイド - ディスク全体を使いLVMをセットアップする
ガイド - ディスク全体を使い、暗号化LVMをセットアップする
手動
今回は「ディスク全体を使う」を使用します
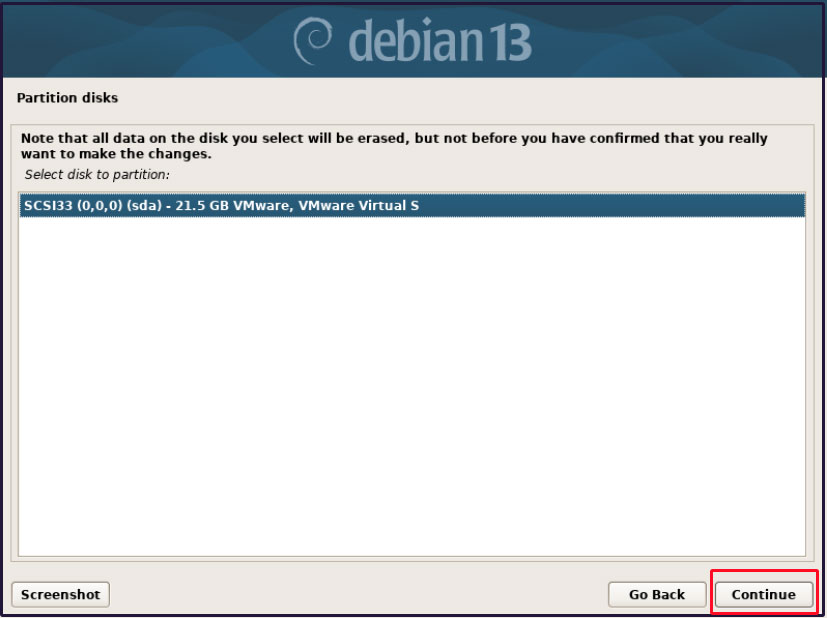
3.8.2 ディスクの選択
パーティショニングするディスクを選択します。Debianのインストールを行うことが出来るディスクが表示されます。単一ディスクのため、表示されているディスクが自動的に選択されます。(今回はVMware Workstationにインスルしており、表示が通常とは違います)
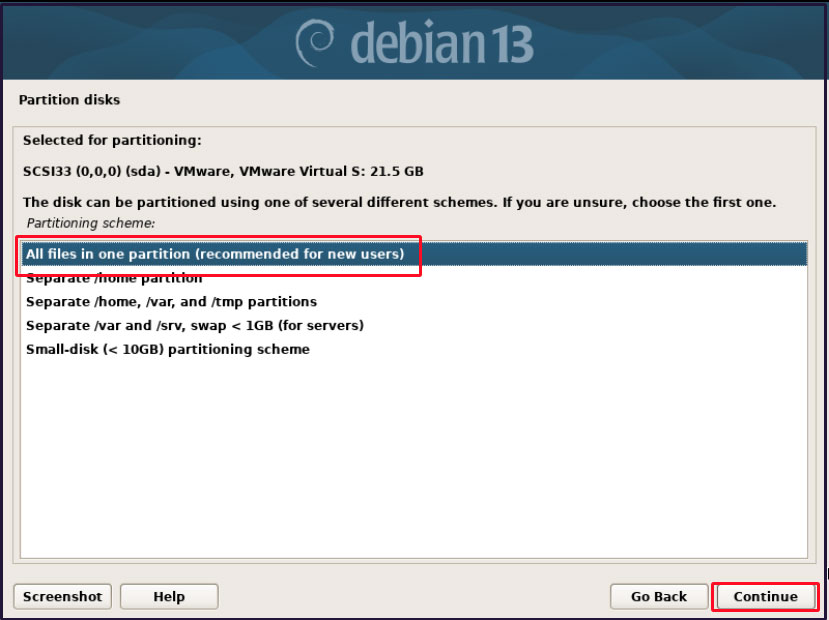
3.8.3 自動構成パーティーションの構成
選択したディスクをどのように分割するかを選択します。今回は「すべてのファイルを1つのパーティションに(初心者ユーザには推奨)を選択します。1つのパーティションの場合は「/(root)」パーティションのみで構成されます。
パーティションの概要が表示されよろしければ書き込みを許可する
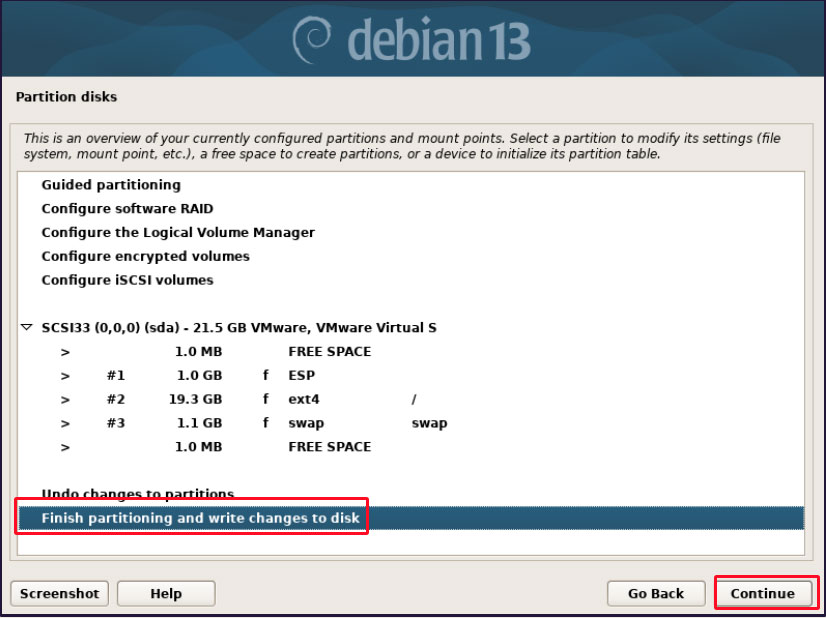
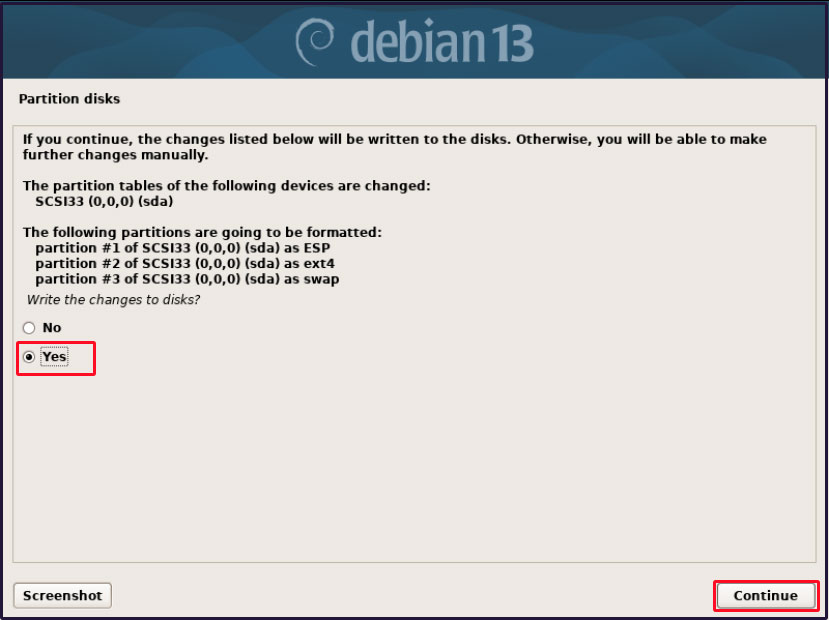
3.8.4 ディスクへの書き込み確認
パーティションを分割する前に最終確認が表示されます。「Yes」を選択
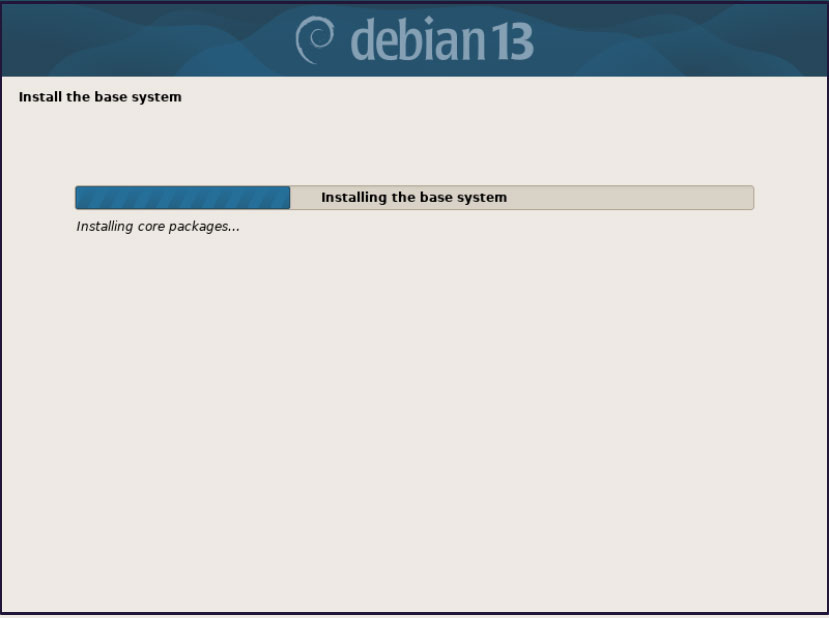
3.9. ベースシステムのインストール
3.10. パッケージマネージャの設定
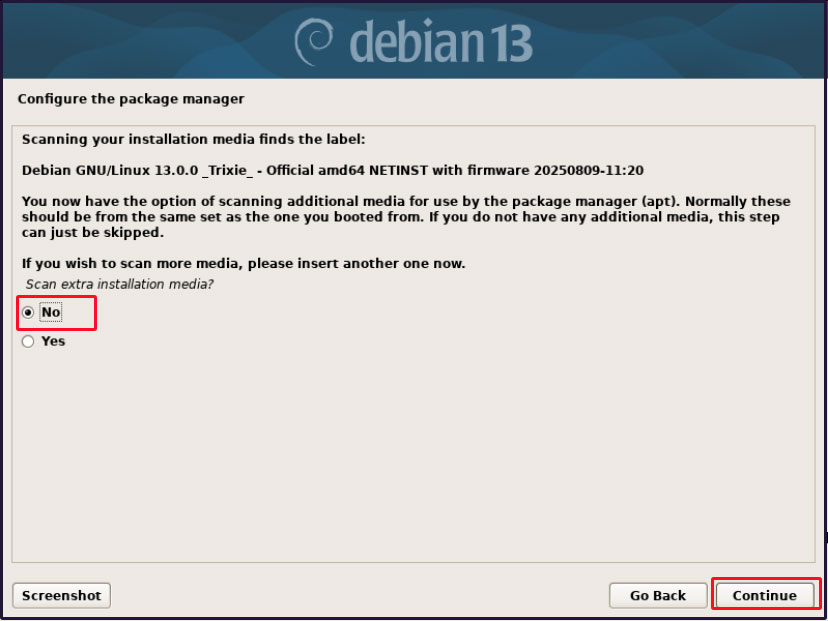
3.10.1 パッケージマネージャで管理するCD/DVDの確認
インストールに利用するCD/DVDを確認します。また追加でパッケージマネージャによって利用されるディスクがある場合には検査を行うことができます。NETINSTは最小の構成で追加はインターネットよりダウンロードするためここでは「no」を選択します。
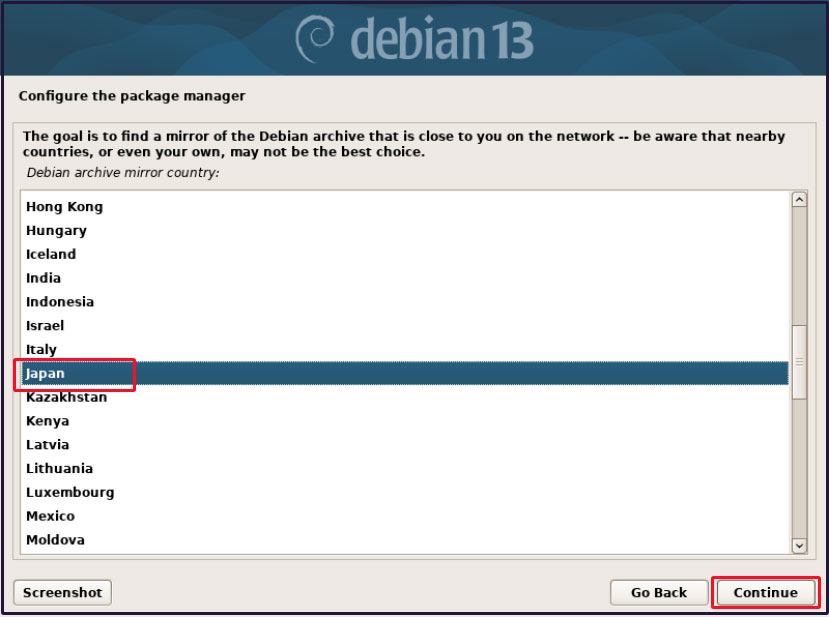
3.10.2 アーカイブミラーの選択
アーカイブミラーはCentOSのレポジトリのようなもので、aptでパッケージを取得する先になります。ネットワークからソフトウェアをダウンロードする際にネットワーク的に一番近い場所を選択します。「日本」に配置するシステムのため、「Japan」を選択します。
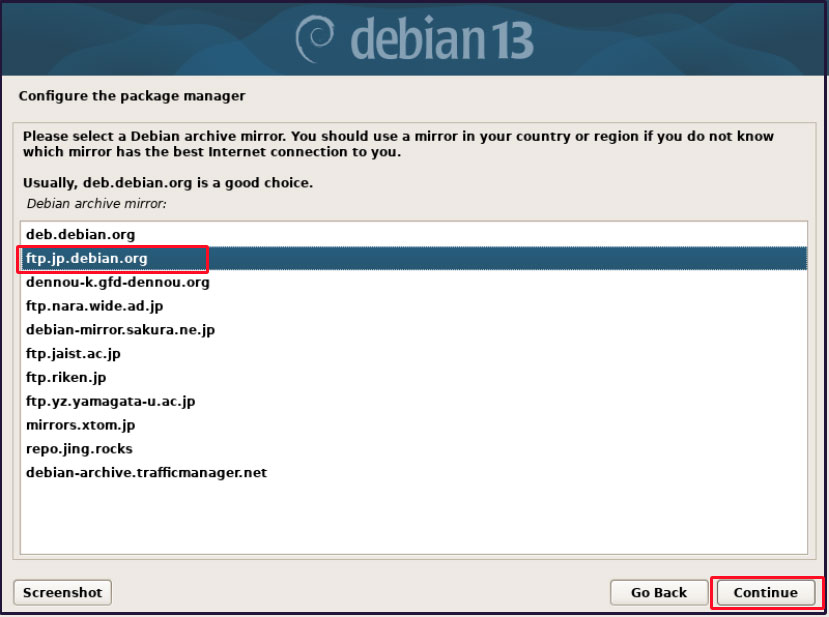
日本に配置されたDebianアーカイブミラーから最適な場所を選択します。「ftp.jp.debian.org」を選択します。
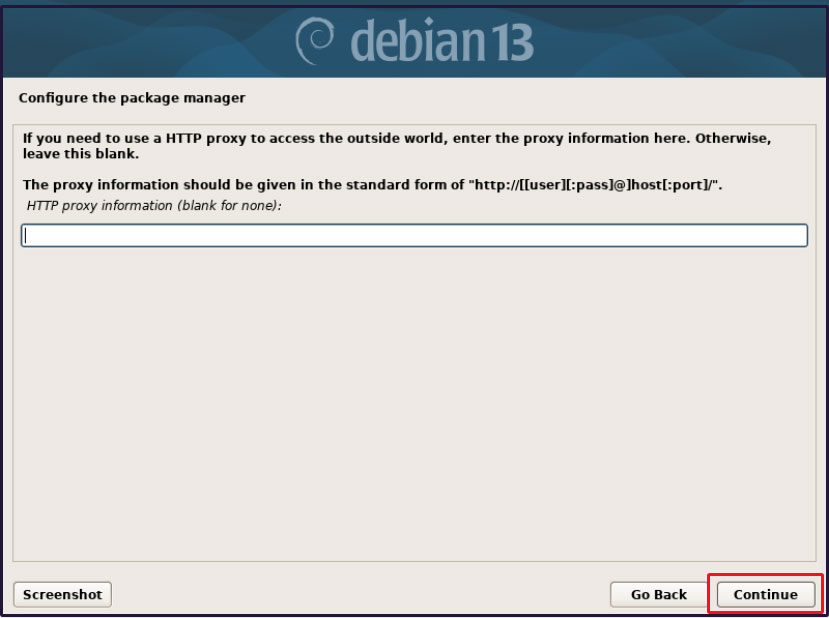
3.10.3 プロキシの設定
インターネットに接続するためにプロキシサーバーを経由している場合は、ここでプロキシサーバーの設定情報をを行います。今回は利用しないため、設定を行わず「Cintunue」をクリックする。
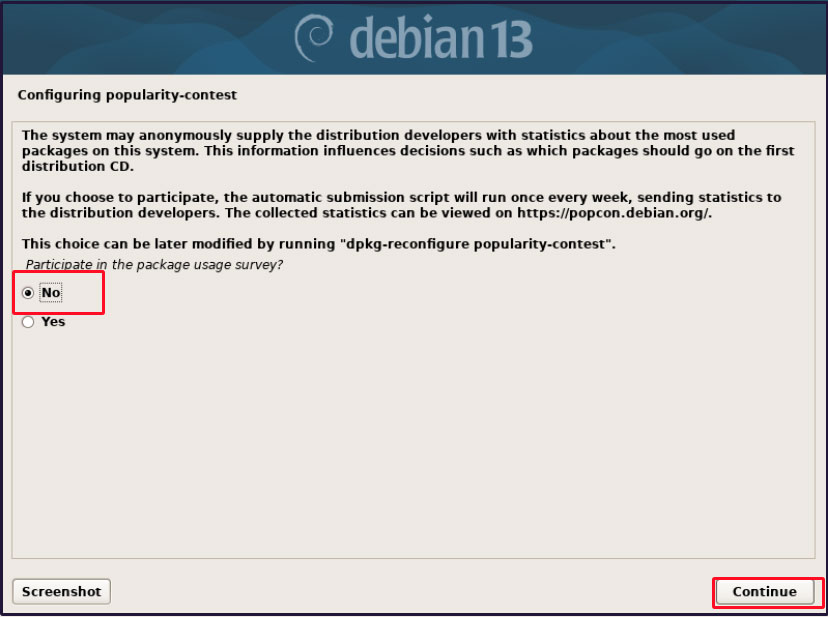
3.11. popularity-contestの設定
popularity- contestは利用したパッケージの統計をdebianの開発者に匿名で提供するシステムです。今後のdebianディストリビューションのパッケージ 設計の参考に利用されるための機能です。「No」「Yes」は自由に設定して下さい。
3.12. ソフトウェアの選択
インストールするdebianのソフトウェアを選択する画面です。今回はデスクトップ環境を導入しませんので、次の2つを選択します
SSHサーバ 標準システムユーティリティー
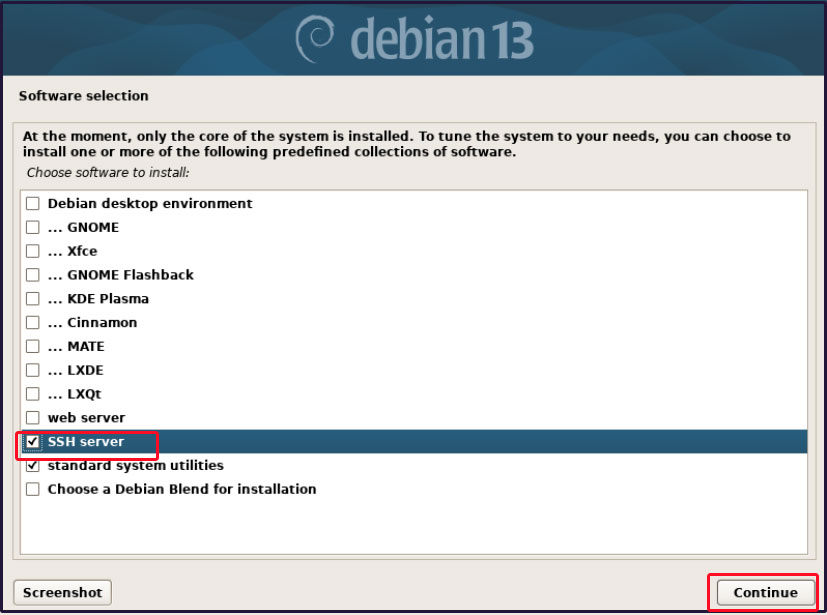
ソフトウェアのインストールが始まります。
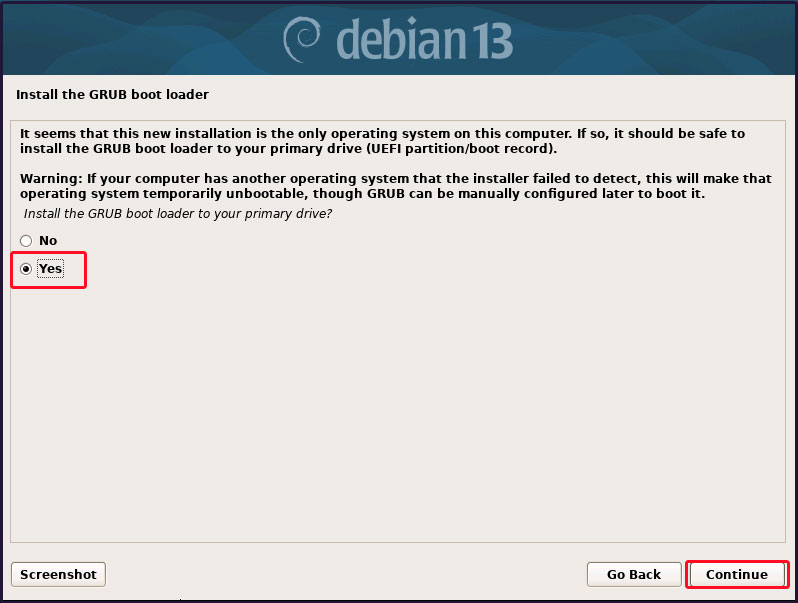
3.13. ブートローダーをインストール
ハードディスクにインストールするOSが一つしかない場合にはブートローダーをインストールします。
本環境ではハードディスクに他のOSはインストールされていませんので、「起動ドライブへGRUBブートローダーをインストールしますか?」に「はい」を選択します。
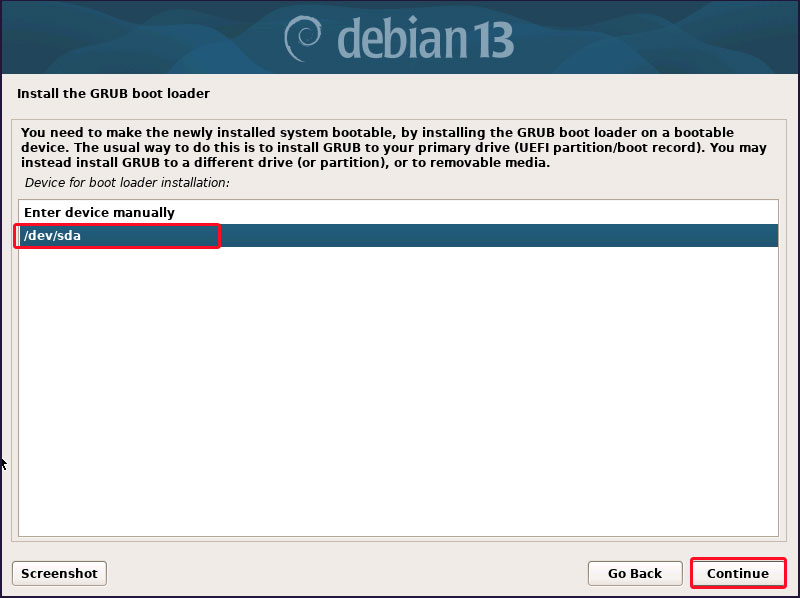
ブートローダーのインストール先を選択します。通常、インストール先が表示されていますので、手動で選択する必要はありません。ここでは表示されている"/dev/sda"を選択します。
インストールが続き、終了すると次の画面になります。
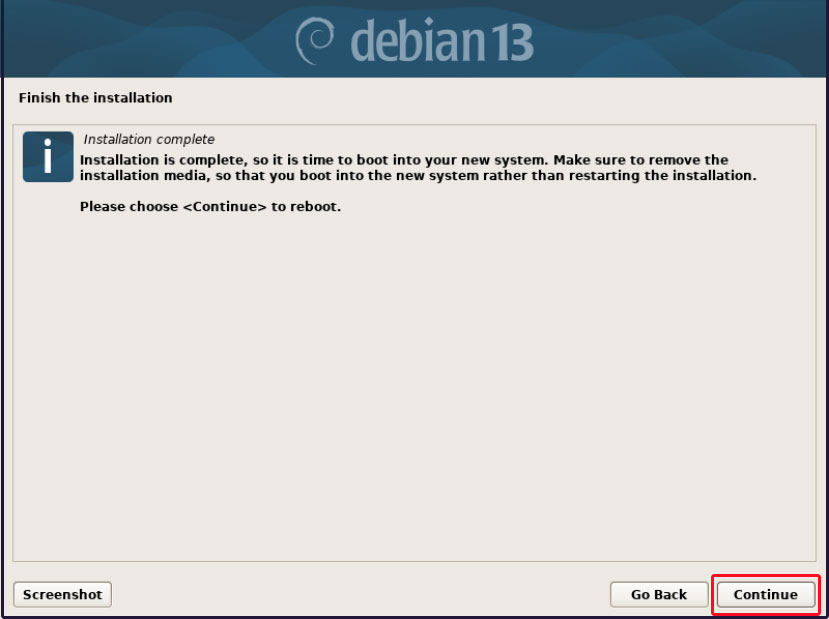
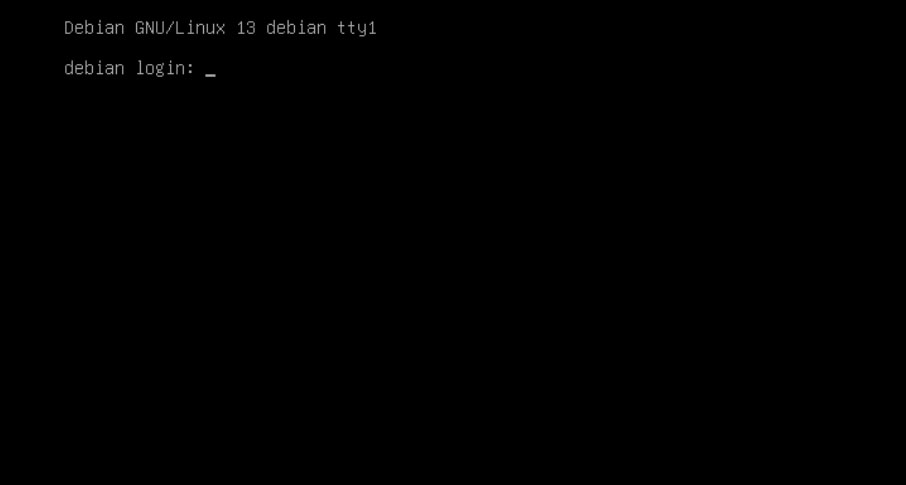
これでdebian 13がシステムにインストールされました。「Contunue」をクリックすると、システムの再起動が開始されます。
インストールメディアを取り出し、インストールされたディスク(HD,SSD)から起動するようBIOSを確認の上再起動するとログインプロンプトが表示されます。これでシステムの起動まで完了しました。