1. Web server (Apache) SSL conversion
The ports can be further updated with FreeBSD's periodic job settings.
Install certbot via pkg, and include a plugin for apache to update in webroot mode.
1.1 Installing the Certbot tool for Let's Encrypt
Search for installable certbot
|
1 2 3 4 5 6 7 8 9 10 |
# pkg search certbot py311-certbot-4.2.0,1 Let's Encrypt client py311-certbot-apache-4.2.0 Apache plugin for Certbot py311-certbot-dns-cloudflare-4.2.0 Cloudflare DNS plugin for Certbot py311-certbot-dns-cpanel-0.4.0_1 CPanel DNS Authenticator plugin for Certbot py311-certbot-dns-digitalocean-4.2.0 DigitalOcean DNS Authenticator plugin for Certbot py311-certbot-dns-dnsimple-4.2.0 DNSimple DNS Authenticator plugin for Certbot ------------------------------------------------------------------------------- ------------------------------------------------------------------------------- |
Only py311-certbot can be installed.
Run the following command to install the Certbot package and the Apache HTTP plug-in
|
1 |
# pkg install py311-certbot py311-certbot-apache |
1.2 Apache Configuration File Editing
①Enable mod_ssl module
https port added
|
1 2 3 4 5 6 7 8 9 10 |
# vi /usr/local/etc/apache24/httpd.conf Per Line52 : Add Listen 443 Per Line92 : Uncomment LoadModule socache_shmcb_module libexec/apache24/mod_socache_shmcb.so Per Line148 : Uncomment LoadModule ssl_module libexec/apache24/mod_ssl.so |
1.3 Enable Rewrite module
Necessary to change URL when redirecting from HTTP to HTTPS
|
1 2 3 4 |
# vi /usr/local/etc/apache24/httpd.conf Per Line 181 : Uncomment LoadModule rewrite_module libexec/apache24/mod_rewrite.so |
Apache24 restart
|
1 |
# service apache24 restart |
1.4 Obtaining a Let's Encrypt Certificate
①As with FreeBSD13.2, I tried to get it with the following command, but I got the following error and it would not load the ssl module, so I had no choice but to use the method ➁.
Unable to read ssl_module file; not disabling session tickets.
|
1 |
# certbot --apache -d [FQDN] |
➁obtain a certificate covering only a single domain [FQDN], execute the following certbot command
This time we will use the --standalone option, so we will stop apache once.
|
1 |
# service apache24 stop |
|
1 2 3 4 5 6 7 8 9 10 11 12 13 14 15 16 17 18 19 20 21 |
# certbot certonly --standalone -d [FQDN] Saving debug log to /var/log/letsencrypt/letsencrypt.log Unable to read ssl_module file; not disabling session tickets. Requesting a certificate for [FQDN] Successfully received certificate. Certificate is saved at: /usr/local/etc/letsencrypt/live/[FQDN]/fullchain.pem Key is saved at: /usr/local/etc/letsencrypt/live/[FQDN]/privkey.pem This certificate expires on 2026-03-05. These files will be updated when the certificate renews. NEXT STEPS: - The certificate will need to be renewed before it expires. Certbot can automatically renew the certificate in the background, but you may need to take steps to enable that functionality. See https://certbot.org/renewal-setup for instructions. We were unable to subscribe you the EFF mailing list because your e-mail address appears to be invalid. You can try again later by visiting https://act.eff.org. - - - - - - - - - - - - - - - - - - - - - - - - - - - - - - - - - - - - - - - - If you like Certbot, please consider supporting our work by: * Donating to ISRG / Let's Encrypt: https://letsencrypt.org/donate * Donating to EFF: https://eff.org/donate-le - - - - - - - - - - - - - - - - - - - - - - - - - - - - - - - - - - - - - - - - |
apache24 start
|
1 |
# service apache24 start |
1.5 Editing the Apache Configuration File
①/usr/local/etc/apache24/extra/httpd-ssl.conf Editing
Copy httpd-ssl.conf and create bsd-httpd-ssl.conf(bsd-httpd-ssl in bsd-httpd-ssl.conf is an arbitrary name)
|
1 2 3 4 5 6 7 8 9 10 11 12 13 14 15 16 17 18 19 20 21 22 23 24 25 26 27 28 29 30 |
# cp /usr/local/etc/apache24/extra/httpd-ssl.conf /usr/local/etc/apache24/extra/bsd-httpd-ssl.conf # vi /usr/local/etc/apache24/extra/bsd-httpd-ssl.conf Line 36: Commented out #Listen 443 Change line 121 as follows: <VirtualHost _default_:443> # General setup for the virtual host DocumentRoot "/usr/local/www/apache24/data/[FQDN]" ServerName [FQDN]:443 ServerAdmin [mail address] ErrorLog "/var/log/httpd-error.log" TransferLog "/var/log/[FQDN].httpd-access.log" CustomLog "/var/log/httpd/[FQDN].httpd-ssl-access.log" combined #SSLCertificateFile "/usr/local/etc/apache24/server.crt" SSLCertificateFile "/usr/local/etc/letsencrypt/live/[FQDN]/cert.pem" #SSLCertificateKeyFile "/usr/local/etc/apache24/server.key" SSLCertificateKeyFile "/usr/local/etc/letsencrypt/live/[FQDN]/privkey.pem" #SSLCertificateChainFile "/usr/local/etc/apache24/server-ca.crt" SSLCertificateChainFile "/usr/local/etc/letsencrypt/live/[FQDN]/chain.pem" #CustomLog "/var/log/httpd-ssl_request.log" \ # "%t %h %{SSL_PROTOCOL}x %{SSL_CIPHER}x \"%r\" %b" </VirtualHost> |
➁Create a symbolic link for Apache to read bsd-httpd-ssl.conf
Include the *.conf file in the Includes directory
|
1 |
# ln -s /usr/local/etc/apache24/extra/bsd-httpd-ssl.conf /usr/local/etc/apache24/Includes/bsd-httpd-ssl.conf |
1.6 Redirect HTTP communications to HTTPS
Add the following to the virtual host configuration file
RewriteEngine on
RewriteCond %{HTTPS} off
RewriteRule ^(.*)$ https://%{HTTP_HOST}%{REQUEST_URI} [R=301,L]
|
1 2 3 4 5 6 7 8 9 10 11 12 13 14 15 16 17 18 19 |
# cd /usr/local/etc/apache24/extra # vi bsd-vhost.conf RewriteEngine on RewriteCond %{HTTPS} off RewriteRule ^(.*)$ https://%{HTTP_HOST}%{REQUEST_URI} [R=301,L] <VirtualHost *:80> ServerAdmin mhori@hera.eonet.ne.jp DocumentRoot "/usr/local/www/apache24/data/bsd.korodes.com" ServerName bsd.korodes.com ErrorLog "/var/log/httpd/bsd.korodes.com.error_log" CustomLog "/var/log/httpd/bsd.korodes.com.access_log" common </VirtualHost> <Directory /usr/local/www/apache24/data/bsd.korodes.com> AddHandler cgi-script .cgi Options FollowSymlinks Includes AllowOverride All Require all granted </Directory> |
2. Webmin
Webmin is a web browser-based tool for configuring Unix-like operating systems (OS) such as Linux. It allows users to make numerous changes to internal OS settings such as user and disk usage limits, services, configuration files, etc., and to modify and control many open source applications such as Apache, PHP, MySQL, and others.
Webmin is built primarily in Perl and runs as its own process and web server. By default, it communicates on TCP port 10000.
2.1 Install
|
1 |
# pkg install webmin |
2.2 setup
Perform the initial setup as follows.
Logged-in user ; admin
Password ; Any(hyu6kon)
Others default to Enter
****************************************** *********
Welcome to the Webmin setup script, version 2.600
***************************************************
Webmin is a web-based interface that allows Unix-like operating
systems and common Unix services to be easily administered.
Installing Webmin in /usr/local/lib/webmin
*****************************************************
Webmin uses separate directories for configuration files and log files.
Unless you want to run multiple versions of Webmin at the same time
you can just accept the defaults.
Config file directory [/usr/local/etc/webmin]: /usr/local/etc/webmin
Log file directory [/var/db/webmin]: /var/db/webmin
******************************************************
Webmin is written entirely in Perl. Please enter the full path to the
Perl 5 interpreter on your system.
Full path to perl (default /usr/local/bin/perl): /usr/local/bin/perl
Testing Perl ..
.. done
*******************************************************
Operating system name: FreeBSD
Operating system version: 15.0
********************************************************
Webmin uses its own password protected web server to provide access
to the administration programs. The setup script needs to know :
- What port to run the web server on. There must not be another
web server already using this port. - The login name required to access the web server.
- The password required to access the web server.
- If the web server should use SSL (if your system supports it).
- Whether to start webmin at boot time.
Web server port (default 10000):
Login name (default admin): [enter]
Login password: [password]
Password again: [password]
Use SSL (y/n): y
**********************************************************
Creating web server config files ..
.. done
Creating access control file ..
.. done
Creating start and stop scripts ..
.. done
Copying config files ..
.. done
Changing ownership and permissions ..
.. done
Running postinstall scripts ..
.. done
Enabling background status collection ..
.. done
2.3 Edit /etc/rc.conf
|
1 2 |
# sysrc webmin_enable=YES webmin_enable: -> YES |
2.4 Start
The startup script is /usr/local/etc/rc.d/webmin
|
1 2 3 |
# service webmin start Starting webmin. Starting Webmin server in /usr/local/lib/webmin |
2.5 Webmin SSL Configuration
Combine the Let's Encrypt certificate and private key obtained during web server SSL configuration into a single .pem file. (In this case, we'll name it webmin.pem)
|
1 |
# cat /usr/local/etc/letsencrypt/live/[FQDN]/fullchain.pem /usr/local/etc/letsencrypt/live/[FQDN]/privkey.pem > webmin.pem |
Move the webmin.pem certificate file to the Webmin configuration directory.
|
1 |
# mv webmin.pem /usr/local/etc/webmin/ |
Edit the main Webmin configuration file
Modify the keyfile entry as follows:
|
1 2 3 |
# vi /usr/local/etc/webmin/miniserv.conf keyfile=/usr/local/etc/webmin/webmin.pem |
Restart Webmin
|
1 |
# service webmin restart |
2.6 Login
Open port 10000 on the Firewall in advance.
Router needs to be changed if connecting from outside
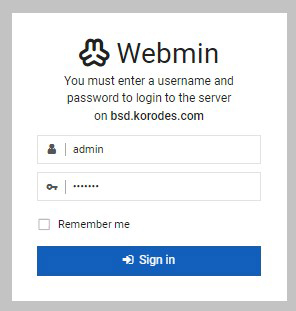
With a browser
Access https://<server domain> or <IP address>:10000/ to display the login screen.
Log in with the user and password you have set.
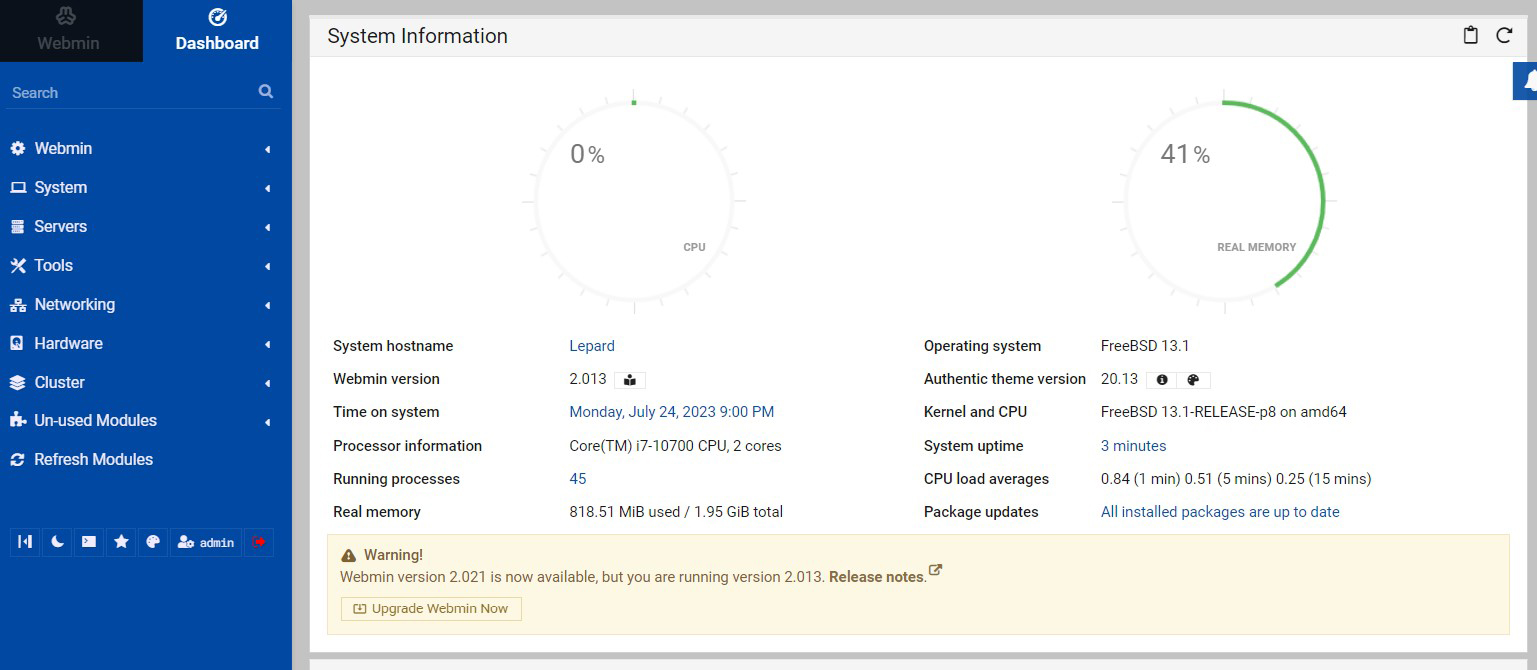
Webmin main screen
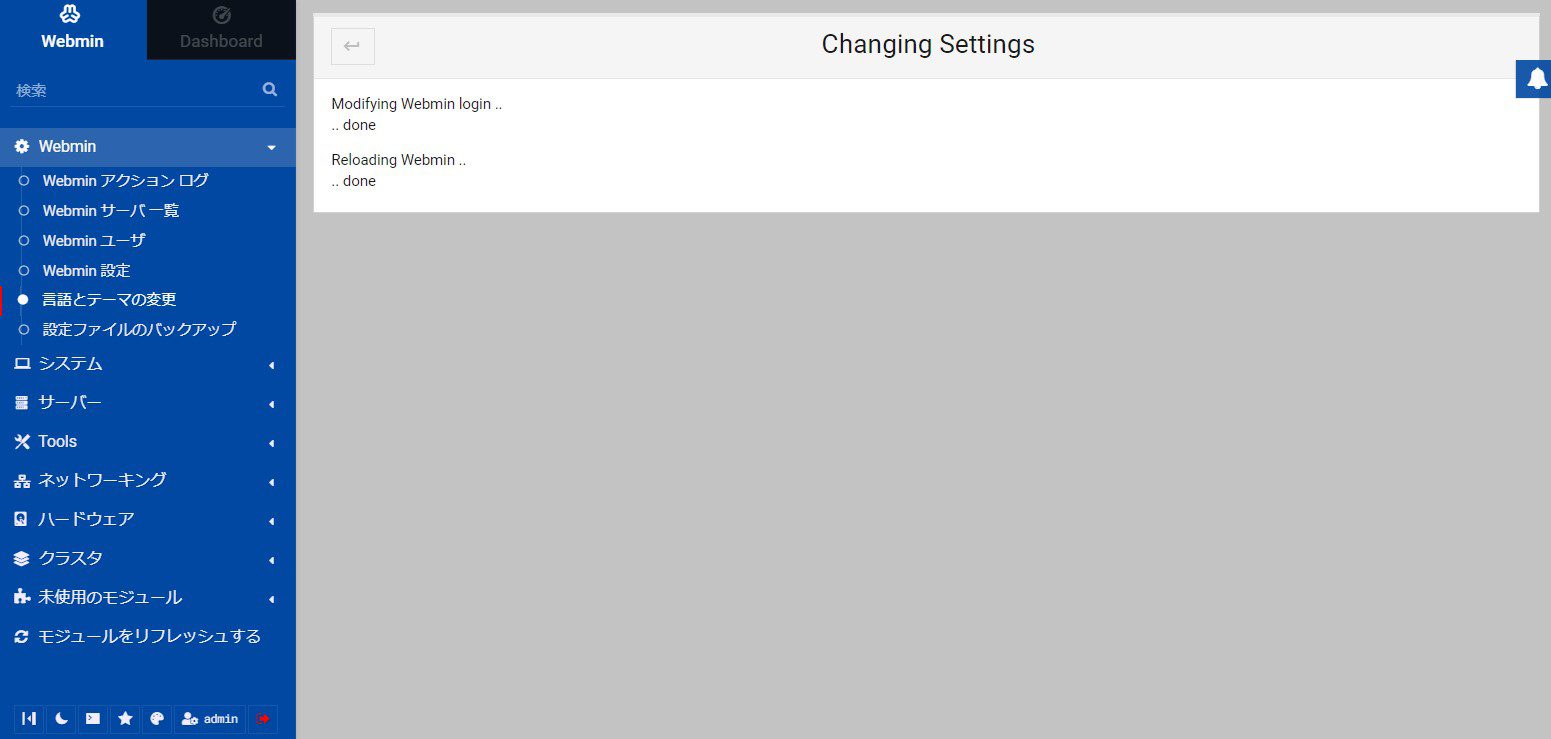
Click [Webmin] - [Change Language and Theme] in the left menu, and change to Japanese from [Personal choice] in the right pane.
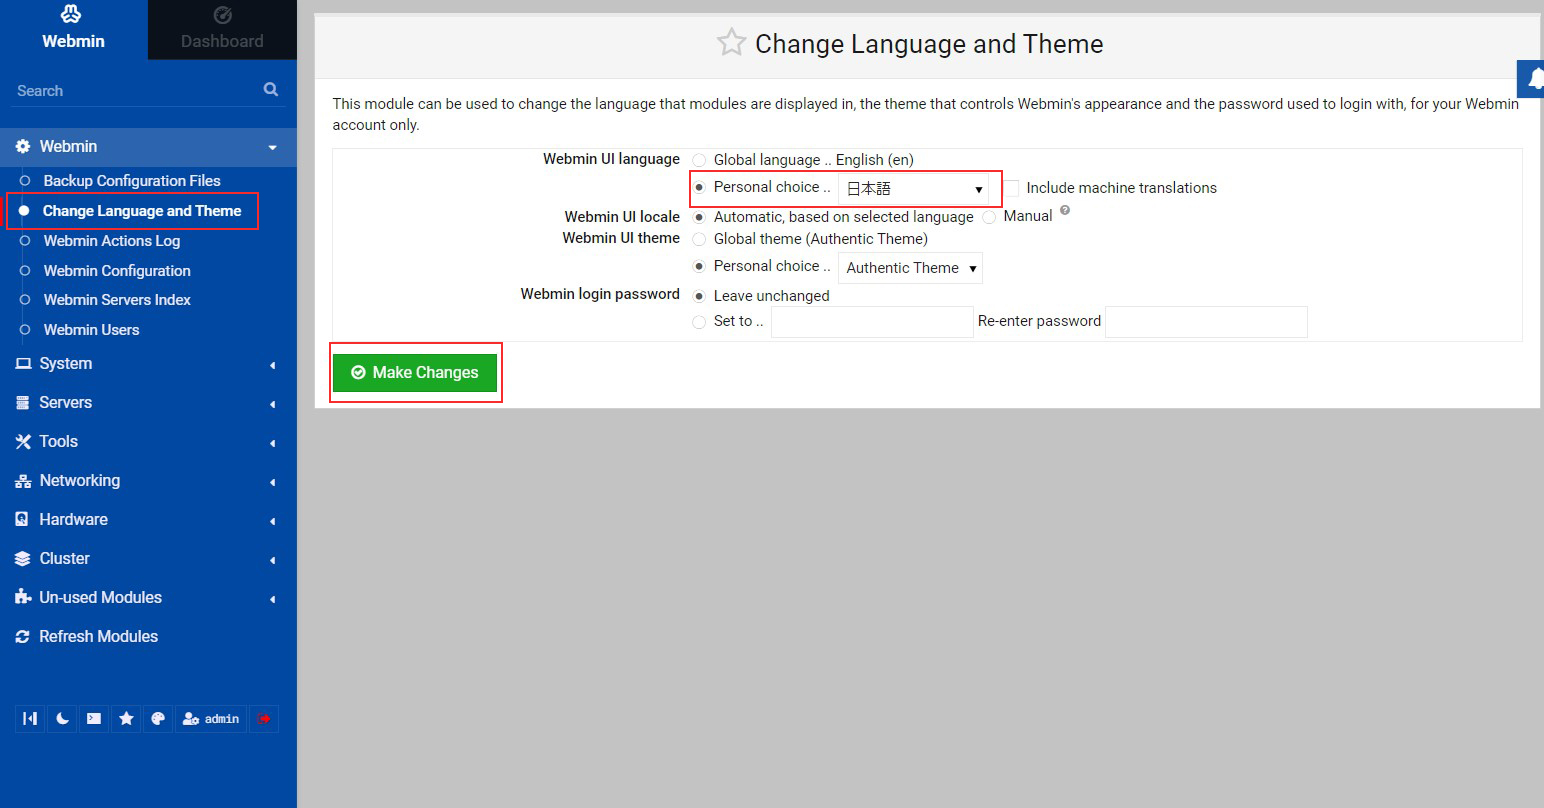
The menu has been changed to Japanese.