Contents
Apache2
Allow http:80 port and https:443 port in UFW first.
|
1 2 3 |
# ufw allow http # ufw allow https # ufw reload |
1. Apache2 Install
|
1 |
# apt -y install apache2 |
2. Apache2 Basic Settings
|
1 2 3 |
# vi /etc/apache2/conf-enabled/security.conf # Line 12:change ServerTokens Prod |
|
1 2 3 |
# vi /etc/apache2/mods-enabled/dir.conf # Line 1:Check file names accessible by directory name only DirectoryIndex index.html index.cgi index.pl index.php index.xhtml index.htm |
|
1 2 3 4 5 |
# vi /etc/apache2/apache2.conf # Line 70:Server name added ServerName [FQDN] # Line 172:change AllowOverride ALL |
|
1 2 3 |
# vi /etc/apache2/sites-available/000-default.conf # Line 11:Administrator address change ServerAdmin <your mailaddress> |
Apache Restart
|
1 2 3 4 5 |
# systemctl enable apache2 Synchronizing state of apache2.service with SysV service script with /usr/lib/systemd/systemd-sysv-install. Executing: /usr/lib/systemd/systemd-sysv-install enable apache2 # systemctl restart apache2 |
Apache Startup Verification
|
1 2 3 4 5 6 7 8 9 10 11 12 13 14 15 16 17 18 19 |
# systemctl status apache2 ● apache2.service - The Apache HTTP Server Loaded: loaded (/usr/lib/systemd/system/apache2.service; enabled; preset: enabled) Active: active (running) since Fri 2026-04-24 14:34:19 JST; 24s ago Invocation: 0a49cf3bd87c4589a612609fd5863e6e Docs: https://httpd.apache.org/docs/2.4/ Main PID: 12755 (apache2) Status: "Total requests: 0; Idle/Busy workers 100/0;Requests/sec: 0; Bytes served/sec: 0 B/sec" Tasks: 55 (limit: 3937) Memory: 5.6M (peak: 5.8M) CPU: 43ms CGroup: /system.slice/apache2.service ├─12755 /usr/sbin/apache2 -k start -DFOREGROUND ├─12759 /usr/sbin/apache2 -k start -DFOREGROUND └─12760 /usr/sbin/apache2 -k start -DFOREGROUND Apr 24 14:34:18 Lepard systemd[1]: Starting apache2.service - The Apache HTTP Server... Apr 24 14:34:19 Lepard systemd[1]: Started apache2.service - The Apache HTTP Server. |
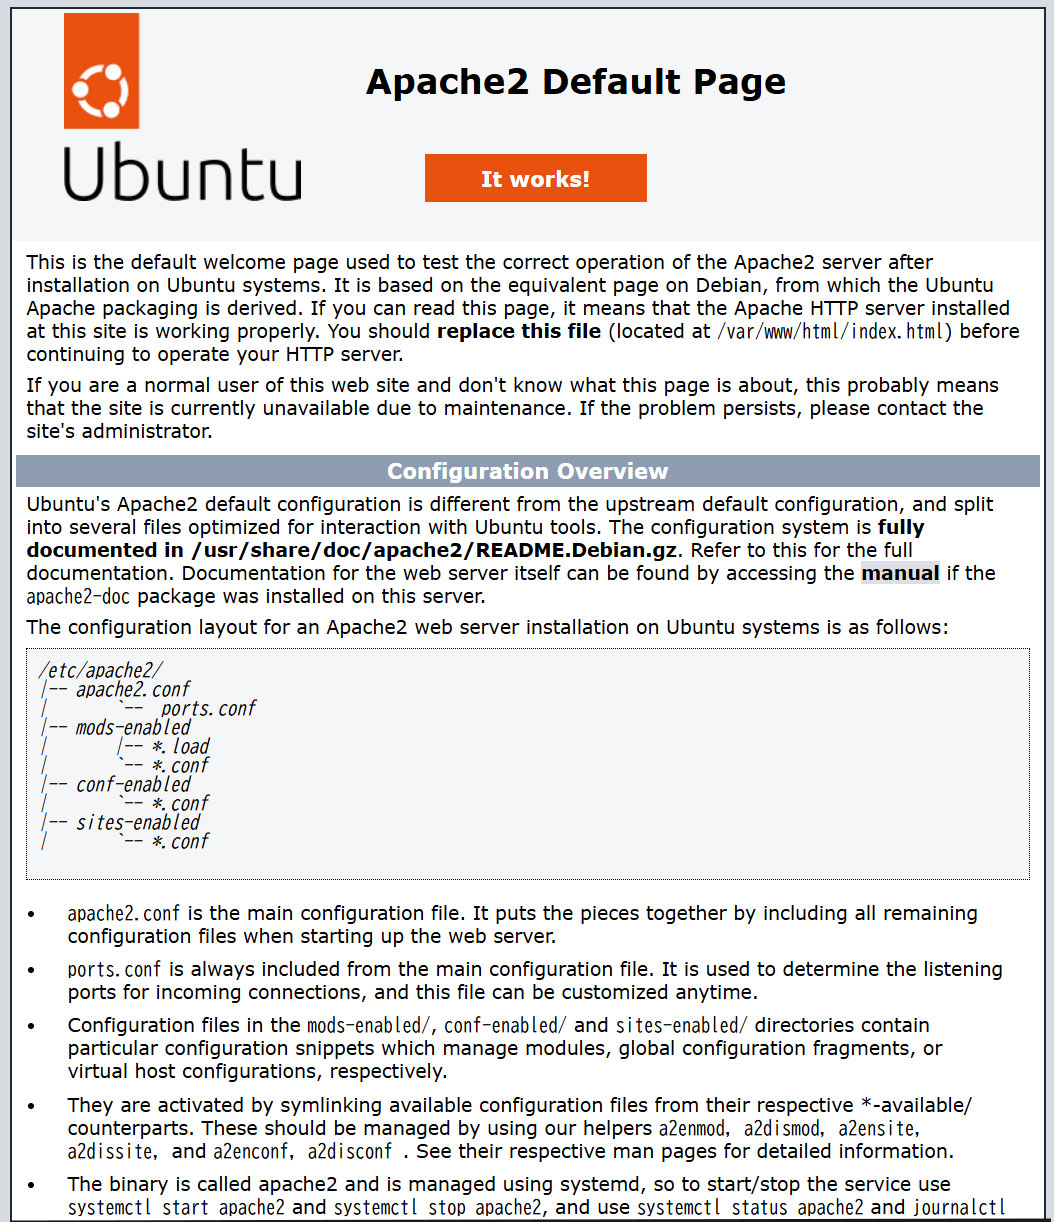
3. Apache2 Operation Verification
http://[server IP address] If you access this URL and see the Ubuntu Apache2 Default Page as shown below, it's OK.
Hide the default page, create a new index.html file as a Test Page, and verify Apache operation
Rename the default page
|
1 |
# mv /var/www/html/index.html /var/www/html/index.html.bak |
Create an HTML test page
|
1 2 3 4 5 6 7 8 |
# vi /var/www/html/index.html <html> <body> <div style="width: 100%; font-size: 40px; font-weight: bold; text-align: center;"> Apache Test Page </div> </body> </html> |
http://[server IP address] If the Test Page appears as shown below when you access it, you're good to go.
4. Apache2 : Virtual Host Configuration
①Copy the default configuration file (name it whatever you like; for this example, use vhost.conf) and configure the virtual host.
|
1 2 |
# cd /etc/apache2/sites-available/ # cp 000-default.conf vhost.conf |
②Edit the created configuration file
The document root is set to /var/www/html/[FQDN]/
|
1 2 3 4 5 6 7 8 9 10 11 |
# vi vhost.conf <VirtualHost *:80> ~omission~ ServerName <FQDN> ServerAdmin [Administrator's email address] DocumentRoot /var/www/html/<FQDN>/ ~omission~ ErrorLog ${APACHE_LOG_DIR}/<FQDN>.error.log CustomLog ${APACHE_LOG_DIR}/<FQDN>.access.log combined ~omission~ </VirtualHost> |
③Symbolic link to the configuration file to disable the default configuration file
|
1 2 3 4 |
# cd /etc/apache2/sites-available/ # a2ensite vhost.conf # a2dissite 000-default.conf Disable default settings Restart Apache # systemctl restart apache2 |
④Edit hosts file
|
1 2 3 |
# vi /etc/hosts 下記を3行目当たりに追加 127.0.0.1 <FQDN> |
⑤Directory Create
|
1 |
# mkdir /var/www/html/<FQDN> |
⑥Create test pages and check operation
|
1 2 3 4 5 6 7 8 |
# vi /var/www/html/<FQDN>/index.html <html> <body> <div style="width: 100%; font-size: 40px; font-weight: bold; text-align: center;"> Virtual Host Test Page </div> </body> </html> |
⑦If you access "http://[FQDN]/index.html" in your browser, the following screen should appear
5. Apache2 : Using Perl Scripts
Enable CGI to make Perl scripts available
①Perl Install
|
1 |
# apt -y install perl |
②Enable CGI module and restart
|
1 2 |
# a2enmod cgid # systemctl restart apache2 |
③Confirm CGI module is enabled
Create test scripts
|
1 2 3 4 5 |
# cat > /usr/lib/cgi-bin/test_script <<'EOF' #!/usr/bin/perl print "Content-type: text/html\n\n"; print "Hello CGI\n"; EOF |
Authorize the script file
|
1 |
# chmod 705 /usr/lib/cgi-bin/test_script |
operation check
|
1 2 3 |
# curl http://localhost/cgi-bin/test_script Hello CGI |
6. Apache2 : Using PHP Scripts
①PHP Install
|
1 |
# apt -y install php php-cgi libapache2-mod-php php-common php-pear php-mbstring |
②Apache2 Configuration
|
1 2 3 4 |
# a2enconf php8.5-cgi Enabling conf php8.5-cgi. To activate the new configuration, you need to run: systemctl reload apache2 |
|
1 |
# vi /etc/php/8.4/apache2/php.ini |
Line 693 : Change
#post_max_size = 8M
post_max_size = 300M
Line 851 : Change
#upload_max_filesize = 2M
upload_max_filesize = 200M
Line 964:Uncomments and set time zone
date.timezone = "Asia/Tokyo"
Apache Restart
|
1 |
# systemctl restart apache2 |
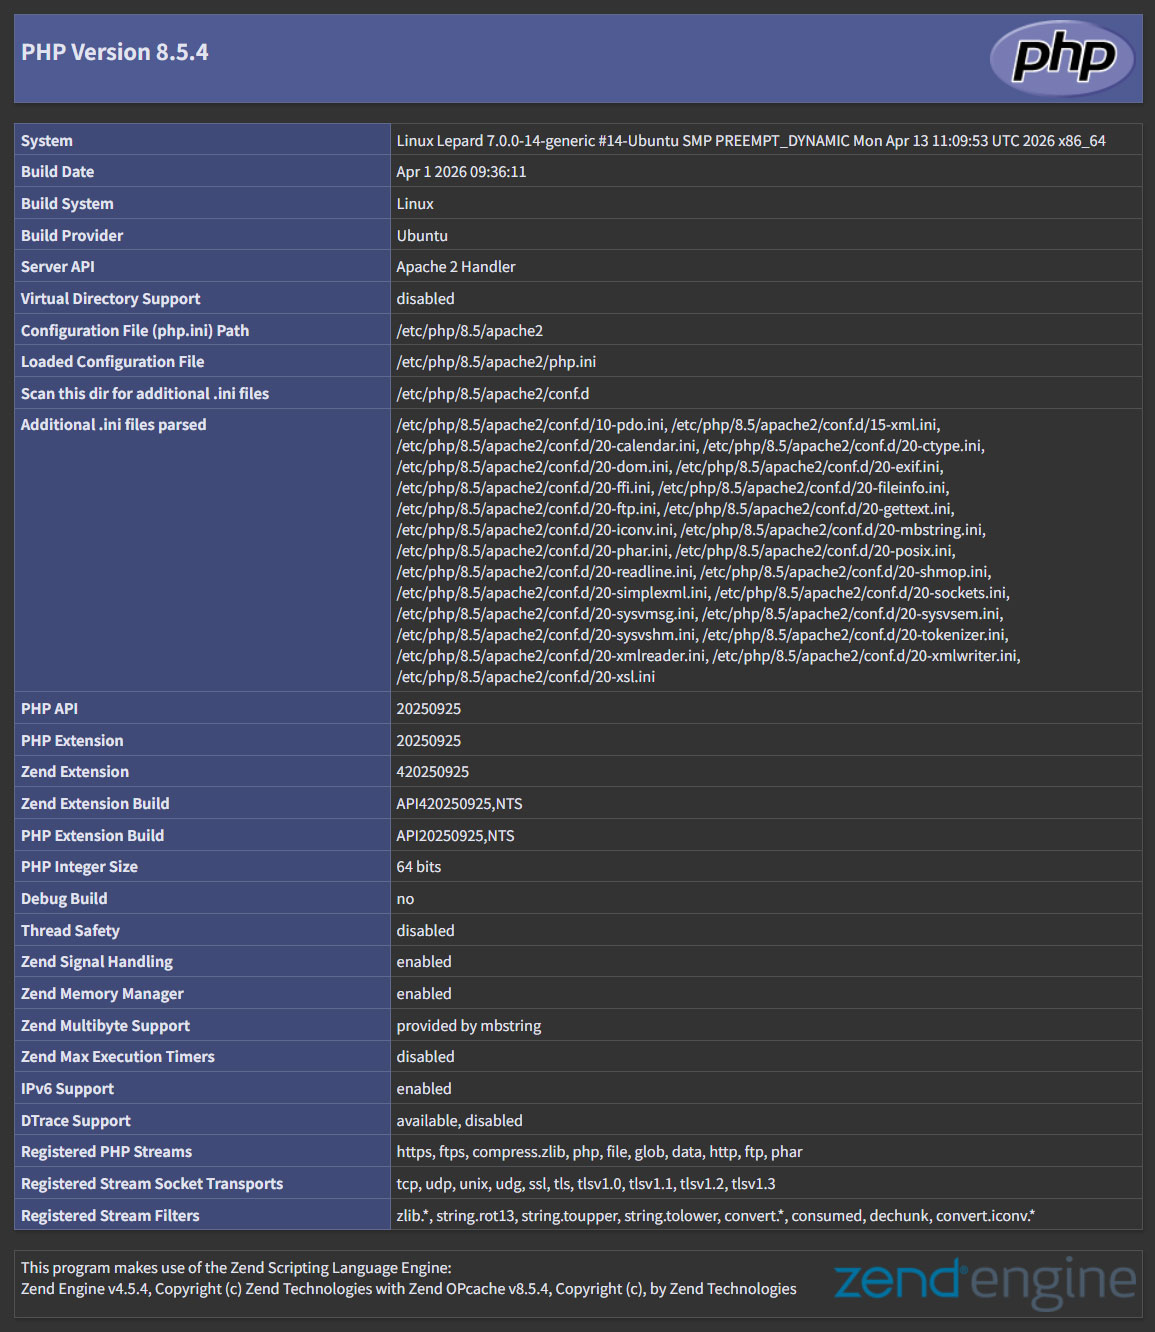
③Create a PHP test page and check its operation
|
1 2 |
# vi /var/www/html/<FQDN>/test.php <?php phpinfo(); ?> |
If you access http://[FQDN]/test.php with a browser and the following screen appears, success!
7. Digest authentication with Apache2
Since Basic Authentication, a well-known authentication authentication method for http, transmits authentication information in plain text, there is a risk of ID and password leakage if the packet is intercepted.
On the other hand, Digest Authentication encrypts the authentication information and sends it in encrypted form, so there is almost no risk of information leakage.
7.1 Create password file for Digest authentication
Specify an authenticated area called realm. This realm allows the same directory to be accessed as authenticated.
As an example, we will create a user named "secretuser" in the "DigestAuth" realm.
Execute the following command and enter the "secretuser" password.
|
1 2 3 4 |
# /usr/bin/htdigest -c /etc/apache2/.digestauth "DigestAuth" secretuser Adding password for secretuser in realm DigestAuth. New password: Re-type new password: |
Confirmation
|
1 2 |
# cat /etc/apache2/.digestauth secretuser:DigestAuth:******************************** |
As above, secretuser and encrypted password are created
7.2 Edit Apache configuration file
Specify the directory to which Digest authentication will be applied. (In this case, specify the secret directory.)
|
1 |
# vi /etc/apache2/apache2.conf |
Add the following at the end
|
1 2 3 4 5 6 7 |
<Directory /var/www/html/[FQDN]/secret> AuthType Digest AuthName "DigestAuth" AuthDigestDomain /secret/ AuthUserFile /etc/apache2/.digestauth Require valid-user </Directory> |
Create a directory for Digest authentication
|
1 |
# mkdir /var/www/html/[FQDN]/secret |
Enable Digest authentication and restart
|
1 2 |
# a2enmod auth_digest # systemctl restart apache2 |
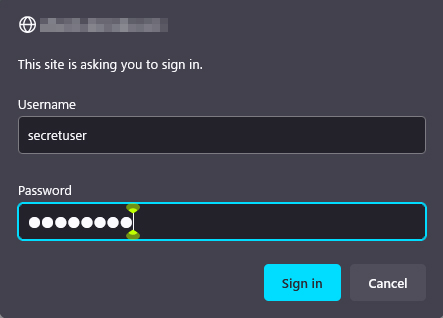
When accessing http://[FQDN]/secret with a browser, a screen appears asking for "user name" and "password".