FreeBSD
FreeBSD is UNIX-like open source OS software. In particular, its performance as a network operating system exceeds that of Linux-based systems, and it maintains stable performance even under high loads.
FreeBSD is designed to be robust and sturdy with an emphasis on practicality, making it suitable for operating FTP, WWW, and e-mail servers for major companies and services
On December 2, 2025, the latest release version of FreeBSD, FreeBSD 15.0-RELEASE, was made available.
FreeBSD 15.0 introduced a new method for installing and managing the base system using the pkg package manager.
This method is called "pkgbase," and the base system is installed as a package set from the FreeBSD-base repository.
The installed system is fully managed by the pkg tool.
pkgbase will be used as the default installation method in FreeBSD 16 and later, for all VM images and images published to public clouds.
Install
1.Download the installation image
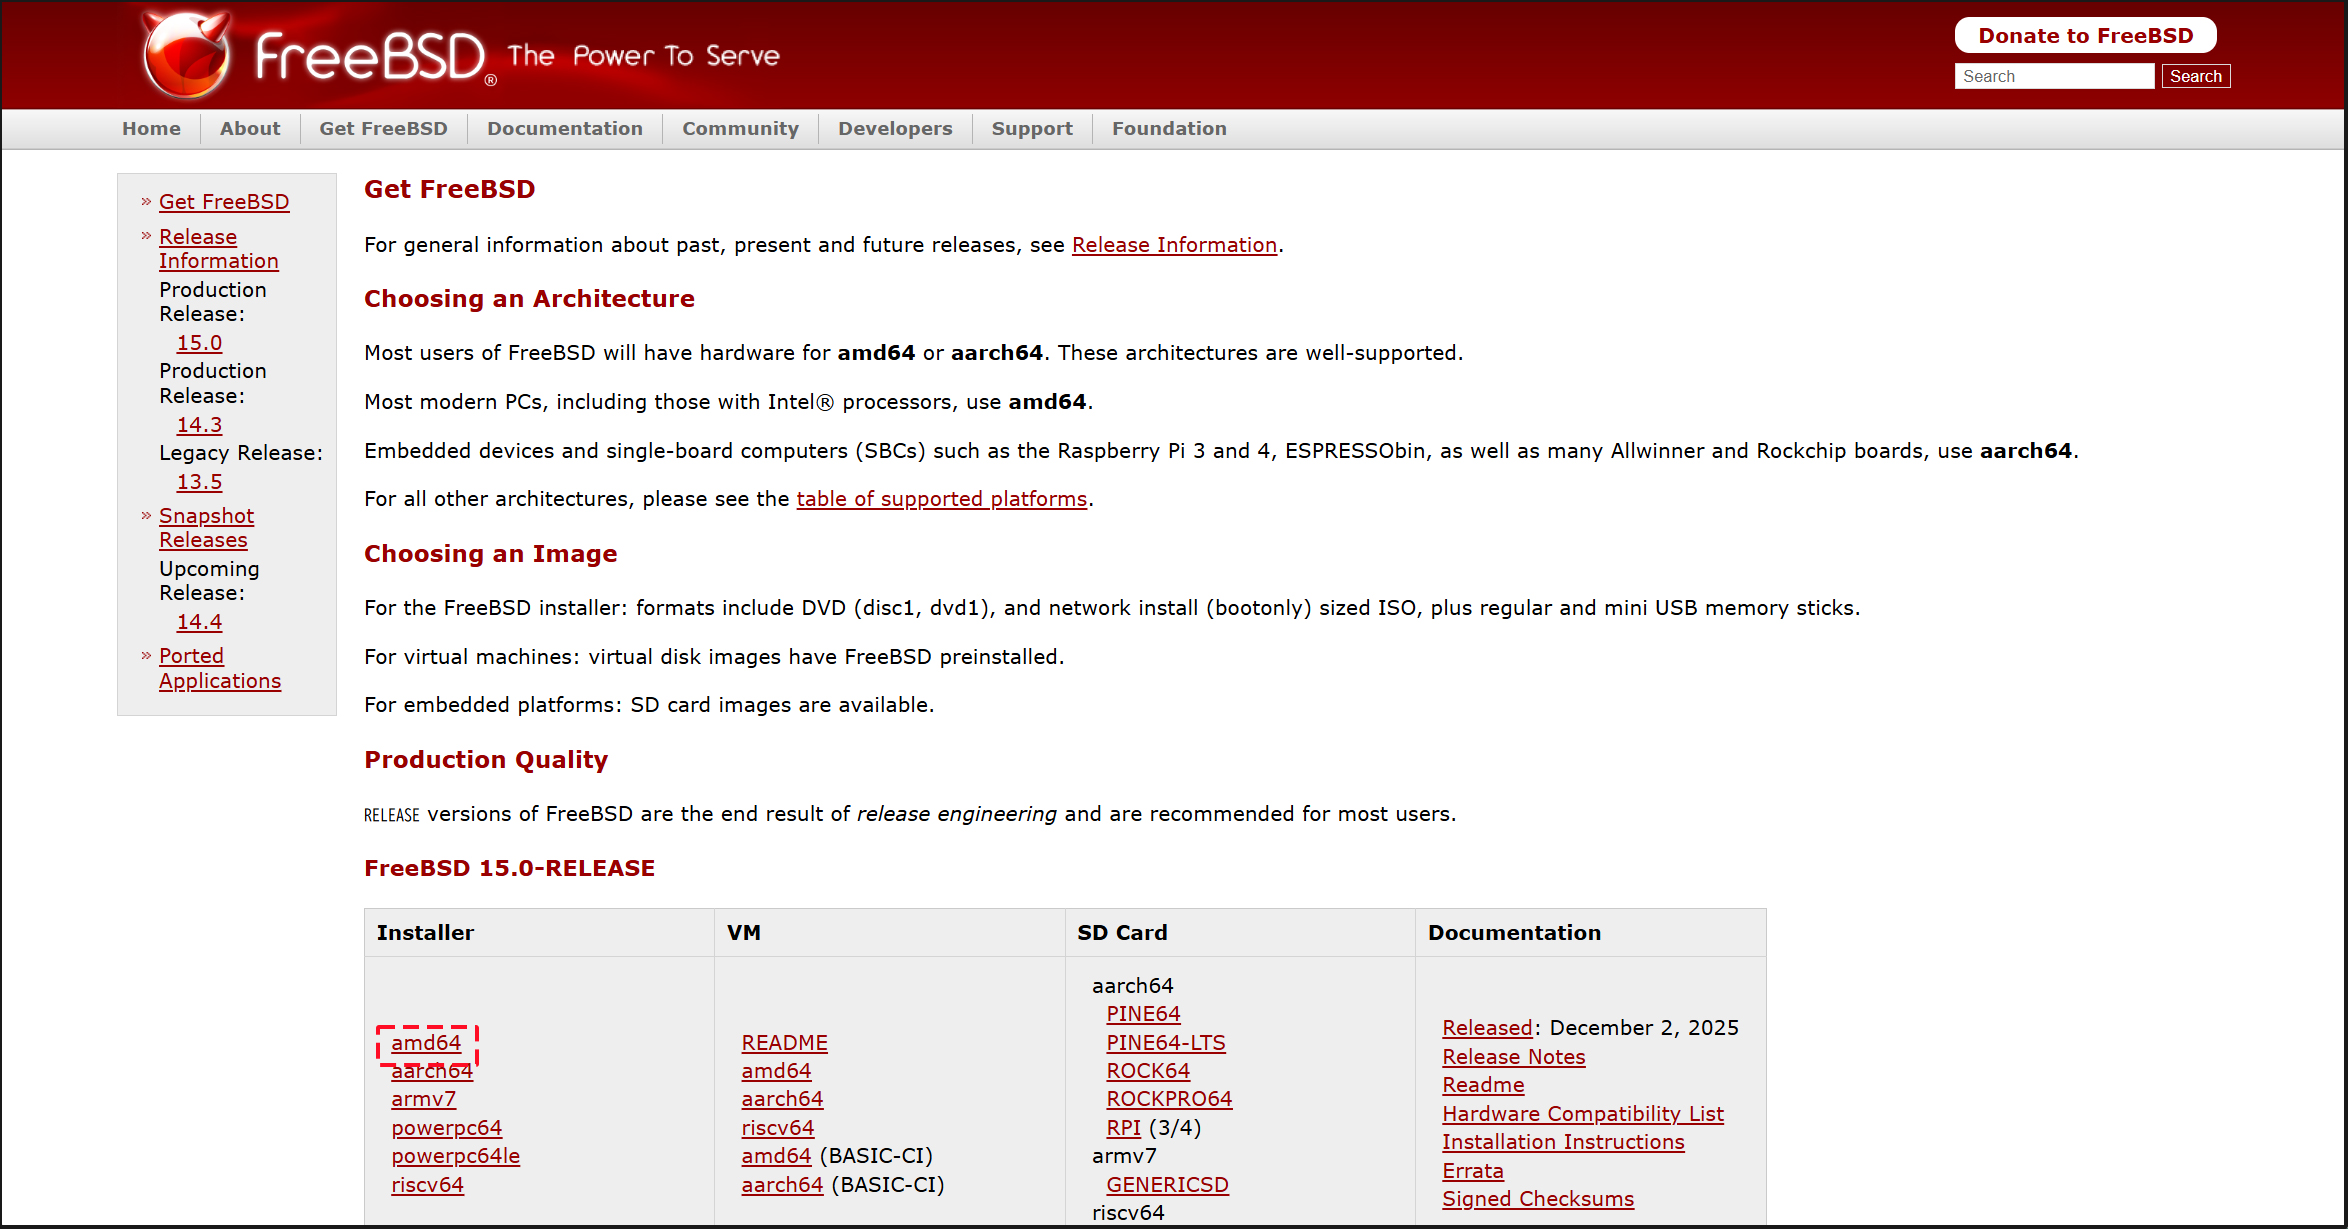
Access the FreeBSD distribution site (https://www.freebsd.org/where/) and select amd64.
Select "FreeBSD-15.0-RELEASE-amd64-dvd1.iso" and download it.
2.Create boot disk
Create a boot disk (DVD disc) from the downloaded FreeBSD-15.0-RELEASE-amd64-dvd1.iso
To create a USB memory stick, download FreeBSD-15.0-RELEASE-amd64-memstick.img and use an image writer such as Win32 Disk Imager to create it.
3.Change the BIOS settings and boot from the created boot media.
4.Initial startup screen
Keep Enter
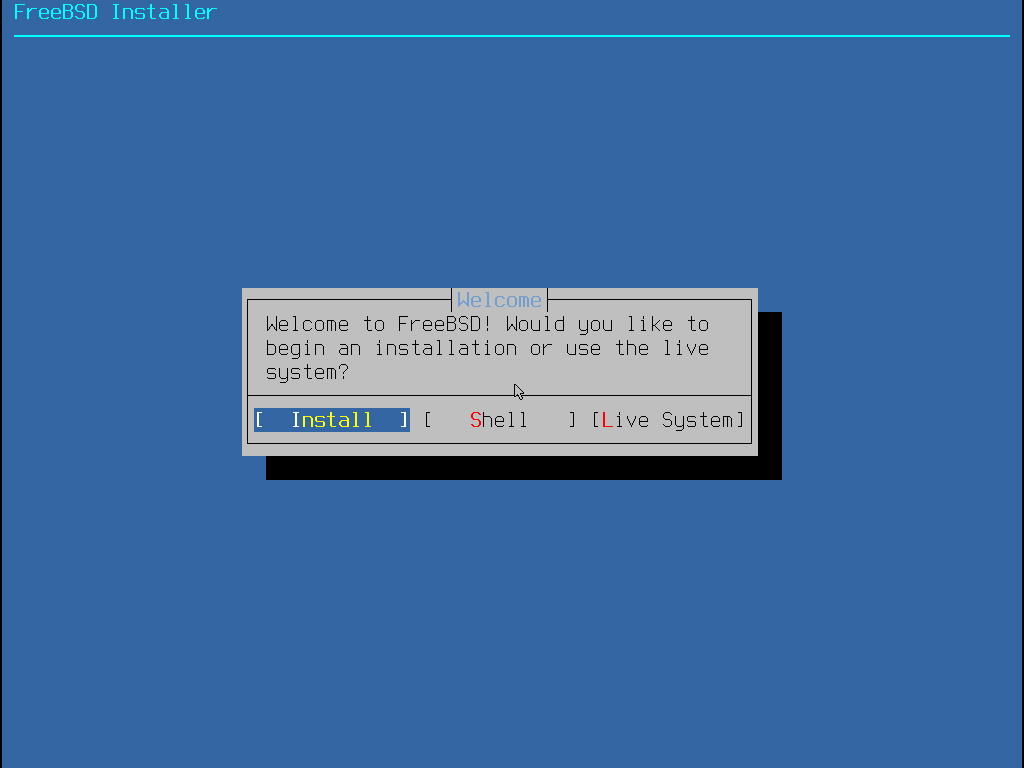
5. Select “Install” and Enter
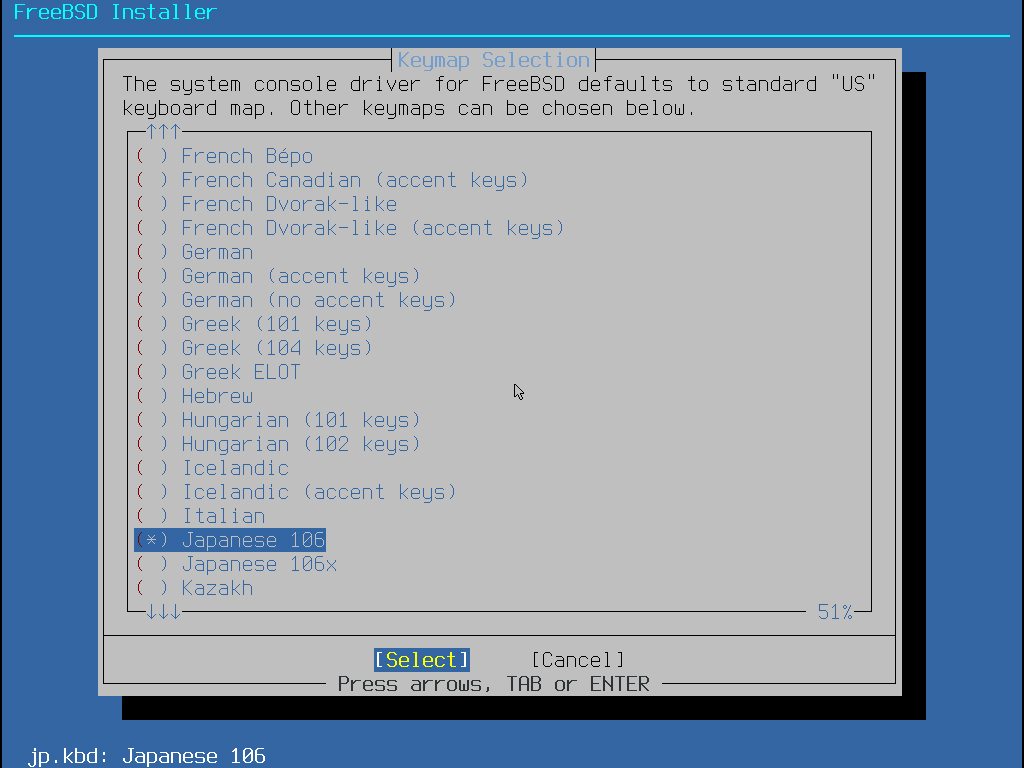
6.keymap selection
For Japanese keyboard, mark "Japanese 106" and Select “Select” and Enter
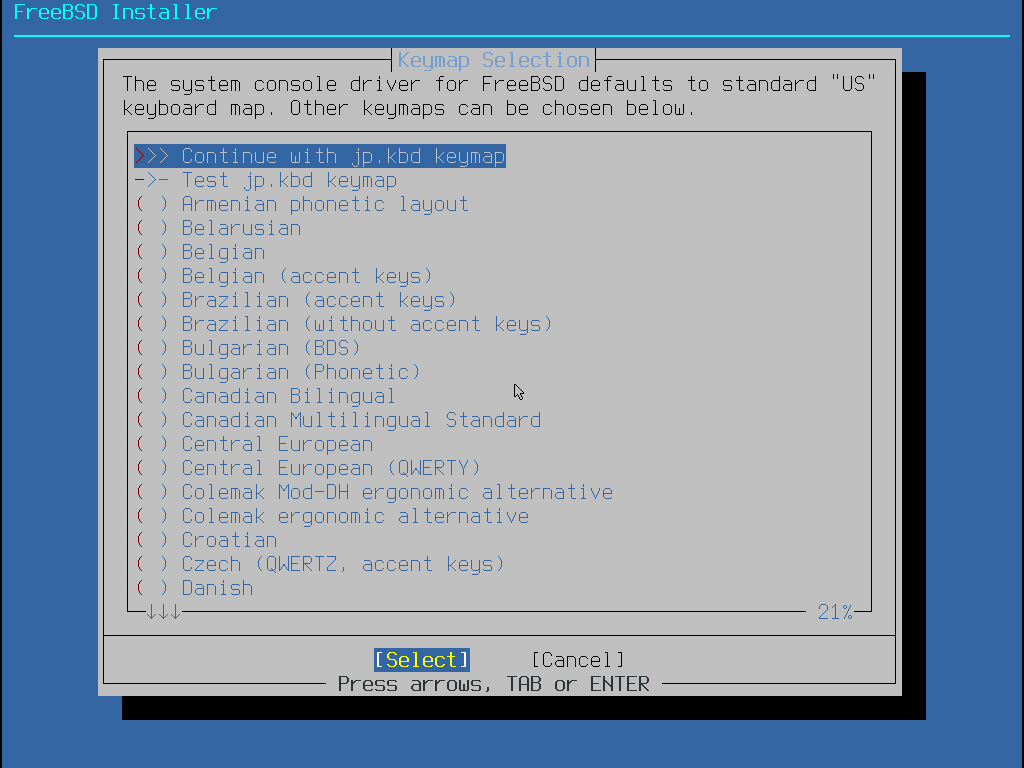
7.Move the cursor to "Contunue ---" and Select “Select” and Enter
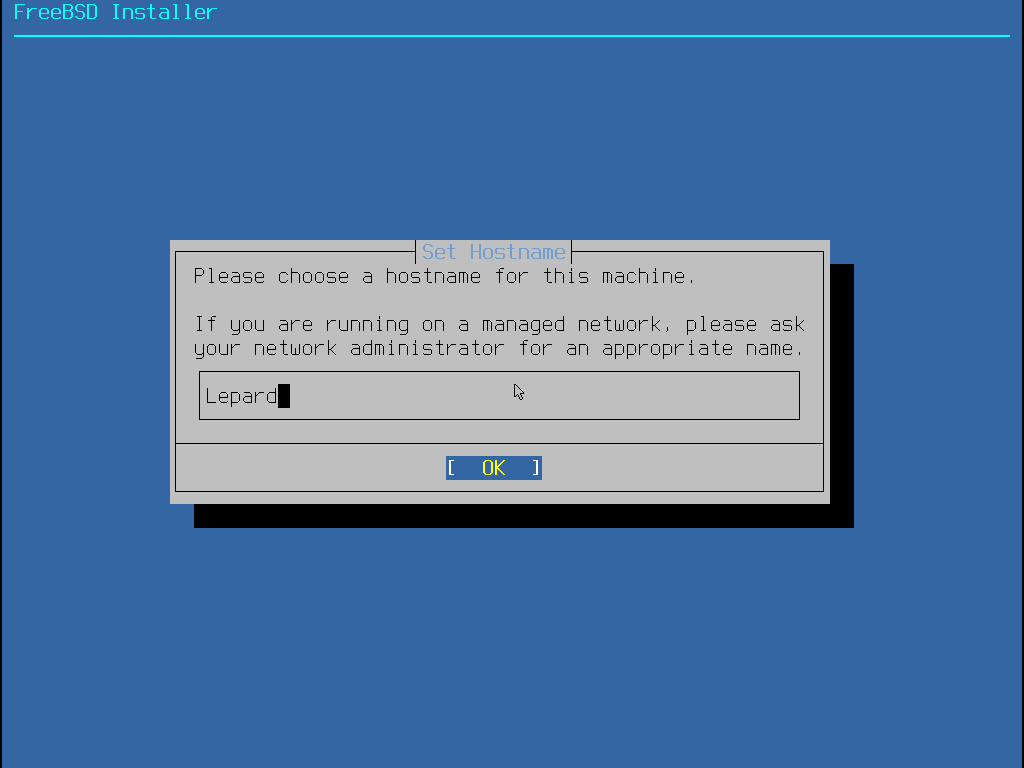
8.Set Hostname---In the Set Hostname screen, enter any hostname
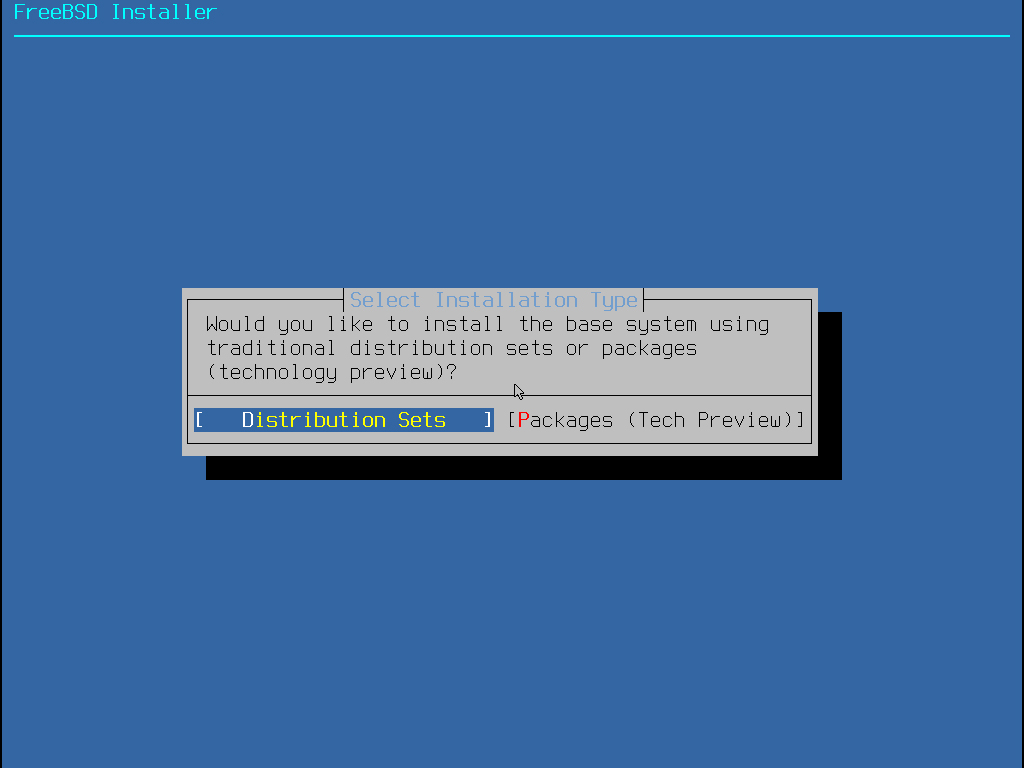
9.Select Installation Type
①Distribution Sets (conventional method)
Distribution Set (Conventional Method):This is the method used in previous FreeBSD releases. Systems installed using this method will continue to use the freebsd-update utility for updates. Support for the distribution set is scheduled for removal in FreeBSD 16, but will continue (along with freebsd-update support) for the duration of the FreeBSD 15 stable branch.
➁Packqges (Tech Preview) (pkgbase / New method)
Package (pkgbase / new method): The base system is installed as a package set from the "FreeBSD-base" repository. Systems installed this way are fully managed using the pkg tool.
This method is used by default for all VM images and images published to the public cloud. In FreeBSD 15.0, pkgbase is provided as a Technology Preview, but it is intended to become the standard method for managing base system installation and upgrades in future releases.
This time, we will use the conventional installation method (Distribution Sets).
※ If you select [Packages (Tech Preview)], please refer to the following page.

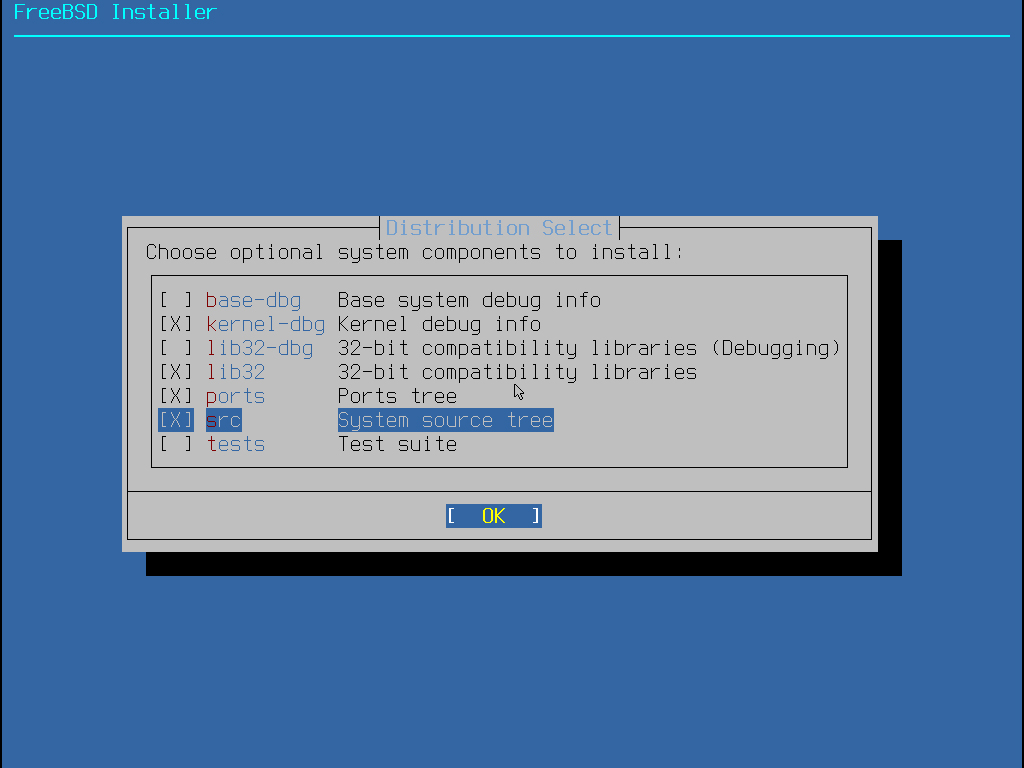
10.Distribution Selection--Mark "ports" and "src" as shown below, select OK, and press Enter.
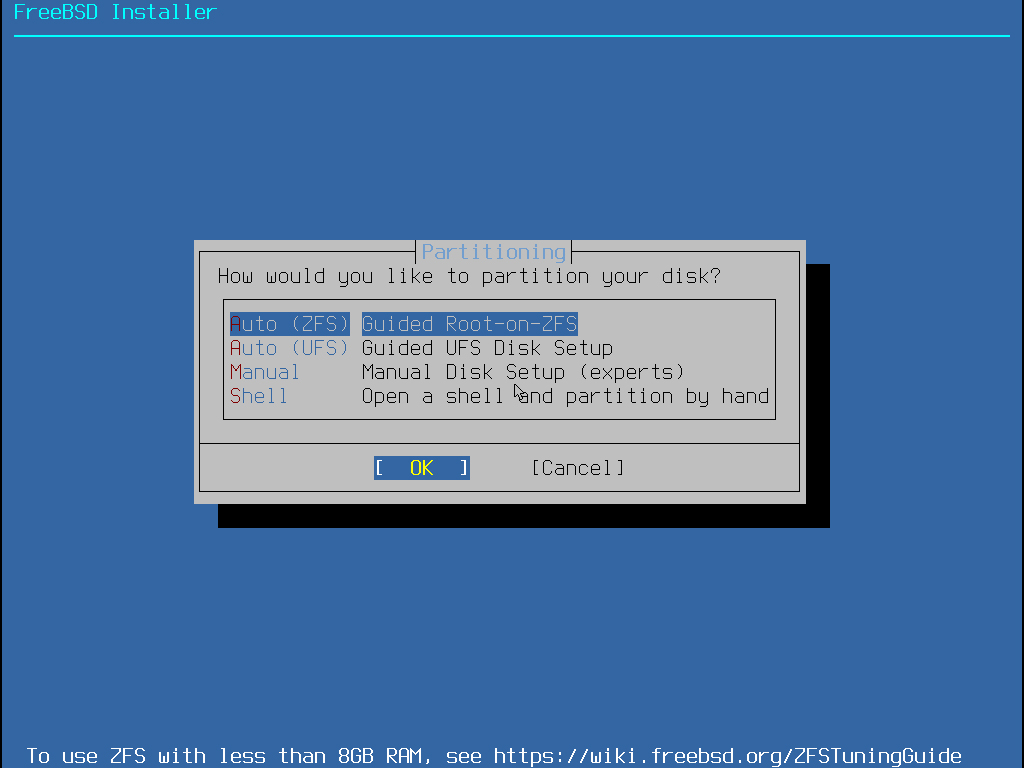
11.Disk Partitioning
Set to "Auto(ZFS)", select OK, and press Enter.
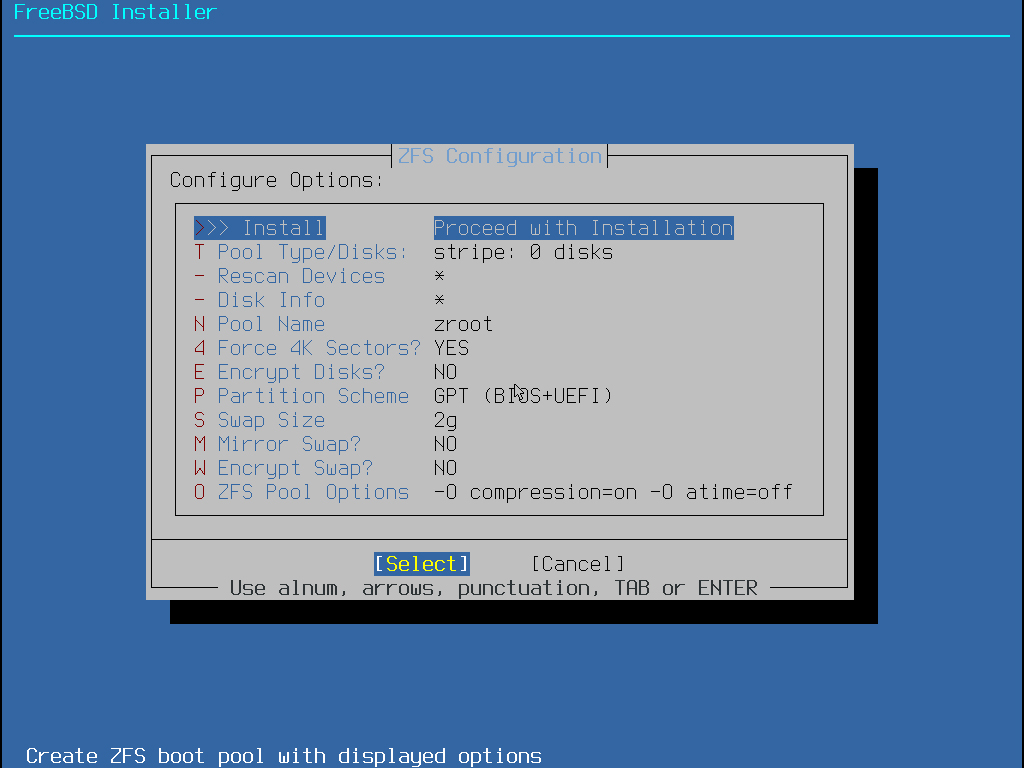
12.Installing ZFS
Select "Install", then choose "Select" and press Enter.
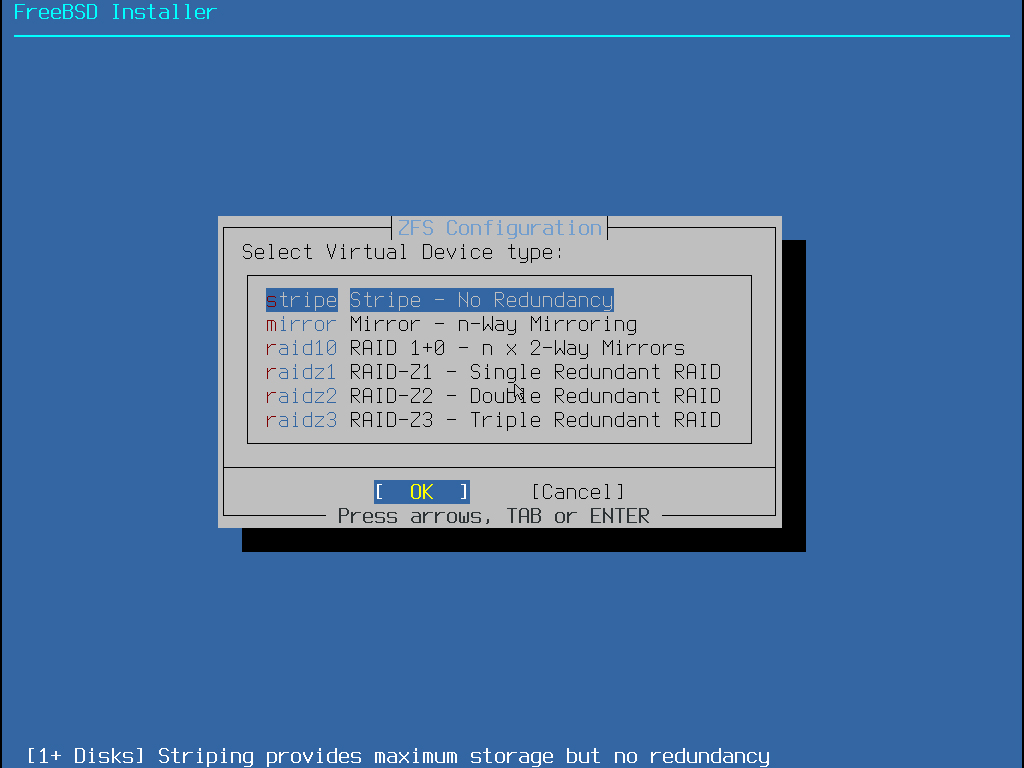
13.Virtual Device Type Settings
Select OK with the default settings and press Enter.
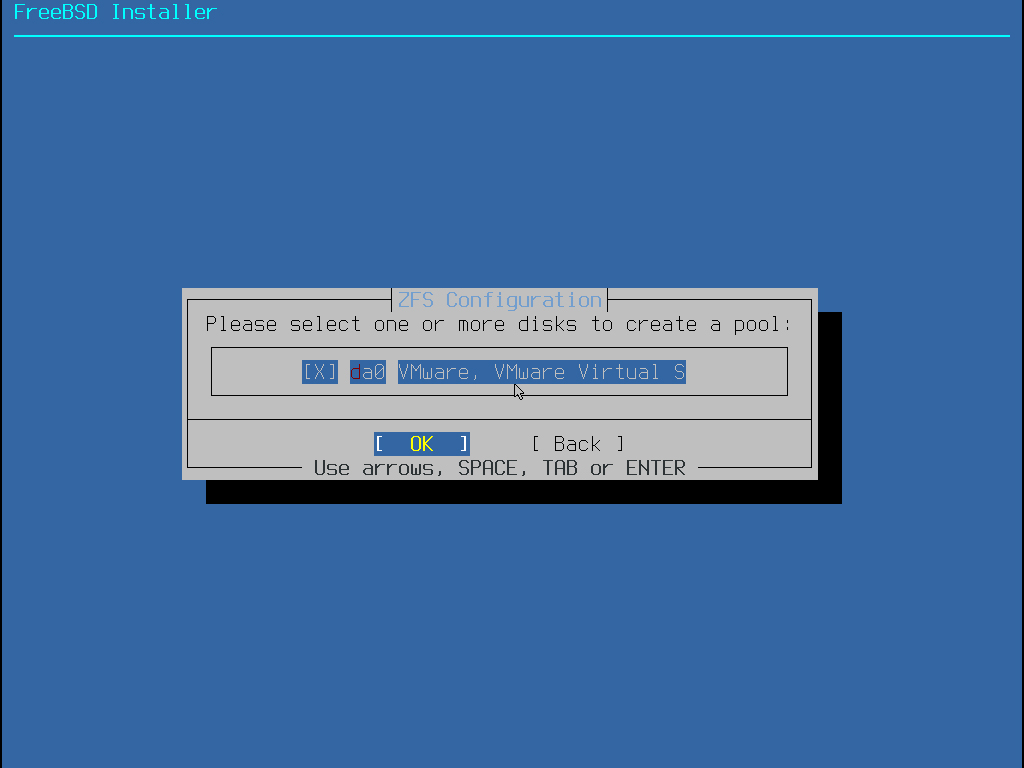
14.Drive Selection
Select the disk to install to, press the space bar to check it, select OK, then press Enter. This time, I'm installing to VMware Workstation.
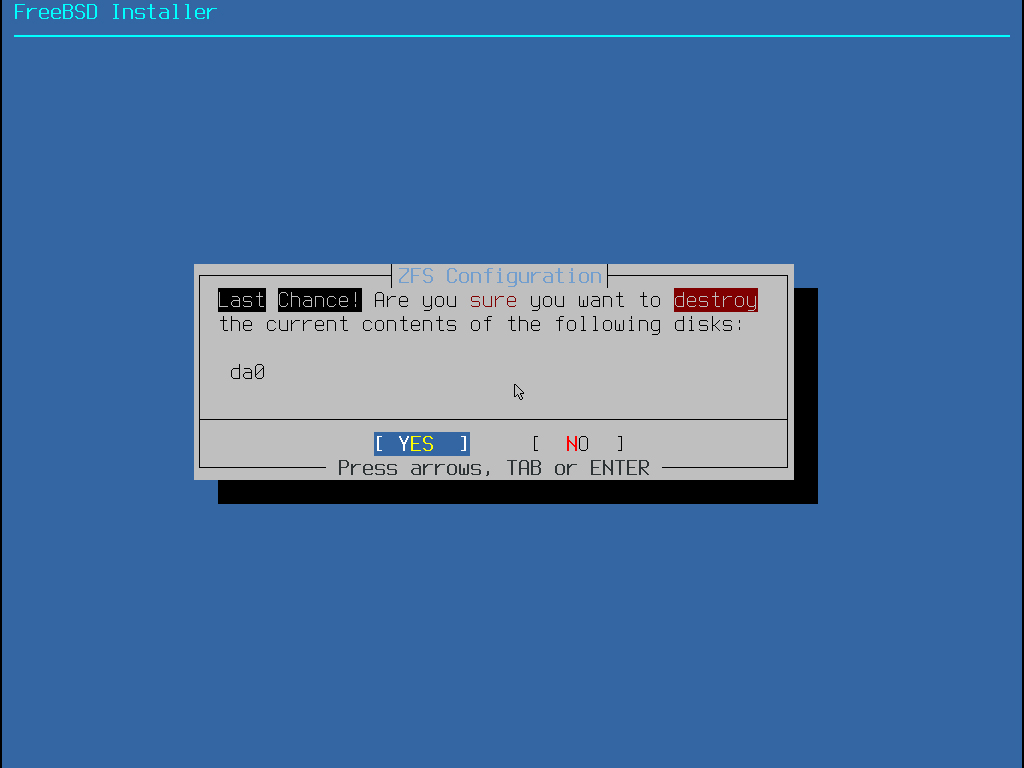
15.Final confirmation
If you agree, select "YES" and press Enter.
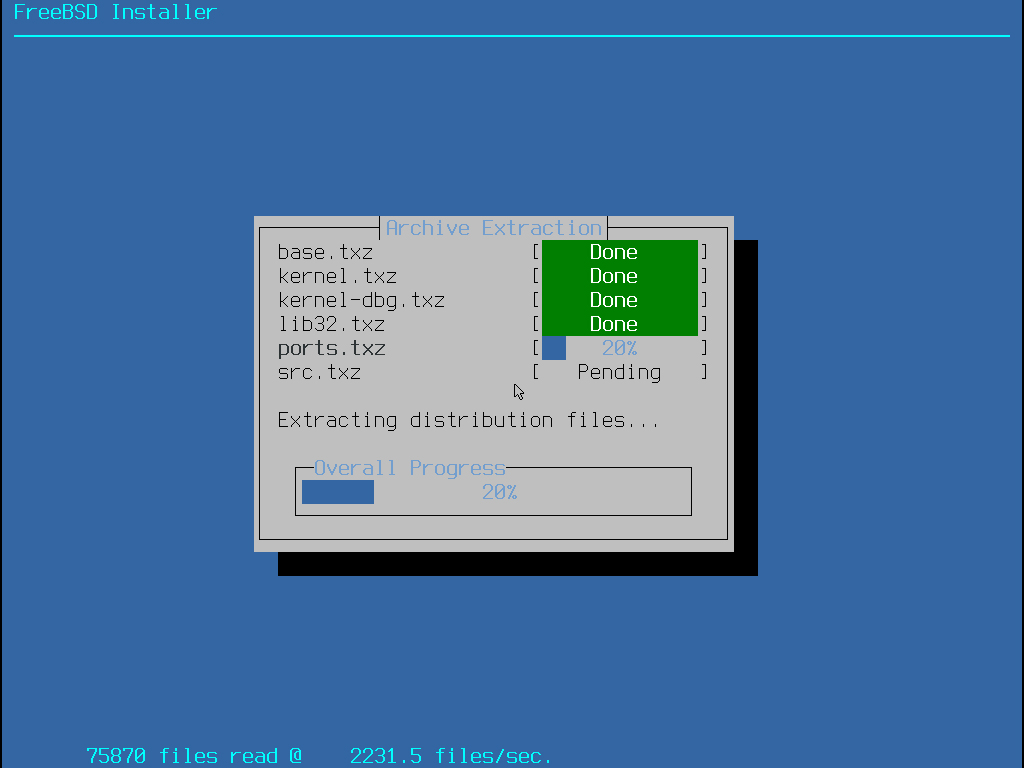
16.Installation will begin.
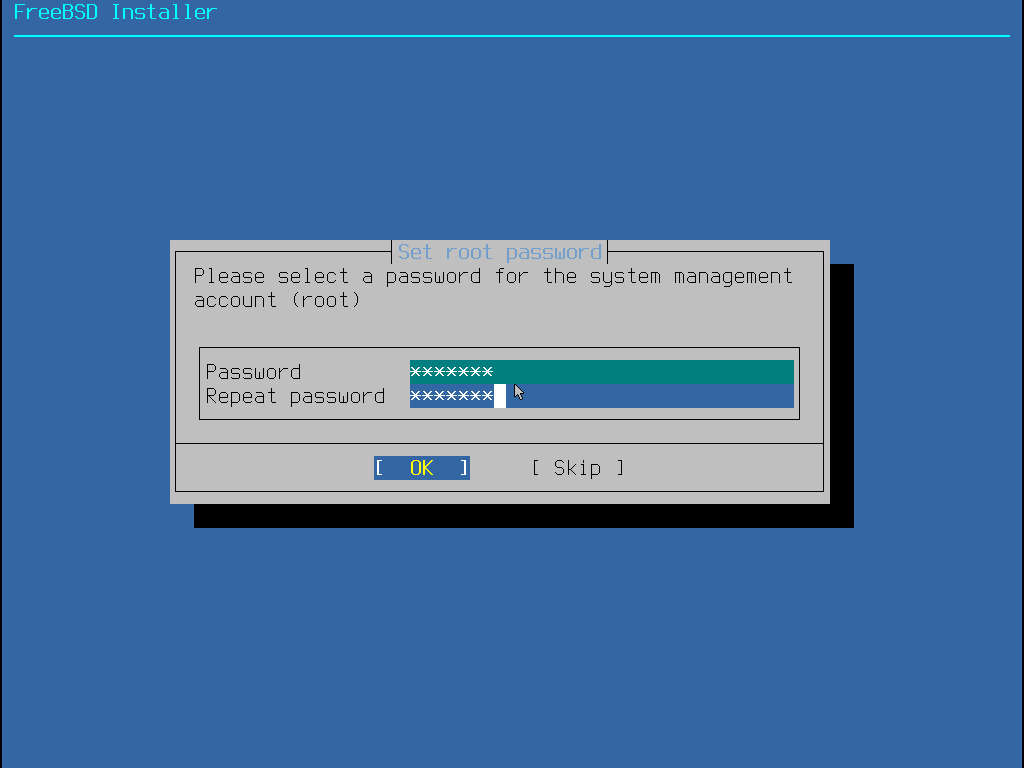
17.Setting the root user password
Make sure not to forget to jot it down in a memo or similar.
18.Network Settings
Confirm the network interface name to use, then select [Manual] to configure network settings manually and press Enter.

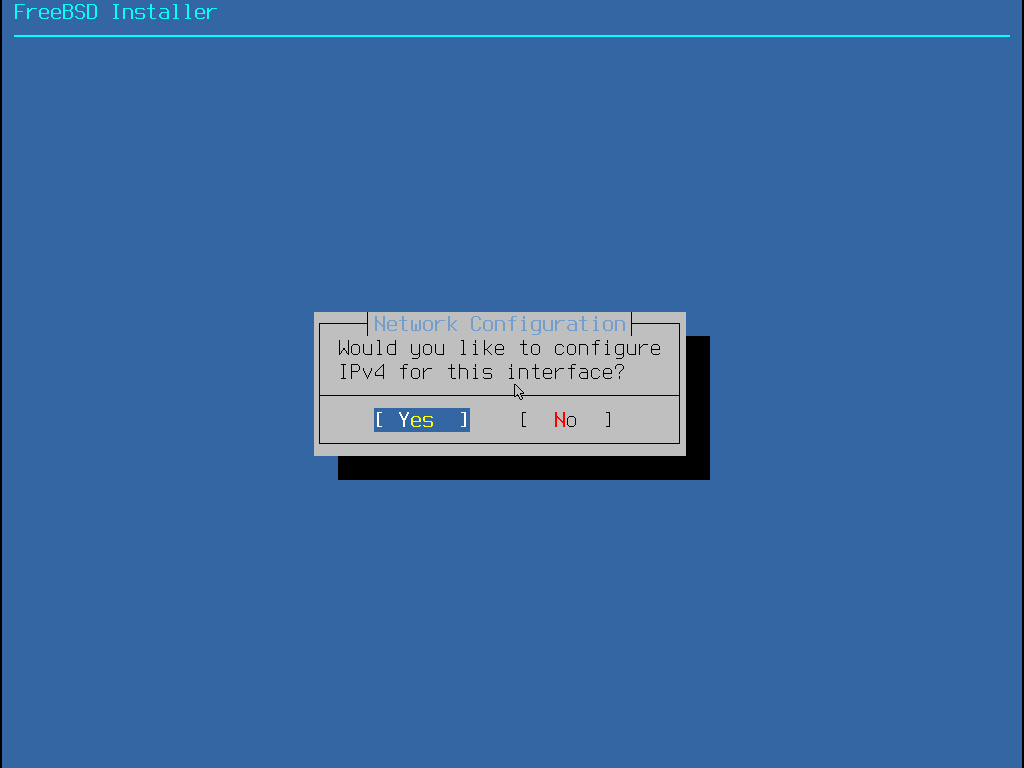
19.Configure IPv4 network settings Select Yes and press Enter
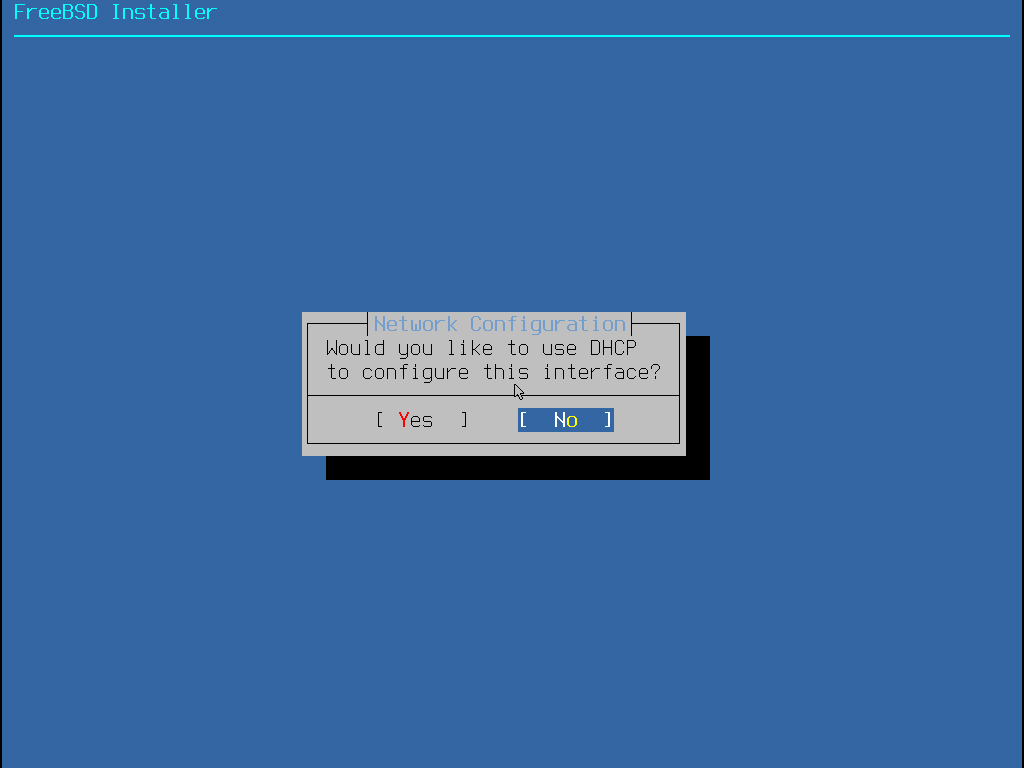
20.Select whether the network address is a static IP address or DHCP.
This time, to set up a server with a static IP address, select "No" and press Enter.
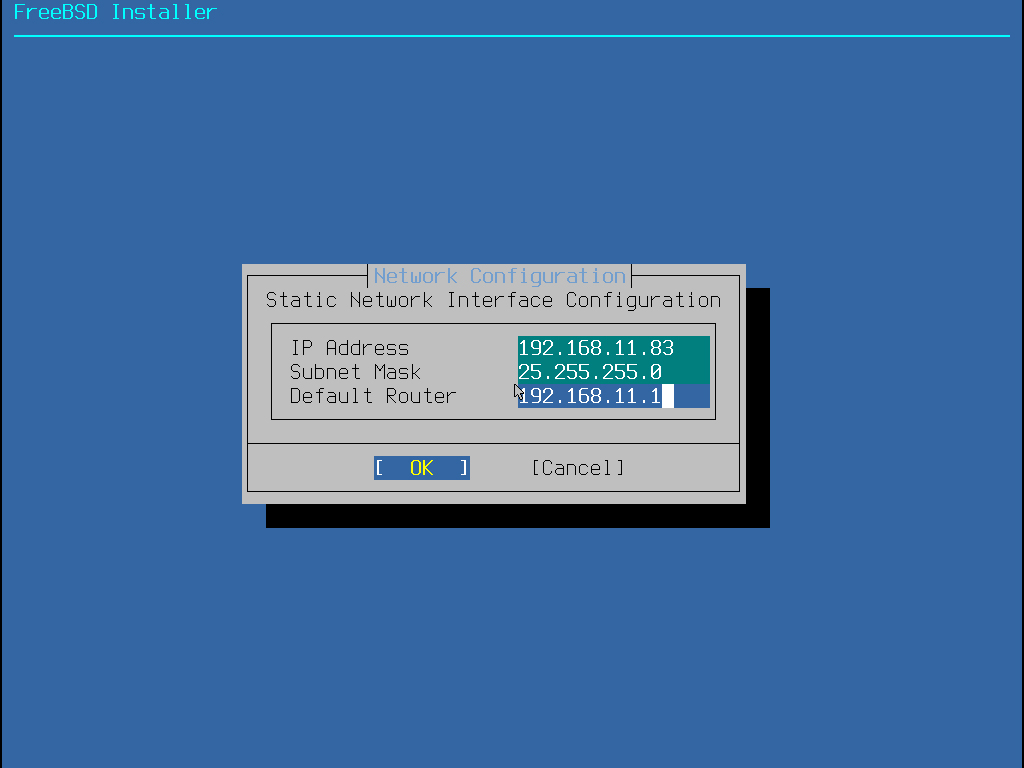
Enter the following, select OK, and press Enter.
・IP Address : Local address to be fixed(Example;192.168.11.83)
・Subnet Mask : 255.255.255.0
・Default Router : Each individual's router address(EXample;192.168.11.1)
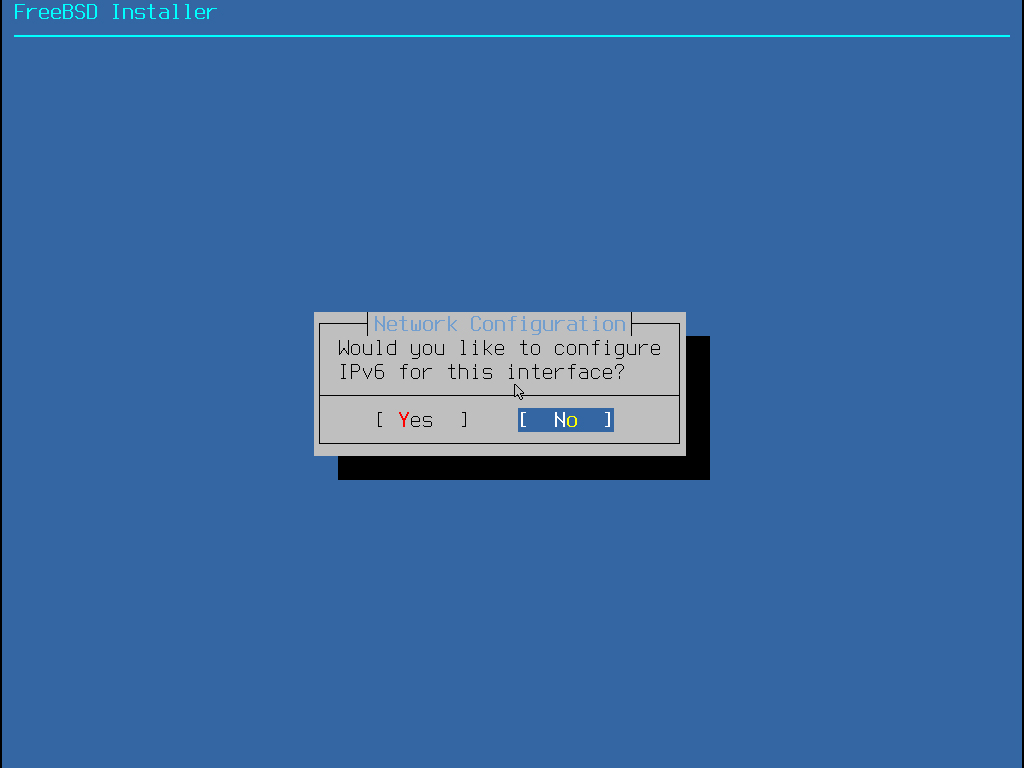
21.IPv6 Settings
Since we are not using IPv6 this time, select "No" and press Enter.
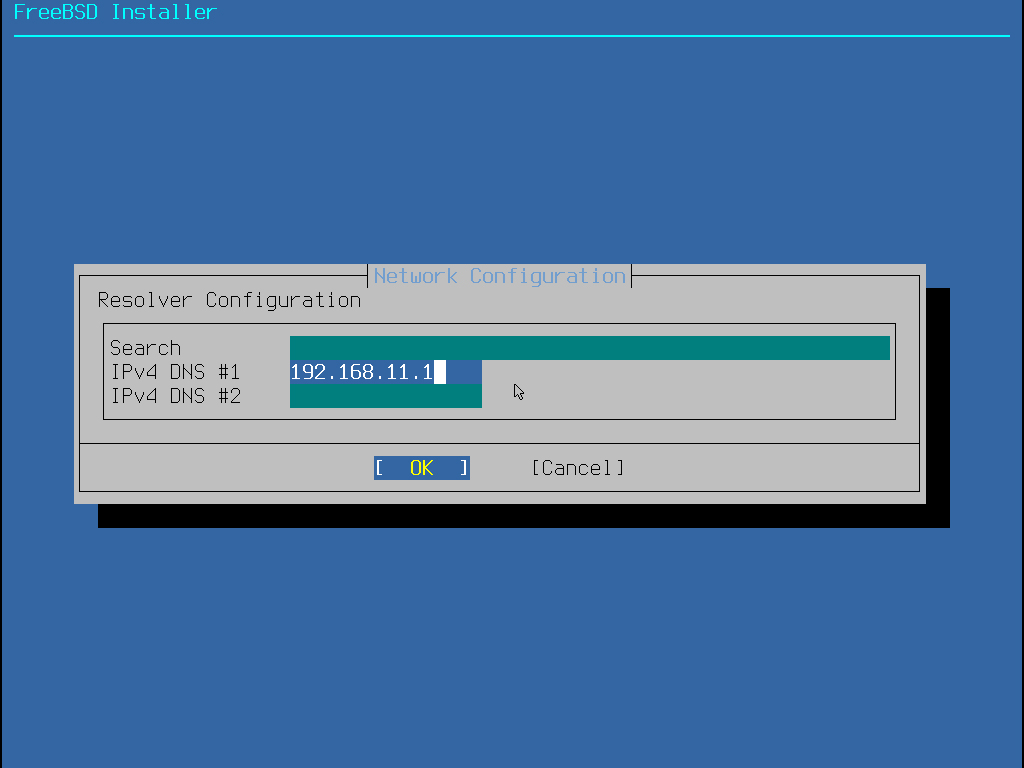
22.DNS Server Settings
DNS Address Settings
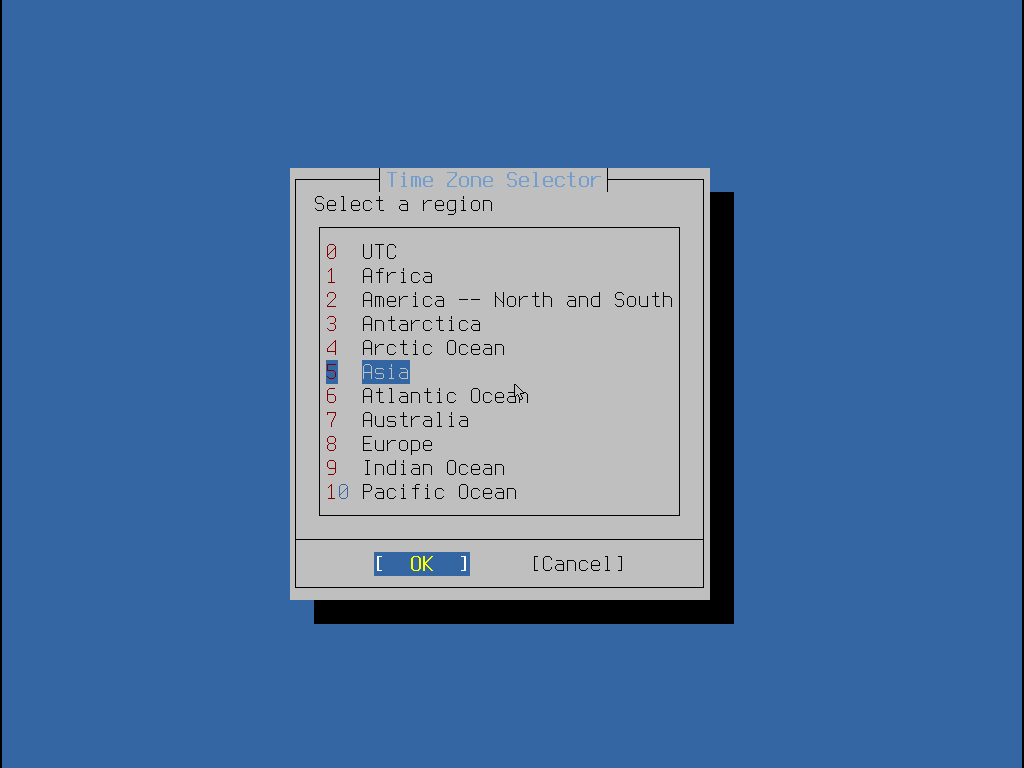
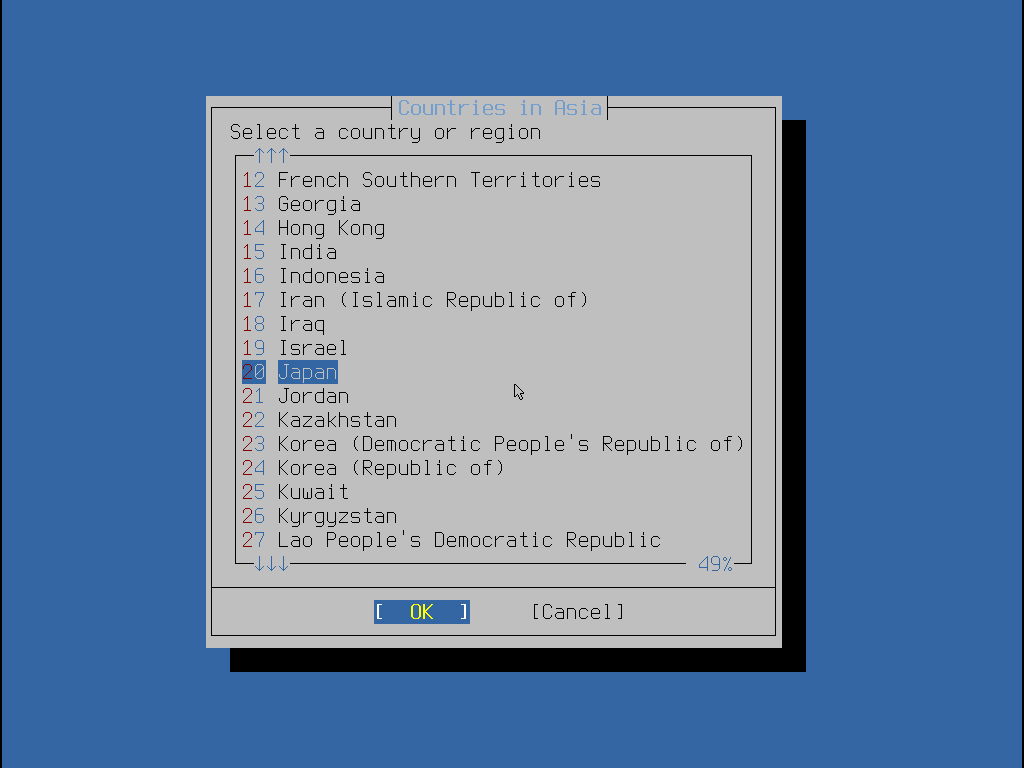
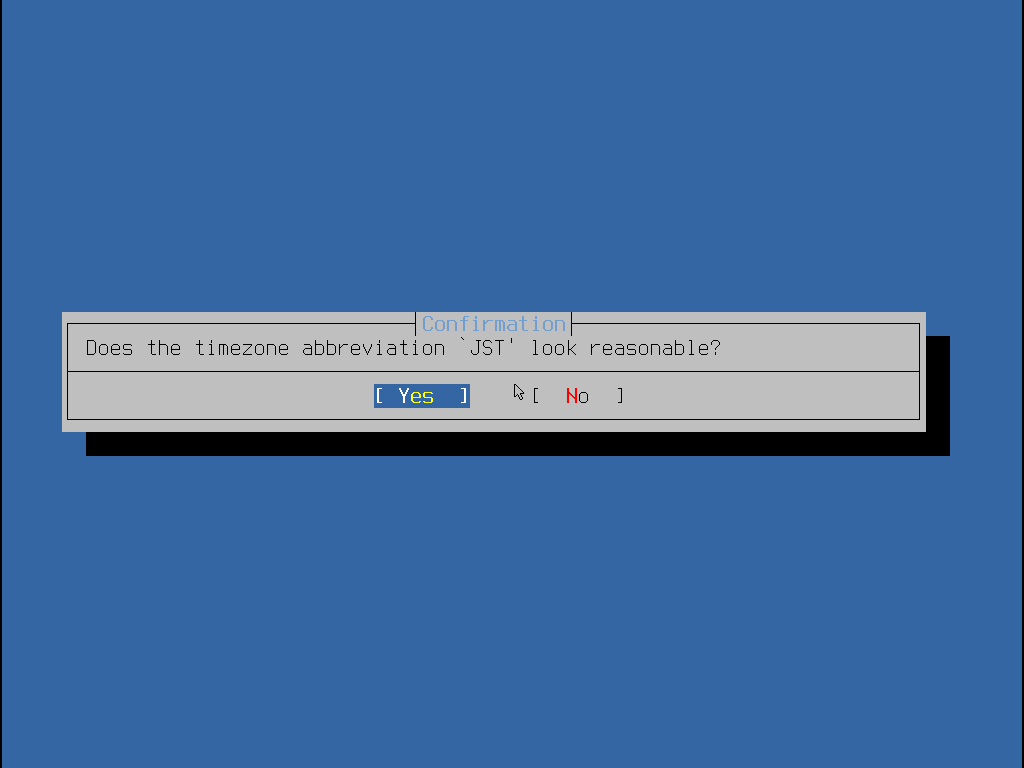
23.Time Zone Settings Select "5 Asia", "20 Japan"
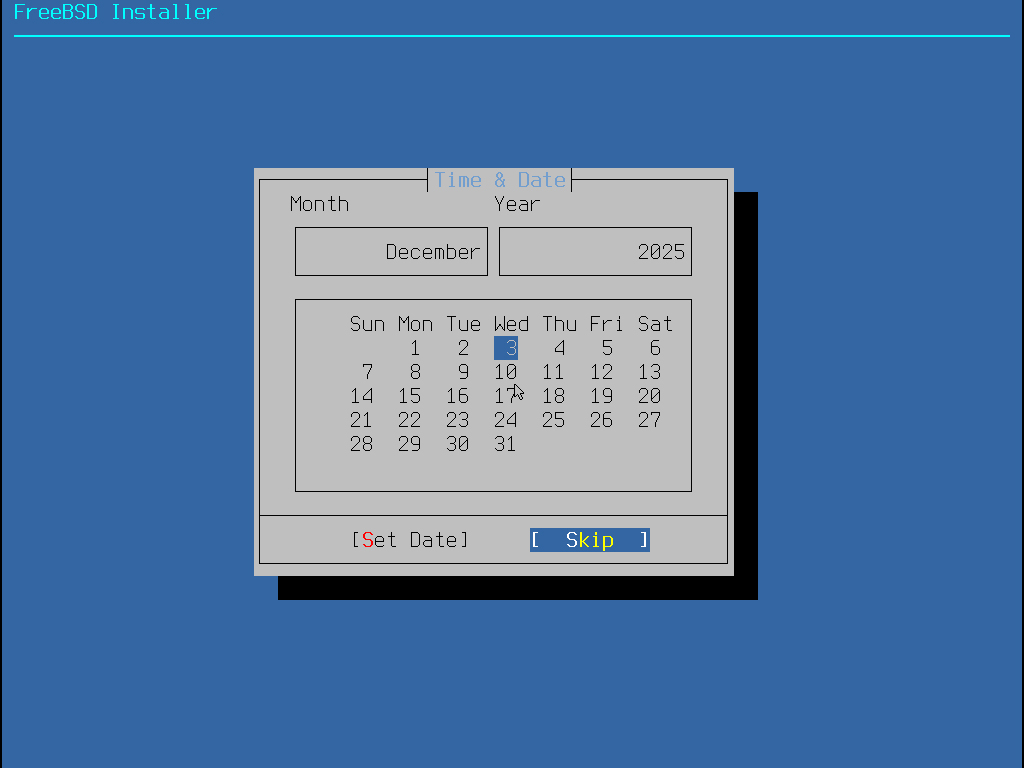
24.Date Settings
Confirm and select "Skip" then press Enter
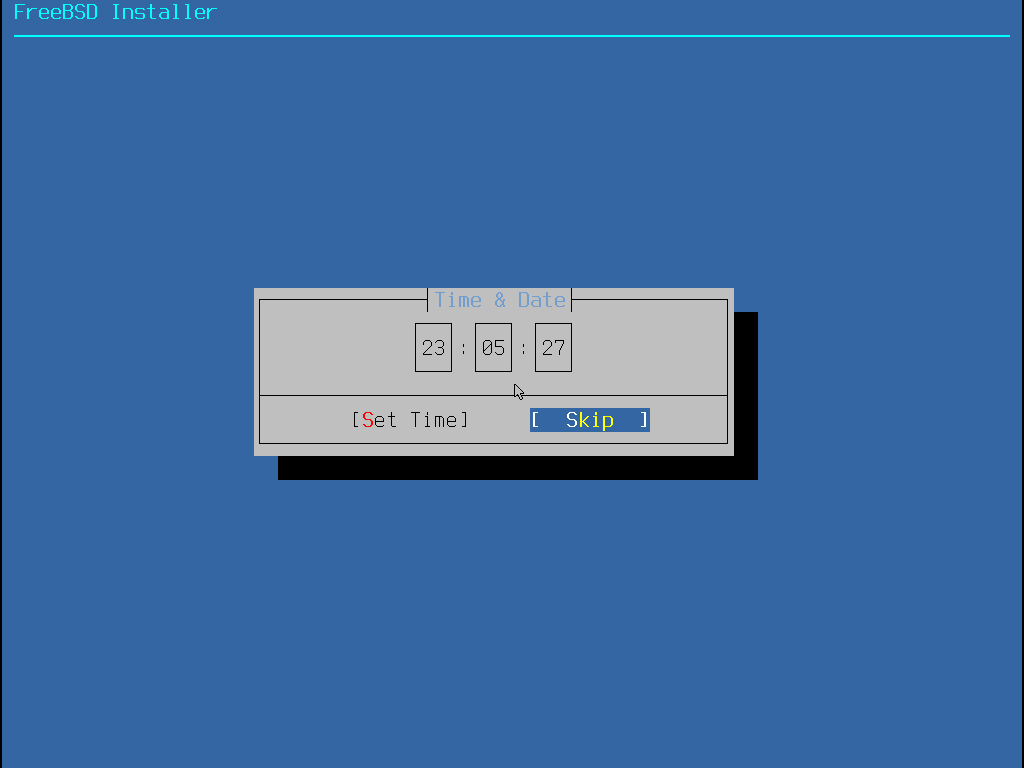
25.Time Settings
Even if the time is incorrect, it will synchronize later, so select "Skip" here and press Enter.
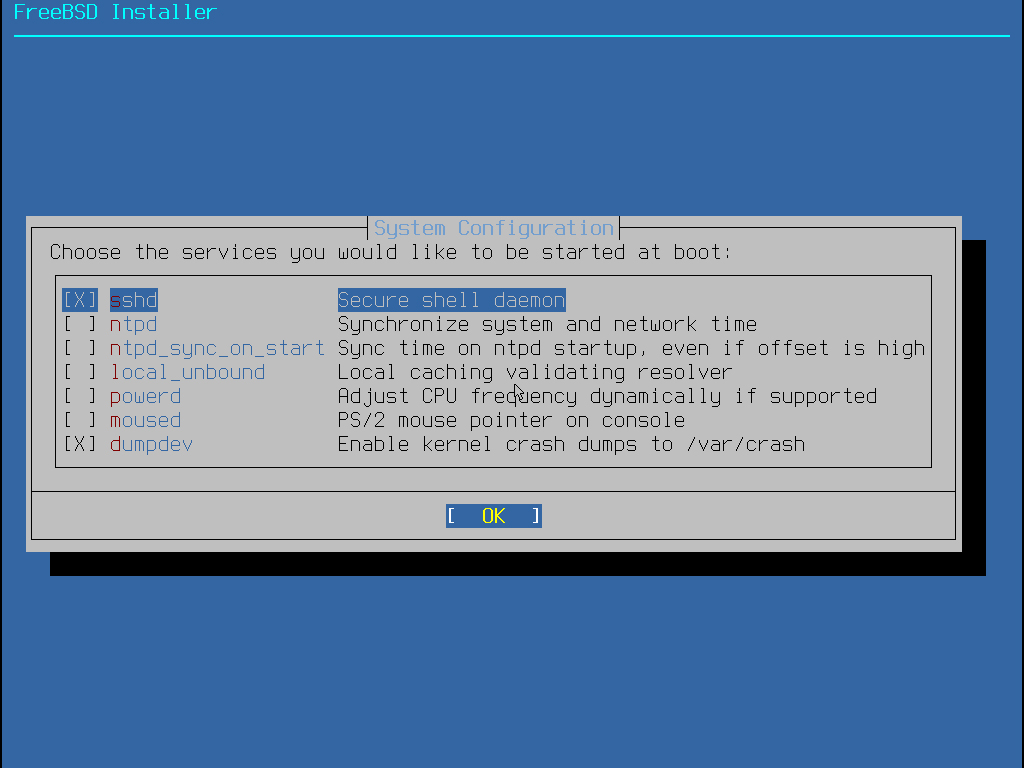
26.System Settings
Ensure "sshd" is checked, then select "OK" and press Enter.
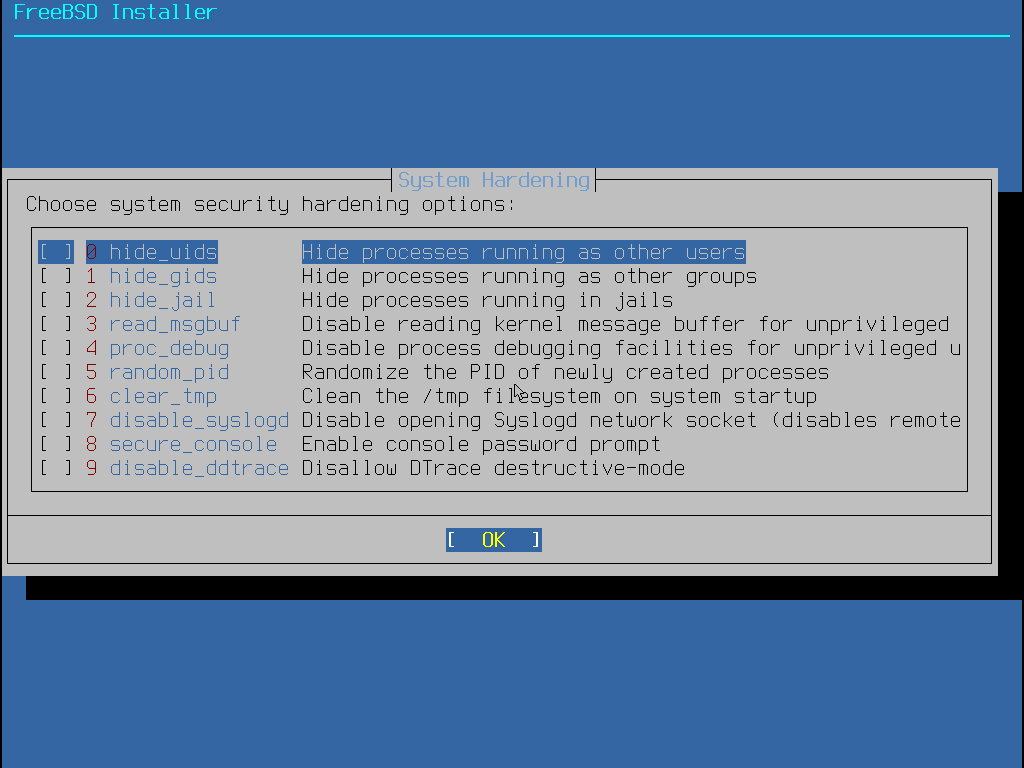
27.Security Settings
Select "OK" to keep the default settings and press Enter.
28.Prompt to add a general user
Since we are adding one this time, select "Yes" and press Enter

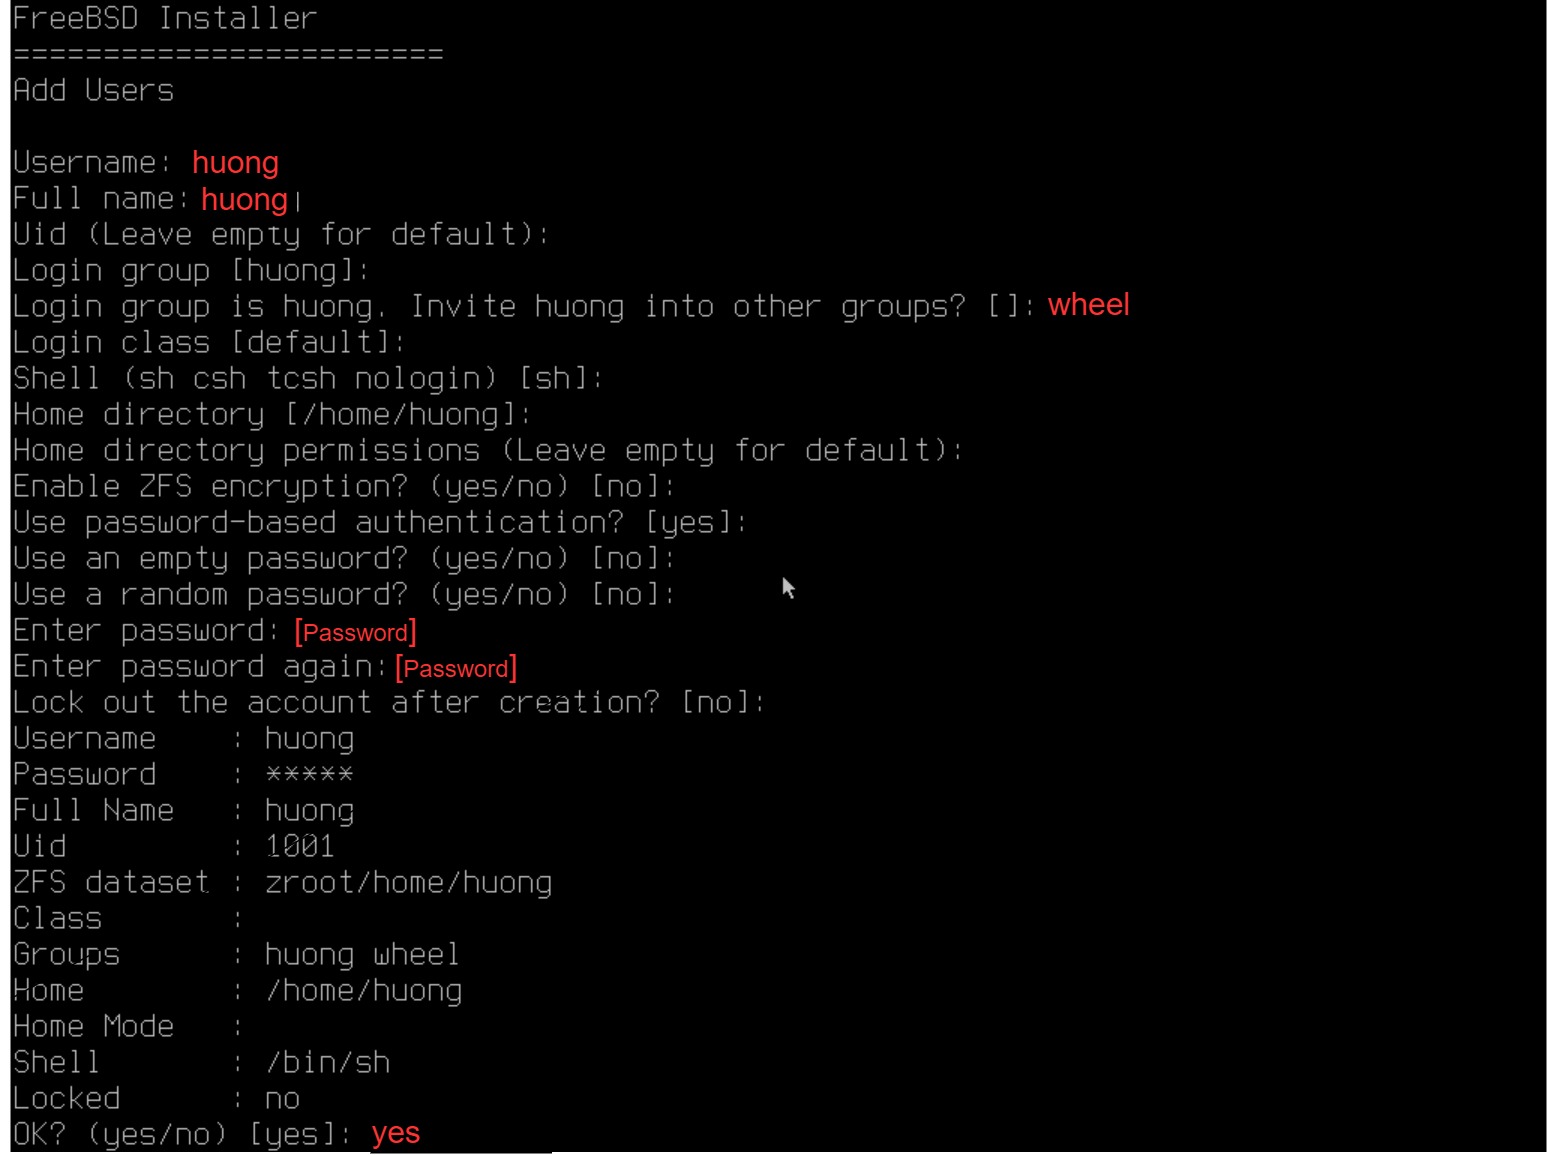
29.General User Information Settings
Username : Any name
Full name : Any name
other groups : Configure the "wheel" group to enable switching to the root user via the su command.
Set the user password during setup
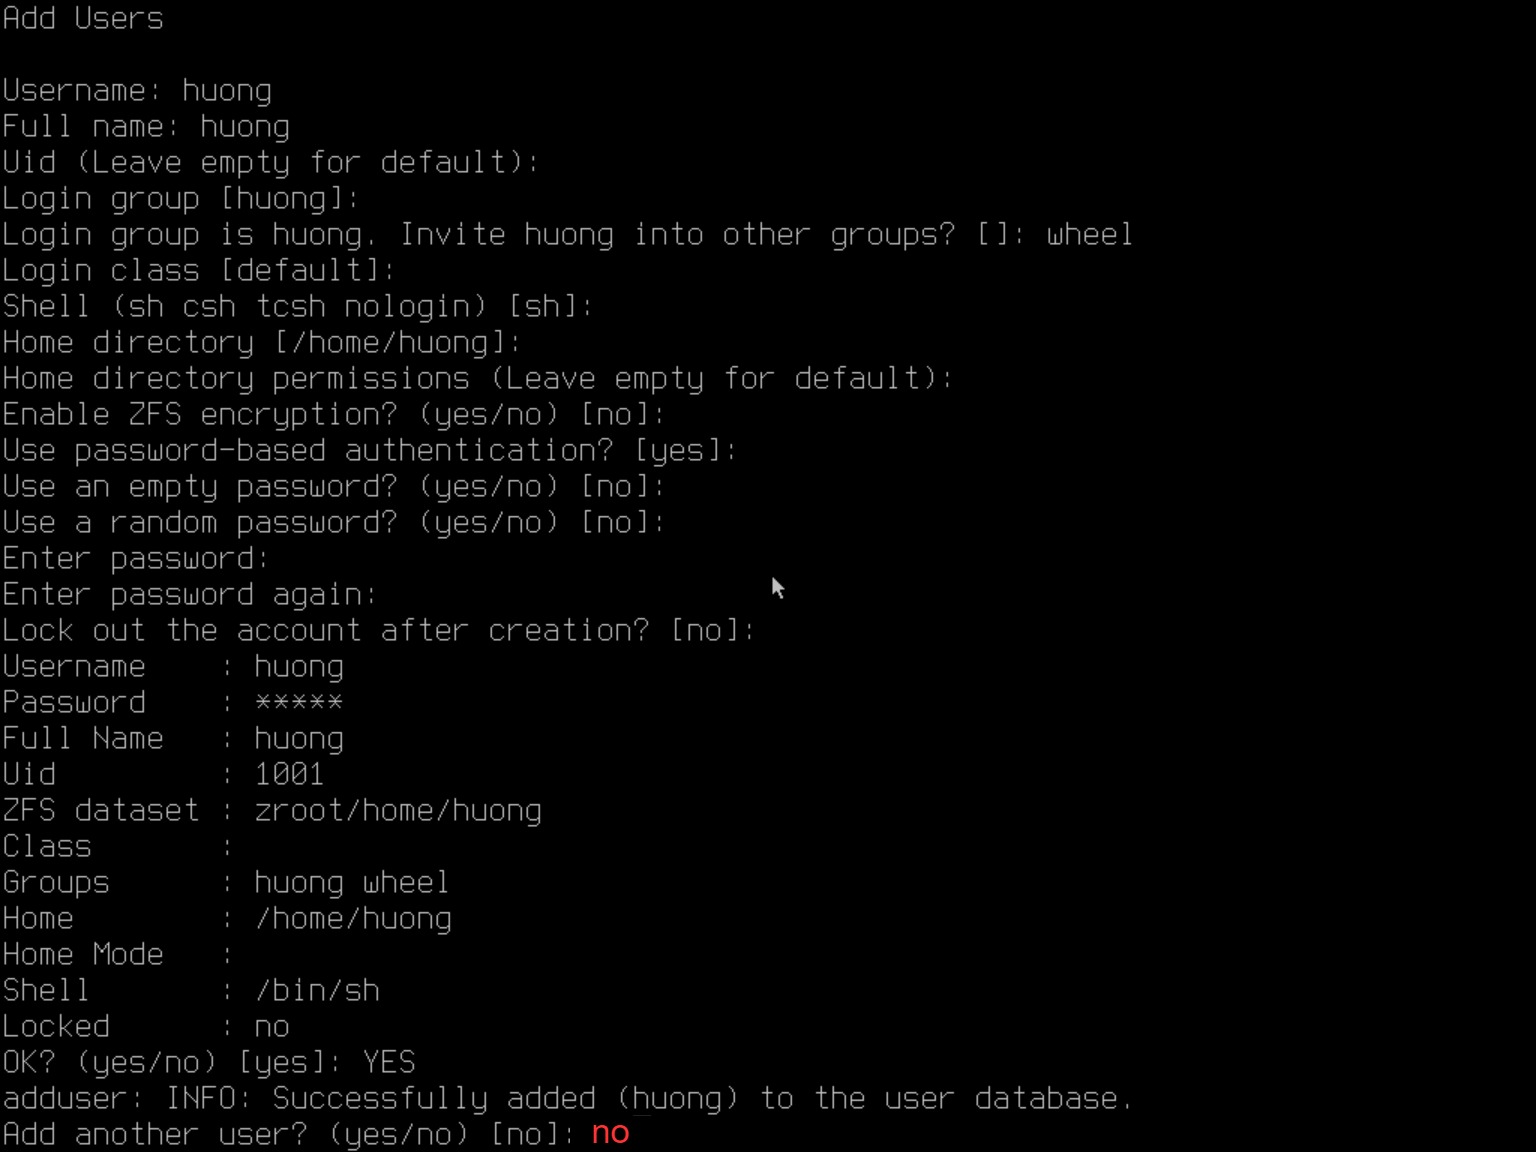
Confirm at the end and enter "yes" if acceptable
Leave the rest as default by pressing Enter
Add another user? If not, enter "no".
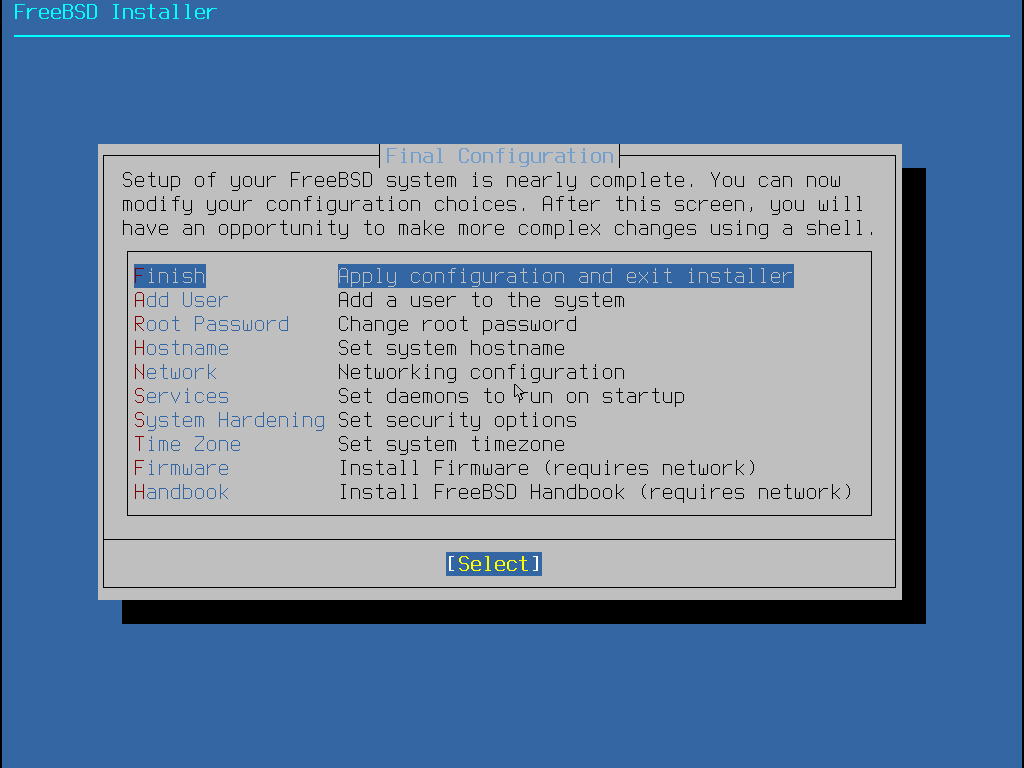
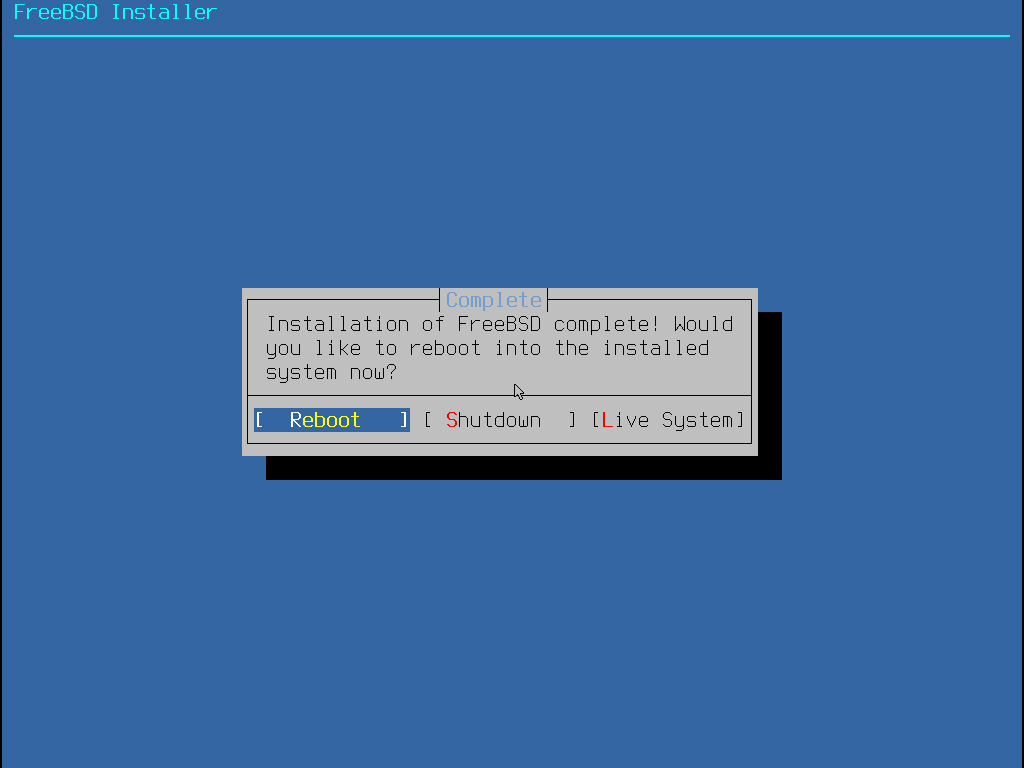
30.Finish, Restart
Select "Finish" and press Enter on [Select]
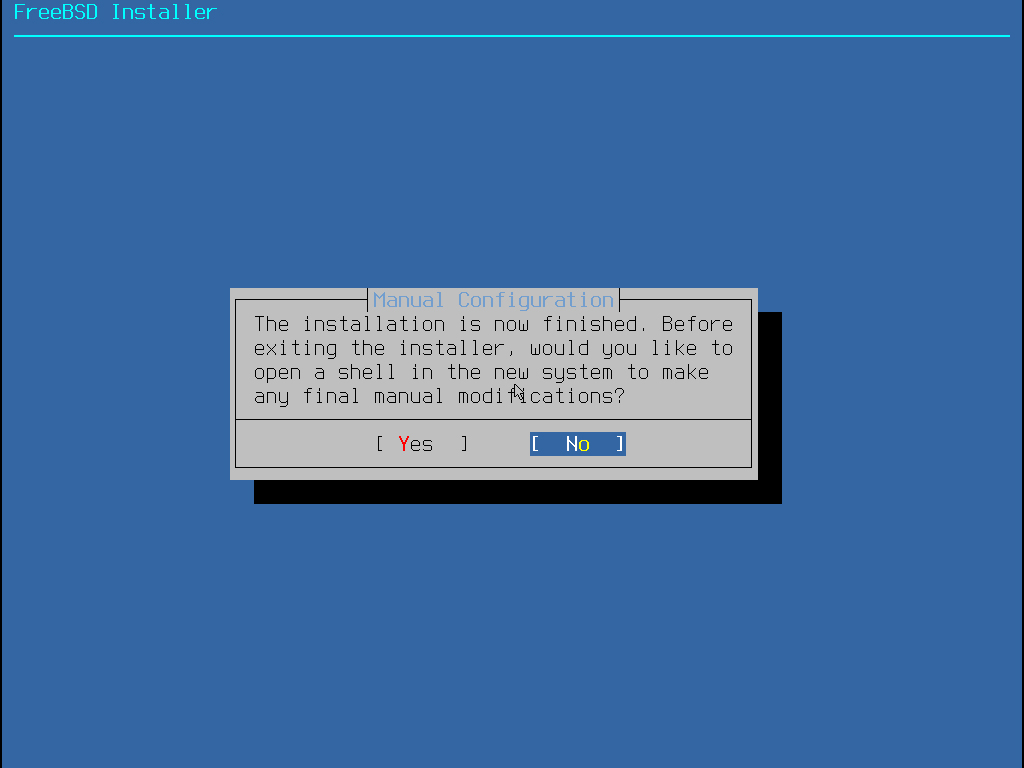
If you want to reset, select "Yes"; otherwise, select "No" and press Enter.
Select "Reboot" and press Enter to restart.
You can log in as a regular user or as root.