1. Install a time synchronization service NTP server
|
1 2 3 4 5 6 7 8 9 10 |
# apt -y install chrony # vi /etc/chrony/chrony.conf # Lines 20-23.:Comment the default settings and add the NTP server for your time zone. #pool ntp.ubuntu.com iburst maxsources 4 #pool 0.ubuntu.pool.ntp.org iburst maxsources 1 #pool 1.ubuntu.pool.ntp.org iburst maxsources 1 #pool 2.ubuntu.pool.ntp.org iburst maxsources 2 pool ntp.nict.jp iburst # Add to the last line (Range for which time synchronization is allowed) allow 192.168.11.0/24 |
|
1 2 |
Settings reflect # systemctl restart chrony |
|
1 2 3 4 5 6 7 8 9 |
# operation check # chronyc sources MS Name/IP address Stratum Poll Reach LastRx Last sample ========================================================= ^- ntp-b3.nict.go.jp 1 6 17 3 -79us[ -79us] +/- 5671us ^? ntp-a3.nict.go.jp 0 7 0 - +0ns[ +0ns] +/- 0ns ^? ntp-a2.nict.go.jp 0 7 0 - +0ns[ +0ns] +/- 0ns ^* ntp-k1.nict.jp 1 6 17 4 -229us[ -165us] +/- 3467us ^+ ntp-b2.nict.go.jp 1 6 17 4 +247us[ +311us] +/- 5348us |
2. Install FTP server vsftpd
①Install
|
1 |
# apt install vsftpd |
②Allow PORT 21 at UFW
|
1 2 |
# ufw allow ftp # ufw reload |
③Configuration File Changes
|
1 |
# vi /etc/vsftpd.conf |
|
1 2 3 4 5 6 7 8 9 10 11 12 13 14 15 16 17 18 19 20 21 22 23 24 25 26 27 28 29 30 31 32 33 34 35 |
Line 14. Listen=YES Line 22. Listen_ipv6=NO Line 25. # Do not allow anonymous users to log in anonymous_enable=NO Line 28. # Allow login by local user accounts local_enable=YES Line 31. # Allow use of FTP commands to make changes to files write_enable=YES Line 35. # Set permission values to be applied to new files local_umask=022 Line 99. # Allow uploads by ASCII ascii_upload_enable=YES Line 100. # Allow downloading by ASCII ascii_download_enable=YES Line 122. # Change the user's login directory to the user's root directory chroot_local_user=YES Line 123. # Users will not be able to access outside the login directory chroot_list_enable=YES Line 125. # Users listed in vsftpd.chroot_list are exempt from the above restrictions chroot_list_file=/etc/vsftpd.chroot_list Line 131. #Comments Unsubscribe( Enable batch transfer by directory) ls_recurse_enable=YES |
④ Creating vsftpd.chroot_list
|
1 2 3 |
# vi /etc/vsftpd.chroot_list # Fill in only the user name (huong) in the new file and finish saving. huong |
⑤Restart vsftpd
|
1 |
# systemctl restart vsftpd |
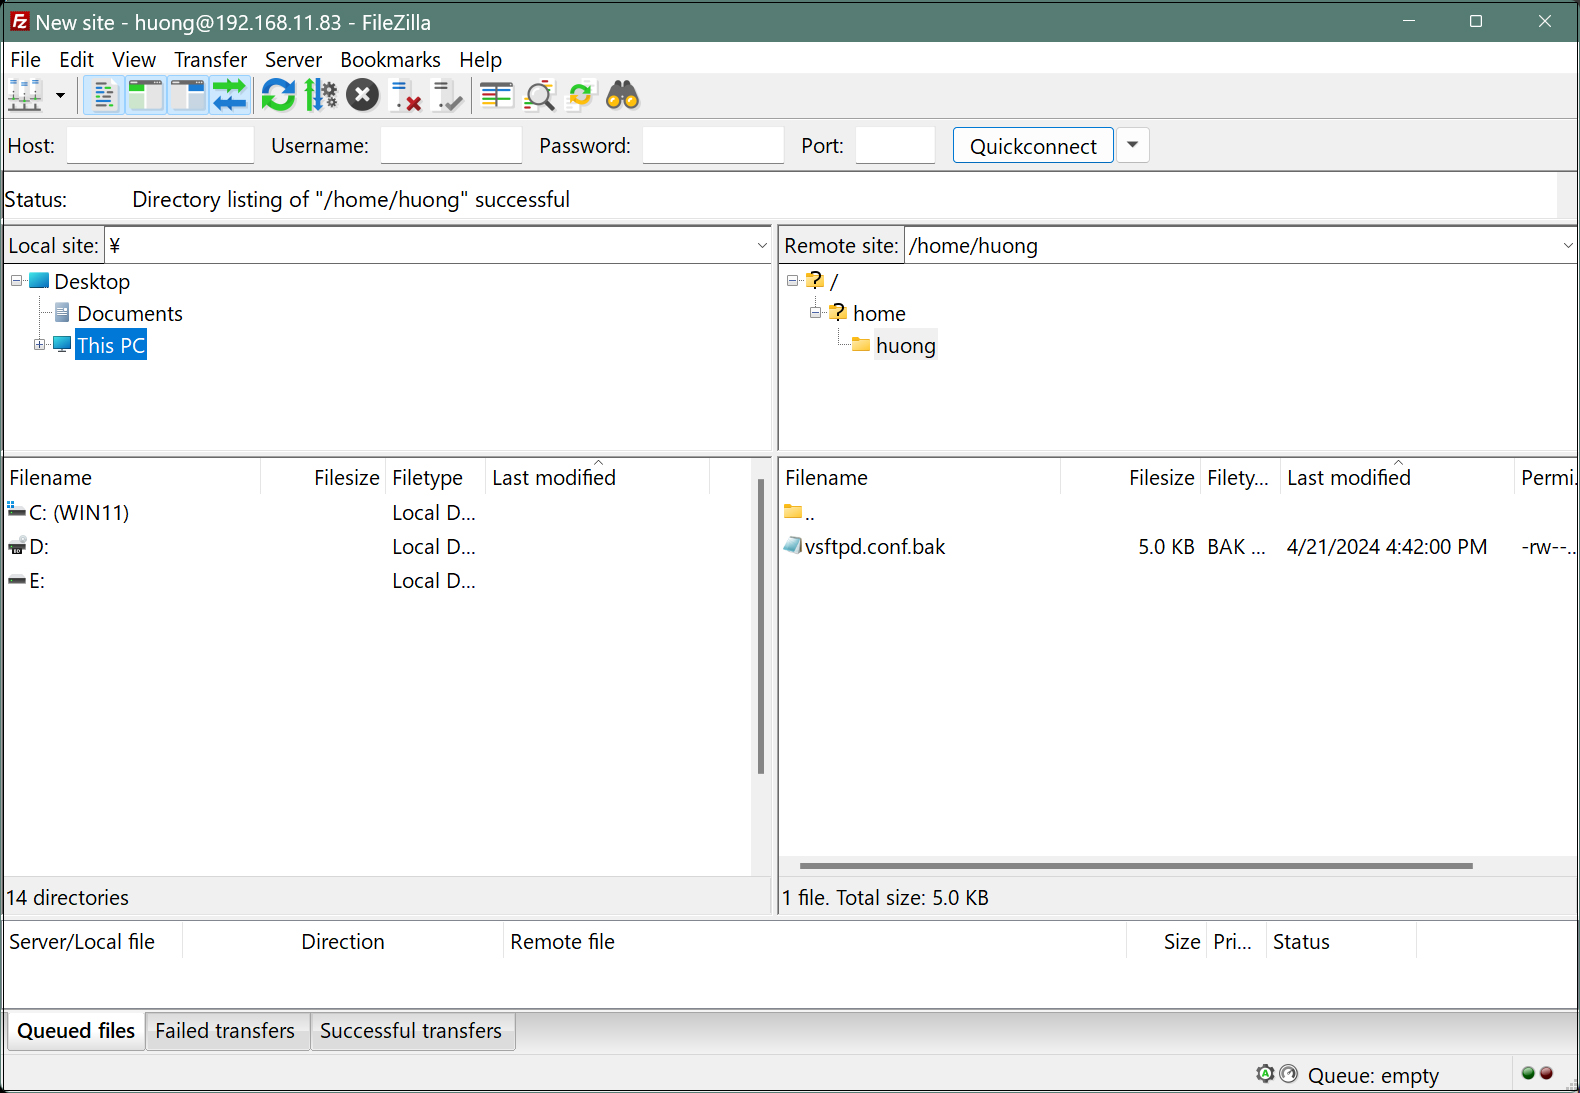
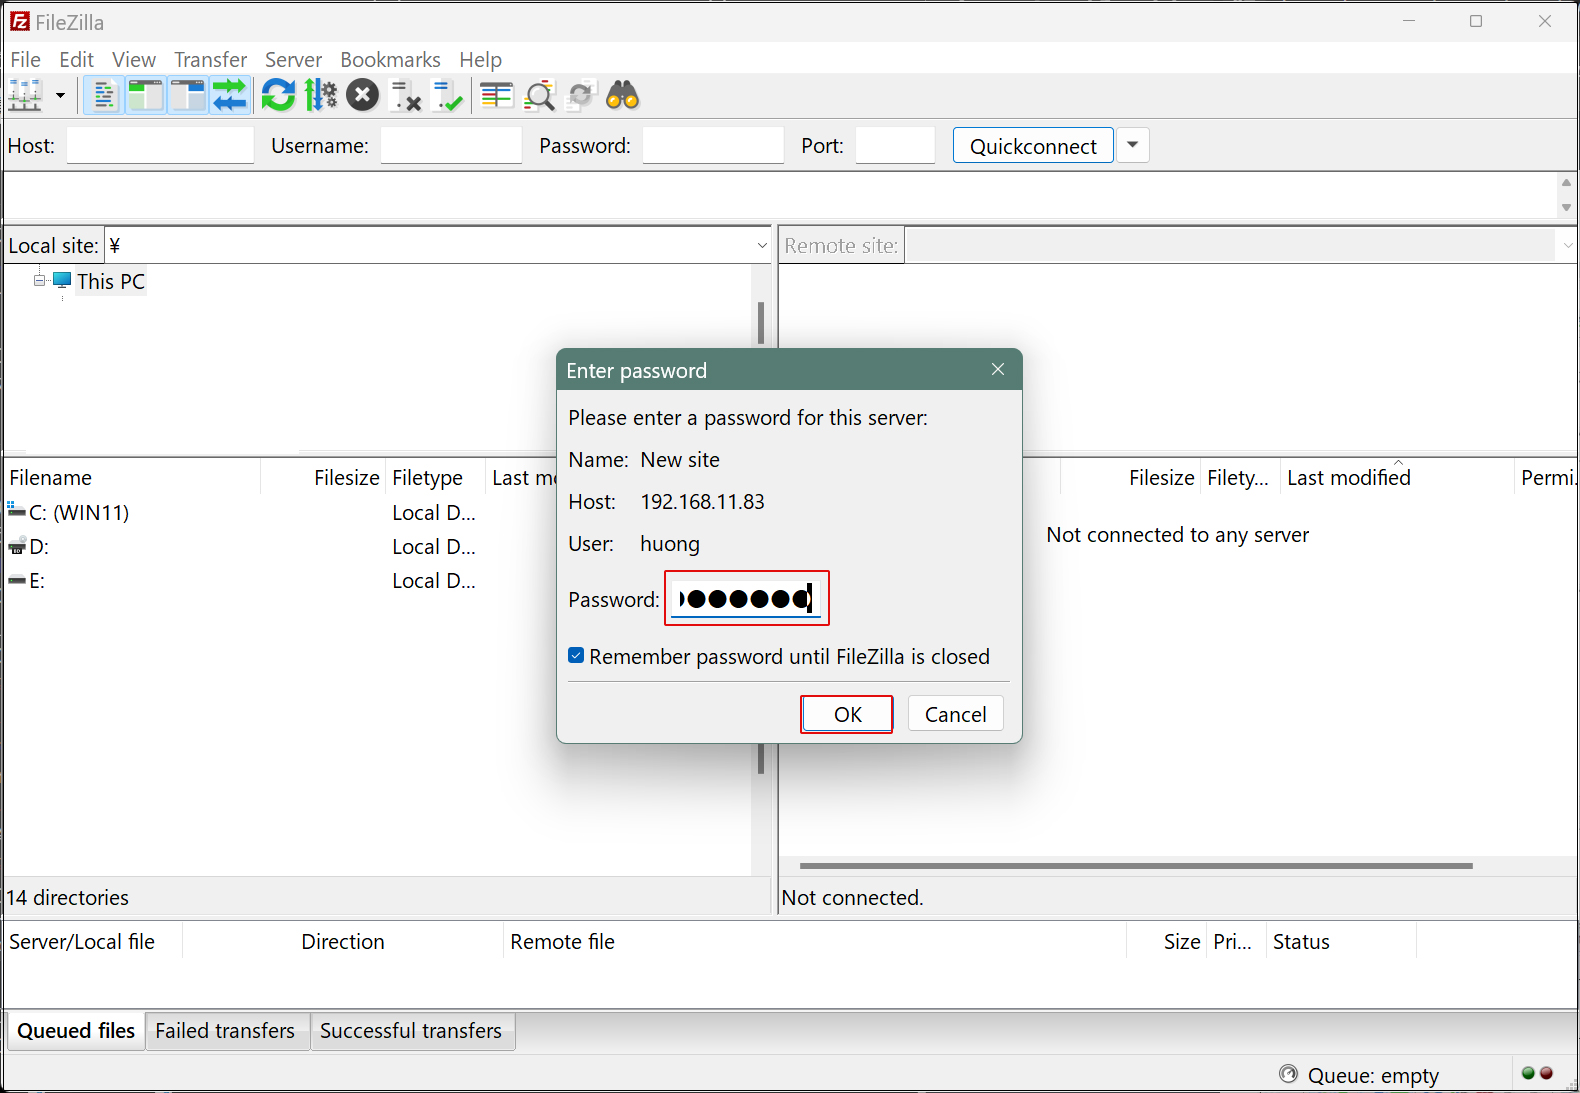
⑥Check with FTP client
In this case, FileZilla will be used.
[File] [Site Manager] select
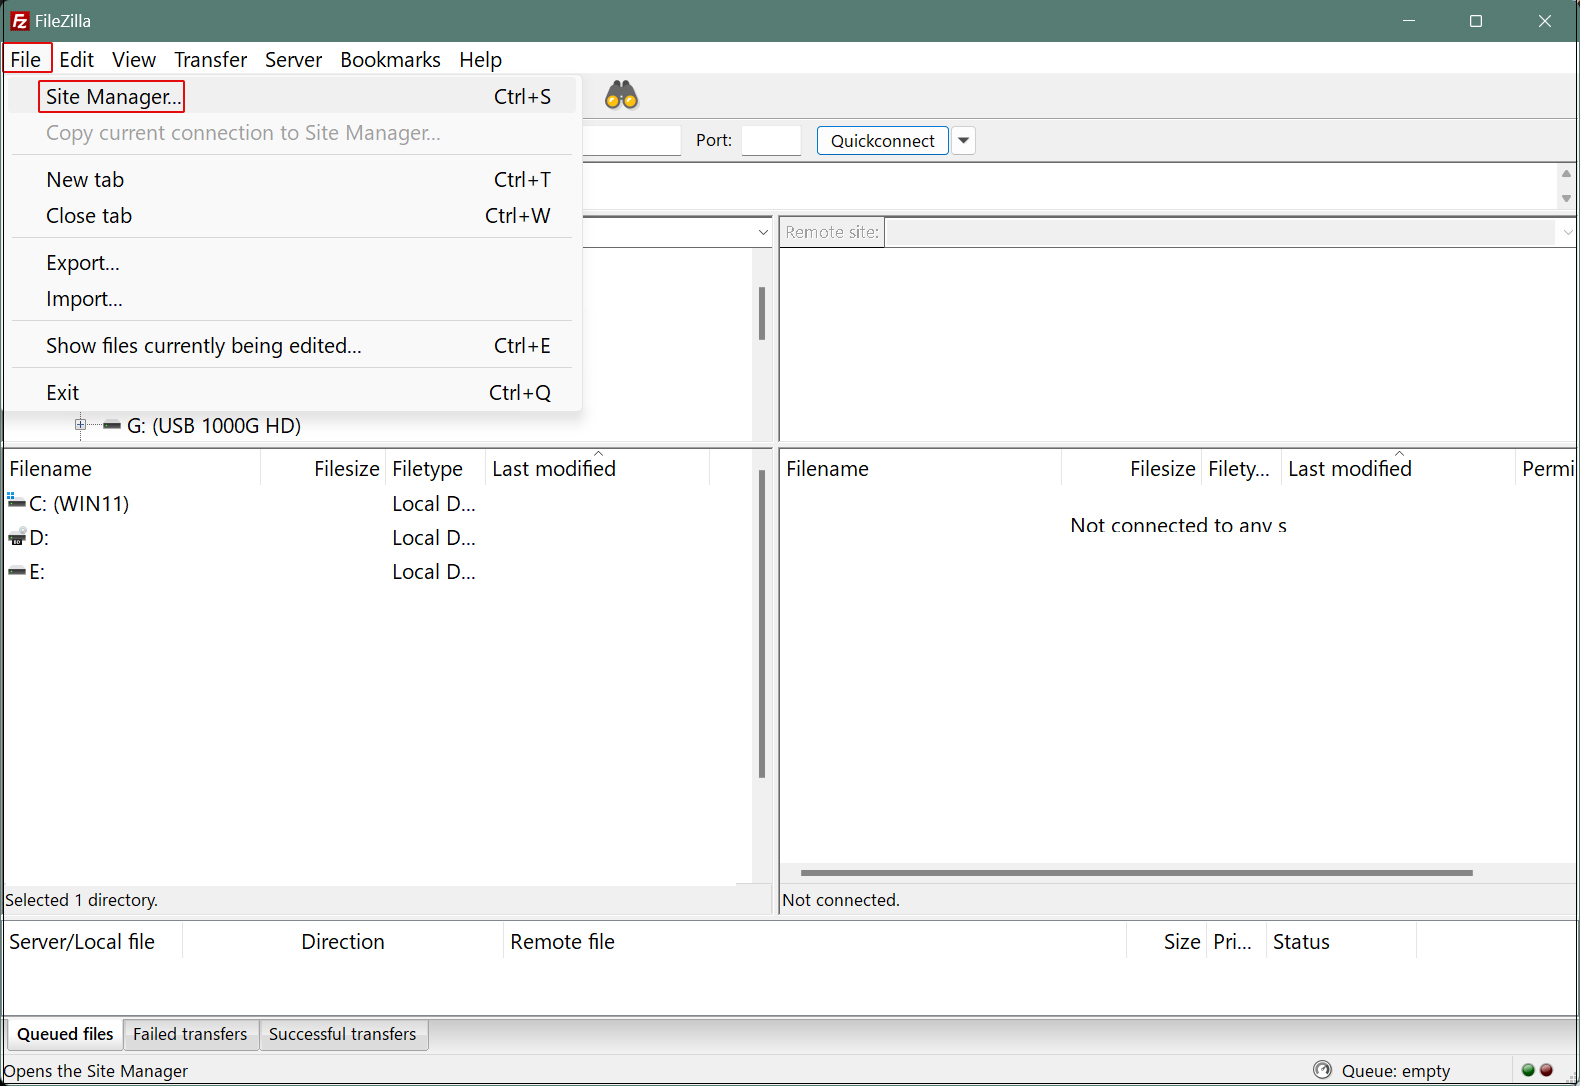
Click on "New site"
Protocol : FTP- File Transfer Protocol
Host : Server IP Address
Port :
Logon Type : Ask for password
User : Logged-in user name
Click "Connect"
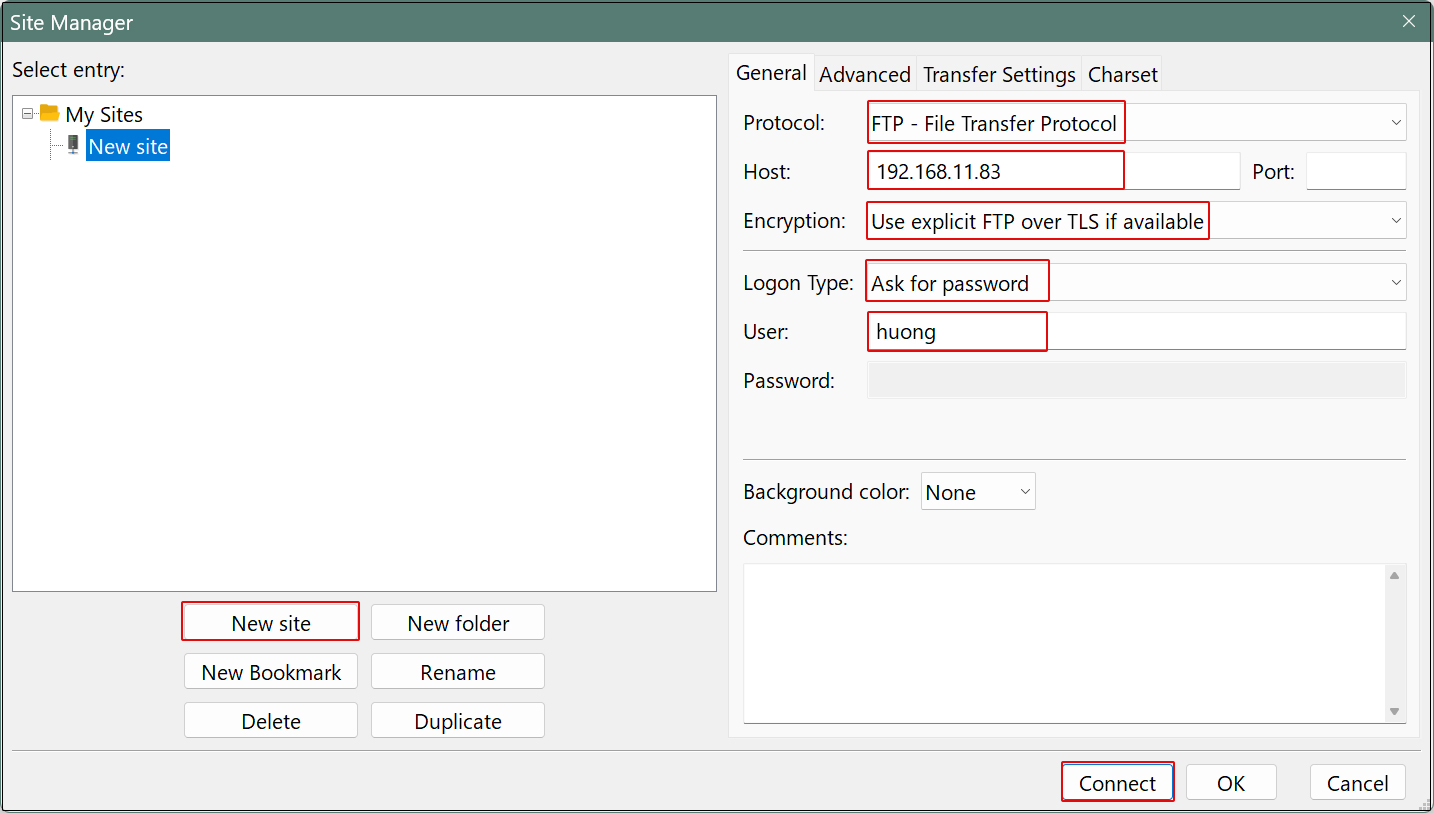
Password : Password for logged-in user
If the Windows directory appears on the left and the Ubuntu directory on the right, the connection is successful.