Contents
WEB server (Apache)
Apache Installation
①system update
|
1 2 3 |
# slackpkg update # slackpkg upgrade slackpkg # slackpkg new-config |
➁httpd installation
|
1 |
# slackpkg upgrade httpd |
➂Apache version check
|
1 2 3 |
# httpd -v Server version: Apache/2.4.66 (Unix) Server built: Dec 4 2025 12:52:49 |
④Enabling and Starting Apache
|
1 2 |
# chmod +x /etc/rc.d/rc.httpd # /etc/rc.d/rc.httpd restart |
⑤Open ports for web server use
|
1 2 3 4 |
# ufw allow http Rule added # ufw reload Firewall reloaded |
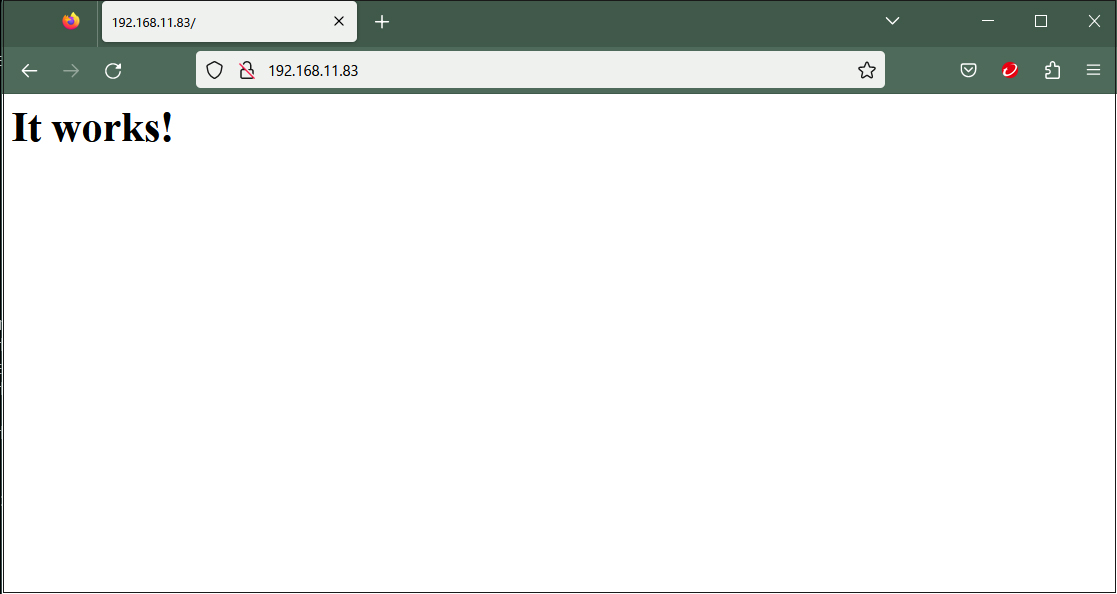
Connect to "http://server IP/" with any browser, and if it looks like the following, it's OK

Editing the Apache Configuration File
①The configuration file is /etc/httpd/httpd.conf
Edit this file
|
1 2 3 4 5 6 7 8 9 10 11 12 13 14 15 16 17 18 19 20 21 22 23 24 25 26 27 28 |
# vi /etc/httpd/httpd.conf Line 215 Change to administrator email address ServerAdmin [Administrator's email address] Uncomment line 224 and change to your domain name [FQDN] ServerName [domain name:80] Line 262 Indexes deleted Options FollowSymLinks Line 269 change AllowOverride ALL Line 282 Adding files accessible only by directory name <IfModule dir_module> DirectoryIndex index.html index.htm index.pl index.php </IfModule> Line 429 Uncomment AddHandler cgi-script .cgi Line 516 Uncomment # Various default settings Include /etc/httpd/extra/httpd-default.conf Add to the last line ServerTokens Prod |
➁Restart Apache
|
1 |
# /etc/rc.d/rc.httpd restart |
Confirmation of CGI Script Usage
①Confirmation of CGI availability
|
1 2 |
# grep -n "^ *ScriptAlias" /etc/httpd/httpd.conf 365: ScriptAlias /cgi-bin/ "/srv/httpd/cgi-bin/" |
The above is displayed and available under "/srv/httpd/cgi-bin/".
➁Edit httpd.conf
|
1 2 3 4 5 |
# vi /etc/httpd/httpd.conf Uncomment lines 168,171 LoadModule cgid_module lib64/httpd/modules/mod_cgid.so LoadModule cgi_module lib64/httpd/modules/mod_cgi.so |
➂Create test scripts and check operation
|
1 2 3 4 |
# vi /srv/httpd/cgi-bin/index.cgi #!/usr/bin/python3 print("Content-type: text/html\n") print("CGI Script Test Page") |
|
1 2 3 4 |
# chmod 755 /srv/httpd/cgi-bin/index.cgi # /etc/rc.d/rc.httpd restart # curl localhost/cgi-bin/index.cgi CGI Script Test Page |
PHP Installation
①Install
|
1 |
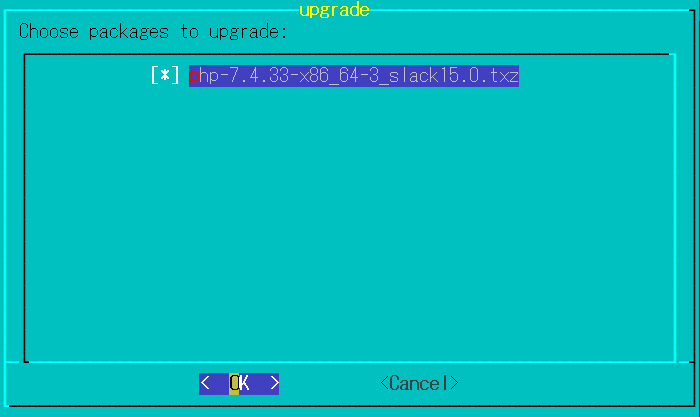
# slackpkg upgrade php |
OK click

➁Editing httpd.conf
|
1 2 3 4 |
# vi /etc/httpd/httpd.conf Line 538 Uncomment Include /etc/httpd/mod_php.conf |
➂Edit /etc/httpd/mod_php.conf
|
1 2 3 4 |
# vi /etc/httpd/mod_php.conf Add addtype application/x-httpd-php .php .php3 .php4 .php7 .php8 |
④Edit /etc/php.ini file
|
1 2 3 4 5 6 7 8 9 10 |
# vi /etc/php.ini Line 694 change post_max_size = 300M Line 846 change upload_max_filesize = 200M Line 1005 Uncomment and add date.timezone = Asia/Tokyo |
⑤Restart Apache
|
1 |
# /etc/rc.d/rc.httpd restart |
⑥Create the following file to confirm PHP startup
|
1 2 3 4 5 |
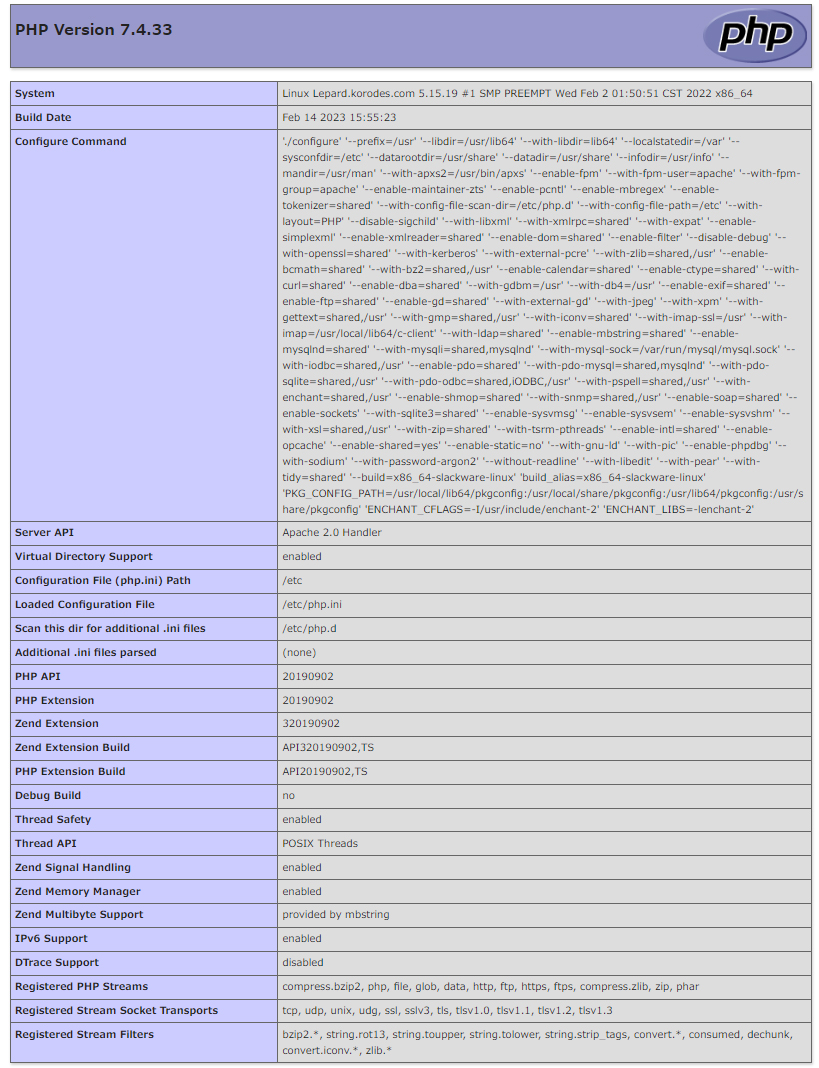
# vi /srv/httpd/htdocs/info.php <?php phpinfo(); ?> |
If you access http://server IP/info.php with any browser and see the following screen, PHP is working properly.

Virtual Host Settings
Assign and configure the domain name [slack.korodes.com] to the document root [/srv/httpd/htdocs/slack.korodes.com] directory for the virtual host to operate under
Create a new slack-vhosts.conf
|
1 2 3 4 5 6 7 8 9 10 11 12 13 14 15 |
# cd /etc/httpd/extra/ # vi slack-vhosts.conf <VirtualHost *:80> ServerAdmin [Administrator's email address] DocumentRoot "/srv/httpd/htdocs/slack.korodes.com" ServerName slack.korodes.com ErrorLog "/var/log/httpd/slack.korodes.com-error_log" CustomLog "/var/log/httpd/slack.korodes.com-access_log" common <Directory "/srv/httpd/htdocs/slack.korodes.com/"> Options FollowSymLinks AllowOverride All </Directory> </VirtualHost> |
Edit httpd.conf file
|
1 2 3 4 |
# vi /etc/httpd/httpd.conf Line 508 add Include /etc/httpd/extra/slack-vhosts.conf |
Create document root directory
|
1 |
# mkdir /srv/httpd/htdocs/slack.korodes.com |
Restart Apache
|
1 |
# /etc/rc.d/rc.httpd restart |
Web Server SSL Implementation
Let's obtain an SSL certificate from Let's Encrypt and enable SSL for the web server.
This time, we'll create a Python virtual environment and obtain a Let's Encrypt certificate.
In Python virtual environments, each project has its own isolated environment, offering benefits in dependency management, compatibility, and security.
Obtaining an SSL Certificate
1. Create a Python virtual environment
|
1 |
# python3 -m venv /opt/certbot |
2. Upgrade pip to the latest version within the virtual environment
|
1 2 3 4 5 6 7 8 9 10 11 |
# /opt/certbot/bin/pip install --upgrade pip Requirement already satisfied: pip in /opt/certbot/lib/python3.9/site-packages (23.0.1) Collecting pip Downloading pip-26.0.1-py3-none-any.whl (1.8 MB) ━━━━━━━━━━━━━━━━━━━━━━━━━━━━━━━━━━━━━━━━ 1.8/1.8 MB 30.4 MB/s eta 0:00:00 Installing collected packages: pip Attempting uninstall: pip Found existing installation: pip 23.0.1 Uninstalling pip-23.0.1: Successfully uninstalled pip-23.0.1 Successfully installed pip-26.0.1 |
3.Install Certbot within the virtual environment
|
1 |
# /opt/certbot/bin/pip install certbot |
4.Creating links
You no longer need to specify absolute paths when executing.
|
1 |
# ln -s /opt/certbot/bin/certbot /usr/bin/certbot |
5.Stop Apache
|
1 |
# /etc/rc.d/rc.httpd stop |
6.Certificate Acquisition--Set the target domain to slack.korodes.com
|
1 2 3 4 5 6 7 8 9 10 11 12 13 14 15 16 17 18 |
# certbot certonly --standalone -d slack.korodes.com Saving debug log to /var/log/letsencrypt/letsencrypt.log Requesting a certificate for slack.korodes.com Successfully received certificate. Certificate is saved at: /etc/letsencrypt/live/slack.korodes.com/fullchain.pem Key is saved at: /etc/letsencrypt/live/slack.korodes.com/privkey.pem This certificate expires on 2026-05-06. These files will be updated when the certificate renews. NEXT STEPS: - The certificate will need to be renewed before it expires. Certbot can automatically renew the certificate in the background, but you may need to take steps to enable that functionality. See https://certbot.org/renewal-setup for instructions. - - - - - - - - - - - - - - - - - - - - - - - - - - - - - - - - - - - - - - - - If you like Certbot, please consider supporting our work by: * Donating to ISRG / Let's Encrypt: https://letsencrypt.org/donate * Donating to EFF: https://eff.org/donate-le - - - - - - - - - - - - - - - - - - - - - - - - - - - - - - - - - - - - - - - - |
Editing Apache Configuration Files
Copy the default httpd-ssl.conf file, rename it to slack-ssl.conf, and edit it.
|
1 2 3 4 5 6 7 8 9 10 11 12 13 14 15 16 17 18 19 20 21 22 |
# cd /etc/httpd/extra/ # cp httpd-ssl.conf slack-ssl.conf # vi slack-ssl.conf Per Line 124-128 : As follows DocumentRoot "/srv/httpd/htdocs/slack.korodes.com" ServerName slack.korodes.com:443 ServerAdmin [mail address] ErrorLog "/var/log/httpd/slack.korodes.com.error_log" TransferLog "/var/log/httpd/slack.korodes.com.access_log" # Line 144 : Add a comment and append it below #SSLCertificateFile "/etc/httpd/server.crt" SSLCertificateFile "/etc/letsencrypt/live/slack.korodes.com/cert.pem" # Line 155 : Add a comment and append it below #SSLCertificateKeyFile "/etc/httpd/server.key" SSLCertificateKeyFile "/etc/letsencrypt/live/slack.korodes.com/privkey.pem" # Line 168 : Add #SSLCertificateChainFile "/etc/httpd/server-ca.crt" SSLCertificateChainFile "/etc/letsencrypt/live/slack.korodes.com/chain.pem" |
Editing Apache's main configuration file httpd.conf
|
1 2 3 4 5 6 7 8 9 10 |
# cd /etc/httpd/ # vi httpd.conf # Line 92 : Uncomments LoadModule socache_shmcb_module lib64/httpd/modules/mod_socache_shmcb.so # Line 150 : Uncomments LoadModule ssl_module lib64/httpd/modules/mod_ssl.so # Per Line 525 : Add Include /etc/httpd/extra/slack-ssl.conf |
Restart Apache
|
1 |
# /etc/rc.d/rc.httpd restart |
Redirect from HTTP to HTTPS
Editing the Virtual Host Configuration File
|
1 2 3 4 5 6 7 |
# cd /etc/httpd/extra # vi slack-vhosts.conf Add the following within the <VirtualHost *:80>~</VirtualHost> section: RewriteEngine on RewriteCond %{HTTPS} off RewriteRule ^(.*)$ https://%{HTTP_HOST}%{REQUEST_URI} [R=301,L] |
Editing Apache's main configuration file httpd.conf
|
1 2 3 4 |
# cd /etc/httpd/ # vi httpd.conf # Per Line 182 : Uncomment LoadModule rewrite_module lib64/httpd/modules/mod_rewrite.so |
Restart Apache
|
1 |
# /etc/rc.d/rc.httpd restart |
Open the HTTPS port in UFW
|
1 2 |
# ufw allow https # ufw reload |

