

Creation of public and private key pairs
Create a public/private key pair for a user connecting to a Linux server using OpenSSH.
Use ssh-keygen to create the key pair.
The creation of a public/private key pair is performed with remote login user privileges.
If you do not specify the destination and file name, id_ed25519 and id_ed25519.pub will be created in /home/(user name)/.ssh/. On the way, enter the password for the key.
|
1 2 3 4 5 6 7 8 9 10 11 12 13 14 15 16 17 18 19 20 21 22 23 24 25 26 27 28 |
# su - huong JOHN PAUL ELECTED POPE!! (George and Ringo miffed.) huong@Lepard:~$ ssh-keygen -t ed25519 Generating public/private ed25519 key pair. Enter file in which to save the key (/home/huong/.ssh/id_ed25519): Created directory '/home/huong/.ssh'. Enter passphrase (empty for no passphrase): ←パスワード Enter same passphrase again: ←再度パスワード Your identification has been saved in /home/huong/.ssh/id_ed25519 Your public key has been saved in /home/huong/.ssh/id_ed25519.pub The key fingerprint is: SHA256:iUVyHjgxzM3ddeM1CvUJ0pcywF2NKti3O5as/RbBQeA huong@Lepard.korodes.com The key's randomart image is: +--[ED25519 256]--+ | o+=+..=**+==| | =*o..o+=B+*| | .oo E++= | | o..o o o | | . S o . . | | . . | | . o . | | .* . | | .o.+. | +----[SHA256]-----+ |
|
1 2 3 |
$ cat ~/.ssh/id_ed25519.pub >> ~/.ssh/authorized_keys $ chmod 600 ~/.ssh/authorized_keys $ chmod 700 ~/.ssh/ |
Save the generated private key id_ed25519 to the Windows directory c:\USERS\user\.ssh\ using WinSCP.Save the generated private key id_ed25519 to the Windows directory `c:\USERS\user\.ssh\` using WinSCP.
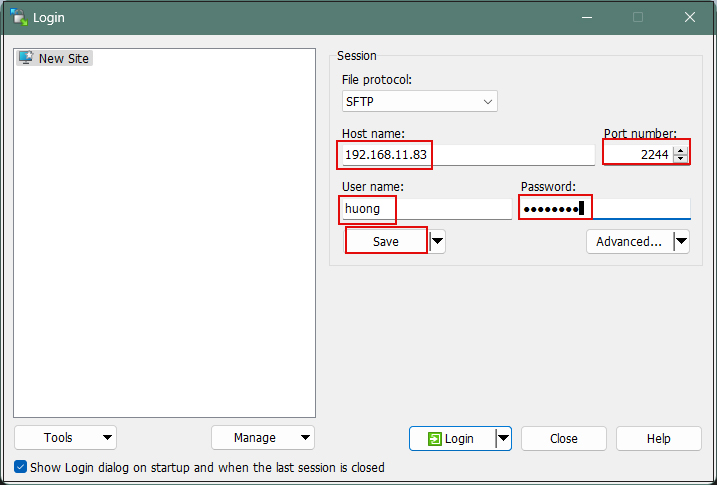
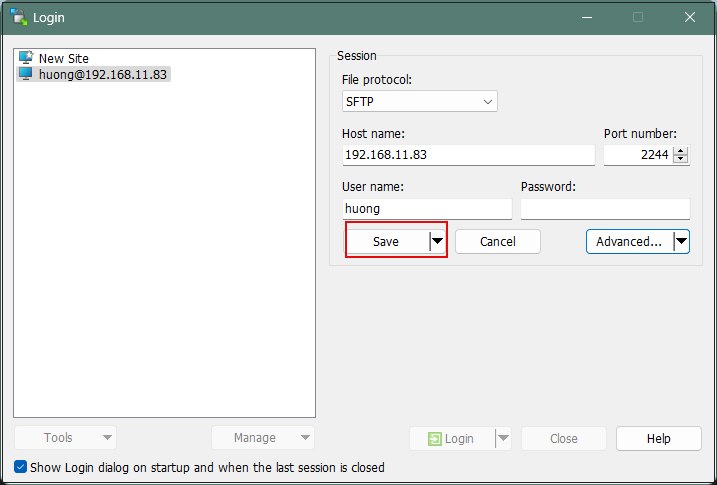
Launch WinSCP
Host name : server IP address
Port number : SSH Port
User name : Server login user
Password : Password for the same user
「Save」click
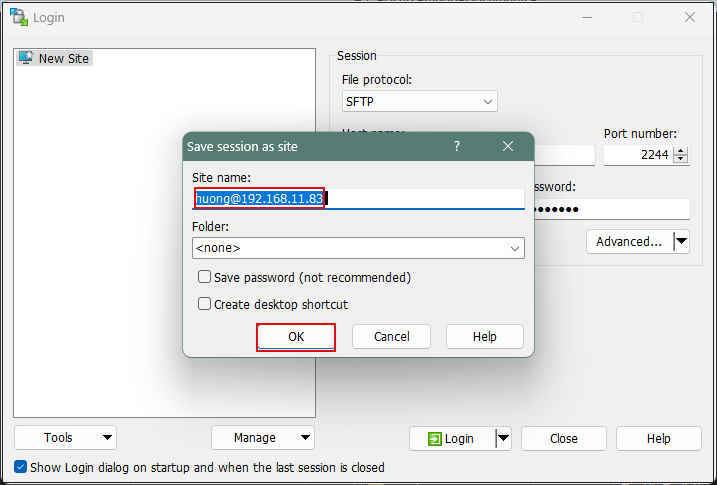
Site name : any name
「OK」click
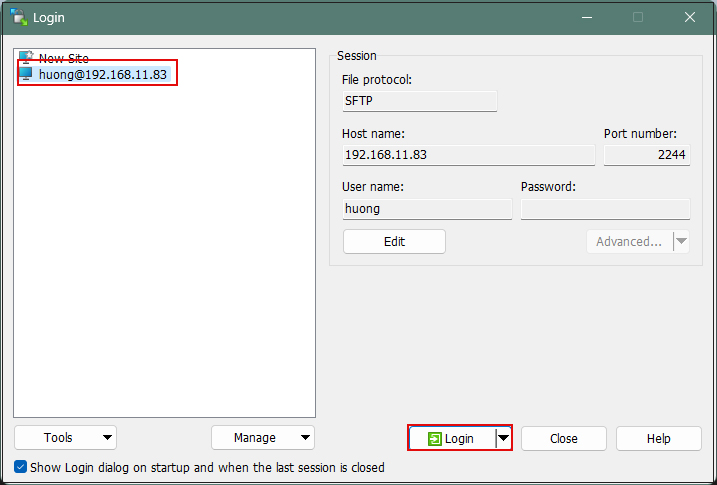
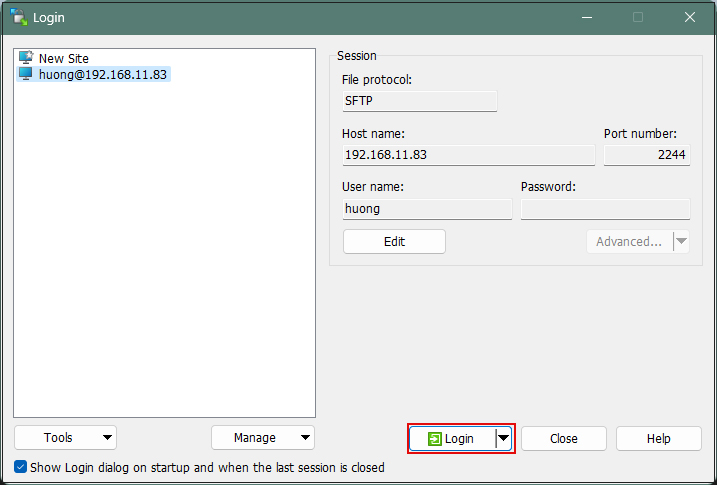
After verifying the relevant server, click "Login".
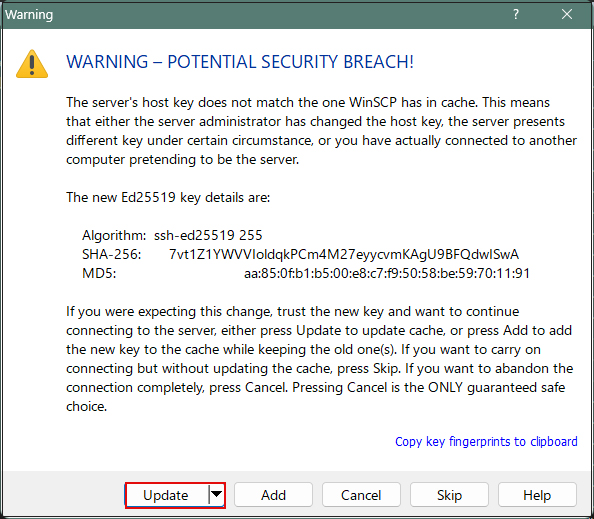
If the following screen appears, click "Update".
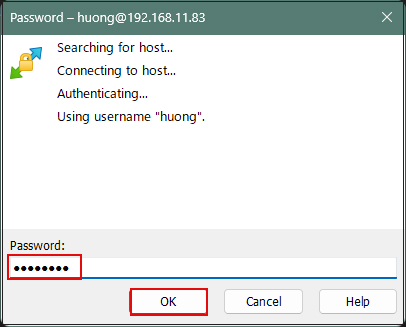
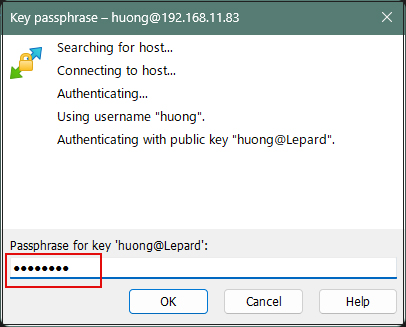
In the Password field, enter the login user's password.
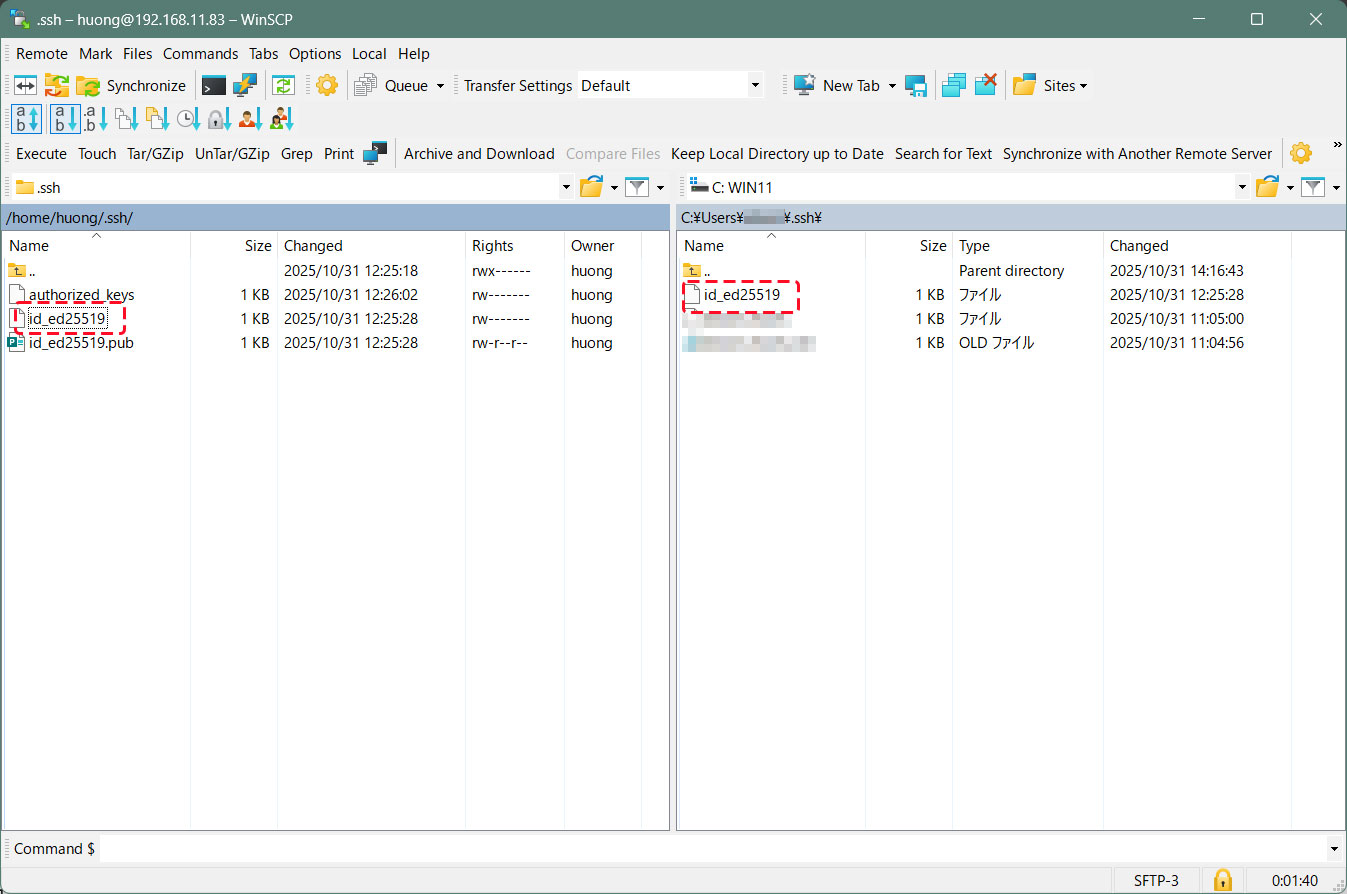
Once connected, the left pane shows the server side, and the right pane shows the PC (Windows) side.
Copy the "id_ed25519" file located in the .ssh directory to the Windows directory [c:\USERS\user\.ssh] on the right side.
Editing SSH Configuration File
Edit the SSH configuration file to disable password authentication.
This time, use su - to become root instead of a normal user.
|
1 2 3 4 5 6 7 8 |
$ su - Password: # vi /etc/ssh/sshd_config # Line 57 : Changed to no password authentication PasswordAuthentication no # /etc/rc.d/rc.sshd stop # /etc/rc.d/rc.sshd start |
How to connect using Tabby Terminal
Specify the key using the option [-i c:\USERS\xxxxx\.ssh\id_ed25519]
C:\Users\xxxxx>ssh huong@192.168.11.83 -p 2244 -i c:\USERS\xxxxx\.ssh\id_ed25519
Enter passphrase for key 'c:\USERS\xxxxx\.ssh\id_ed25519': [The password created when generating the public key]
Last login: Tue Dec 23 11:36:03 2025 from 192.168.11.6
Linux 5.15.193.
An elephant is a mouse with an operating system.
huong@Lepard:~$
Creating a private key using PuTTYgen
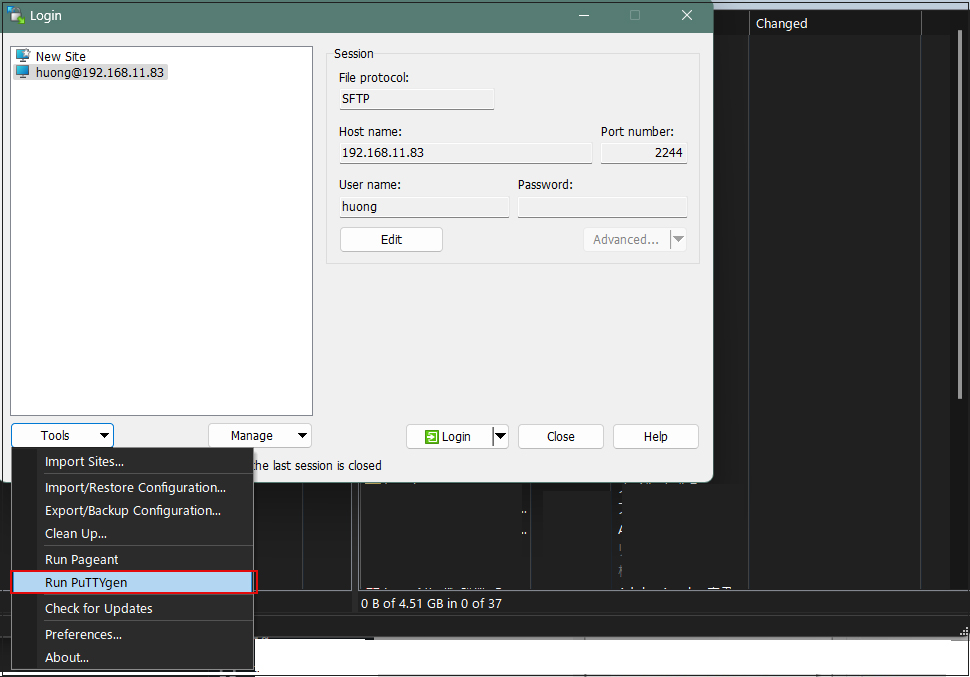
Launch WinSCP and select the target server. From the Tools menu, launch Run PuTTYgen.
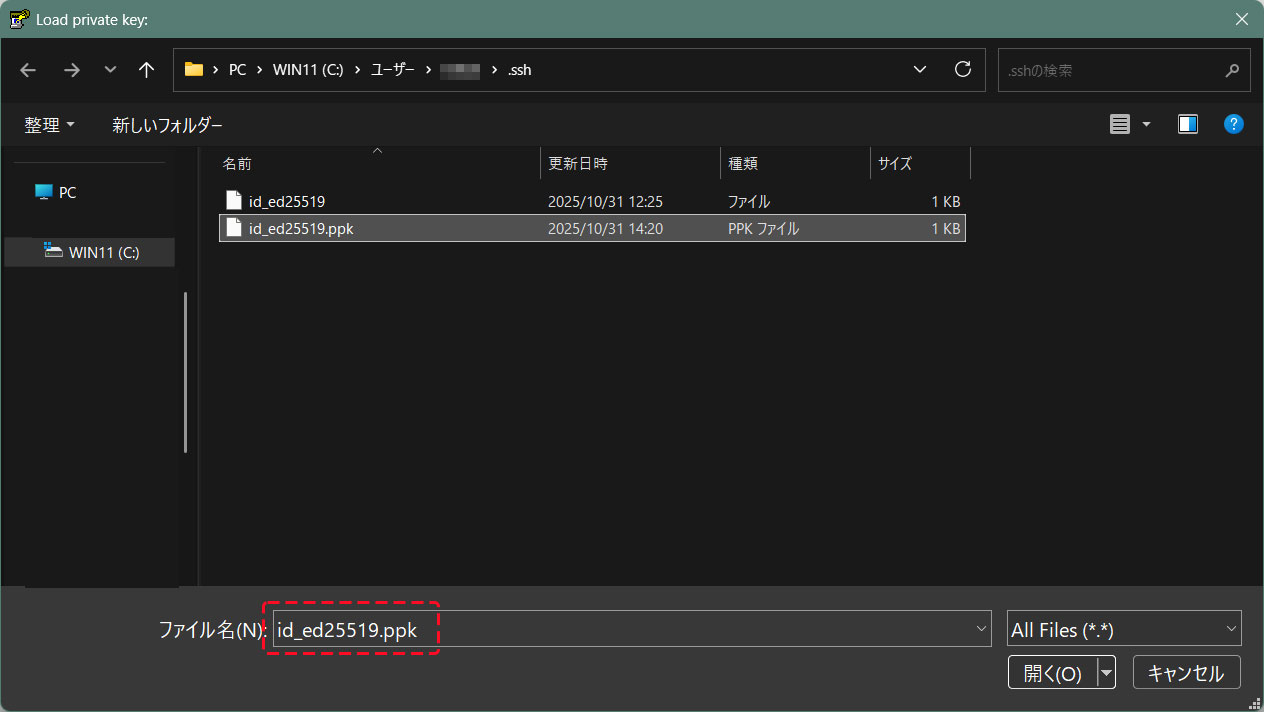
Click Load
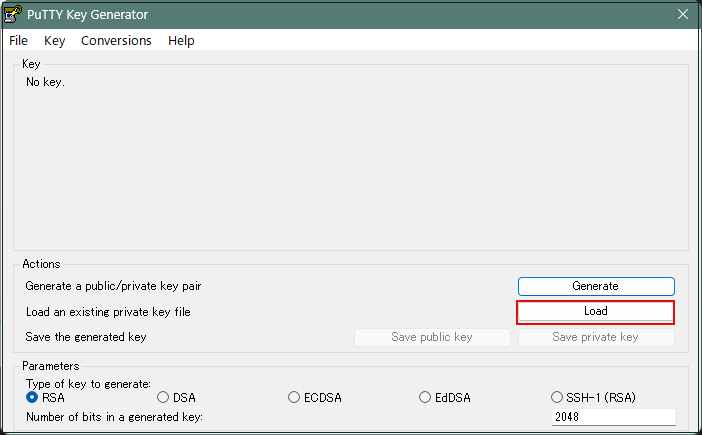
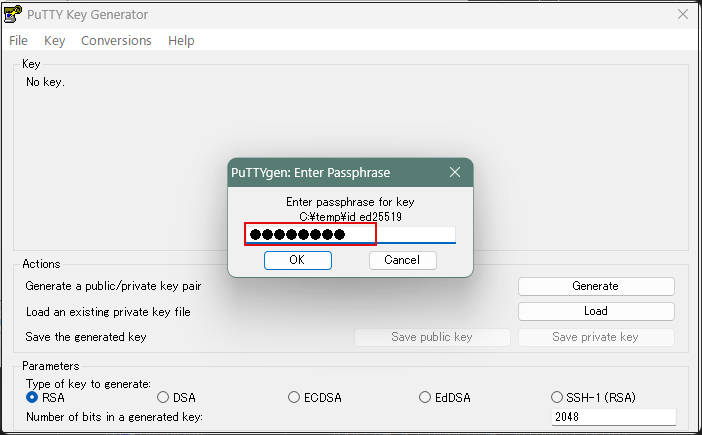
The [Open File Dialog] will open. Change the file type to [All Files (.)], then load the private key id_ed25519 transferred from the Linux server.
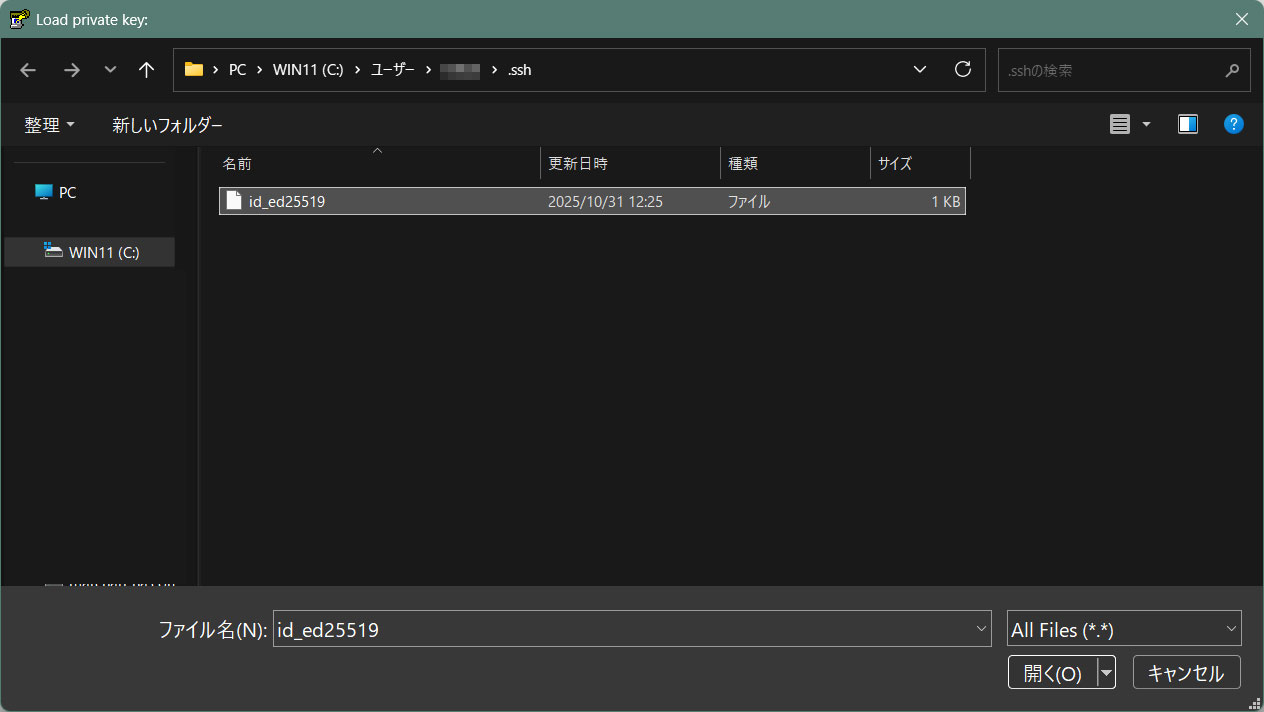
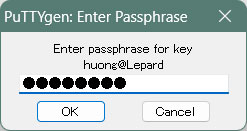
The password is the one you set in the "Creating a Public Key and Private Key Pair" section above.
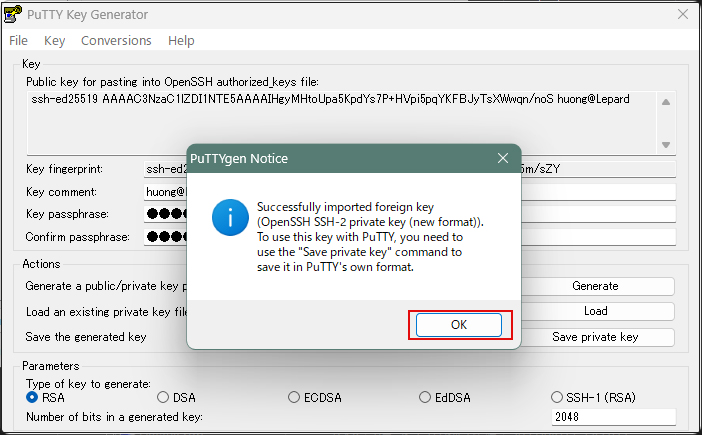
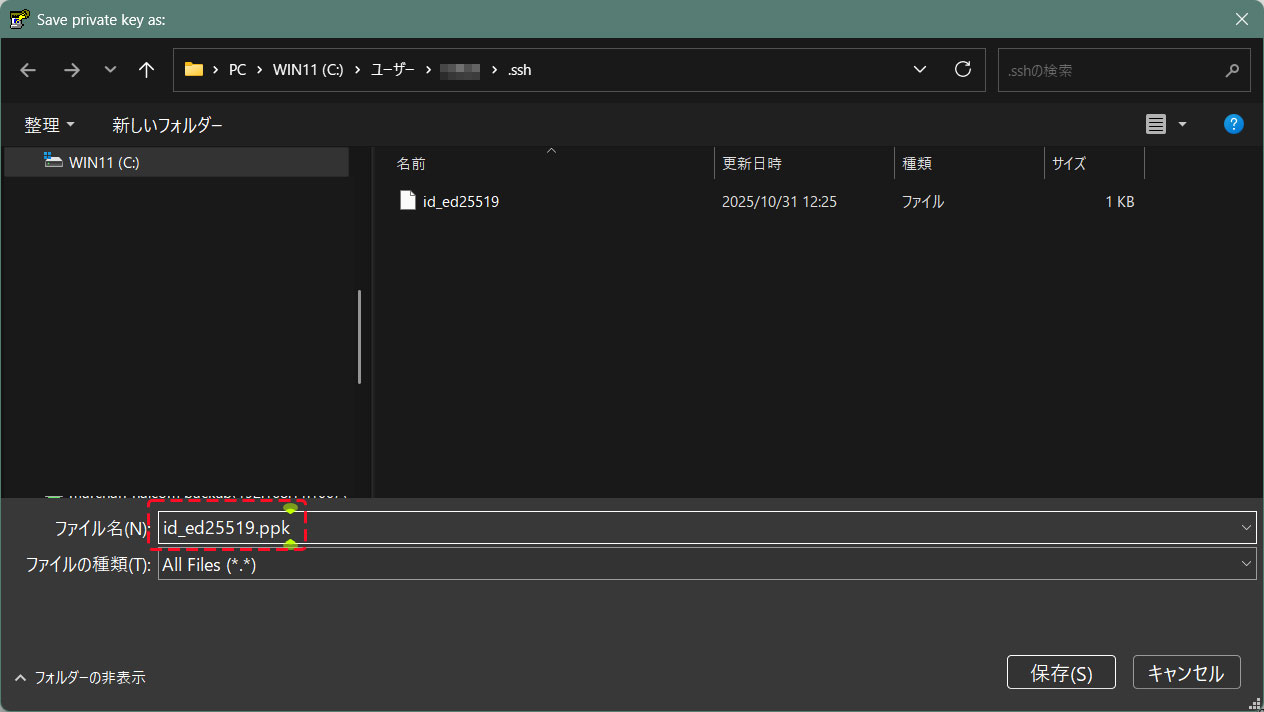
Click "Save private key"
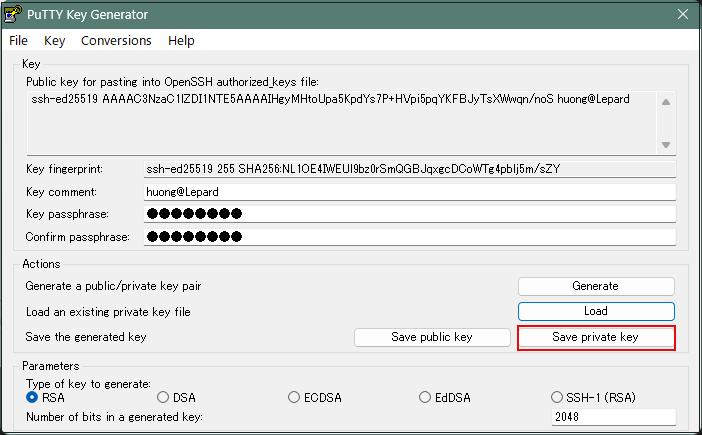
Save the file named "id_ed25519.ppk" with the ".ppk" extension in the same location on the Windows side where you saved "id_ed25519" earlier.
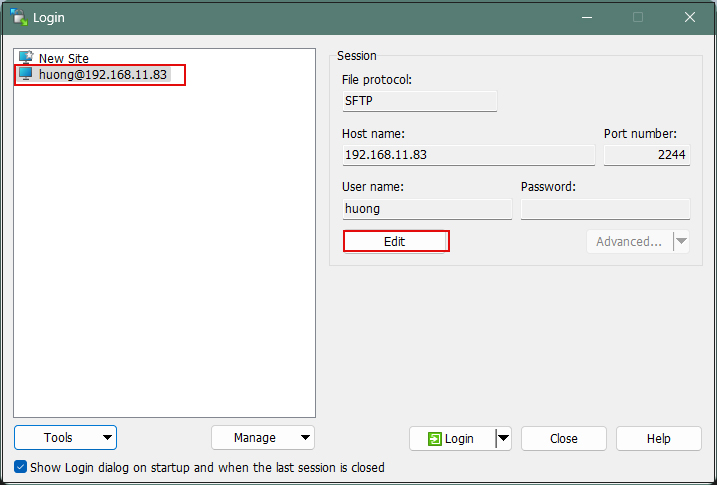
Select the target server and click "Edit".
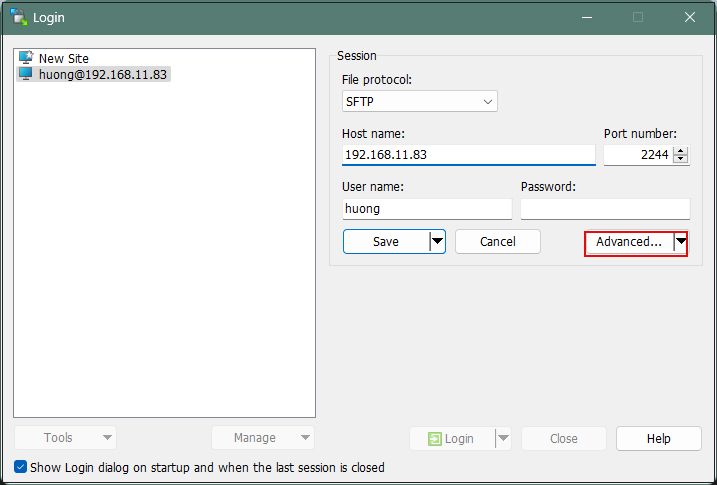
Click "Advanced"
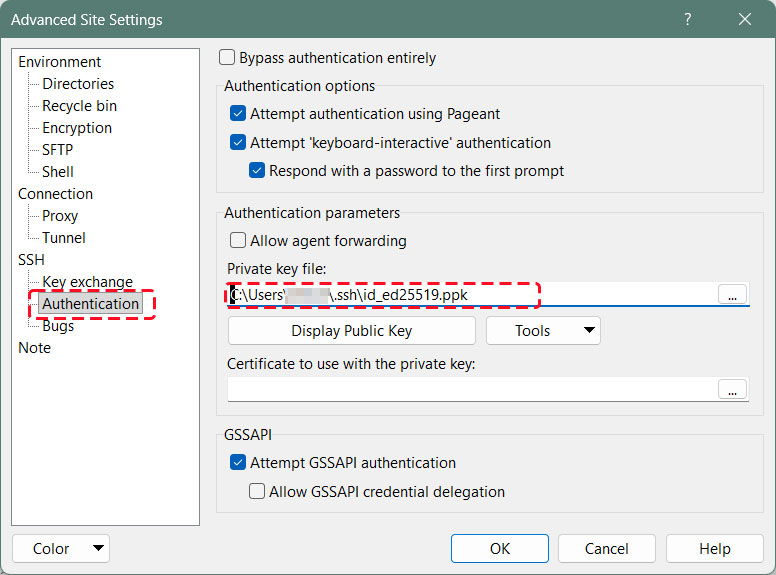
Open the "Authentication" menu and specify the "id_ed25519.ppk" file you just saved to Windows as the "Private key file".
Click "Save"
Click "Login"
The password is the one you set in the "Creating a Public Key and Private Key Pair" section above.
When connecting via Tabby Terminal, do the following:
C:\Users\xxxxx>ssh huong@192.168.11.83 -p 2244 -i c:\USERS\xxxxx\.ssh\id_ed25519.ppk
Enter passphrase for key 'c:\USERS\xxxxx\.ssh\id_ed25519.ppk': ←The password specified when creating the public key
Last login: Tue Dec 23 13:03:25 2025 from 192.168.11.6
Linux 5.15.193.
If you encounter an error like the one below, convert your private key to OpenSSH format.
C:\Users\xxxxx>ssh huong@192.168.11.83 -p 2244 -i c:\USERS\xxxxx\.ssh\id_ed25519.ppk
Load key "c:\USERS\xxxxx\.ssh\id_ed25519.ppk": invalid format
huong@192.168.11.83: Permission denied (publickey,gssapi-keyex,gssapi-with-mic).
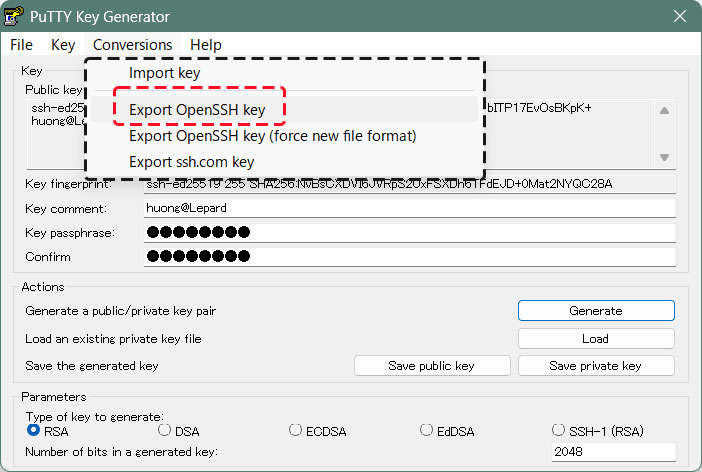
Launch [WinSCP] > [Run PuTTygen], then import the private key under [Import key] in the [Conversions] tab.
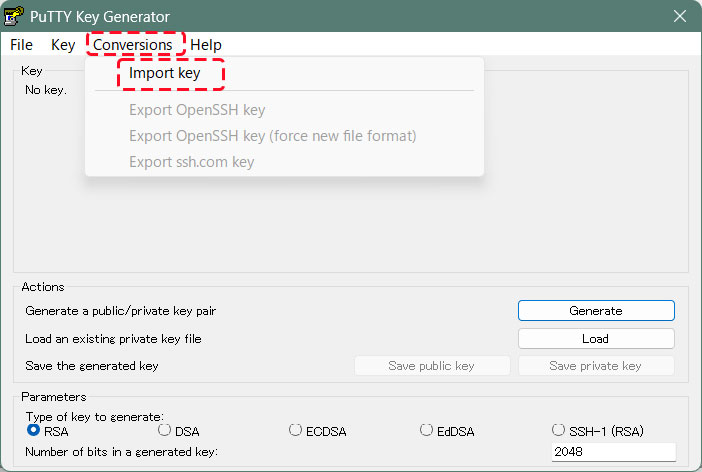
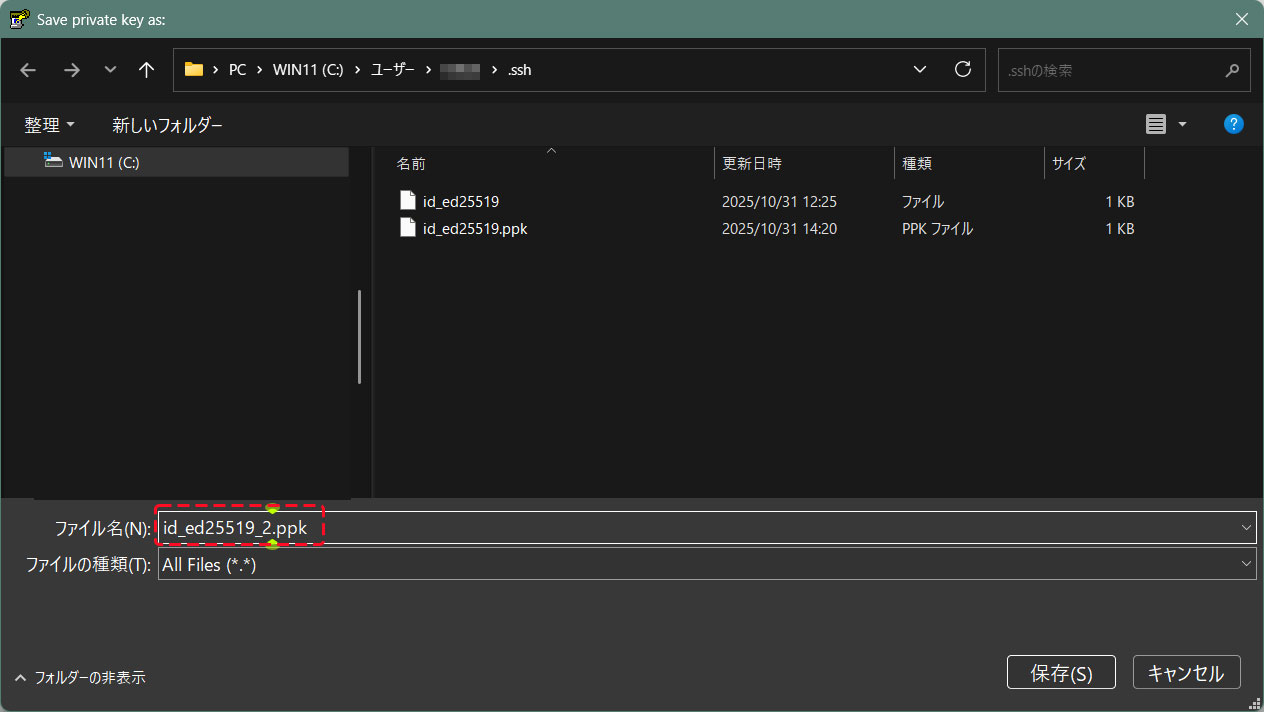
Convert the imported private key to OpenSSH format and save it under a different name.
The password specified when creating the public key
Can be connected as follows
C:\Users\xxxxx>ssh huong@192.168.11.83 -p 2244 -i c:\USERS\xxxxx\.ssh\id_ed25519_2.ppk
Enter passphrase for key 'c:\USERS\xxxxx\.ssh\id_ed25519_2.ppk': ←The password specified when creating the public key
Last login: Tue Dec 23 13:03:25 2025 from 192.168.11.6
Linux 5.15.193.