Contents
Create public and private key pairs
Create a public/private key pair for a user connecting to a Linux server using OpenSSH.
Use ssh-keygen to create the key pair.
This time, we will create a key set using the RSA cipher used in the SSH protocol Version 2.
The creation of a public/private key pair is performed with remote login user privileges (e.g., huong).
If you do not specify the destination and file name, id_ed25519 and id_ed25519.pub will be created in /home/huong/.ssh/. On the way, enter the password for the key.
|
1 2 3 4 5 6 7 8 9 10 11 12 13 14 15 16 17 18 19 20 21 22 23 |
# su - huong huong@Lepard:~$ ssh-keygen -t ed25519 Generating public/private ed25519 key pair. Enter file in which to save the key (/home/huong/.ssh/id_ed25519): Created directory '/home/huong/.ssh'. Enter passphrase (empty for no passphrase): Enter same passphrase again: Your identification has been saved in /home/huong/.ssh/id_ed25519 Your public key has been saved in /home/huong/.ssh/id_ed25519.pub The key fingerprint is: SHA256:KZJJgogFABx2SzuxPzEpFaTwphsmeHiv31fLrnJV6NU huong@Lepard The key's randomart image is: +--[ED25519 256]--+ |B=o+.+. | |++= B . | |+ .X.+ . . | |..oo+oo .. o E | |++o +o. S. o | |ooo. ... + | | . . + . | | . .. o o | | ... .+.o. | +----[SHA256]-----+ |
|
1 2 3 |
$ chmod 700 ~/.ssh $ cat ~/.ssh/id_ed25519.pub >> ~/.ssh/authorized_keys $ chmod 600 ~/.ssh/authorized_keys |
Use Winscp or other means to save the private key (~/.ssh/id_ed25519) in an appropriate location on Windows.
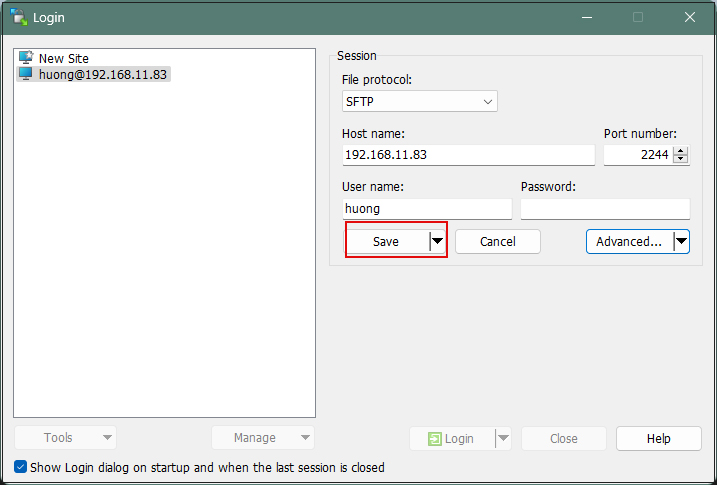
Start Winscp
Host name : Server IP Address
Port number : SSH Port
User name : Server Login User
Password : Password for the same user
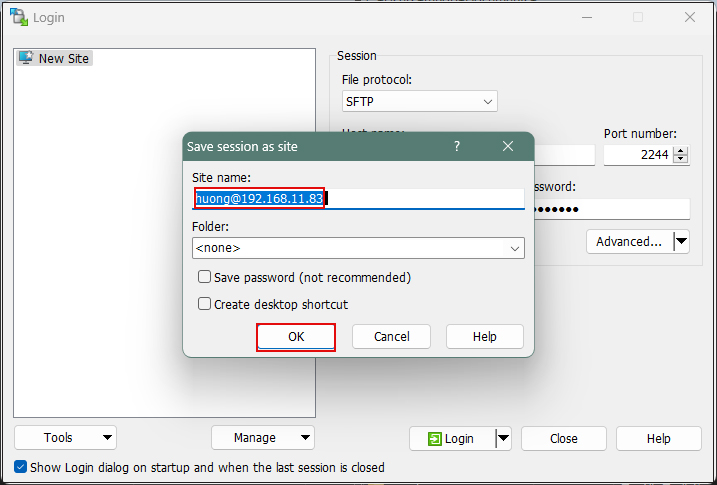
「Save」

Site name : Name the connection with any name.
Click "OK"
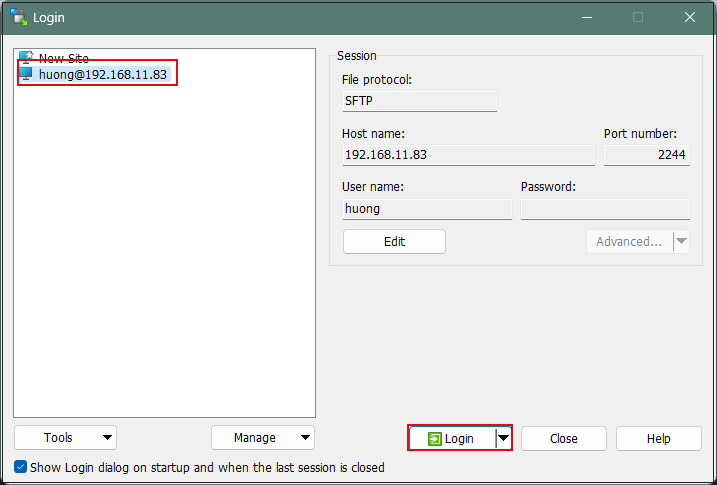
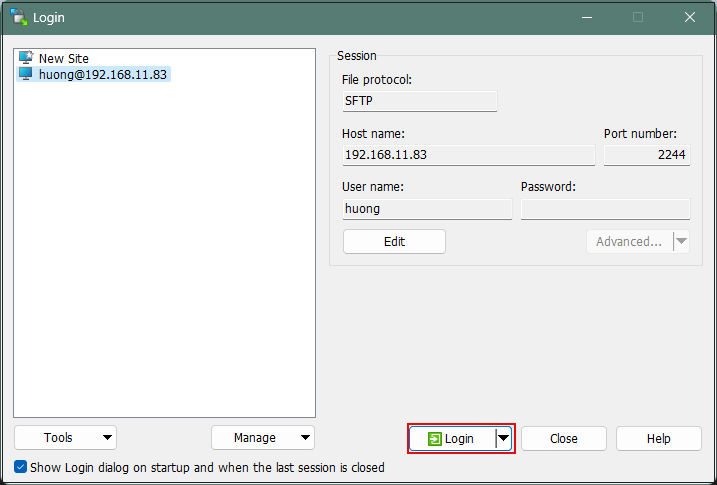
Click "Login" to return to the following screen.
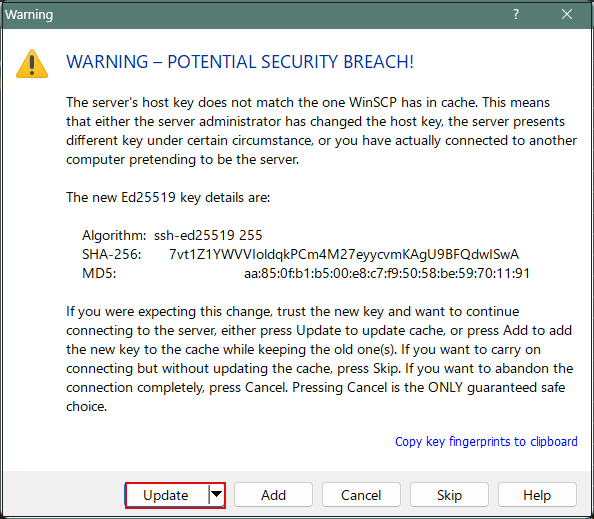
If the following screen appears, click "Update".
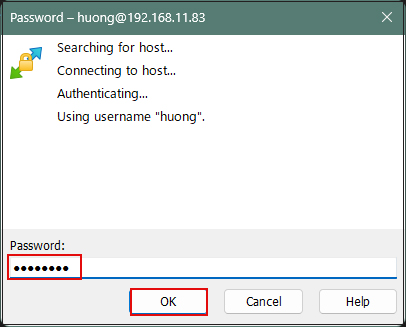
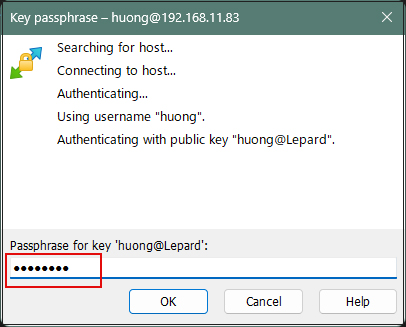
In the following screen, enter the user's password in the "Pasword" field.
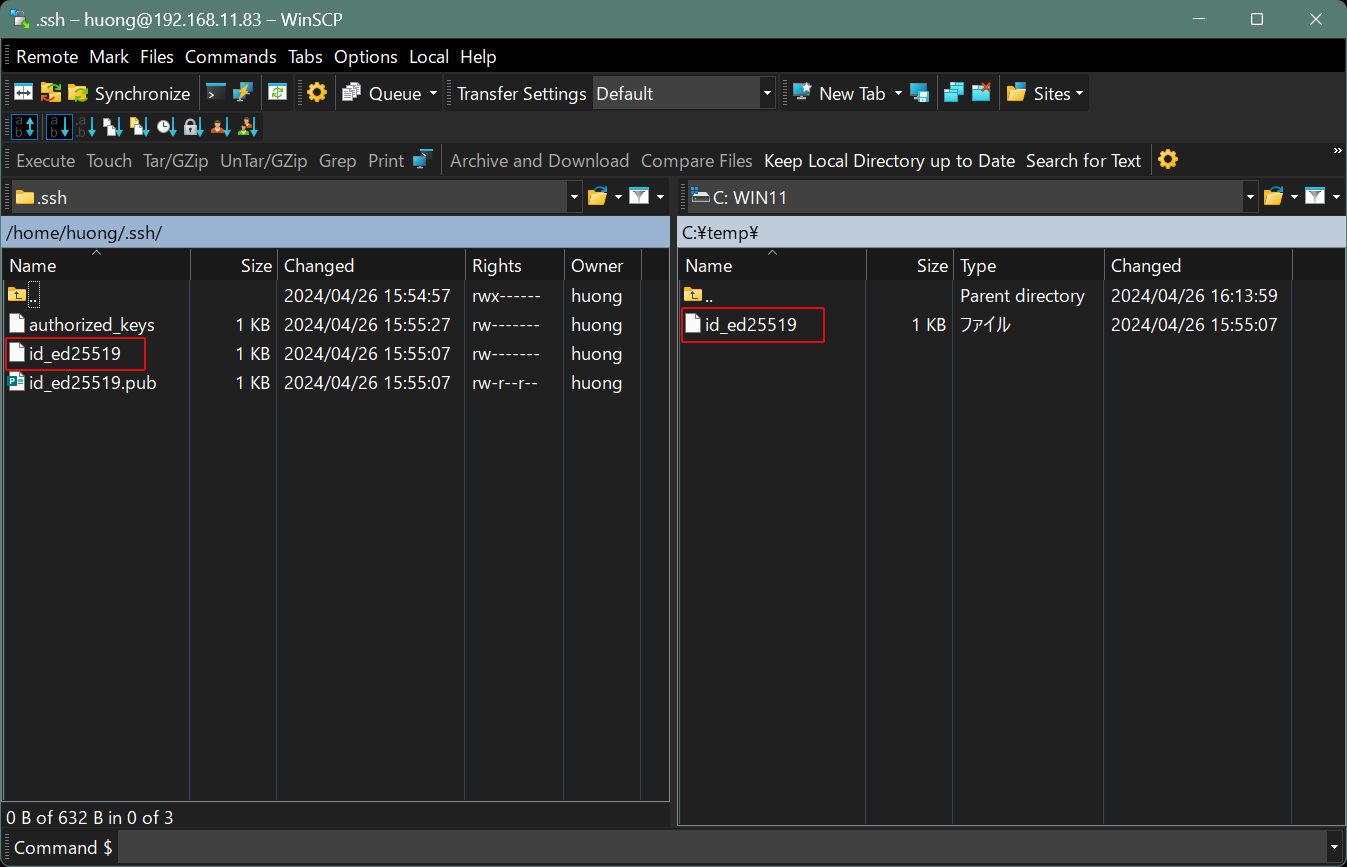
When connected, the left column is the server side and the right column is the PC (Windows) side.
Save the file “id_ed25519” in the .ssh directory to a suitable location on Windows in the right column.
Change to log in only with private key
Edit the SSH configuration file to disable password authentication.
su - to become root.
|
1 2 3 4 5 6 7 8 9 |
$ su - Password: # vi /etc/ssh/sshd_config # Per Line 58 #PasswordAuthentication yes ← Uncomment by deleting # at the beginning of the line and change to the following PasswordAuthentication no # systemctl restart sshd |
How to connect with Tera Term
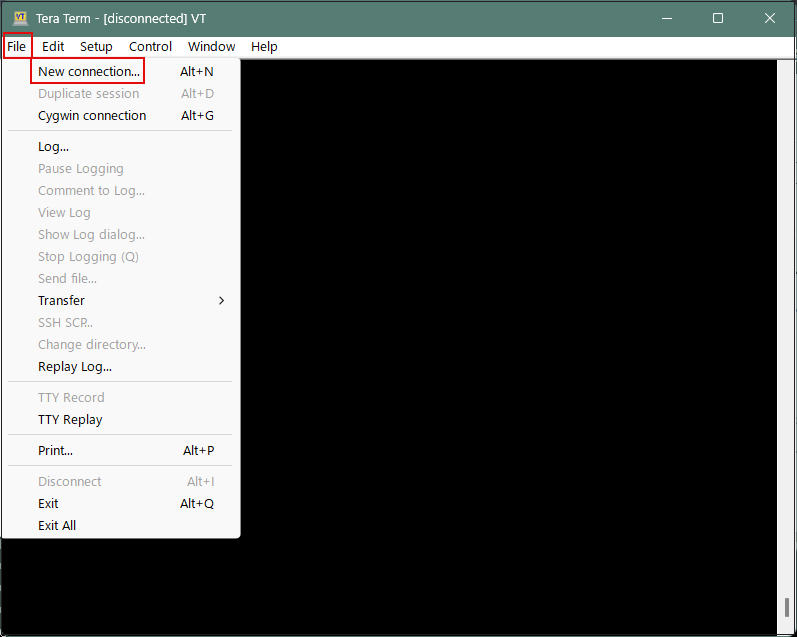
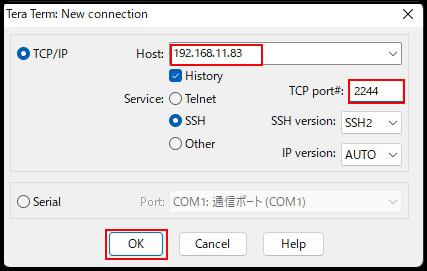
Start Tera Term, and select "File" menu "New connection
Host : Server IP Address
TCP port : SSH Port number
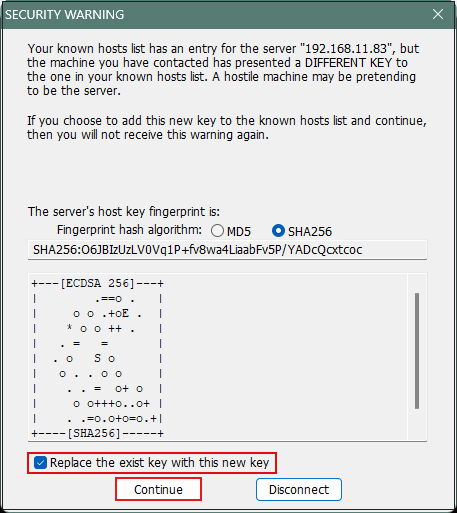
If you get the following security warning "Replace.... "check the box and "Continue".
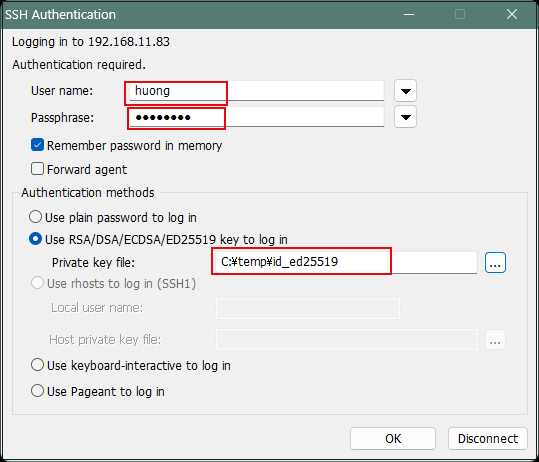
User name : Login username
Password :Password specified in the creation of a public/private key pair
Check the "Use RSA/DSA...." checkbox. and in the "Private key file" field, specify the "id_ed25519" that you just saved in windows.
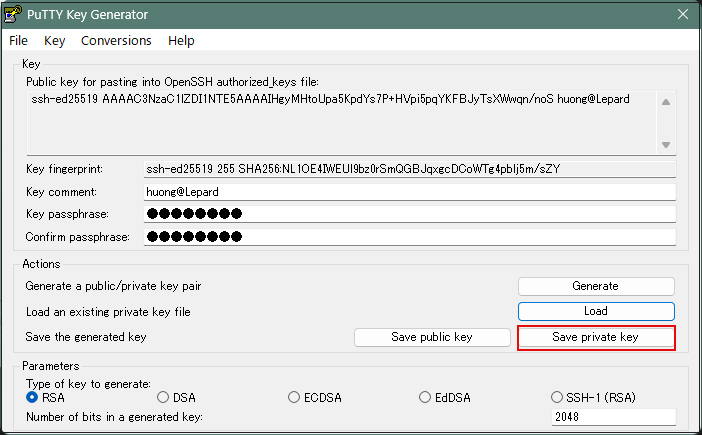
Creating a private key using PuTTYgen
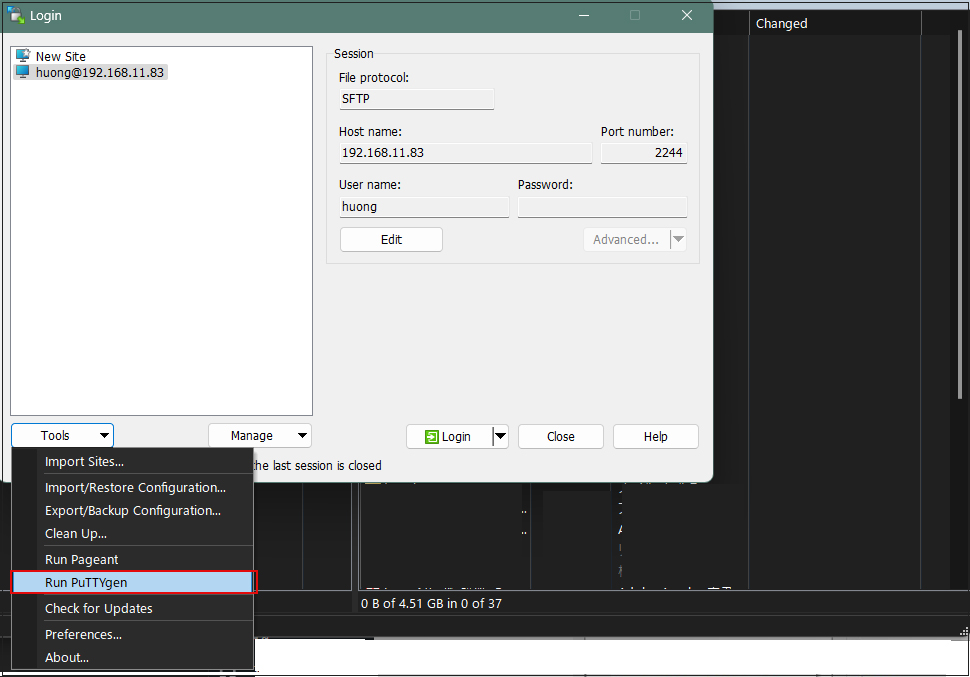
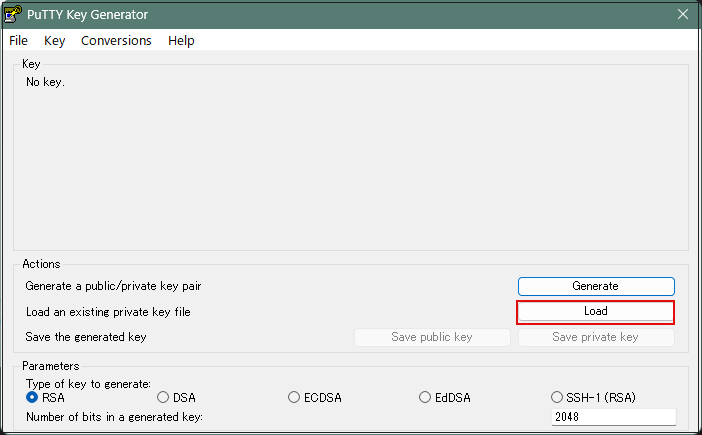
Start Winscp and launch "Run Puttygen" from "Tools".
Select the appropriate server
Click Load
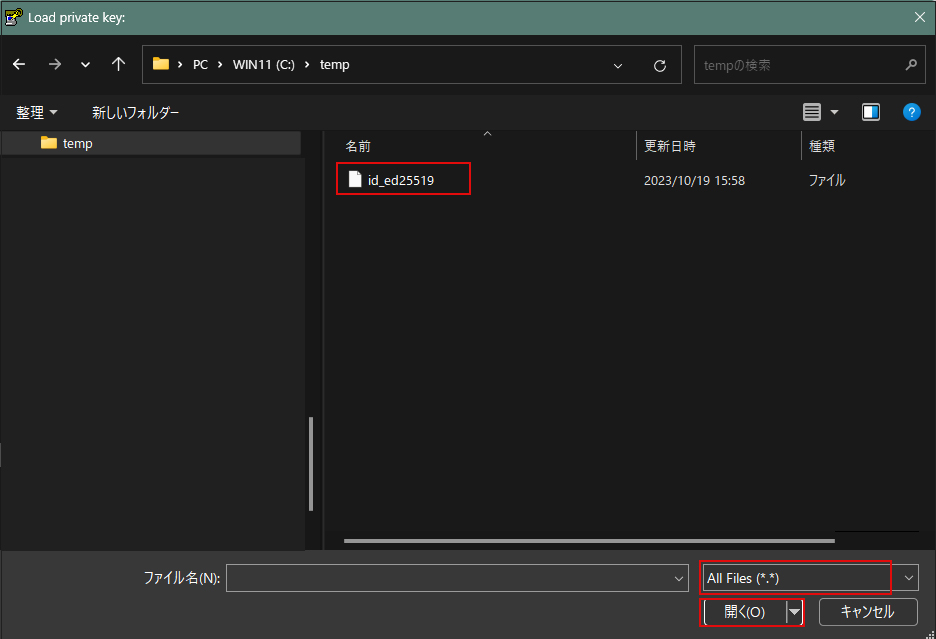
The [ Open File Dialog ] will open, change the file type to [ All Files (*. *)] and load the private key id_ed25519 transferred from the Linux server.
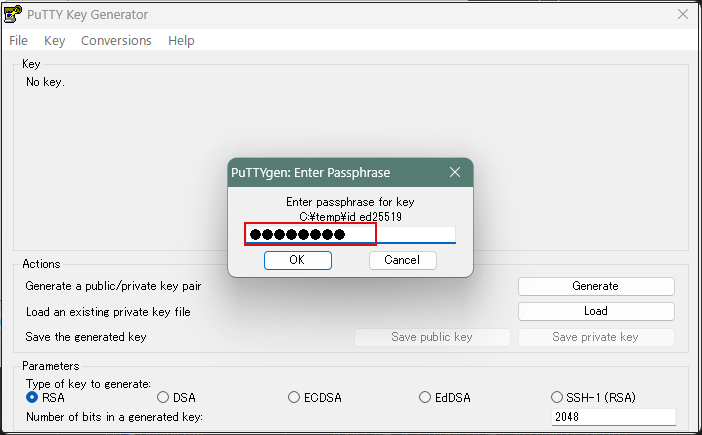
Enter the passphrase you entered when you created the private key on the server side
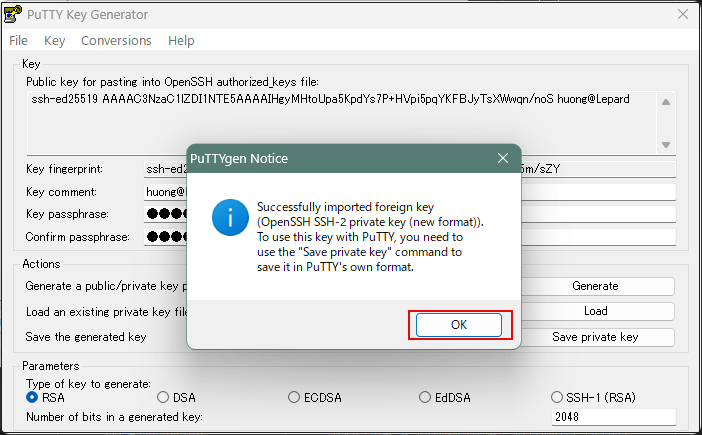
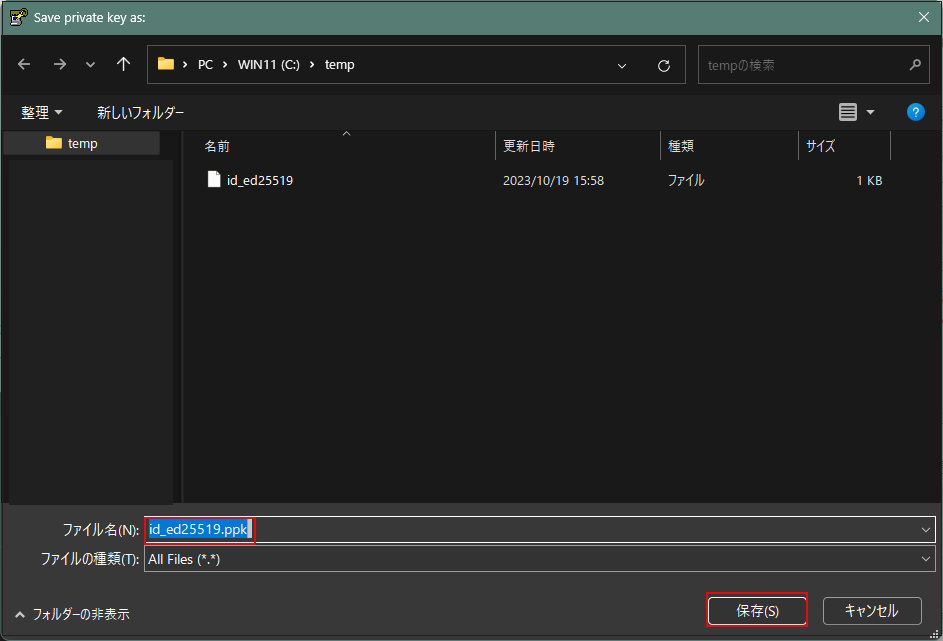
Click the [ Save private key ] button to save the private key.
Save it here as id_ed25519.ppk (in Windows).
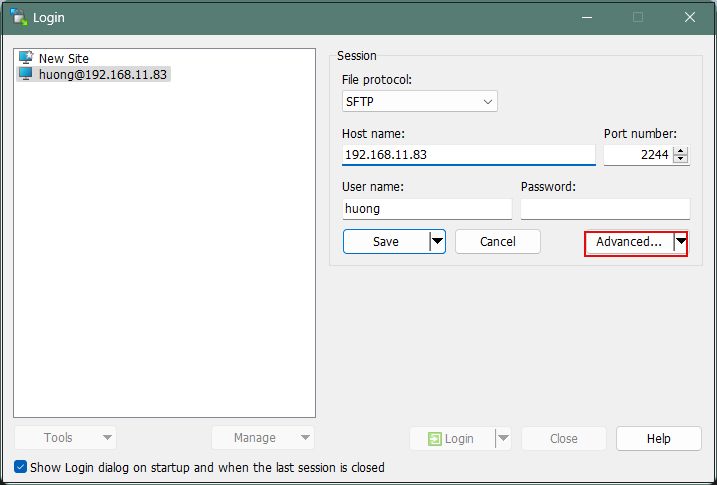
Select the appropriate server and click "Edit"

Click on "Advanced"
Open the "Authentication" menu and specify "id_ed25519.ppk" saved in Windows for "Private key file
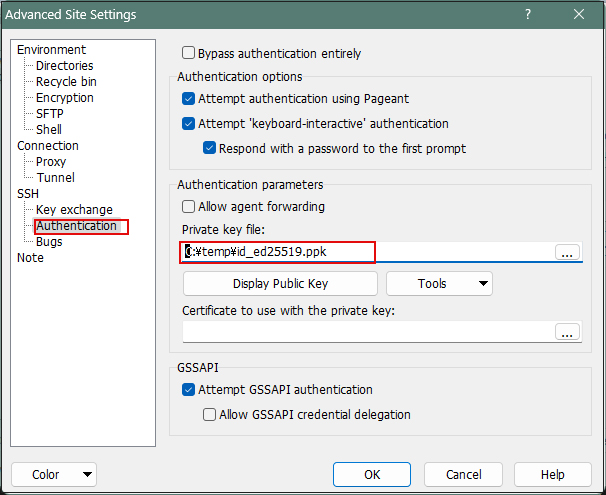
Click "Save"
Click on "Login"
The password is the password set in "Creating a public and private key pair" above
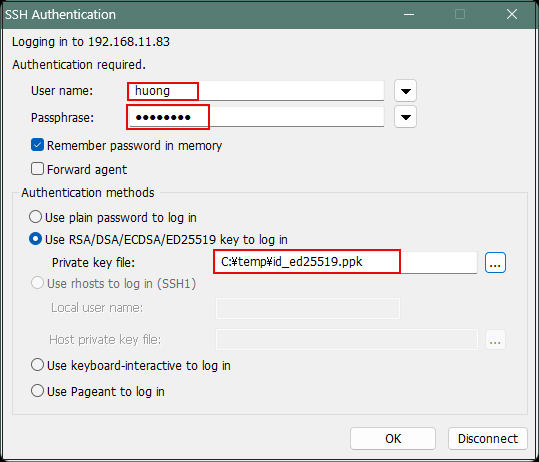
When connecting with Tera Term
"Use RSA/DSA/ECDSA/…"
Specify "id_ed25519.ppk" saved in windows