Contents
1. Install an NTP server that provides time synchronization services
# apt -y install chrony
# vi /etc/chrony/chrony.conf
# Line 3:Comment the default settings and add the NTP server for your time zone.
#pool 2.debian.pool.ntp.org iburst
pool ntp.nict.jp iburst
# Add to the last line (Range of time synchronization allowed) (to match your environment)
allow 192.168.11.0/24
Setting Reflection
# systemctl restart chrony
operation check
# chronyc sources
MS Name/IP address         Stratum Poll Reach LastRx Last sample
===============================================================================
^+ ntp-k1.nict.jp                1   6    17     1   -152us[ -214us] +/- 3760us
^+ ntp-a2.nict.go.jp             1   6    17     1   +935us[ +873us] +/- 5608us
^* ntp-a3.nict.go.jp             1   6    17     0   -416us[ -478us] +/- 6700us
^+ ntp-b2.nict.go.jp             1   6    17     0  -1438us[-1500us] +/- 7269us
2. FTP Server Deployment
2.1 Install vsftpd
# apt install vsftpd
FTP Port21  permit
# ufw allow ftp
# ufw reload
2.2 Edit Vsftpd configuration file
# vi /etc/vsftpd.conf
# Line 14 : change
listen=YES
# Line 22 : change
listen_ipv6=NO
# Line 31 : Uncomment
# Allow use of FTP commands to make changes to files
write_enable=YES
# Line 35 : Uncomment
# Set permission values to be applied to new files
local_umask=022
# Line 99-100 : Uncomment
# Allow uploads by ASCII
ascii_upload_enable=YES
# Allow downloading by ASCII
ascii_download_enable=YES
# Line 122 : Uncomment
# Change the user's login directory to the user's root directory
chroot_local_user=YES
# Line 123 : Uncomment
# Users will not be able to access outside the login directory
chroot_list_enable=YES
# Lione 125 : Uncomment
# Users listed in vsftpd.chroot_list are exempt from the above restrictions
chroot_list_file=/etc/vsftpd.chroot_list
# Line 131:Uncomment(Enable batch transfer by directory )
ls_recurse_enable=YES
Next, create a new vsftpd.chroot_list under etc.
Add your Debian username (e.g. huong) to this file.
# vi /etc/vsftpd.chroot_list
huong
Finally, enable vsftpd and restart
# systemctl restart vsftpd
2.3 Check FTP connection
Check with FTP client
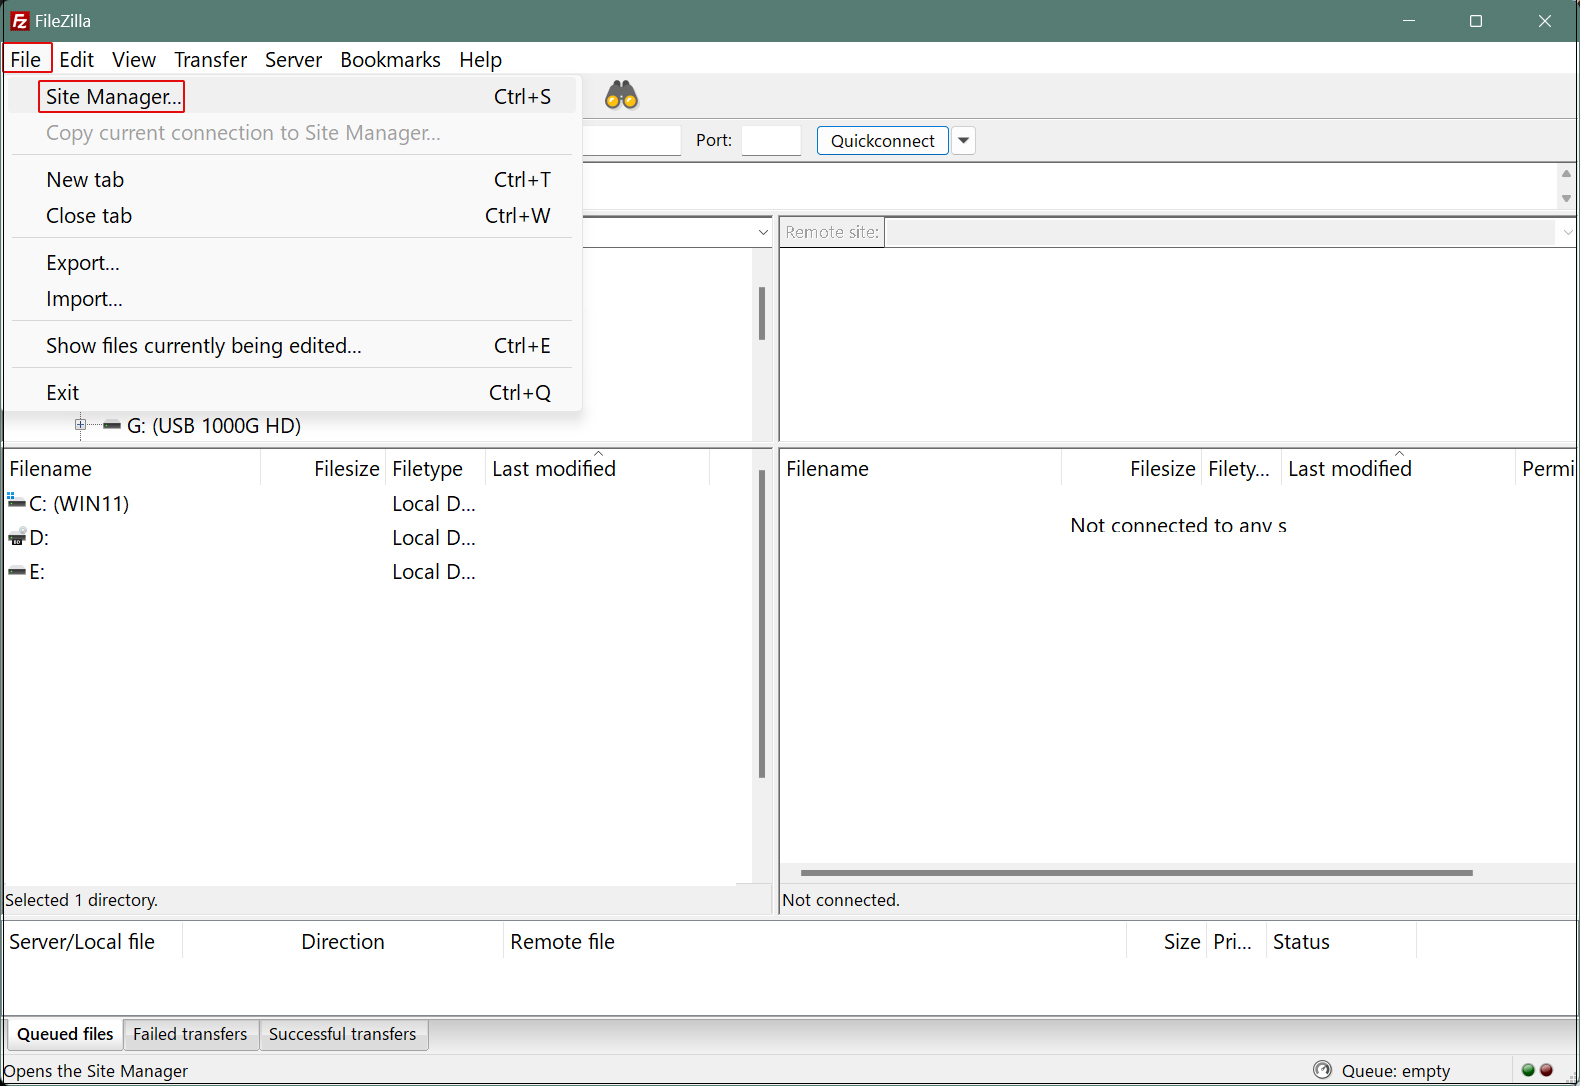
Start FileZilla and select "Site Manager" from the "File" menu".
Click on "New site"
Enter the following settings for each item and click "Connect"
Protocol : FTP-File Transfer Protocol
Host : Server IP Address
Port : (May be left blank.)
Logon Type : Ask for password
User : General user name (server login user)
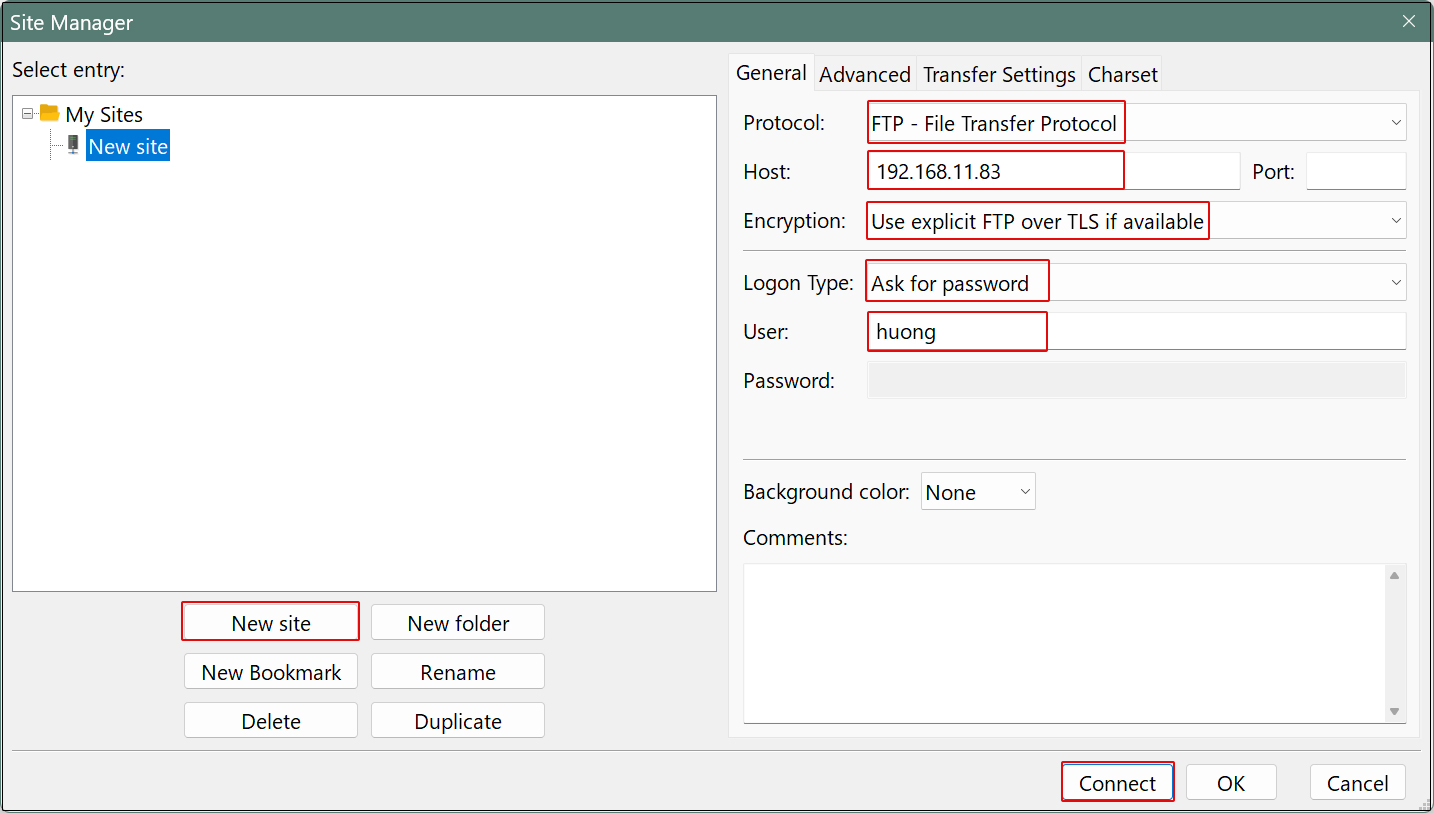
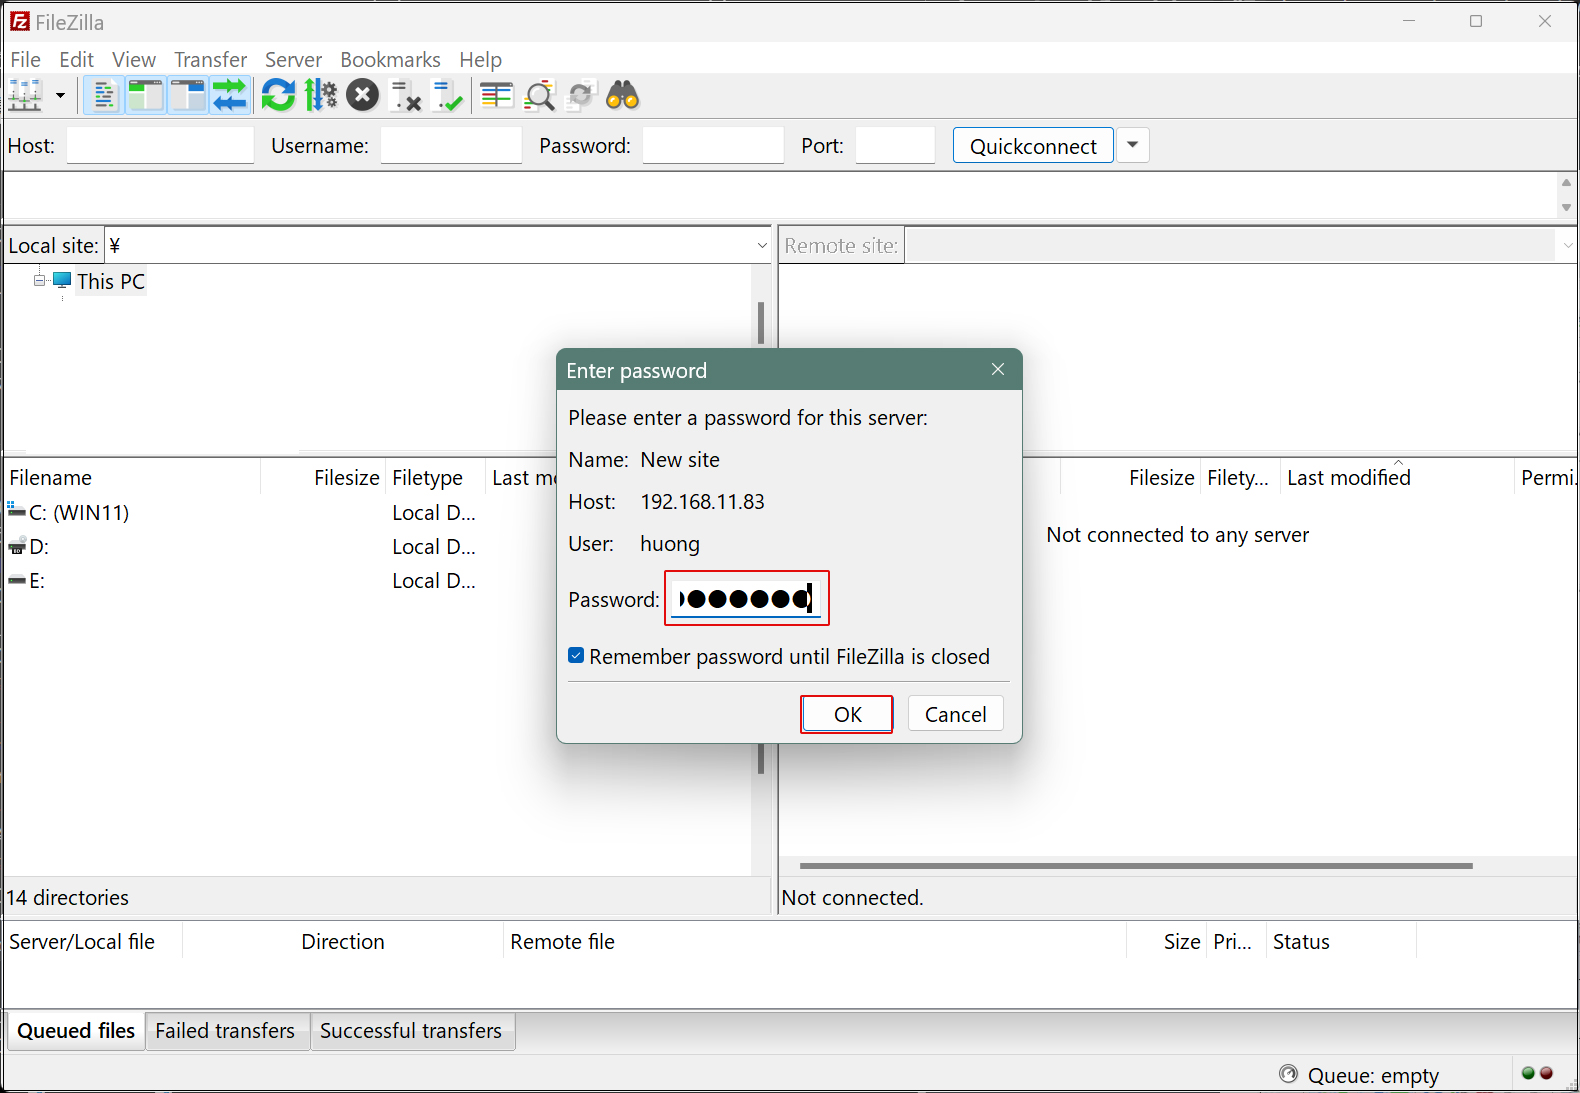
Password : General user (server login user) password
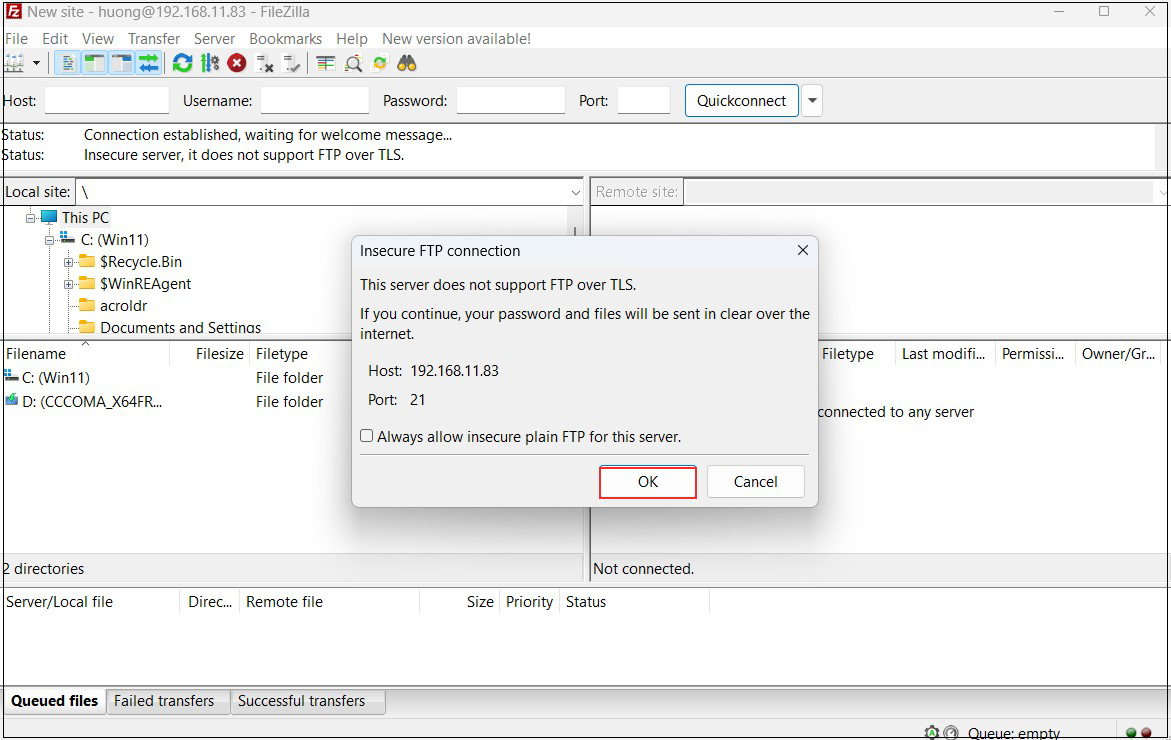
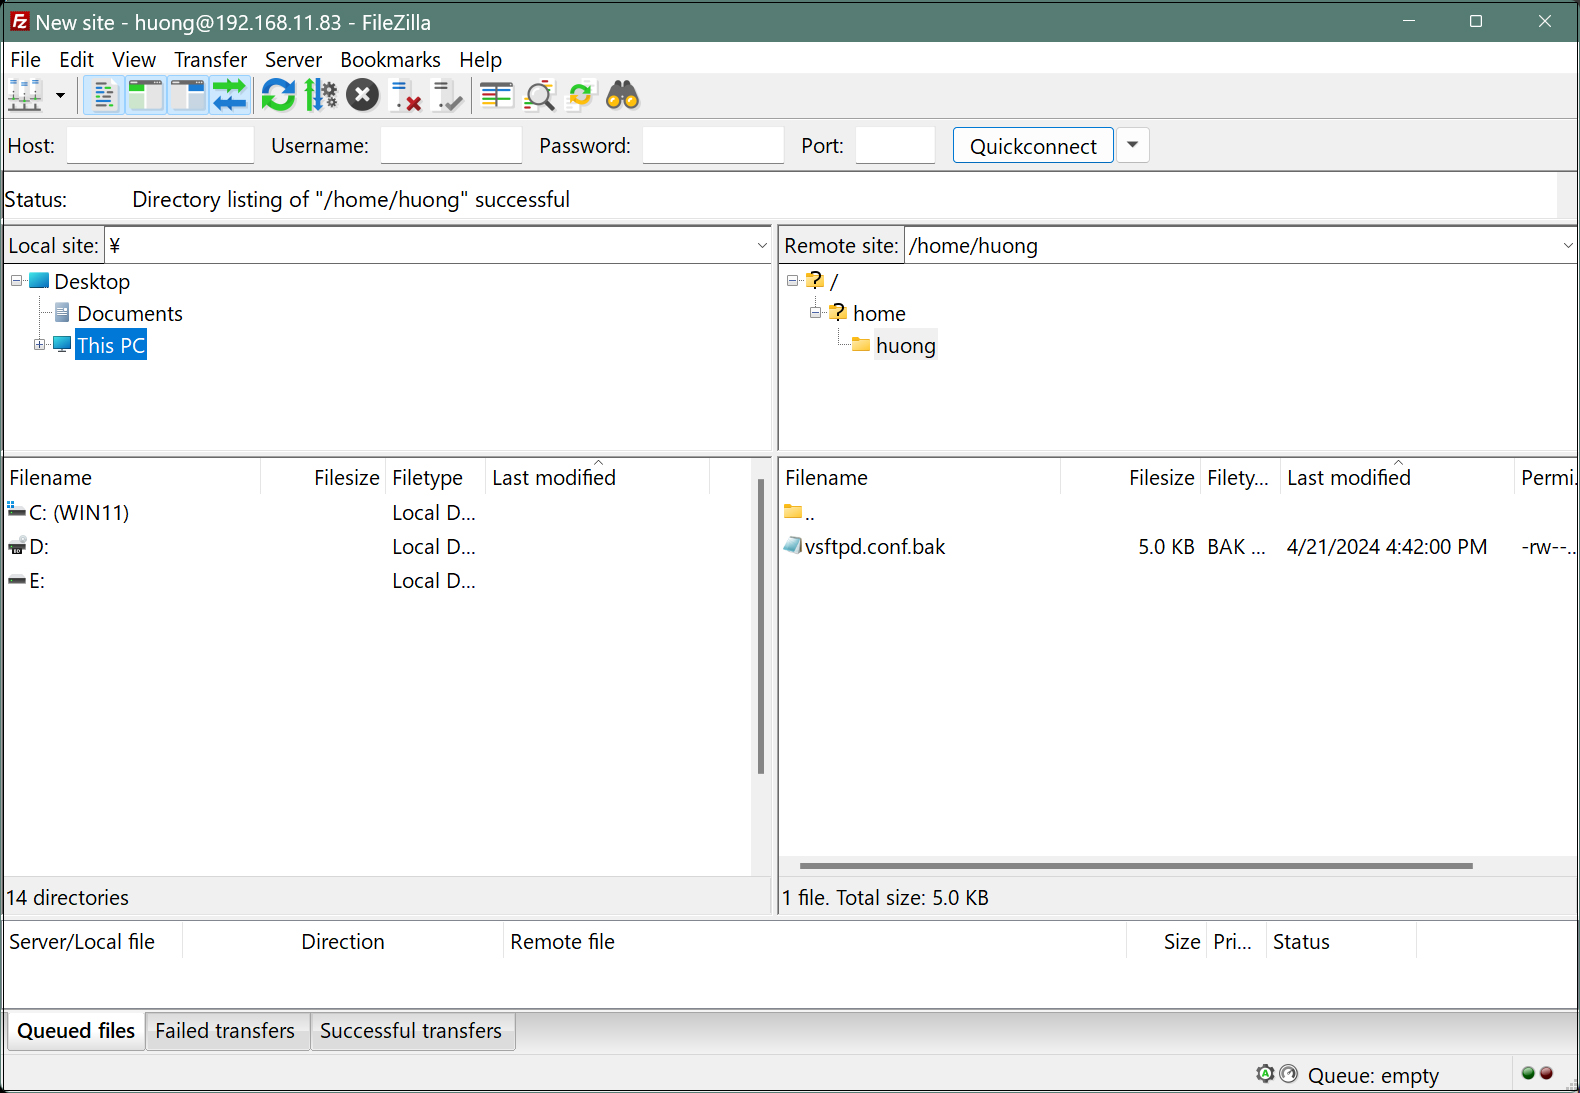
If the connection is successful, the server directory is displayed on the right and the Windows directory on the left.