1.Download the .Debian10.13 installation image
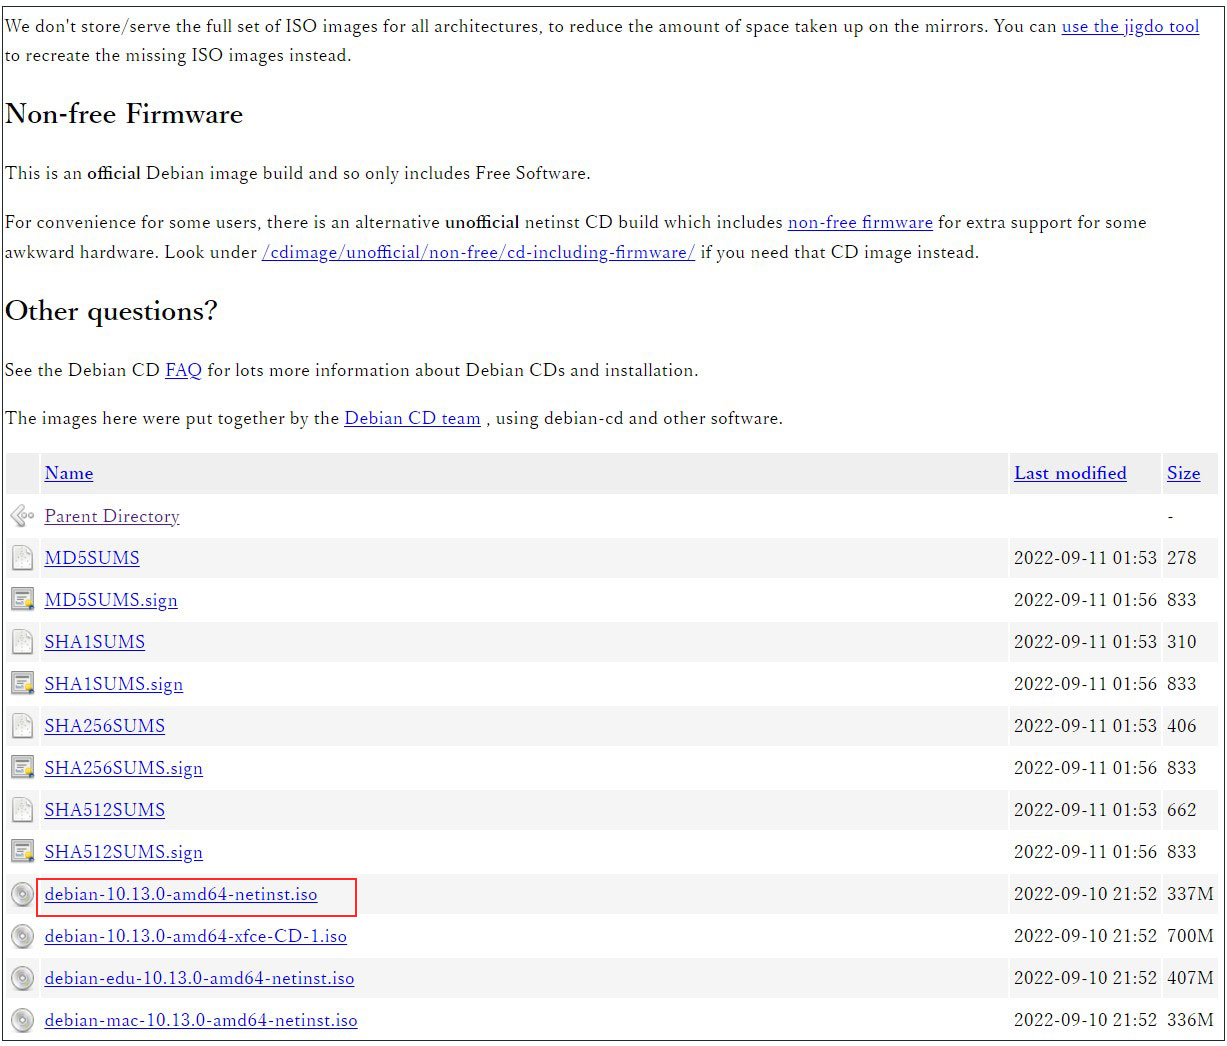
Download site for Debian 10.13
Go to the above site and download “debian-10.13.0-amd64-netinst.iso” which is convenient for setup in an environment connected to the Internet.
Download “debian-10.13.0-amd64-netinst.iso”.
NETINST allows you to download and install the necessary packages from the Internet, so you can use an installer that is smaller in size than a full installer.
Burn the iso image saved above as a boot disk to CD or USB using your favorite writing software.
2.Debian10.13 Install
Change the BIOS so that the PC can boot from the installation disk created above.
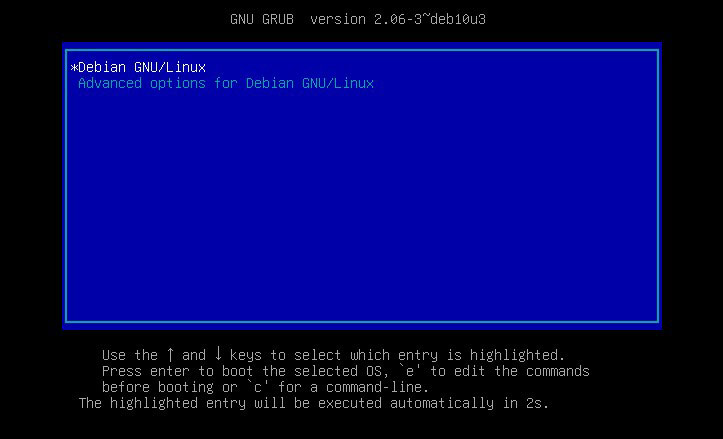
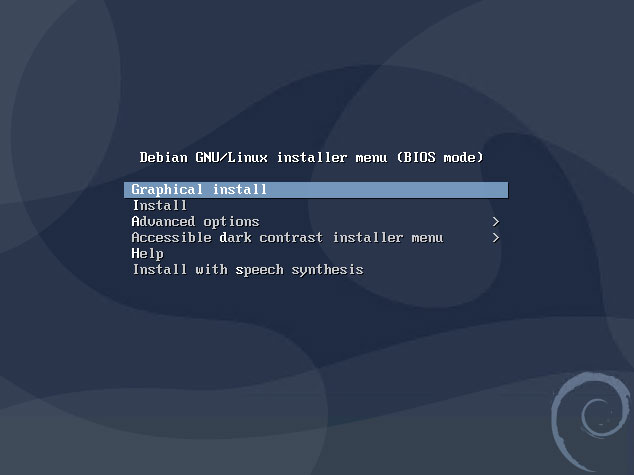
2.1 Installation screen
Select “Graphical install” from the screen that appears.
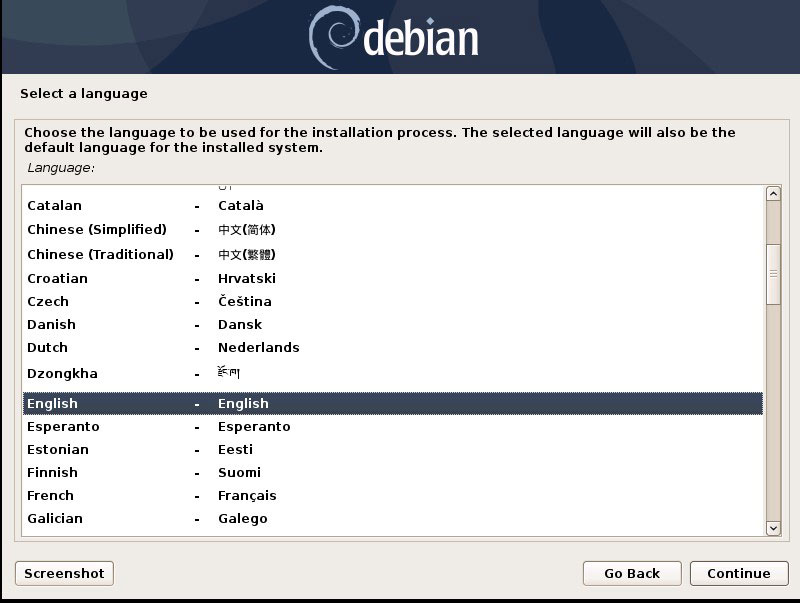
2.2 Select installation language
Select the default “English” and click “Continue”.
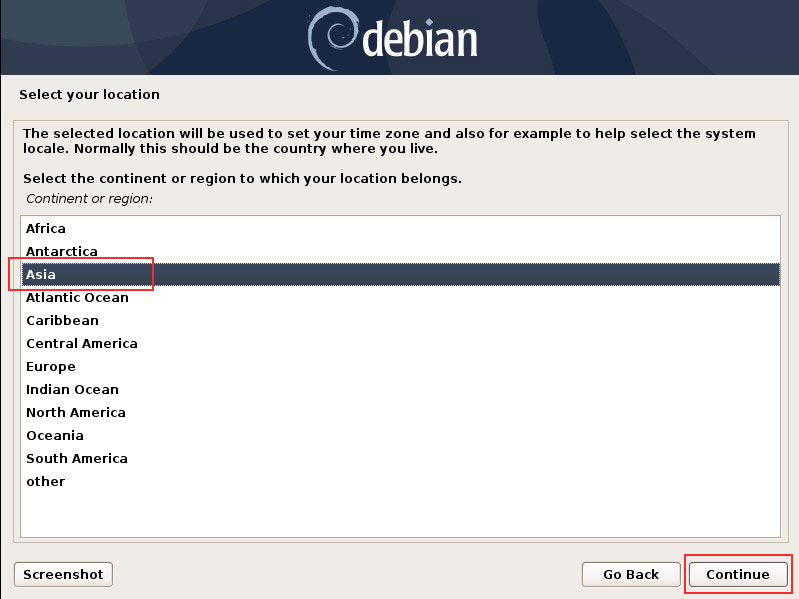
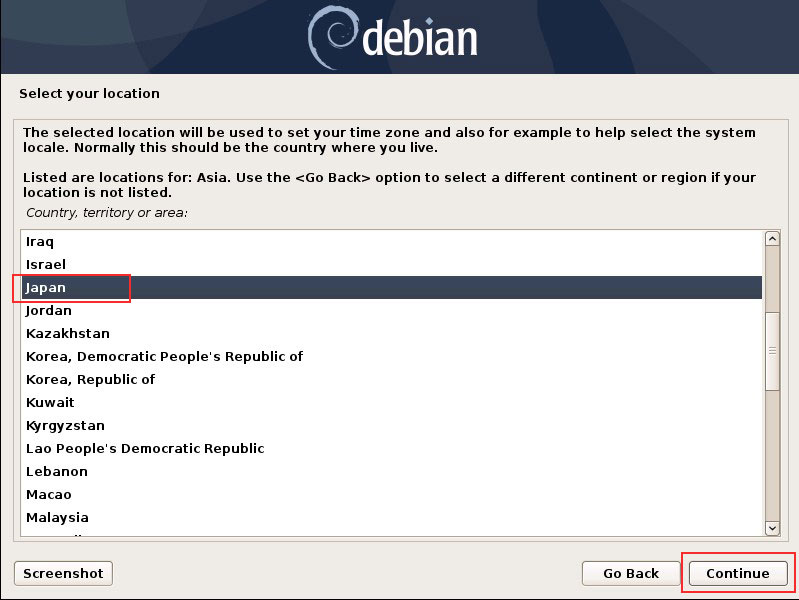
2.3 Select region and time zone setting “other"
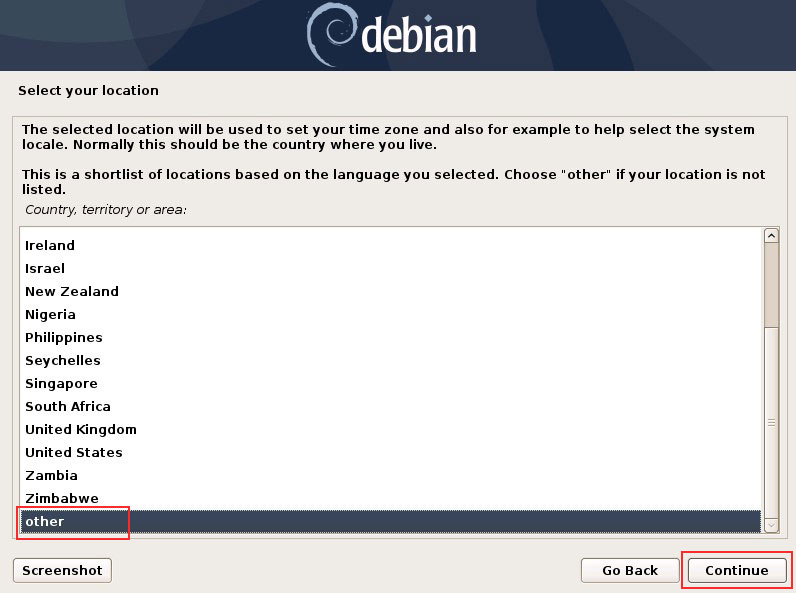
Select [Asia]
Select [Japan]
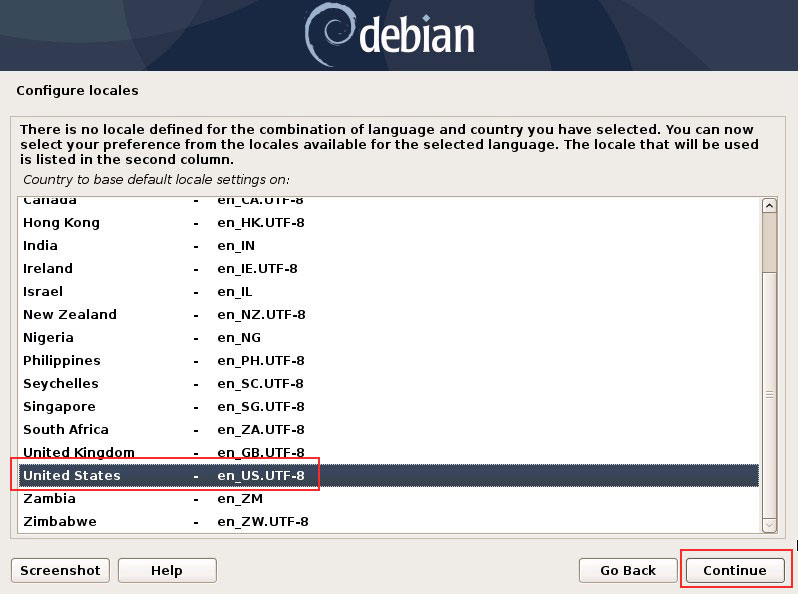
2.4 Select language setting “United States"
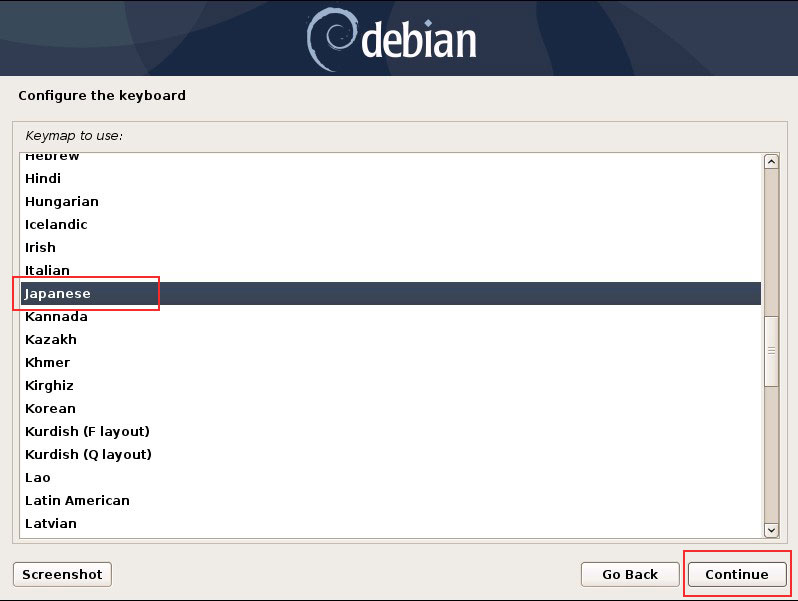
2.5 Select the keyboard map setting “Japanese"
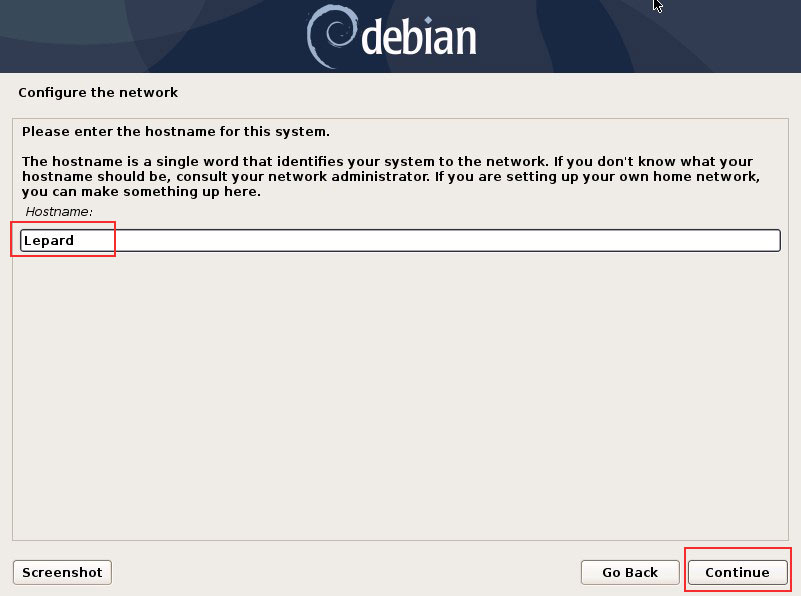
2.6 Host Name Settings
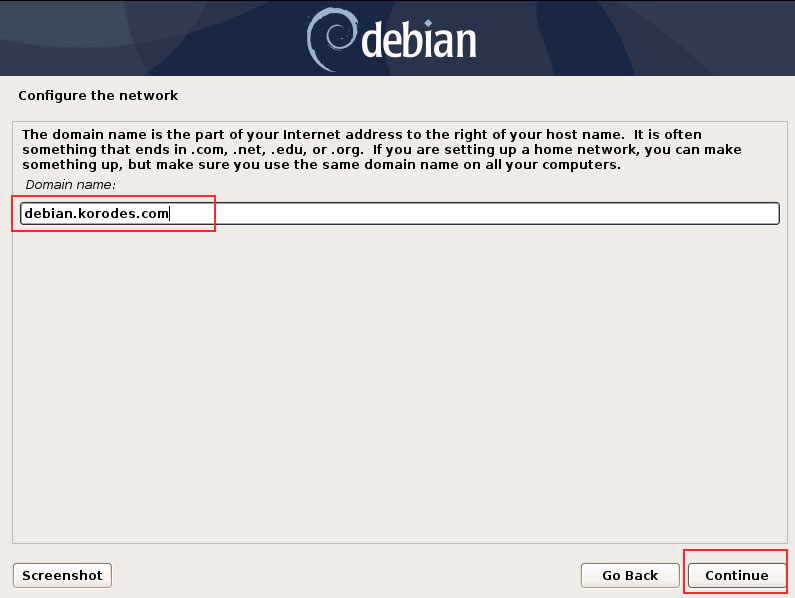
2.7 Domain Name Settings
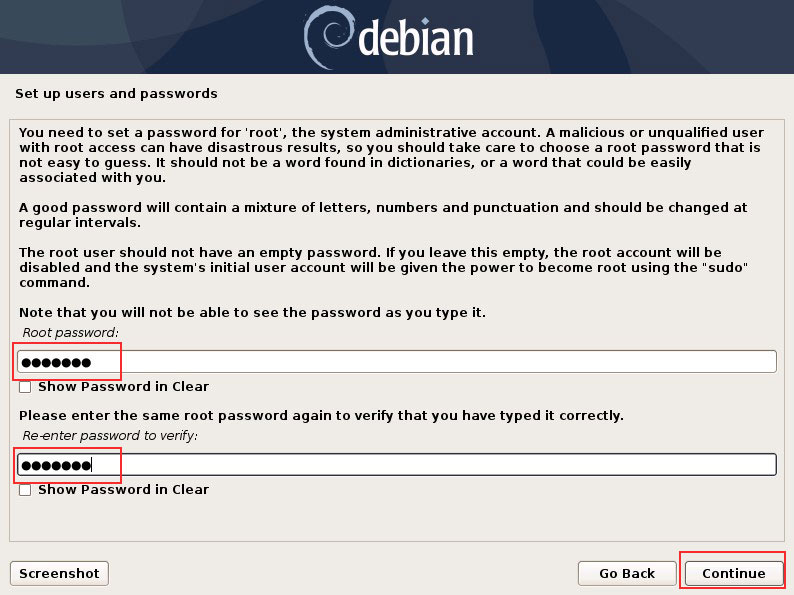
2.8 Setting Root User Password
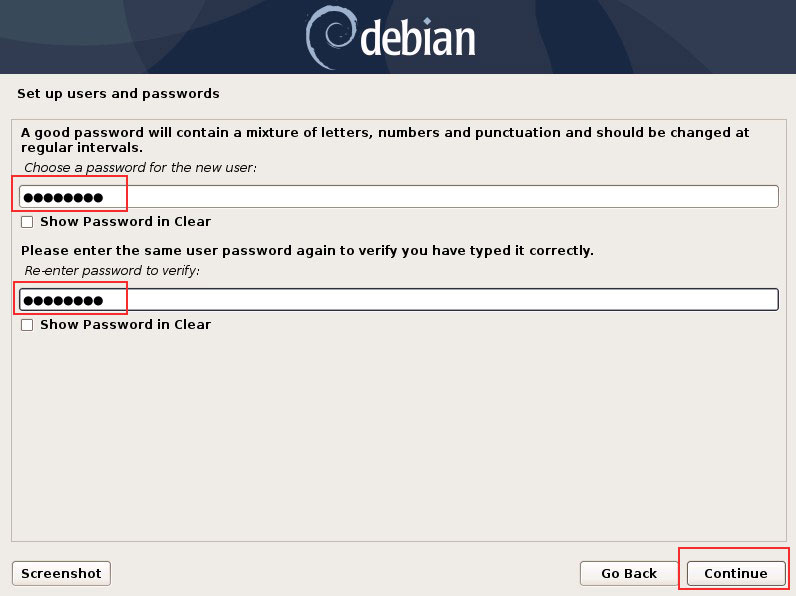
2.9 Create a general user and set a password
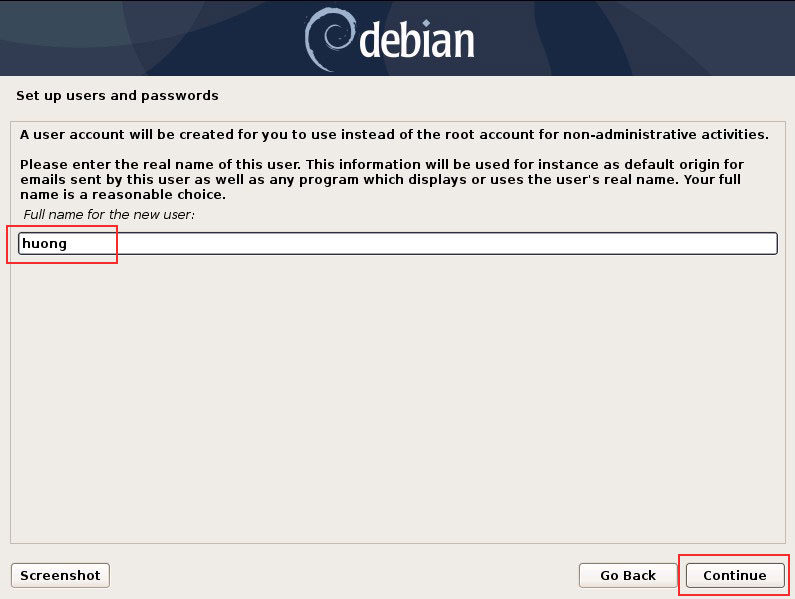
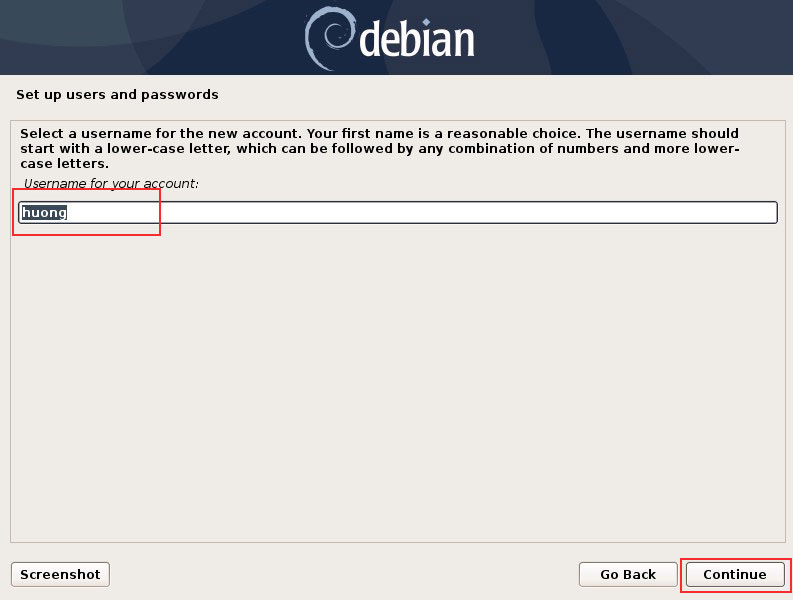
General User Account Name Creation
General User Password Settings
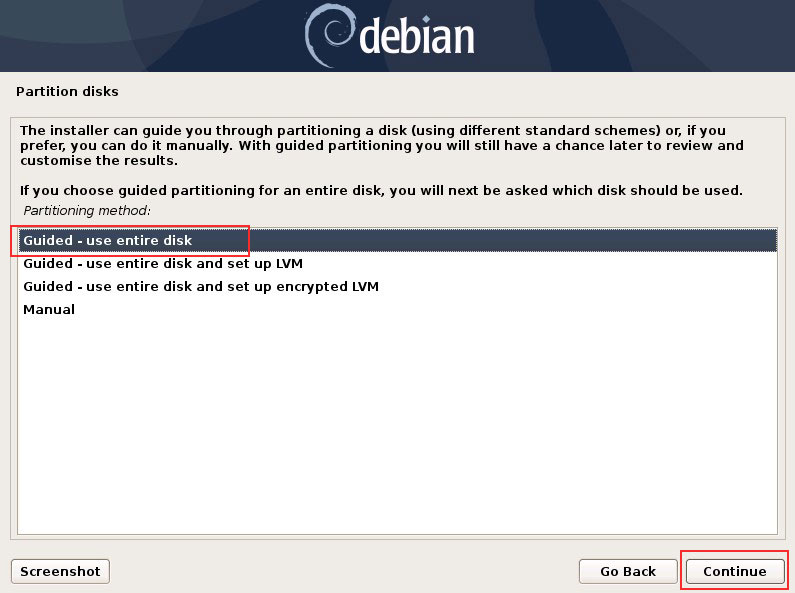
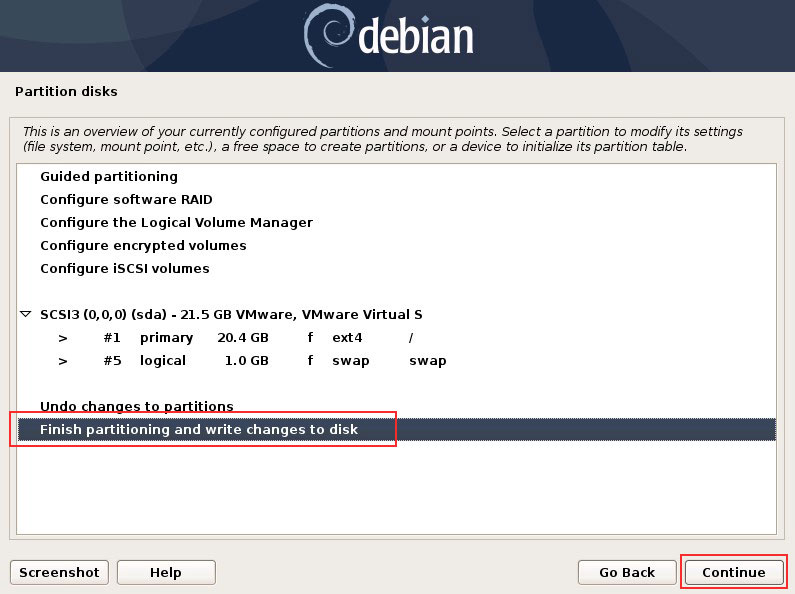
2.10 Disk Partitioning
Select “Guided-use entire disk” at the top
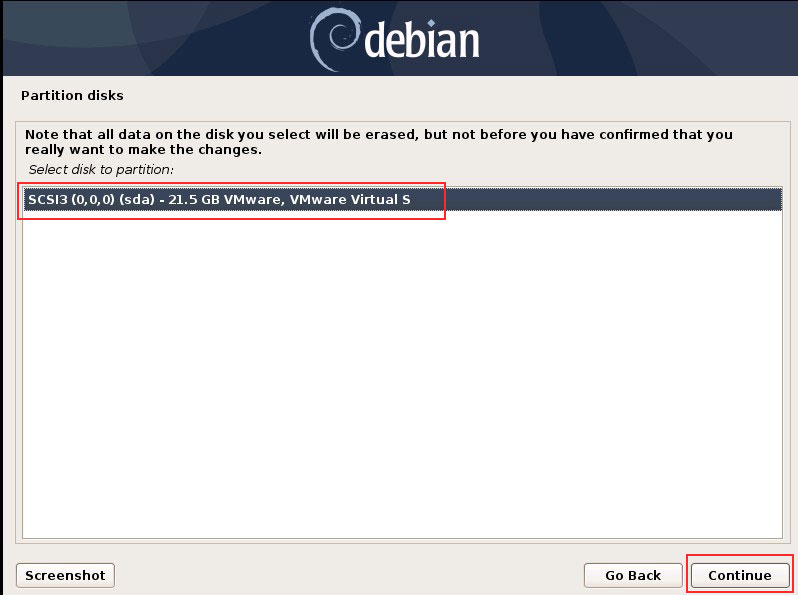
Displays disks that can be used for installation
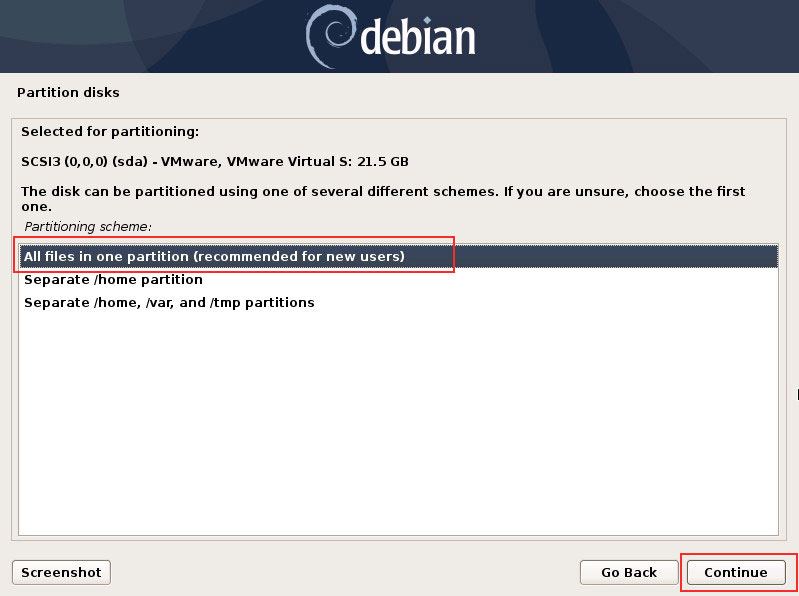
Select how you want to partition the selected disk. In this case, select “All files on one partition (recommended for novice users)”.
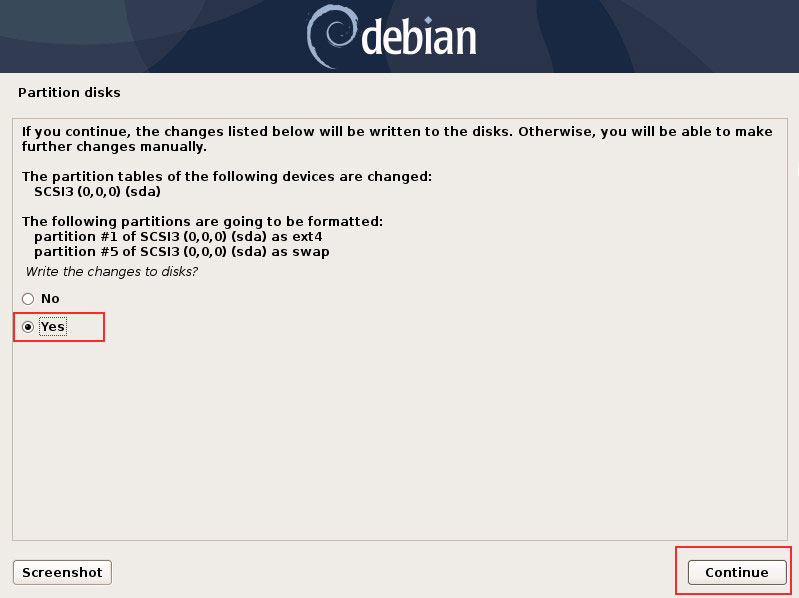
Writes to the partition
Final confirmation of writing to the partition
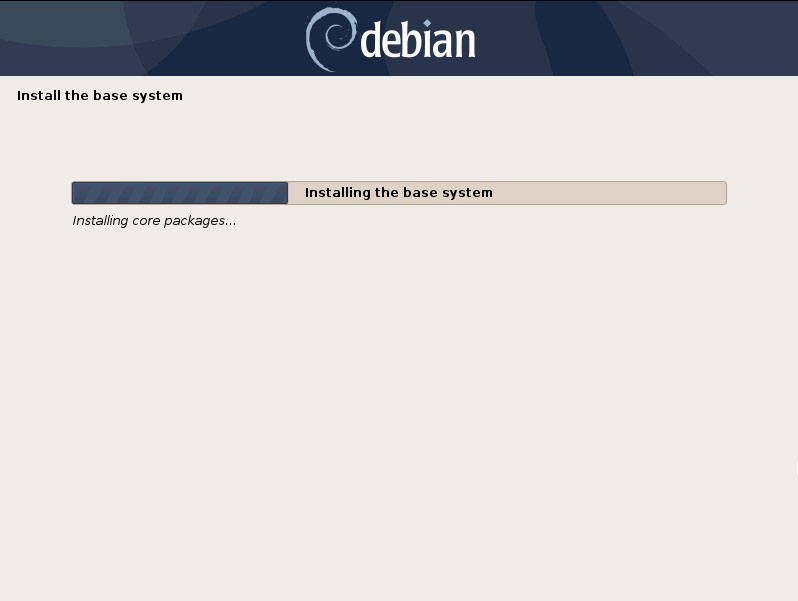
2.11 Base System Installation
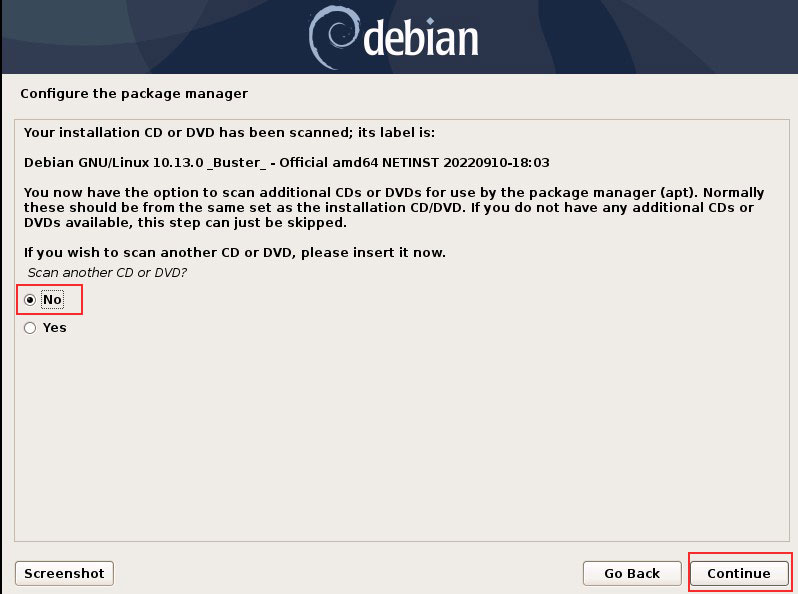
2.12 Confirm CD/DVD to be managed by Package Manager
Select “No” here because NETINST is the minimum configuration and additions are downloaded from the Internet.
2.13 Archive Mirror Selection
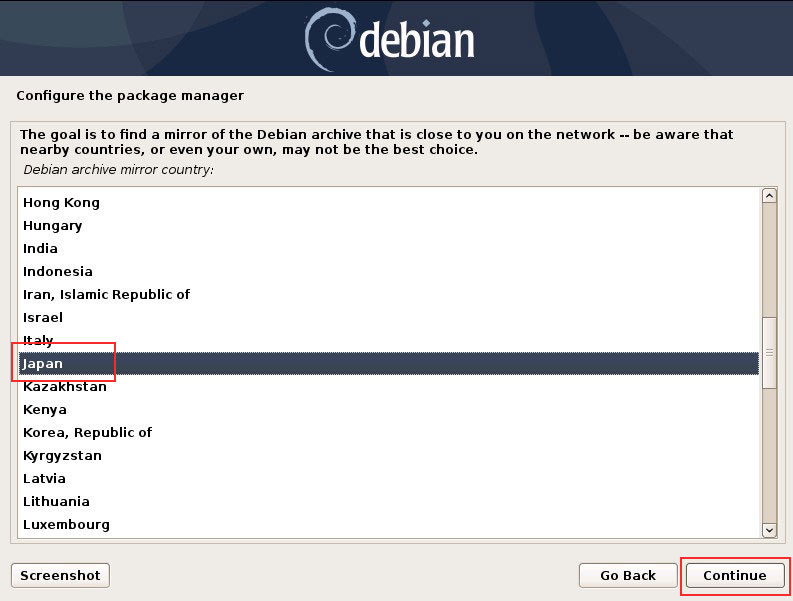
Select the best location from the Debian archive mirrors located in Japan

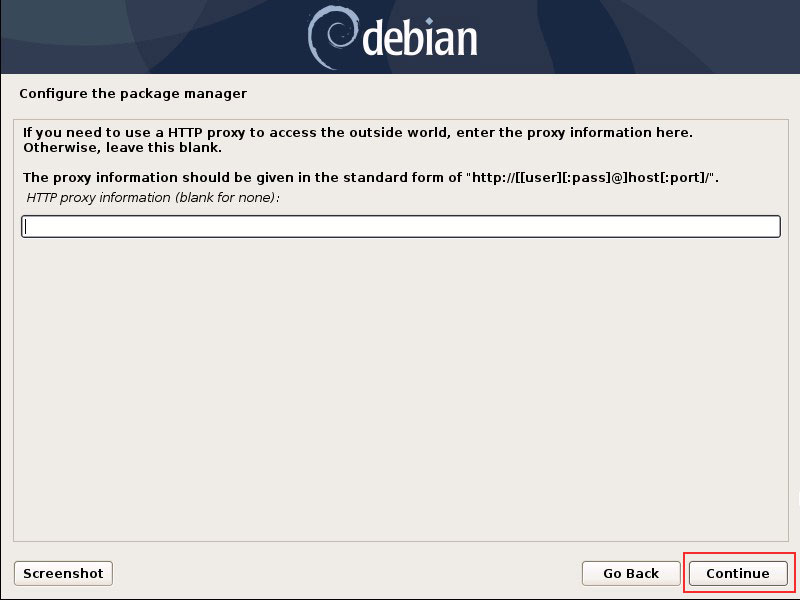
2.14 Proxy Settings
Click “Continue” without making any settings since it will not be used this time.
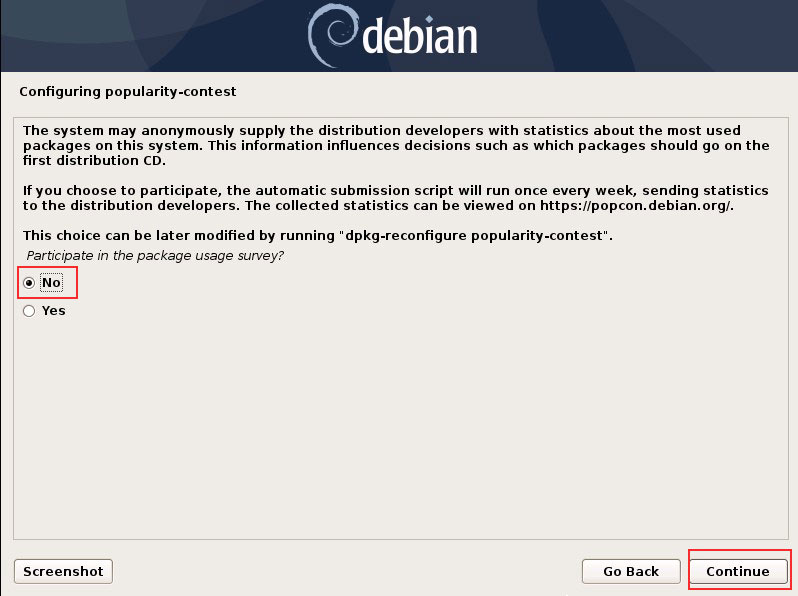
2.15 Setting up popularity-contest
Please feel free to set “No” or “Yes”.
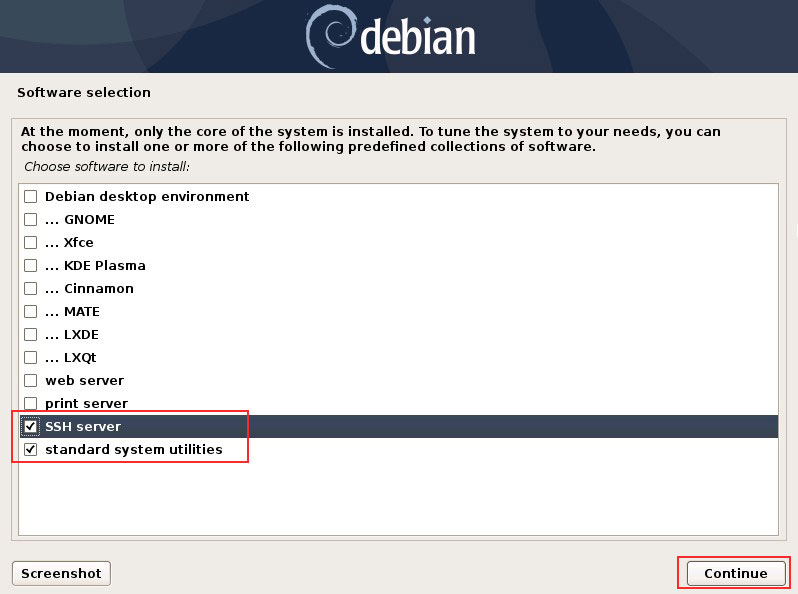
2.16 Software Selection
Since we will not be installing a desktop environment this time, select the following two options
“SSH Server” ‘Standard system utilities’.
Software installation begins.
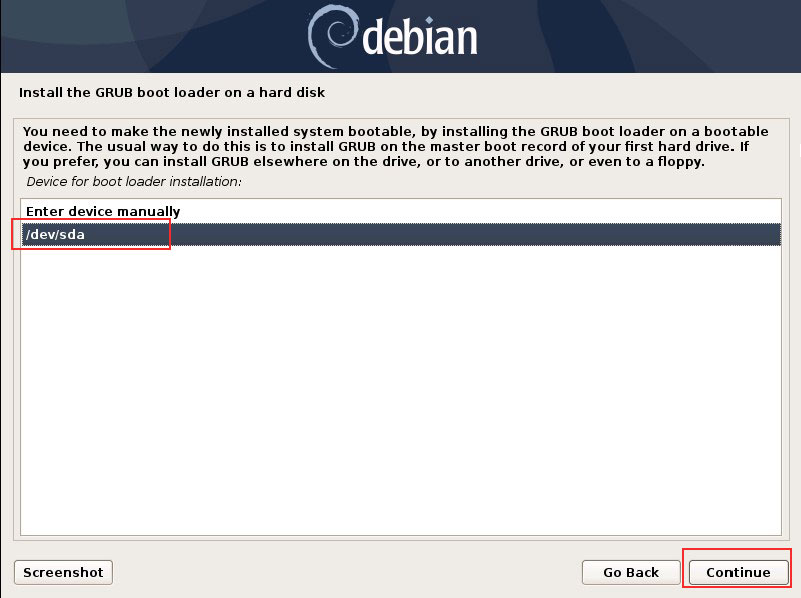
2.17 Install boot loader
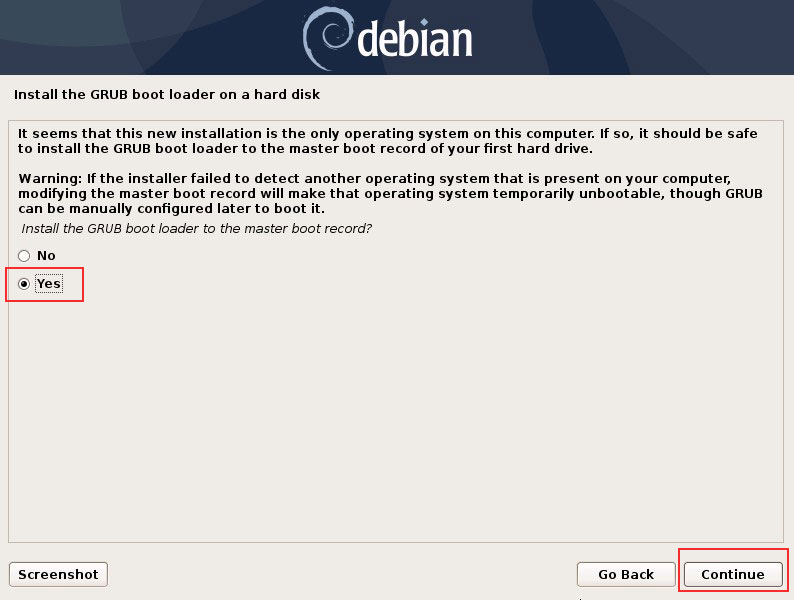
Select where to install the bootloader
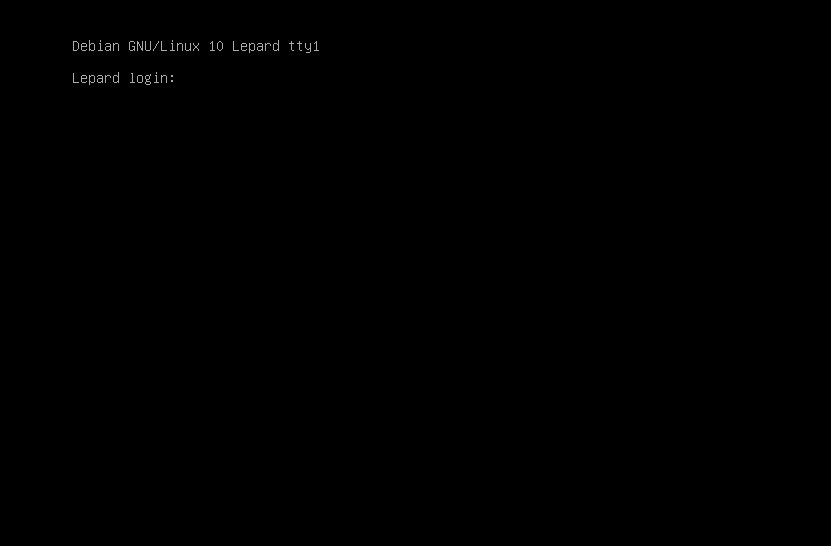
2.18 Completion of installation
Click “Continue.”
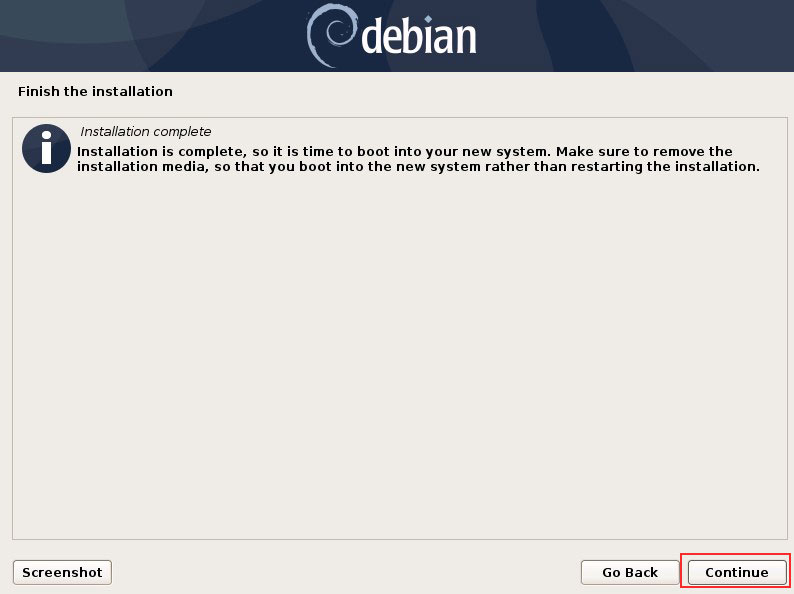
System reboot is initiated.。