

For installation with ext4 file system, please refer to the following page


Contents
1.Creating partitions
1.1 Confirmation of installation device
Check the target device with the lsblk command
|
1 2 3 4 5 |
root@archiso ~ # lsblk NAME MAJ:MIN RM SIZE RO TYPE MOUNTPOINTS loop0 7:0 0 841.4M 1 loop /run/archiso/airootfs sda 8:0 0 20G 0 disk sr0 11:0 1 1.2G 0 rom /run/archiso/bootmnt |
This time the device is in /dev/sda from above
1.2 Creating partitions
For GPT
|
1 2 3 4 5 6 7 8 9 10 |
# gdisk /dev/sda GPT fdisk (gdisk) version 1.0.10 Partition table scan: MBR: not present BSD: not present APM: not present GPT: not present Creating new GPT entries in memory. |
・Create an empty partition table with the command "o"
|
1 2 3 |
Command (? for help): o This option deletes all partitions and creates a new protective MBR. Proceed? (Y/N): Y |
・Create EFI system partition
"n" command to add a partition
|
1 2 3 4 5 6 7 |
Command (? for help): n Partition number (1-128, default 1): First sector (34-62914526, default = 2048) or {+-}size{KMGTP}: Last sector (2048-62914526, default = 62912511) or {+-}size{KMGTP}: +512M Current type is 8300 (Linux filesystem) Hex code or GUID (L to show codes, Enter = 8300): ef00 Changed type of partition to 'EFI system partition' |
・Create partition for Arch Linux
"n" command to add a partition
|
1 2 3 4 5 6 7 |
Command (? for help): n Partition number (2-128, default 2): First sector (34-62914526, default = 1050624) or {+-}size{KMGTP}: Last sector (1050624-62914526, default = 62912511) or {+-}size{KMGTP}: Current type is 8300 (Linux filesystem) Hex code or GUID (L to show codes, Enter = 8300): 8300 Changed type of partition to 'Linux filesystem' |
・Write partition table to disk
Use the w command
|
1 2 3 4 5 6 7 8 |
Command (? for help): w Final checks complete. About to write GPT data. THIS WILL OVERWRITE EXISTING PARTITIONS!! Do you want to proceed? (Y/N): Y OK; writing new GUID partition table (GPT) to /dev/sda. The operation has completed successfully. |
1.3 Partition Formatting
|
1 2 3 4 5 6 7 8 9 10 11 12 13 14 15 16 17 18 19 20 21 22 23 24 25 26 27 28 29 30 31 |
root@archiso ~ # mkfs.vfat -F32 /dev/sda1 mkfs.fat 4.2 (2021-01-31) root@archiso ~ # mkfs.btrfs /dev/sda2 btrfs-progs v6.13 See https://btrfs.readthedocs.io for more information. Performing full device TRIM /dev/sda2 (19.50GiB) ... NOTE: several default settings have changed in version 5.15, please make sure this does not affect your deployments: - DUP for metadata (-m dup) - enabled no-holes (-O no-holes) - enabled free-space-tree (-R free-space-tree) Label: (null) UUID: 4e7671ef-06e7-44de-a5fe-8e290d747bb6 Node size: 16384 Sector size: 4096 (CPU page size: 4096) Filesystem size: 19.50GiB Block group profiles: Data: single 8.00MiB Metadata: DUP 256.00MiB System: DUP 8.00MiB SSD detected: no Zoned device: no Features: extref, skinny-metadata, no-holes, free-space-tree Checksum: crc32c Number of devices: 1 Devices: ID SIZE PATH 1 19.50GiB /dev/sda2 |
1.4 Mounting partitions
Mount /dev/sda2 on partition for Arch Linux to /mnt directory
Mount /dev/sda1 on the EFI system partition to the /mnt/boot directory to install the boot loader and Linux kernel
|
1 2 3 |
root@archiso ~ # mount /dev/sda2 /mnt root@archiso ~ # mkdir /mnt/boot root@archiso ~ # mount /dev/sda1 /mnt/boot |
2.Installing Arch Linux
2.1 Installation of base system, etc.
Install base, base-devel, linux, linux-headers, linux-firmware group, btrfs utilities, and also vim as editor with the following command
|
1 |
root@archiso ~ # pacstrap /mnt base base-devel linux linux-headers linux-firmware btrfs-progs vim |
2.2 Creating fstab
Describe information such as partitions to be automatically mounted at startup in the file /etc/fstab.
|
1 |
root@archiso ~ # genfstab -U /mnt >> /mnt/etc/fstab |
Check the contents of the fstab file
|
1 2 3 4 5 6 7 8 9 10 11 |
root@archiso ~ # vim /mnt/etc/fstab # Static information about the filesystems. # See fstab(5) for details. # <file system> <dir> <type> <options> <dump> <pass> # /dev/sda2 UUID=4e7671ef-06e7-44de-a5fe-8e290d747bb6 / btrfs rw,relatime,space_cache=v2,subvol=/ 0 0 # /dev/sda1 UUID=FFB9-68F6 /boot vfat rw,relatime,fmask=0022,dmask=0022,codepage=437,iocharset=ascii,shortname=mixed,utf8,errors=remount-ro 0 2 |
3.Initial setup within the installed system
To enter the installed system, use the arch-chroot command.
arch-chroot is a script for Arch Linux installation that mounts the system so that the specified path is the root "/".
However, after this, only commands in the destination ArchLinux can be used. Commands in the installation media cannot be used.
For example, to install a package, use pacman instead of pacstrap.
Enter the installed system (/mnt becomes /)
|
1 2 |
root@archiso ~ # arch-chroot /mnt [root@archiso /]# |
3.1 Using the File Search command
Install locate command to locate files
|
1 |
[root@archiso /]# pacman -S locate |
3.2 Timezone settings
Execute the following command to set timezone to Japan.
|
1 |
[root@archiso /]# ln -sf /usr/share/zoneinfo/Asia/Tokyo /etc/localtime |
3.3 Time setting.
Write the current time on Linux to the motherboard's internal clock so that the time will be correct after reboot.
|
1 |
[root@archiso /]# hwclock --systohc --utc |
3.4 Set the language to be used
This time, make it English.
Delete the leading # from "#en_US.UTF-8 UTF-8" and "#ja_JP.UTF-8 UTF-8" in /etc/locale.gen
Generate the locale for each language with the locale-gen command
|
1 2 3 4 5 6 7 8 9 10 11 |
[root@archiso /]# vim /etc/locale.gen Line 171 en_US.UTF-8 UTF-8 Line 296 ja_JP.UTF-8 UTF-8 [root@archiso /]# locale-gen Generating locales... es_US.UTF-8... done ja_JP.UTF-8... done Generation complete. |
Create /etc/locale.conf file and specify the default locale (in this case, English)
|
1 |
[root@archiso /]# echo LANG=en_US.UTF-8 > /etc/locale.conf |
3.5 keyboard layout settings
Specify keyboard layout as Japanese
|
1 |
[root@archiso /]# echo KEYMAP=jp106 > /etc/vconsole.conf |
3.6 Host Name Setting
Decide on a host name for the computer and set it up.
If the computer is to be used only within the local network, use an appropriate name (in this case, Lepard).
If you want to make it public outside the network, use FQDN.
|
1 |
[root@archiso /]# echo Lepard > /etc/hostname |
The same hostname is also written in /etc/hosts
|
1 2 3 4 |
[root@archiso /]# vim /etc/hosts 127.0.0.1 localhost ::1 localhost 127.0.1.1 [hostname].localdomain [hostname] |
On the Arch Linux installation, the network is not yet configured, so it needs to be configured separately.
In this case, we will use systemd-networkd to configure it.
However, systemd-resolved is also needed to manage DNS.
4.1 Ensure systemd-networkd and systemd-resolved are enabled at startup
|
1 2 3 4 5 6 7 8 9 |
[root@archiso /]# systemctl enable systemd-networkd systemd-resolved Created symlink /etc/systemd/system/dbus-org.freedesktop.network1.service → /usr/lib/systemd/system/systemd-networkd.service. Created symlink /etc/systemd/system/multi-user.target.wants/systemd-networkd.service → /usr/lib/systemd/system/systemd-networkd.service. Created symlink /etc/systemd/system/sockets.target.wants/systemd-networkd.socket → /usr/lib/systemd/system/systemd-networkd.socket. Created symlink /etc/systemd/system/sysinit.target.wants/systemd-network-generator.service → /usr/lib/systemd/system/systemd-network-generator.service. Created symlink /etc/systemd/system/network-online.target.wants/systemd-networkd-wait-online.service → /usr/lib/systemd/system/systemd-networkd-wait-online.service. Created symlink /etc/systemd/system/dbus-org.freedesktop.resolve1.service → /usr/lib/systemd/system/systemd-resolved.service. Created symlink /etc/systemd/system/sysinit.target.wants/systemd-resolved.service → /usr/lib/systemd/system/systemd-resolved.service. |
4.2 Network configuration file creation
For each network, a text file must be generated and configured
Create a new mynet.network file in /etc/systemd/network/ (the mynet part can be arbitrary)
|
1 2 3 4 5 6 7 |
[root@archiso /]# vim /etc/systemd/network/mynet.network Describe the following [Match] Name=<interface name> [Network] DHCP=yes |
can be found with the following command
#ip a
4.3 systemd-resolved configuration
systemd-resolved is a service that manages DNS. The IP address of the DNS server must be entered in /etc/resolv.conf, but this file is not automatically generated when systemd-resolved is used.
Instead, it is necessary to link the file in /run/systemd/resolve/ with the following command, which is not created during the installation phase, and should be executed after installation and Arch Linux startup.
Do not implement at this stage.
|
1 |
[root@archiso /]# ln -sf /run/systemd/resolve/stub-resolv.conf /etc/resolv.conf |
5. Password Setting
Set a password for root (administrator privileges)
We first created a simple password, but now we will set a complex password as the official password.
|
1 |
[root@archiso /]# passwd |
6. Boot Loader Installation
This time, install GRUB, which supports both BIOS/UEFI.
6.1 Microcode Installation
Install the microcode package intel-ucode or amd-ucode in advance, so that GRUB will automatically configure the process during grub-mkconfig (intel-ucode, in this case).
|
1 |
[root@archiso /]# pacman -Sy intel-ucode |
6.2 Install GRUB in a UEFI-GPT 64-bit environment
|
1 |
[root@archiso /]# pacman -S grub efibootmgr |
|
1 |
[root@archiso /]# grub-install --target=x86_64-efi --efi-directory=/boot --bootloader-id=archlinux_grub |
The name of archlinux_grub can be arbitrary.
If "No error reported." is displayed at the end, success.
※Copying .efi
Some UEFI firmware may require a default efi file named bootx64.efi in /boot/EFI/boot, so copy the *.efi file for GRUB and create it.
|
1 2 |
[root@archiso /]# mkdir /boot/EFI/boot [root@archiso /]# cp /boot/EFI/archlinux_grub/grubx64.efi /boot/EFI/boot/bootx64.efi |
6.3 Generating grub.cfg
Automatic generation of configuration files with startup information, etc.
|
1 |
[root@archiso /]# grub-mkconfig -o /boot/grub/grub.cfg |
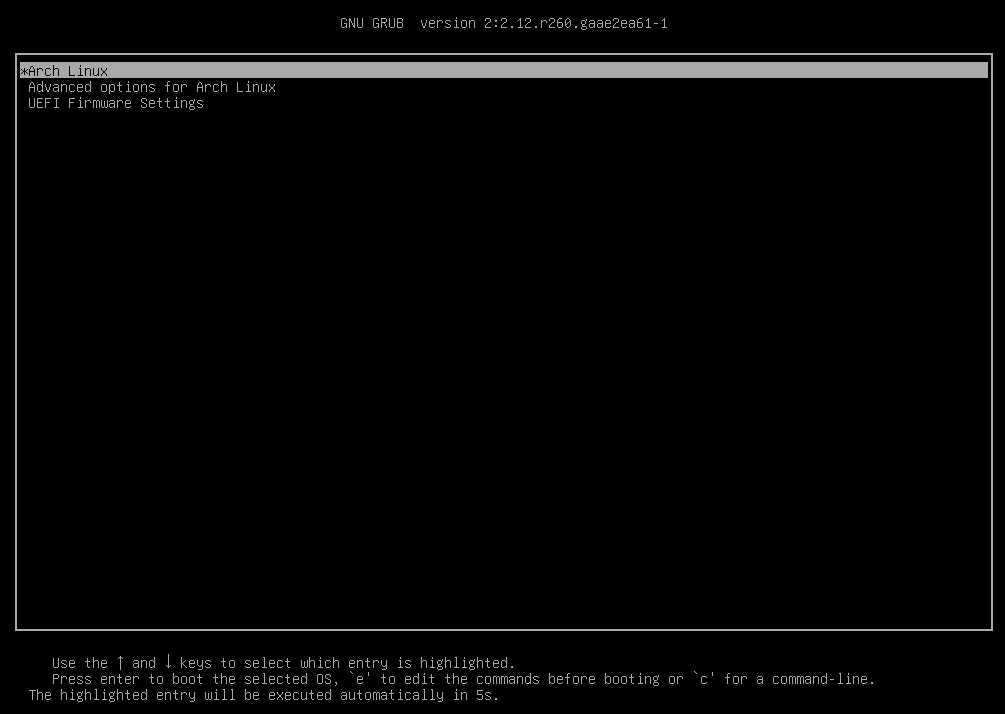
7. Reboot
Installation is complete, reboot.
|
1 2 3 |
[root@archiso /]# exit root@archiso ~# umount -R /mnt root@archiso ~# reboot |
After rebooting
Log in as root because you have not created a general user again
Use the password created above.
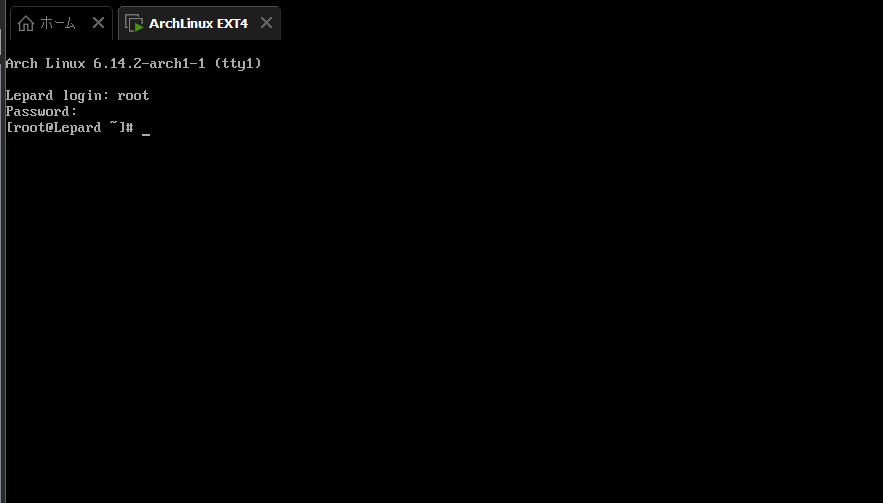
Continue with the initial setup in the installed ArchLinux boot environment.