

OpenSUSEとは
OpenSUSE is a Linux distribution that is community-based, free to the public, and active in adopting the latest technologies. It is sponsored by Novell and developed by the community. Originally, SUSE Linux was developed by SUSE, but after the acquisition of SUSE by Novell in 2003, Novell shifted the development structure to community-based by the OpenSUSE project as a distribution aiming for 100% open source, and changed the name from SUSE Linux to OpenSUSE Linux The name was changed to the current name.
openSUSE is available as Leap, the stable version, and Tumbleweed, which uses a rolling-release model and is also the basis for the paid-for version of SUSE Linux Enterprise
Leap 16.0 was released on October 1, 2025, and the update cycle for openSUSE Leap 16.x releases has been extended to one and a half to two years (two full release cycles).
The intermediate releases of the openSUSE Leap 16 branch will be maintained in parallel with the commercial SUSE Linux Enterprise 16 distribution and will be released until fall 2031.The final release will be openSUSE Leap 16.6, with updates released until fall 2033.
Key Features of openSUSE Leap 16:
- The new Agama installer is being used.
- The SELinux mandatory access control system is enabled by default.Support for SysV init scripts has been discontinued; only systemd units can be used.
- SysV initスクリプトのサポートは廃止され、systemdユニットのみ使用できます
- Support for the x86-64-v1 architecture has ended. It is only available on x86 systems with the x86_64-v2 architecture.
- The Zypper package manager now supports parallel downloading of packages and metadata.
- To configure network connections, you only need NetworkManager.
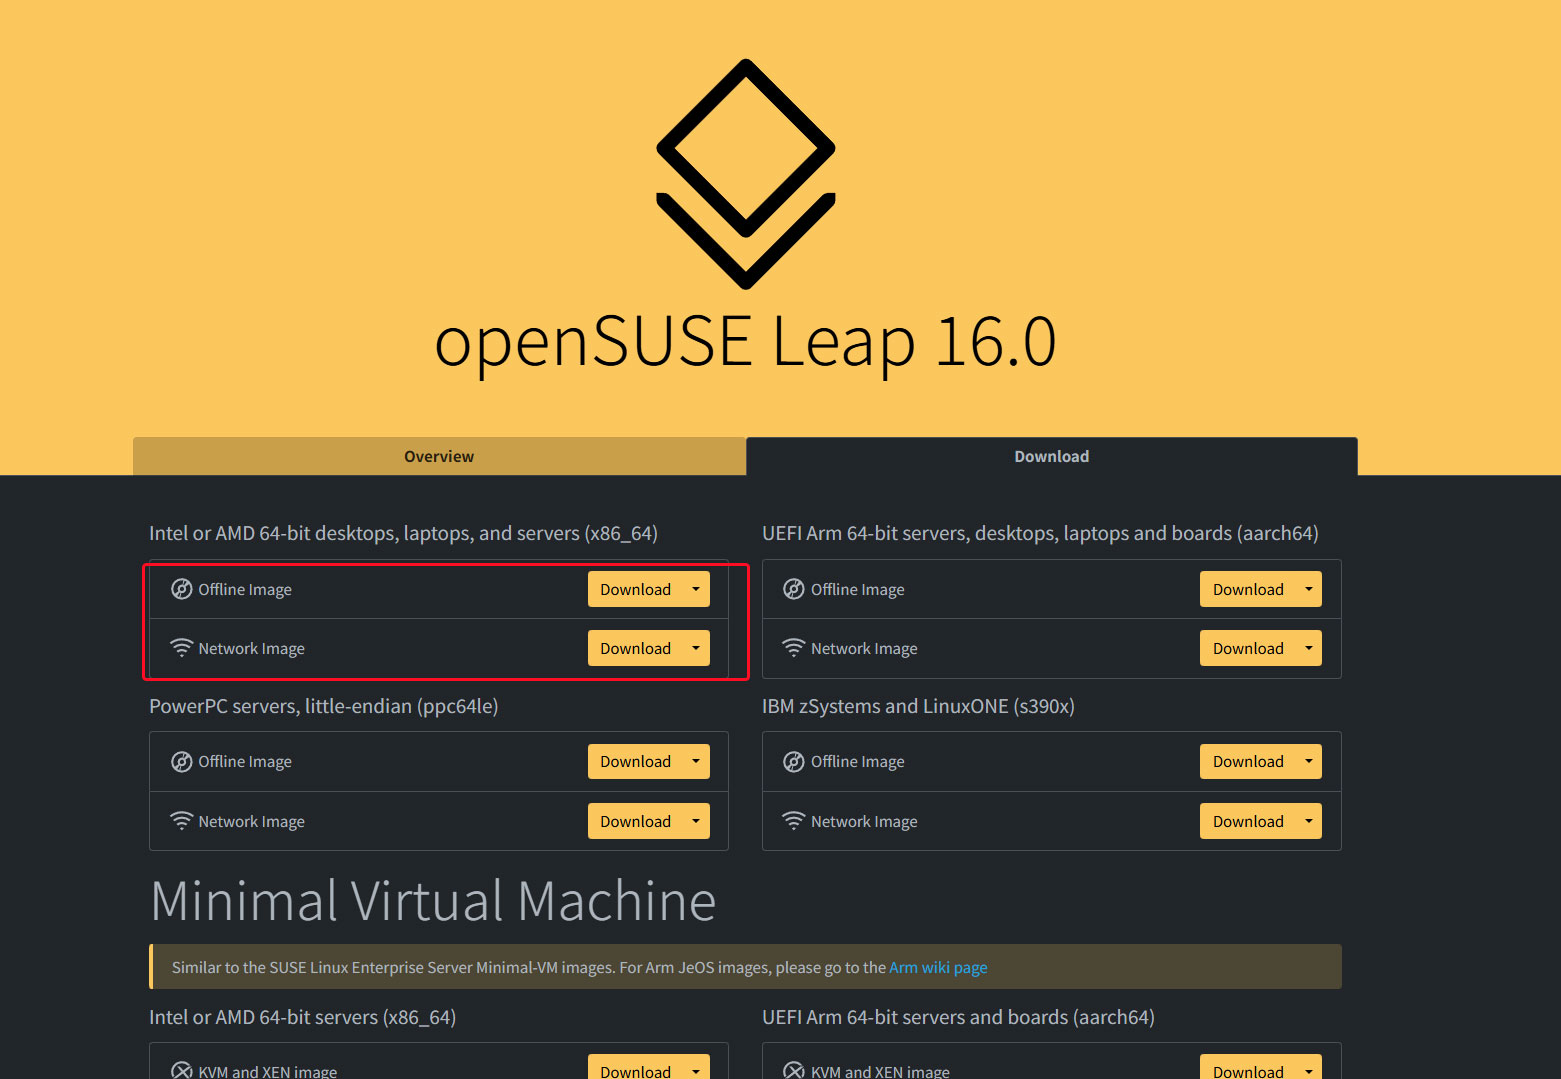
1. OS Image Download
Accsess to https://get.opensuse.org/leap/16.0/, download the Offline Image (4.2 GiB) for "Intel or AMD 64-bit desktops, laptops, and servers (x86_64)". (If you have a fast network connection, you may download the Network Image instead.)
Create a bootable disk from the downloaded "Leap-16.0-offline-installer-x86_64.install.iso" file onto a DVD or USB drive.
From here on, we will provide screenshots showing the process from download to installation completion. (This time, we are installing it on a virtual disk within VMware Workstation.)
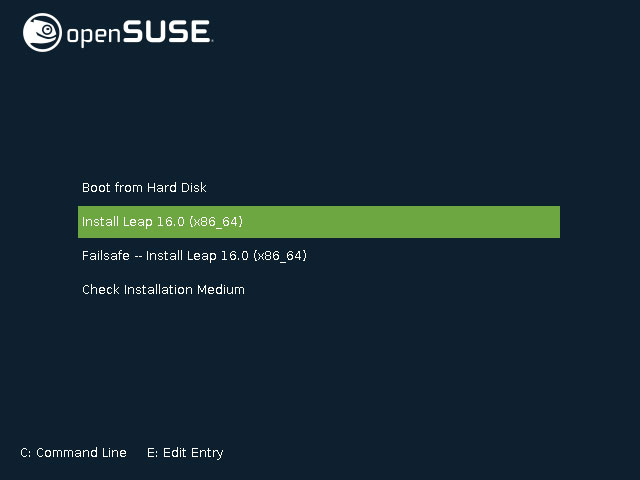
After setting the BIOS to boot from the created boot disk (DVD, USB) and starting the PC, the following screen will appear.
Select "Install Leap 16.0 (x86_64)" on the second line and press Enter.
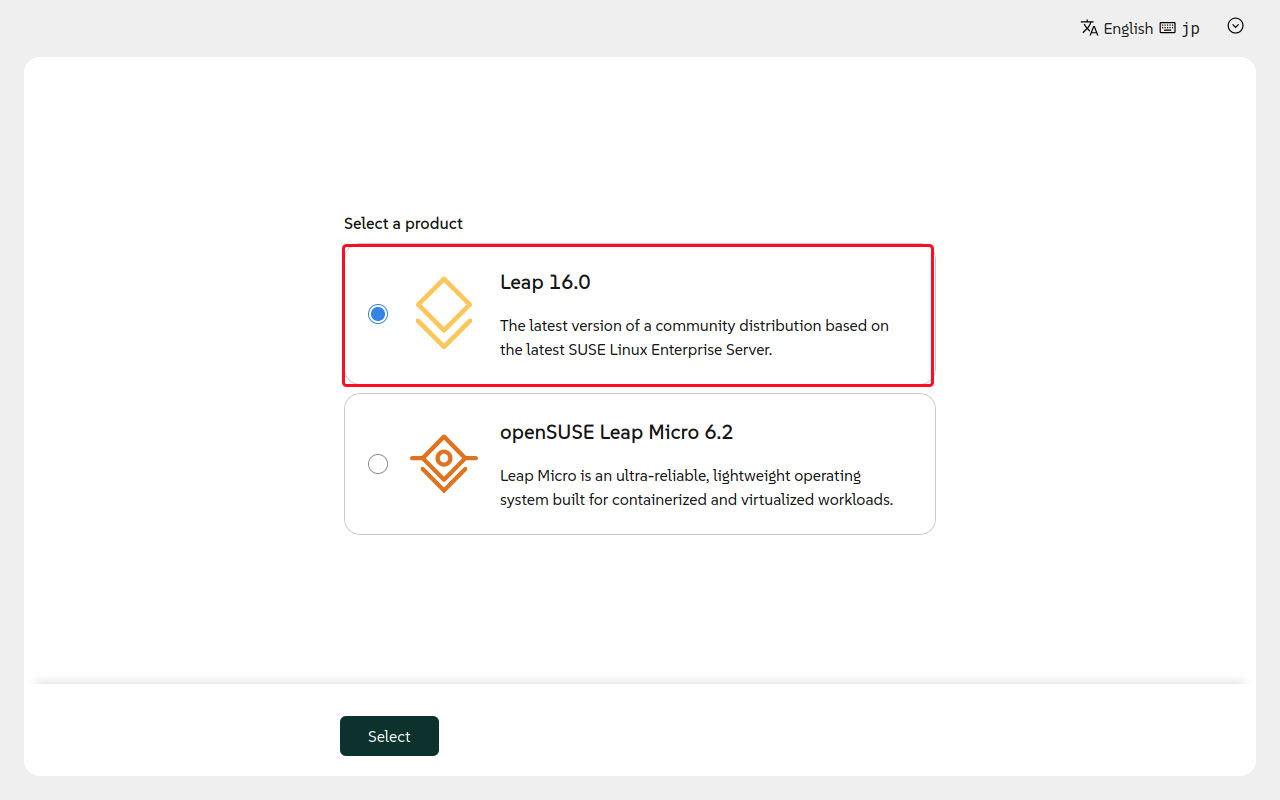
On the "Leap16.0" and "openSUSE Leap Micro 6.2" selection screen, choose "Leap16.0" and click "Select" below.
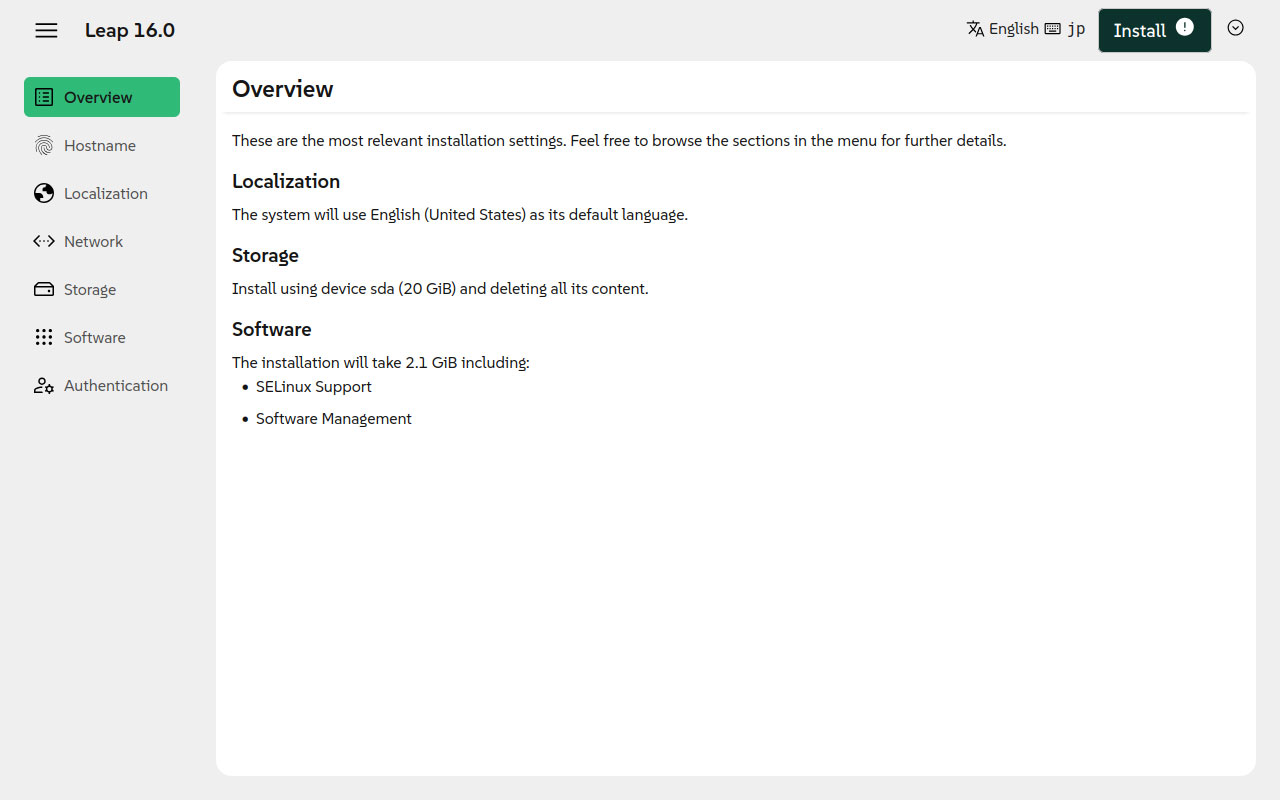
The installation overview is displayed.
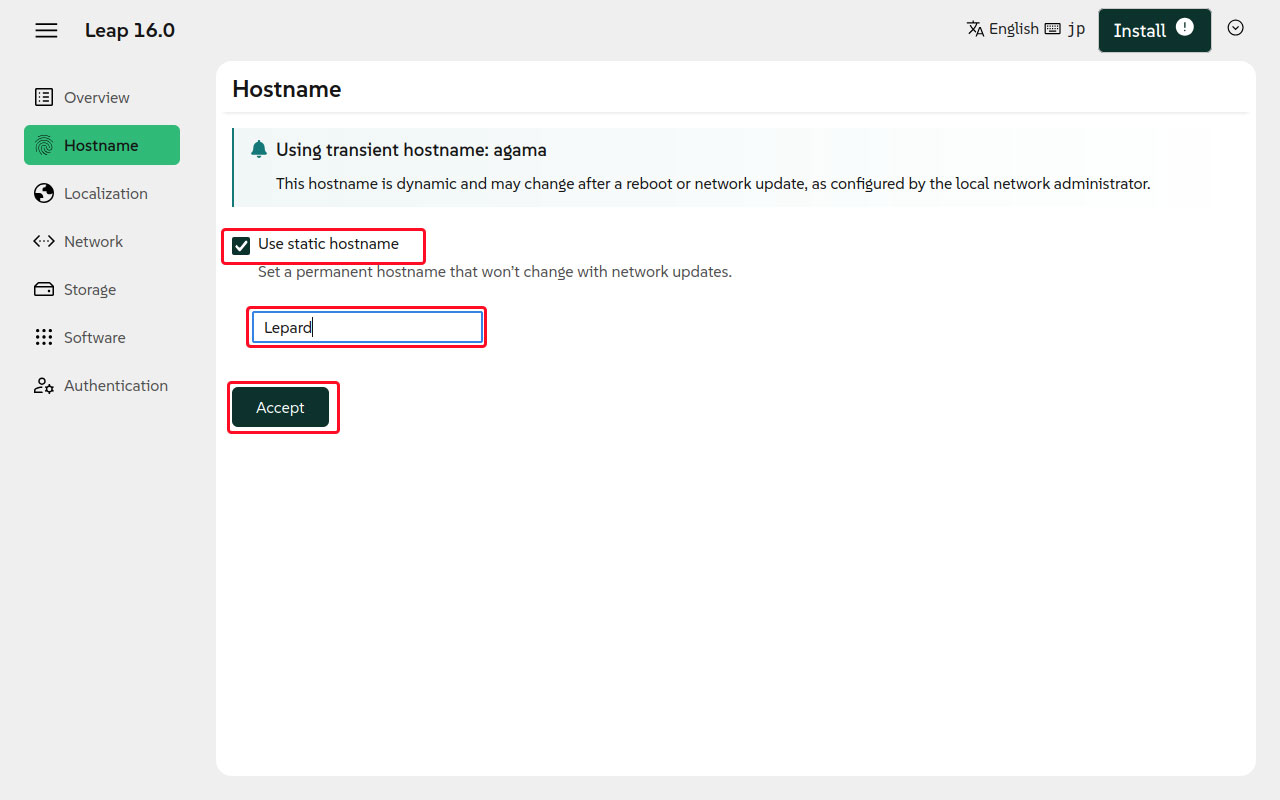
Hostname Configuration
Check the "Use static hostname" box, enter any hostname, and click "Accept".
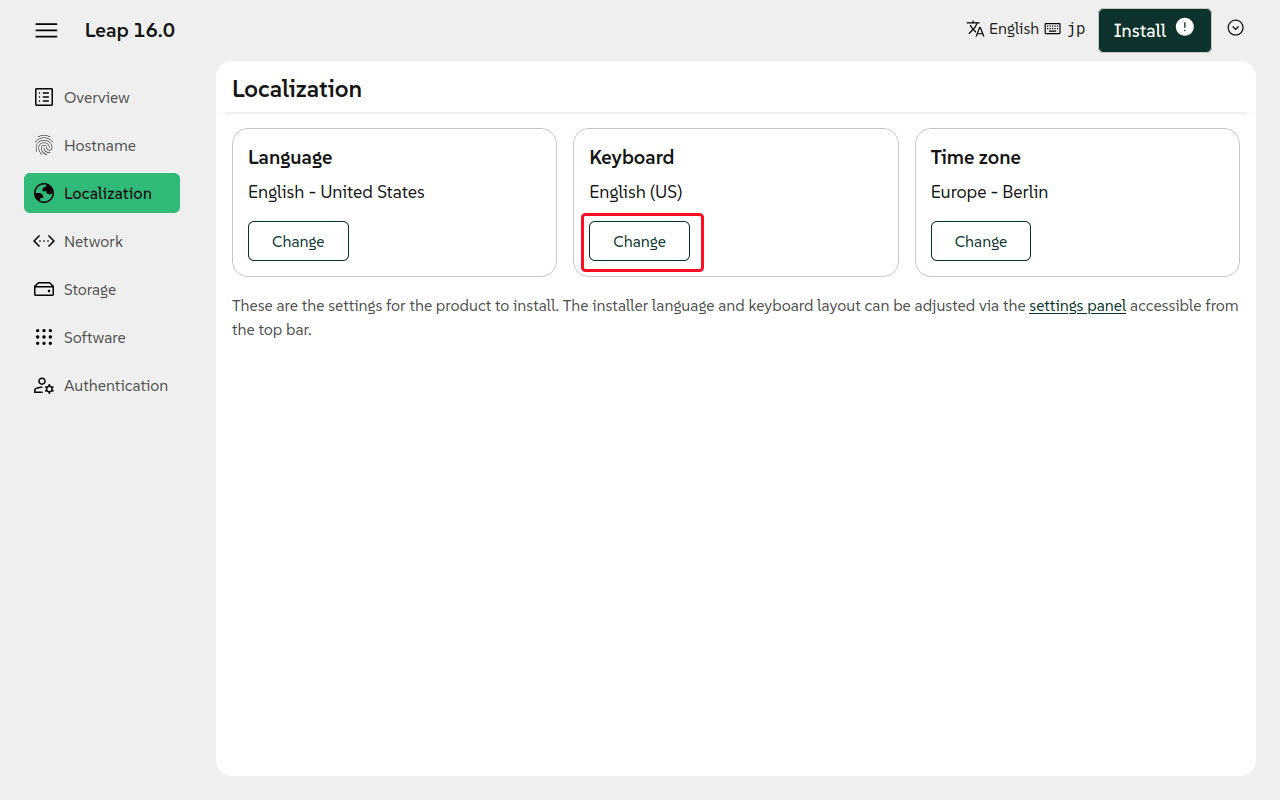
System Language, Keyboard Layout, and Time Zone Settings
For the "System Language," set it to the default display language "English."
To set the keyboard layout to Japanese, click "Change" under "Keyboard".
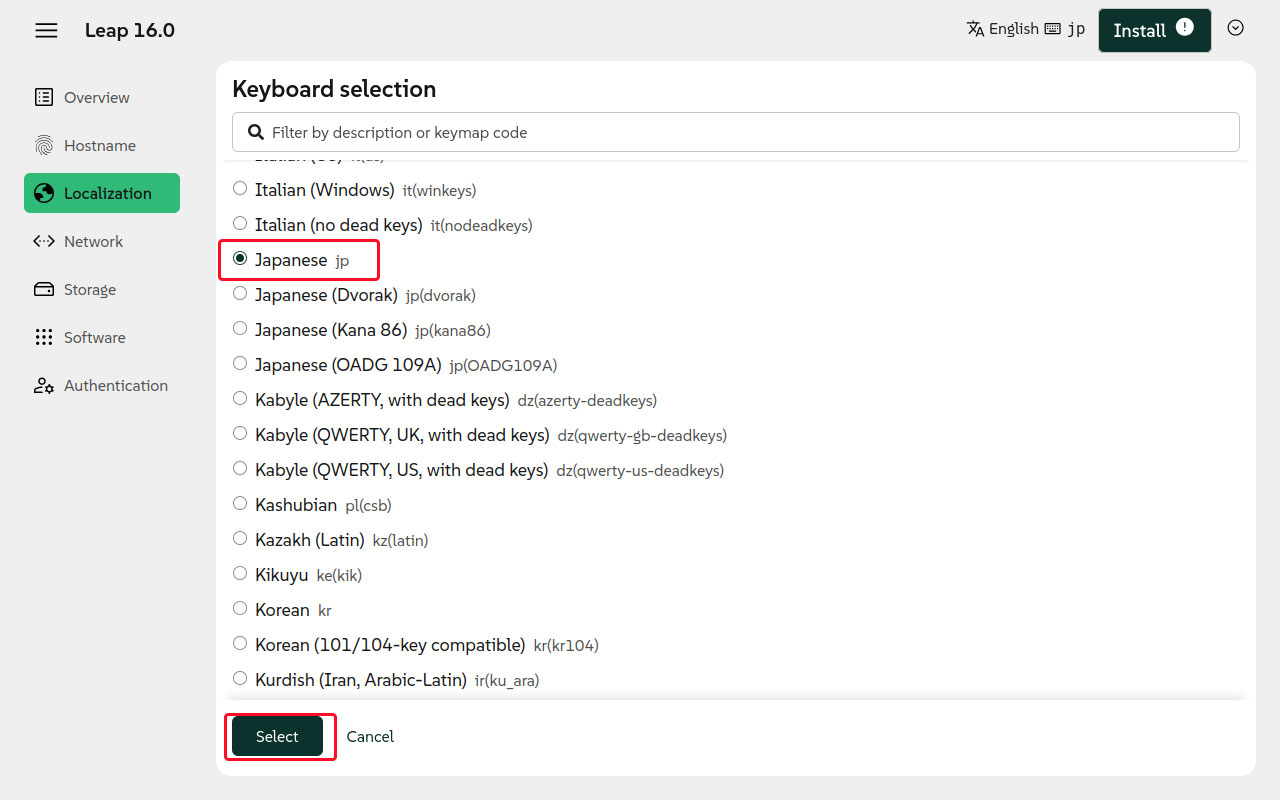
From the keyboard layout selection screen, select "Japanese jp" and click "Select".
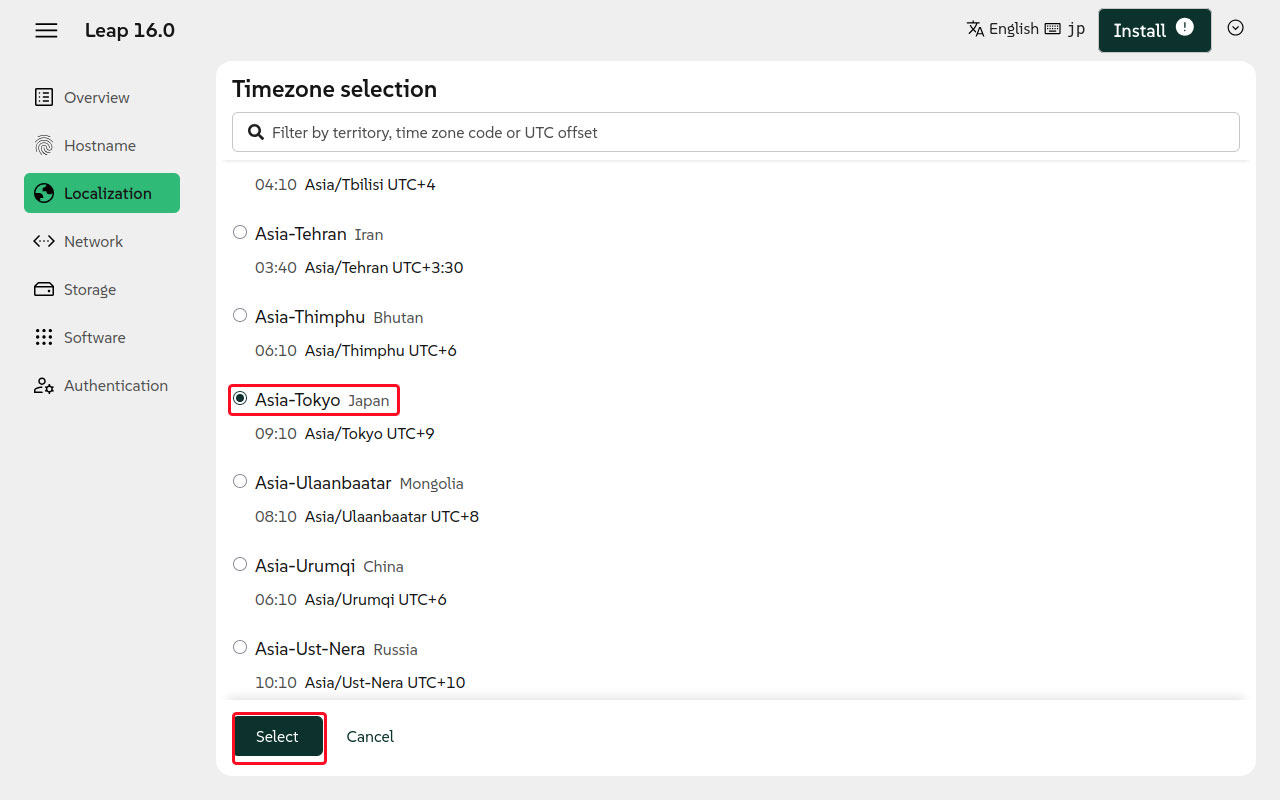
To set the time zone to Japan, click "Change" under "Time zone".
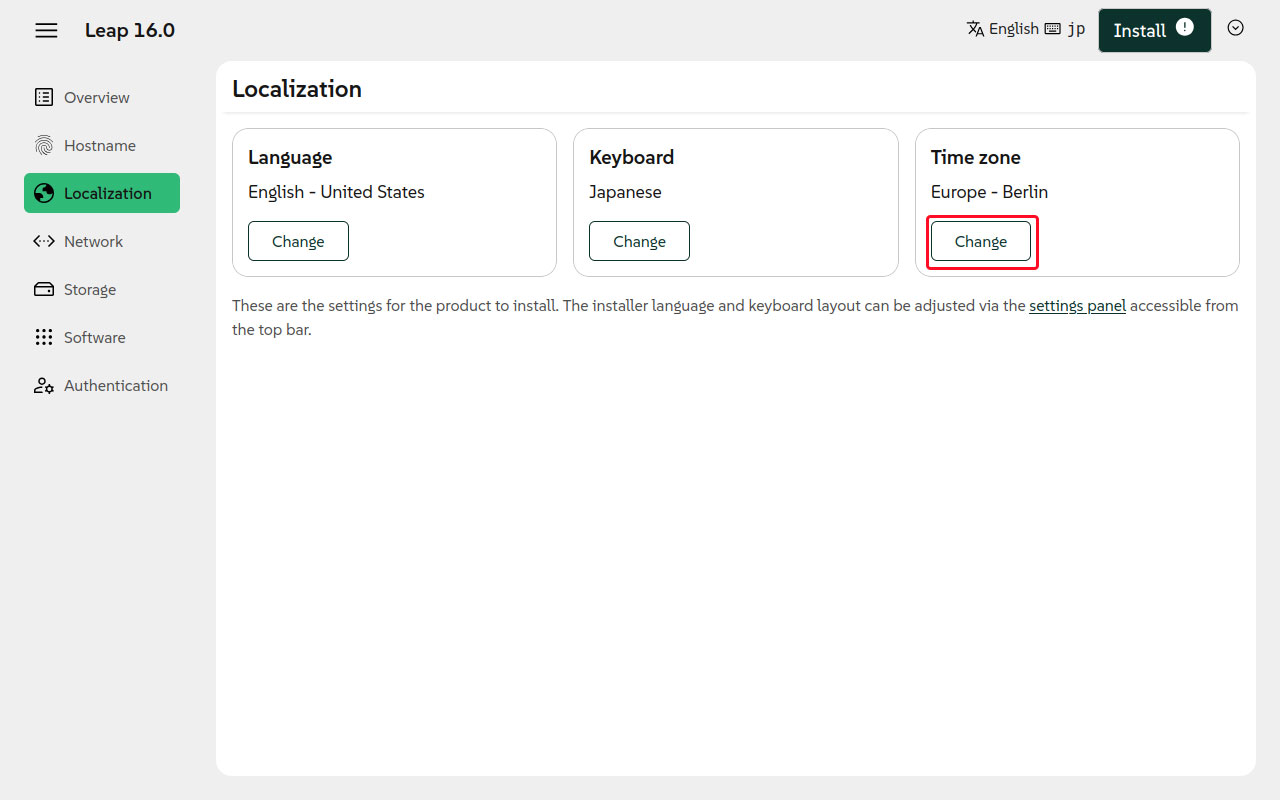
Select "Asia-Tokyo Japan" and click "Select".
Check for any errors

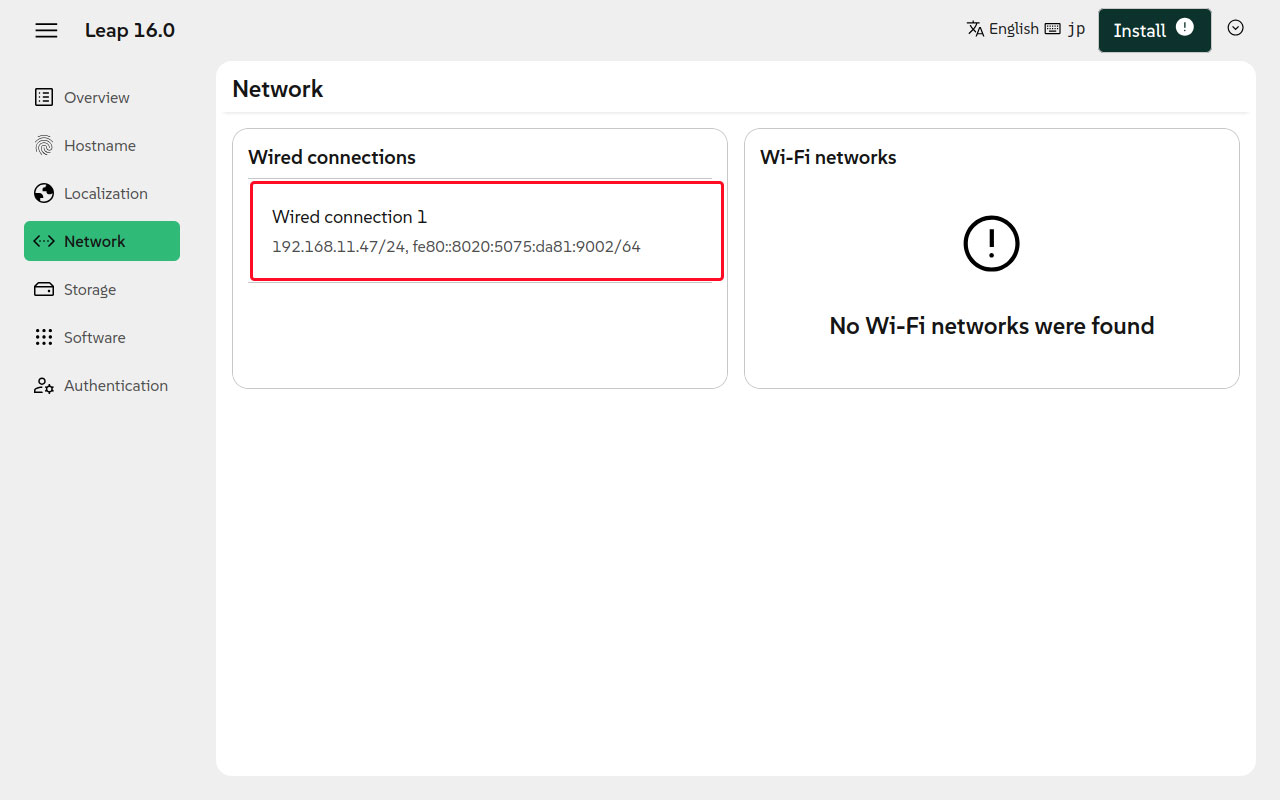
Network Settings
Click the displayed wired connection labeled "Wired connection 1"
This time, it's a wired LAN connection with no wireless connection available.
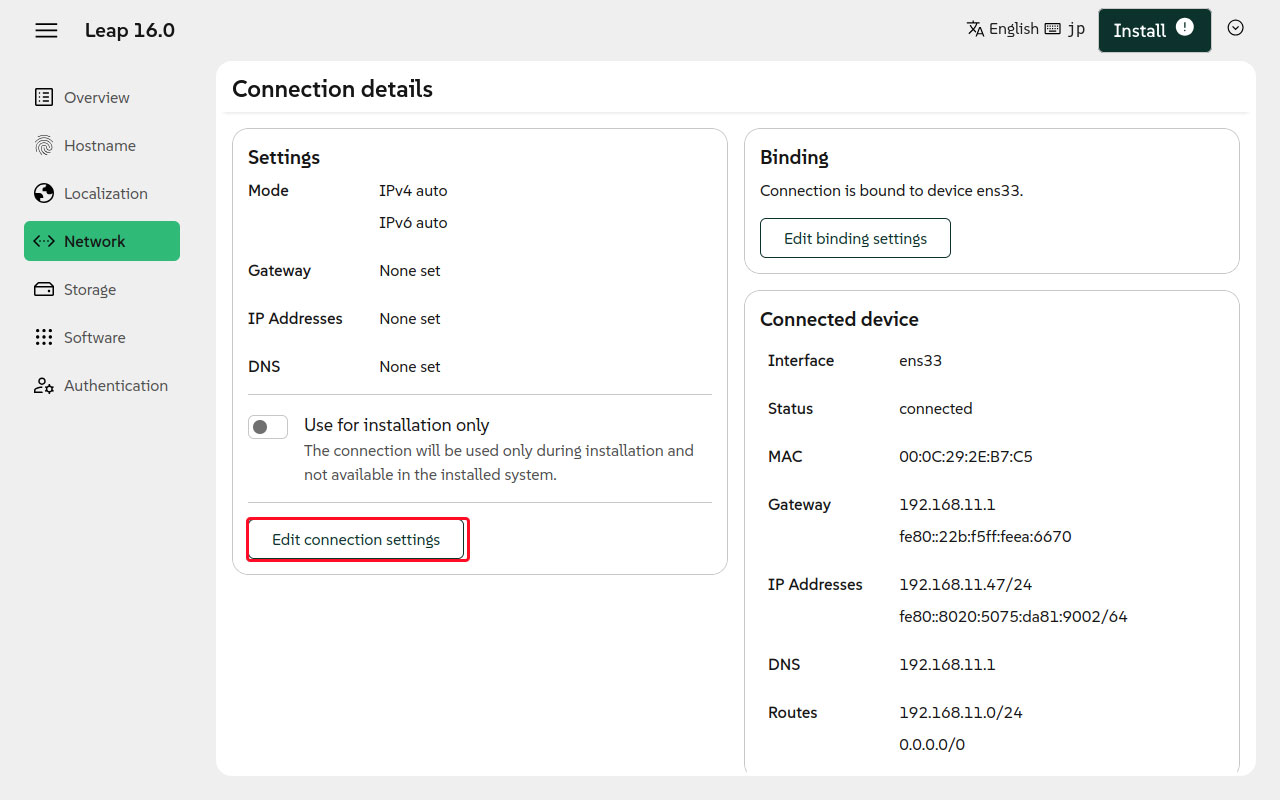
This time, we will set a static IP address for IPv4, so click "Edit connection settings".
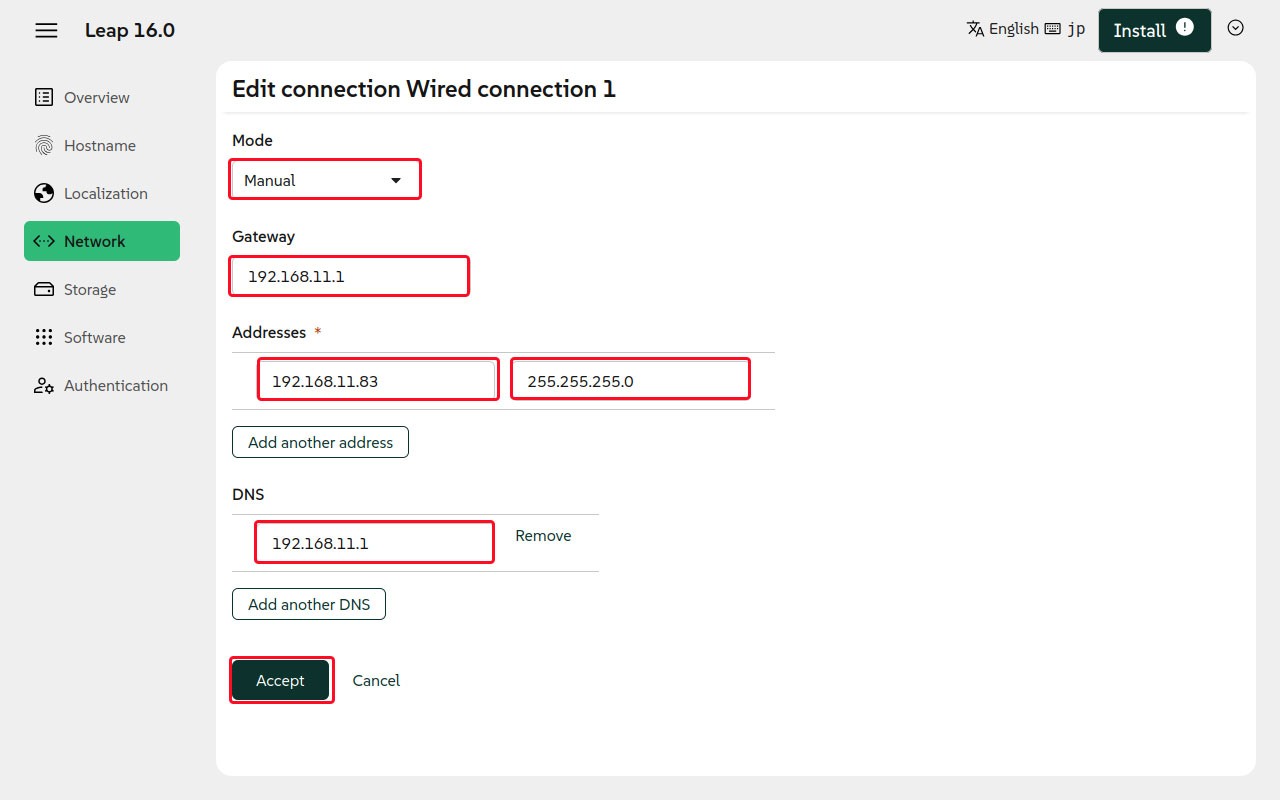
Mode : Manual
Gateway : Default router address
Address : Local IP address and subnet mask assigned to the server
DNS : The DNS server address is usually the router's address.
Click "Accept"
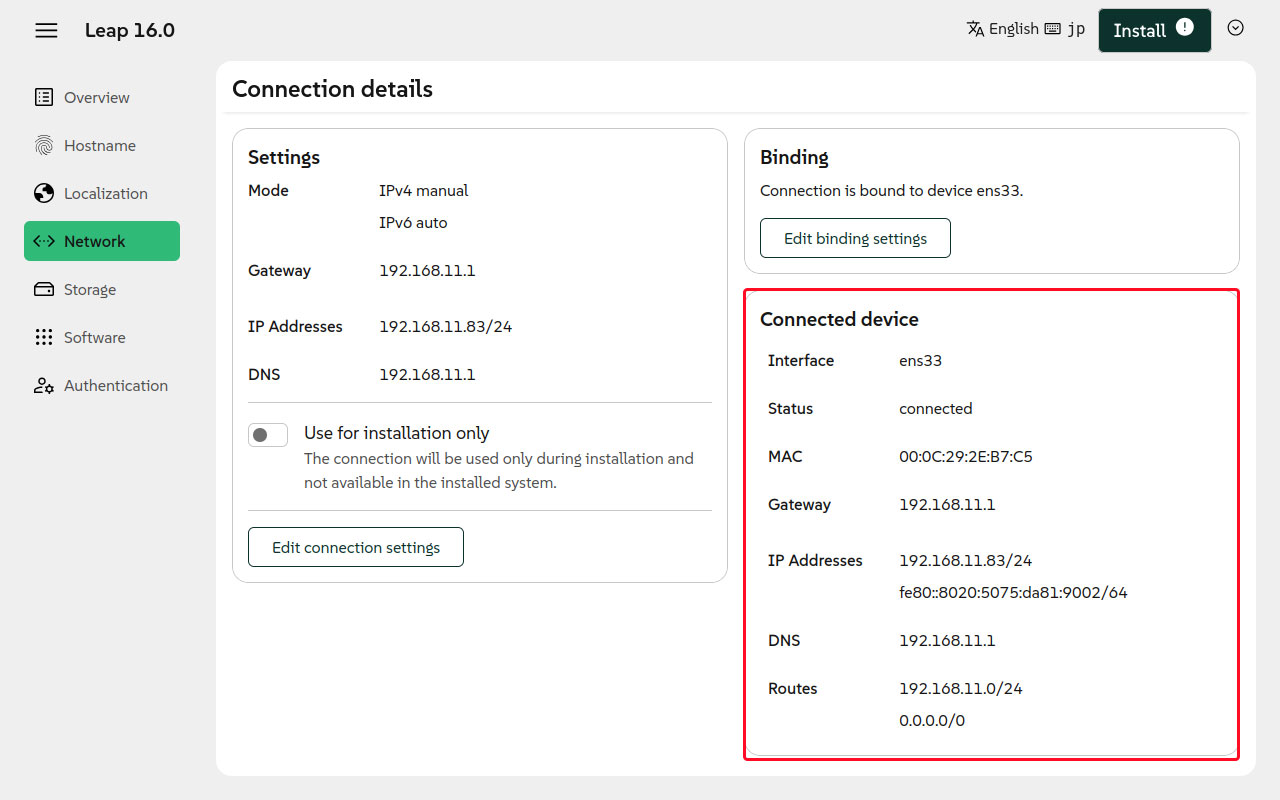
The configured information is displayed.
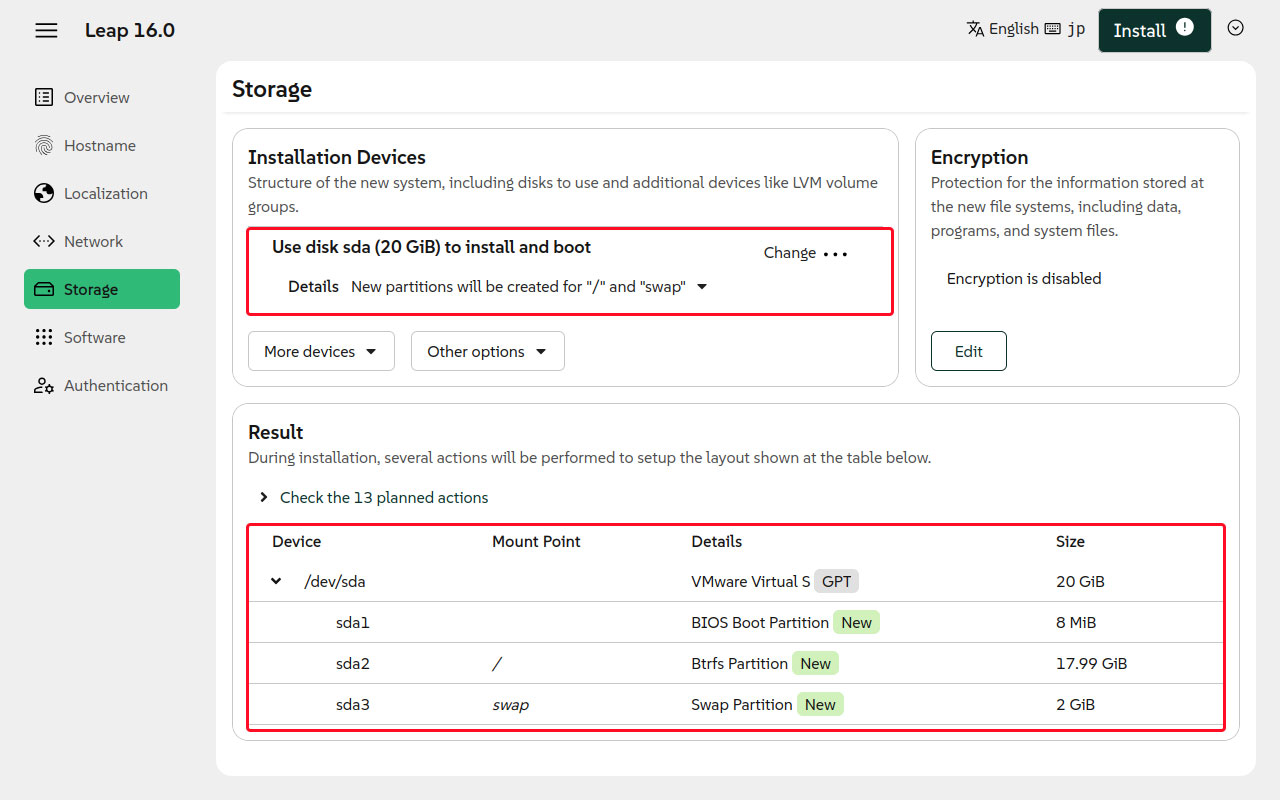
The disk and partition to install on
The automatically configured disk and partitions are displayed.
This time, use the entire disk and set it to automatic partitioning.
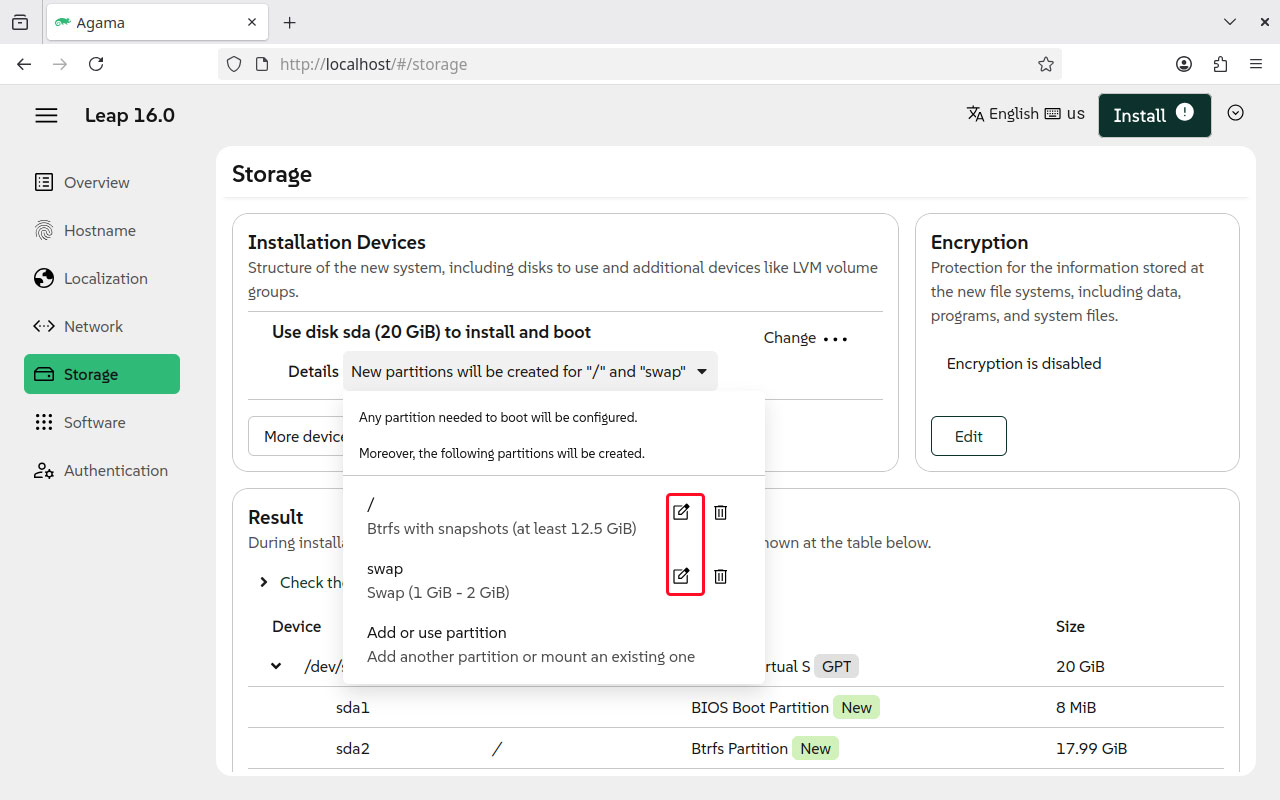
If you want to set up partitions manually, open the following section:
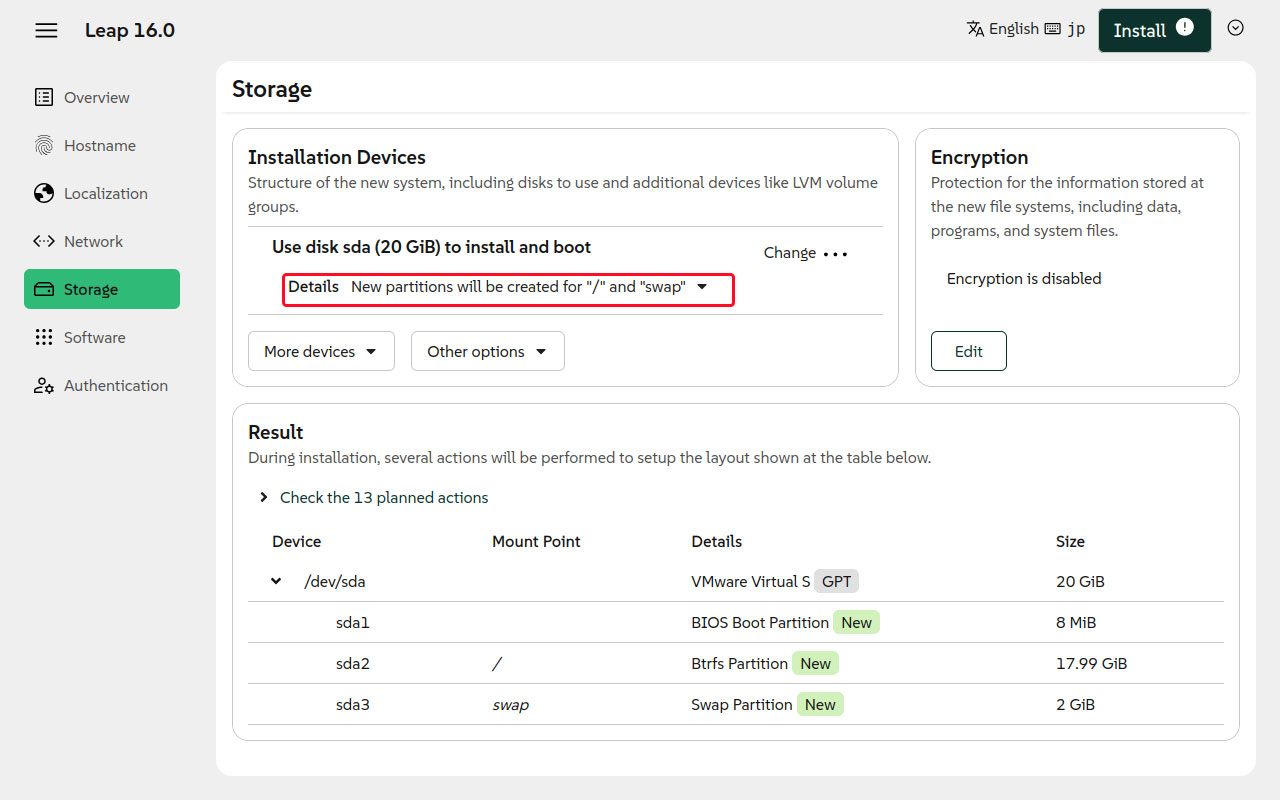
Click the following sections and configure each one.
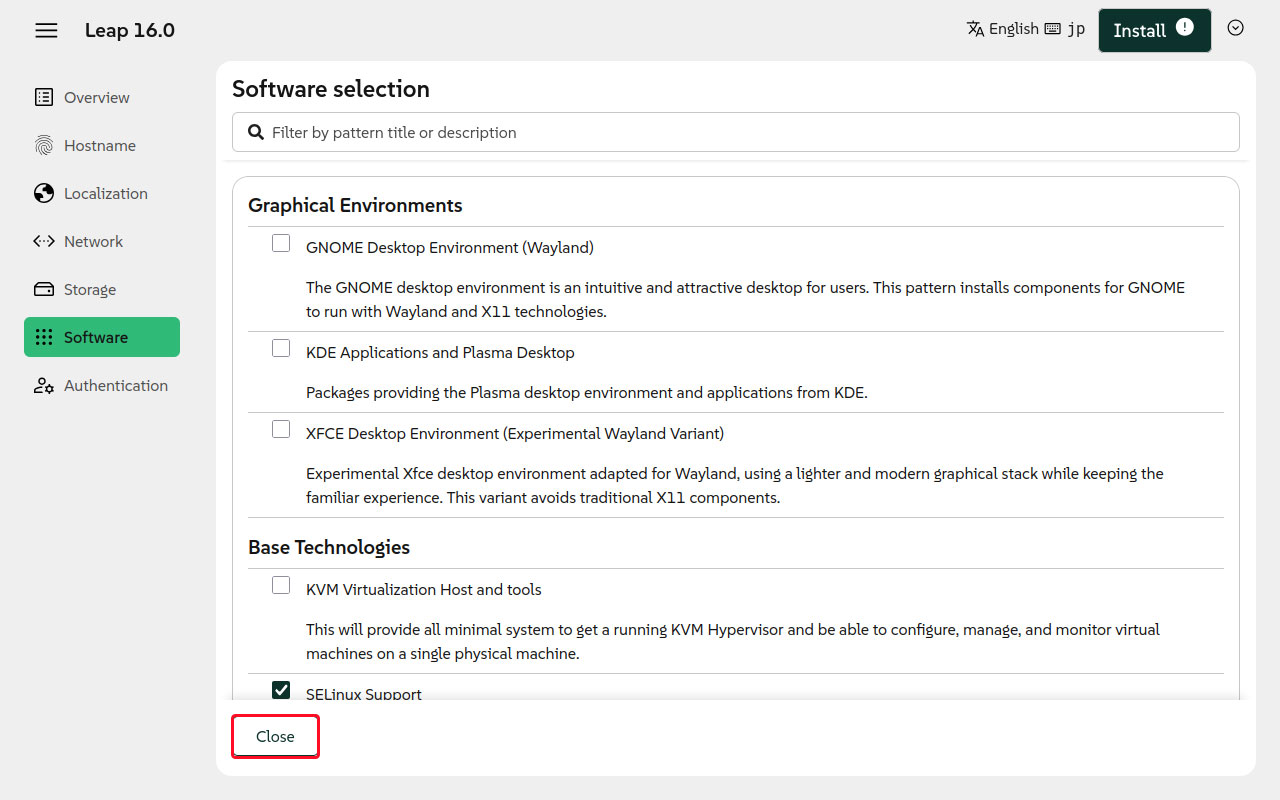
Selecting Software to Install
Click "Change selection"
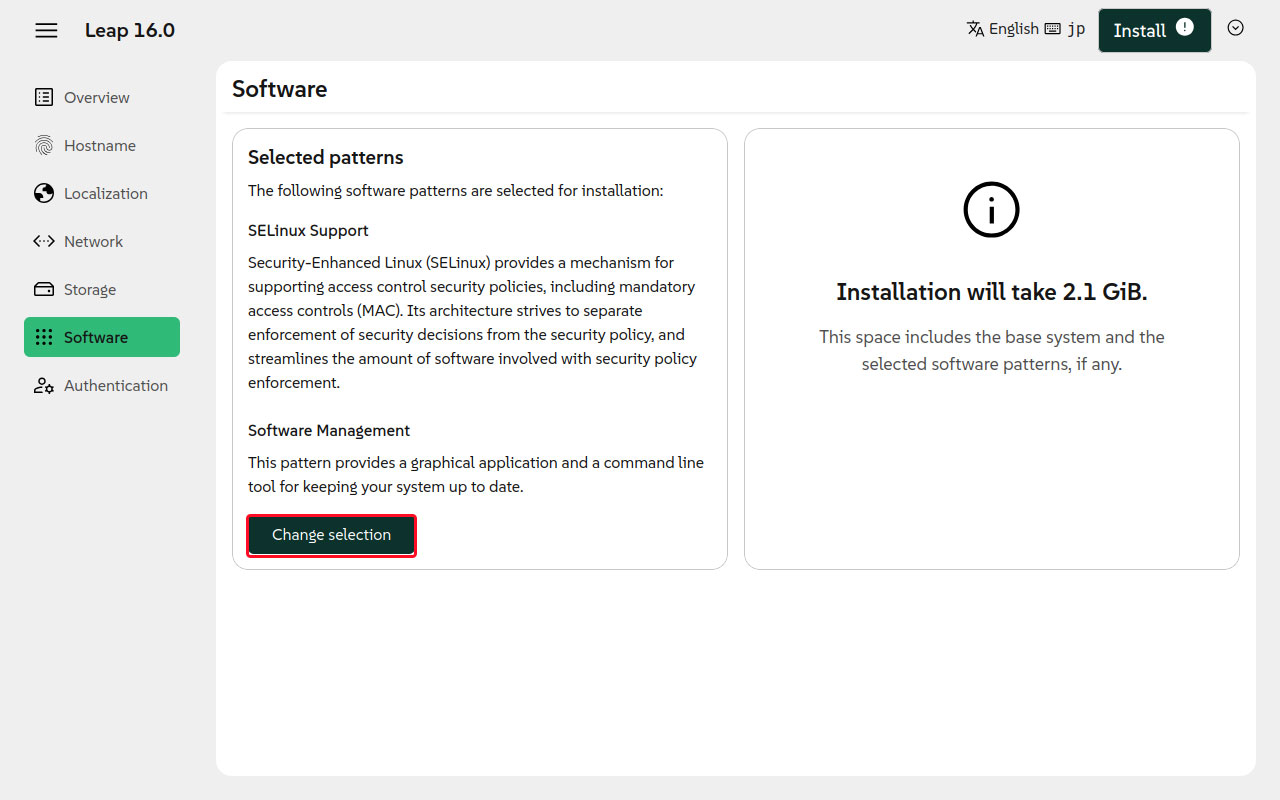
Since we won't be installing a desktop environment this time, we'll proceed with the default settings. Click "Close".
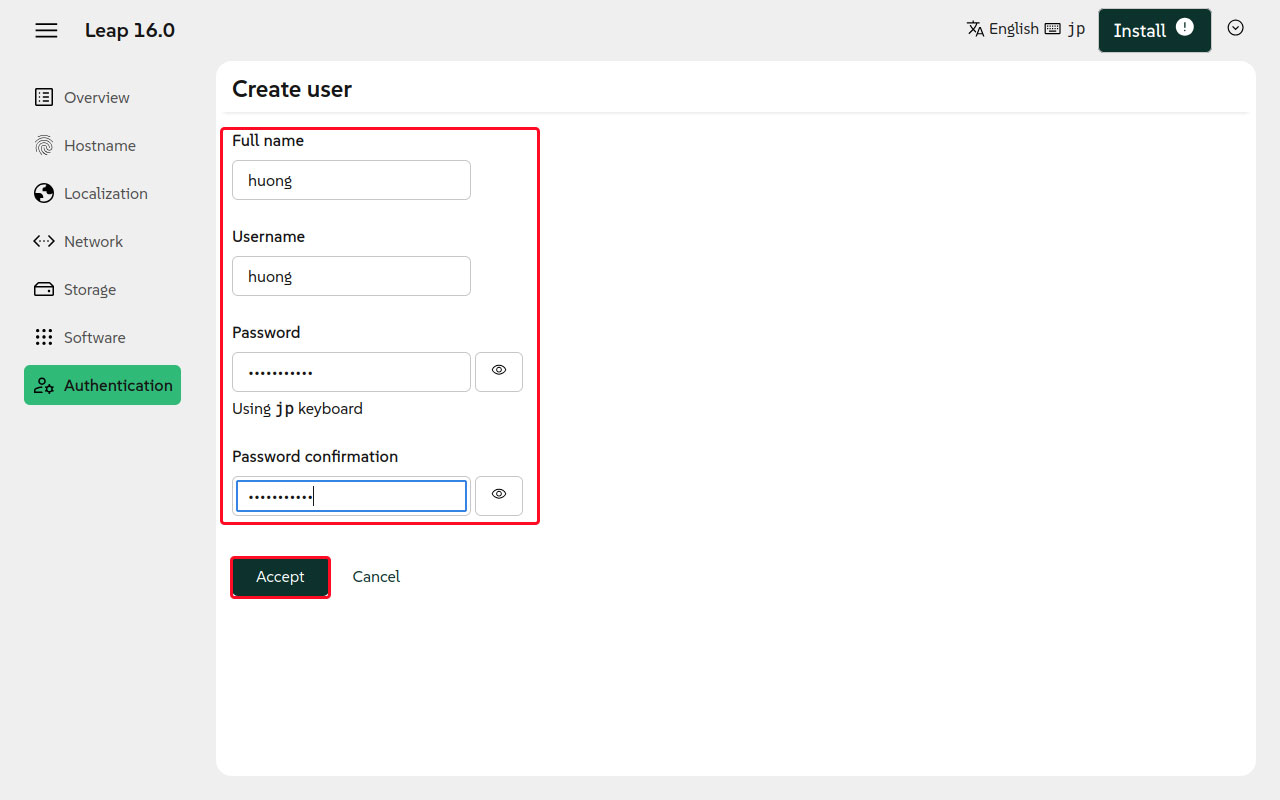
"General User Creation" "General User Password" "Root User Password" Settings
First, create a general user. Click "Define a user now".

Set the following fields and click "Accept".
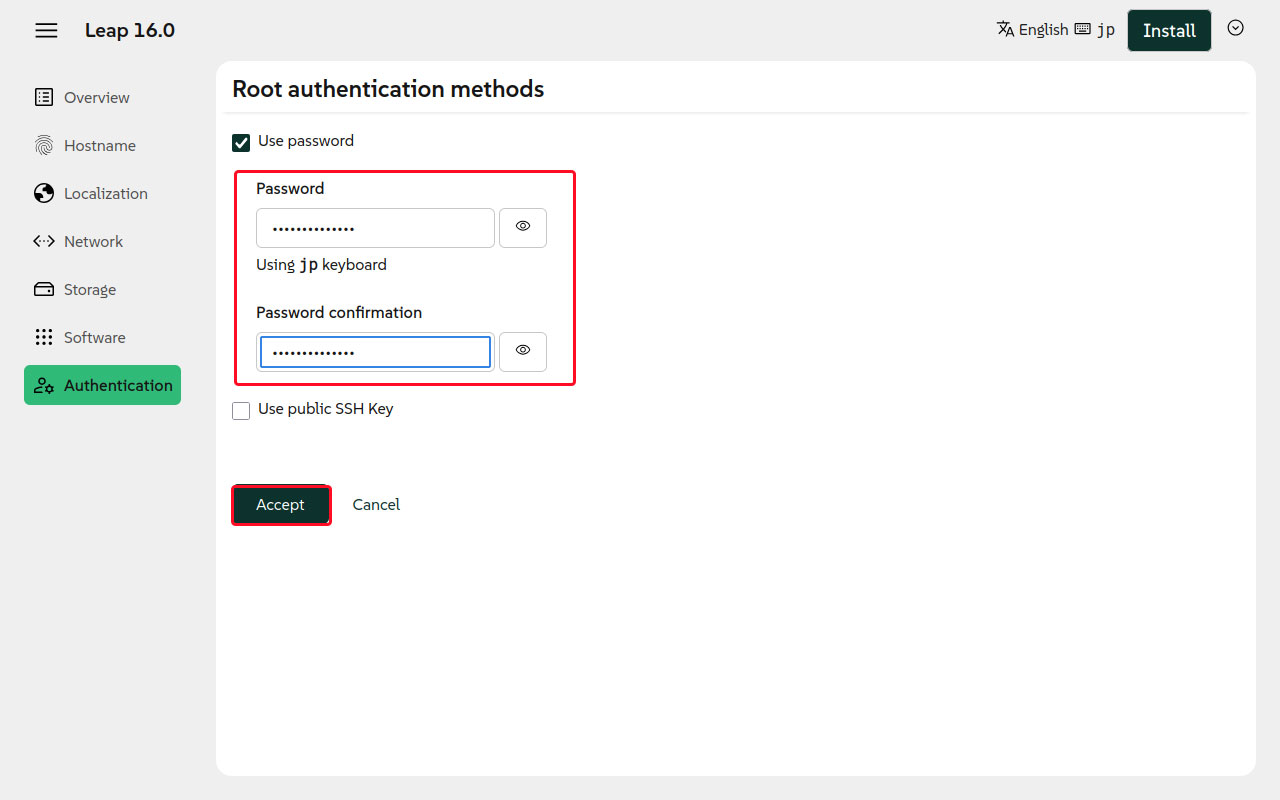
Configure root user settings, click "Edit"
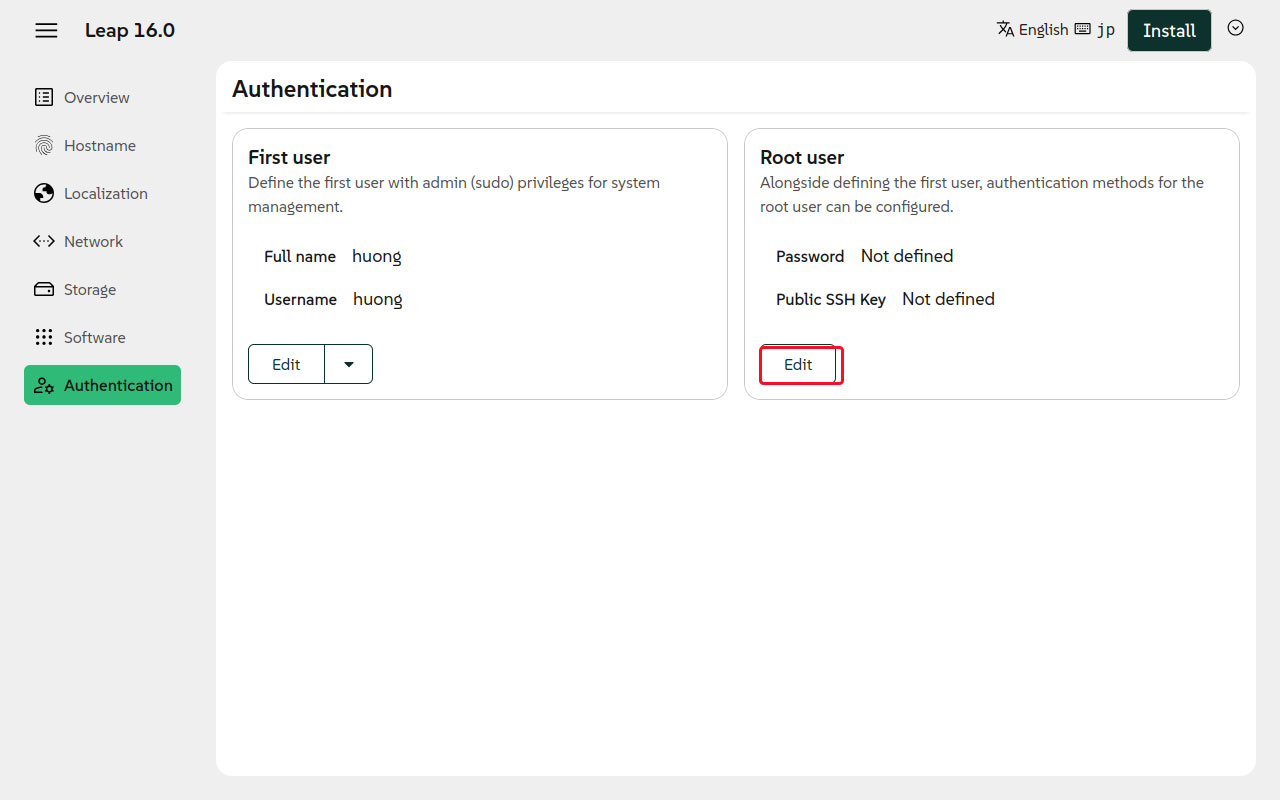
Check the "Use password" box, set a password, and click "Accept".
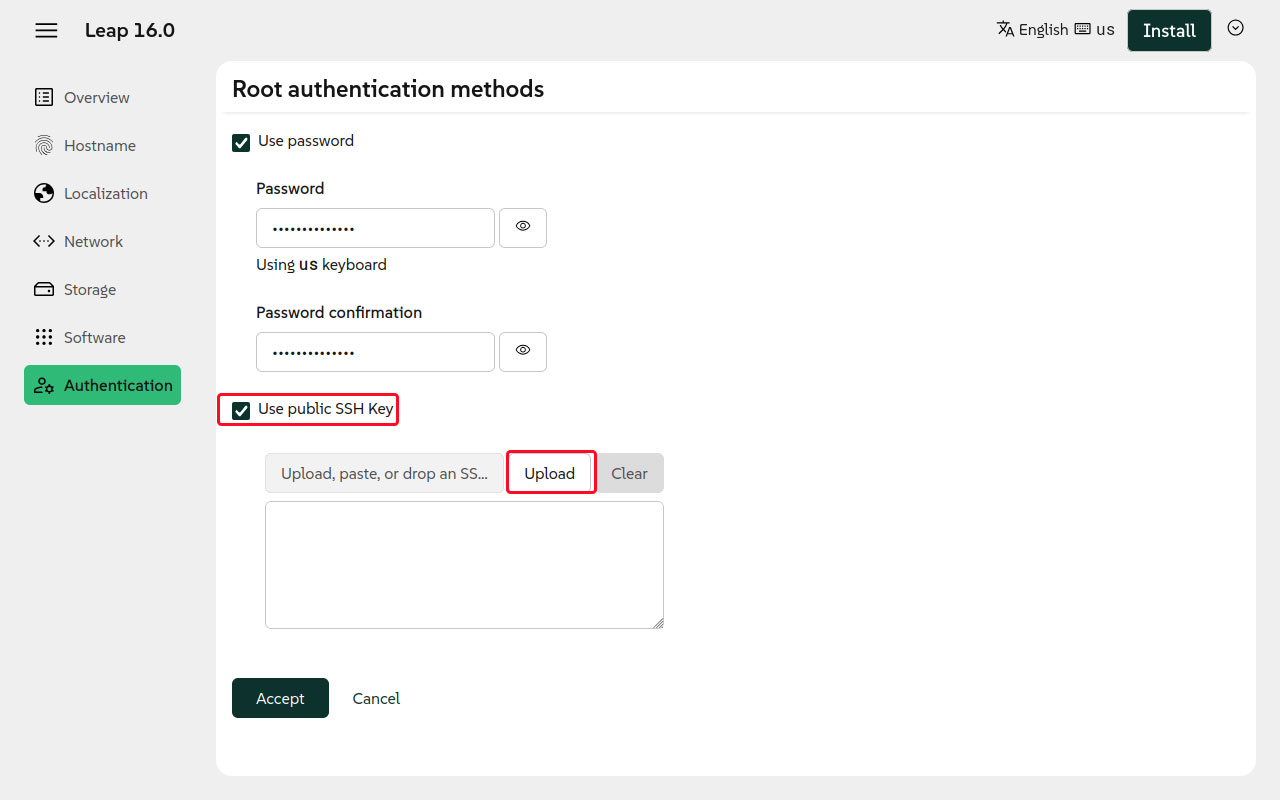
This time, as shown in the figure above, we have not implemented a "public SSH Key." However, if you wish to implement one, check the "public SSH Key" box and click "Upload."
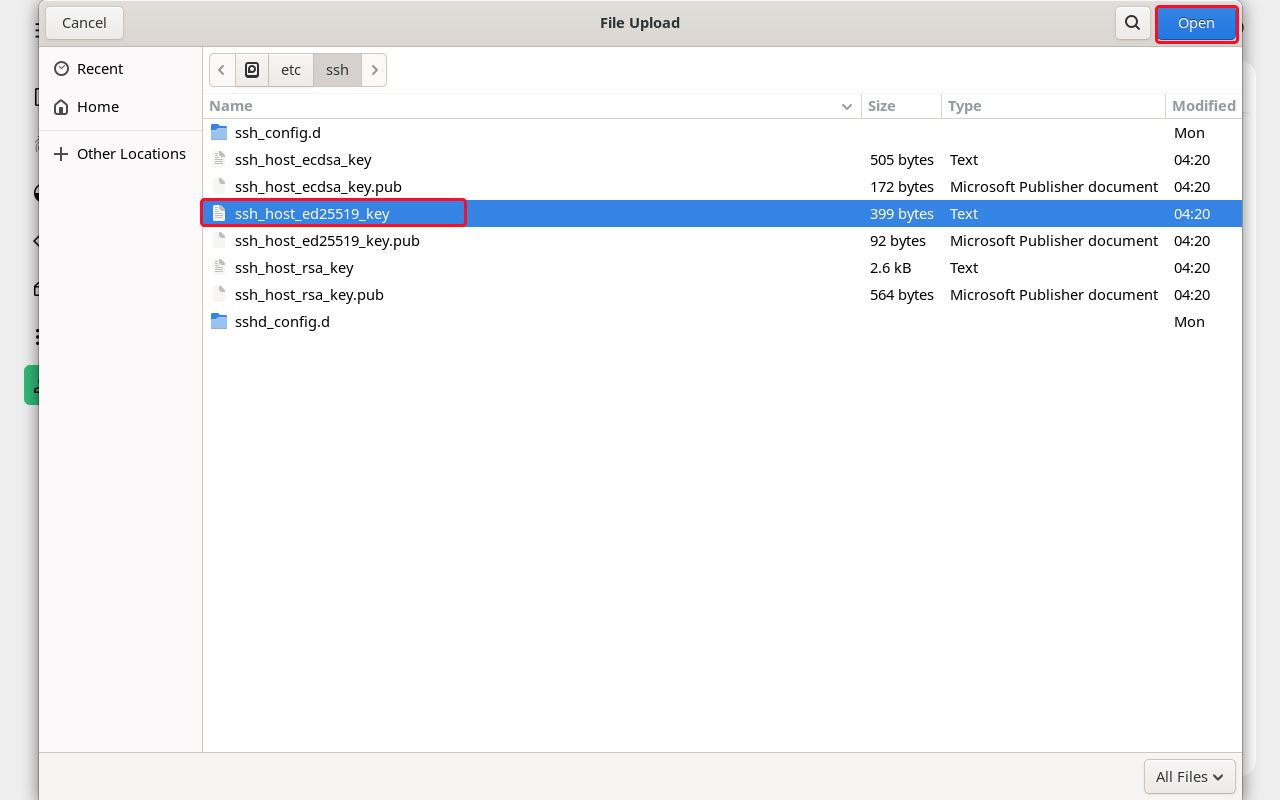
Select any key within /etc/ssh and click "Open".
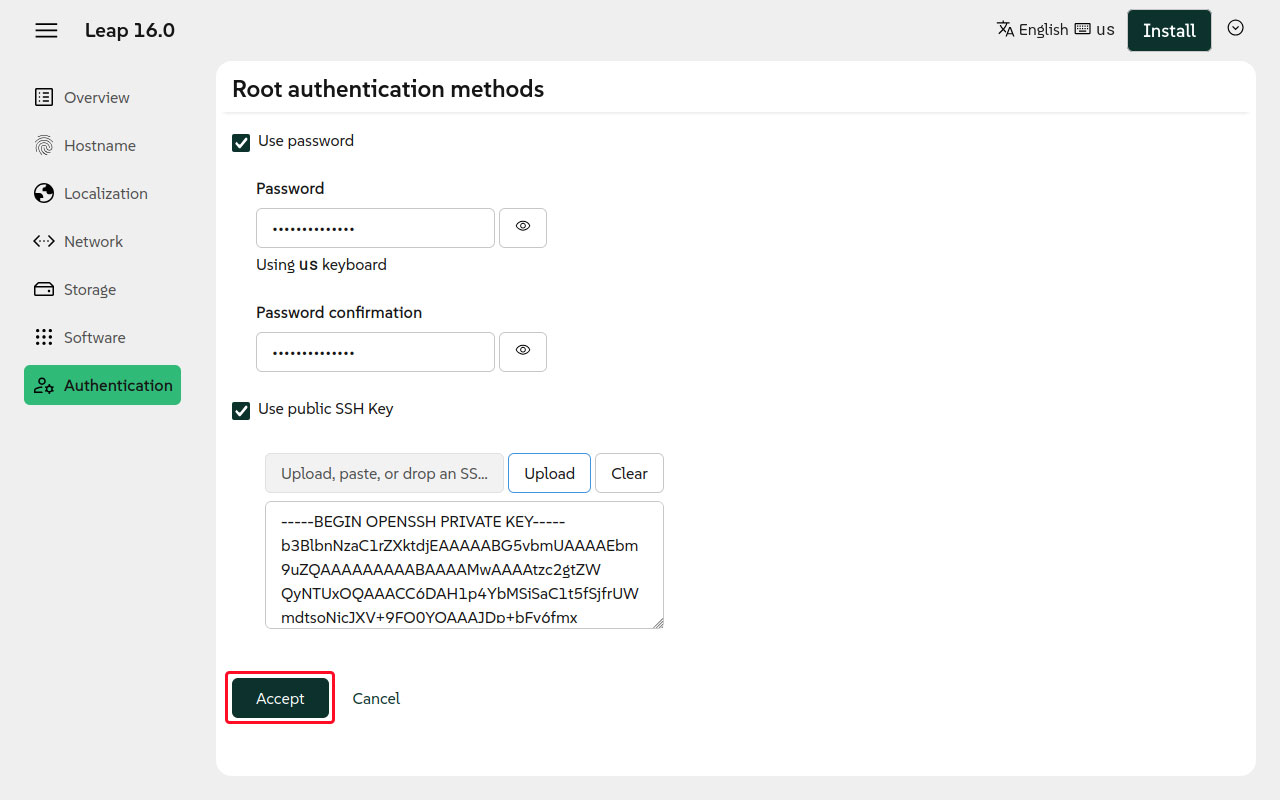
Click "Accept"
Click the "Install" button in the upper-right corner.

Click "Continue"

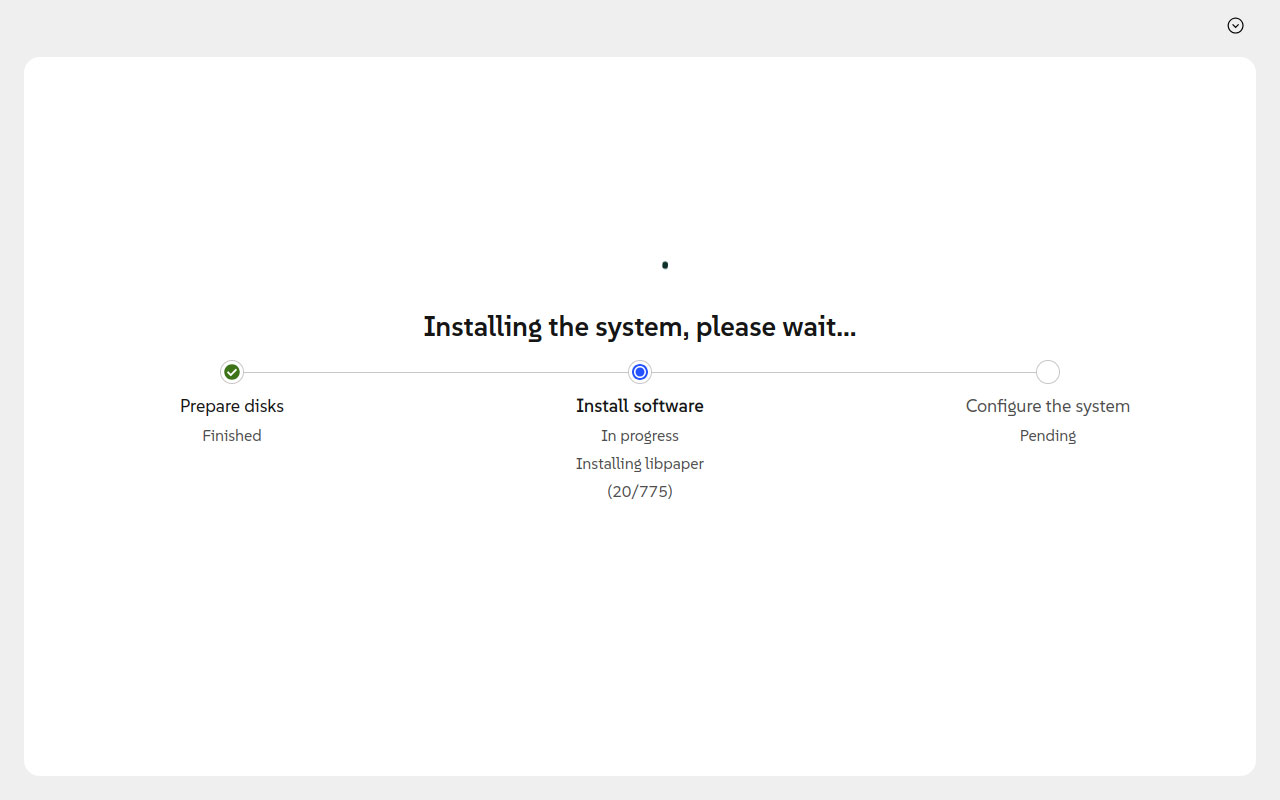
Installation is proceeding
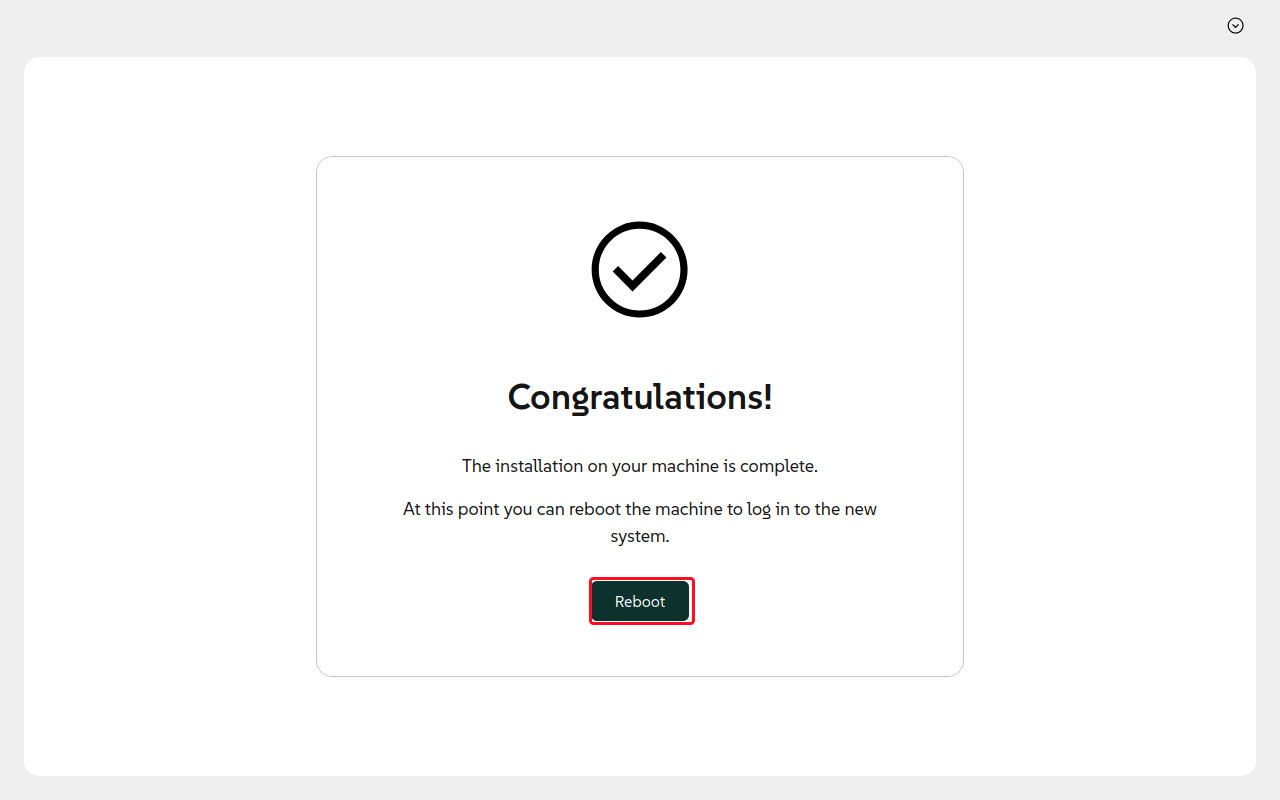
Once the installation is complete, click "Reboot".
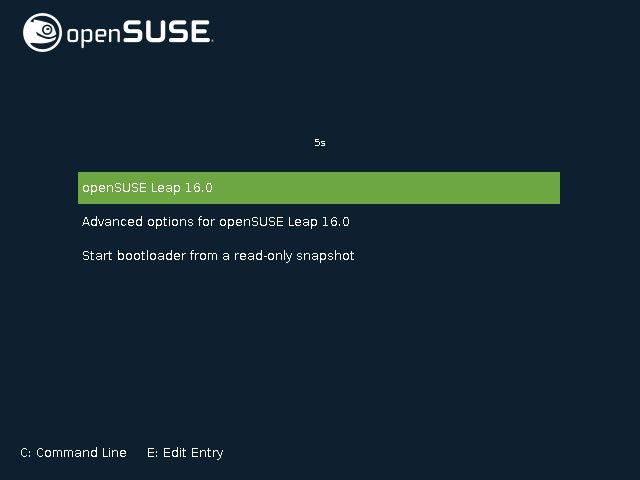
After restarting, the boot loader will appear. Select the top option, "openSUSE Leap 16.0," and press Enter.
Next, we will move on to building a full-fledged server.