FreeBSDとは
FreeBSD(フリービーエスディー)は、UNIXライクなオープンソースのOSソフトウェア。特にネットワークOSとしての稼動実績はLinux系を上回り、高い負荷にも安定したパフォーマンスを維持します。
FreeBSD(フリービーエスディー)は実用性を重視し堅牢で頑丈な設計を施されている点から、大手企業・サービスのFTP、WWW、電子メールサーバなどの運用に適しています。
今回は2023 年 4 月 11 日にリリースされたFreeBSD13.2をインストールし、サーバーの構築を行います。
特徴
高い負荷にも耐えられる高速・高性能なマルチプラットフォーム
大手企業にも多々の採用実績
アクセス制限によりセキュリティ対策を適用できるネットワーク
小規模から大規模までのサーバの運用が可能
商用から個人用途まで33,000を超える専用ソフトウェア
インストール
1.インストールイメージのダウンロード
FreeBSD の配布サイト(http://ftp-archive.freebsd.org/pub/FreeBSD-Archive/old-releases/ISO-IMAGES/) にアクセスし,「FreeBSD-13.2-RELEASE-amd64-dvd1.iso」を選択し、ダウンロードする
2.ブートディスクの作成
ダウンロードしたFreeBSD-13.2-RELEASE-amd64-dvd1.isoからブートディスクを作成する(DVDディスク)
USBメモリーに作成する場合はFreeBSD-13.2-RELEASE-amd64-memstick.imgをダウンロードしてWin32 Disk Imager等Image Writerを利用し、作成する
3.BIOS設定を変更し、作成したブートメディアから起動する
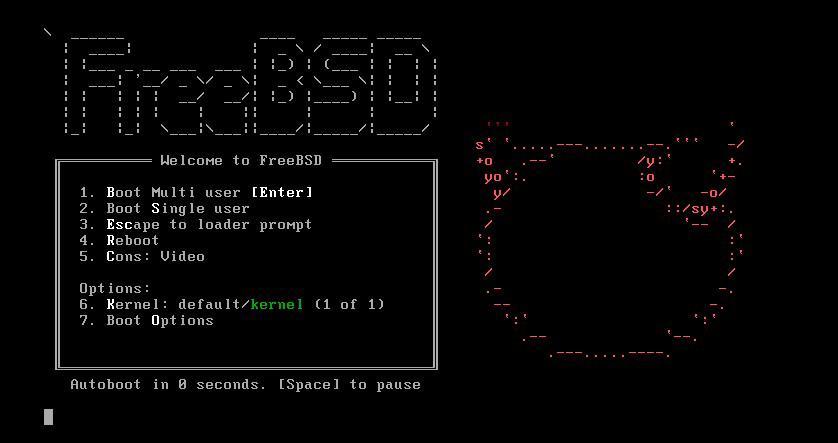
4.起動初期画面
そのままEnter
5.「Install」クリック

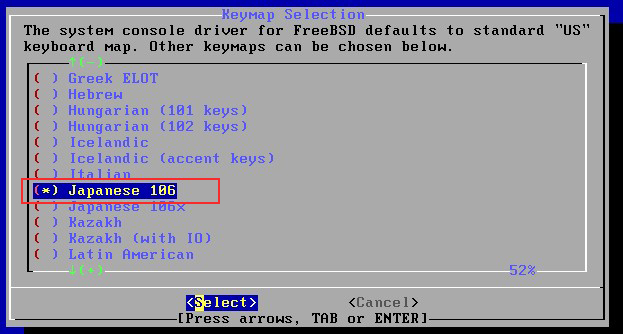
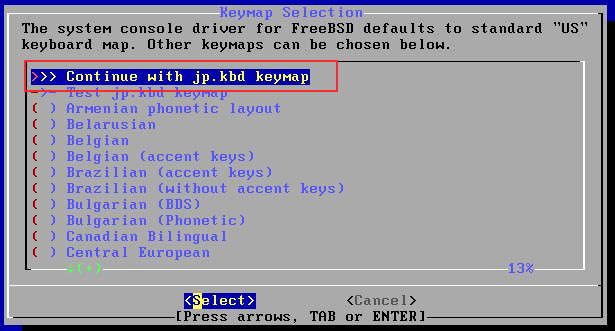
6.keymapの選択
日本語キーボードなら「Japanese 106」をマークし、「Select」クリック
7.「Contunue ---」にカーソルを合わせ「Select」クリック
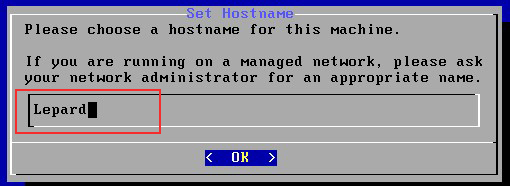
8.ホスト名の設定--Set Hostnameの画面では、任意のホスト名を入力する
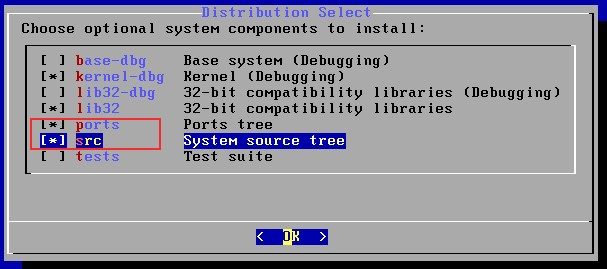
9.ディストリビューションの選択--下記のように「ports」「src」にマークし、OKクリック
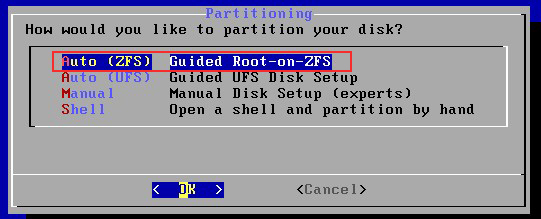
10.ディスクのパーティショニング
「Auto(ZFS)」に設定しOKクリック
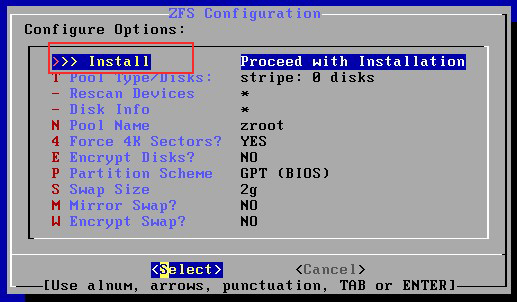
11.ZFS のインストール
「Install」を選び, 「Select」クリック
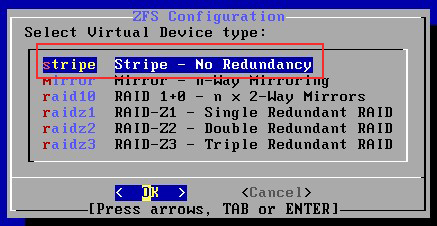
12.バーチャルデバイスタイプの設定
デフォルトのままOKクリック
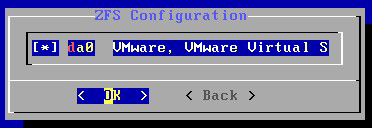
13.ドライブの選択
インストールするディスクを選択し、OKクリック、今回はVmware Workstationにインストールしています
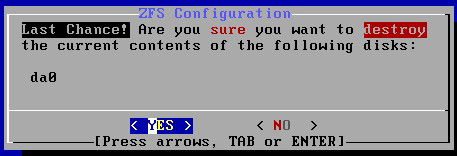
14.最終の確認
よろしければ「YES」クリック
15.インストールが始まります

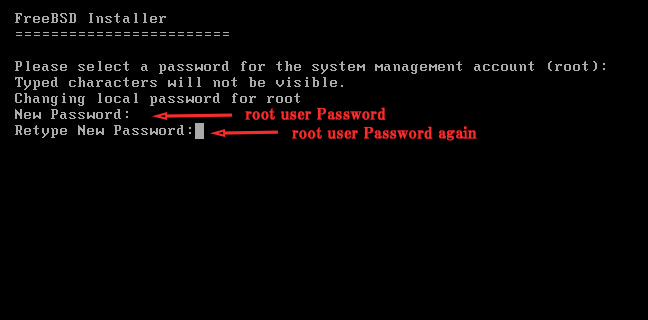
16.root ユーザーのパスワード設定
メモ等に残し忘れないようにする
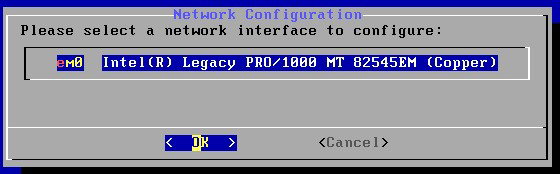
17.ネットワークインタフェースの選択
使用するネットワークインターフェース名を確認し、OKクリック
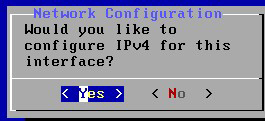
18.IPv4のネットワーク設定を続けることの確認
今回は、Yes を選択
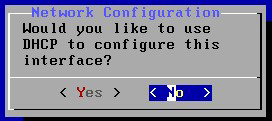
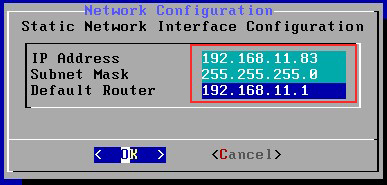
19.ネットワークアドレスは固定 IP アドレスか DHCP かを選ぶ
今回はサーバーを構築するため固定IPアドレスにするため、「No」を選択する
下記のように入力し、OKクリック
・IP Address : 固定したいローカルアドレス(例;192.168.11.83)
・Subnet Mask : 255.255.255.0
・Default Router : 各自のルーターアドレス(例;192.168.11.1)
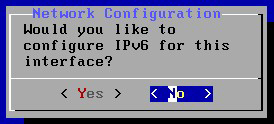
20.IPv6 に関する設定
今回はIPv6を使用しないため 「No」を選択する
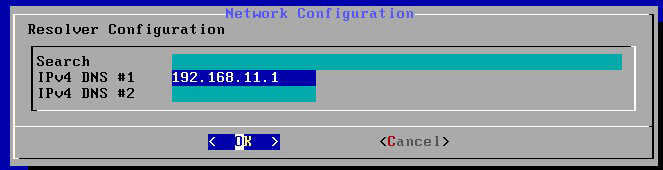
21.DNSサーバーの設定
DNSのアドレス設定
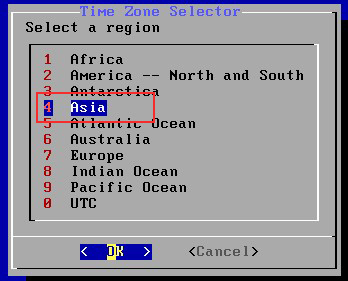
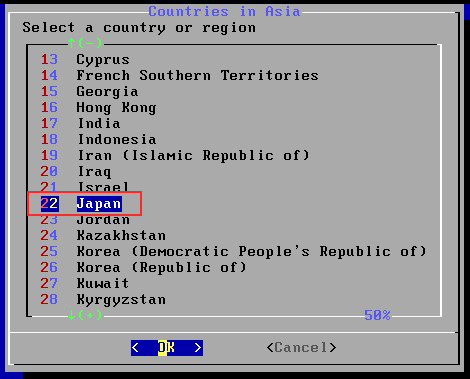
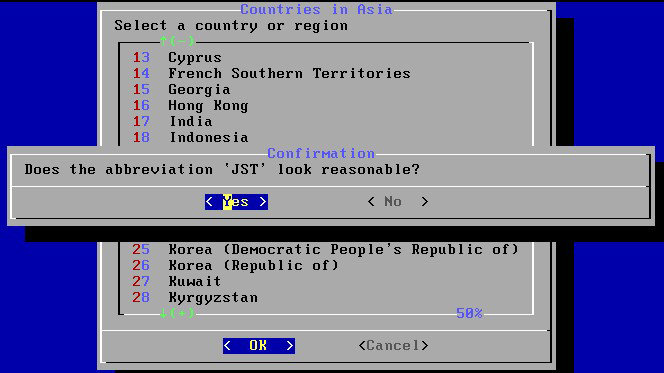
22.タイムゾーンの設定 「4 Asia」、 「22 Japan」を選択
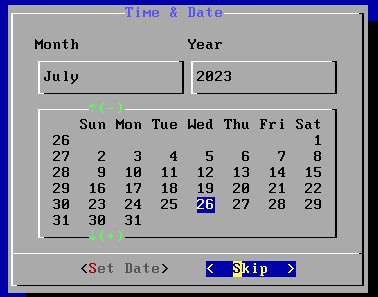
23.日付の設定
確認して、「Skip」クリック
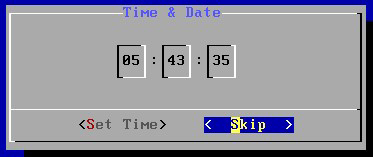
24.時刻の設定
時刻があっていなくても後ほど時刻同期を行いますのでここでは「Skip」をクリック
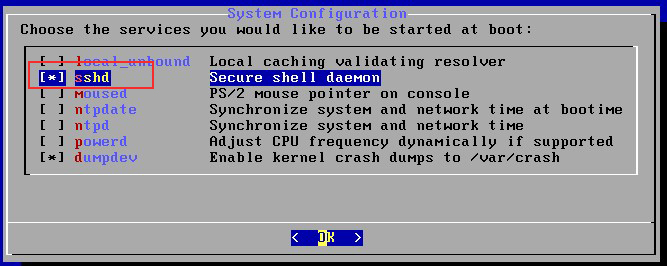
25.システムの設定
「sshd」にマークが入っていることを確認し、 「OK」をクリック.
26.セキュリティの設定
デフォルトのまま「OK」クリック

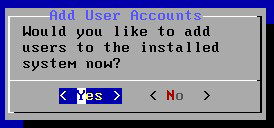
27.一般ユーザを追加するかの問い合わせ
今回は追加するので 「Yes」を選択
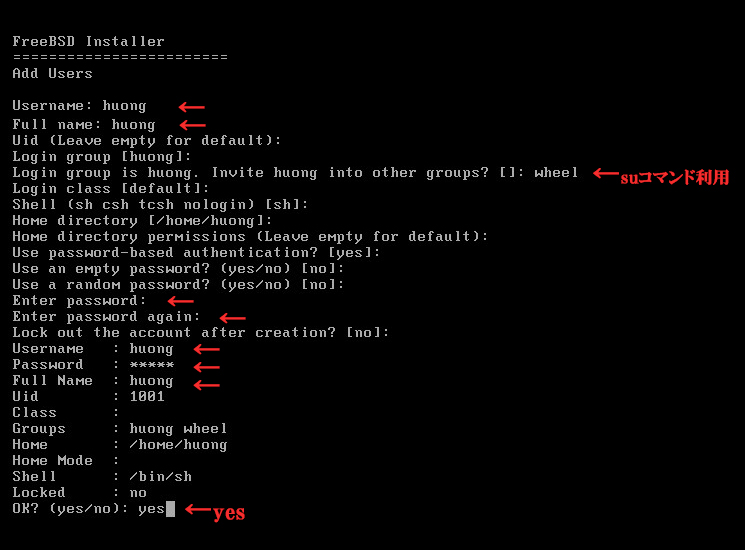
28.一般ユーザーの情報設定
Username : 任意の名称
Full name : 任意の名称
other groups : suコマンドでrootユーザーに切り替えることができるようにするため「wheel」を設定する
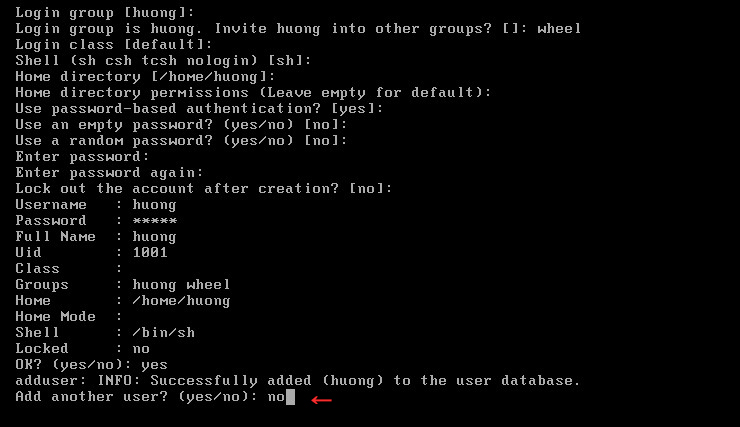
最後に確認し、よろしければ「yes」を入力する
その他はデフォルトでよいので空Enter
別のユーザを追加するか.追加しないなら「no」
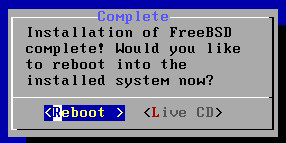
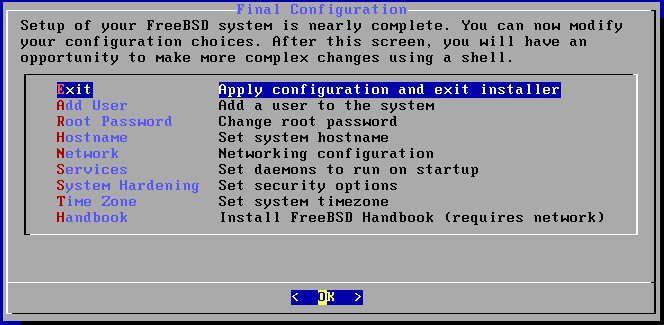
29.終了、再起動
「Exit」を選択し、OKクリック
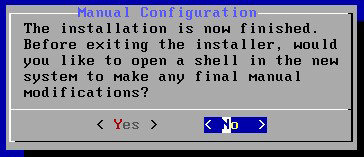
再設定するか問い合わせ、しない場合「No」選択
「Reboot」をクリックすれば再起動します