Contents
1. MariaDBインストール
サーバーのパッケージを更新します
|
1 2 |
# zypper ref # zypper up -y |
1.1 MariaDB インストール
①インストール
|
1 |
# zypper -n install mariadb |
②初期設定
|
1 2 3 4 |
# vi /etc/my.cnf # 12行目 追記 [mysqld] character-set-server=utf8 |
③インストールされているか確認
|
1 2 3 4 5 6 7 8 9 10 11 12 13 14 15 16 17 18 19 20 21 22 23 24 |
# rpm -qi mariadb Name : mariadb Version : 11.8.5 Release : 4.1 Architecture: x86_64 Install Date: Sat 07 Feb 2026 02:30:18 PM JST Group : Productivity/Databases/Servers Size : 134261025 License : SUSE-GPL-2.0-with-FLOSS-exception Signature : RSA/SHA512, Mon 02 Feb 2026 07:29:23 AM JST, Key ID 35a2f86e29b700a4 Source RPM : mariadb-11.8.5-4.1.src.rpm Build Date : Fri 30 Jan 2026 01:39:57 AM JST Build Host : reproducible Packager : https://bugs.opensuse.org Vendor : openSUSE URL : https://www.mariadb.org Summary : Server part of MariaDB Description : MariaDB is an open-source, multi-threaded, relational database management system. It's a backward compatible, drop-in replacement branch of the MySQL Community Server. This package only contains the server-side programs. Distribution: openSUSE Tumbleweed |
④MariaDBサービスの起動と有効化
|
1 |
# systemctl start mariadb |
再起動時にサービスを開始するようにする
|
1 2 3 |
# systemctl enable mariadb Created symlink /etc/systemd/system/mysql.service → /usr/lib/systemd/system/mariadb.service. Created symlink /etc/systemd/system/multi-user.target.wants/mariadb.service → /usr/lib/systemd/system/mariadb.service. |
サービスの状態を確認し、実際に稼働していることを確認する
|
1 2 3 4 5 6 7 8 9 10 11 12 13 14 15 16 17 18 19 20 21 22 23 24 |
# systemctl status mariadb ● mariadb.service - MariaDB database server Loaded: loaded (/usr/lib/systemd/system/mariadb.service; enabled; preset: disabled) Active: active (running) since Sat 2026-02-07 14:32:37 JST; 21s ago Invocation: 05ab3b595910471883a6160e9e8fe9db Docs: man:mysqld(8) https://mariadb.com/kb/en/library/systemd/ Main PID: 4151 (mysqld) Status: "Taking your SQL requests now..." Tasks: 12 (limit: 4558) CPU: 1.278s CGroup: /system.slice/mariadb.service mq4151 /usr/sbin/mysqld --defaults-file=/etc/my.cnf --user=mysql --socket=/run/mysql/mysql.sock Feb 07 14:32:37 Lepard mysql-systemd-helper[4099]: you need to be the system 'mysql' user to connect. Feb 07 14:32:37 Lepard mysql-systemd-helper[4099]: After connecting you can set the password, if you would need to be Feb 07 14:32:37 Lepard mysql-systemd-helper[4099]: able to connect as any of these users with a password and without sudo Feb 07 14:32:37 Lepard mysql-systemd-helper[4099]: See the MariaDB Knowledgebase at https://mariadb.com/kb Feb 07 14:32:37 Lepard mysql-systemd-helper[4099]: Please report any problems at https://mariadb.org/jira Feb 07 14:32:37 Lepard mysql-systemd-helper[4099]: The latest information about MariaDB is available at https://mariadb.org/. Feb 07 14:32:37 Lepard mysql-systemd-helper[4099]: Consider joining MariaDB's strong and vibrant community: Feb 07 14:32:37 Lepard mysql-systemd-helper[4099]: https://mariadb.org/get-involved/ Feb 07 14:32:37 Lepard mysql-systemd-helper[4151]: /usr/sbin/mysqld: Deprecated program name. It will be removed in a future release> Feb 07 14:32:37 Lepard systemd[1]: Started MariaDB database server. |
Active: active (running) サービスが稼働中であることを示します
⑤MariaDBのインストールのセキュリティー
MariaDBサーバーのrootユーザーのパスワードを変更しておきます。
|
1 2 3 4 5 6 7 8 9 10 11 12 13 14 15 16 17 18 19 20 21 22 23 24 25 26 27 28 29 30 31 32 33 34 35 36 37 38 39 40 41 42 43 44 45 46 47 48 49 50 51 52 53 54 55 56 57 58 59 60 61 62 63 64 65 66 67 68 69 |
# mysql_secure_installation NOTE: RUNNING ALL PARTS OF THIS SCRIPT IS RECOMMENDED FOR ALL MariaDB SERVERS IN PRODUCTION USE! PLEASE READ EACH STEP CAREFULLY! In order to log into MariaDB to secure it, we'll need the current password for the root user. If you've just installed MariaDB, and haven't set the root password yet, you should just press enter here. Enter current password for root (enter for none): [Enter] OK, successfully used password, moving on... Setting the root password or using the unix_socket ensures that nobody can log into the MariaDB root user without the proper authorisation. You already have your root account protected, so you can safely answer 'n'. Switch to unix_socket authentication [Y/n] y Enabled successfully! Reloading privilege tables.. ... Success! You already have your root account protected, so you can safely answer 'n'. Change the root password? [Y/n] y New password: [Password] Re-enter new password: [Password again] Password updated successfully! Reloading privilege tables.. ... Success! By default, a MariaDB installation has an anonymous user, allowing anyone to log into MariaDB without having to have a user account created for them. This is intended only for testing, and to make the installation go a bit smoother. You should remove them before moving into a production environment. Remove anonymous users? [Y/n] y ... Success! Normally, root should only be allowed to connect from 'localhost'. This ensures that someone cannot guess at the root password from the network. Disallow root login remotely? [Y/n] y ... Success! By default, MariaDB comes with a database named 'test' that anyone can access. This is also intended only for testing, and should be removed before moving into a production environment. Remove test database and access to it? [Y/n] y - Dropping test database... ... Success! - Removing privileges on test database... ... Success! Reloading the privilege tables will ensure that all changes made so far will take effect immediately. Reload privilege tables now? [Y/n] y ... Success! Cleaning up... All done! If you've completed all of the above steps, your MariaDB installation should now be secure. Thanks for using MariaDB! |
⑥MariaDBのバージョン確認
|
1 2 |
# mariadb -V mariadb from 11.8.5-MariaDB, client 15.2 for Linux (x86_64) using EditLine wrapper |
⑦Firewalld を有効にしている 且つ リモートから MariaDB を利用する場合はサービスの許可
|
1 2 3 4 |
# firewall-cmd --add-service=mysql --permanent success # firewall-cmd --reload success |
1.2 phpMyAdmin インストール
phpMyAdmin をインストールして、Web ブラウザ経由で MariaDB の操作ができるように設定
①インストール
|
1 2 3 |
# zypper install phpMyAdmin # systemctl restart apache2 |
②ブラウザで http://<IPアドレス>/phpMyAdmin にアクセスする
下記のログイン画面が表示されるので
Username : root
Password: MariaDBのセキュリティーインストールで設定したrootユーザーのパスワード
Go クリック
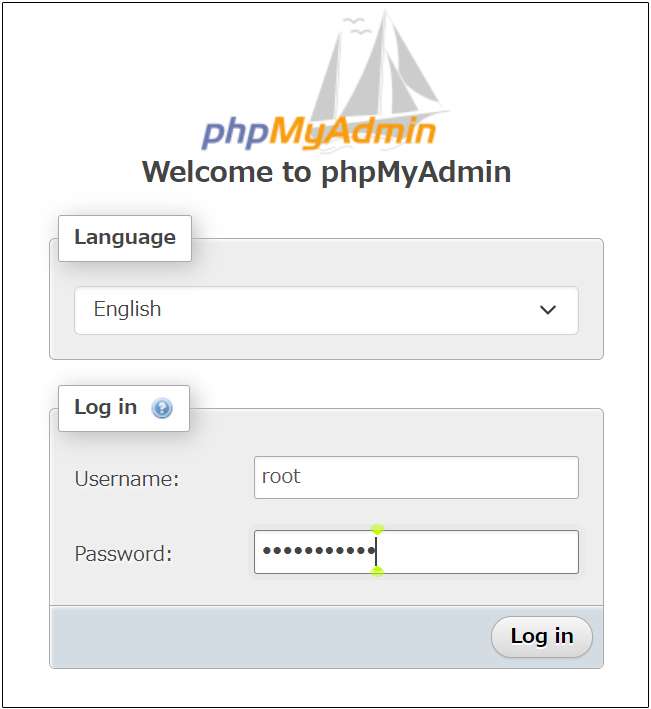
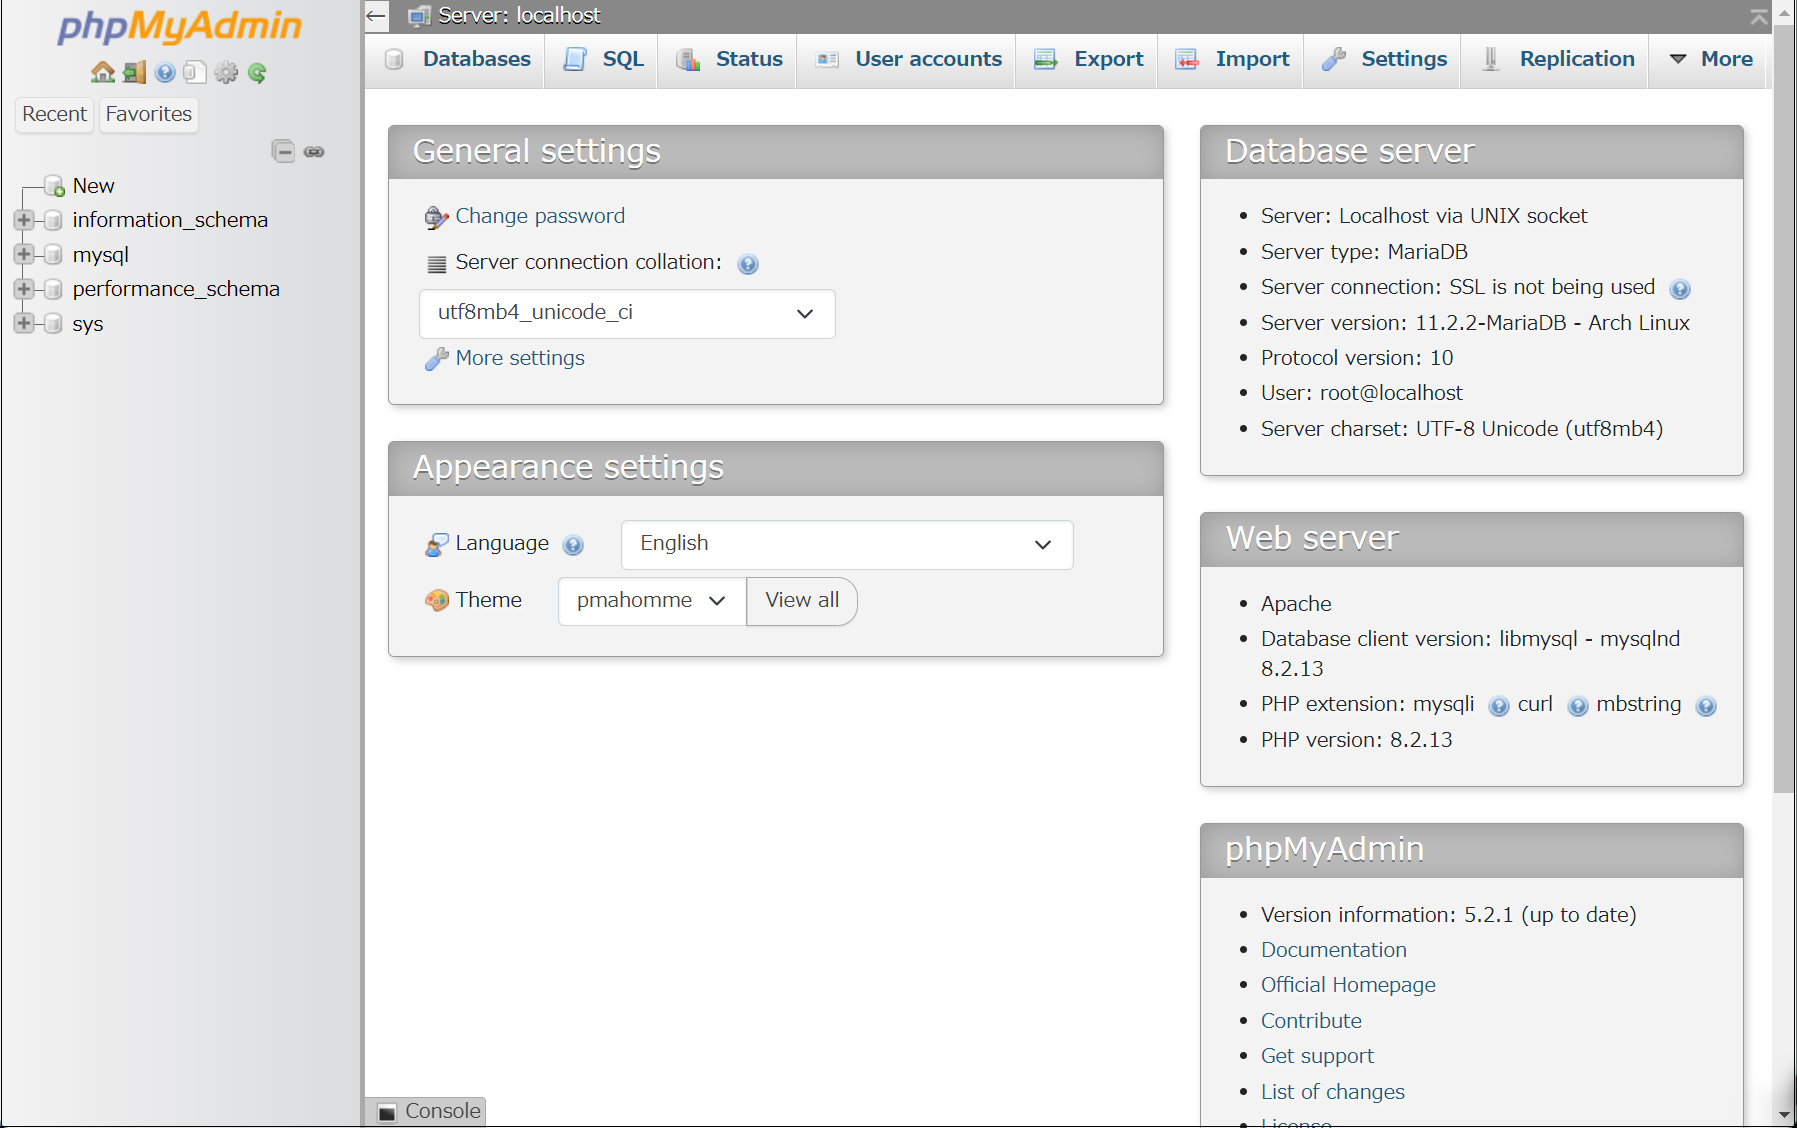
下記phpMyAdminの設定画面が表示される
1.3 MariaDB データベース+ユーザー作成例
次にインストールするwordpress用ユーザー、パスワード、データベースを作成してみる
database : wp_db
user : wp_user
password : ?WHxx333Yo
|
1 2 3 4 5 6 7 8 9 10 11 12 13 14 15 16 17 18 19 20 21 22 23 24 25 |
# mariadb -u root -p Enter password: Welcome to the MariaDB monitor. Commands end with ; or \g. Your MariaDB connection id is 37 Server version: 11.8.2-MariaDB MariaDB package Copyright (c) 2000, 2018, Oracle, MariaDB Corporation Ab and others. Type 'help;' or '\h' for help. Type '\c' to clear the current input statement. MariaDB [(none)]> create database wp_db; Query OK, 1 row affected (0.001 sec) MariaDB [(none)]> create user 'wp_user'@'localhost' identified by '?WHxx333Yo'; Query OK, 0 rows affected (0.002 sec) MariaDB [(none)]> grant all on wp_db.* to 'wp_user'@'localhost'; Query OK, 0 rows affected (0.001 sec) MariaDB [(none)]> flush privileges; Query OK, 0 rows affected (0.000 sec) MariaDB [(none)]> exit; Bye |
2. WordPress インストール
2.1 必要なライブラリーインストール
|
1 |
# zypper install -n php8-gd php8-pdo php8-mysql php8-mbstring php8-curl apache2-mod_php8 |
2.2 WordPressダウンロードとインストール
|
1 2 3 |
# cd /srv/www/htdocs/[FQDN] # wget http://wordpress.org/latest.tar.gz # tar zxvf latest.tar.gz |
2.3 設定ファイルの編集
|
1 2 |
# cd /srv/www/htdocs/[FQDN]/wordpress/ # cp wp-config-sample.php wp-config.php |
|
1 2 3 4 5 6 7 8 9 10 11 12 13 14 15 |
# vi wp-config.php /** The name of the database for WordPress */ define( 'DB_NAME', 'wp_db' ); [データベース名] /** Database username */ define( 'DB_USER', 'wp_user' ); [ユーザー名] /** Database password */ define( 'DB_PASSWORD', '?WHxx333Yo' ); [パスワード] /** Database hostname */ また、最終行に以下の分を追加します。 これをしないと、プラグインを追加するときにFTP接続情報なるものを聞かれます。 define('FS_METHOD', 'direct'); |
/srv/www/htdocs/[web公開ディレクトリー]の下に展開した中身を移動します
|
1 2 |
# cd /srv/www/htdocs/[FQDN] # mv wordpress/* . |
移動されたことを確認後 wordpressディレクトリーとダウンロードしたlatest.tar.gzを削除
|
1 2 3 |
# cd /srv/www/htdocs/[FQDN] # rm -Rf wordpress # rm latest.tar.gz |
wordpressディレクトリの所有者をapacheにします。
これをしないとプラグインのインストールなどの際に、ディレクトリを作成できないとか言われてしまします。
|
1 2 |
# chown -R wwwrun:wwwrun /srv/www/htdocs/[FQDN] # chmod 775 -R /srv/www/htdocs/[FQDN] |
|
1 |
# systemctl restart apache2 |
2.4 起動確認
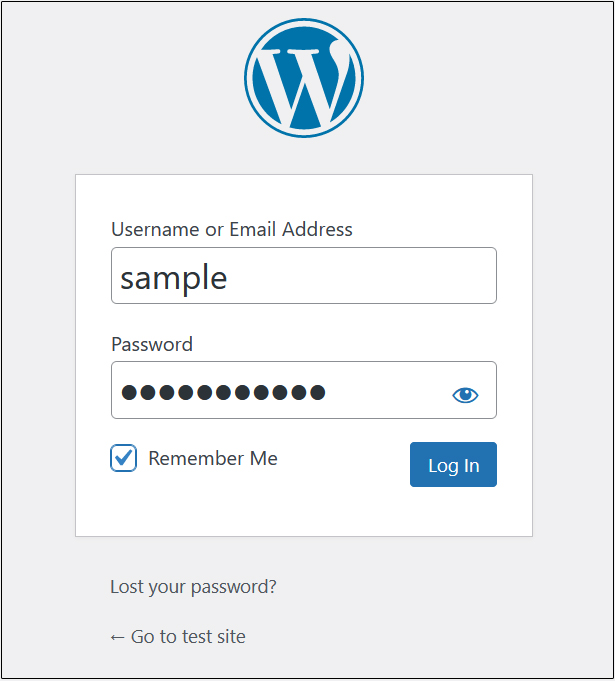
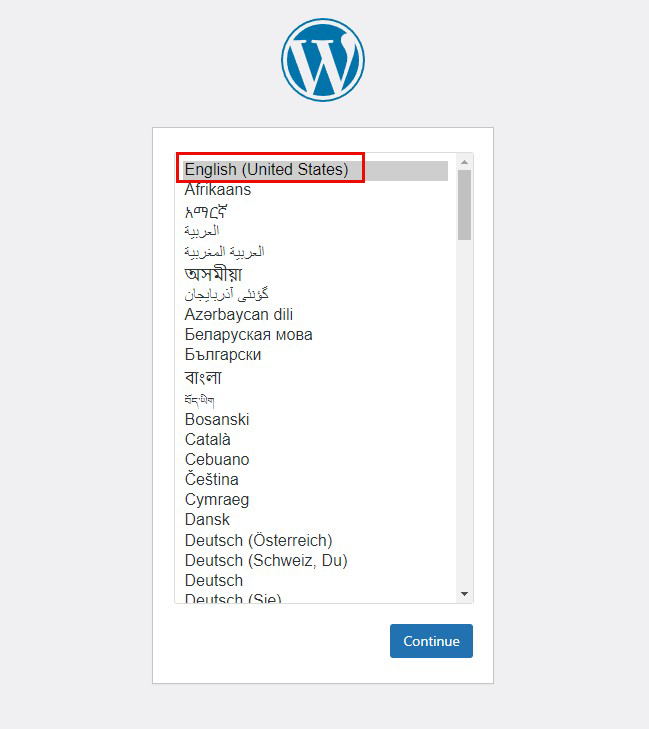
ブラウザで http://<サーバー名>/wp-admin/install.php に接続し、ユーザー名、パスワード等必要事項を入力し、インストールを開始してください
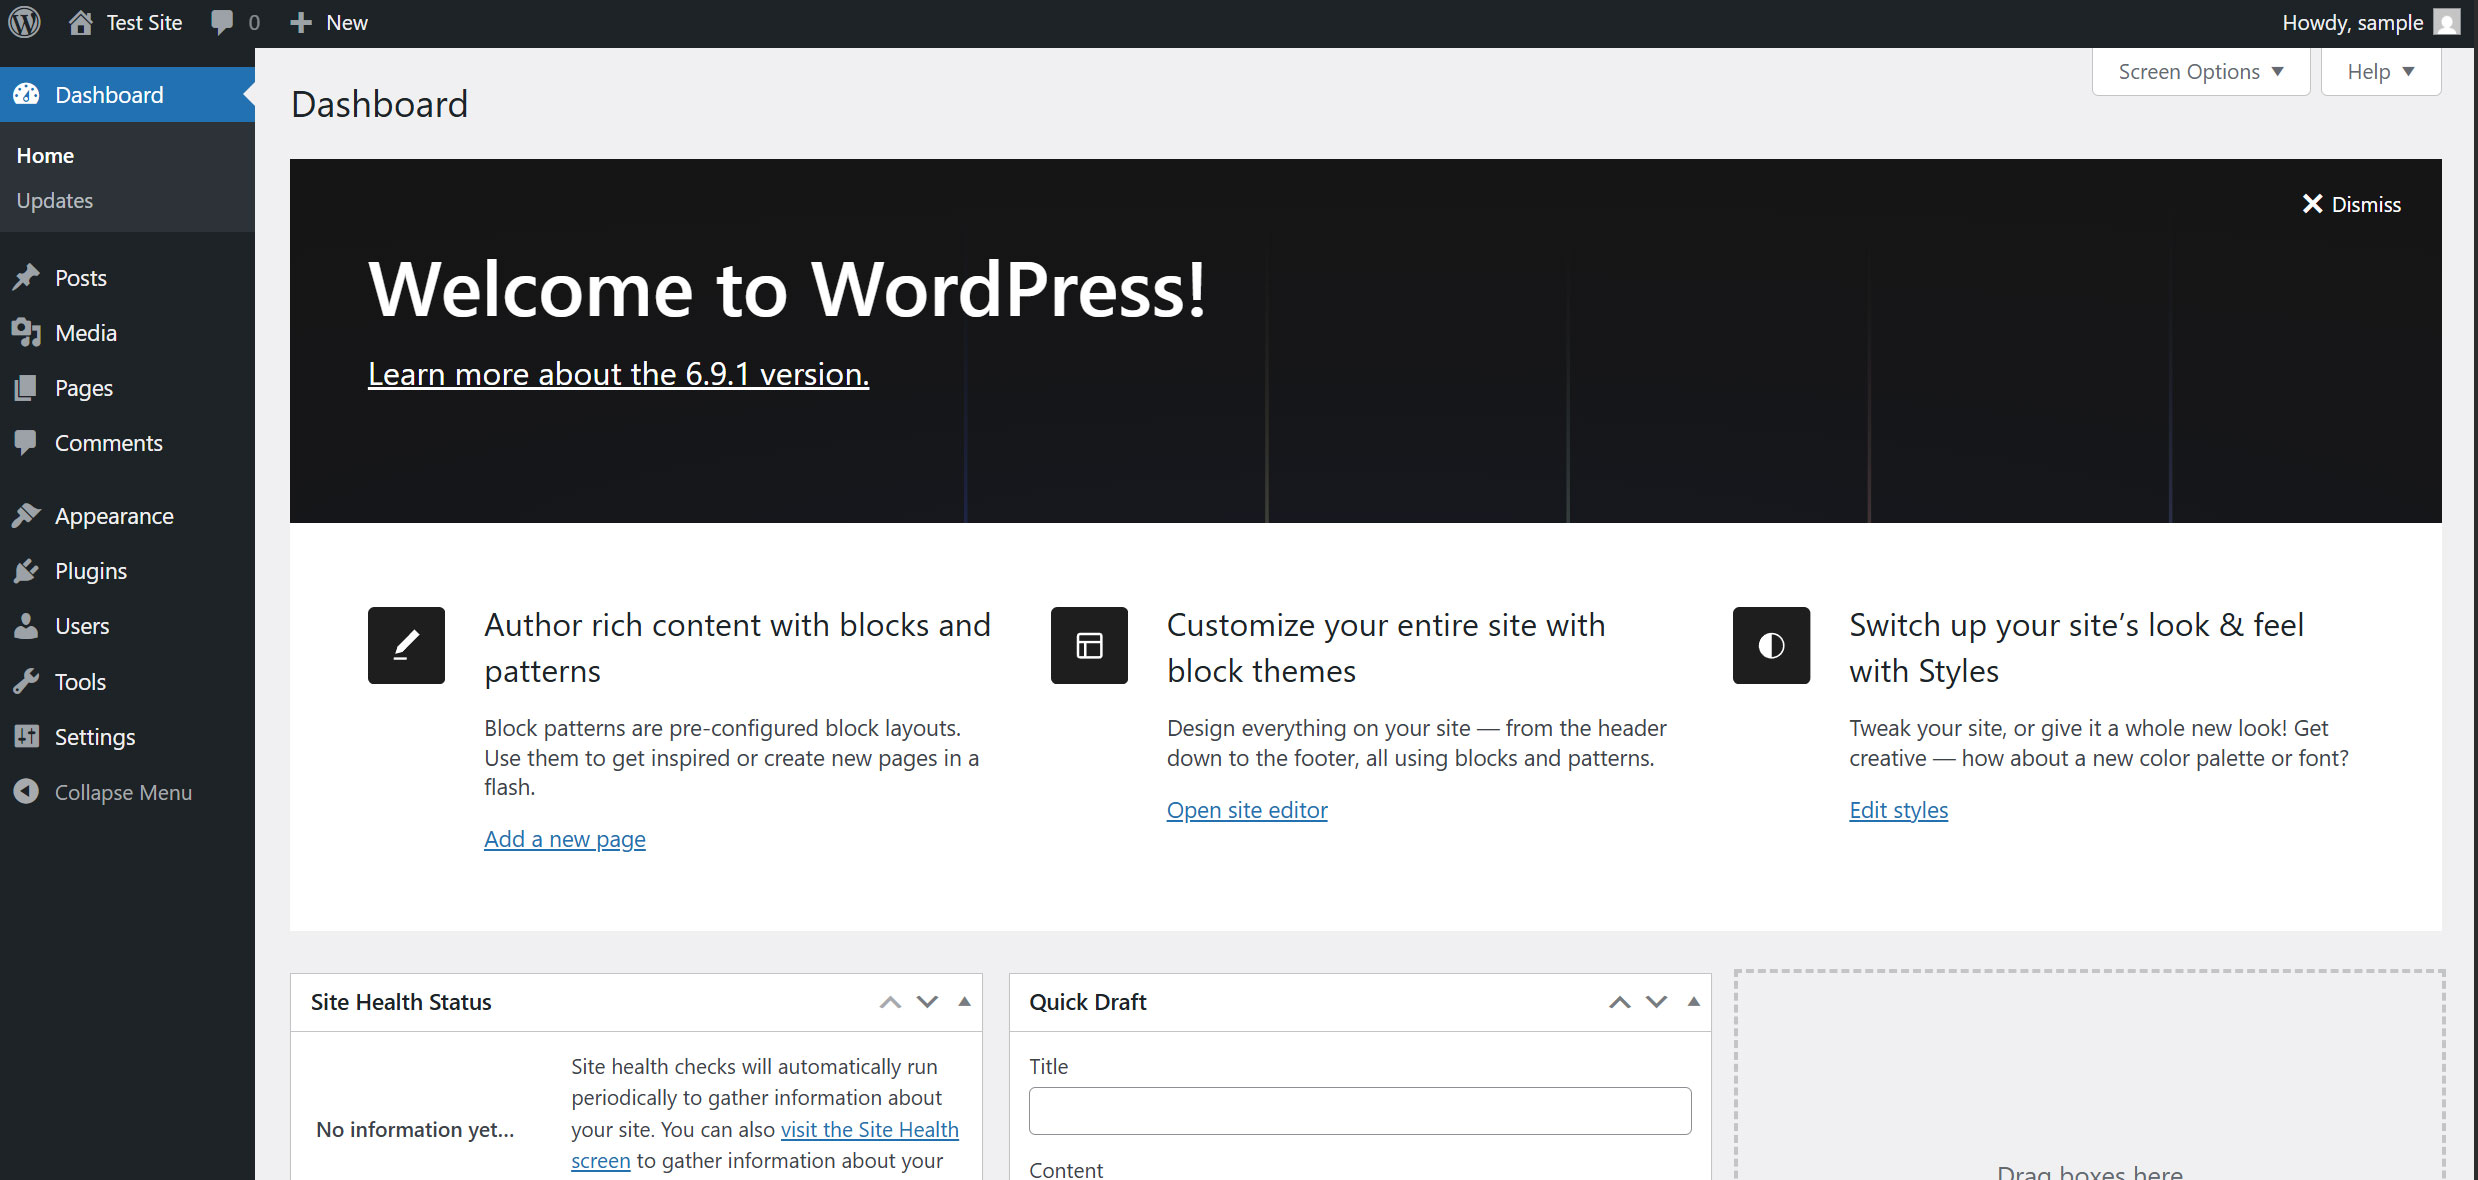
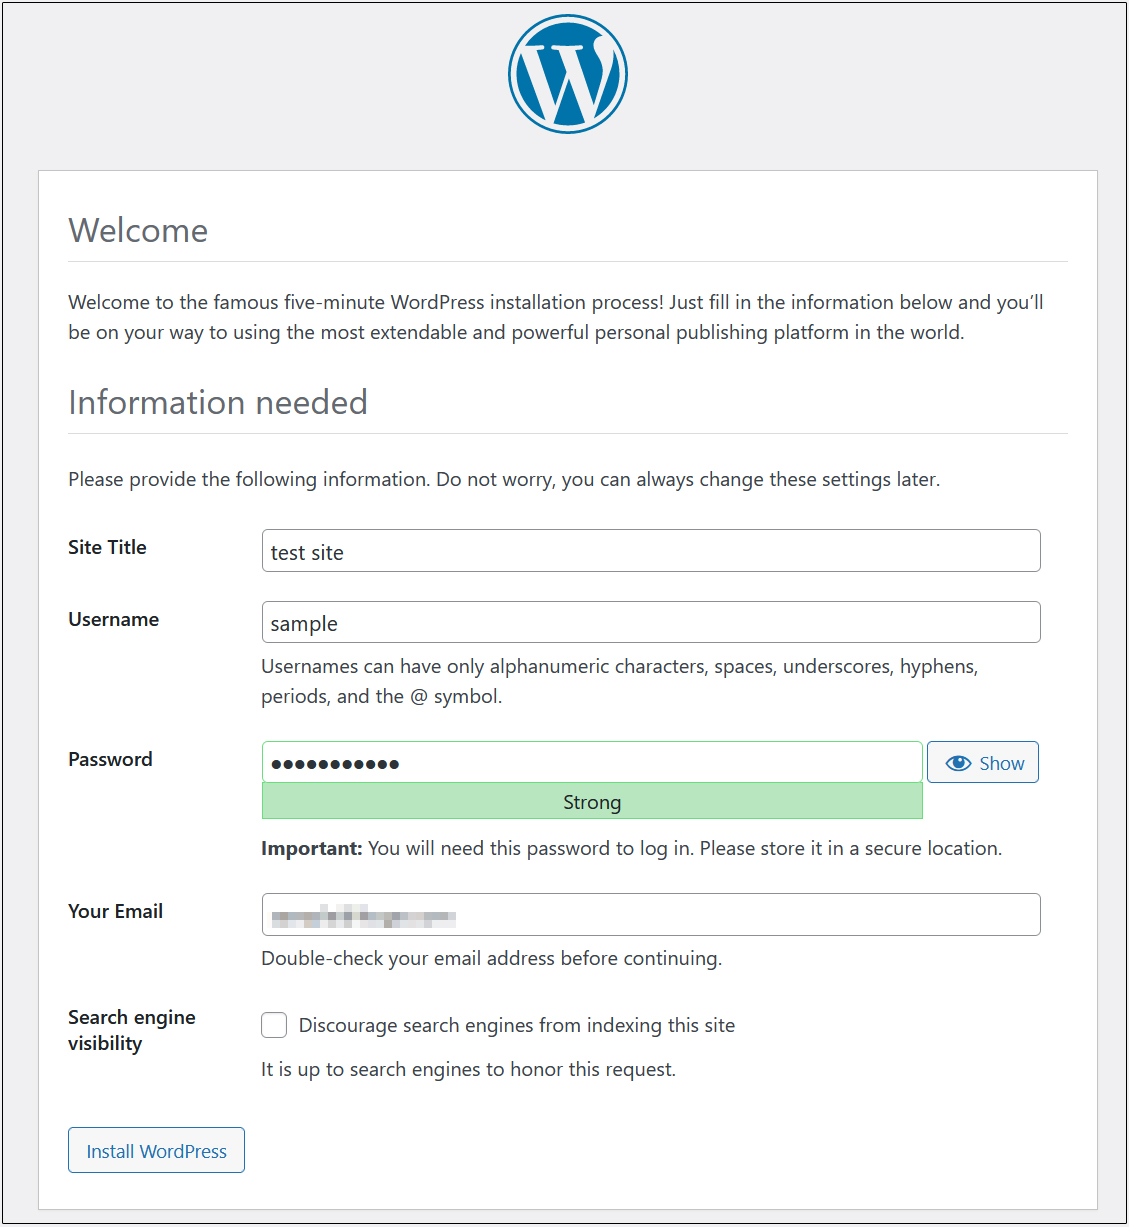
通常は、これで下図のWordpress管理画面にアクセスする「ユーザー名」「パスワード」等初期設定インストール画面が表示されますので
Site Title : 任意のタイトル
Username : 任意のユーザー名
Password : 任意のパスワード
Your Email : 管理者のメールアドレス
を入力し、「WordPressをインストール」クリック
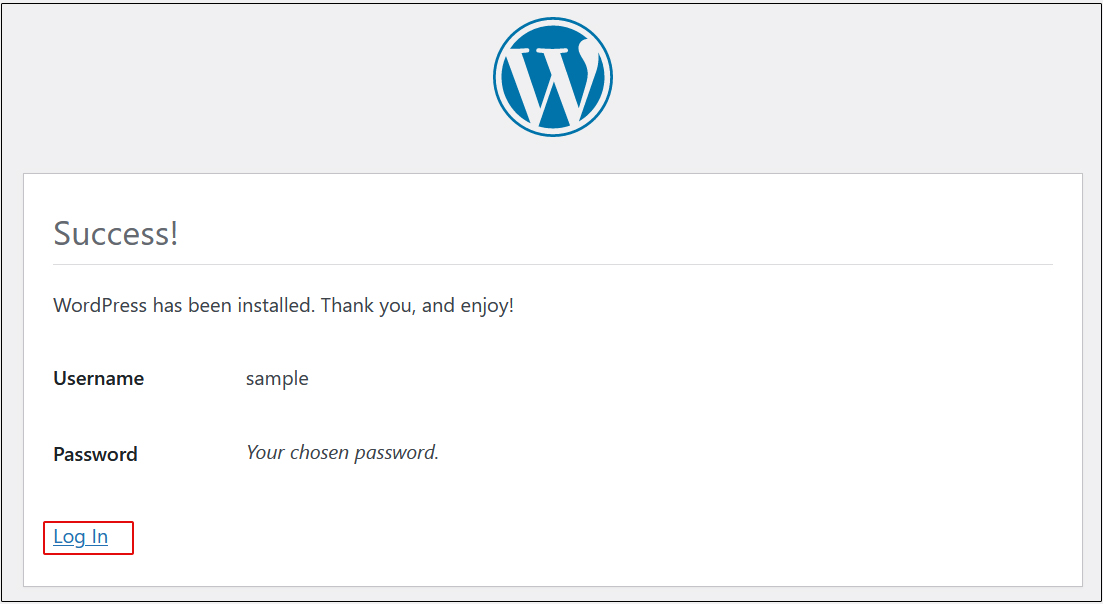
WordPress管理画面への「ユーザー名またはメールアドレス」「パスワード」の入力画面が出ます。