

LDAP サーバーの構築
OpenLDAPによるディレクトリサービスであるLDAP サーバーの構築を行います。
今回は次のようなイメージで構築します。
Server #1 LDAPサーバー
・Linux : Debian11.x
・IPアドレス : 192.168.11.100
・ホスト : koro.korochan.com
Server #2 LDAPクライアントサーバー
・Linux : Debian11.x
・IPアドレス : 192.168.11.200
1. LDAPサーバー側設定
1.1 OpenLDAP インストール
# apt -y install slapd ldap-utils
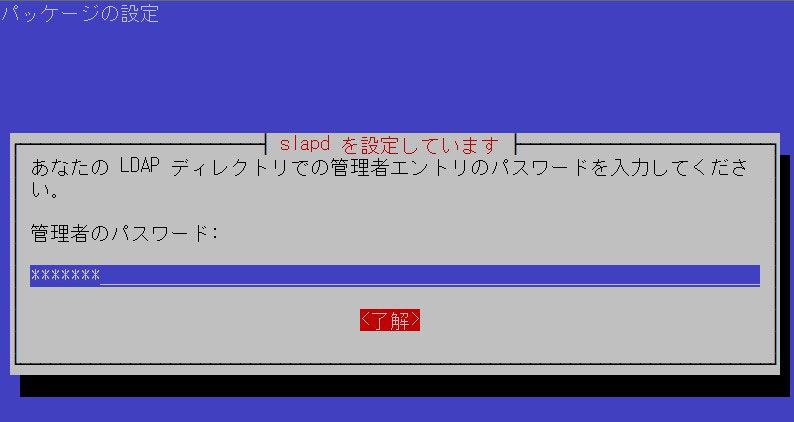
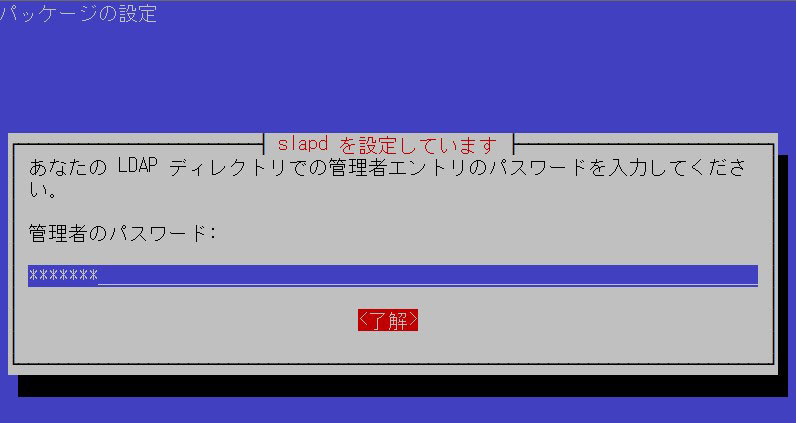
インストール過程でLDAP管理者パスワードを設定します
1.2 初期設定
# dpkg-reconfigure slapd
データベースを作成するので「いいえ」を選択

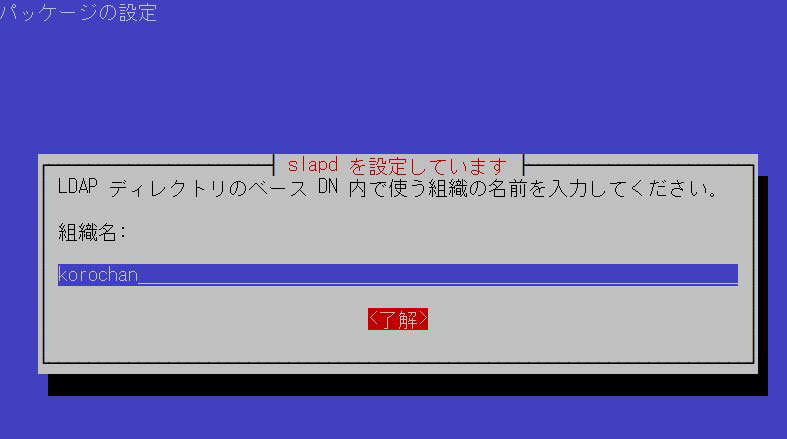
任意でよい、今回は"korochan.com"
組織名は任意でよい
管理者のパスワードは「OpenLDAP インストール」で設定したパスワード
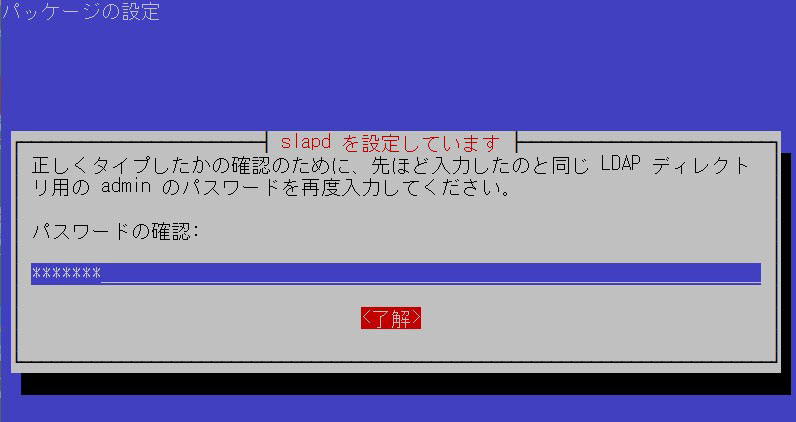
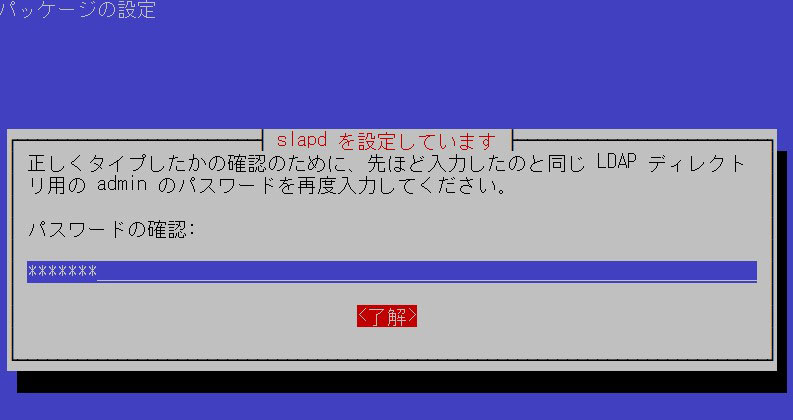
再度同じパスワード入力
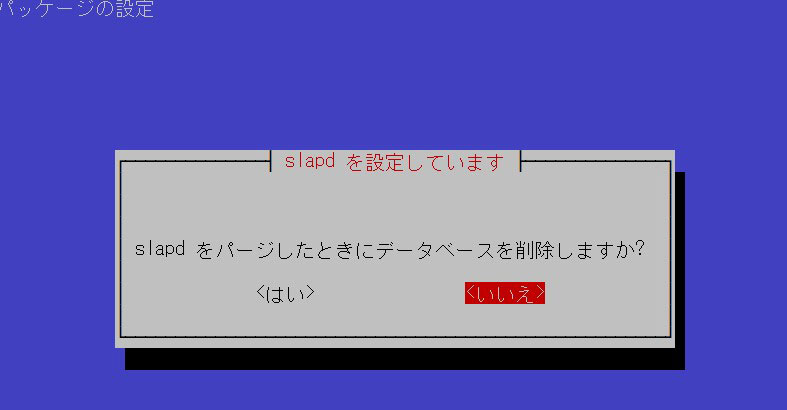
「いいえ」を選択
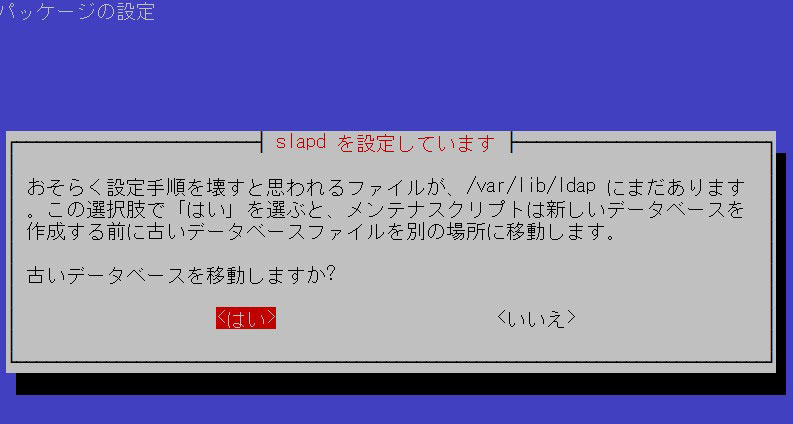
「はい」を選択
1.3 設定の確認
# slapcat
dn: dc=koro,dc=korochan,dc=com
objectClass: top
objectClass: dcObject
objectClass: organization
o: korochan
dc: koro
structuralObjectClass: organization
entryUUID: f61c38d0-3ae4-103d-8d98-e90d1c5dc147
creatorsName: cn=admin,dc=koro,dc=korochan,dc=com
createTimestamp: 20230207034051Z
entryCSN: 20230207034051.034886Z#000000#000#000000
modifiersName: cn=admin,dc=koro,dc=korochan,dc=com
modifyTimestamp: 20230207034051Z
1.4 ユーザー組織とグループ組織の追加
base.ldifを新規作成する
# vi base.ldif
dn: ou=people,dc=korochan,dc=com
objectClass: organizationalUnit
ou: people
dn: ou=groups,dc=korochan,dc=com
objectClass: organizationalUnit
ou: groups
設定を追加し、反映させる
# ldapadd -x -D cn=admin,dc=koro,dc=korochan,dc=com -W -f base.ldif
Enter LDAP Password:   ←「OpenLDAP インストール」で設定したパスワード
adding new entry "ou=people,dc=koro,dc=korochan,dc=com"
adding new entry "ou=groups,dc=koro,dc=korochan,dc=com"
※「people」「groups」が追加された
1.5 ユーザーを追加
①ユーザーのパスワードを作成
# slappasswd
New password: 新規ユーザー設定するパスワード
Re-enter new password: 同上パスワード
{SSHA}xxxxxxxxxxxxxxxxxxxxxxxxxx  ←このキーを忘れないようにメモをしておく
➁ldapuser.ldifを新規作成する(今回は新しくユーザーbettyを作成する)
# vi ldapuser.ldif
dn: uid=betty,ou=people,dc=korochan,dc=com
objectClass: inetOrgPerson
objectClass: posixAccount
objectClass: shadowAccount
cn: betty
sn: betty
userPassword: {SSHA}xxxxxxxxxxxxxxxxxxxxxx ←上記で作成したパスワードのキー
loginShell: /bin/bash
uidNumber: 2000
gidNumber: 2000
homeDirectory: /home/betty
dn: cn=betty,ou=groups,dc=korochan,dc=com
objectClass: posixGroup
cn: betty
gidNumber: 2000
memberUid: betty
➂設定を追加・反映させる
# ldapadd -x -D cn=admin,dc=koro,dc=korochan,dc=com -W -f ldapuser.ldif
Enter LDAP Password:    ←「OpenLDAP インストール」で設定したパスワード
adding new entry "uid=betty,ou=people,dc=korochan,dc=com"
adding new entry "cn=betty,ou=groups,dc=korochan,dc=com"
1.6 参考 : ユーザー・グループ情報の削除
ユーザー情報の削除
# ldapdelete -x -W -D cn=admin,dc=korochan,dc=com uid=betty,ou=people,dc=korochan,dc=com
グループ情報の削除
# ldapdelete -x -W -D cn=admin,dc=korochan,dc=com cn=betty,ou=groups,dc=korochan,dc=com
2.LDAPサーバークライアント側設定
2.1 LDAPクライアントのインストール
# apt install libnss-ldapd libpam-ldapd ldap-utils
LDAPサーバーのIPアドレスを指定する
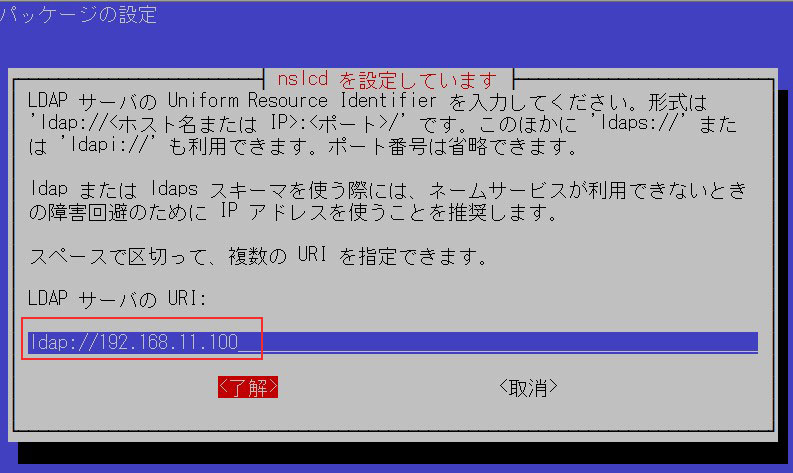
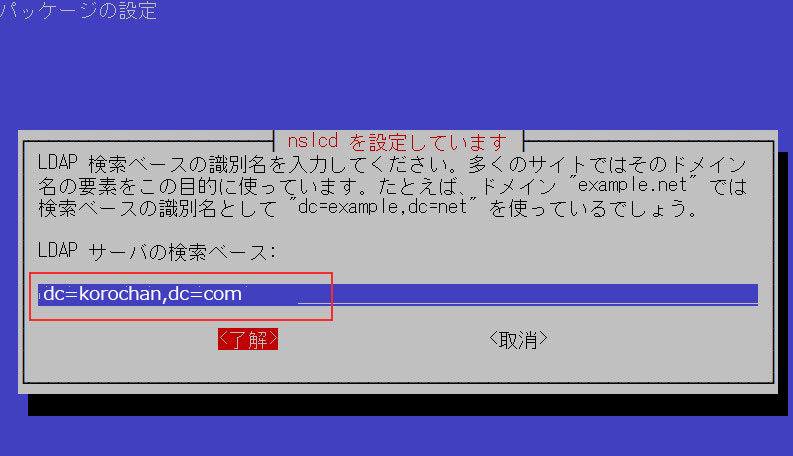
ドメイン名をdc=区切りで記載する
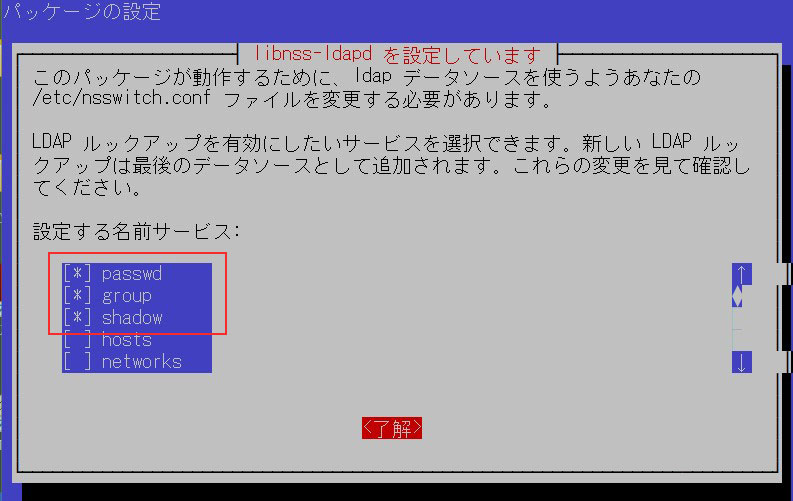
passwd, group, shadowにチェックを入れる
2.2 設定の確認
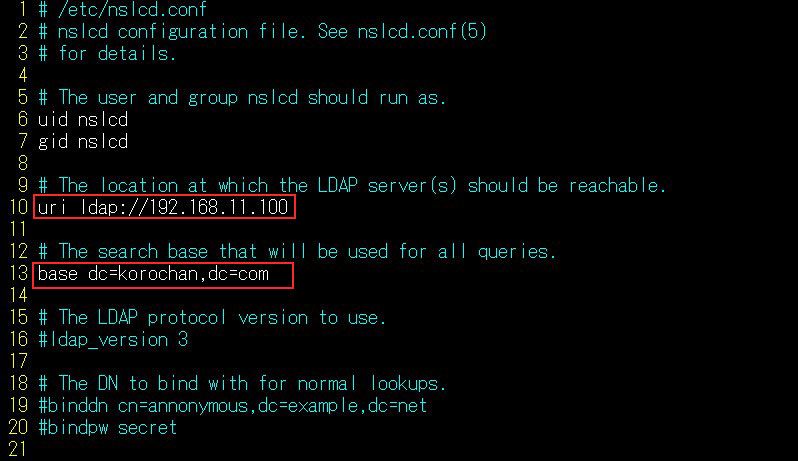
/etc/nslcd.confの内容を確認する、また、変更したい場合はこの内容を書き換える
# vi /etc/nslcd.conf
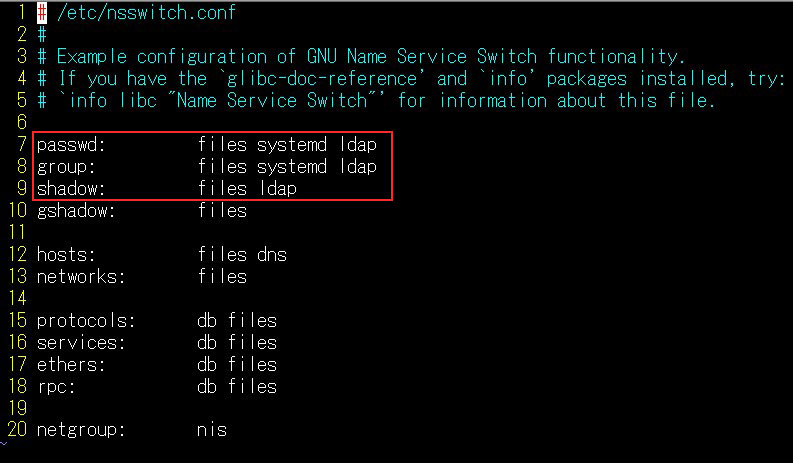
/etc/nsswitch.confの内容を確認する、また、変更したい場合はこの内容を書き換える
# vi /etc/nsswitch.conf
2.3 動作確認
LDAPクライアントからLDAPサーバーに登録したユーザー(betty)でログインする
Passwordはユーザー(betty)のパスワード
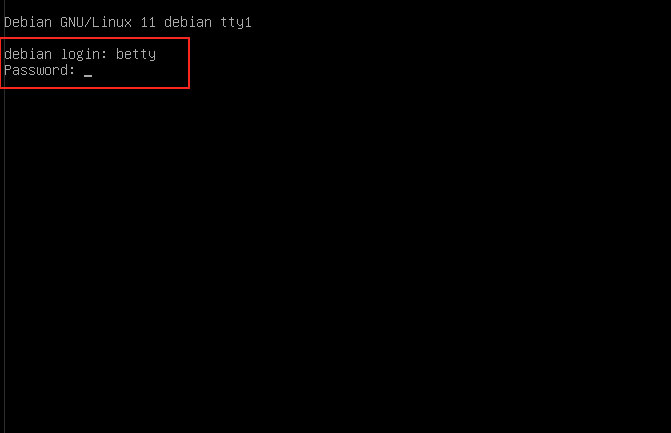
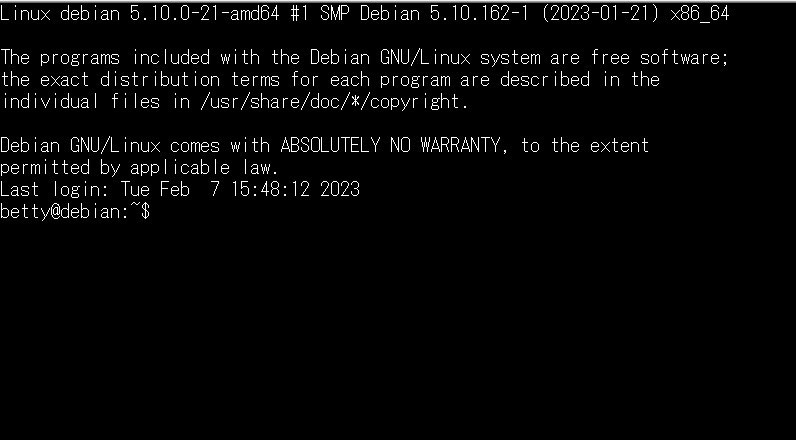
ログインに成功すると下図のように betty@[LDAPクライアントのホスト名]になる
LDAP 通信 over SSL/TLS
LDAP 通信を保護する為、SSL/TLS サーバ証明を用いて LDAPS の設定を行います。
今回は自己証明書を作成し利用します。
1.LDAPサーバー側の設定
1.1自己証明書の作成
# cd /etc/ssl/private
# openssl genrsa -aes128 -out server.key 2048
Ignoring -days; not generating a certificate
You are about to be asked to enter information that will be incorporated
into your certificate request.
What you are about to enter is what is called a Distinguished Name or a DN.
There are quite a few fields but you can leave some blank
For some fields there will be a default value,
If you enter '.', the field will be left blank.
Country Name (2 letter code) [AU]:JP 国コード
State or Province Name (full name) [Some-State]:Osaka 都道府県
Locality Name (eg, city) []:Sakai 市町村
Organization Name (eg, company) [Internet Widgits Pty Ltd]:Korodes 組織名
Organizational Unit Name (eg, section) []:Korocahn 部門名
Common Name (e.g. server FQDN or YOUR name) []:koro.korochan.com FQDN
Email Address []:koro@korochan.com 管理者メールアドレス
Please enter the following 'extra' attributes
to be sent with your certificate request
A challenge password []:
An optional company name []:
作成されているか確認
# ls
server.crt server.csr server.key
LDAP構成所定ディレクトリーにコピー
# cp /etc/ssl/private/server.key /etc/ldap/sasl2/
# cp/etc/ssl/private/server.crt /etc/ldap/sasl2/
# cp/etc/ssl/certs/ca-certificates.crt /etc/ldap/sasl2/
SSL設定ファイル新規作成
# vi ssl.ldif
dn: cn=config
changetype: modify
add: olcTLSCACertificateFile
olcTLSCACertificateFile: /etc/ldap/sasl2/ca-certificates.crt
replace: olcTLSCertificateFile
olcTLSCertificateFile: /etc/ldap/sasl2/server.crt
replace: olcTLSCertificateKeyFile
olcTLSCertificateKeyFile: /etc/ldap/sasl2/server.key
設定ファイル有効化
# ldapmodify -Y EXTERNAL -H ldapi:/// -f ssl.ldif
SASL/EXTERNAL authentication started
SASL username: gidNumber=0+uidNumber=0,cn=peercred,cn=external,cn=auth
SASL SSF: 0
modifying entry "cn=config"
再起動
# systemctl restart slapd
2.クライアント側の設定
# vi /etc/nslcd.conf
29行目 : 追記
ssl start_tls
tls_reqcert allow
# systemctl restart nslcd
LDAPサーバーで作成したユーザーでログインすると下記のようにログインできる