公開鍵、秘密鍵ペアの作成
OpenSSH 使って Linux サーバに接続するユーザの公開鍵と秘密鍵のペアを作成します。
鍵ペアの作成は ssh-keygen をを使います。
今回はSSH プロトコル Version 2 で利用する RSA 暗号を利用した鍵セットを作成します。
公開鍵と秘密鍵のペアの作成はリモートログインするユーザ権限(huong)で実行します。
作成先・ファイル名を指定しなければ、 /home/(ユーザ名)/.ssh/ に id_ed25519, id_ed25519.pub が作成される。 途中、鍵用のパスワードも入力する。
|
1 2 3 4 5 6 7 8 9 10 11 12 13 14 15 16 17 18 19 20 21 22 23 |
# su - huong huong@Lepard:~$ ssh-keygen -t ed25519 Generating public/private ed25519 key pair. Enter file in which to save the key (/home/huong/.ssh/id_ed25519): Created directory '/home/huong/.ssh'. Enter passphrase (empty for no passphrase): Enter same passphrase again: Your identification has been saved in /home/huong/.ssh/id_ed25519 Your public key has been saved in /home/huong/.ssh/id_ed25519.pub The key fingerprint is: SHA256:KZJJgogFABx2SzuxPzEpFaTwphsmeHiv31fLrnJV6NU huong@Lepard The key's randomart image is: +--[ED25519 256]--+ |B=o+.+. | |++= B . | |+ .X.+ . . | |..oo+oo .. o E | |++o +o. S. o | |ooo. ... + | | . . + . | | . .. o o | | ... .+.o. | +----[SHA256]-----+ |
|
1 2 3 |
$ chmod 700 ~/.ssh $ cat ~/.ssh/id_ed25519.pub >> ~/.ssh/authorized_keys $ chmod 600 ~/.ssh/authorized_keys |
作成した秘密鍵id_ed25519 をwinSCPでwindowsの適当なところに保存
Winscpを起動する
Host name : サーバーのIPアドレス
Port number : SSHポート
User name : サーバーのログインユーザー
Password : 同上ユーザーのパスワード
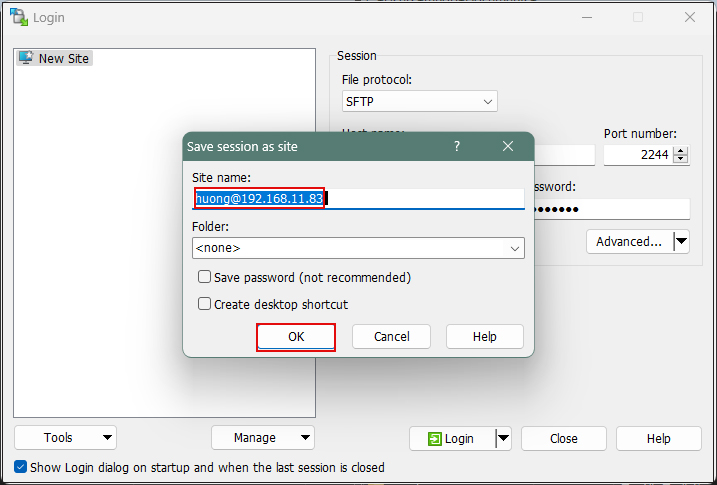
を入力し、「Save」

Site name : 任意の名前
「OK」クリック
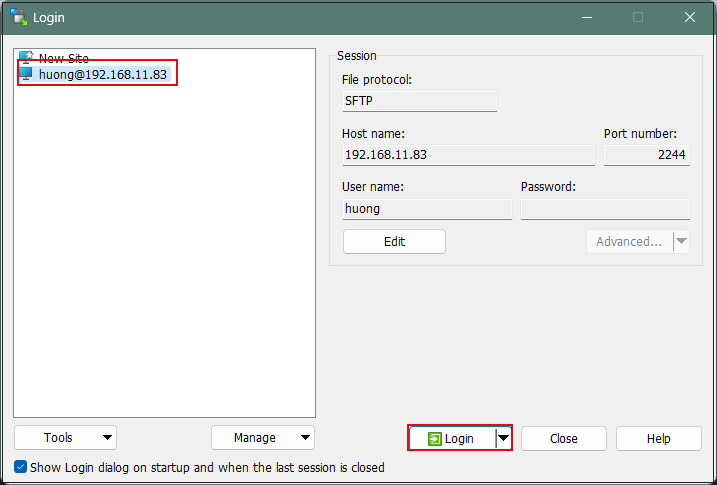
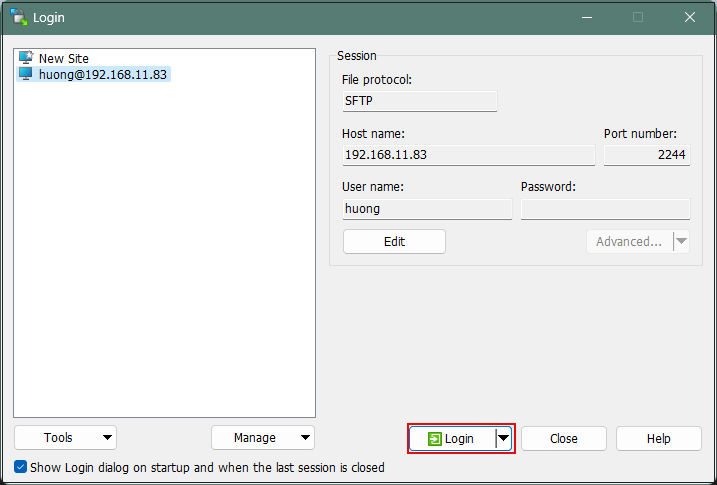
該当サーバーを確認後、「Login」クリック
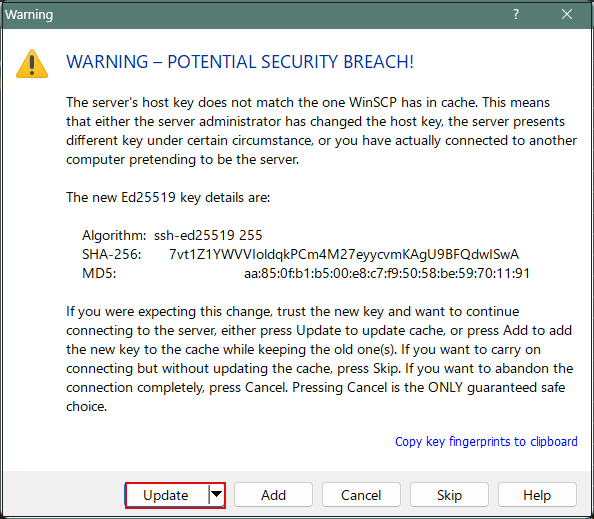
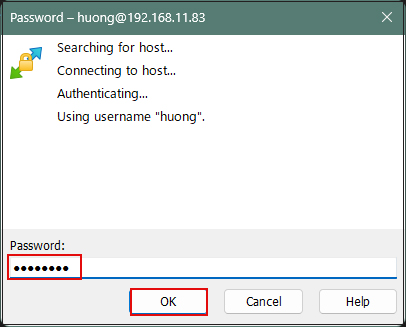
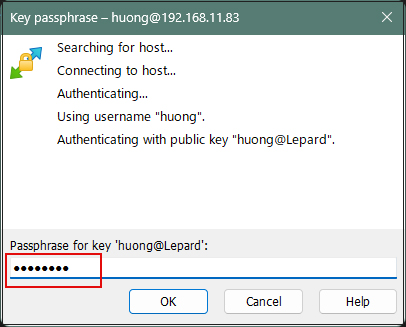
下記画面が出れば「Update」クリック
Passwordの欄にはログインユーザーのパスワード
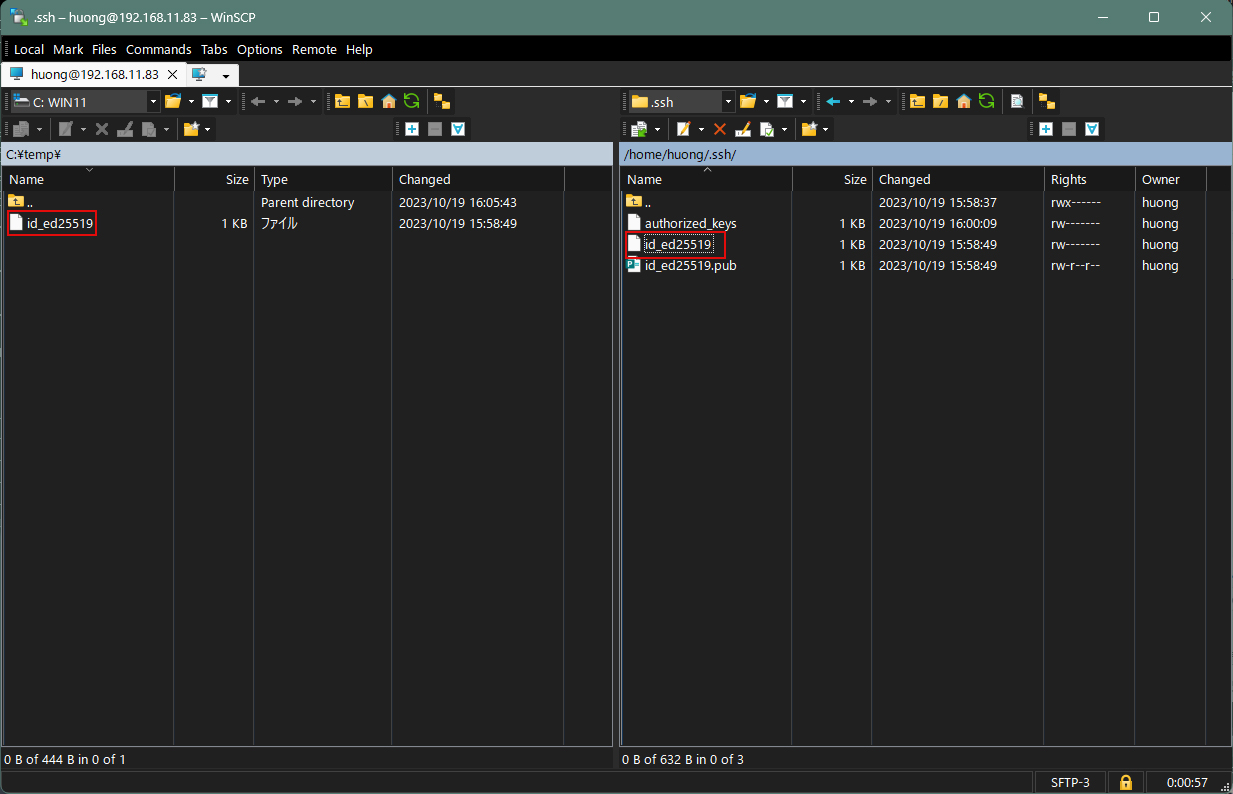
接続されると、右欄サーバー側、左欄PC(Windows)側になる。
.sshディレクトリーにある"id_ed25519"ファイルを左欄Windowsの適当なところに保存する
SSH 設定ファイルの編集
パスワード認証をできないようにするため、 SSH 設定ファイルを編集する。
今度は一般ユーザではなく、 su - で rootになり行う。
|
1 2 3 4 5 6 7 8 9 |
$ su - Password: # vi /etc/ssh/sshd_config # 58行目あたり #PasswordAuthentication yes ← 行頭の#削除してコメント解除し、下記に変更 PasswordAuthentication no # systemctl restart sshd |
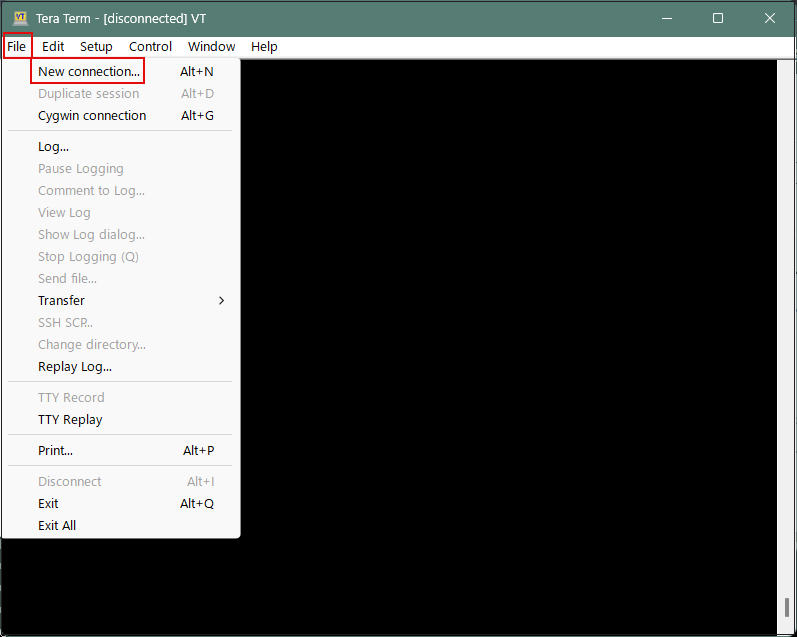
Tera Termでの接続方法
Tera Termを起動し、「File」メニュー「New connection」
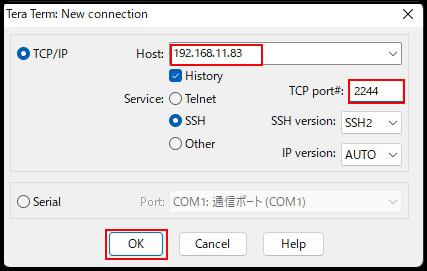
Host : サーバーのIPアドレス
TCP port : SSHポート番号
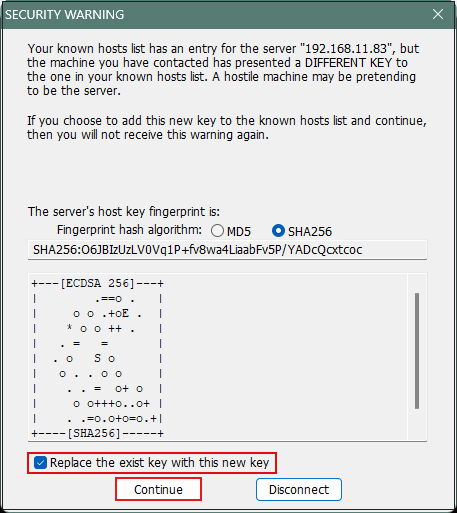
次のセキュリティー警告が出た場合「Replace....」にチェックを入れ「Continue」
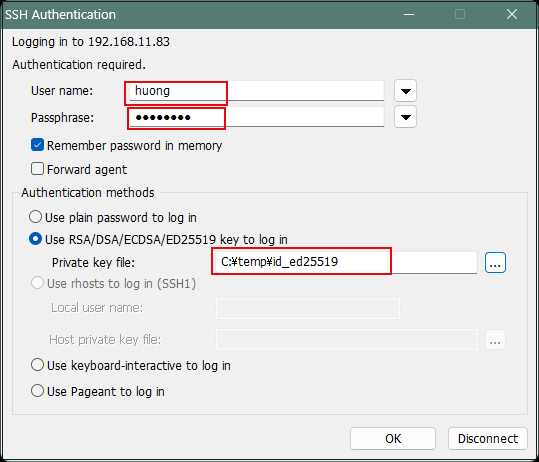
User name : ログインユーザー名
Password :公開鍵、秘密鍵ペアの作成で指定したパスワード
「Use RSA/DSA/ECDSA/ED25519 key to log in」の「Private key file:」には先ほどWindowsに保存した
「id_ed25519」を設定し、「OK」をクリック
PuTTYgen を使った秘密鍵の作成
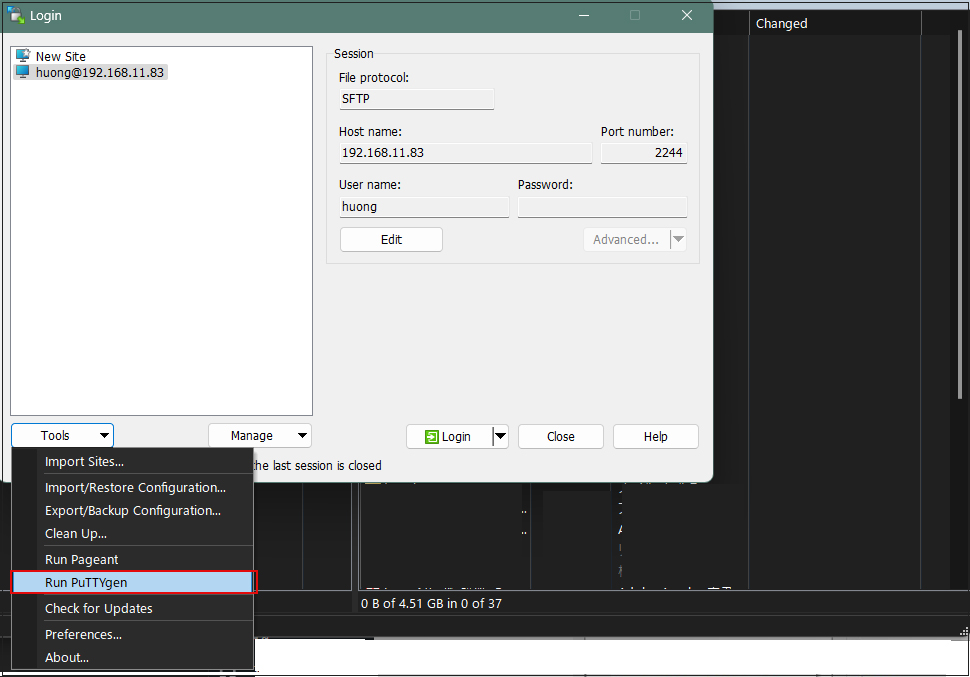
Winscpを起動し「Tools」からRun Puttygen を起動する
該当サーバーを選択
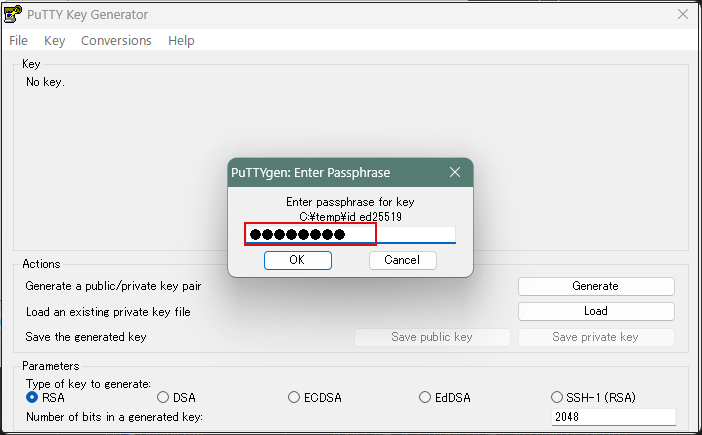
Loadをクリック
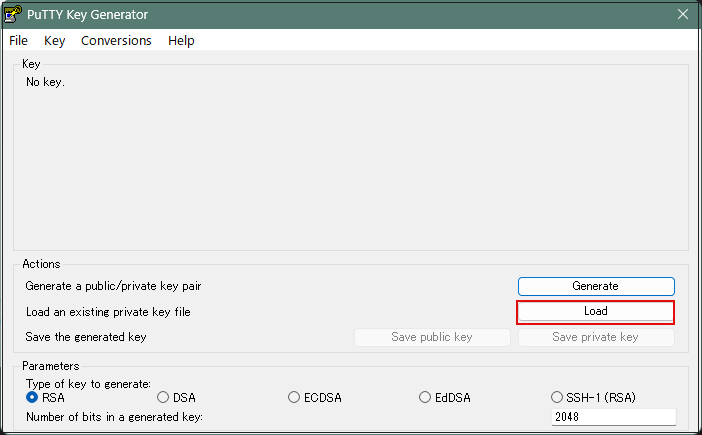
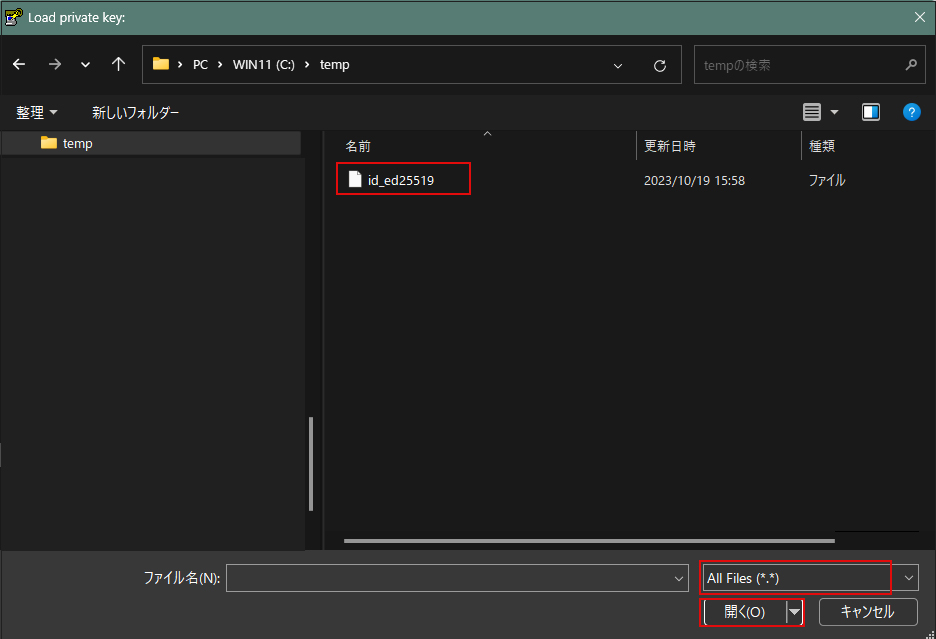
[ ファイルを開くダイアログ ] が開くのでファイルの種類を [ All Files (*.*) ] に変更して Linux サーバから転送した秘密鍵 id_ed25519 を読み込みます。
パスワードは上記「公開鍵、秘密鍵ペアの作成」で設定したパスワード
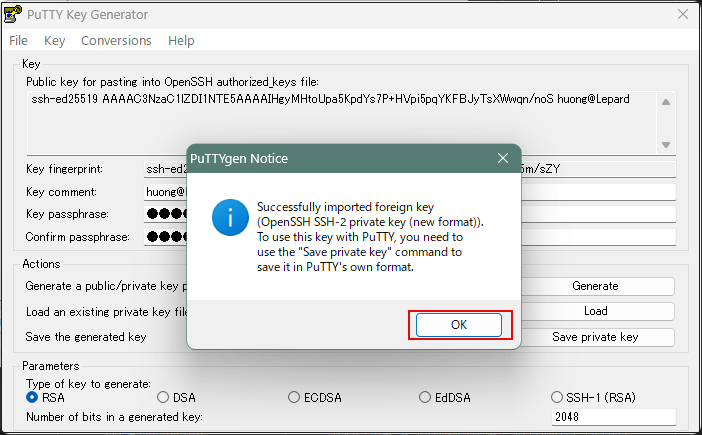
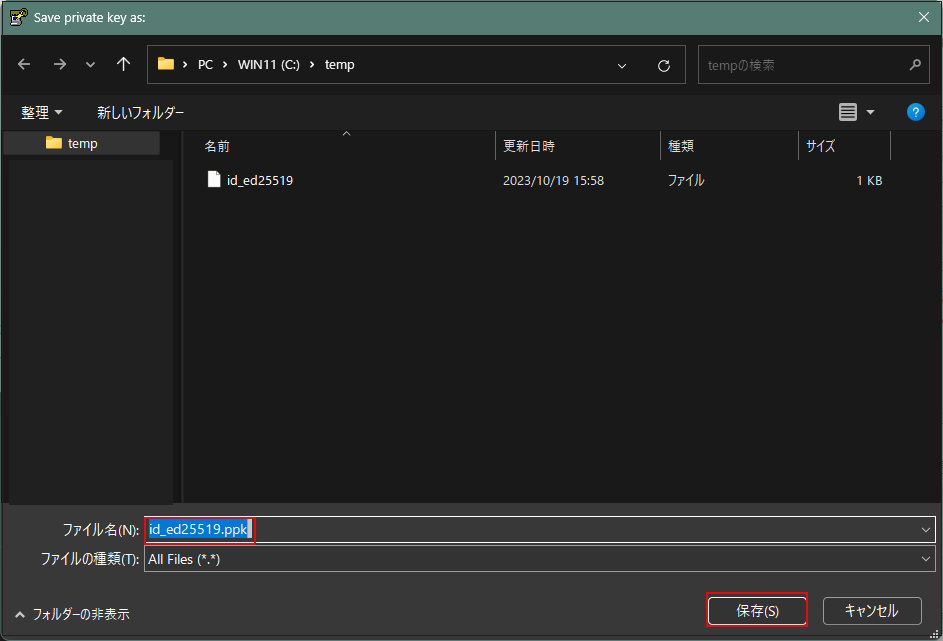
「Save private key」をクリック
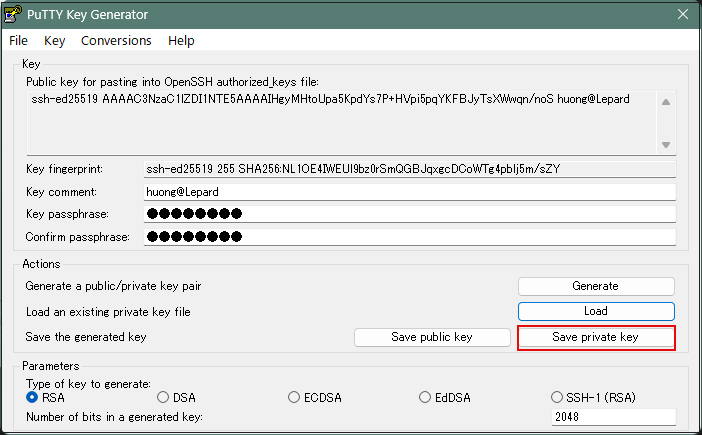
Windows側に先ほど保存した「id_ed25519」と同じところに拡張子「.ppk」として「id_ed25519.ppk」の名称で保存
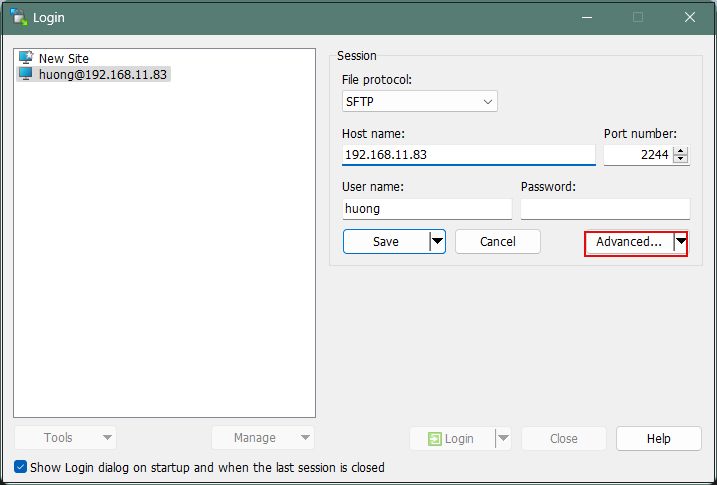
該当サーバーを選択し、「Edit」クリック

「Advanced」をクリック
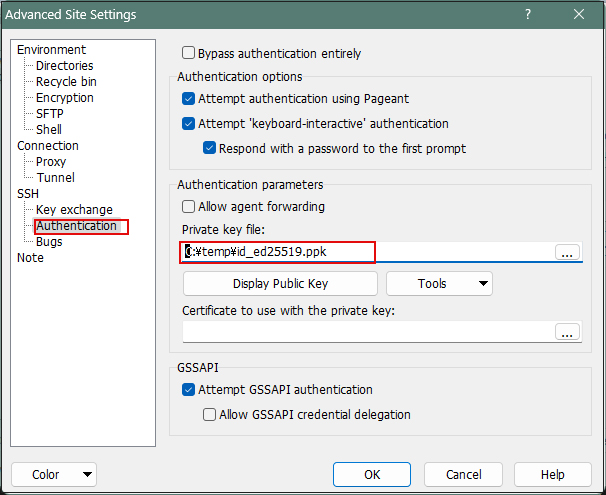
「Authentication」メニューを開き、「Private key file」に先ほどWindowsに保存した「id_ed25519.ppk」を指定する
「Save」をクリック
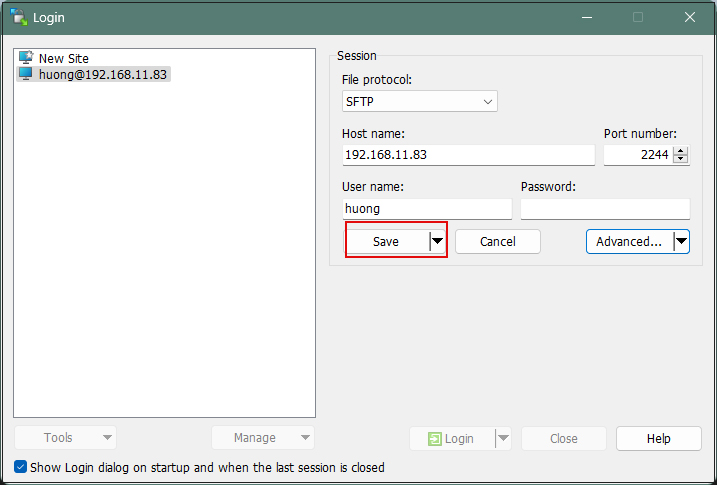
「Login」をクリック
パスワードは上記「公開鍵、秘密鍵ペアの作成」で設定したパスワード
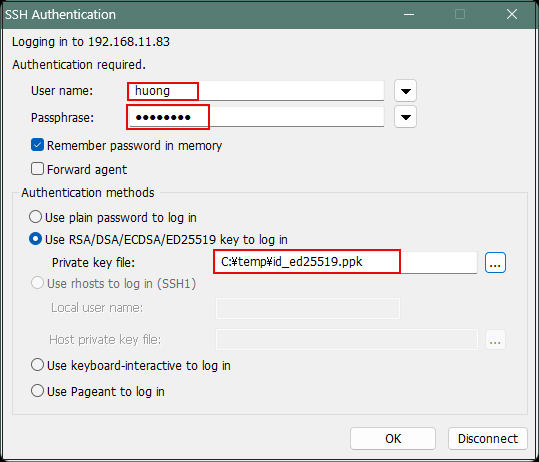
Tera Termで接続する場合は以下のように
「Use RSA/DSA/ECDSA/...」の欄にwindowsに保存した「id_ed25519.ppk」を指定する