MiracleLinux とは
MIRACLE LINUXとは、サイバートラスト株式会社が提供する日本製のLinuxディストリビューションです。2000年6月に日本オラクルとNECにより設立されたミラクル・リナックス社(現:サイバートラスト社)により、業務用からエンタープライズ向けを対象としたOracle Databaseの安定稼働を目的として開発が開始されました。2001年5月にリリースしたVersion2.0からRHELベースとして作られ、2012年1月にリリースされたVersion6.0からは完全なRHELクローンとして作られています。最新のバージョンは2023年10月05日 リリースの9.2となっていますが9.0と同様にインストールできます
国産のRHELクローンとして有名なMIRACLE LINUXは、当初は有償ライセンスの商用OSでしたが、CnetOS8の終了を受け、最新の8.4から無償提供すると発表しました。そのため、現在、CentOS8,CentOS Stream9からの移行先候補として脚光を浴びているOSです。
MiracleLinux9.2 ; ダウンロード
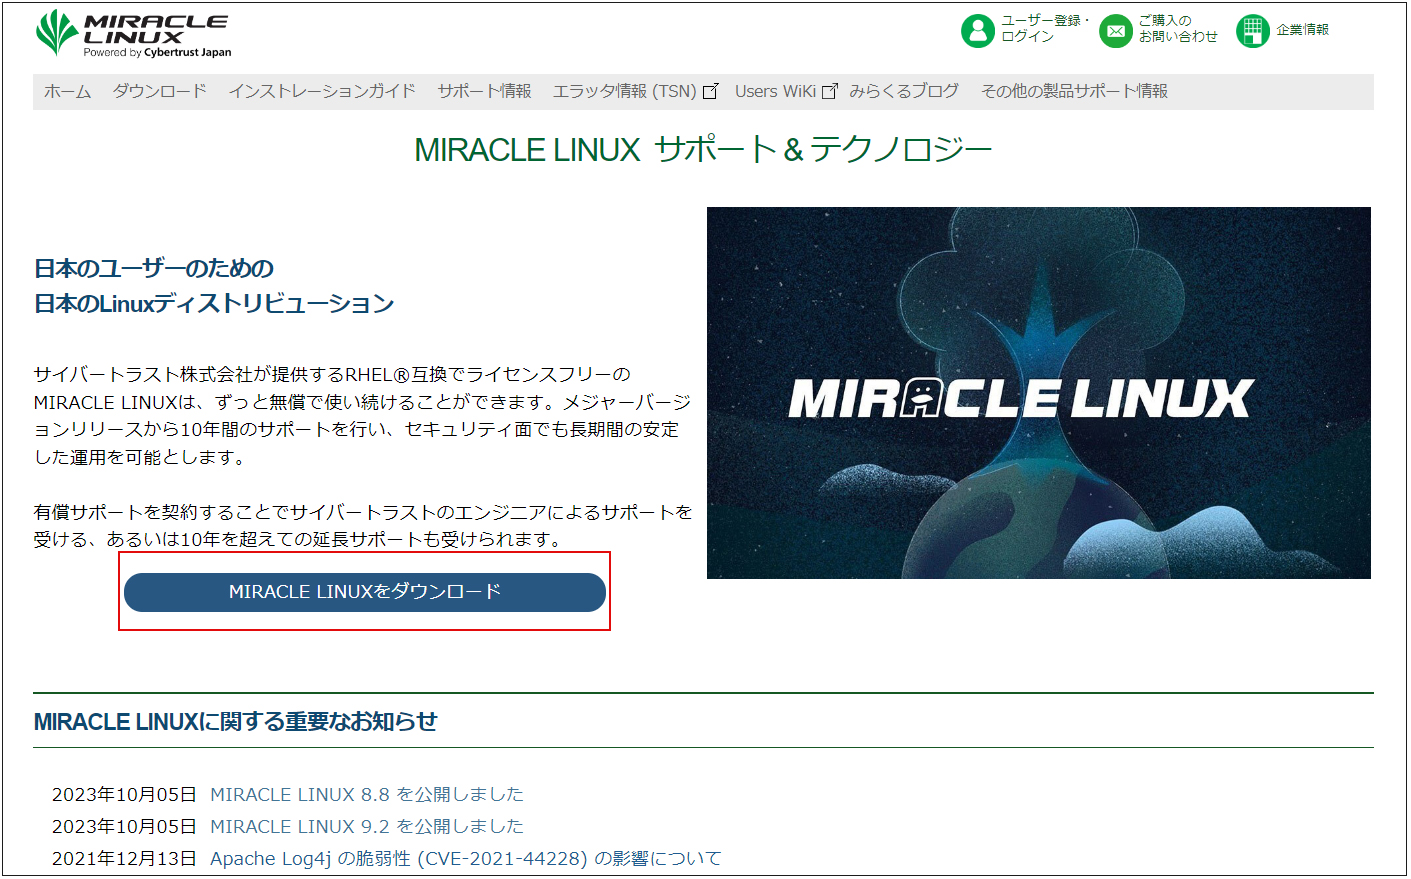
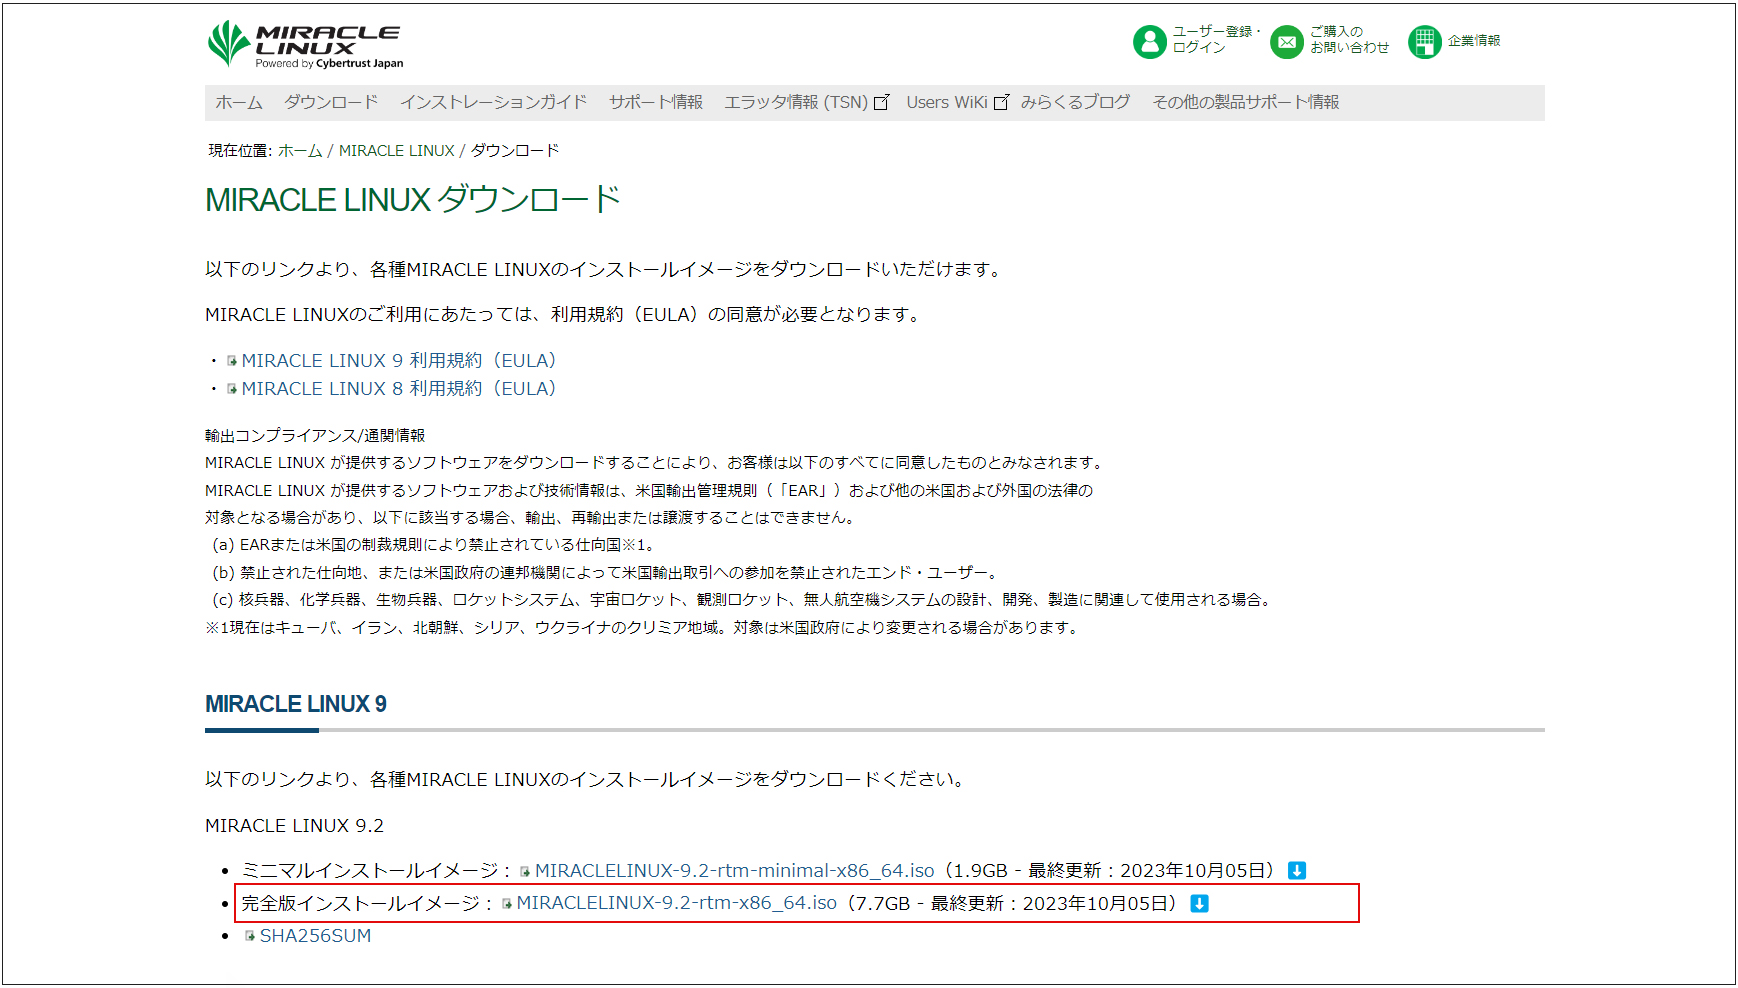
MiracleLinux ISO イメージファイルは次の公式ホームページから取得できます
https://www.miraclelinux.com/
MiracleLinux 9.2 ; インストール
"MIRACLELINUX-9.2-rtm-x86_64.iso"をダウンロードしUSBディスクにインストールディスクを作成し実機にインストールするか、Vmware playerかVirtualBoxで仮想マシンを作成しインストールします。
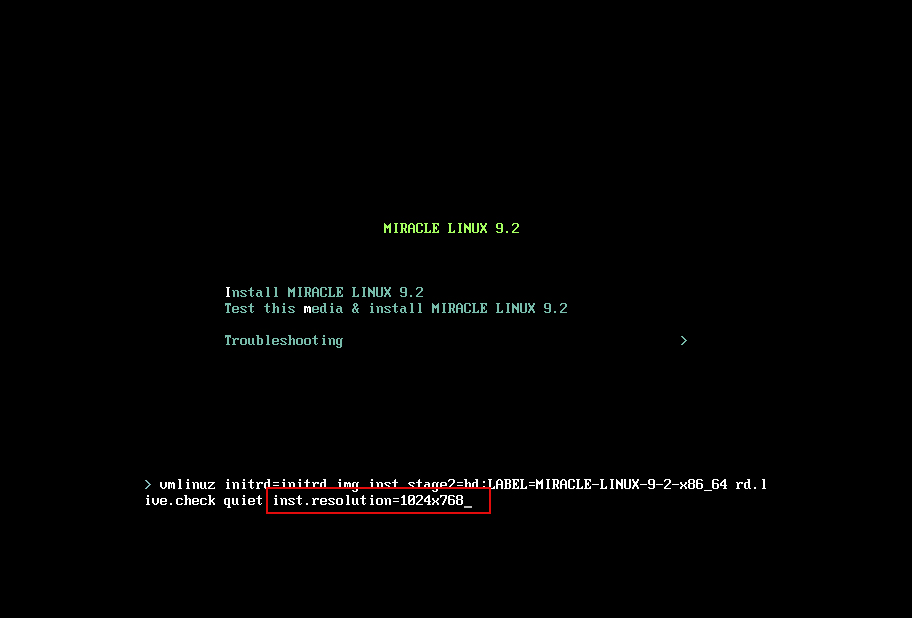
①インストールディスクを起動する
MIRACLE LINUX 9.2のインストール画面になりますので、「tab」キーを押し画面解像度等の変更をする
"inst.resolution=1024x768" "を追加し、Enterを押すことによって、インストール画面の右端が途切れることなく使用できます
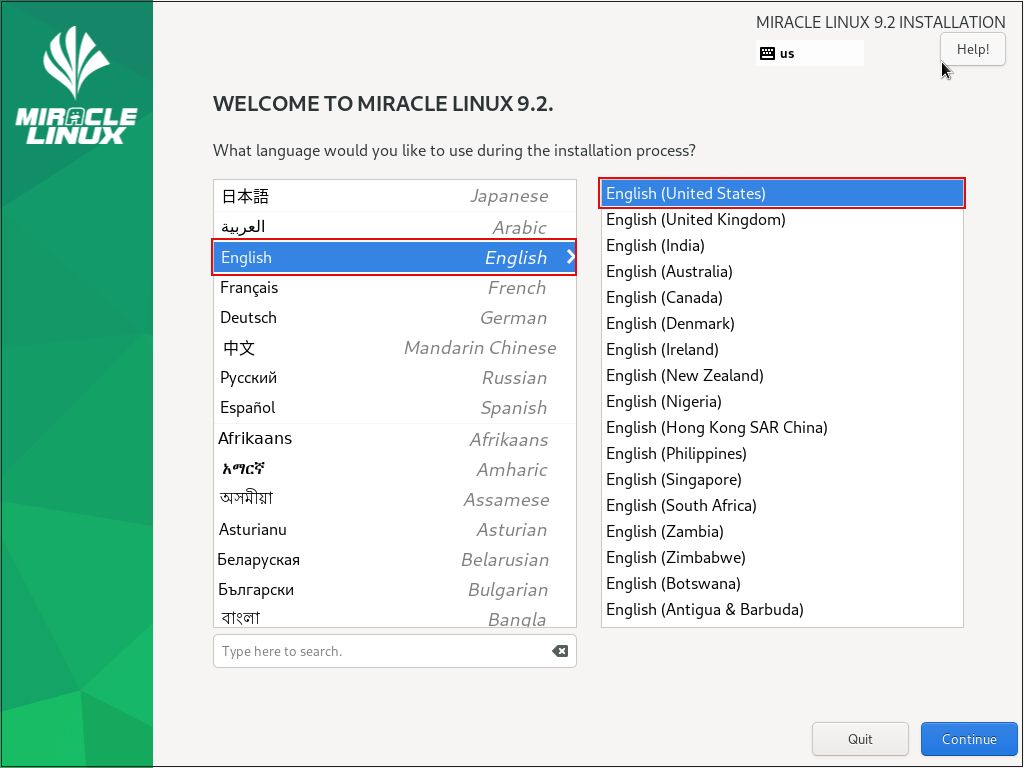
➁言語の選択画面ではデフォルトの「English」を選択
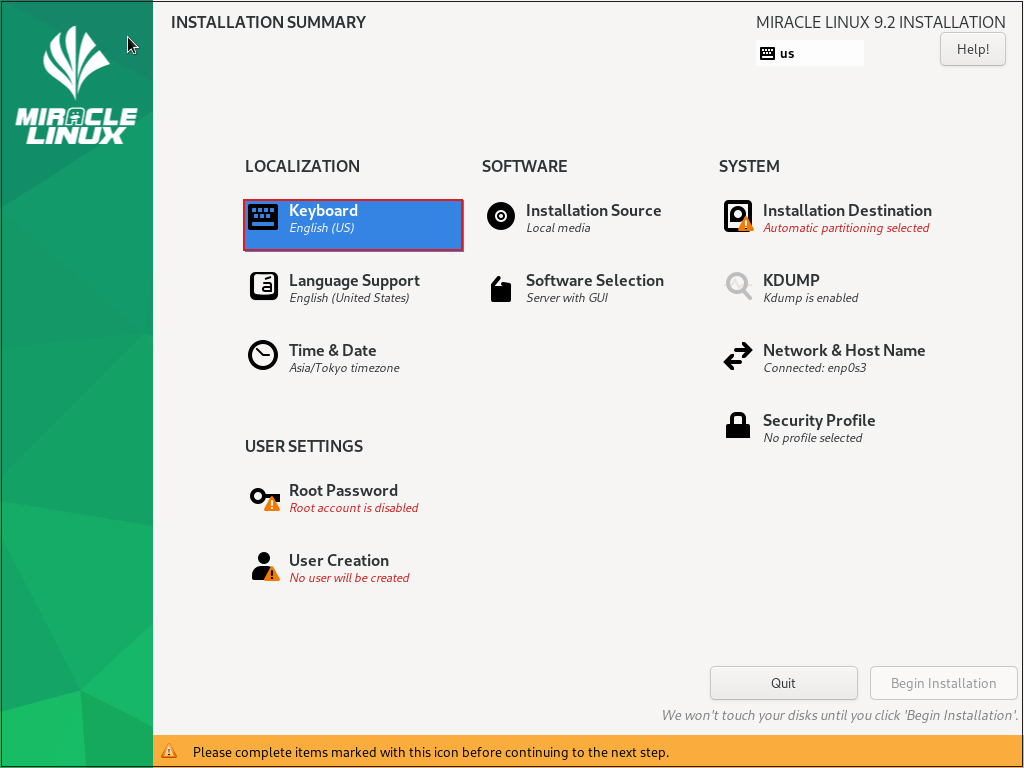
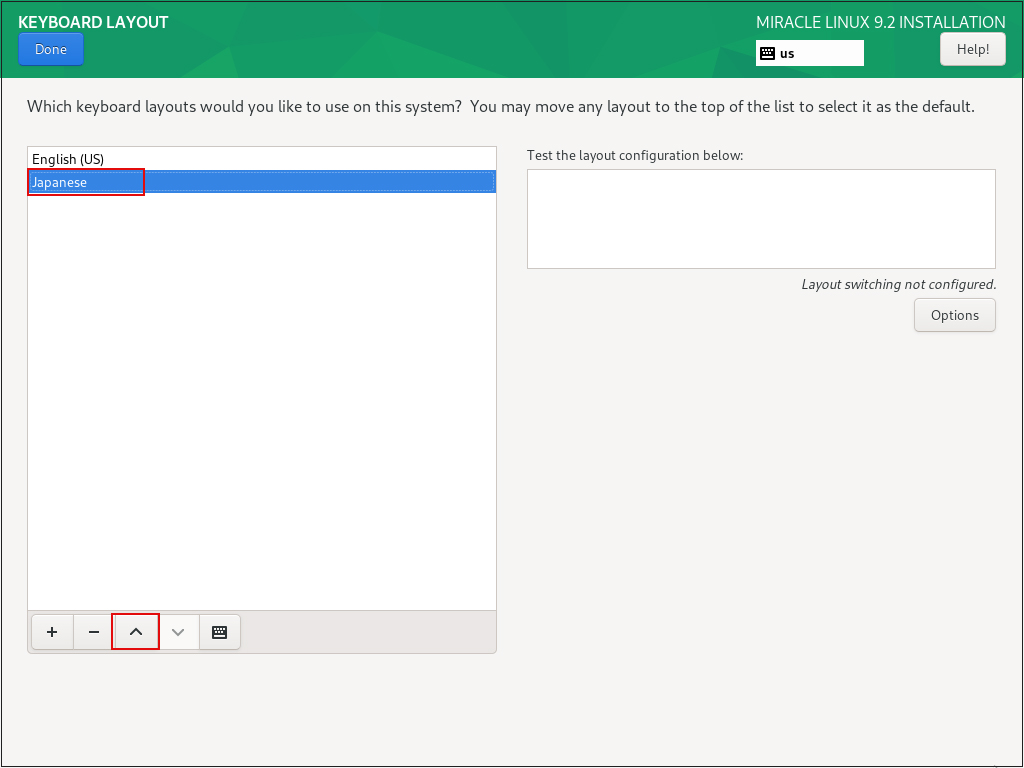
➂「キーボードレイアウトの選択」 [Keyboard]クリック
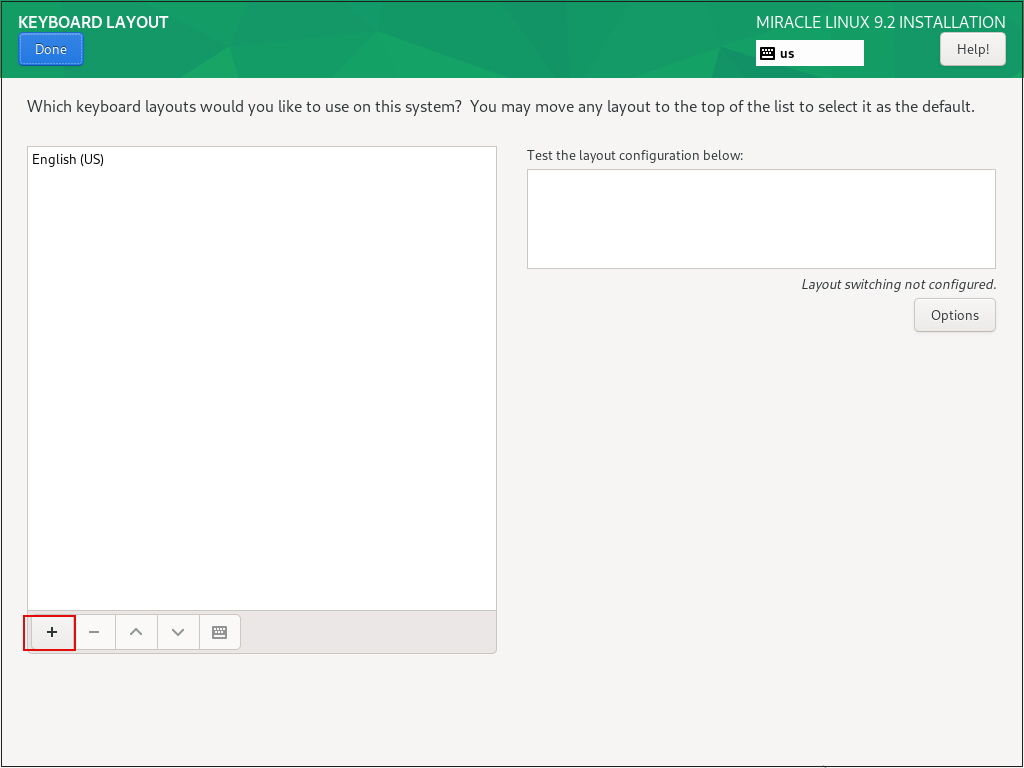
「+」をクリック
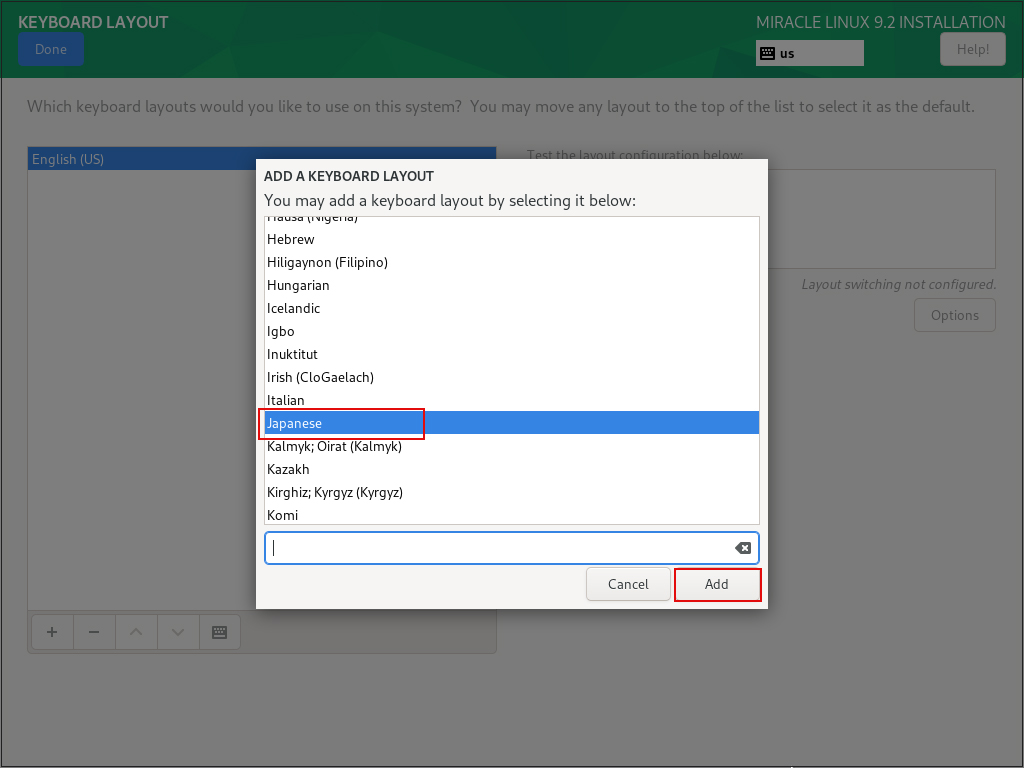
「Japanese」を選択し、「Add」をクリック
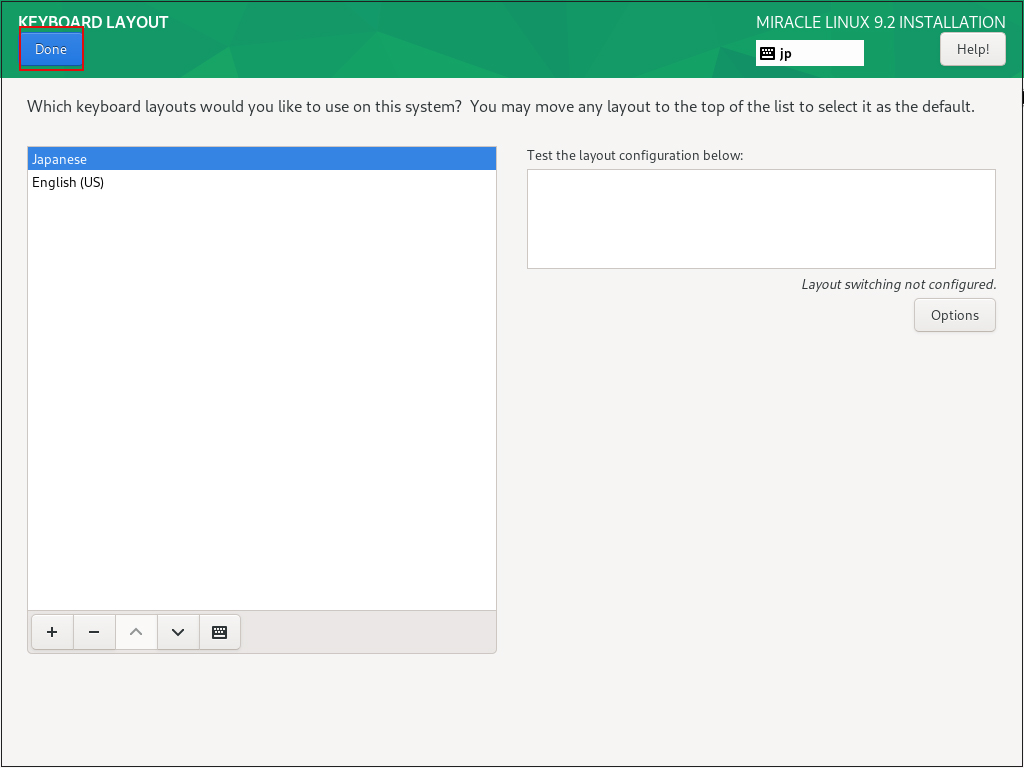
「Japanese」を選択し、「^」をクリック
「Done」をクリック
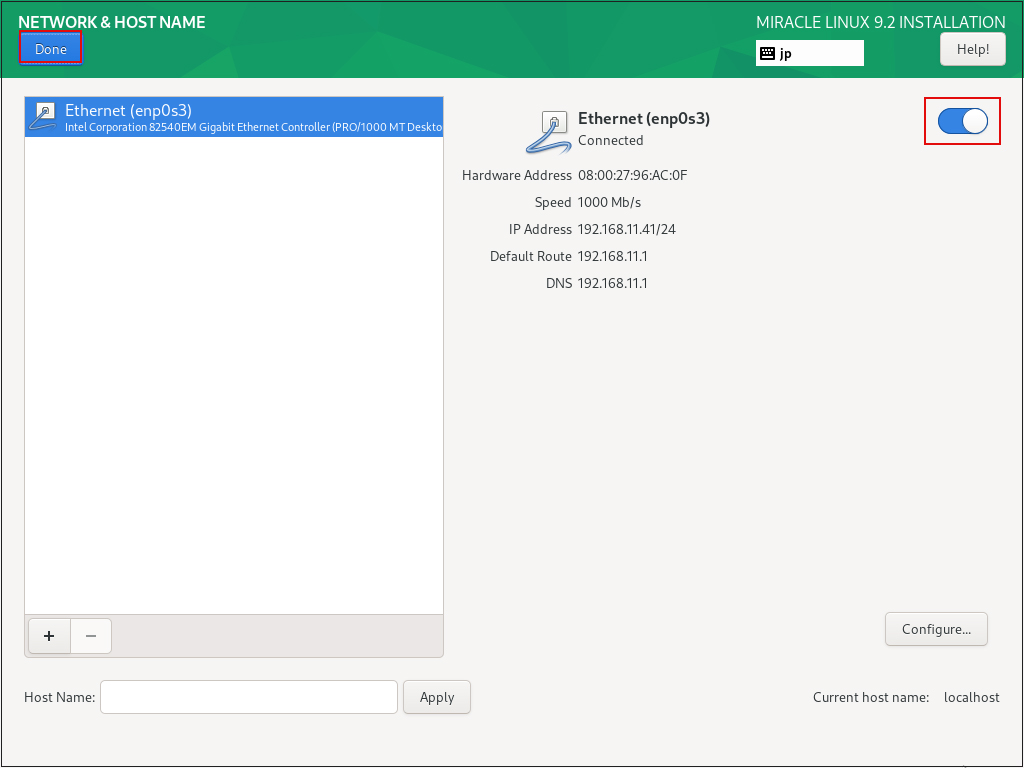
④「Network & Host Name」設定
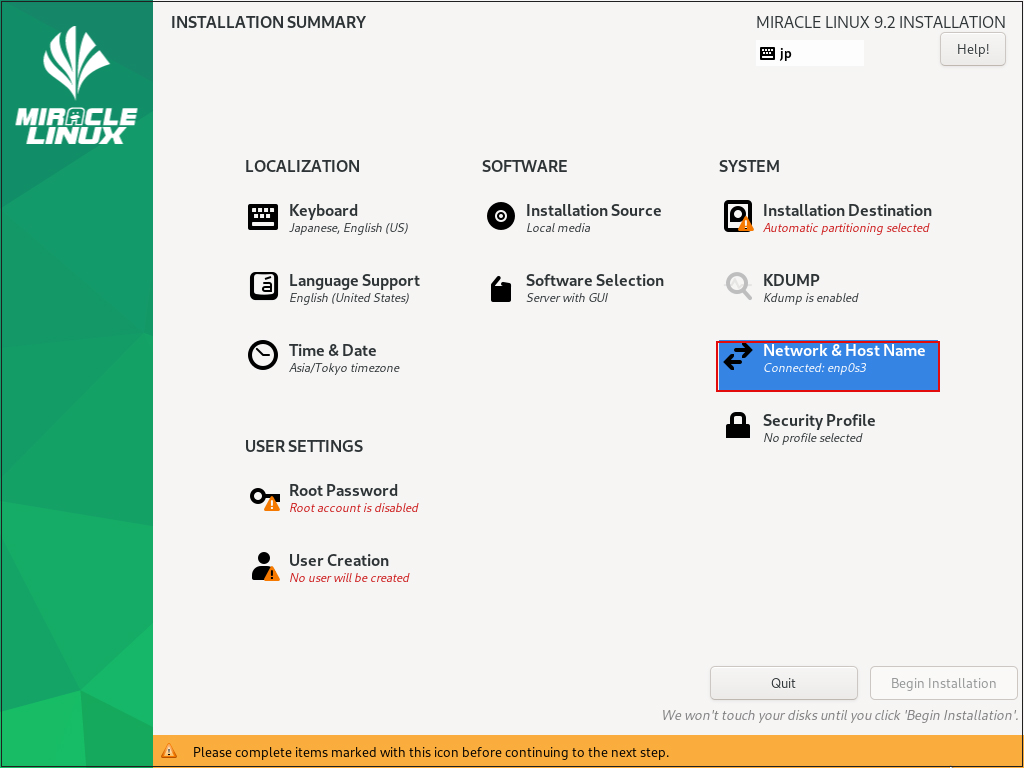
右上「ON」にする、その他はデフォルトでDHCP有効で進める
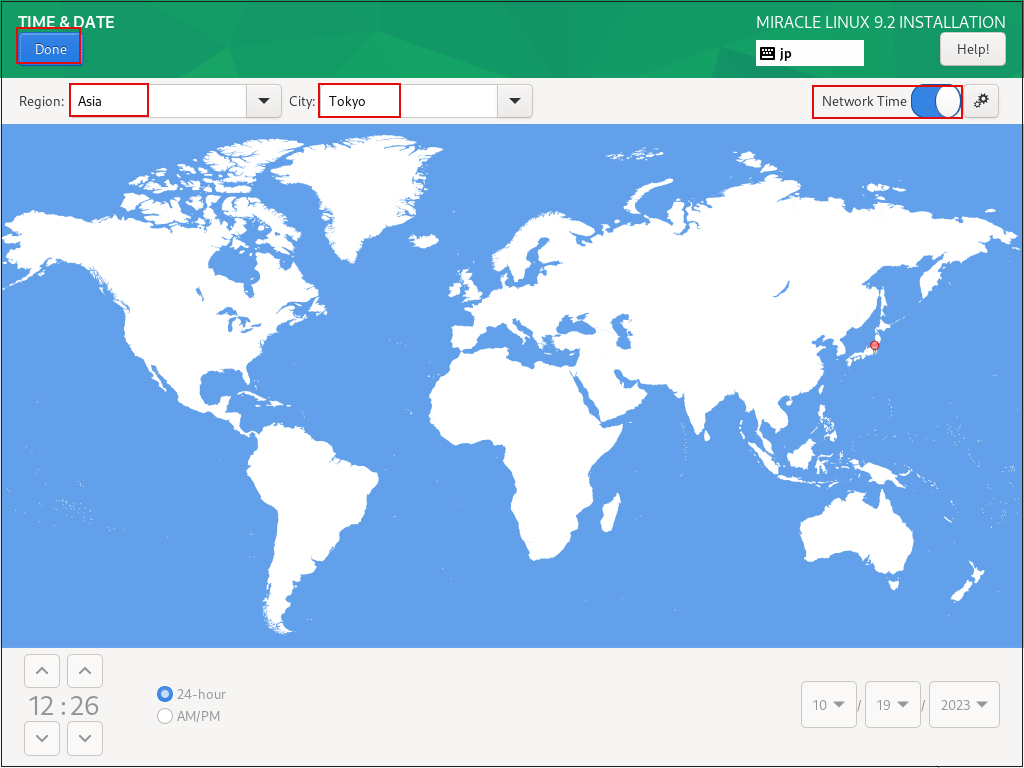
⑤「日付と時刻」の設定

「Region」を「Asia」、「City」を「Tokyo」にする
「Network Time」を「ON」にし、「Done」をクリック
⑥「ソフトウェアーの選択」 [Software Selection]をクリック
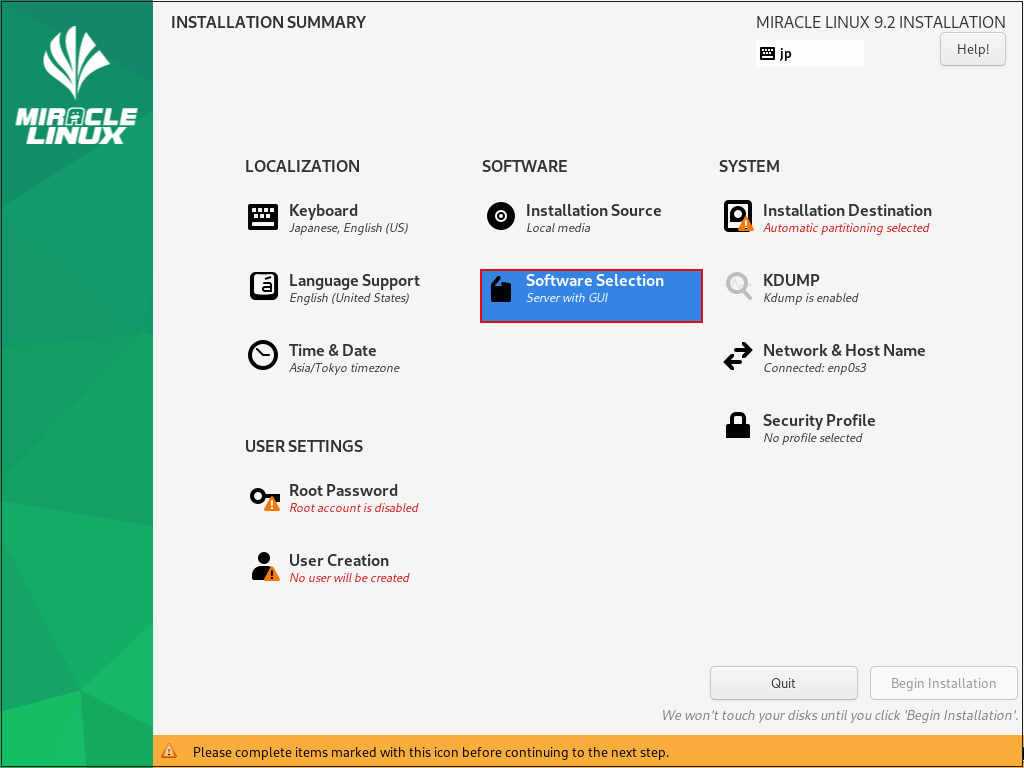
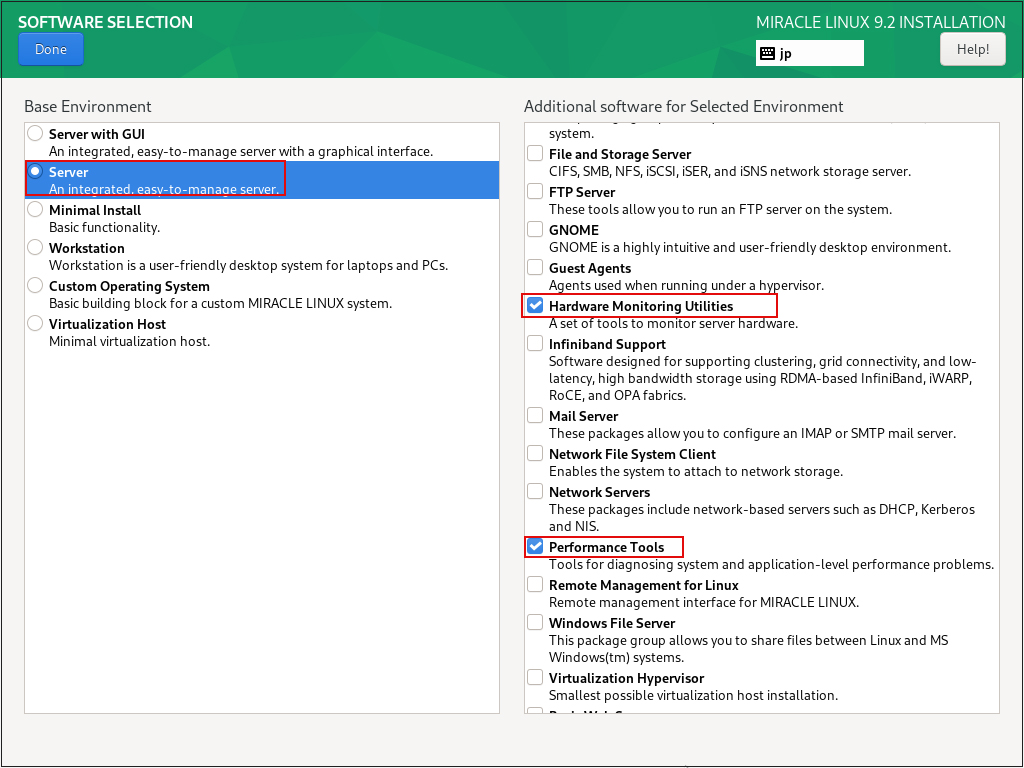
「Base Environment」は「Server」を選択し、右欄のソフトウェアは次を選択する
①Hardware Monitoring Utilities
②Performance Tools
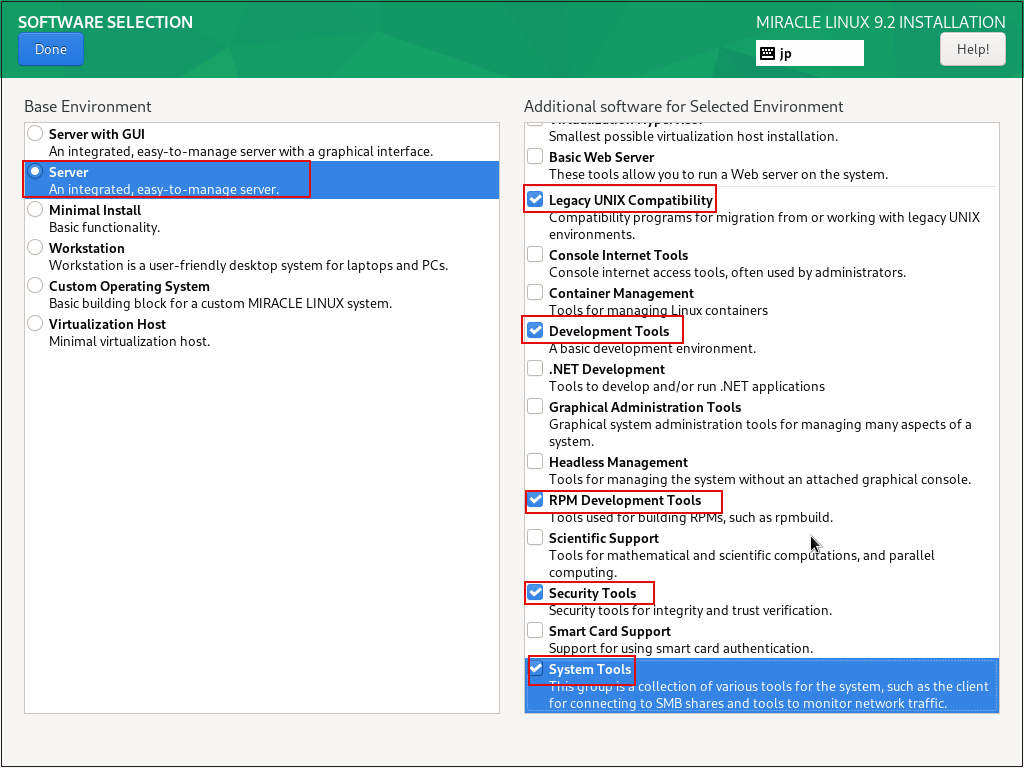
③Legacy UNIX Compatibility
④Development Tools
⑤RPM Development Tools
⑥Security Tools
⑦System Tools
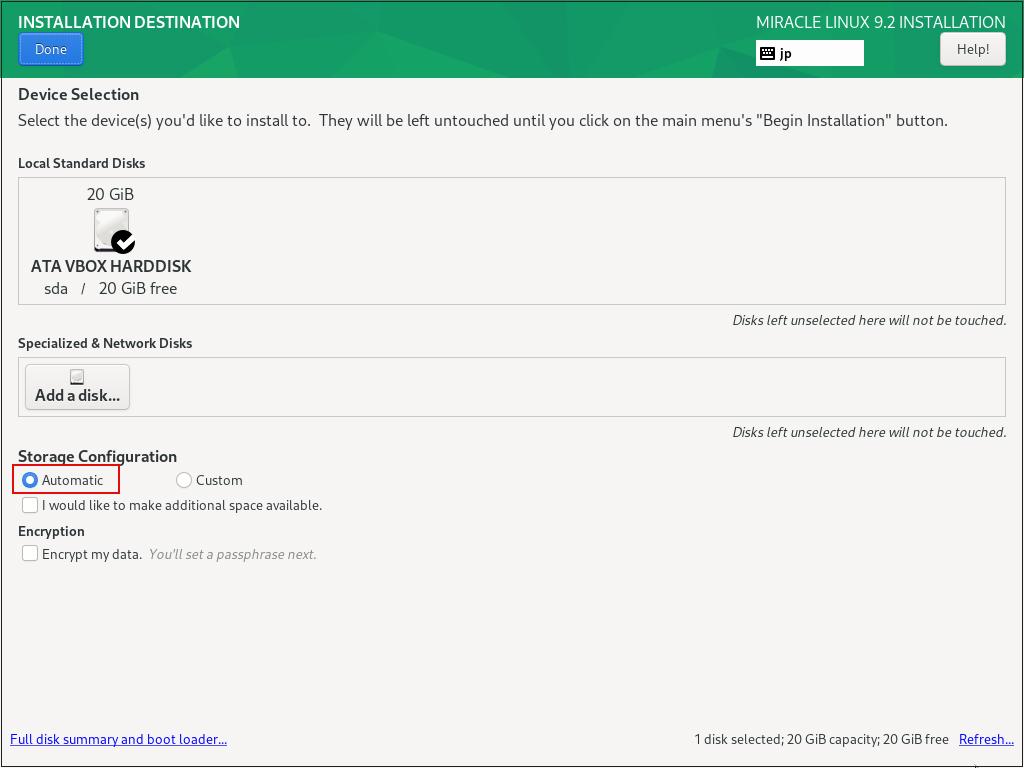
⑦「インストール先」の設定 [Installtion Destination]をクリック
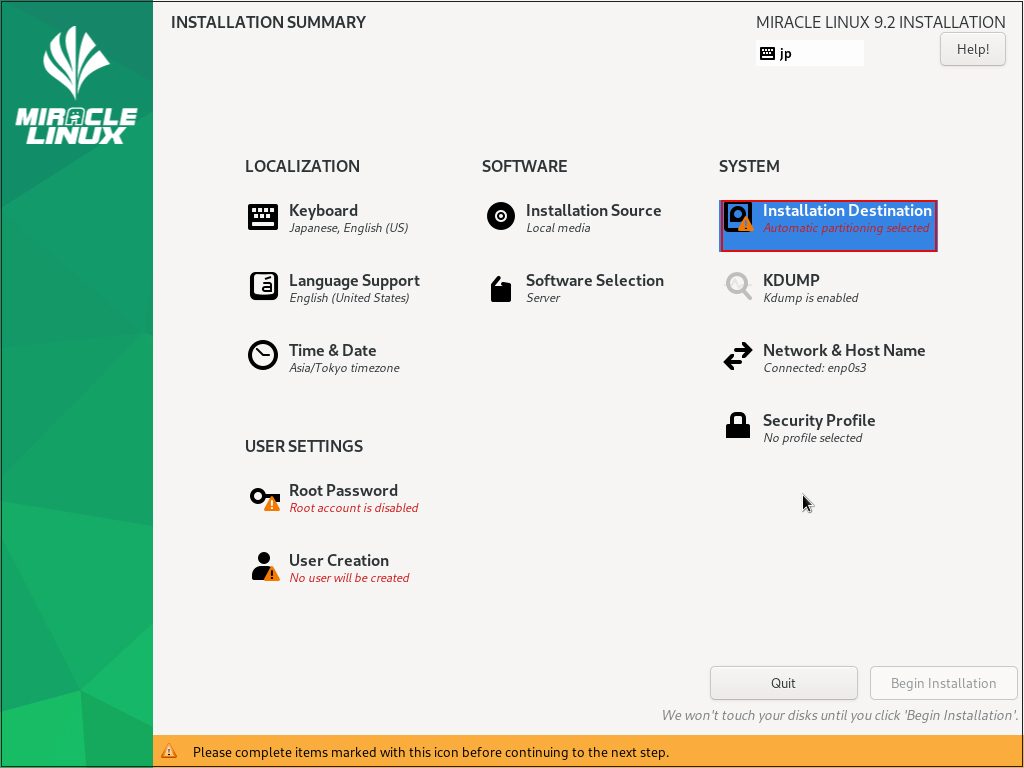
「Storage Configuration」を「Automatic」にし、「Done」クリック
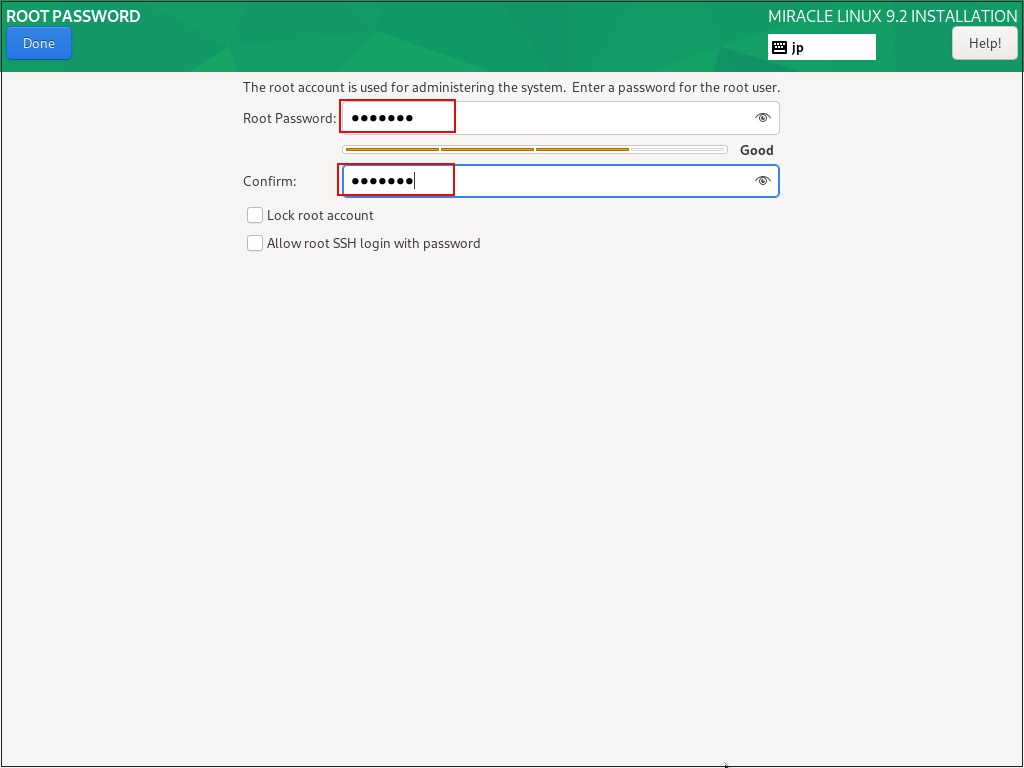
⑧「Root Password」の設定
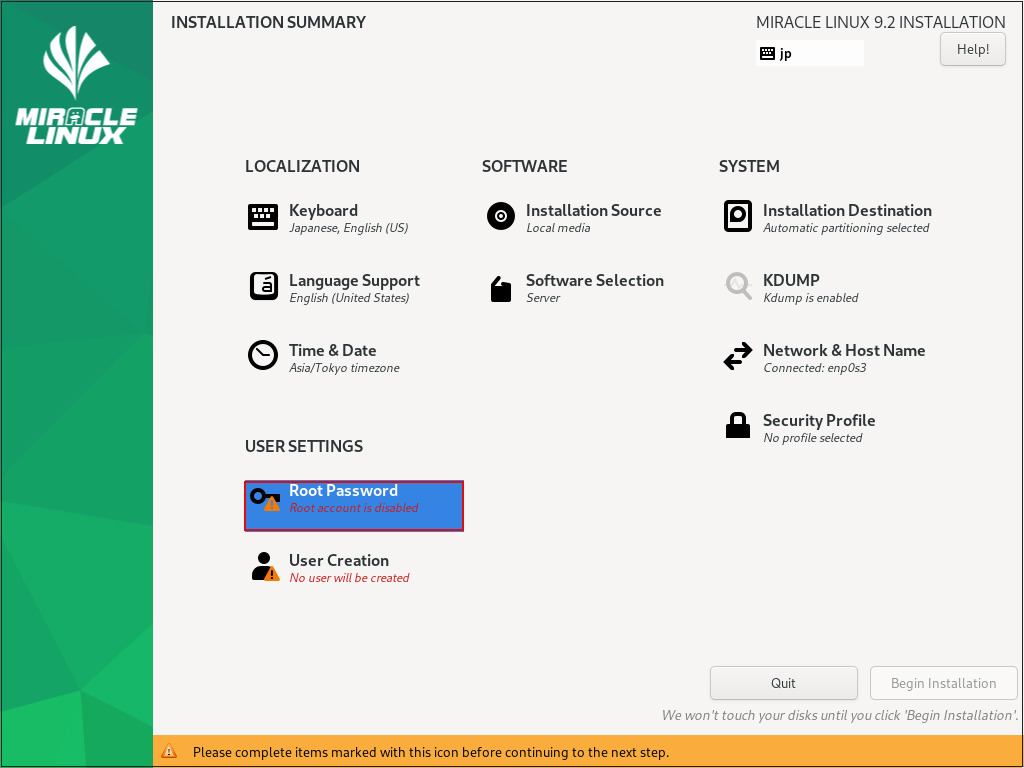
rootパスワードを入力し、「Done」クリック
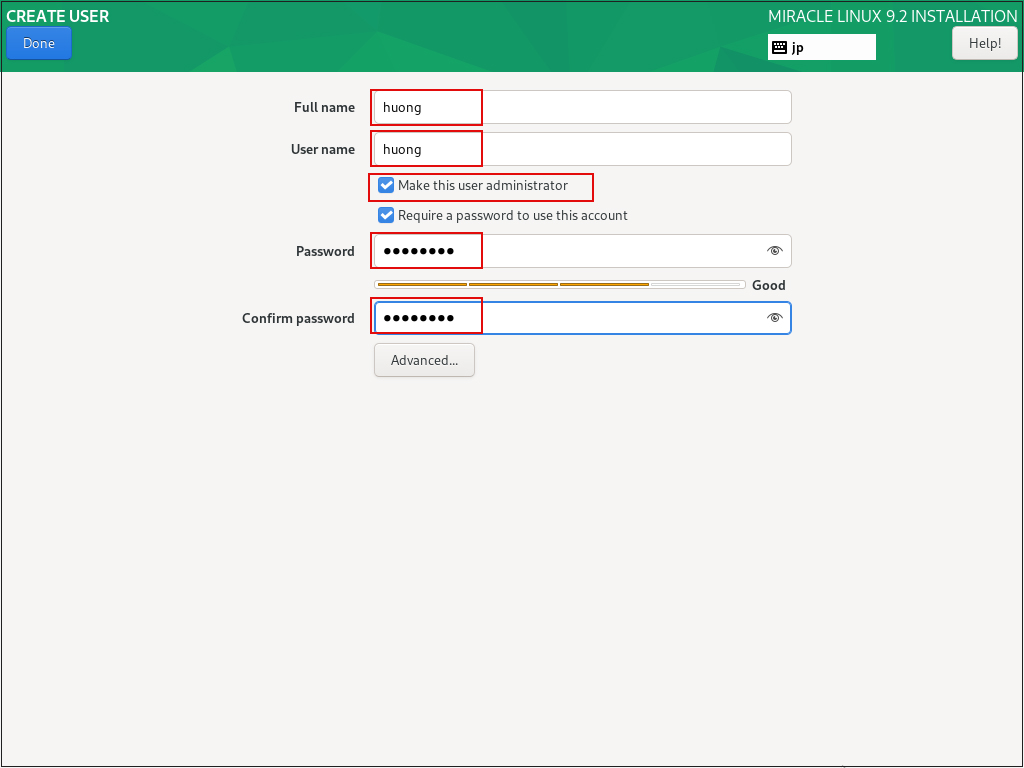
⑨「User Creation」ユーザーの作成とパスワード設定

[Full name] [User name]に任意の名称をつけ [Make this user administrator]にチェックを入れる
[Password] は強固なものにしておく
⑩インストール開始 [Begin Installation]をクリック
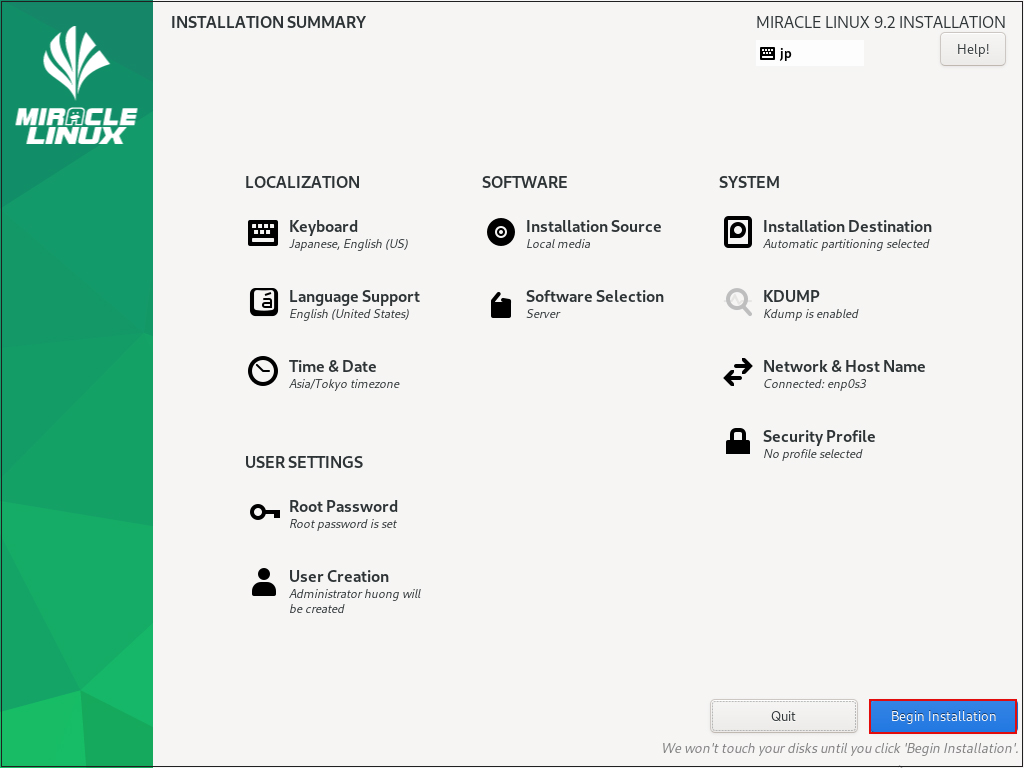
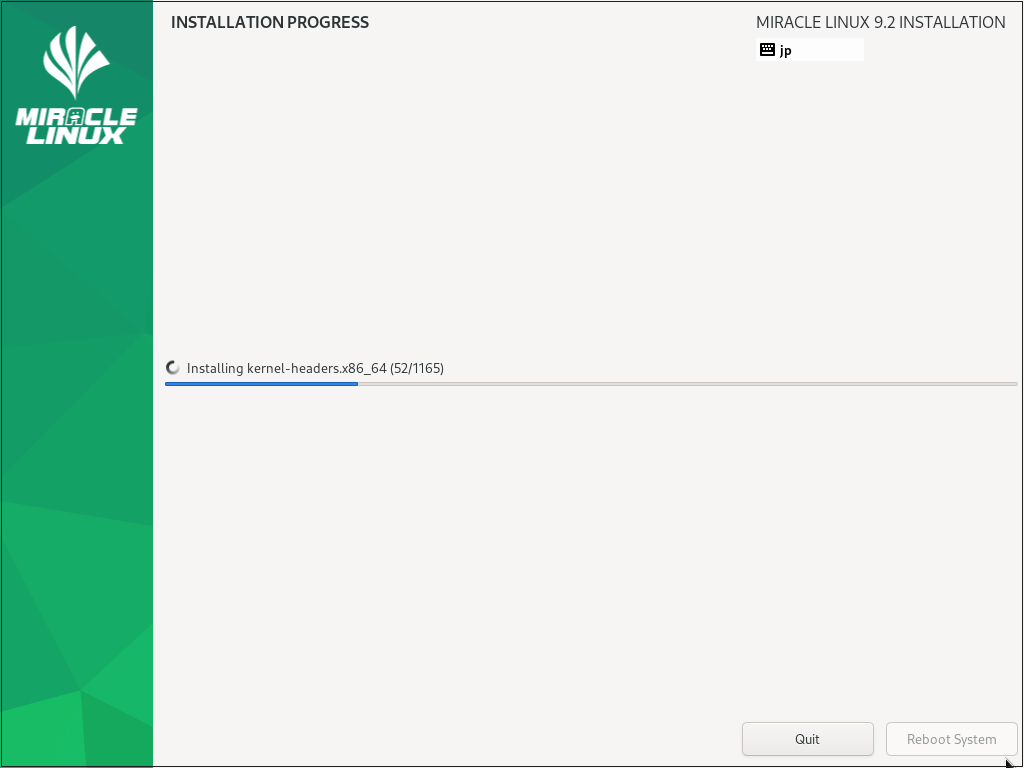
インストールが始まります
インストールが完了したら、[Reboot System]をクリック
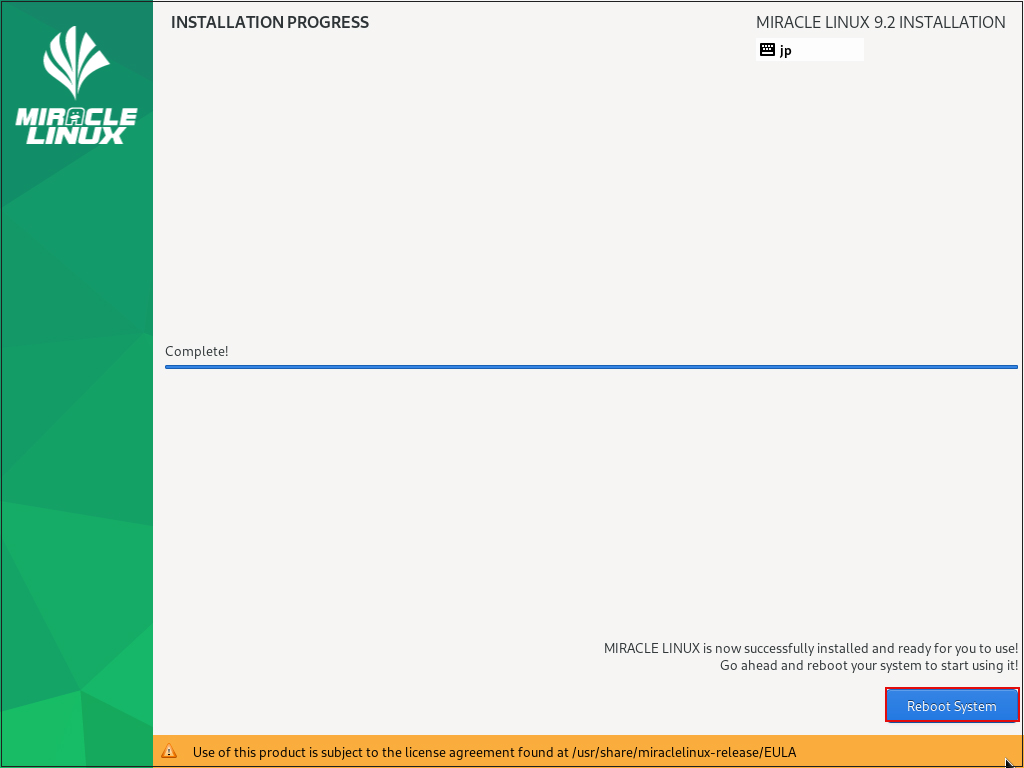
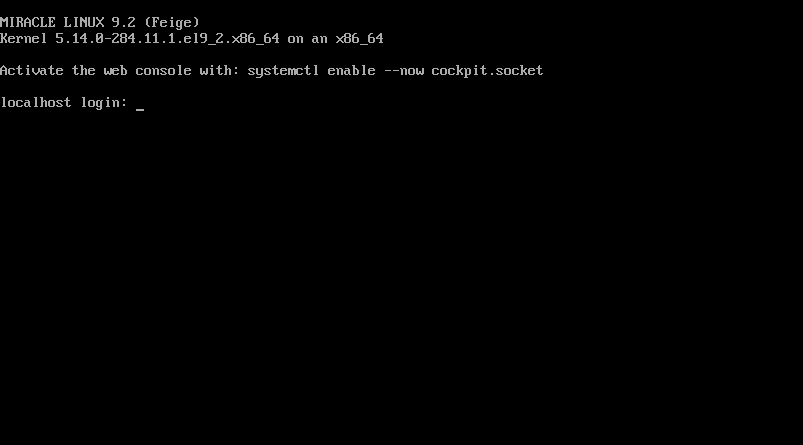
再起動するとログイン画面になります
先ほど作成した一般ユーザーのユーザー名とパスワードでログインしてください。
bashのプロンプト”$"が表示されれば、ログインは完了です。