Contents
1. Apache2
1.1 インストール
|
1 |
# pkg install -y apache24 |
|
1 2 3 |
# httpd -v Server version: Apache/2.4.62 (FreeBSD) Server built: unknown |
|
1 2 3 4 5 6 |
# service apache24 enable # service apache24 start # service apache24 status apache24 is running as pid 1159 |
1.2 apache24 - 初期設定
①extra/httpd-default.conf 編集
|
1 2 3 4 5 6 |
# vi /usr/local/etc/apache24/extra/httpd-default.conf セキュリティ対策のために以下のように設定を変更します。 55行目 ServerTokens ProductOnly デフォルトの設定は「Full」になっていますが、「ProductOnly」に変更します。 |
➁httpd.conf 編集
|
1 2 3 4 5 6 7 8 9 10 11 12 13 14 15 16 17 18 19 20 21 |
# vi /usr/local/etc/apache24/httpd.conf 160行目 : コメント解除 LoadModule dav_module libexec/apache24/mod_dav.so 217行目 : 管理者のメールアドレスに変更 ServerAdmin you@example.com 226行目 : 自サーバのドメイン名に変更 #ServerName www.example.com:80 ServerName [domain]:80 264行目 : Indexes削除 Options FollowSymLinks 271行目 : 変更 AllowOverride ALL 前項で設定した、「/usr/local/etc/apache24/extra/httpd-default.conf」への設定を有効にするために、下記の先頭の「#」を削除して、「Include」を有効にします。 518行目 : コメント解除 Include etc/apache24/extra/httpd-default.conf |
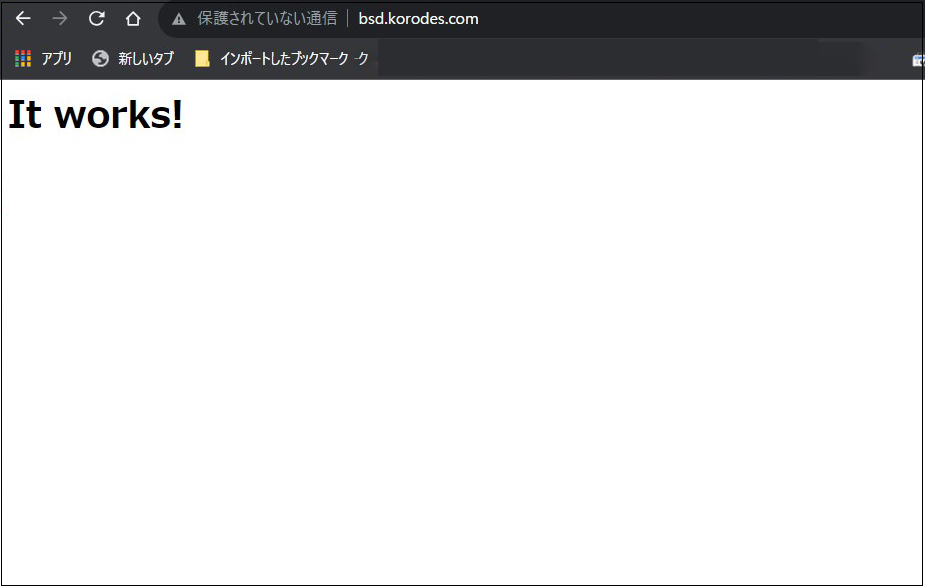
クライアントから、サーバにアクセス(http://サーバーIPアドレス[またはドメイン名])すると下記のような表示が出れば正常です

1.3 バーチャルホストの設定
ドキュメントルート : /usr/local/www/apache24/data/[FQDN]/
ドメイン : [FQDN]
としてバーチャルホストを設定します
|
1 2 3 |
# vi /usr/local/etc/apache24/httpd.conf 最後のほうに下記を記入 Include etc/apache24/extra/bsd-vhost.conf |
/usr/local/etc/apache24/extra配下にbsd-vhost.conf新規作成(bsd-vhost.confのbsd-vhostは任意でよい)
|
1 2 3 4 5 6 7 8 9 10 11 12 13 14 15 16 |
# cd /usr/local/etc/apache24/extra # vi bsd-vhost.conf 下記内容で作成 <VirtualHost *:80> ServerAdmin 管理者メールアドレス DocumentRoot "/usr/local/www/apache24/data/[FQDN]" ServerName [FQDN] ErrorLog "/var/log/[FQDN].com-error_log" CustomLog "/var/log/[FQDN].access_log" common </VirtualHost> <Directory /usr/local/www/apache24/data/[FQDN]> AddHandler cgi-script .cgi Options FollowSymlinks Includes AllowOverride All Require all granted </Directory> |
ディレクトリー作成
|
1 2 3 |
# mkdir /usr/local/www/apache24/data/[FQDN] # chown -R www:www /usr/local/www/apache24/data/[FQDN] |
Apache再起動
|
1 2 3 4 5 6 7 8 |
# service apache24 restart Performing sanity check on apache24 configuration: Syntax OK Stopping apache24. Waiting for PIDS: 56749. Performing sanity check on apache24 configuration: Syntax OK Starting apache24. |
1.4 apache24 - cgi を動作
p5-CGI インストール
下記コマンドでインストールされているか確認
|
1 2 |
# portversion -v | grep p5-CGI [Reading data from pkg(8) ... - 130 packages found - done] |
httpd.conf の編集
|
1 2 3 4 5 6 7 8 9 10 11 12 |
# vi /usr/local/etc/apache24/httpd.conf 166、169行のコメント解除 <IfModule !mpm_prefork_module> LoadModule cgid_module libexec/apache24/mod_cgid.so </IfModule> <IfModule mpm_prefork_module> LoadModule cgi_module libexec/apache24/mod_cgi.so </IfModule> 431行目 : コメント解除 AddHandler cgi-script .cgi |
Apache再起動
|
1 2 3 4 5 6 7 8 |
# service apache24 restart Performing sanity check on apache24 configuration: Syntax OK Stopping apache24. Waiting for PIDS: 56818. Performing sanity check on apache24 configuration: Syntax OK Starting apache24. |
2. MySQLインストール
PHPをインストールする前にMySQLをインストールしておきます。
デフォルトの FreeBSD リポジトリで利用可能なすべての MySQL バージョンを検索します。
|
1 2 3 4 5 6 7 8 |
# pkg search mysql mysql80-client-8.0.39 Multithreaded SQL database (client) mysql80-server-8.0.39_1 Multithreaded SQL database (server) mysql84-client-8.4.2_1 Multithreaded SQL database (client) mysql84-server-8.4.2_1 Multithreaded SQL database (server) mysql90-client-9.0.1 Multithreaded SQL database (client) mysql90-server-9.0.1 Multithreaded SQL database (server) |
mysql80をインストール
|
1 |
# pkg install -y mysql80-client mysql80-server |
バージョンを確認
|
1 2 |
# mysql --version mysql Ver 8.0.39 for FreeBSD13.4 on amd64 (Source distribution) |
MySQL を有効にして起動
|
1 2 3 4 |
# sysrc mysql_enable=yes mysql_enable: -> yes # service mysql-server start Starting mysql. |
MySQL 起動確認
|
1 2 |
# service mysql-server status mysql is running as pid 94689. |
セキュリティ スクリプトの実行
|
1 2 3 4 5 6 7 8 9 10 11 12 13 14 15 16 17 18 19 20 21 22 23 24 25 26 27 28 29 30 31 32 33 34 35 36 37 38 39 40 41 42 43 44 45 46 47 48 49 50 51 52 53 54 55 56 57 58 59 60 61 62 63 64 65 66 67 68 |
# mysql_secure_installation mysql_secure_installation: [ERROR] unknown variable 'prompt=\u@\h [\d]>\_'. Securing the MySQL server deployment. Connecting to MySQL using a blank password. VALIDATE PASSWORD COMPONENT can be used to test passwords and improve security. It checks the strength of password and allows the users to set only those passwords which are secure enough. Would you like to setup VALIDATE PASSWORD component? Press y|Y for Yes, any other key for No: y There are three levels of password validation policy: LOW Length >= 8 MEDIUM Length >= 8, numeric, mixed case, and special characters STRONG Length >= 8, numeric, mixed case, special characters and dictionary file Please enter 0 = LOW, 1 = MEDIUM and 2 = STRONG: 0 Please set the password for root here. New password: Re-enter new password: Estimated strength of the password: 100 Do you wish to continue with the password provided?(Press y|Y for Yes, any other key for No) : y By default, a MySQL installation has an anonymous user, allowing anyone to log into MySQL without having to have a user account created for them. This is intended only for testing, and to make the installation go a bit smoother. You should remove them before moving into a production environment. Remove anonymous users? (Press y|Y for Yes, any other key for No) : y Success. Normally, root should only be allowed to connect from 'localhost'. This ensures that someone cannot guess at the root password from the network. Disallow root login remotely? (Press y|Y for Yes, any other key for No) : y Success. By default, MySQL comes with a database named 'test' that anyone can access. This is also intended only for testing, and should be removed before moving into a production environment. Remove test database and access to it? (Press y|Y for Yes, any other key for No) : y - Dropping test database... Success. - Removing privileges on test database... Success. Reloading the privilege tables will ensure that all changes made so far will take effect immediately. Reload privilege tables now? (Press y|Y for Yes, any other key for No) : y Success. All done! |
以降mysqlサーバーにログインするには
mysql -u root -p
Enter password: 上記で設定したパスワード
|
1 2 |
# mysql -u root -p Enter password: 上記で設定したパスワード |
3. apache24 - PHP 8
3.1 PHPインストール
デフォルトの FreeBSD リポジトリで利用可能なすべての PHP パッケージを検索します。
|
1 2 3 4 5 6 |
$ pkg search php | egrep '^php[0-9]+-[0-9]' php81-8.1.31 PHP Scripting Language (8.1.X branch) php82-8.2.27 PHP Scripting Language (8.2.X branch) php83-8.3.15 PHP Scripting Language (8.3.X branch) php84-8.4.2 PHP Scripting Language (8.4.X branch) |
PHP8.3をインストール
|
1 |
# pkg install php83 |
一般的なPHPモジュールをインストール
|
1 |
# pkg install -y php83-mysqli php83-curl php83-zip php83-gd php83-xml php83-mbstring |
PHPバージョン確認
|
1 2 3 4 |
# php -v PHP 8.3.15 (cli) (built: Feb 22 2025 03:12:59) (NTS) Copyright (c) The PHP Group Zend Engine v4.3.15, Copyright (c) Zend Technologies |
PHP-FPMバージョン確認
|
1 2 3 4 |
# php-fpm -v PHP 8.3.15 (fpm-fcgi) (built: Feb 22 2025 03:13:14) Copyright (c) The PHP Group Zend Engine v4.3.15, Copyright (c) Zend Technologies |
起動時に PHP-FPM が自動的に起動するようにする
|
1 2 |
# service php_fpm enable php_fpm enabled in /etc/rc.conf |
PHP-FPM を起動
|
1 2 3 4 5 6 7 |
# service php_fpm start Performing sanity check on php-fpm configuration: [22-Mar-2025 08:19:09] NOTICE: configuration file /usr/local/etc/php-fpm.conf test is successful Starting php_fpm. # service php_fpm status php_fpm is running as pid 3204. |
3.2 PHP - 初期設定
①コンフィグレーションファイル「php.ini」の設定
|
1 2 3 4 5 6 7 8 9 10 11 12 13 14 15 16 17 18 |
# cd /usr/local/etc/ # cp php.ini-production php.ini # vi /usr/local/etc/php.ini 518行目確認 display_errors = Off 713行目変更 post_max_size = 300M 865行目変更 upload_max_filesizeupload_max_filesize = 200M 989行目タイムゾーンの設定、コメント解除し"Asia/Tokyo"追記 [Date] ; Defines the default timezone used by the date functions ; http://php.net/date.timezone date.timezone = "Asia/Tokyo" |
➁httpd.conf の編集
|
1 2 3 4 5 6 7 8 9 10 11 |
# vi /usr/local/etc/apache24/httpd.conf 284行目 ディレクトリのインデックスとして「index.php」を使う <IfModule dir_module> DirectoryIndex index.html index.php ←追記 </IfModule> 423行目当たりに 以下の2行を追記。 AddType application/x-httpd-php .php AddType application/x-httpd-php-source .phps |
Apache設定チェック
Syntax OKと表示されれば正常
|
1 2 3 |
# service apache24 configtest Performing sanity check on apache24 configuration: Syntax OK |
Apache再起動
|
1 2 3 4 5 6 7 8 |
# service apache24 restart Performing sanity check on apache24 configuration: Syntax OK Stopping apache24. Waiting for PIDS: 57824. Performing sanity check on apache24 configuration: Syntax OK Starting apache24. |
3.3 PHP-FPMでApacheを設定
Apache は mod_proxy および mod_proxy_fcgi モジュールを使用して FastCGI リクエストを処理し、PHP-FPM サービスに接続します。必要な Apache モジュールを有効にし、すべての PHP アプリケーションリクエストを PHP-FPM サービスポート 9000 に転送します。
|
1 |
# vi /usr/local/etc/php-fpm.d/www.conf |
httpd.confファイル編集
|
1 2 3 4 5 6 7 |
# vi /usr/local/etc/apache24/httpd.conf # 129行目 : コメント解除 LoadModule proxy_module libexec/apache24/mod_proxy.so # 133行目 : コメント解除 LoadModule proxy_fcgi_module libexec/apache24/mod_proxy_fcgi.so |
バーチャルホスト設定ファイル編集
|
1 2 3 4 5 6 7 |
# cd /usr/local/etc/apache24/extra # vi bsd-vhost.conf <VirtualHost></VirtualHost>の中に下記追記 <FilesMatch "\.php$"> SetHandler "proxy:fcgi://127.0.0.1:9000" </FilesMatch> |
Apacheとphp-fpm再起動
|
1 2 |
# service apache24 restart # service php_fpm restart |
3.4 PHP動作確認
ウェブサーバのドキュメントルートに「info.php」を作成
|
1 2 3 4 |
# vi /usr/local/www/apache24/data/[FQDN]/info.php <?php phpinfo(); ?> |
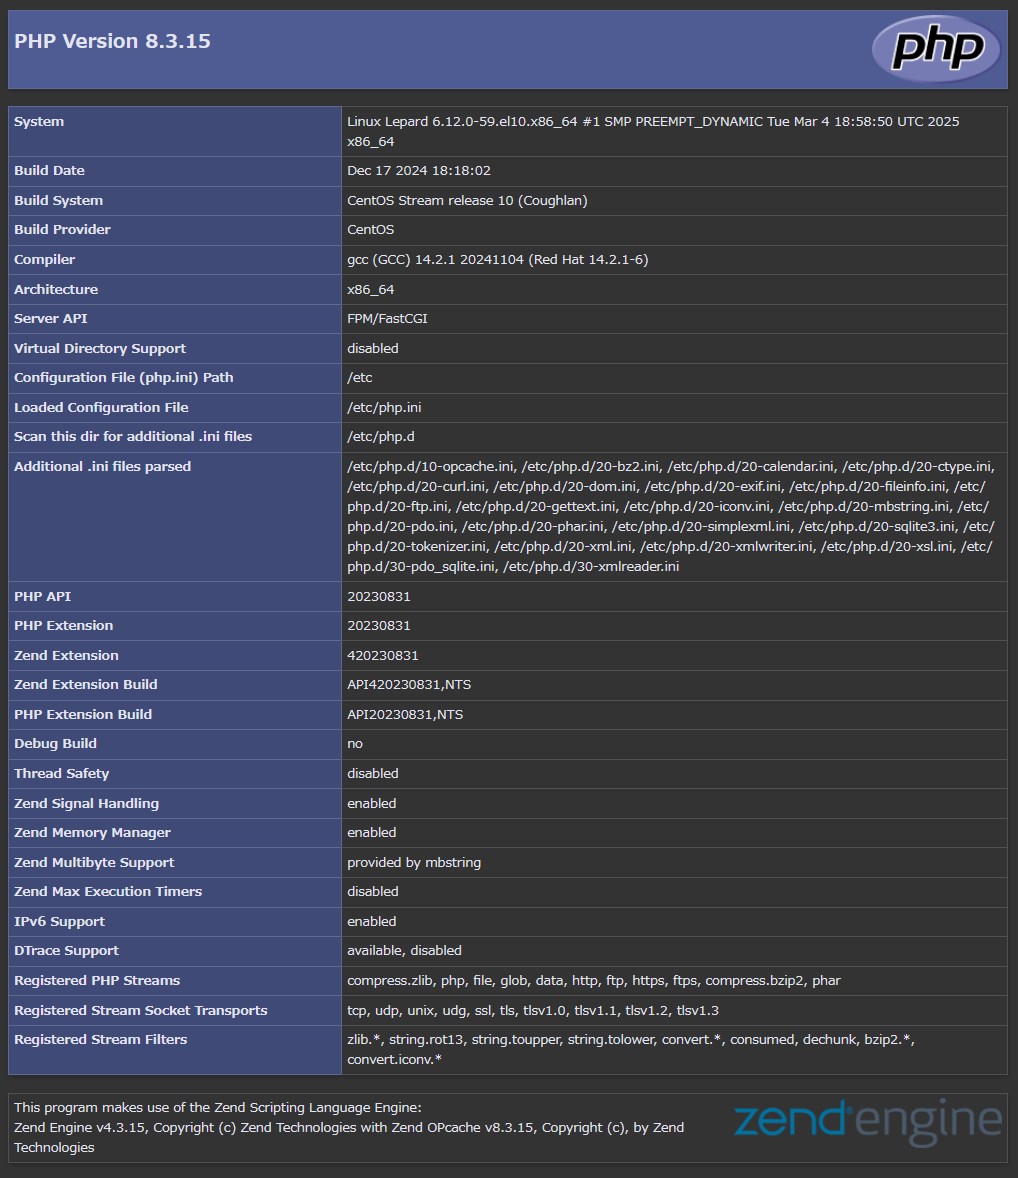
ブラウザで「http://[FQDN]/info.php」にアクセスすると下記のように表示されればOK


